With the weather warming up, we have been looking for some garden furniture ever since the most severe lockdown restrictions began to lift in September, but almost all of reasonably priced wooden furniture has sold out and no-one knows when more will be delivered. Living at the bottom of the world has its advantages but access to products and materials while shipping containers are in disarray all over the planet due to the pandemic is not one of them. Most imported items, from cars to sofas, have been subject shipping delays of a year or more.
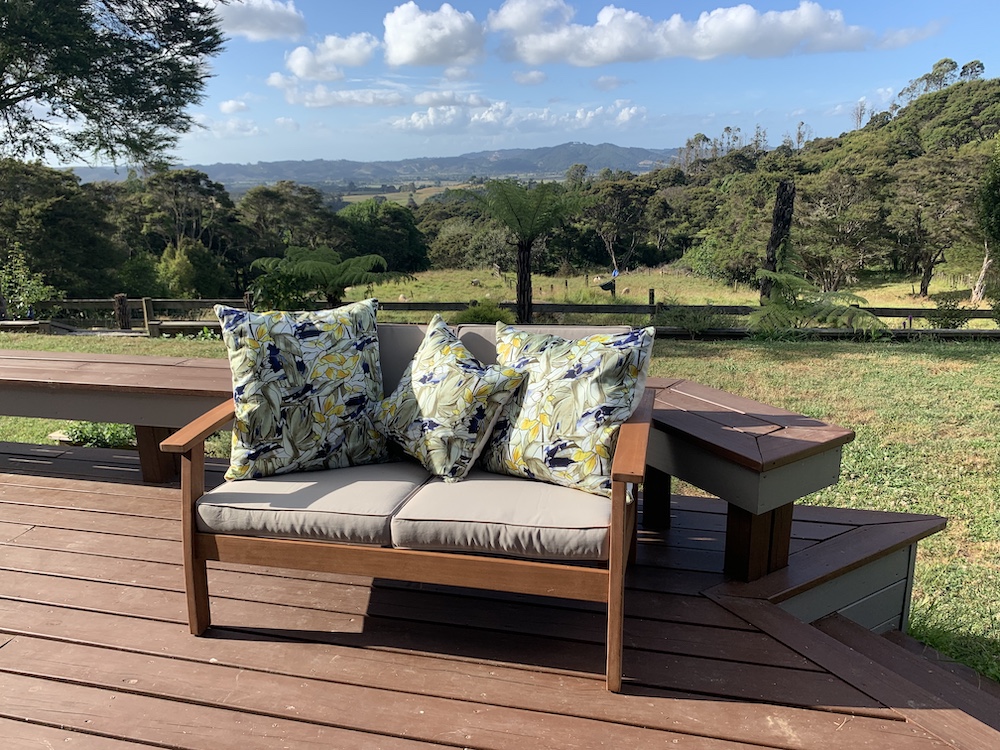
We ended up settling for a garden lounge set that isn’t as comfortable as some of the display sets we looked at, the seats are a little too long in the base but that is easily fixed with some additional cushions. I spent this weekend making a set of cushions and some matching fabric coasters / “wrist-warmers” for the the chairs.
Cushion covers are very easy to make and a great beginner’s sewing project so I thought I would share my method with you. I hope this isn’t too patronising for the more experienced sewers among you.
- I started by cutting 2 squares of fabric, the same size as the cushion inserts, plus a 1cm ./ 0.5″ seam allowance on all 4 sides. A 60 cm sqare cushion needs 2 pieces of fabric measuring 62 x 62 cm.
- Placing right sides of fabric together I stitched along what will become the bottom edge of the cushion cover, leaving a 1 cm seam. If the pattern on your fabric has a right way up, making sure this seam is on the bottom will ensure your zip is out of sight on the finished cushion.
- Press the seam open with front of the cushion facing towards the table (I was lazy and pressed it open with my fingers rather than getting the iron out, as you can probably tell from the crumpled state of my fabric! 🙂 ):

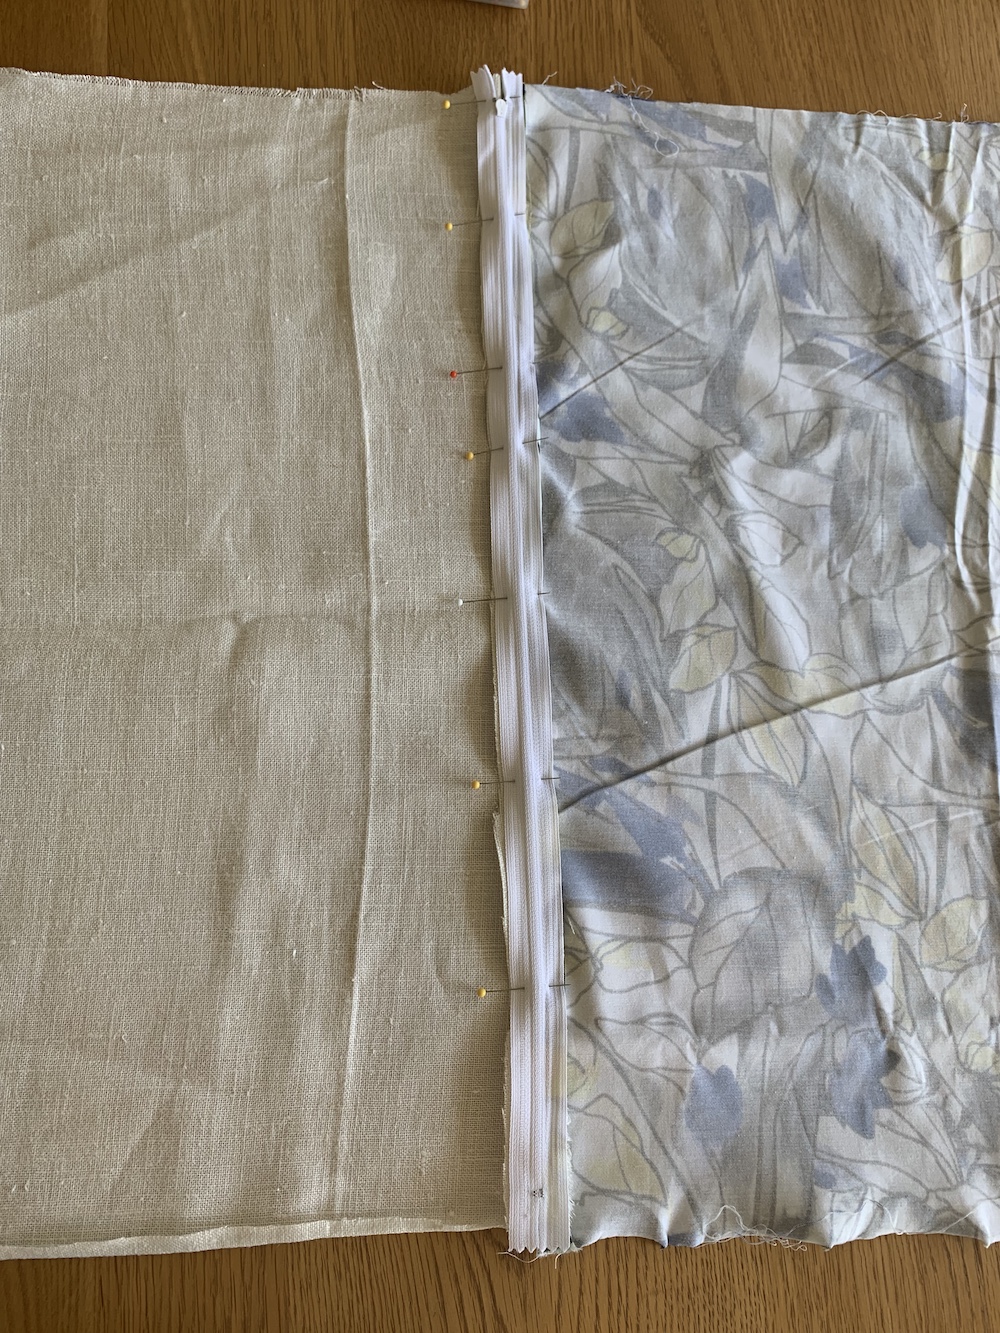
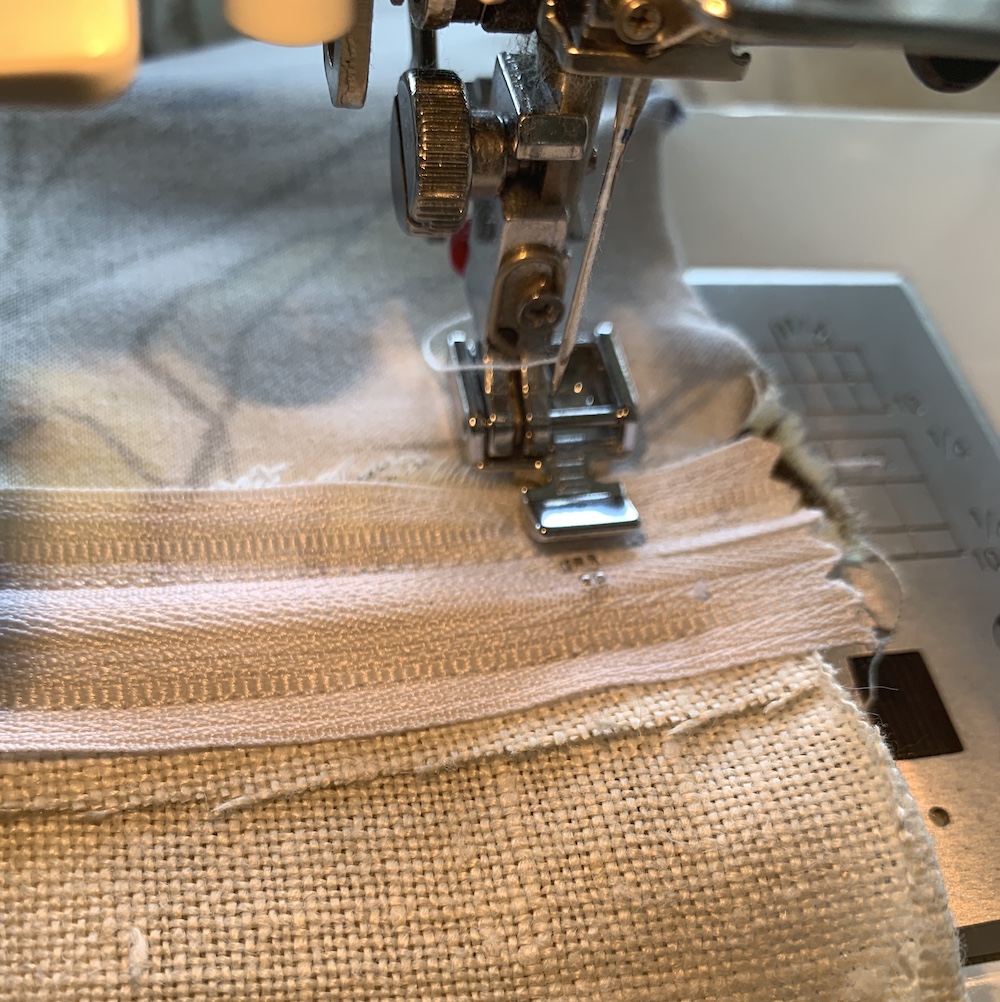
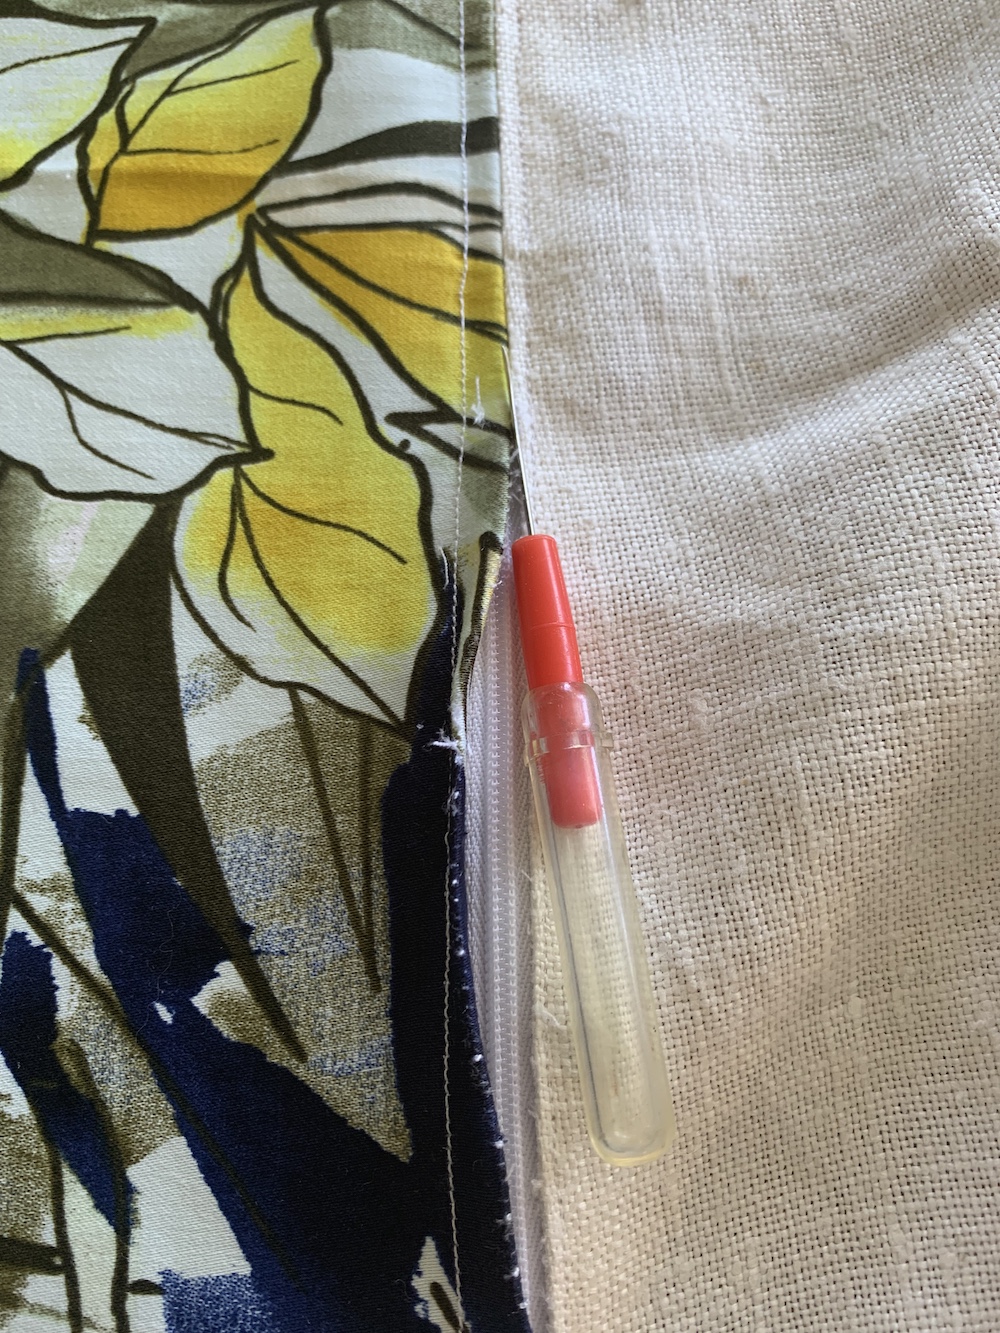
- Lay the zip, right side down, so the teeth line up with the line of stitching. Pin into place and using a zipper foot, sew down both sides of the zipper tape. Tip – the zip does not need to be the full width of the cushion, I think the zipper looks more professional if it stops an inch or two before the edge of the cushion. You can cut the nylon zips to make them shorter if you have one the right colour but it is too long.
Sew across the bottom of the zip so the zipper will not be able to run as far as the metal staple.
Using a seam ripper, remove the stitching holding the two sides of fabric together, stopping approximately 2 inches before each end (and before the line of stitching you placed across the zip).
Open the zip enough that you can easily pass your hand through the hole.
Fold the 2 squares of fabric so the right sides are together again, pin into place and stitch around the 3 reamining sides, leaving a 1 cm seam allowance from the edge.
Open the zip the whole way and turn the cover the right way out, I like to use a chopstick or pencil to push the corners out so they are nice and square.
Insert your cushion and close the zip! et voila!
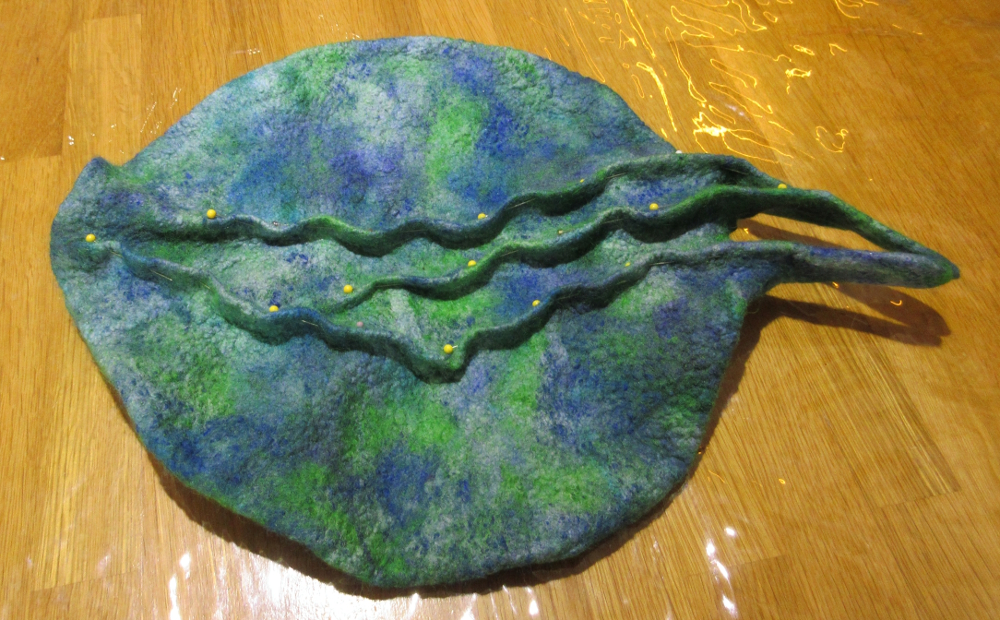
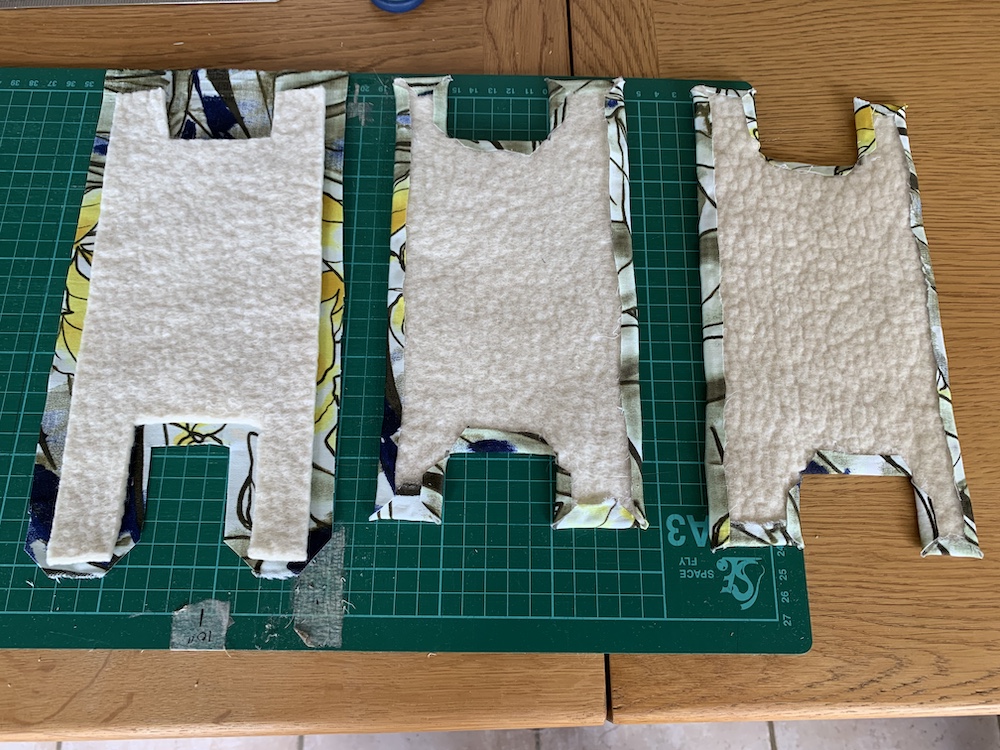
I also made some fabric, wrap-around coasters to protect the arms of the new furniture from the condensation cold drinks often shed in our warm, humid climate. I started by making a sheet of felt and cutting it into four rectangles.
Then, using the chairs as a guide, I cut out a rectangle from each end so they would wrap around the arm either side of the upright piece of wood.
I cut a slightly larger rectangle of fabric and trimmed it so it was about a cm wider than the felt shape (see the piece on the left) before using fabric glue to fold over the edge of the fabric and tack into place on the felt.
Once the glue had dried, I stitched around the edge of each shape before attaching a piece of velcro to 2 tabs on each coaster and wrapping around the arm of the chair.
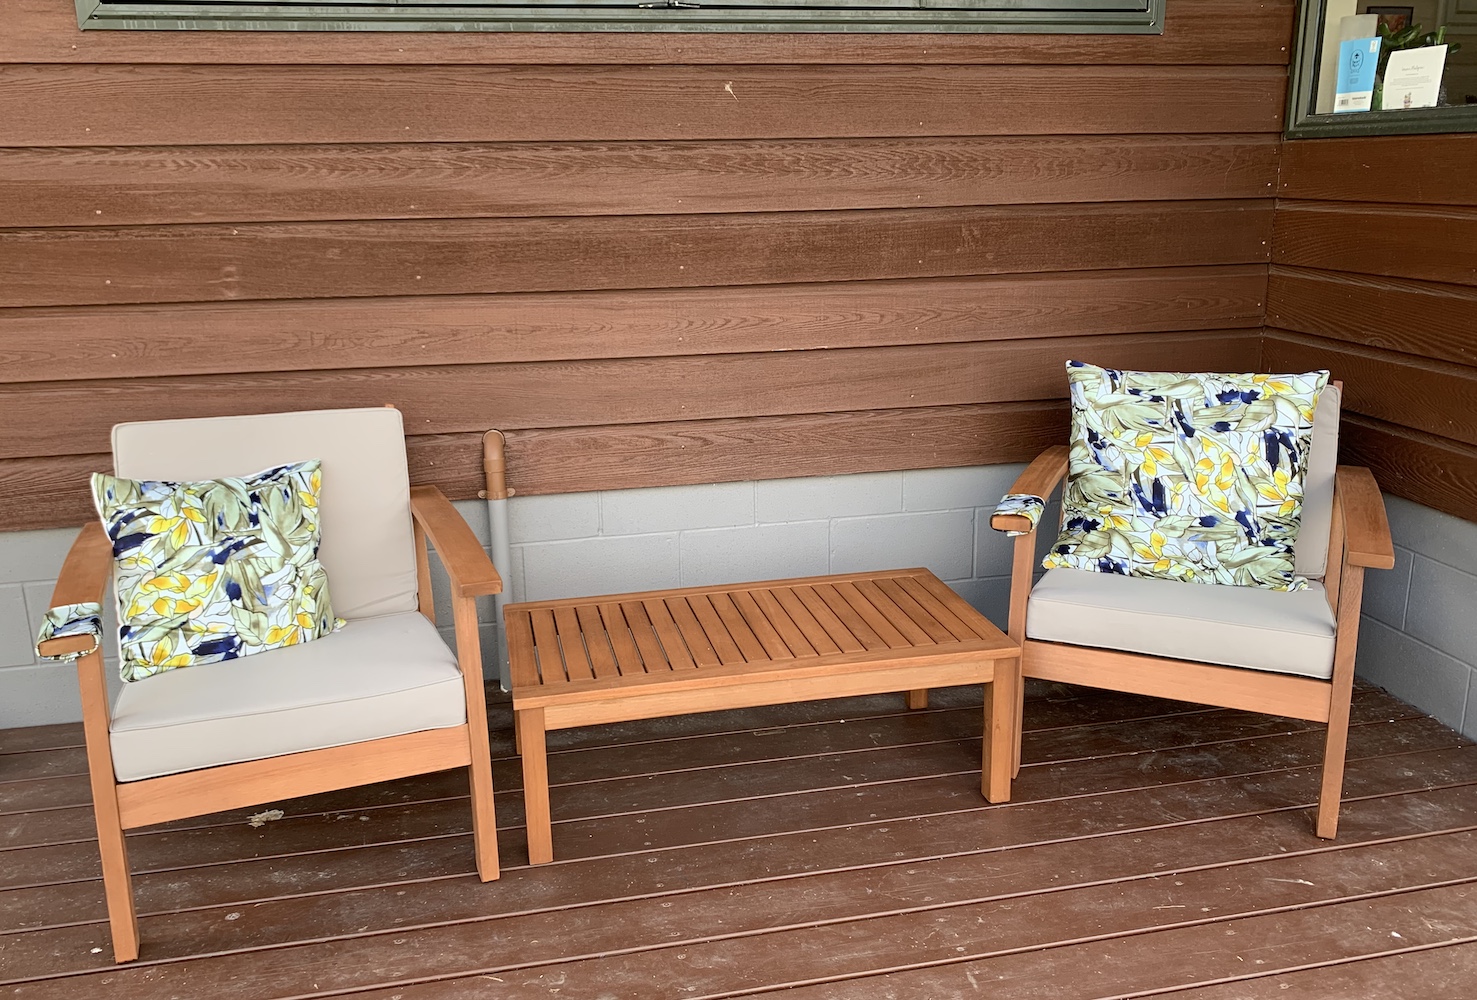
I am looking forward to spending the rest of the summer sitting in our “granny and grandpa” chairs on the veranda now 🙂 Fingers crossed the chickens don’t roost on the chairs and poop all over my new cushions….