Category Archives: Uncategorised

Reflections and New Beginnings

Here we are in January 2021, with Covid vaccines being approved for use and hope for brighter, more normal days just over the horizon. January is traditionally a month for reflection and making plans for the future. This year more than ever and I have an additional reason to be focussed on the year ahead….. my partner has accepted a job offer from Aukland University, so we will be moving to New Zealand in March / April.

Part of me thinks, the middle of a pandemic has to be the worst time to make such a drastic move but then, is there ever a good time? At least New Zealand is one of the few countries in the world who have a managed to control the virus on their shores and, consequently, are leading a relatively normal existence.

We made the decision to move in November and have been decluttering ever since, I am horrified by how much STUFF we have accumulated in our 10 years in this house. In many ways it has been a lovely trip down memory lane, finding trinkets and photos that have languished in a cupboard or box for 10, 20, even 30+ years.

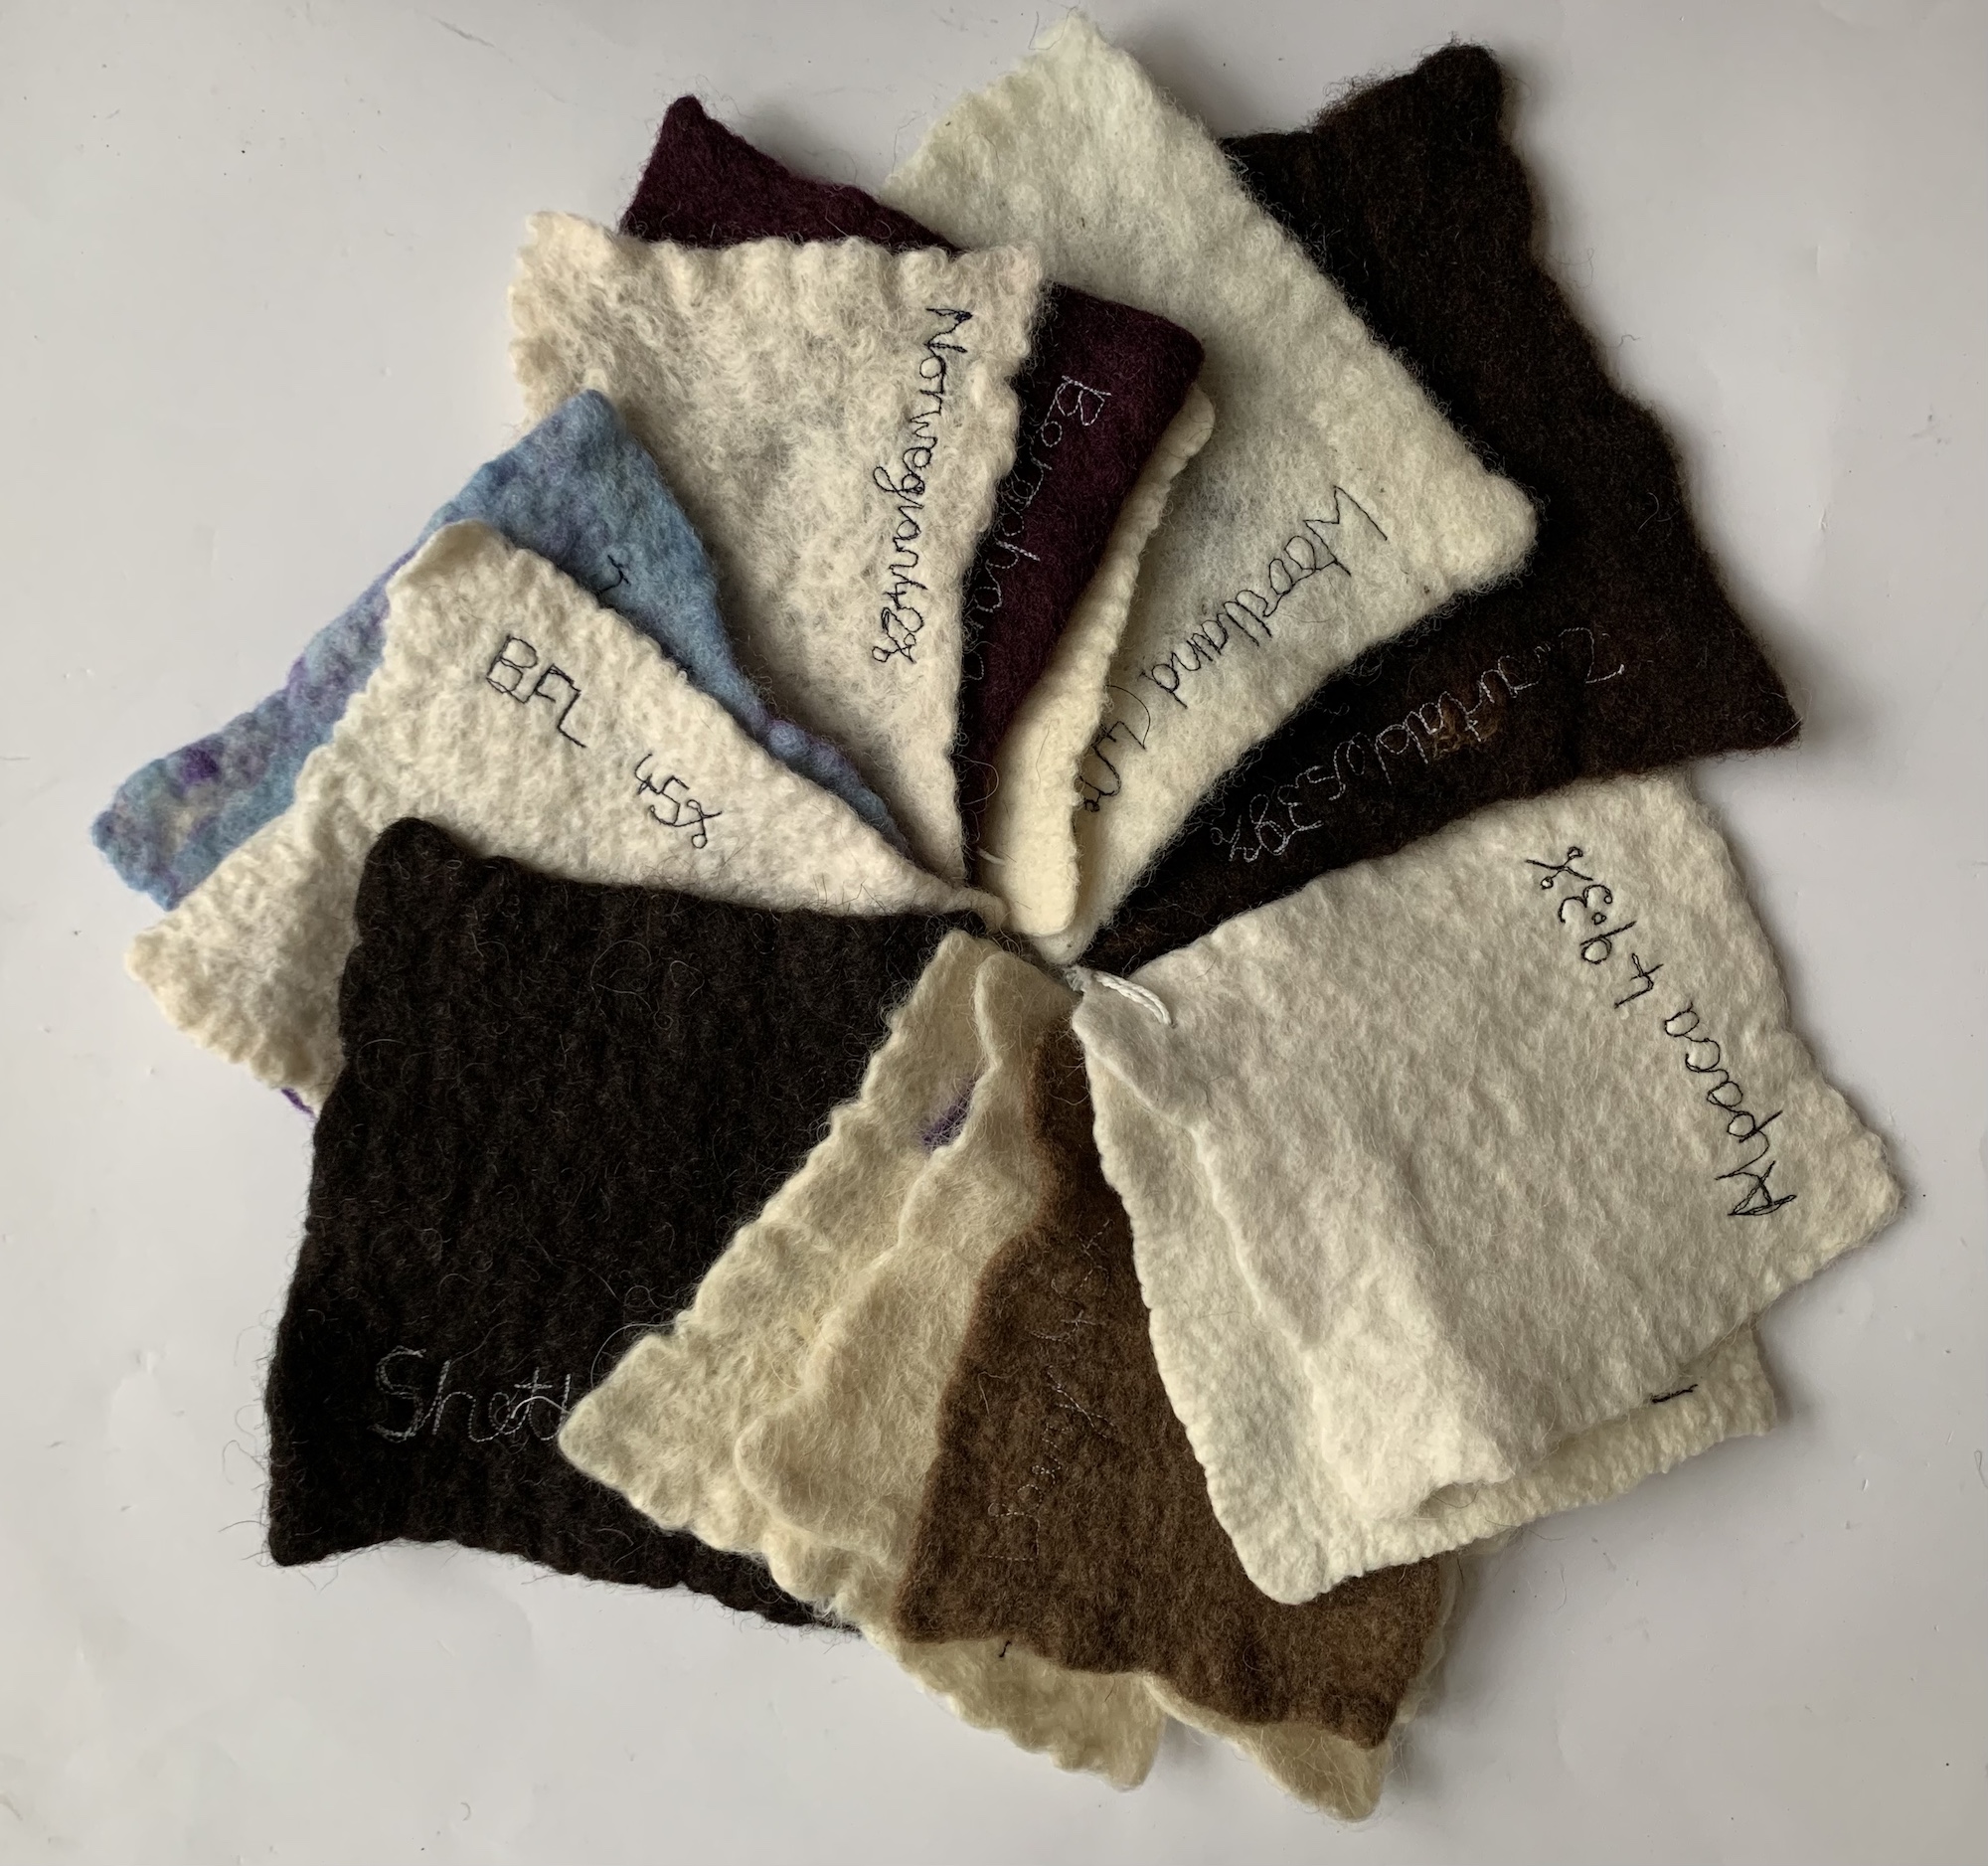
While my felt samples aren’t quite that old (the oldest might be around 10 years old) they did bring back many happy memories as I was sorting through them, trying to decide which ones to keep.

Some of them document some interesting ideas, techniques and experiments that I thought might be of interest to you too….

Colour blending techniques:

When we felt, we are encouraging the fibres to mix and mingle, so when we apply layers of wool in different colours, the colours also migrate and mix, a little bit like mixing paint. This first technique is something I try to get my bag class students to incorporate as it makes for an easy way to achieve subtle tint / tone graduation on the outside of the bag:

The front with colours yellow through burnt orange running left to right
The reverse side with black (tone) and white (tint)

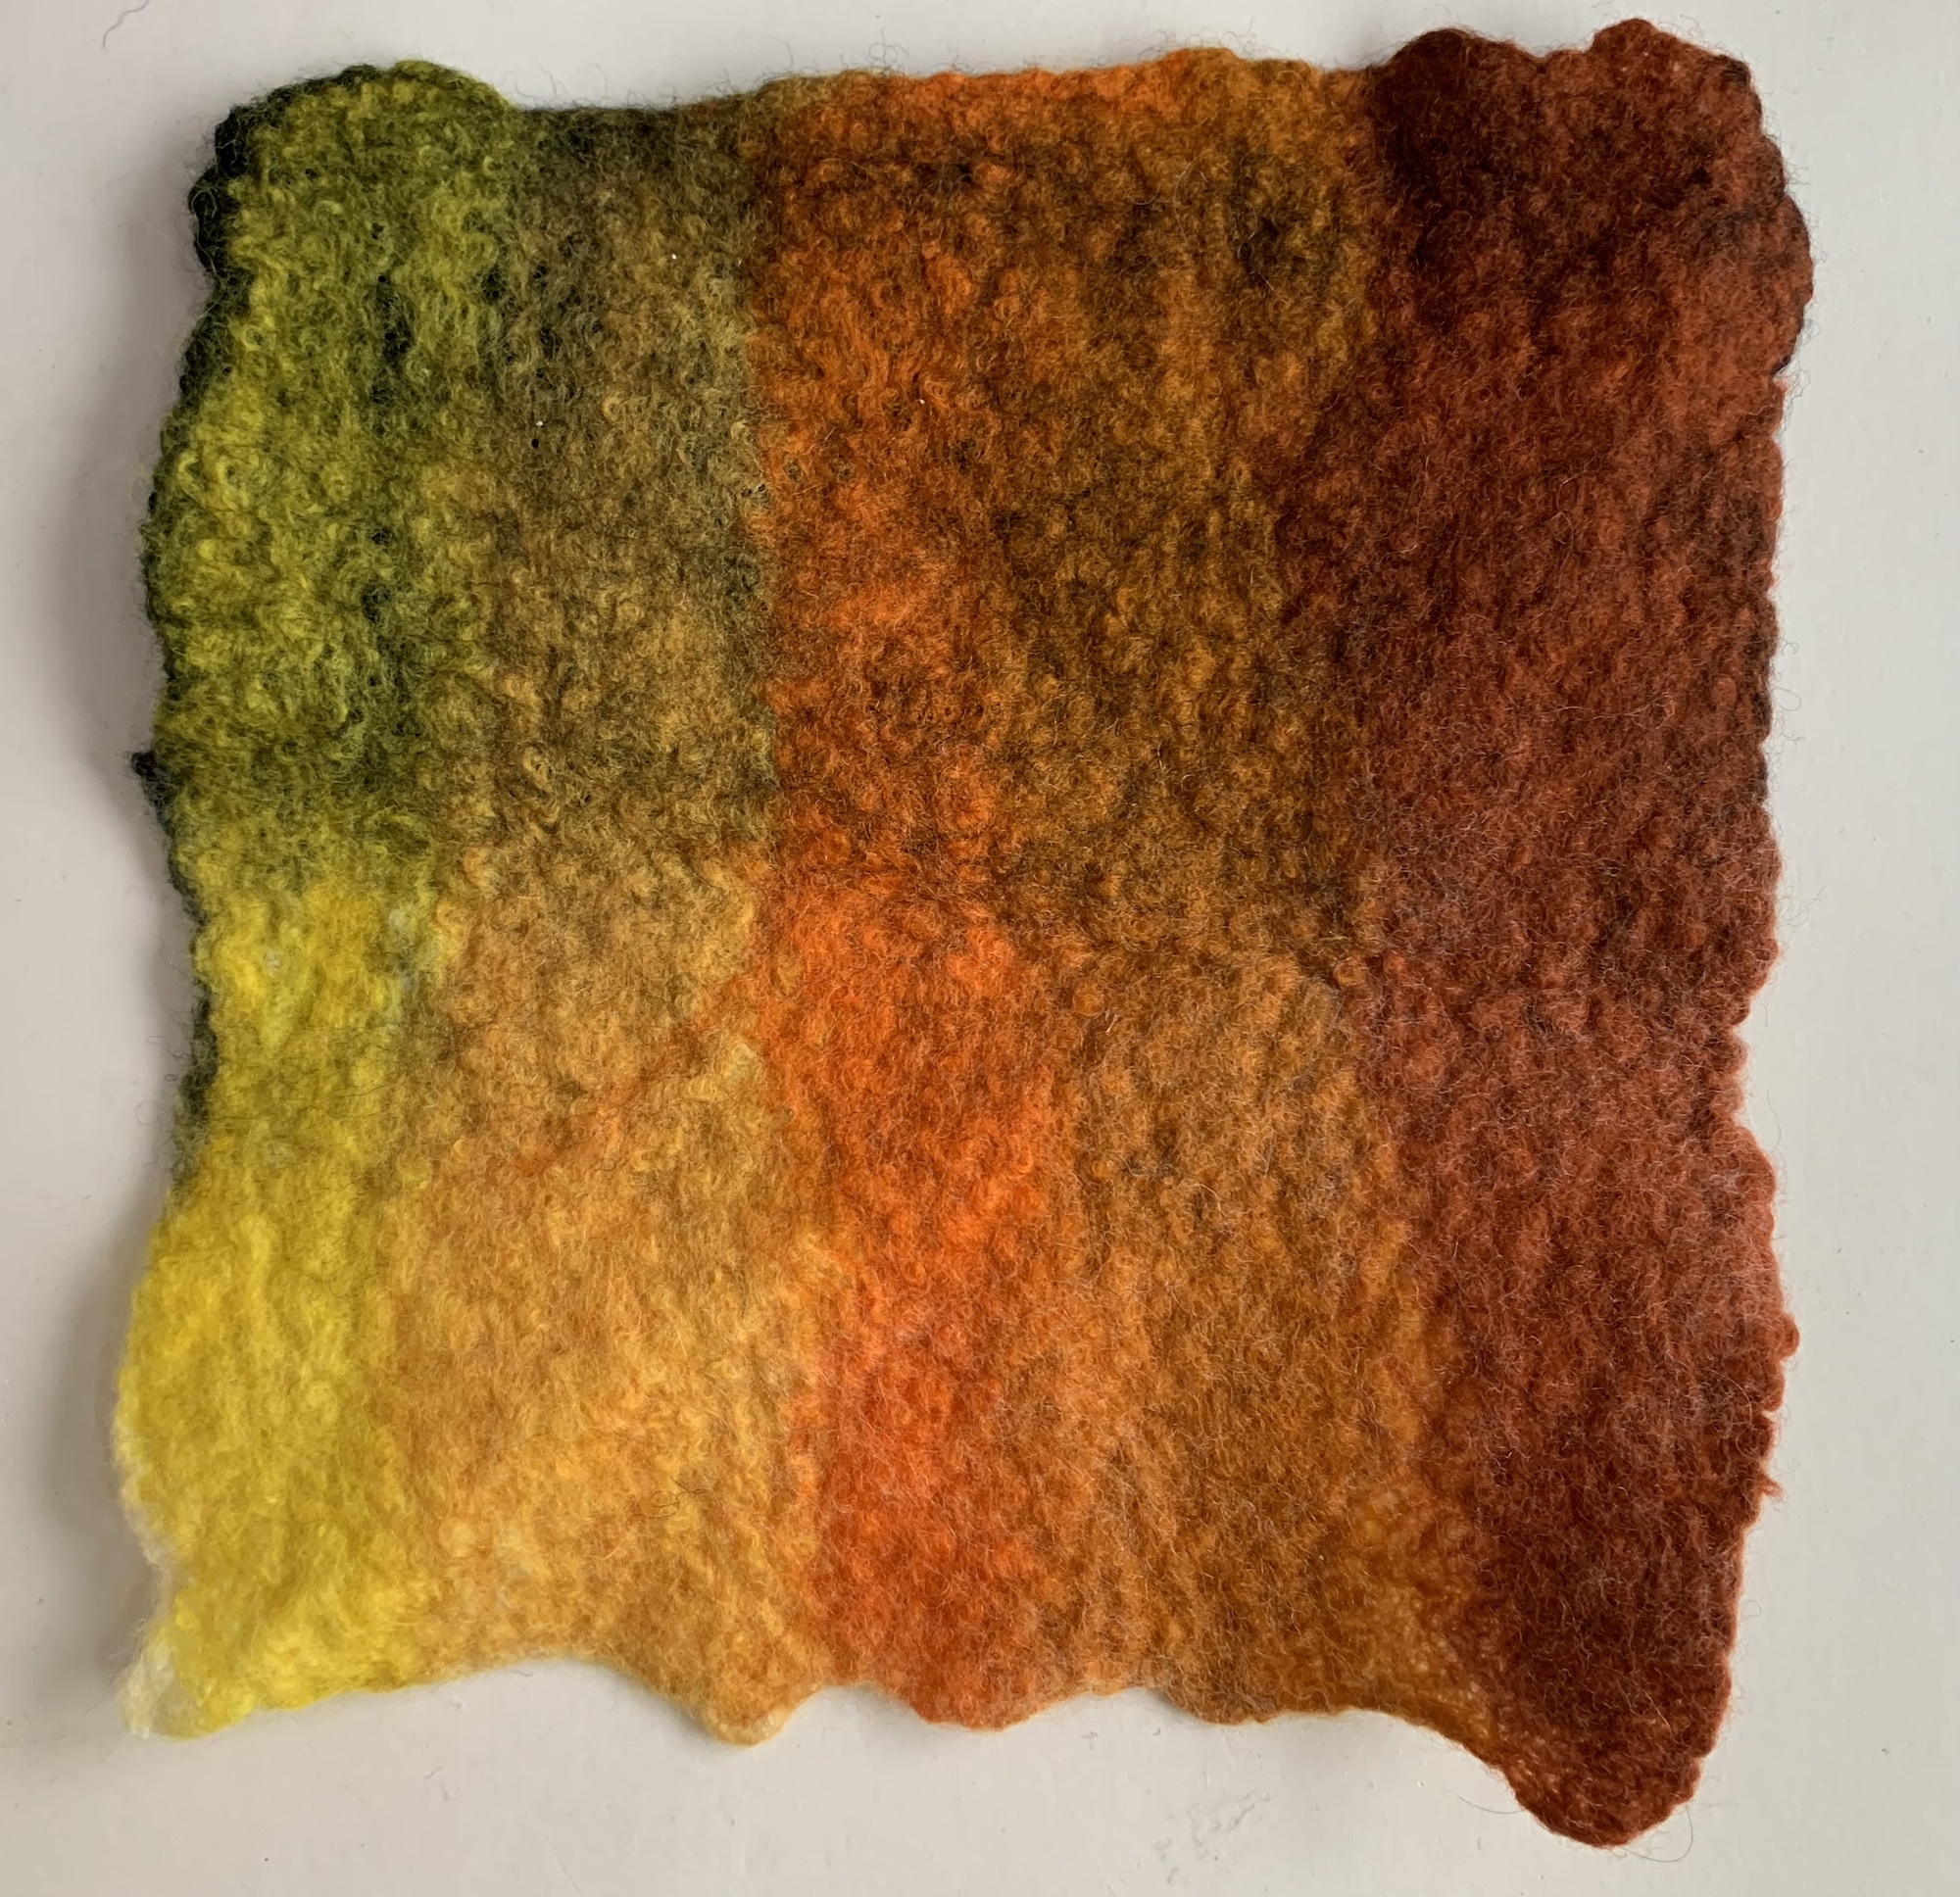
The more this piece is fulled the greater the effect the black and white fibres will have on the colours on the front. By adding a mid-grey between the black and white you can achieve a more subtle change of tone to the coloured side of the felt.

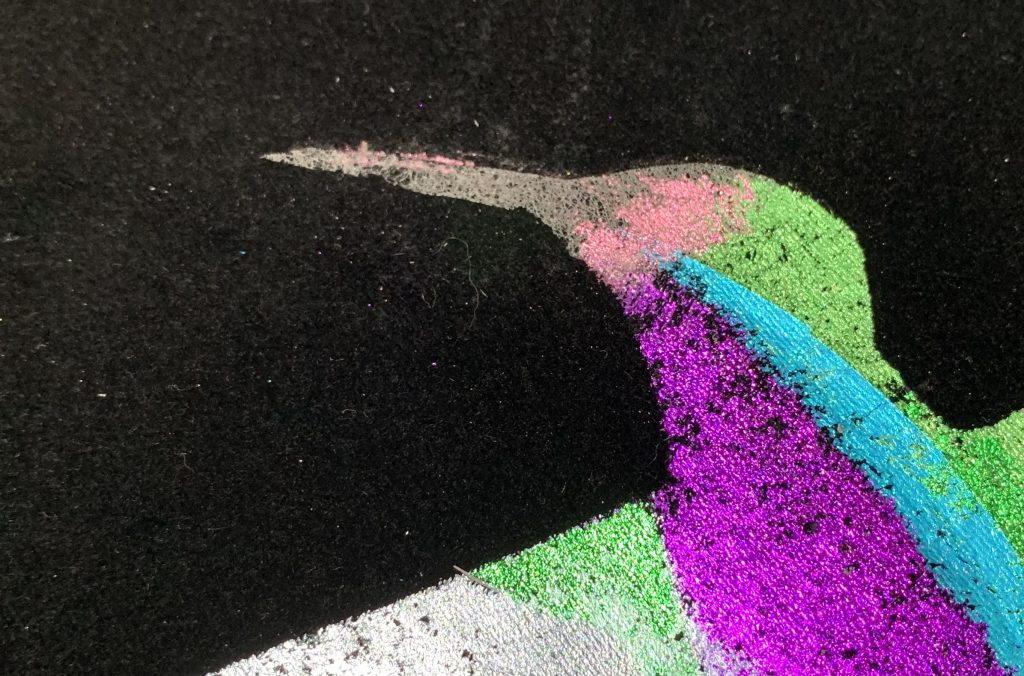
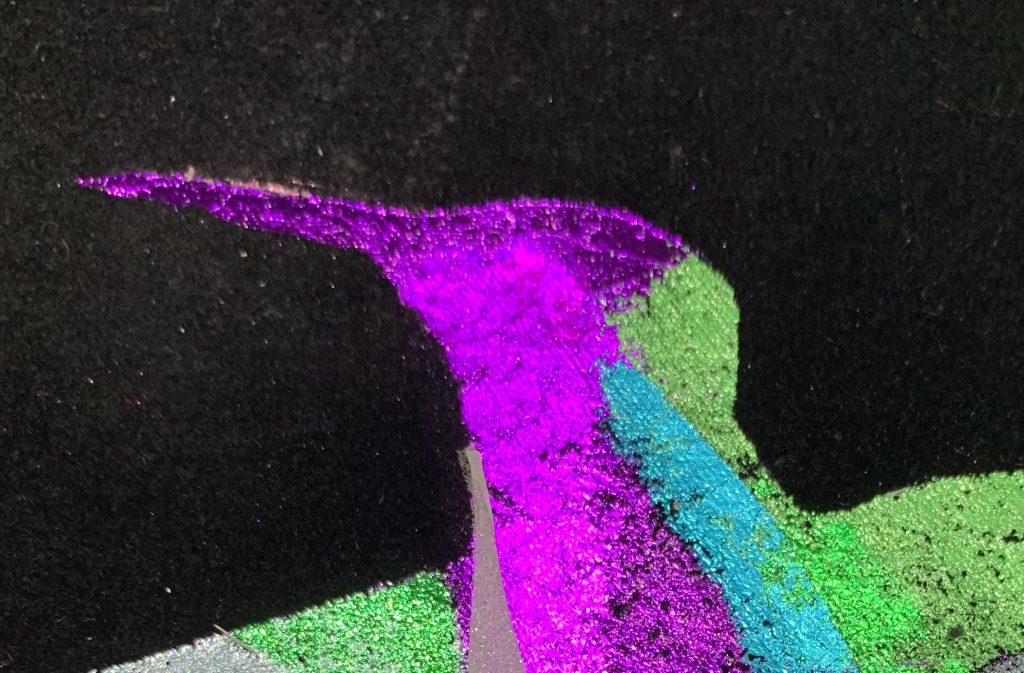
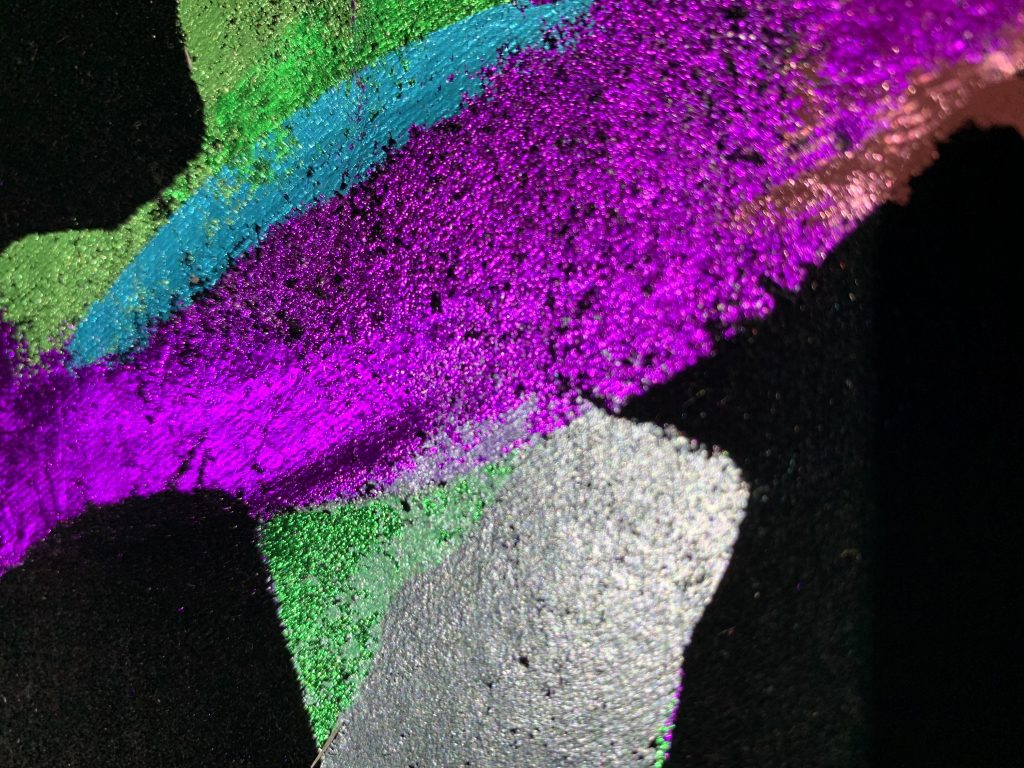
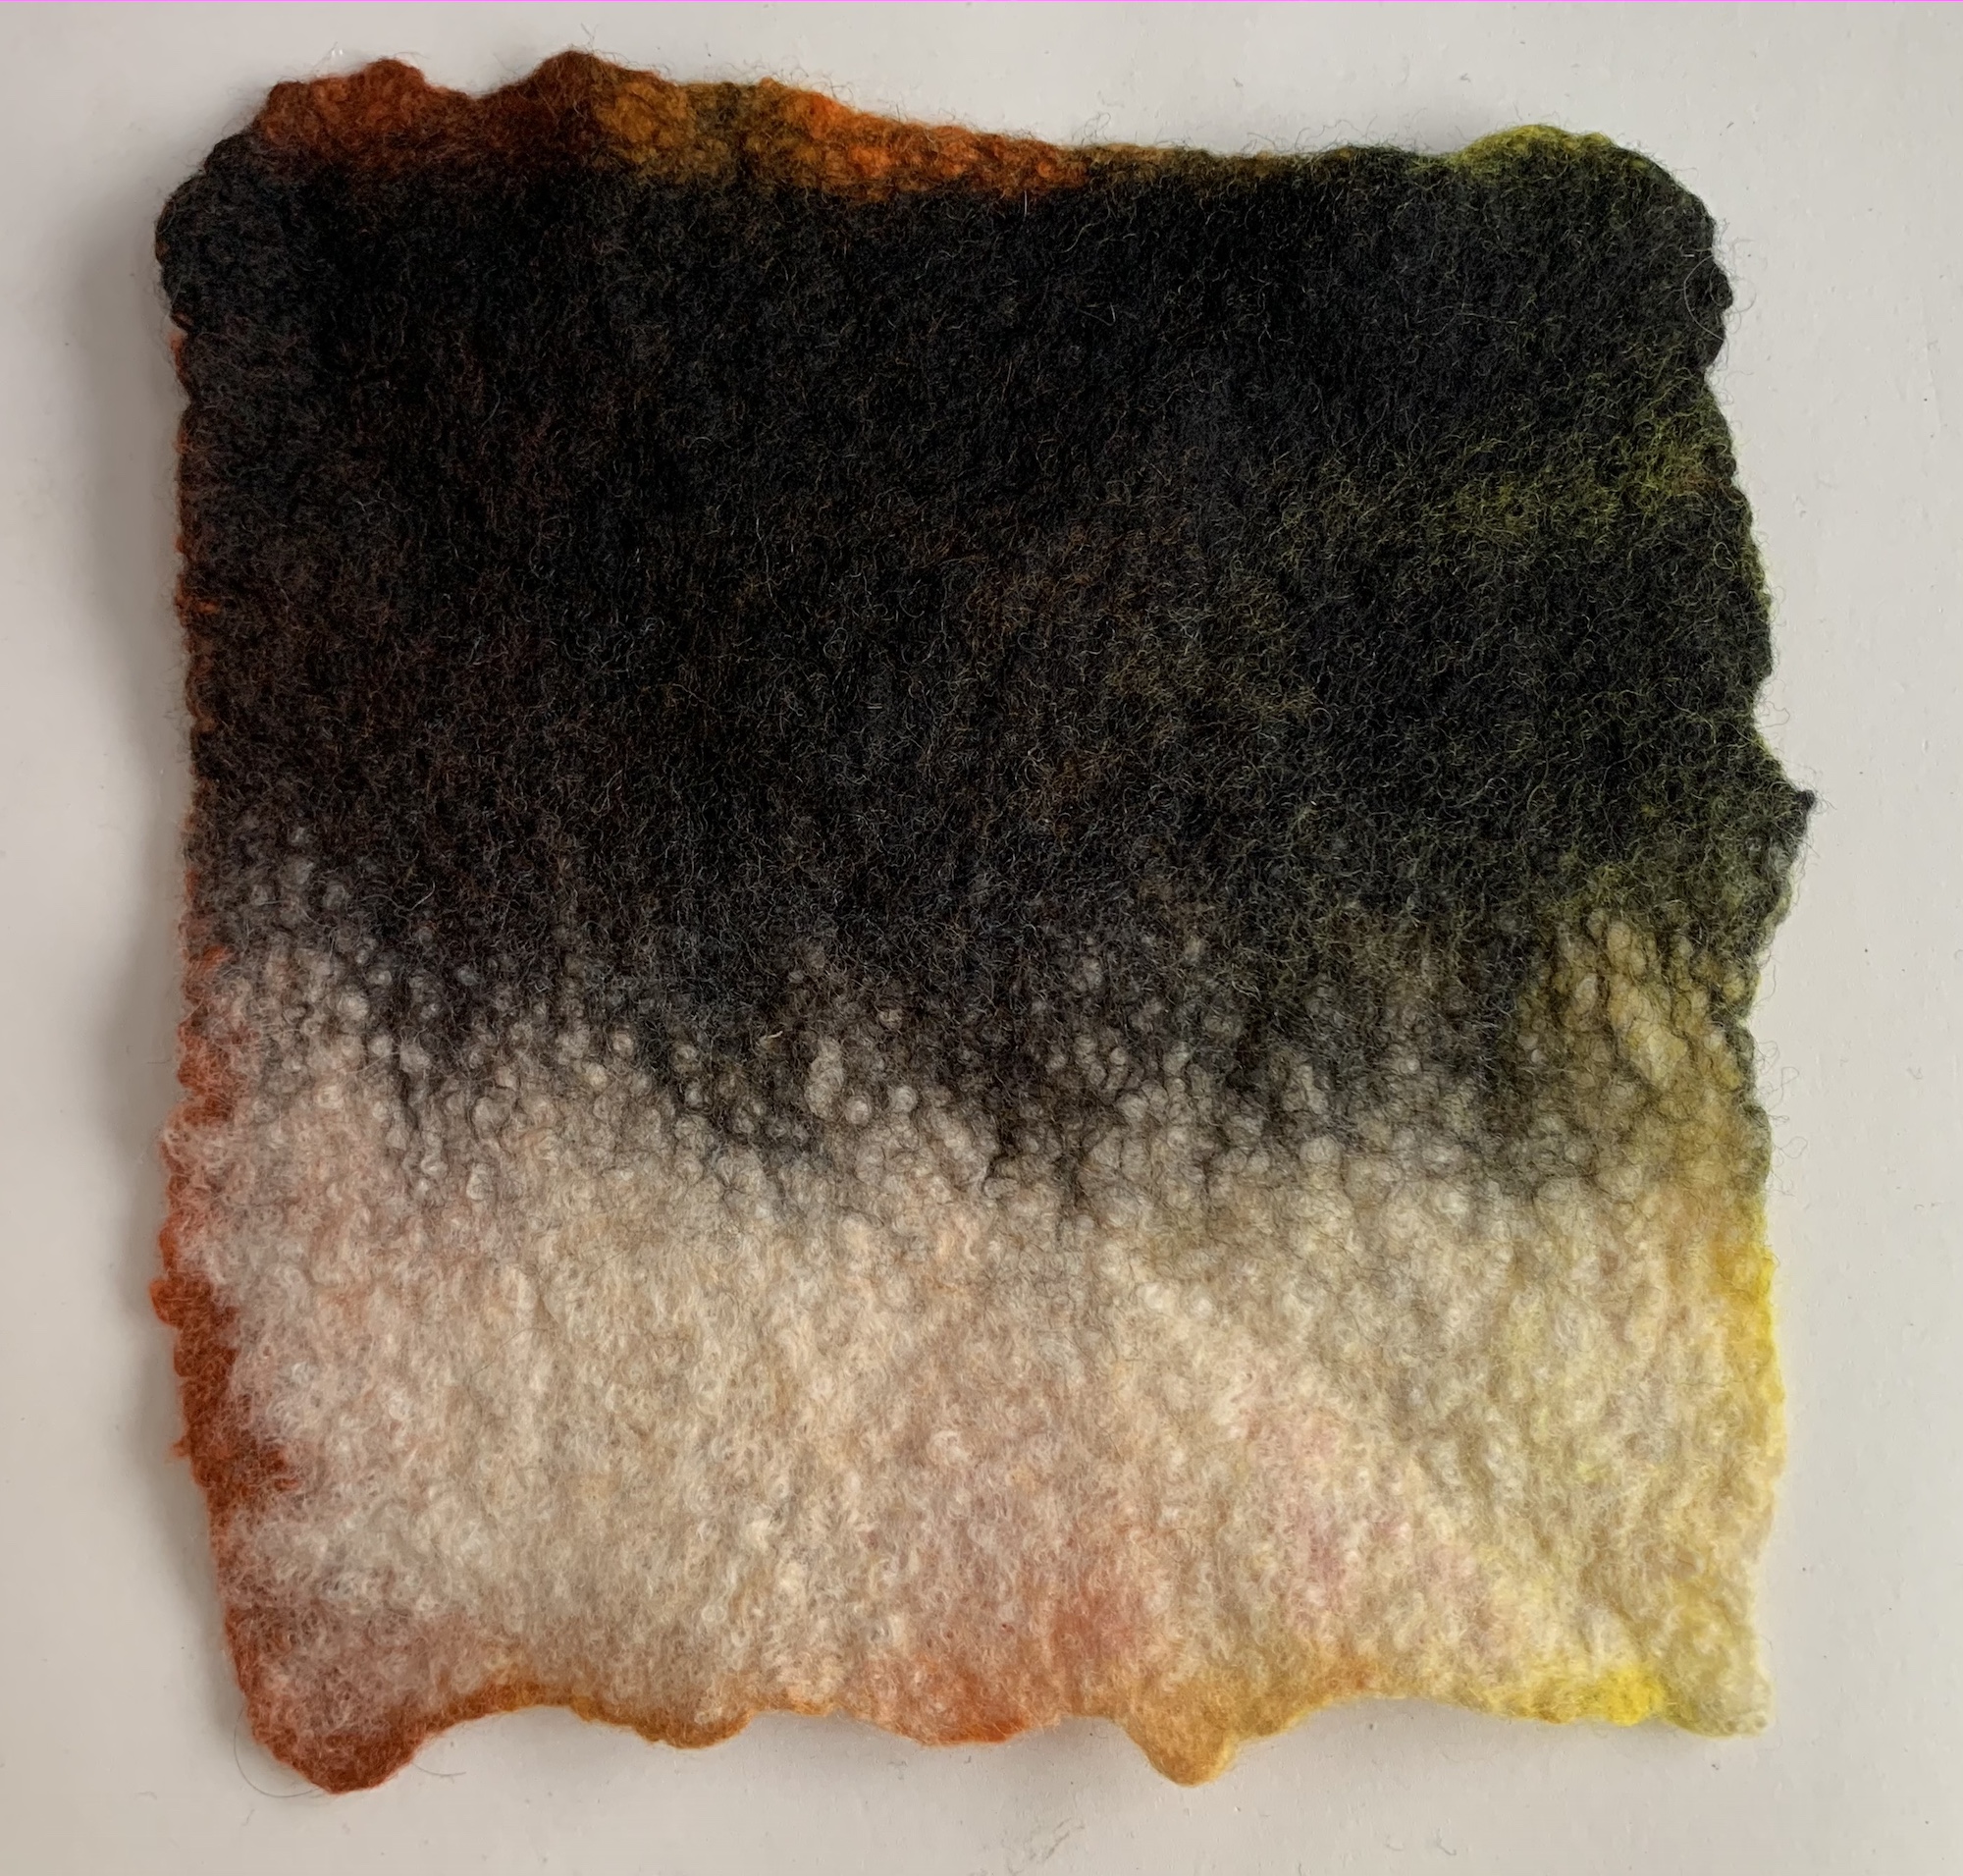
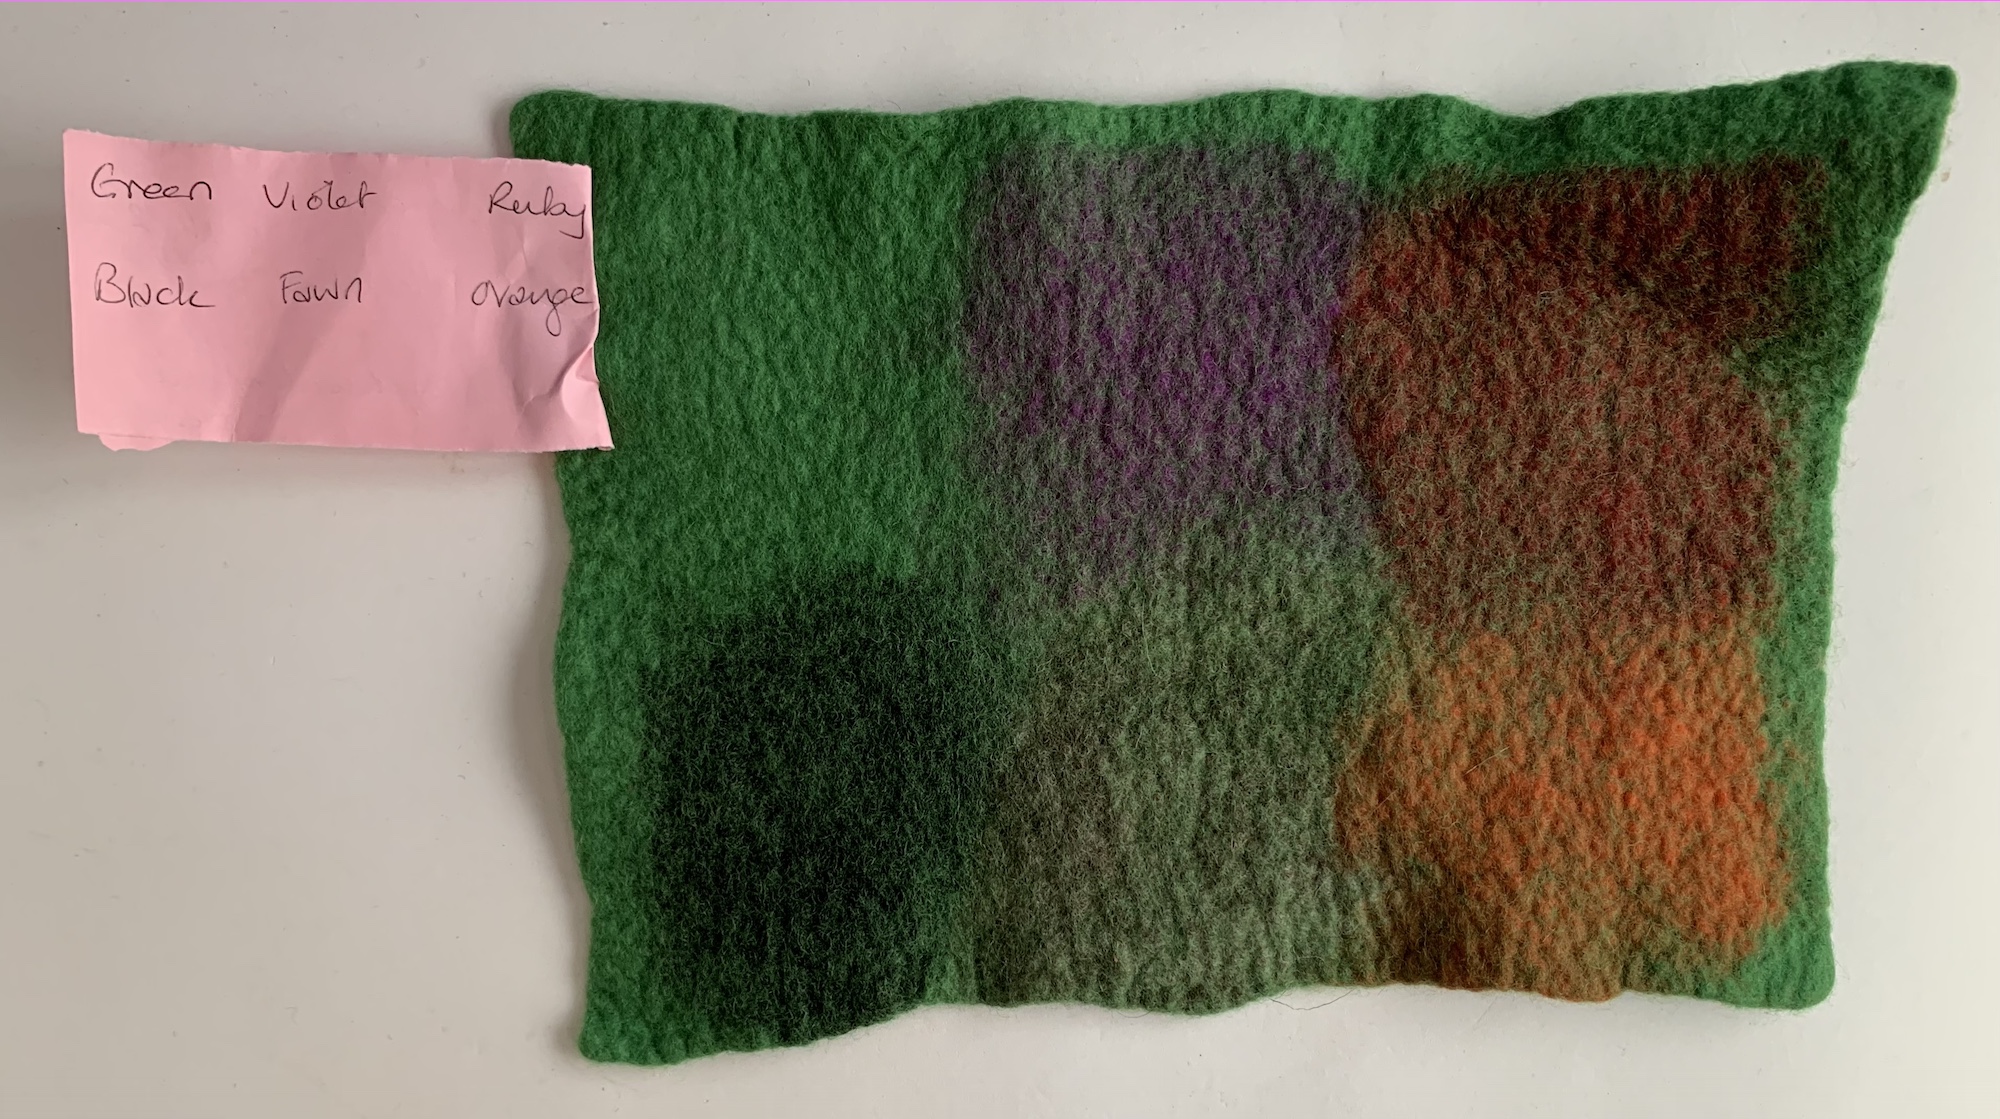
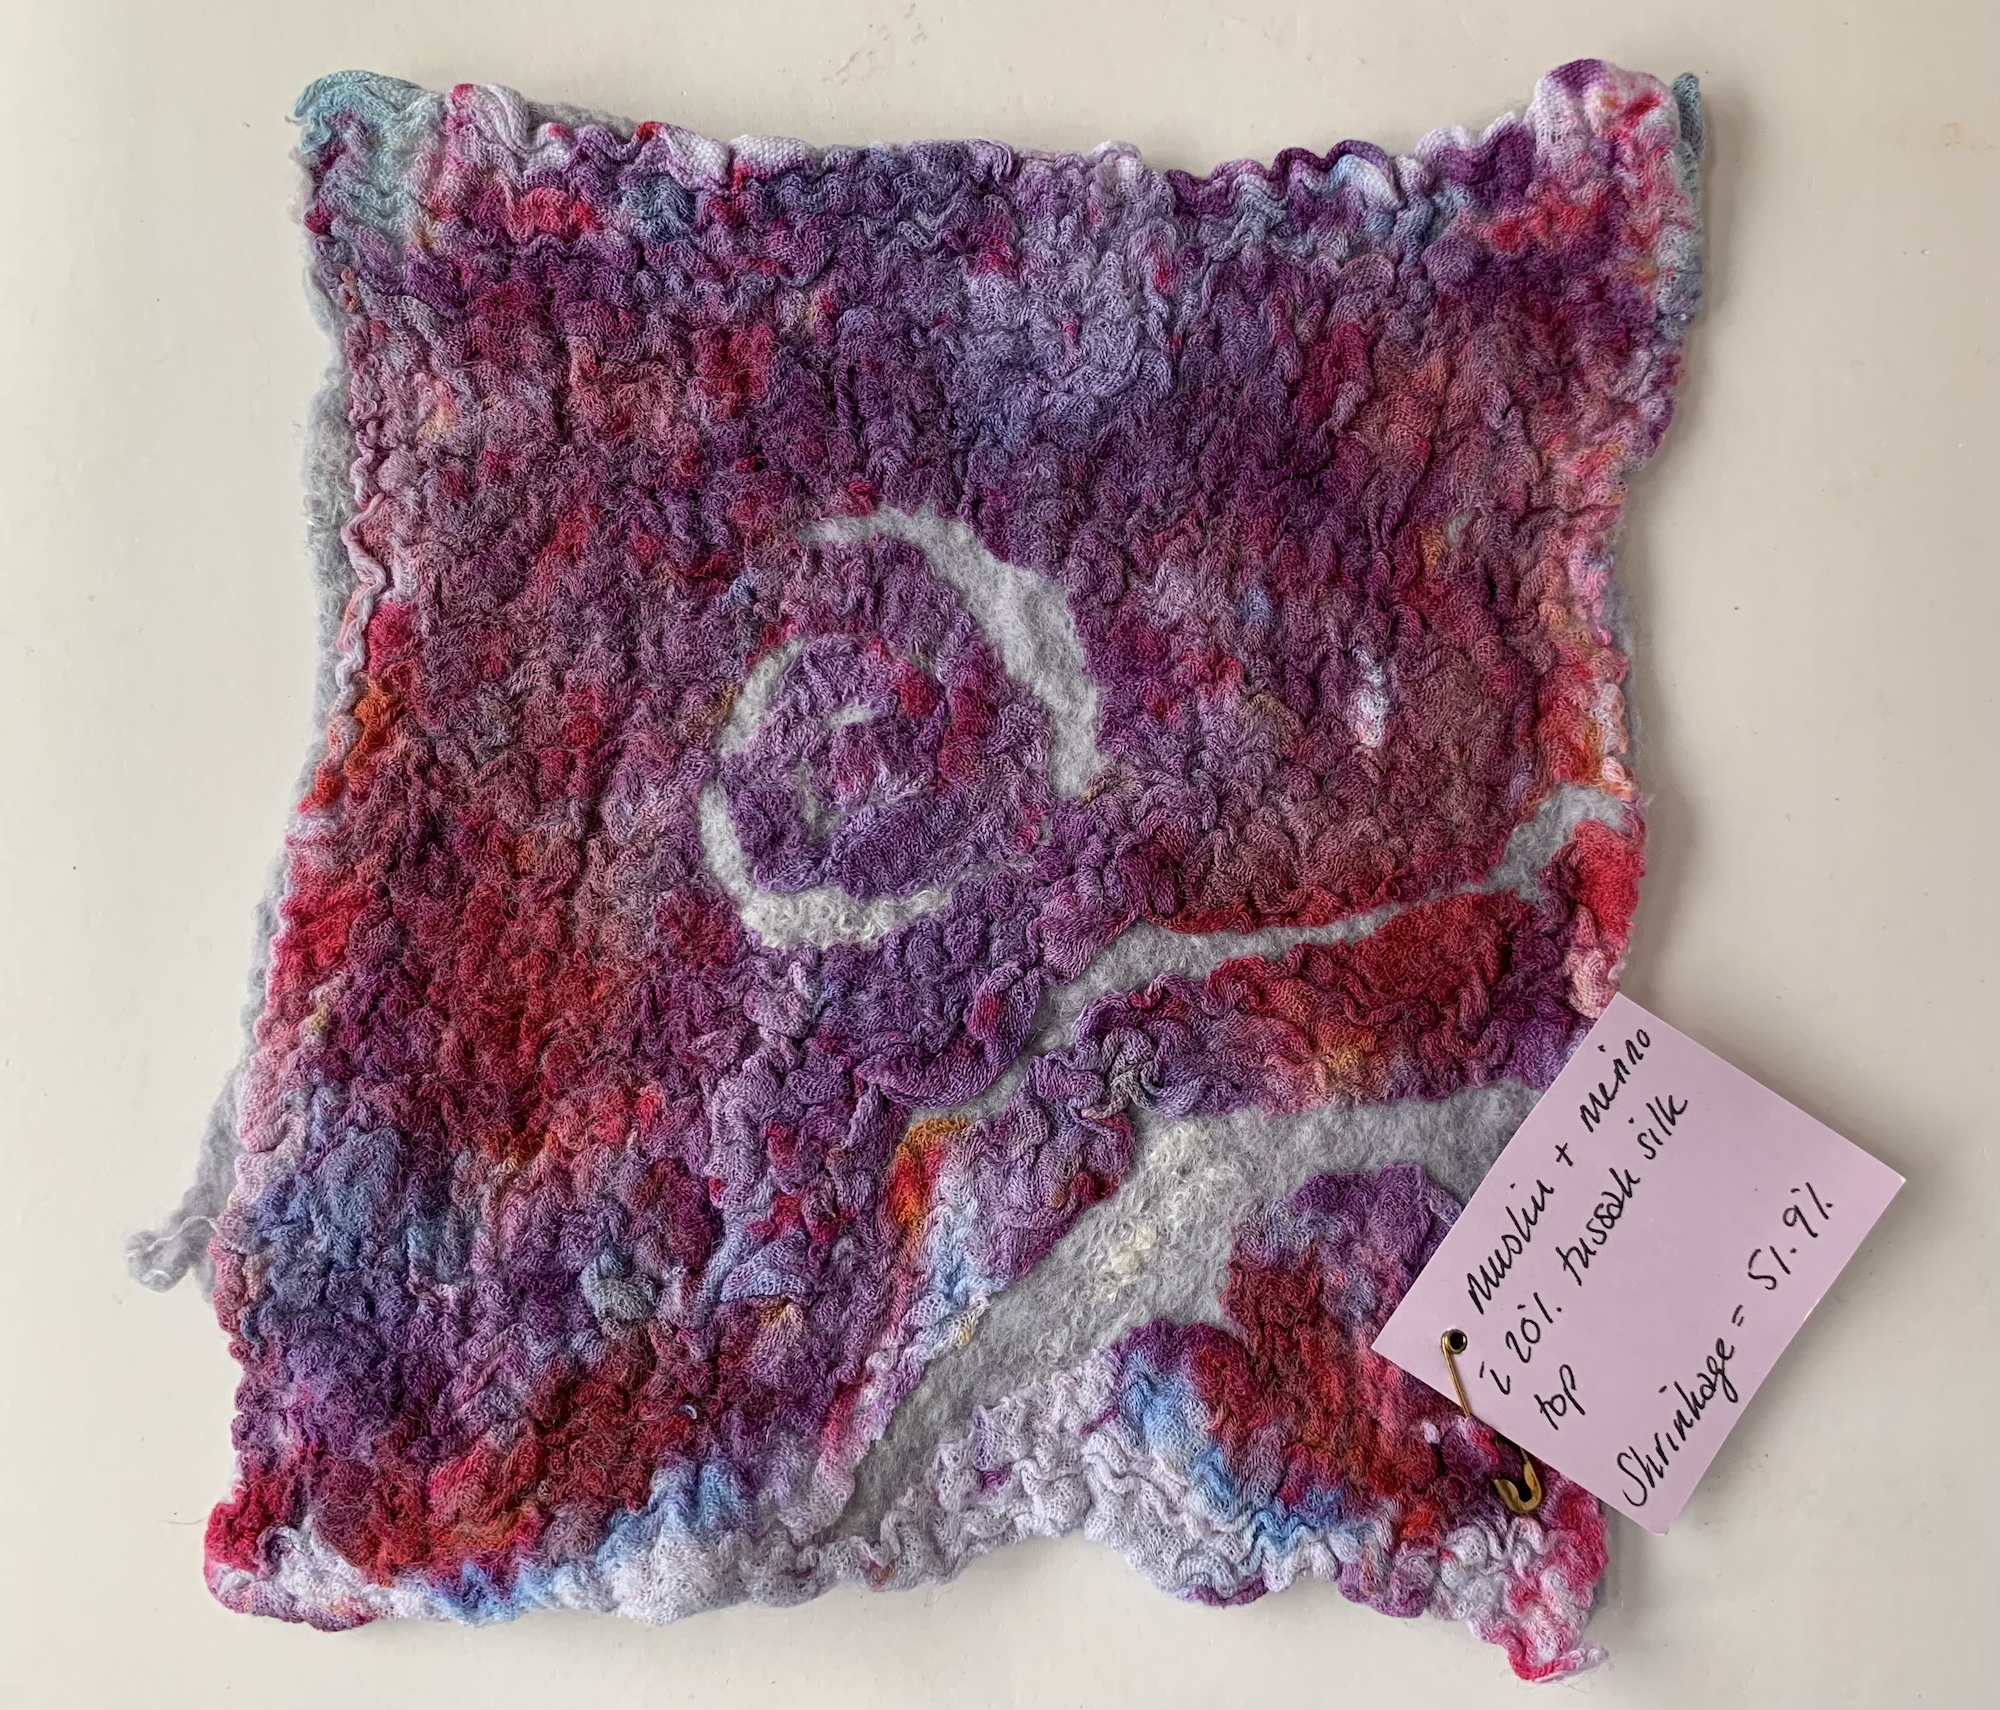
Mixing different colours is also possible and this is so much fun for anyone interested in colour-theory. For this next sample I laid out 2 fine layers of different colours of merino over a green base. Up close (if you click on the image it should enlarge), you can still see the distinct colours in a random marbled pattern but from a distance the colours blend and because I have used colours on the opposite side of the colour wheel, the resulting blends are dulling the top colours and edging them towards greys and browns.

Devore

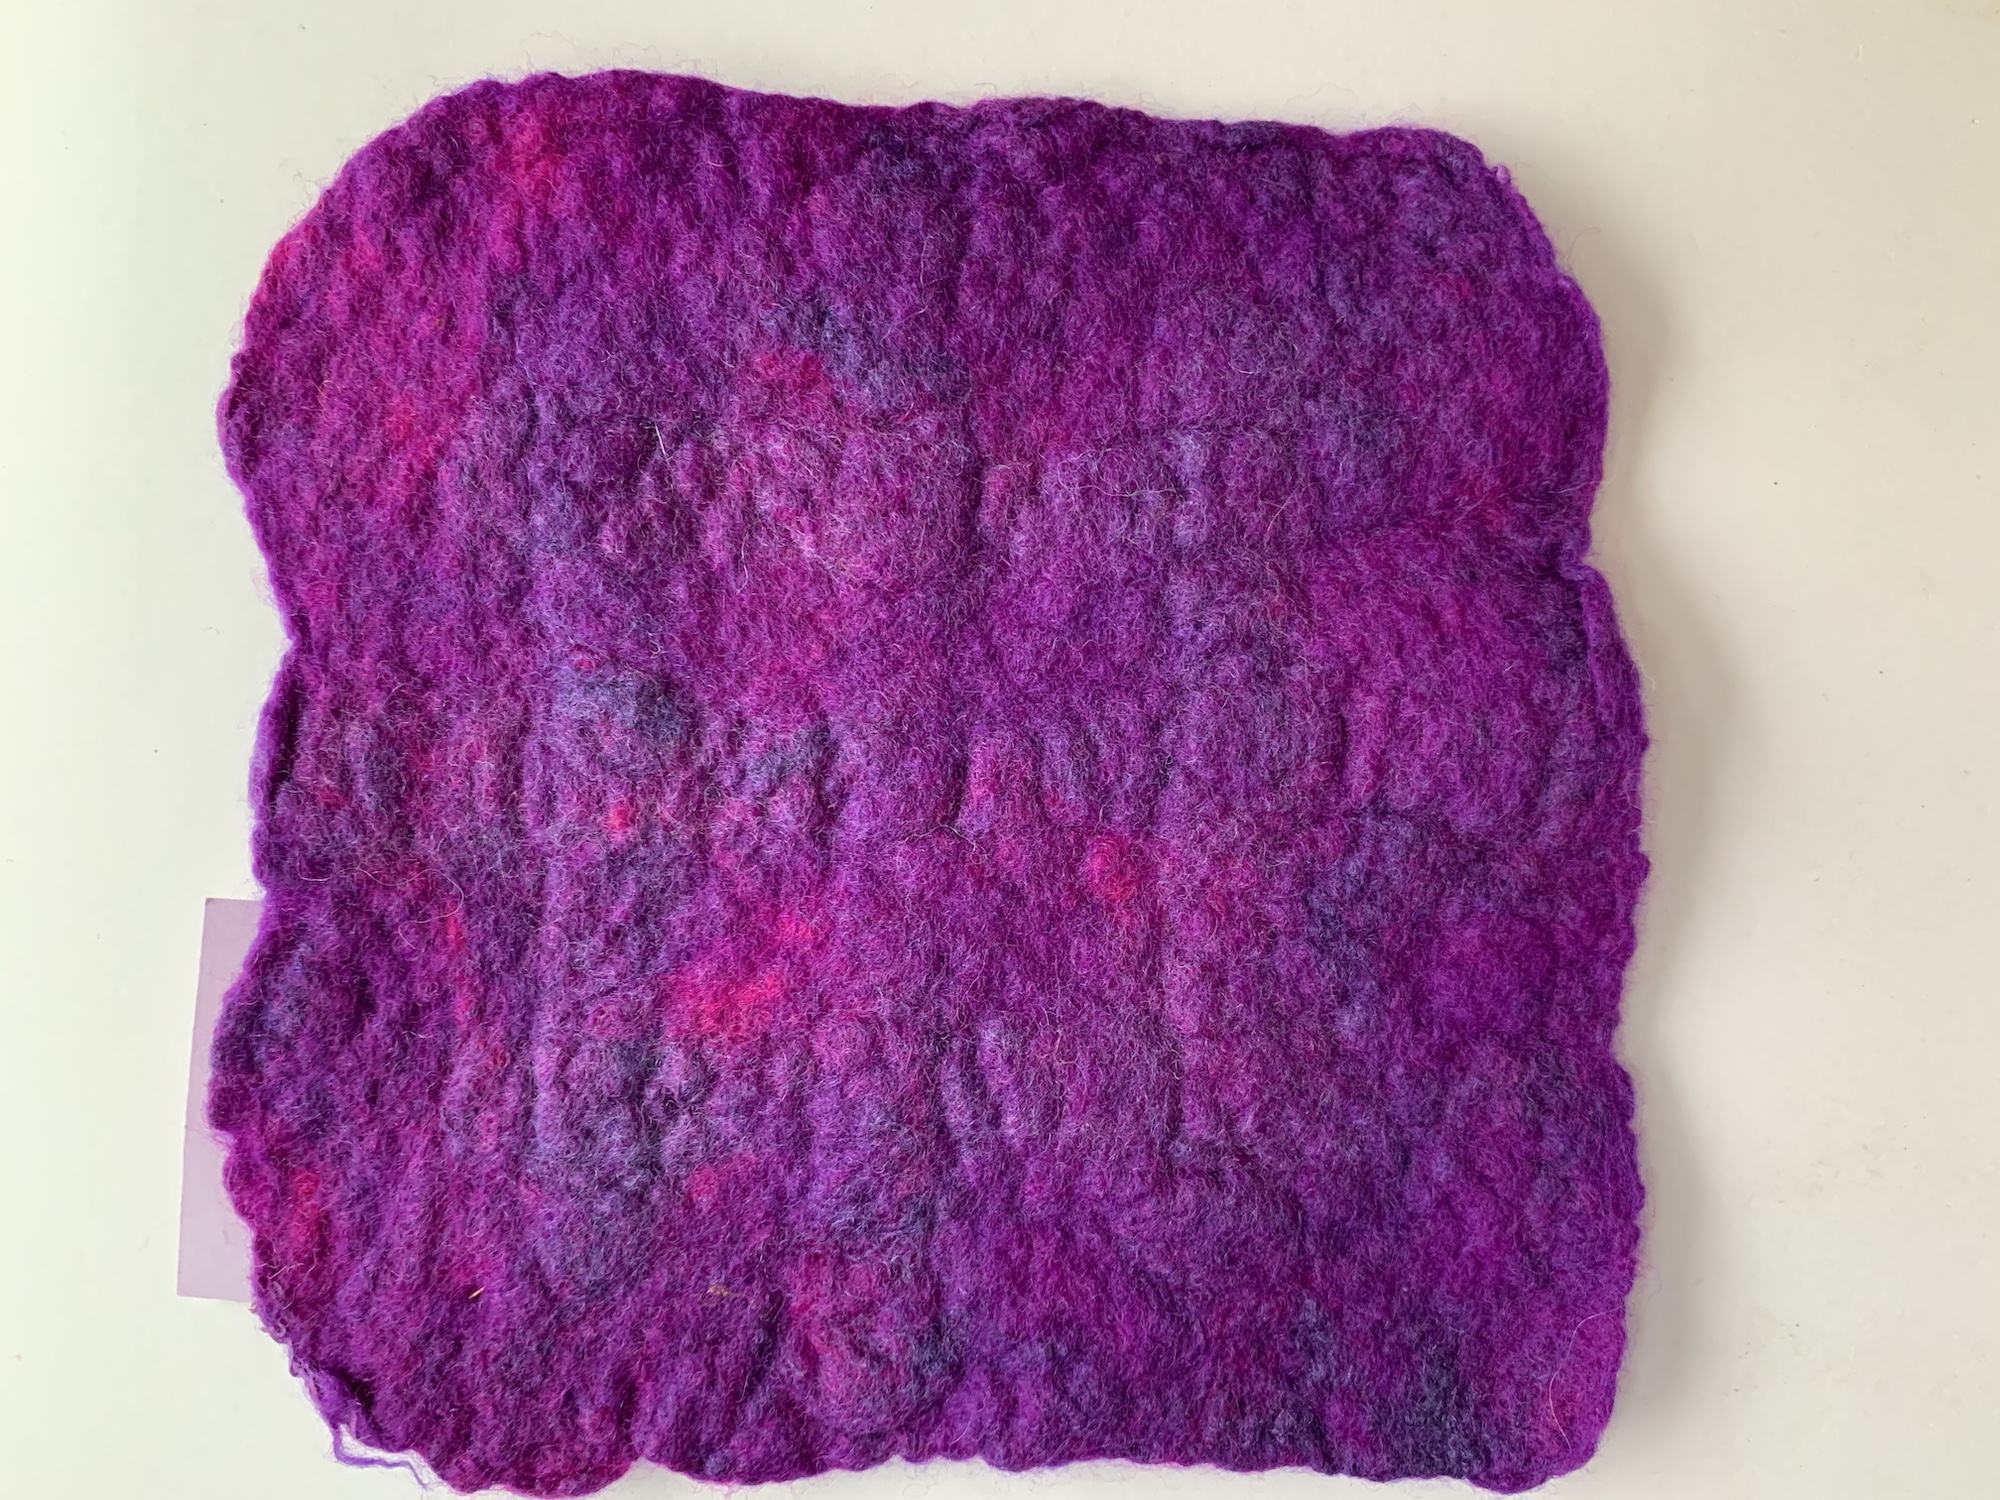
This sample was made by nuno-felting some hand-dyed cotton muslin to merino wool. Then painting on devore paste, leaving it work its magic for a few minutes before washing the paste out. The paste dissolves / etches away the plant-based fibre (cotton) but leaves the animal fibres (wool) in tact, the grey wool can be seen where the violet / red cotton has been removed.

Layering different materials / fibres

This next sample is one of my favourites although the technique is nothing particularly ground-breaking, it is strips of hand-dyed prefelt, laid over hand dyed habouti silk on a merino base.

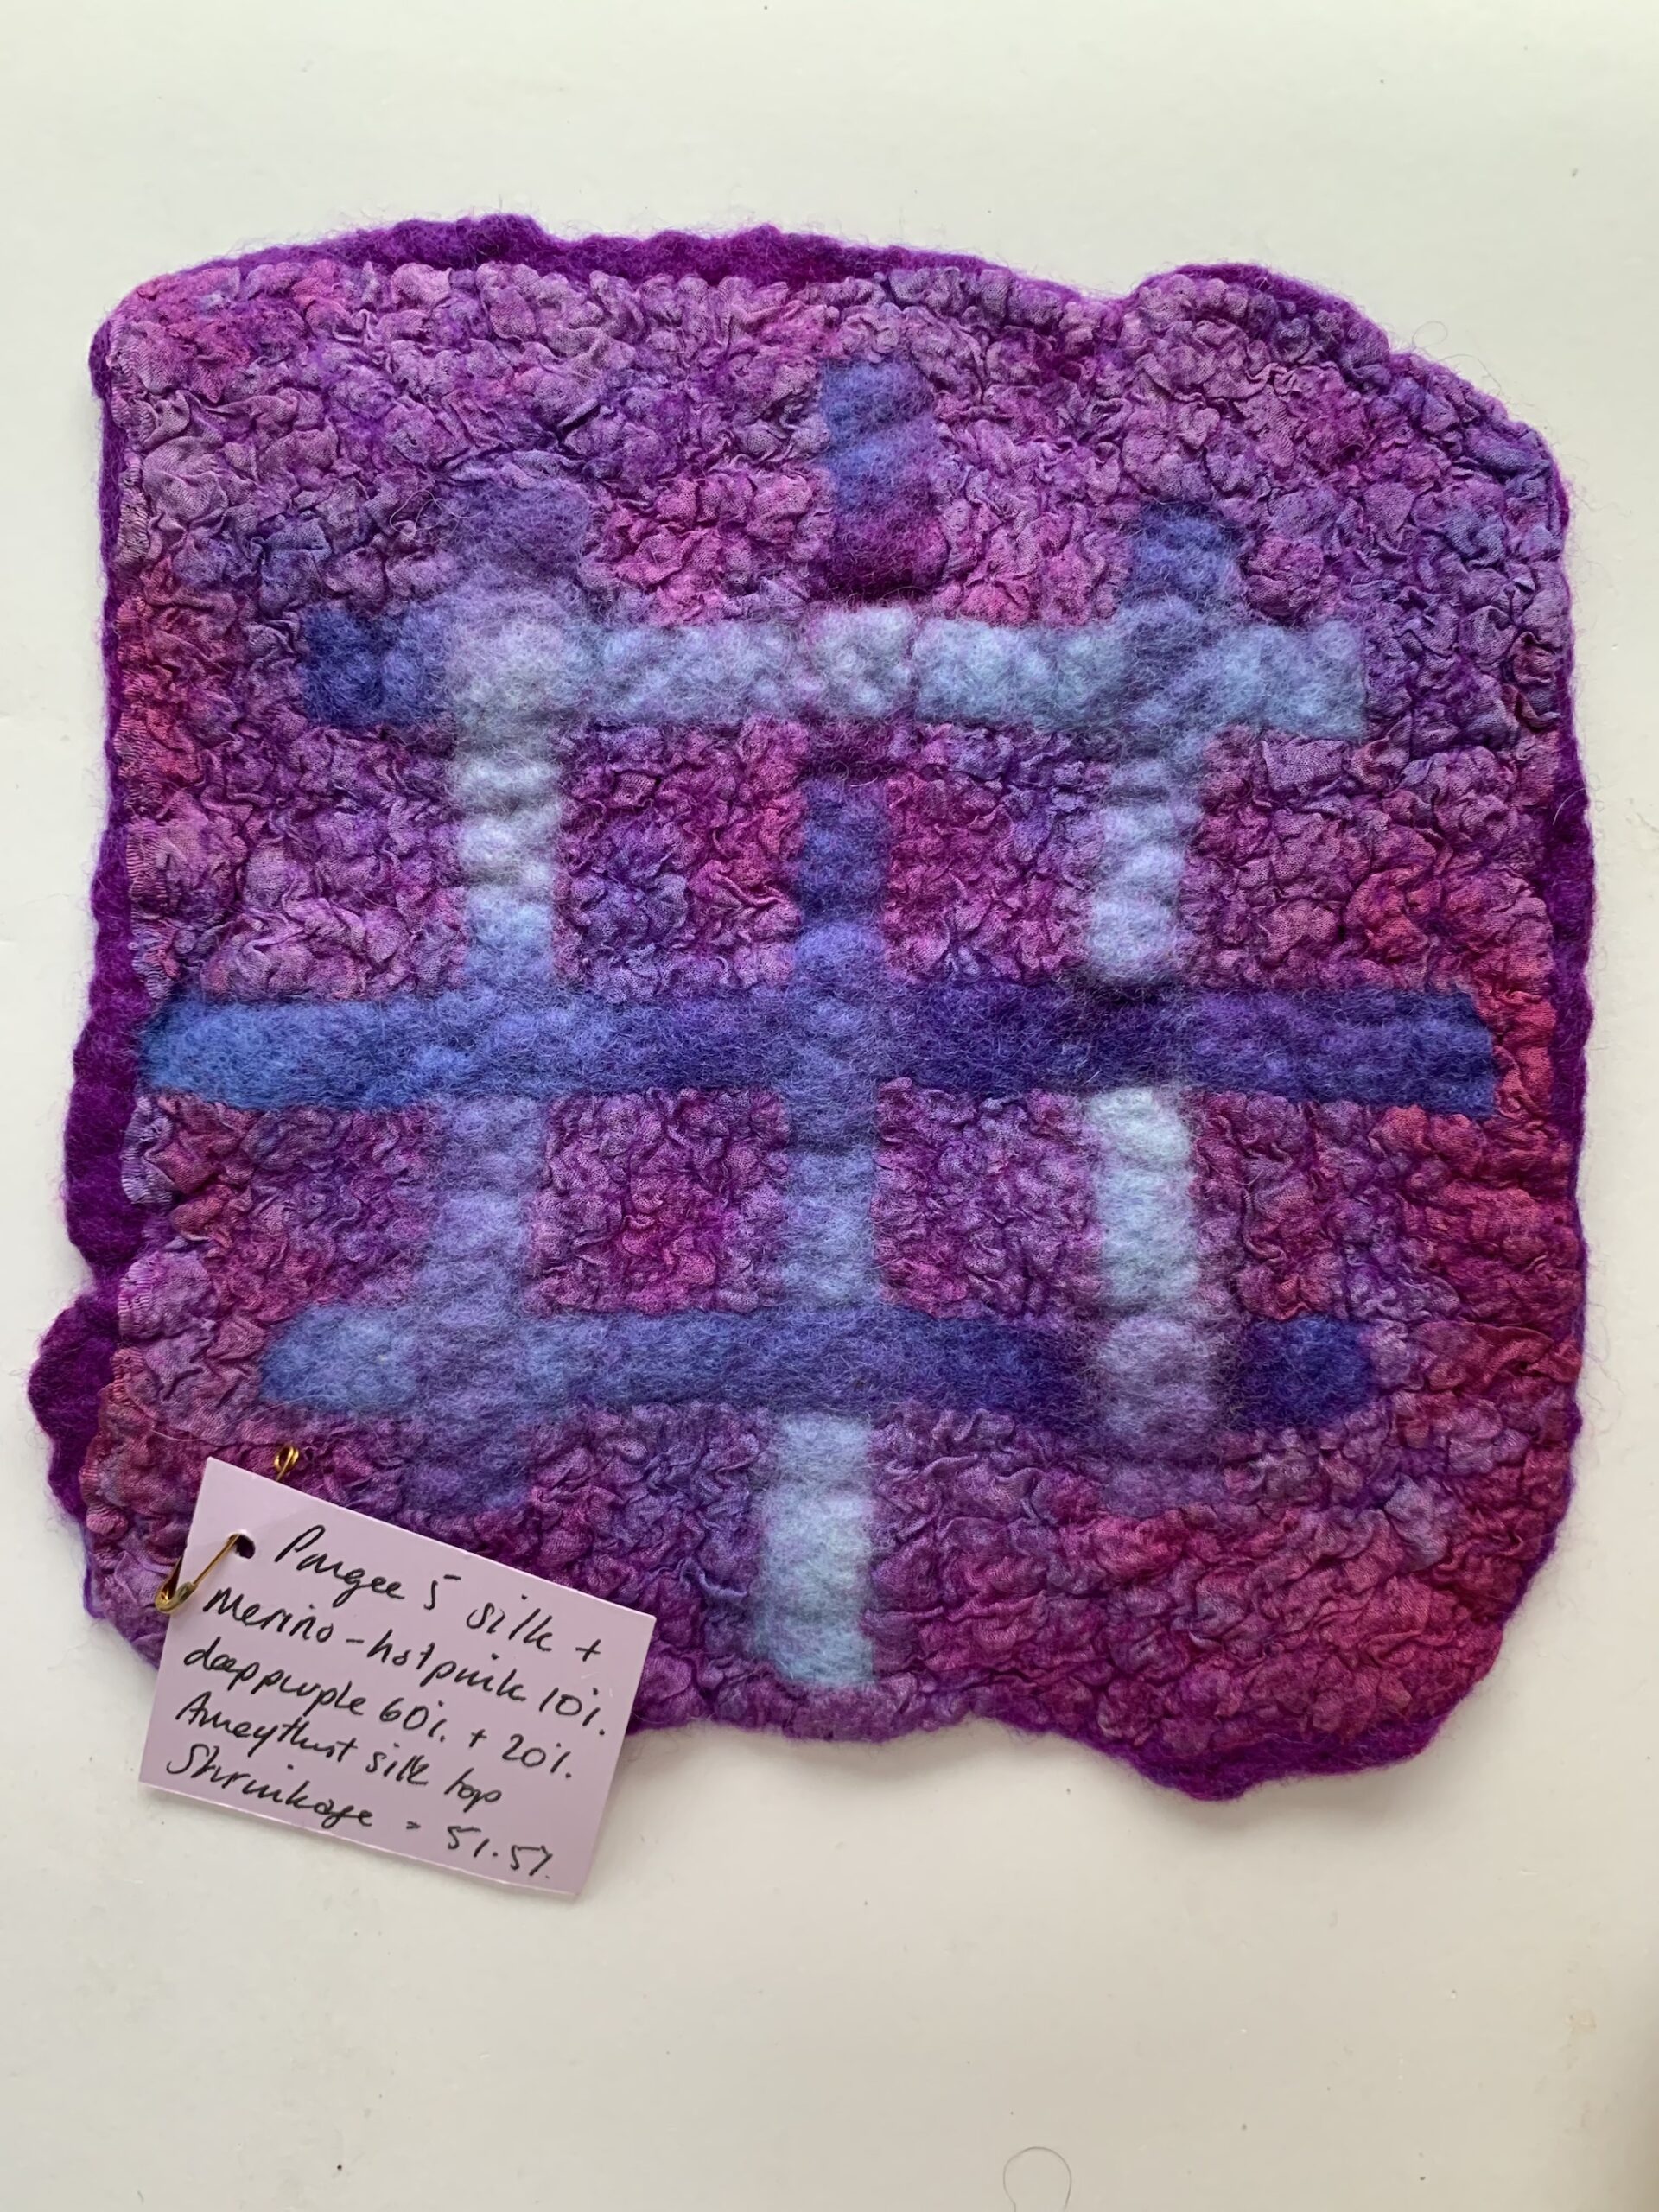
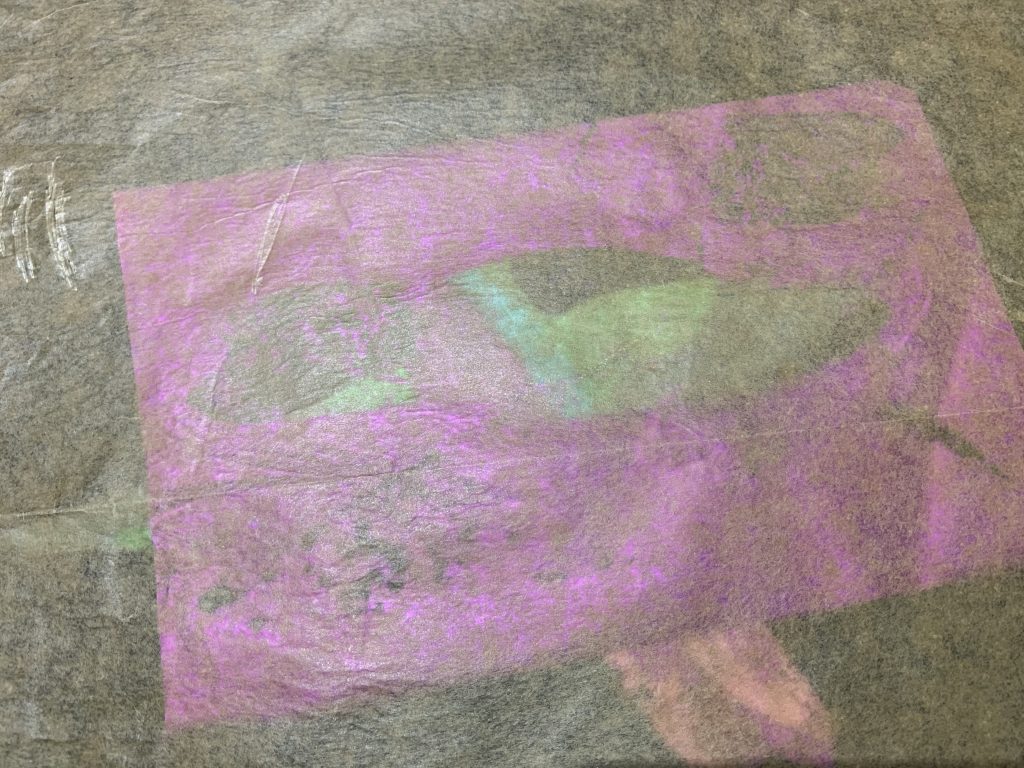
This is the back, I really like the way the prefelts on the front have created a subtle, embossed effect on the back.

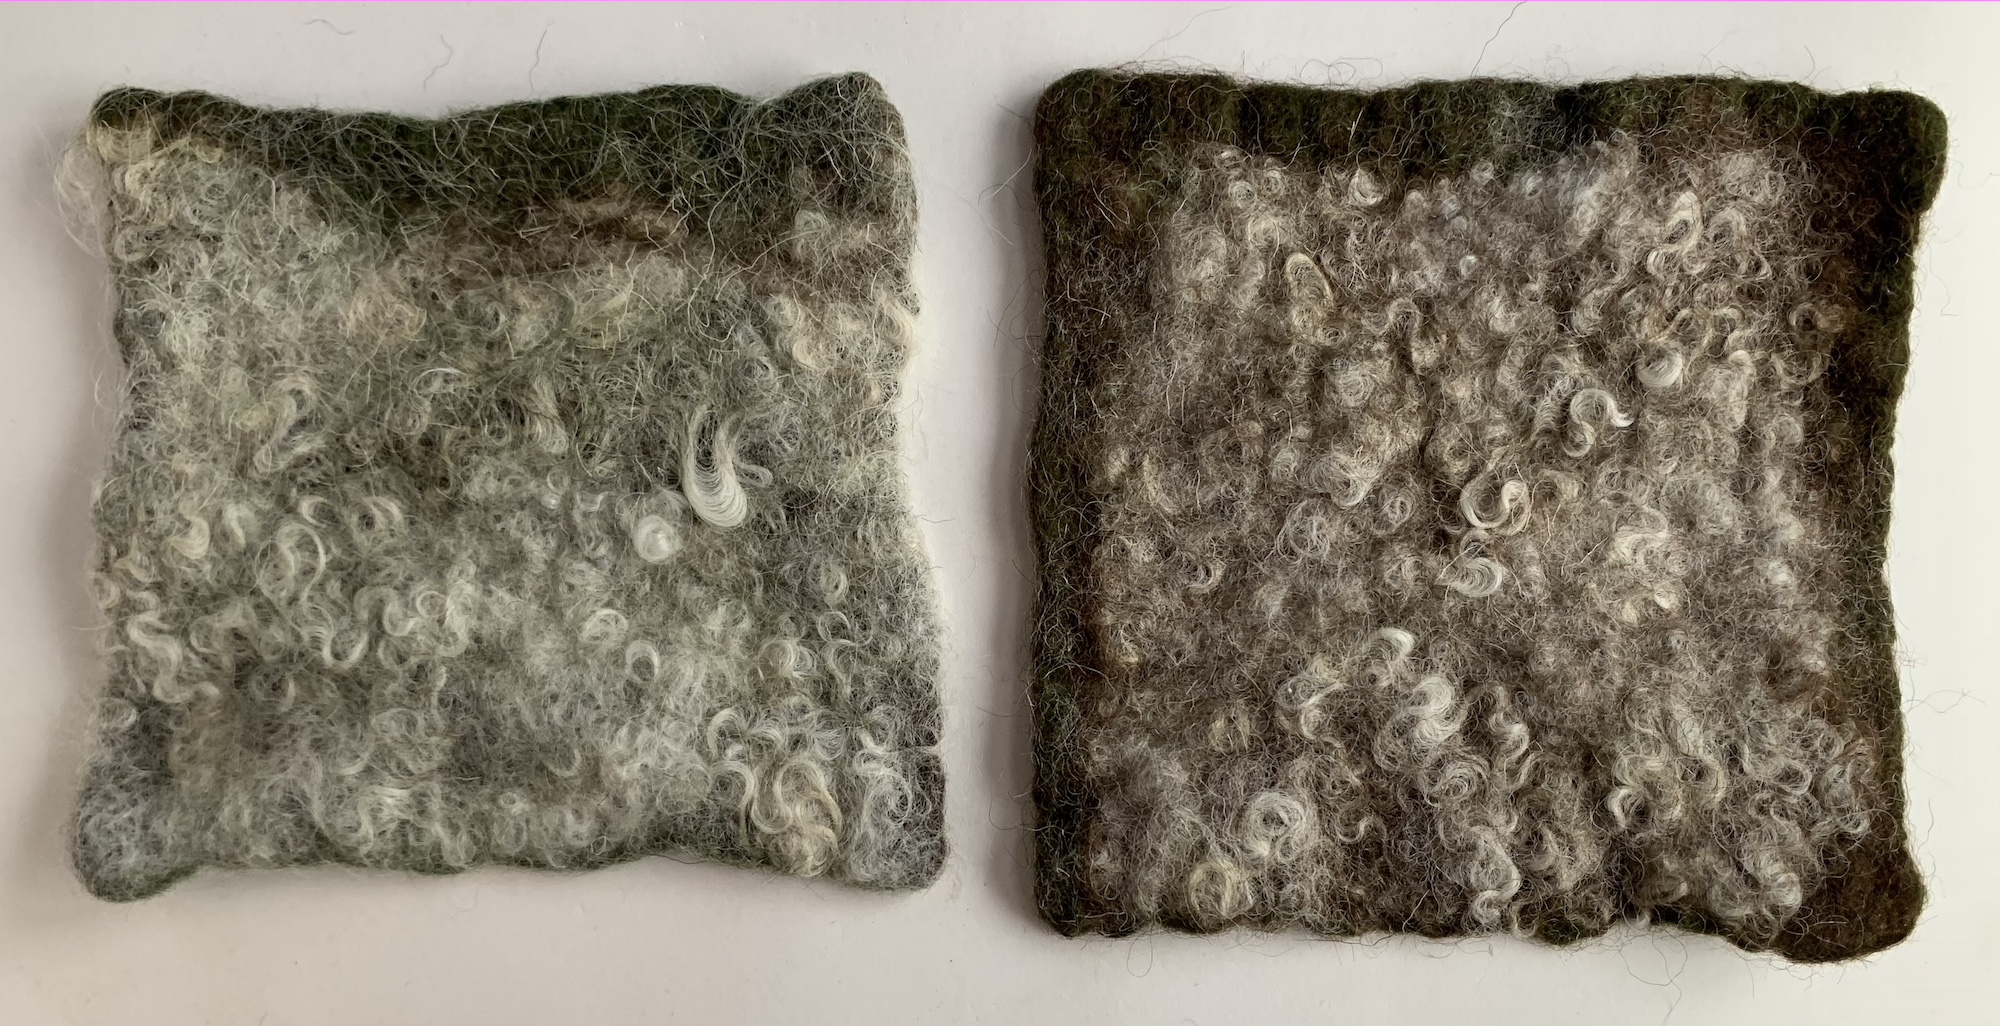
Adding locks for texture

When most of us think of adding locks to a piece, it is to add lots of fluffy texture with the locks only attached to the base felt at their base but on a workshop I took with Heidi Grebb we explored laying out locks much as you would a final layer of tops….
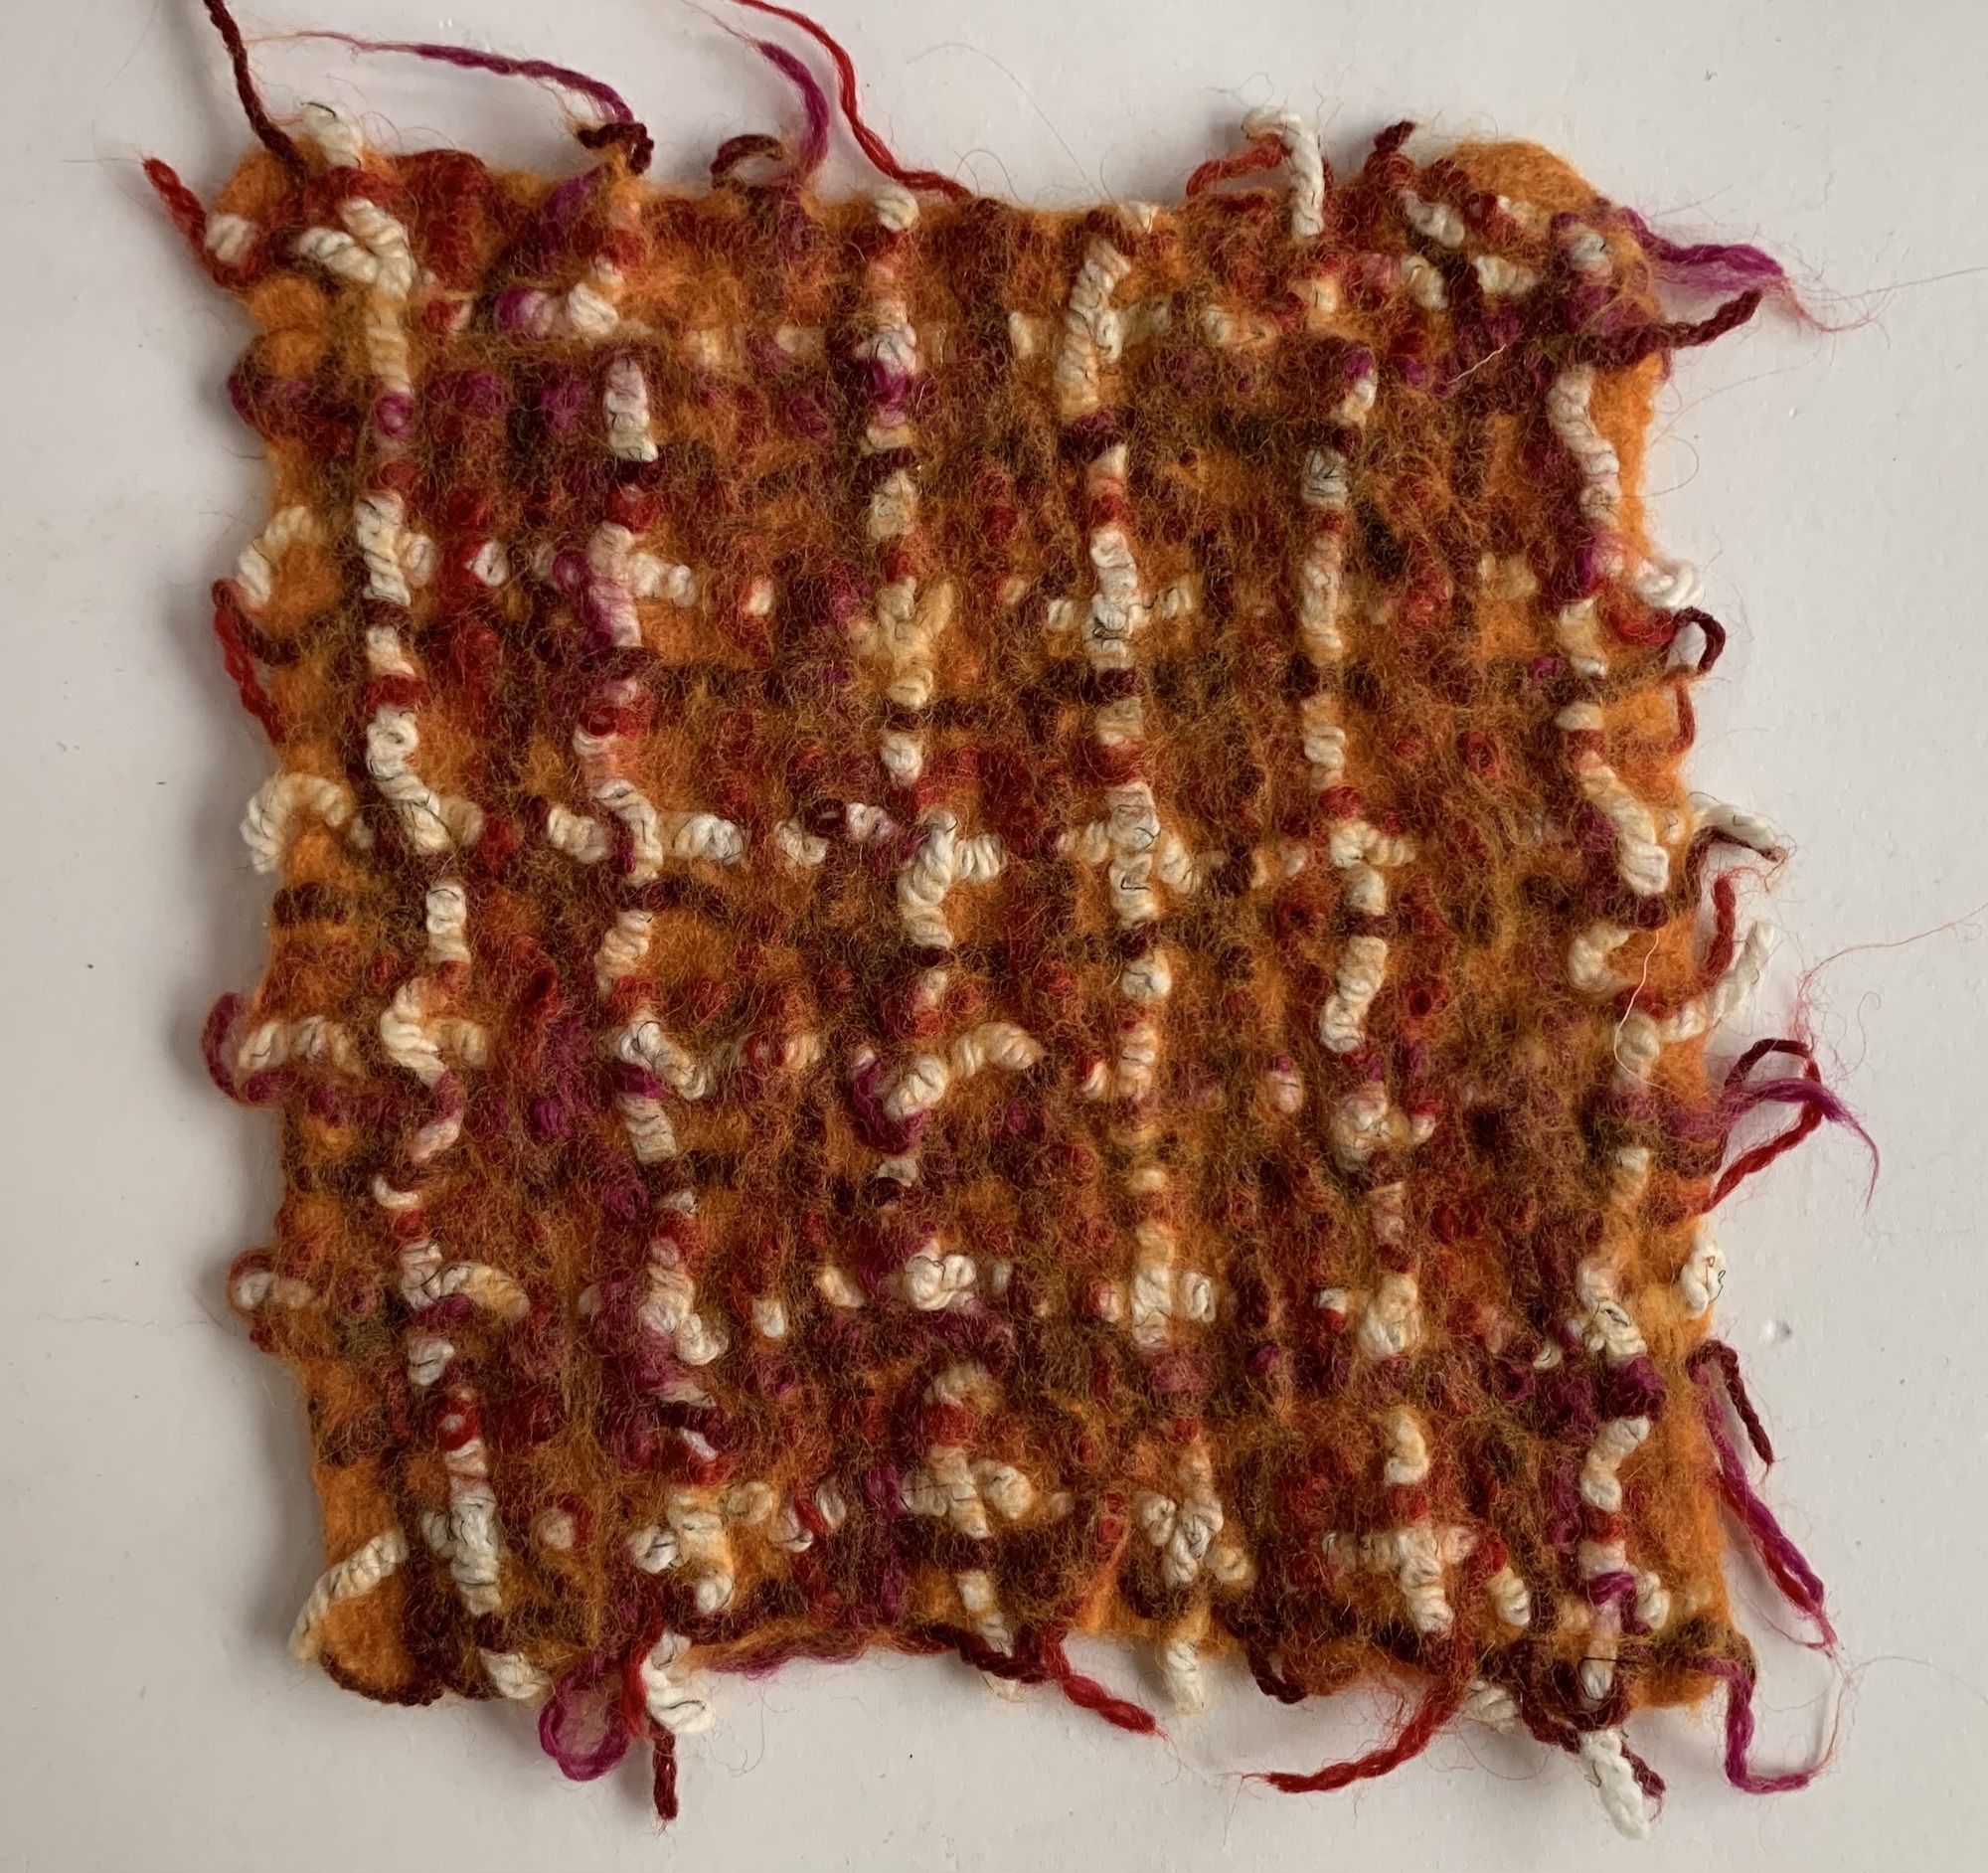
The bolero jacket that resulted from the “lock texture” samples.

Fake tweed

By laying different coloured yarns (ideally different weights too), it is possible to create felt that looks a lot like tweed. If you use yarns with a high wool content, they will felt into the wool base on their own. If using yarns with a higher synthetic content you will need to add a very fine layer of wool fibre over the top to help anchor the yarns into place.
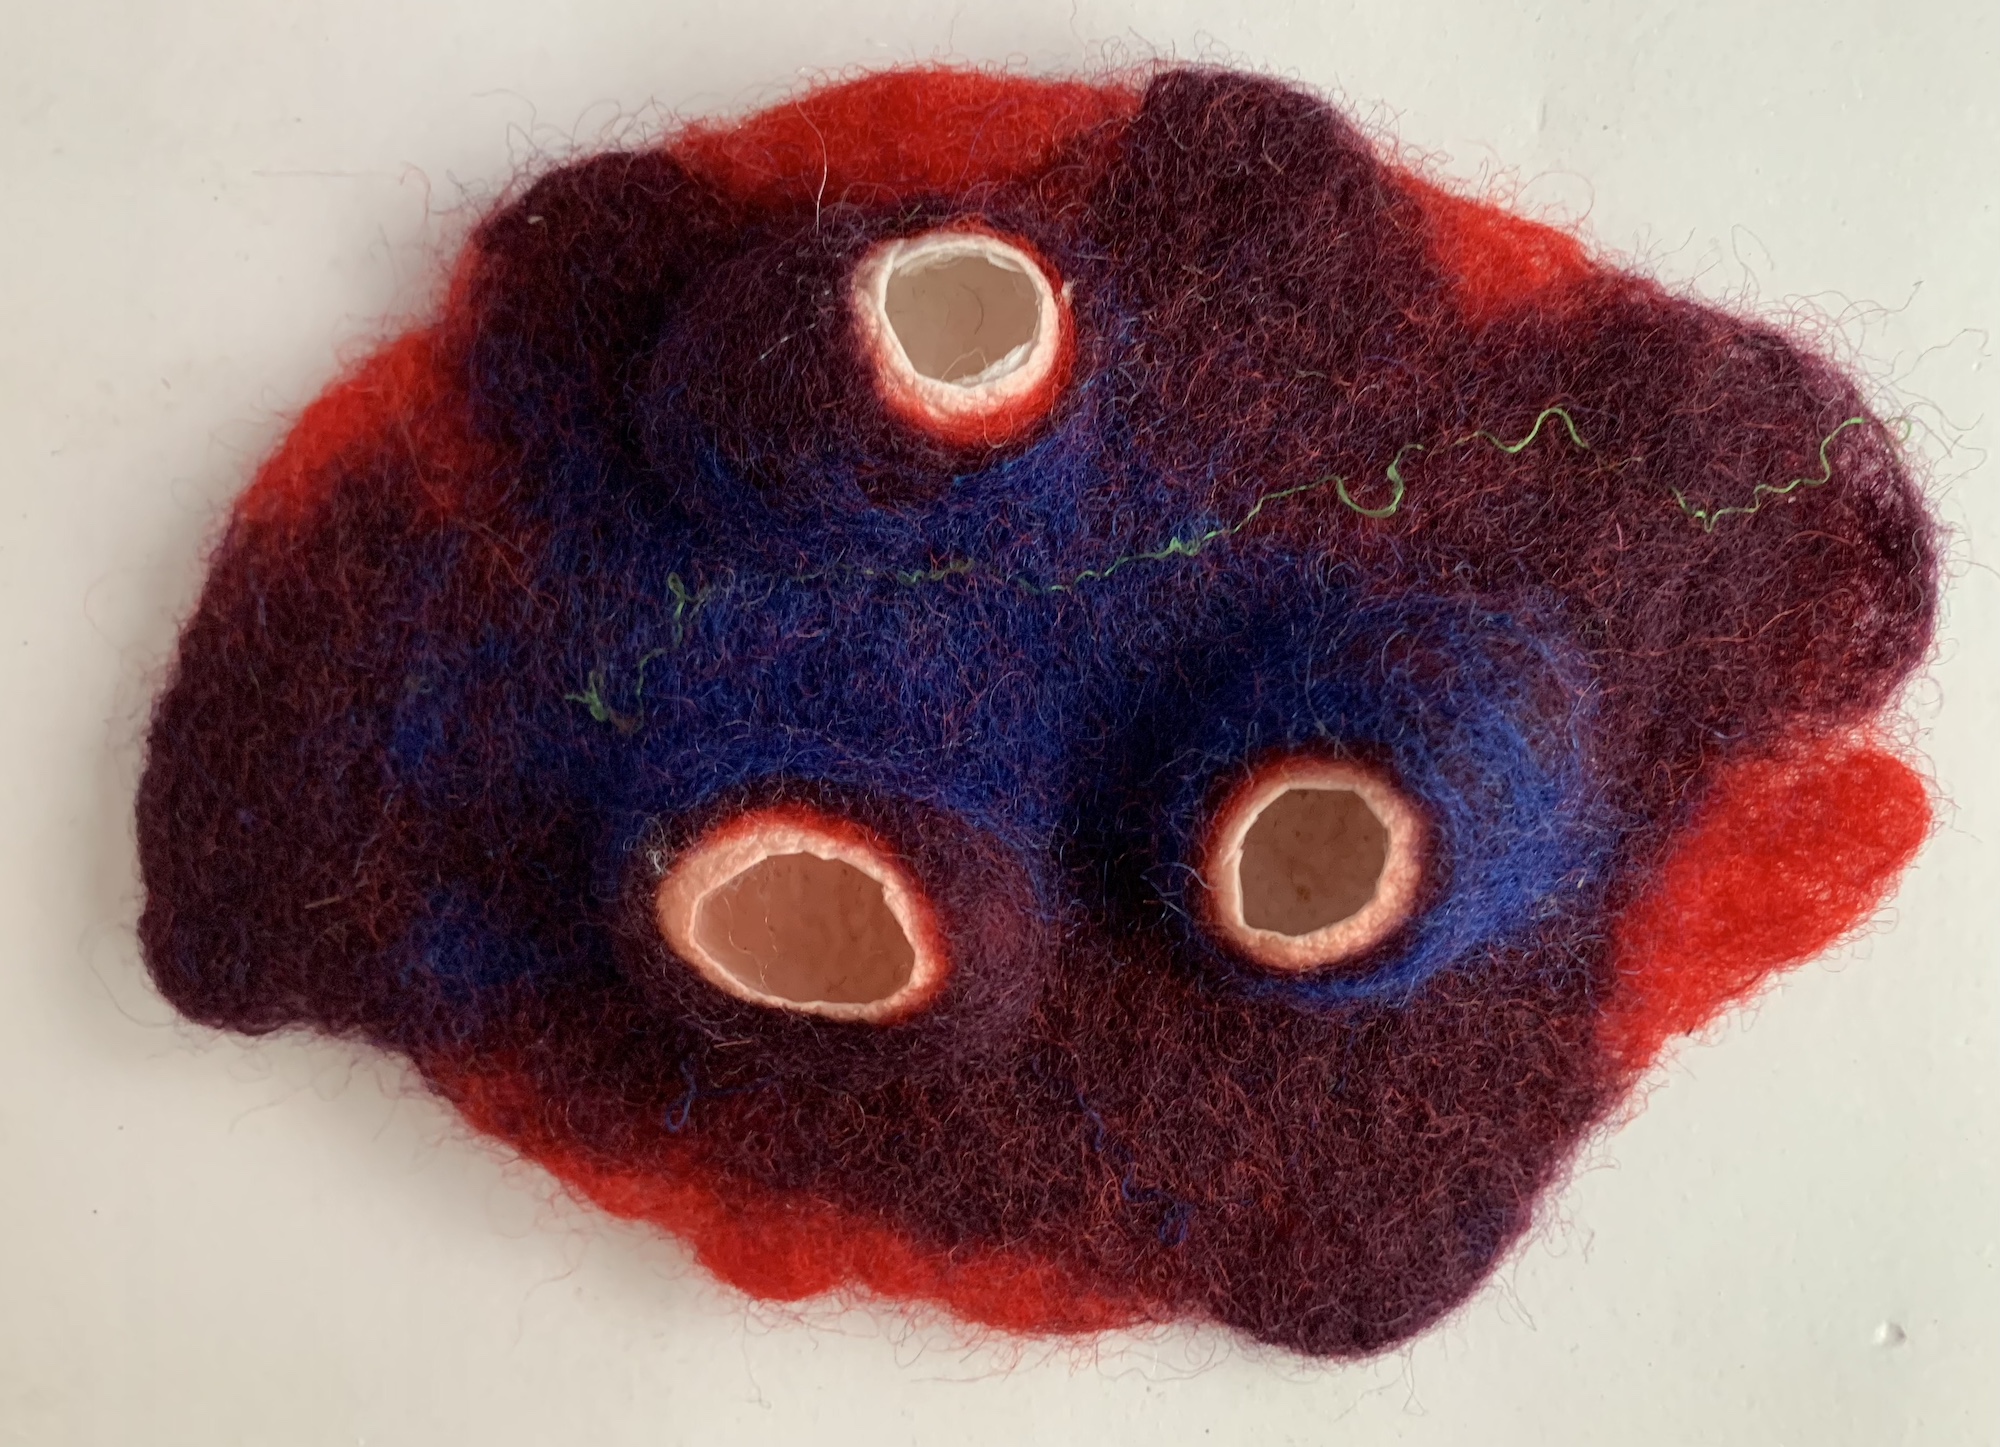
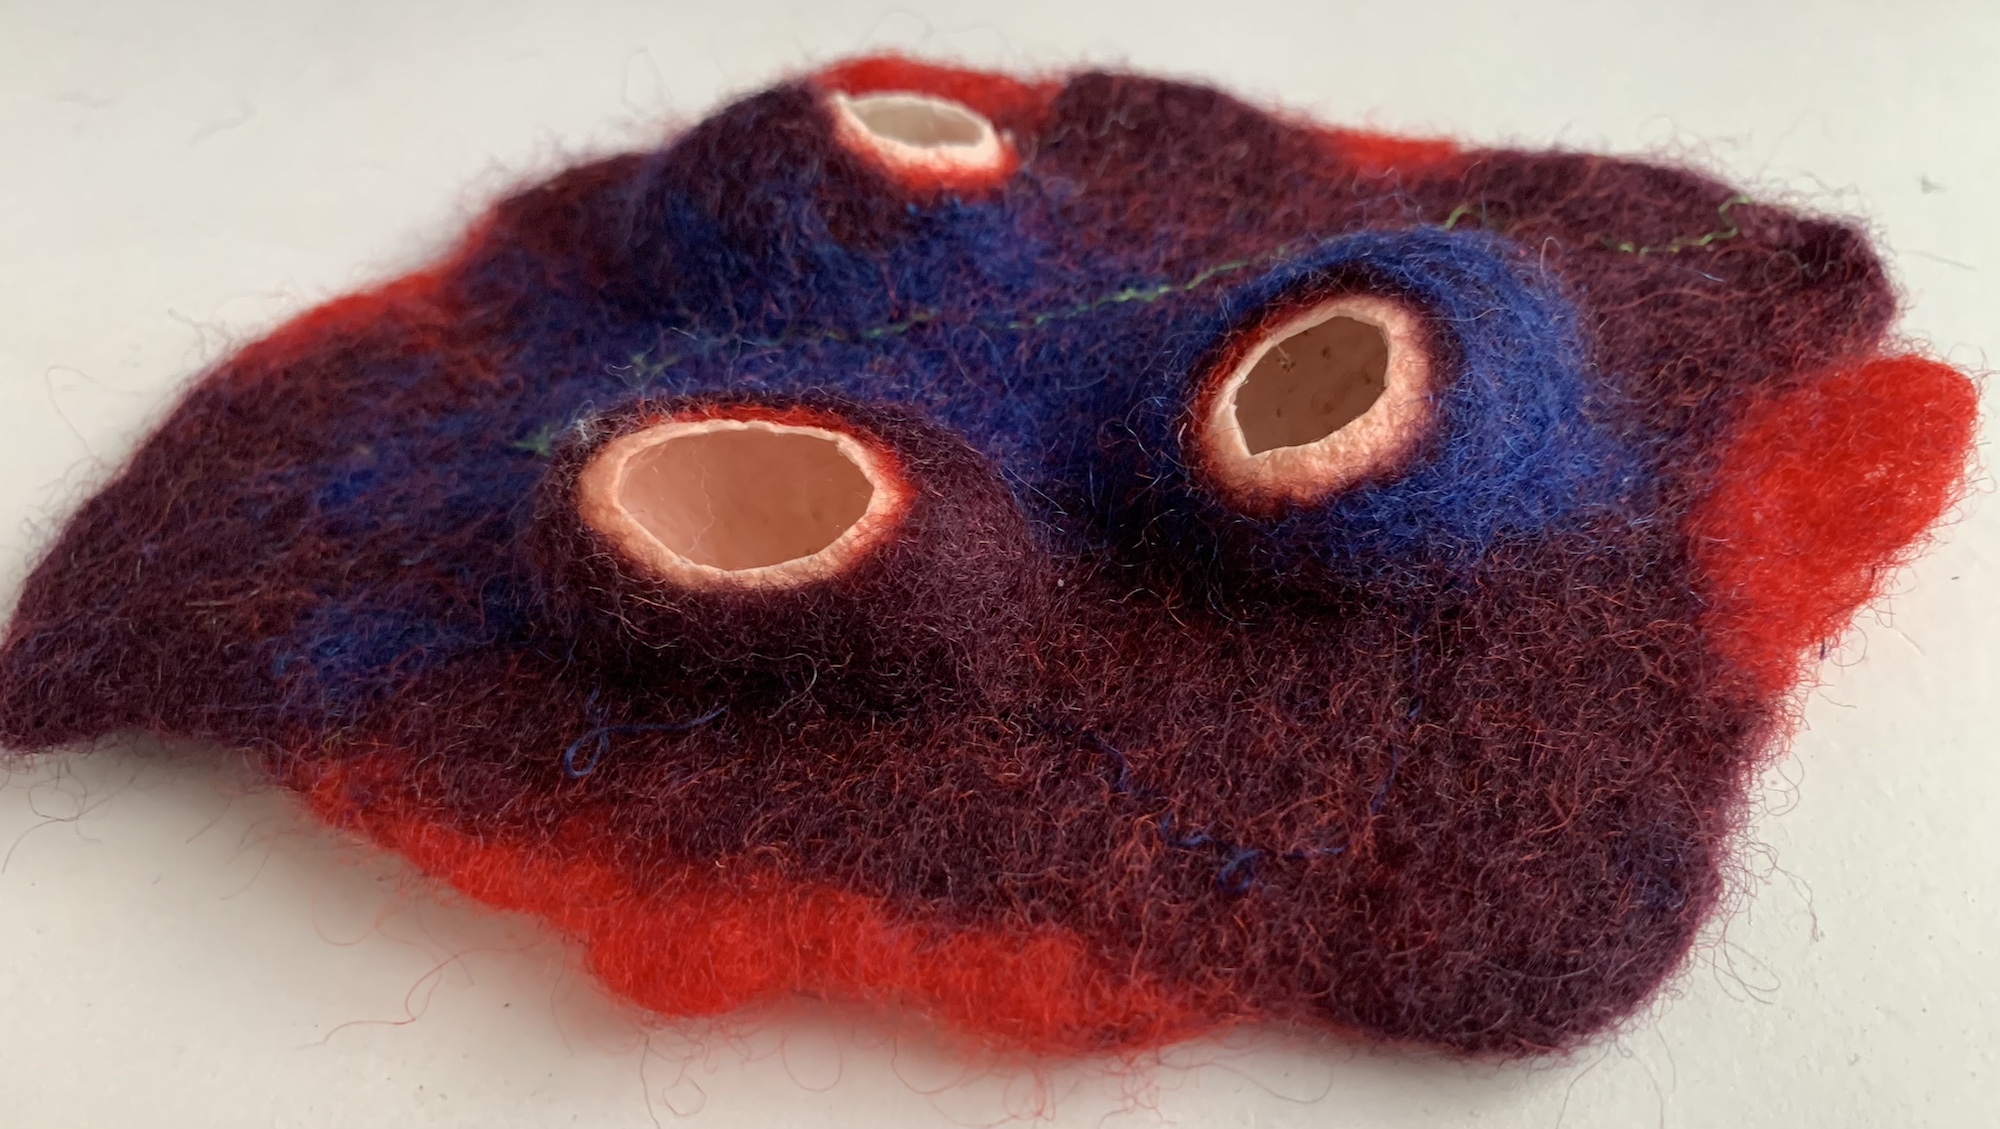
Inclusions

This last sample is my favourite, perhaps I should stop calling it a sample and think of it as a mini work of art instead… It is three, silk cocoons felted between several layers of Bergschaff.

I hope you found these samples / techniques interesting, if you have any questions about them, please ask!

As part of my mammoth clear-out I have a couple of items listed on Ebay that UK residents might be interested in:

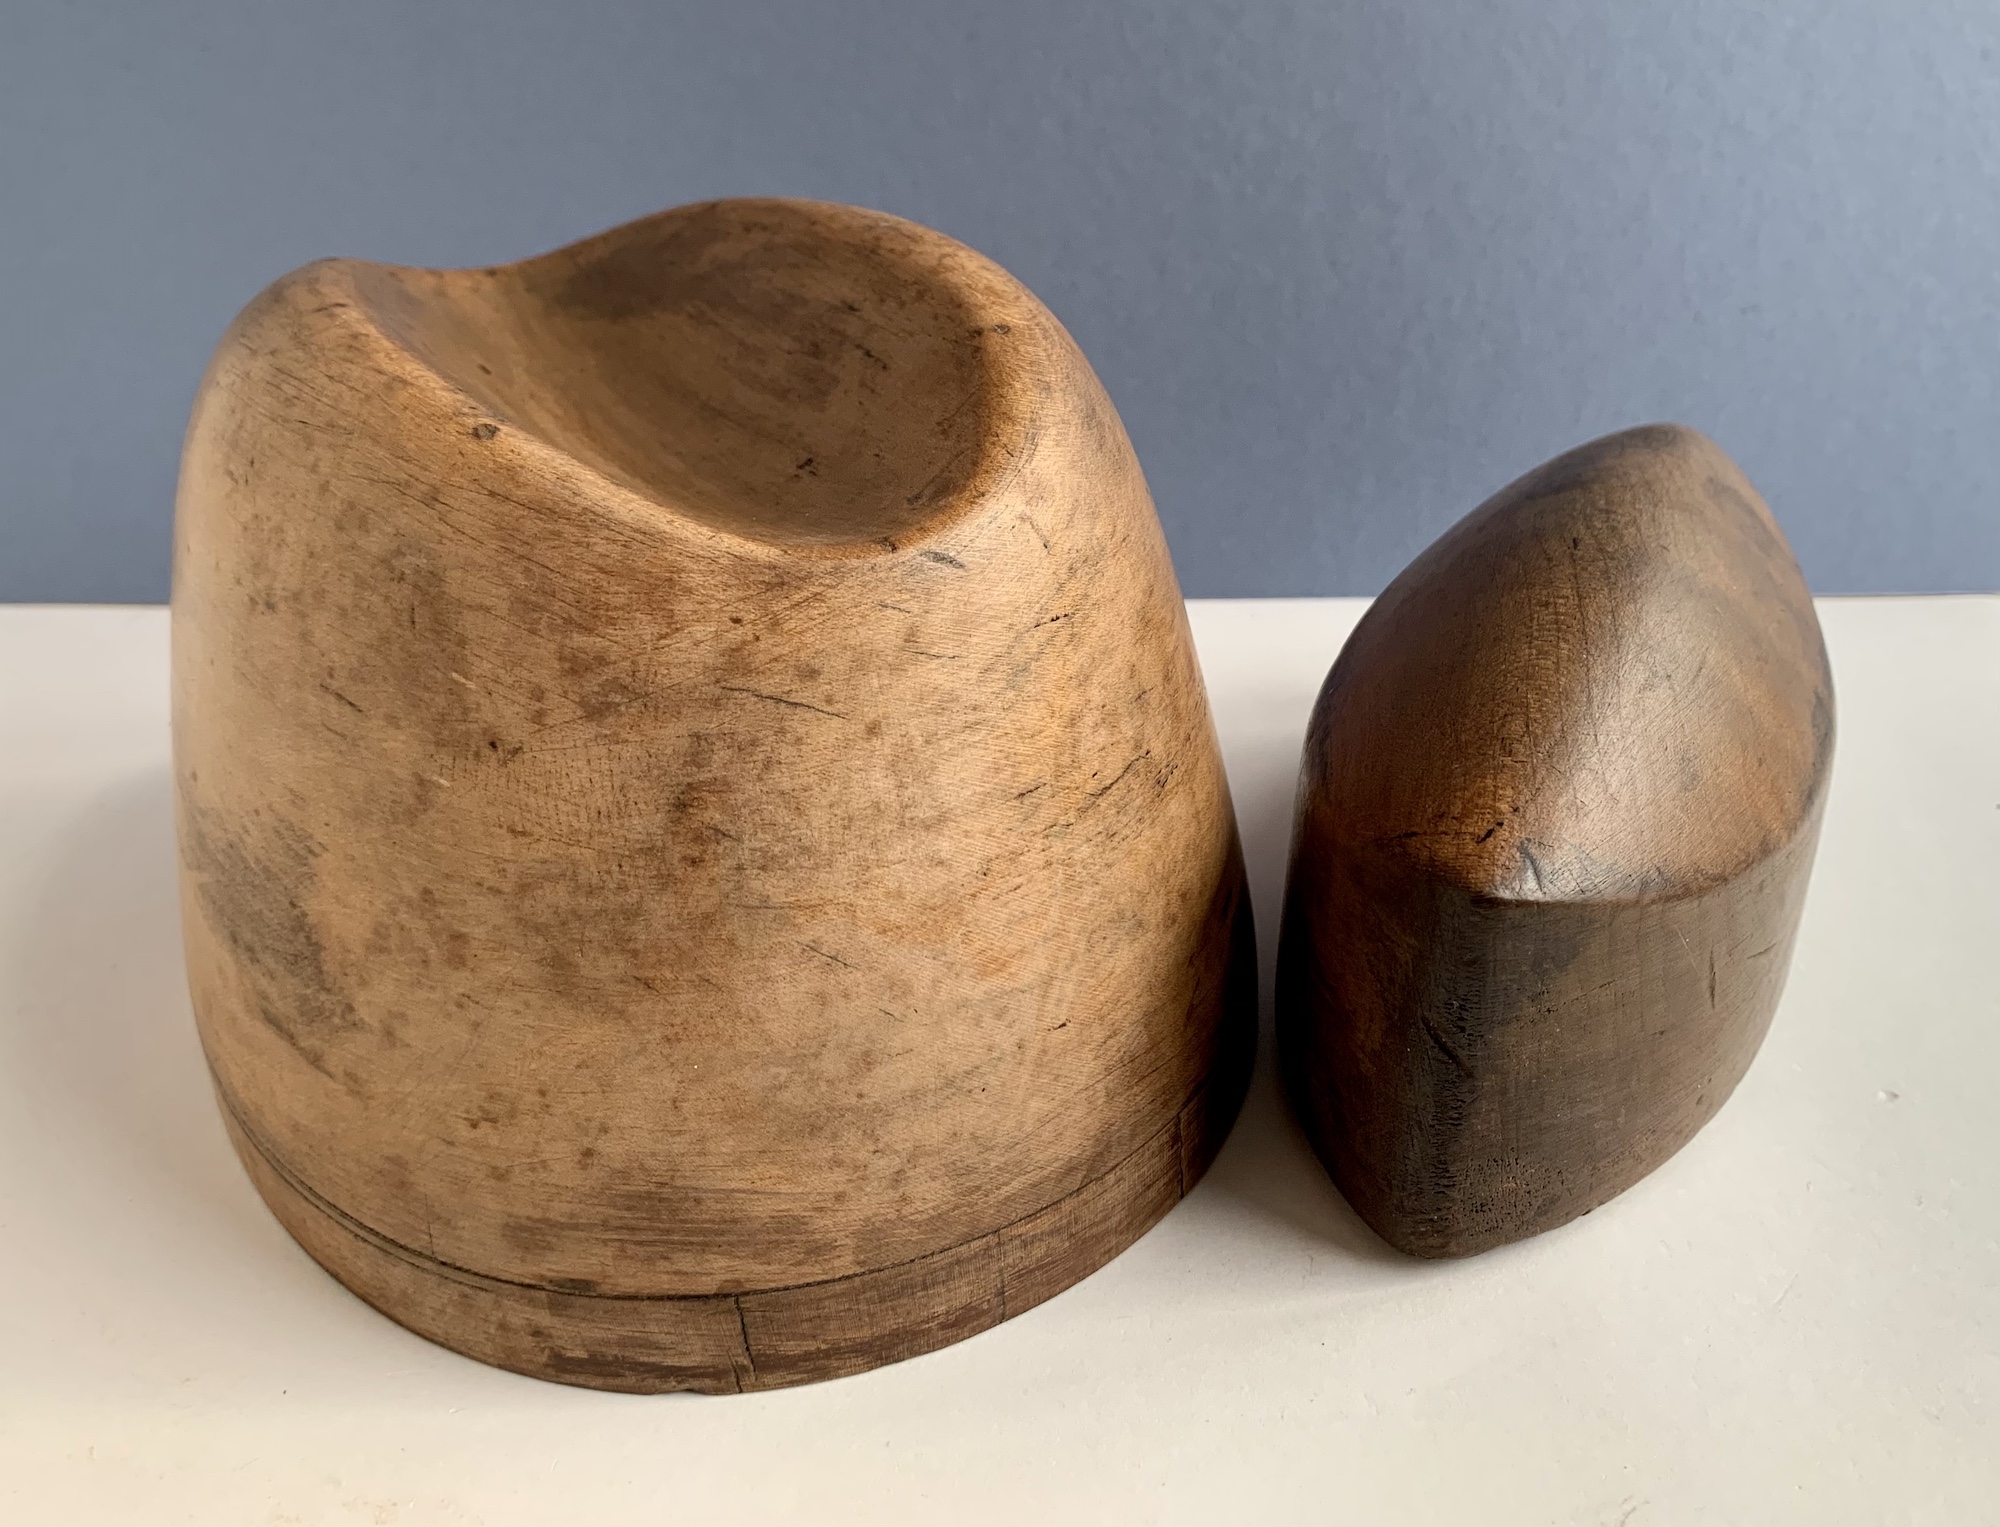
A vintage, fedora / trilby style wooden hat block: https://www.ebay.co.uk/itm/333849774234

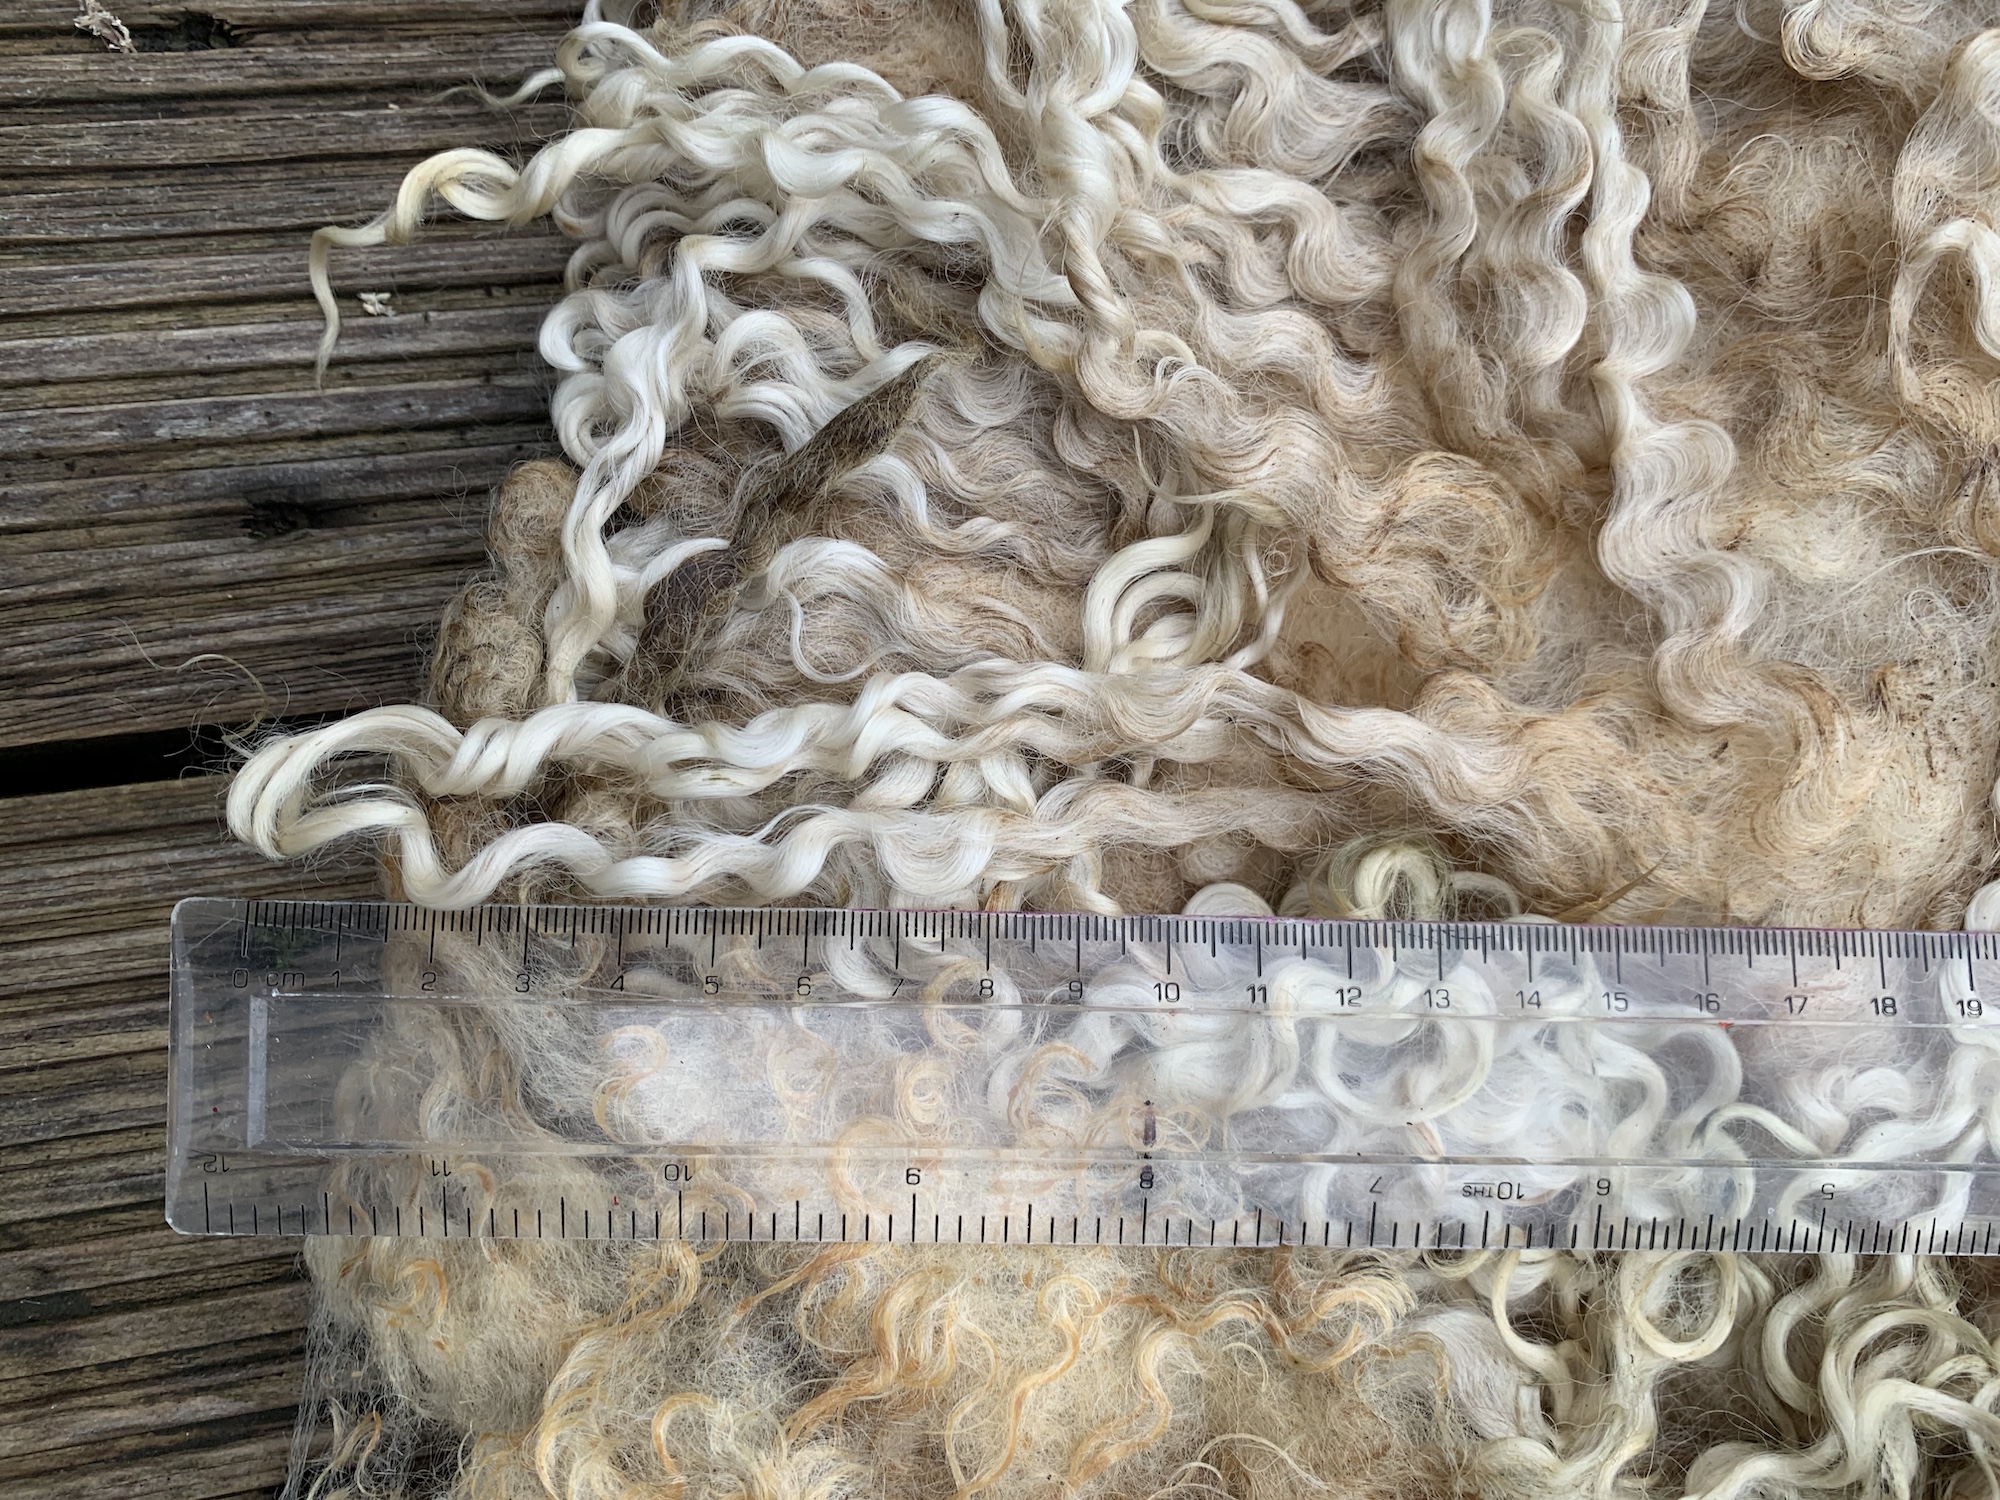
A whole Wensleydale fleece, I am gutted to be leaving this behind but I know NZ border biosecurity will incinerate it on sight and that would be even more heart-breaking: https://www.ebay.co.uk/itm/333851163732

Fun with Foils

Like many of you, I belong to some textile groups that would normally meet in person but this year have needed to find alternative ways to work together. One such group is the Farnborough Embroiderer’s Guild (EG). This EG group is quite unusual in that rather than inviting speakers to talk about their practice, we all take it in turns to teach each other new skills. Three months ago we started meeting via Zoom and I have to confess in some ways I actually prefer it! We aren’t a large group but when we meet in person I often end up only talking to the 2-3 people I am sat nearest to, on Zoom the whole group shares the same conversation which is nice and feels very inclusive. The other advantage is the lack of commute, for me, this means I get to eat before we gather and I can have a glass of wine while we play together 🙂

Last month Sue took us through a technique to create foiled pictures; I don’t know about you but I can’t resist a bit of bling! As we are approaching holiday season it also feels very appropriate to share this with you now. I hope you enjoy it and feel inspired to have a go!

Although I have played with foils before it was only as decorative finishing touches never as the basis create a whole textile picture. Even so, I still managed to make every mistake in the book but was pleased to find foils are remarkably accommodating, if you make a mistake, it can (mostly) be rectified with layering more foil over the top.

Unfortunately it did not occur to me to take photos of the process until I was half way through my picture, I apologise for the lack of photos covering the initial stages of the process. The first few photos are where I went back and reapplied the bondaweb on the beak as my initial application had not transferred completely.

This was the reference photo I used for inspiration:

Some useful tips before you start:

  • set your iron on a low to medium (1 to 2 dots) setting without steam
  • always use a sheet of baking parchment to protect your iron
  • work on an ironing board

1: Cut a piece of medium weight, iron-fusible interfacing / fabric stabiliser slightly smaller than the background fabric and iron it to the back of your fabric. We used black cotton velvet but most non-synthetic fabrics will work (synthetic fabrics are best avoided for this technique as they might melt when heat is applied).

2: Draw out your design with a pencil on the paper side of a sheet of bondaweb. If you aren’t confident drawing freehand, you can trace the design from a printed image. Cut out your design, either as one solid shape or in sections if you plan to create a stained glass effect. For the hummingbird I cut out the whole bird as a single piece.

3: Transfer the bondaweb design onto your backing fabric.

If you are using the stained glass technique you might want to transfer one piece at a time, foil it then apply the next bondaweb shape.

4: Once cooled, carefully peel off the paper backing from the bondaweb.

5: Lay a piece of foil (coloured side facing you) over the exposed bondaweb and cover this with a piece of baking parchment, using the tip or edge of your iron, apply gentle pressure to the areas where you would like that coloured foil to appear.

Allow the piece too cool before peeling back the foil backing.

Tip: you can cut out pieces of baking parchment paper to mask off areas where you do not want that particular colour to appear.

If there are areas where the bondaweb has not transferred so well, or you have already applied several layers foils and want to lay a different colour over the top you can reapply the bondaweb but cutting a shape to match the area, I did this for the edge of breast where I wanted the purple to form a solid line:

If you want a sharp edge in a specific shape, it is also possible to cut the foil to match the shape you desire:

6: Continue adding different coloured foils to your design. If using cotton velvet for the backing it is possible to build up layers of different coloured foils without applying more bondaweb.

Tip: keep the scraps of partially used foils, they can be used to overlay different colours on top of each other very pretty marbled colours.

It is possible to “draw” lines of foil using just the tip or edge of your iron, I used this technique to create the feathers on the wings:

It is not very easy to capture foils in a photo, especially the holographic ones so I shot a short video that I hope shows all the different colours more effectively:

Our group will meet again online later this month to add some embroidery to our designs, I can’t wait to see what everyone else has created! 🙂