This post is from guest author and our multi-talented felting friend, Sarah Ritchie, please check out her website to see all the incredible things she does (it’s not all felting!): https://www.sarah-ritchie.com/
Earlier this year, I had the privilege of being part of Deeply Felt (and the stories carried within) – a group exhibition by Auckland Felters, a Creative Fibre community of contemporary felters from across the Auckland region. The exhibition was held at Nathan Homestead Pukepuke in Manurewa, Auckland.

This exhibition was spearheaded by Teri Berry, whose vision and leadership brought the group together to present a cohesive and thoughtful body of work. Auckland Felters is a diverse group, and what makes this group so special is the breadth of practice within it. While we are united by wool fibre as a medium, the way each maker approaches it is entirely individual.
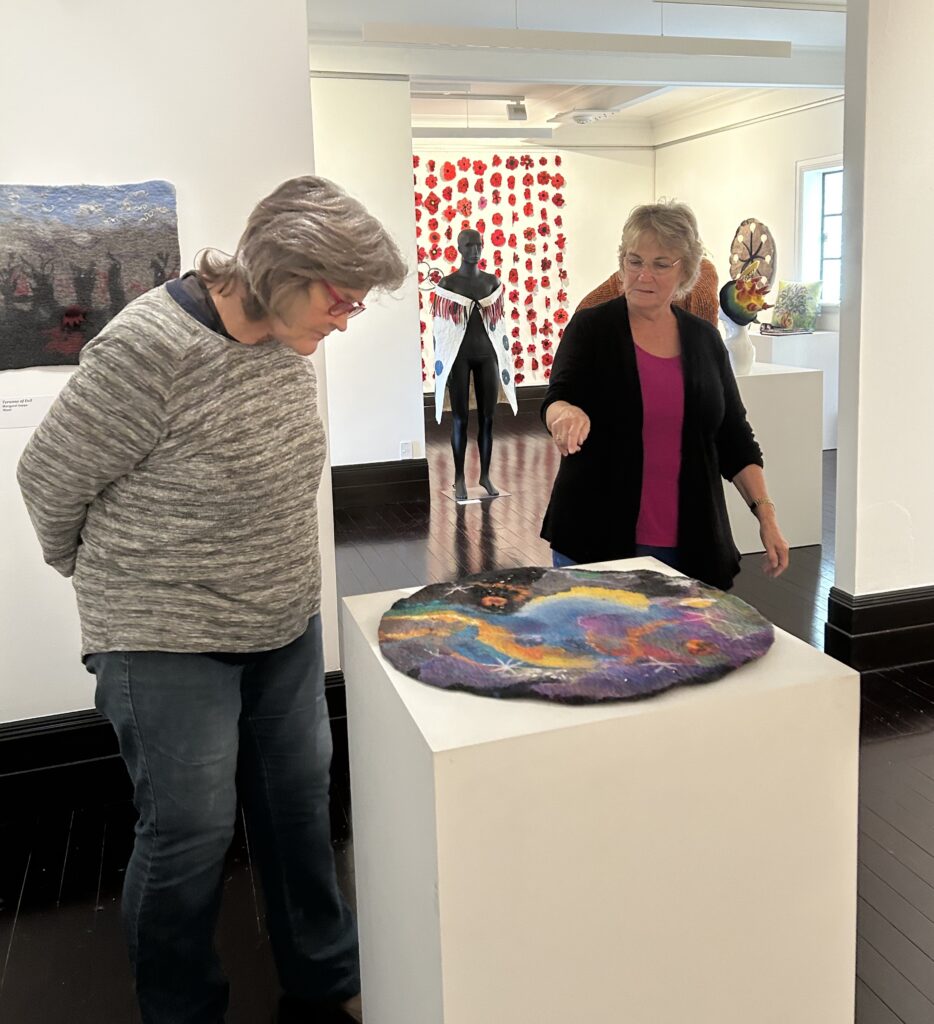
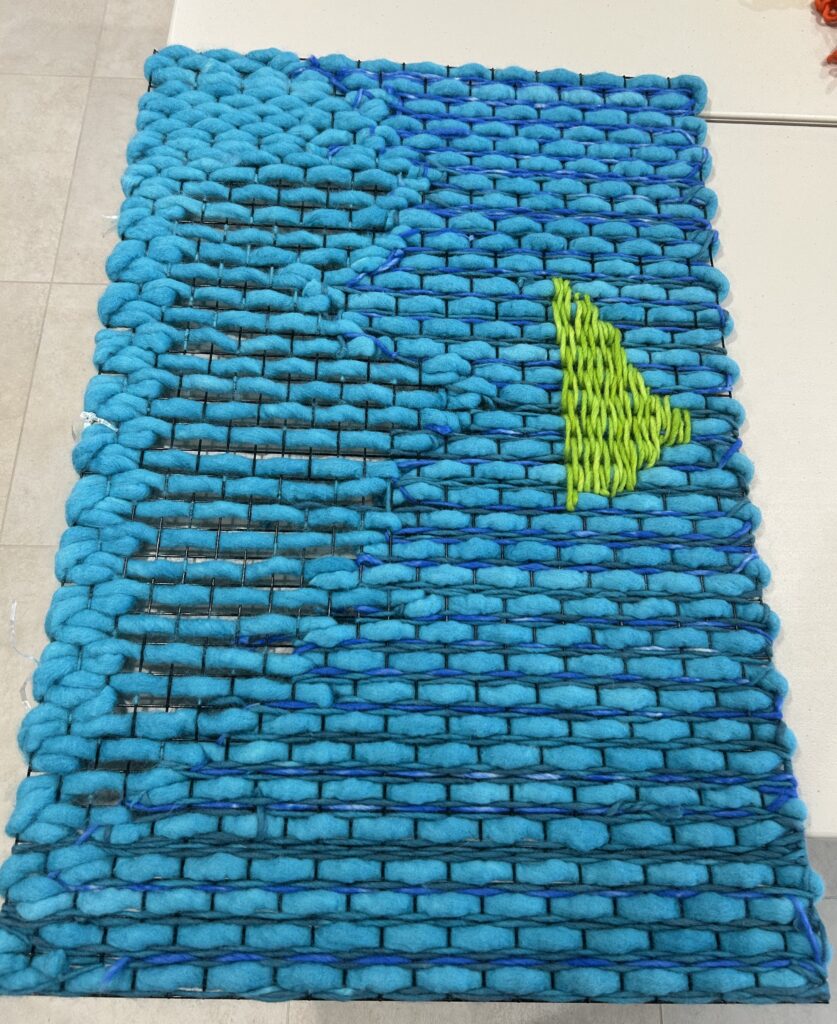
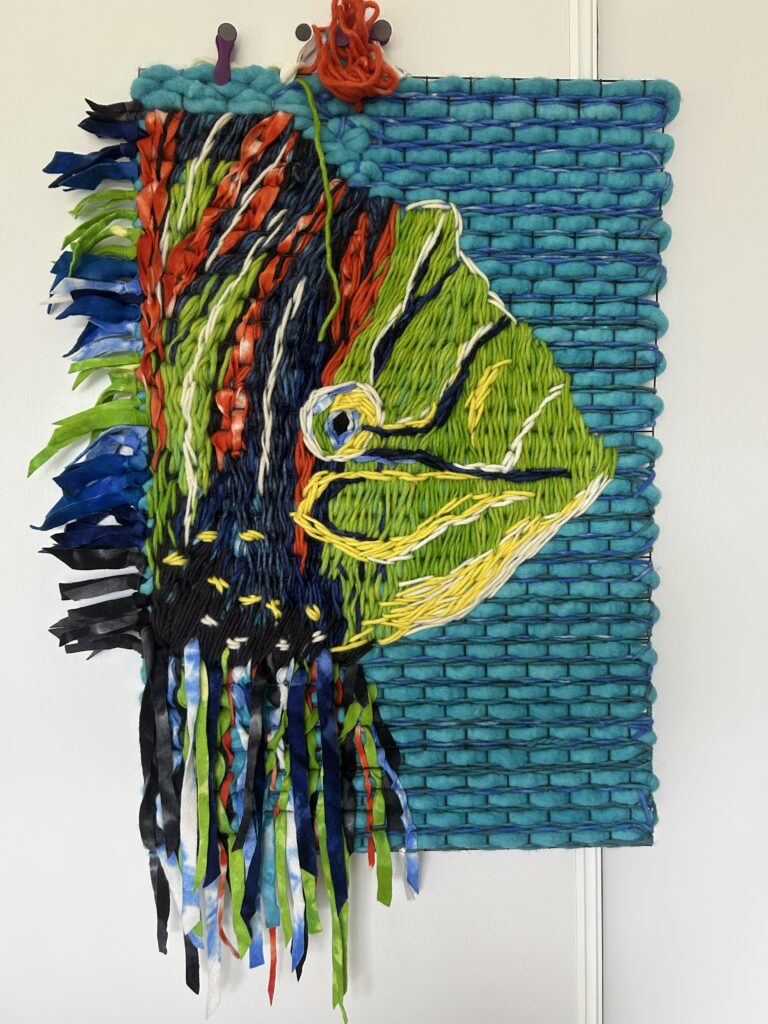
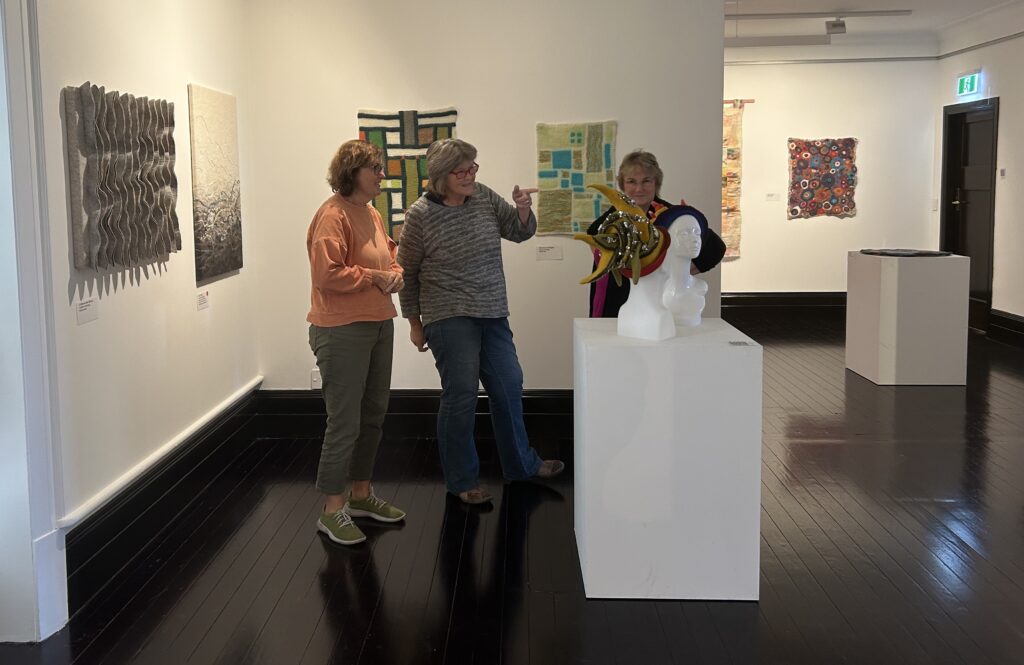
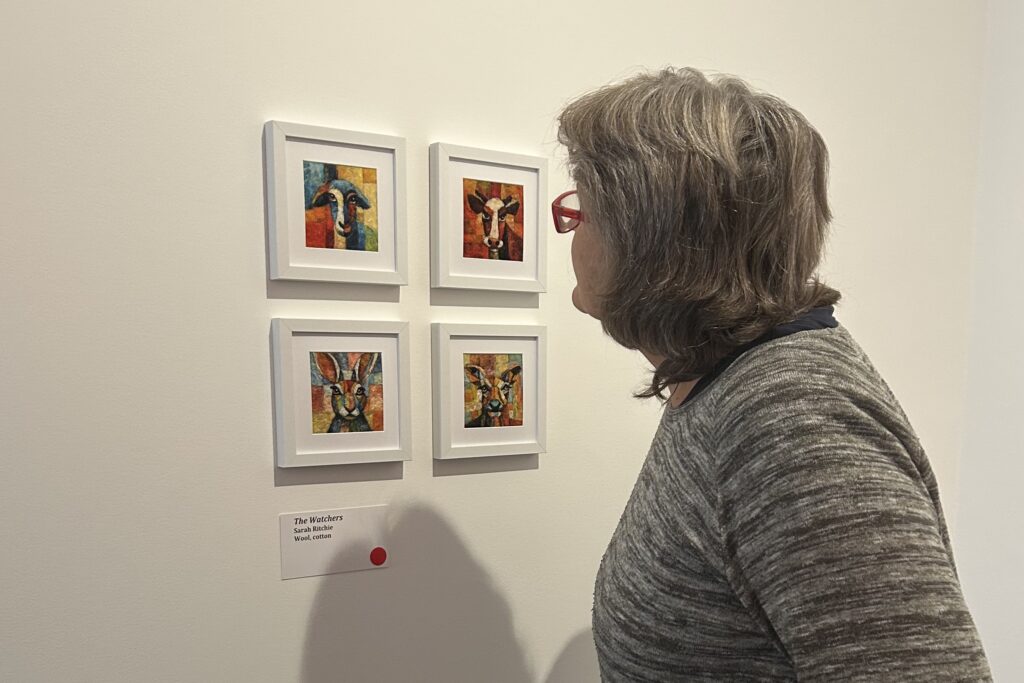
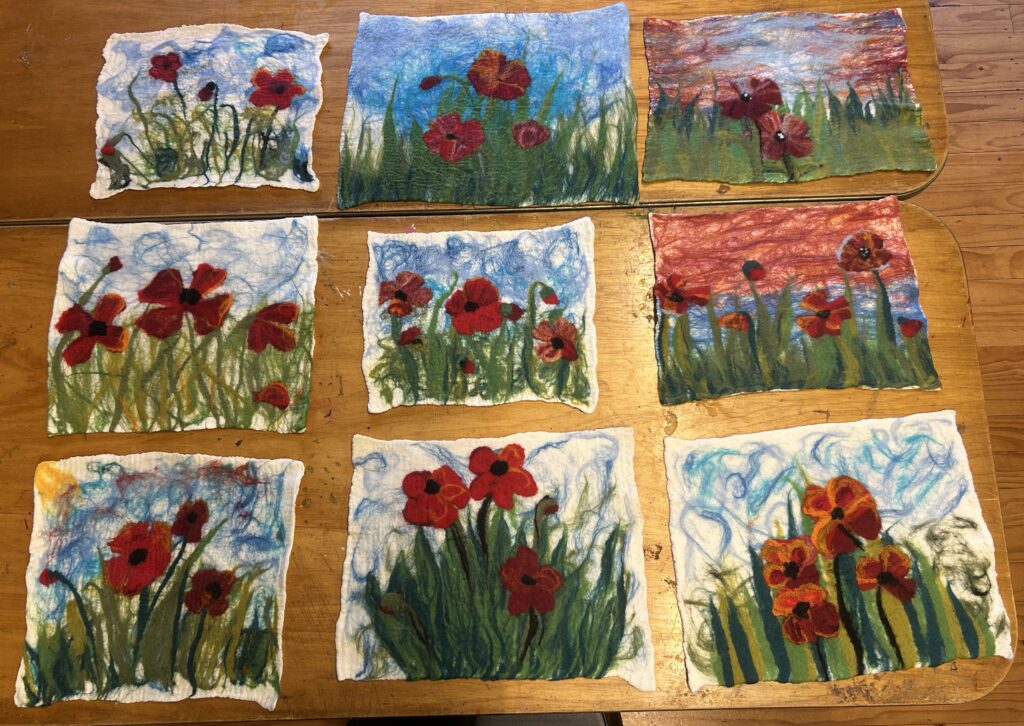
That diversity was evident throughout the exhibition. Works ranged from finely detailed fibre paintings and wall hangings, to sculptural forms and wearable works, each reflecting the interests, techniques, and creative voices of the felters involved. There was no single style or narrative, but rather a celebration of process, patience, and the tactile nature of fibre. It was also a privilege to bring fibre to the attention of the public as an artform – more than just a functional material or a craft.
As needle or wet felters and fibre artists, we all understand the time it takes to bring a piece into being. The process itself becomes embedded in the finished work. That sense of time and touch was present throughout the gallery, inviting visitors to slow down and engage with what had been deeply felt and carefully made.

This was the second exhibition held by Auckland Felters and it felt like a natural progression for the group. There was a sense of growing confidence – both individually and collectively – and an excitement in sharing felted works as art.
Held in Remembrance
Alongside the exhibition sat a special art installation titled Held in Remembrance.
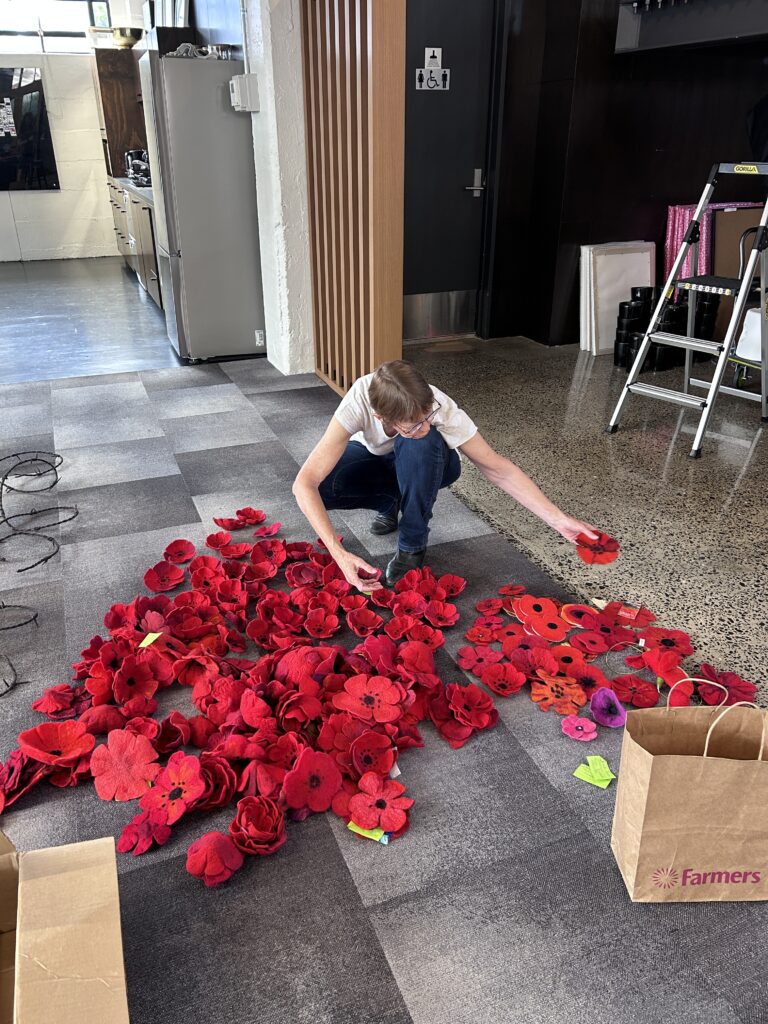
The original idea came from Clare Hocking, who envisioned a collective work of handmade felted poppies to mark ANZAC Day. What began as a simple concept quickly grew into something much larger.
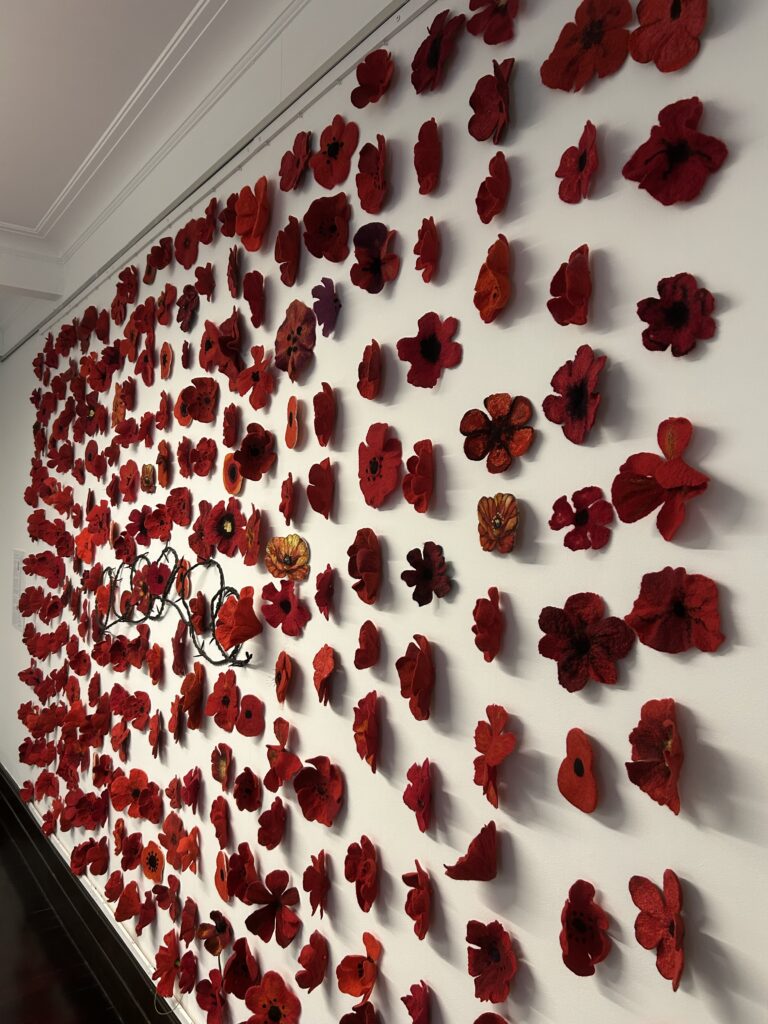
A call-out was made through our personal networks, social media channels and Facebook felting groups, inviting contributions from the wider felting community. The response was immediate and generous. 287 poppies were sent in by more than 50 felters from across Aotearoa New Zealand and around the world. Each poppy was handmade and unique, and many were accompanied by messages of personal connection with the men, women and animals who served.
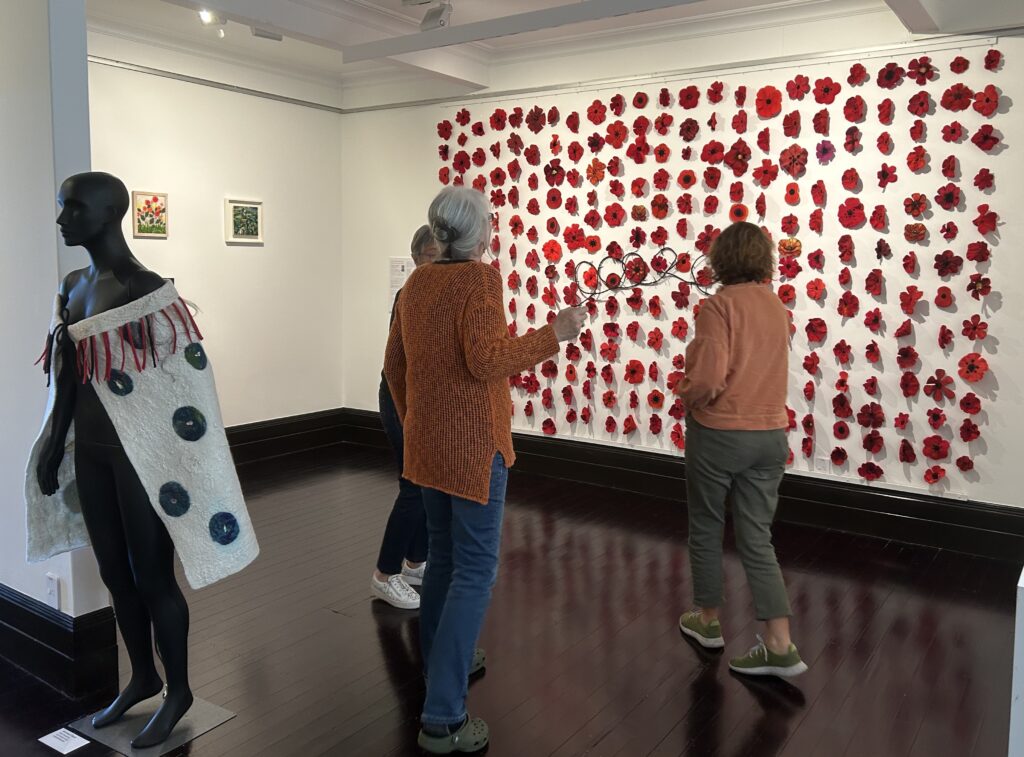
What arrived was not just a collection of objects, but a gathering of individual acts of making. Different techniques, fibres, and interpretations came together, unified by a shared intention of remembrance, and a remarkable generosity of time, resources, and care.
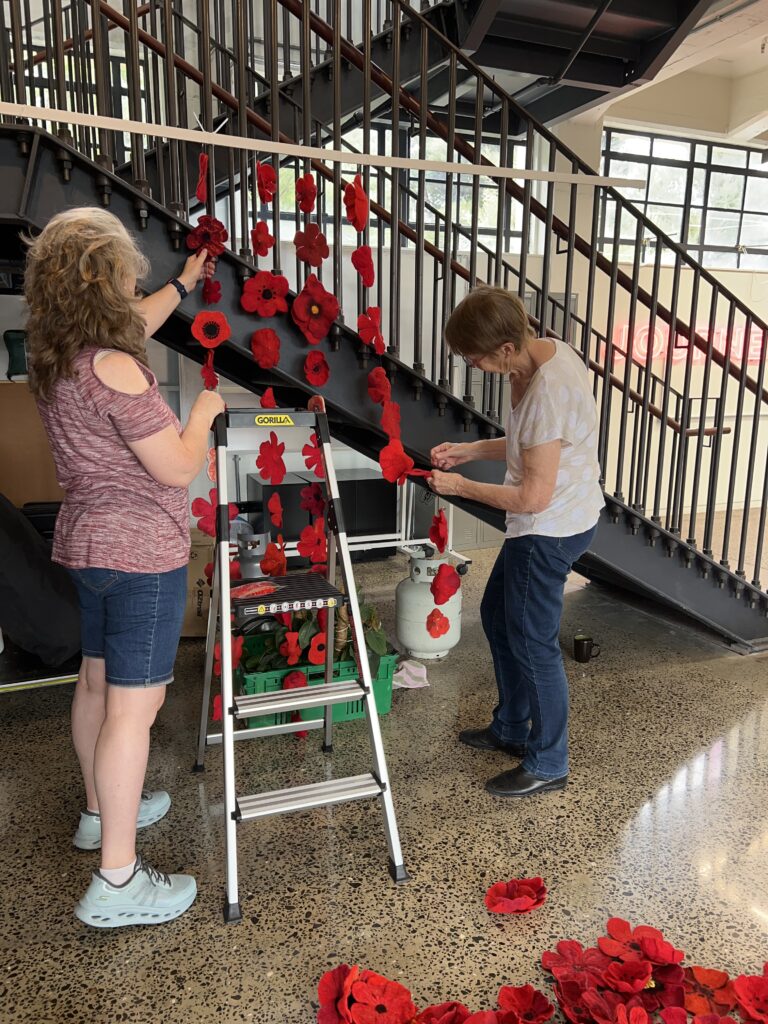
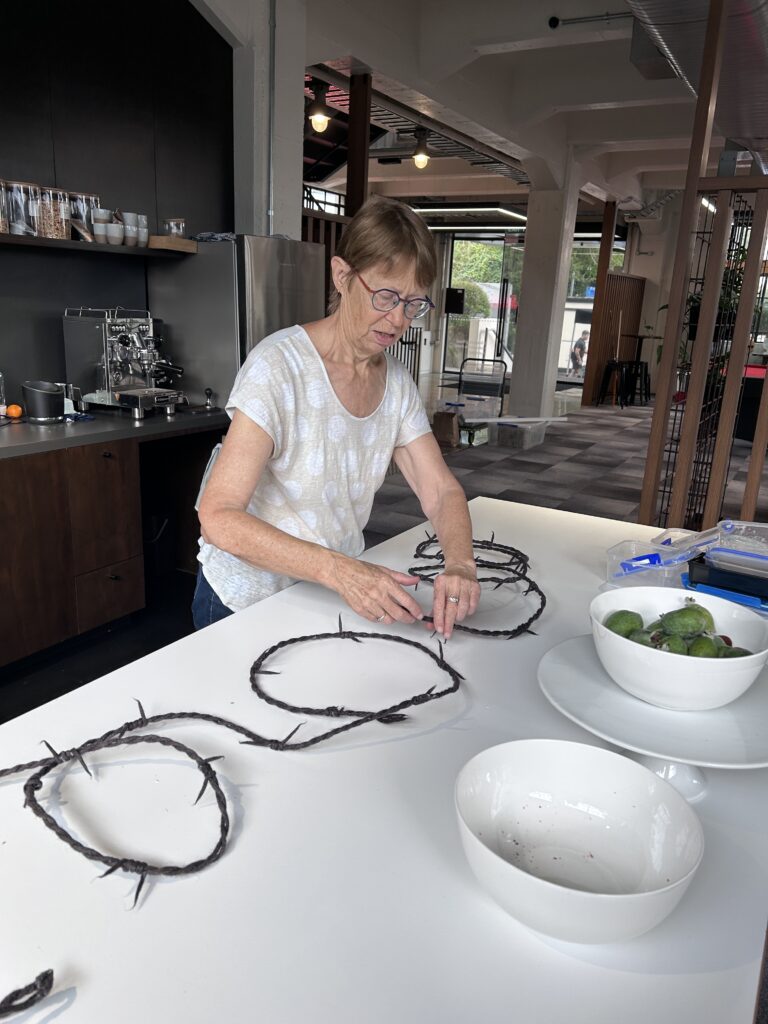
I had the privilege of leading the installation, with the support of Clare Hocking, Teri Berry, and Jaq Spirrett. Jaq also created the felted barbed wire that formed a central element of the work, adding both visual structure and symbolic weight.

Constructing the installation was not without its challenges. Covering 3.6m wide and 2m tall, each poppy was attached to clear nylon thread and suspended between two battens. The felted barbed wire added a strong narrative to the artwork. Every poppy could be seen. Every maker’s contribution held its place within the whole.
The installation was created as a fundraising initiative for the RNZRSA (Royal New Zealand Returned and Services’ Association), supporting the health and wellbeing of New Zealand’s veterans of military service and their families. All qualifying donations will receive one of the poppies from the installation as a thank-you gift.
If you are reading this before 4th May 2026 and would like to take part, please follow this link for more information.
Apart from its fundraising purpose, what stands out most to me is the sense of international connection and camaraderie the project created. Felting can often be solitary, yet Held in Remembrance brought together a wide and generous community of makers – many of whom we have never met in person, yet are now connected across distance through a shared act of making.
The Open Day that wasn’t
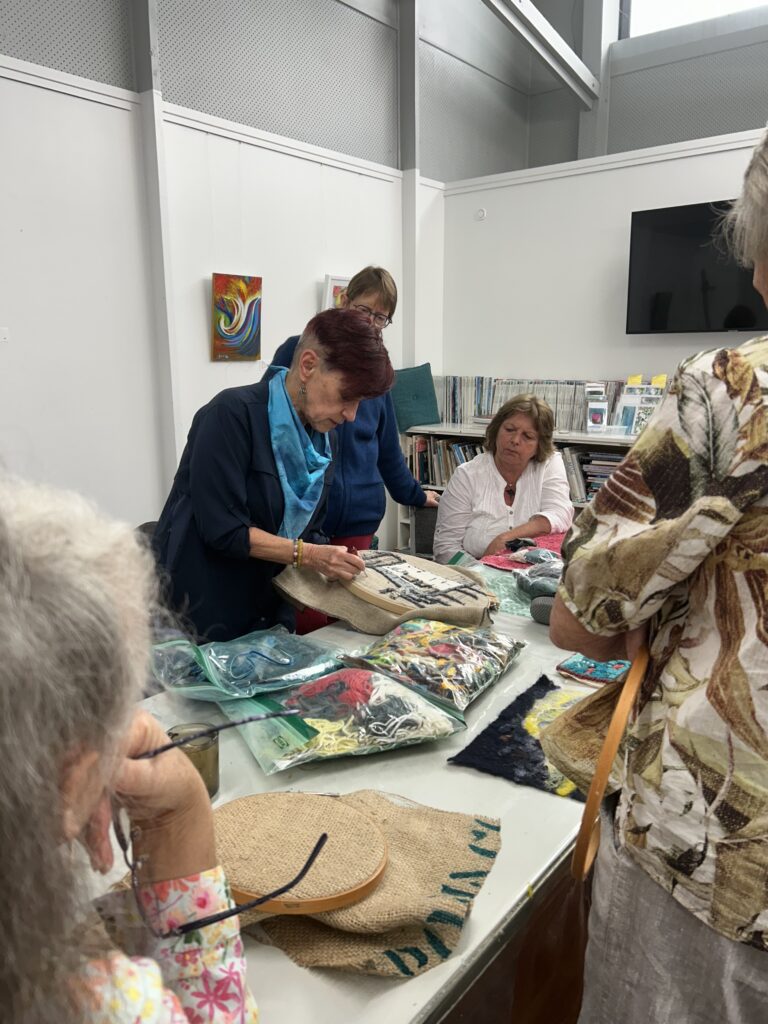
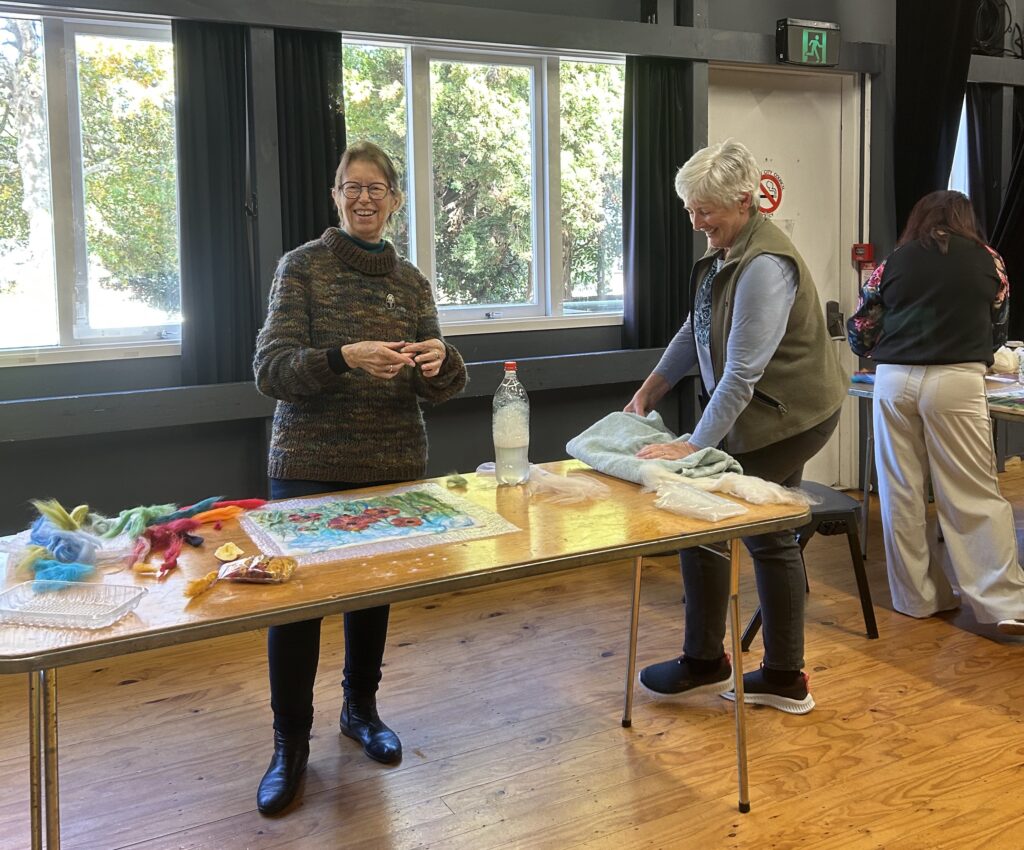
We had originally planned to hold our exhibition Open Day on ANZAC Day itself, bringing together the Deeply Felt exhibition, Held in Remembrance fundraiser installation, a fibre market, and a workshop. However, we were advised (at short notice) that Auckland Council-run galleries would be closed that day, and the event could not go ahead (though, fortunately, the workshop ran as planned in an alternate location). This was immensely disappointing to everyone involved.
And yet, in some ways, it felt fitting. ANZAC Day is, at its heart, a day of pause and reflection. While we had hoped to gather, the quiet absence of that event served as a reminder of the deeper purpose behind both the exhibition and the installation.
What remains is the work itself – the hours of making, the shared effort, and the connections formed along the way. For Auckland Felters, Deeply Felt was more than an exhibition. It was a continuation of a collective journey, and a reflection of what can happen when individual makers come together with a shared intent.