Do you feel like the days, weeks and months just keep getting away from you? No matter how hard you work, paddling faster and faster, the to-do list never gets any shorter? It has been 6 weeks since Felters Convergence, I was hoping for a quiet spell before the Christmas rush but it feels like it has been another insanely busy period. When I stop and think, “What have I done / achieved?” I’m at a loss…. I can’t remember!
Thank heavens for the camera roll in our mobile phones!
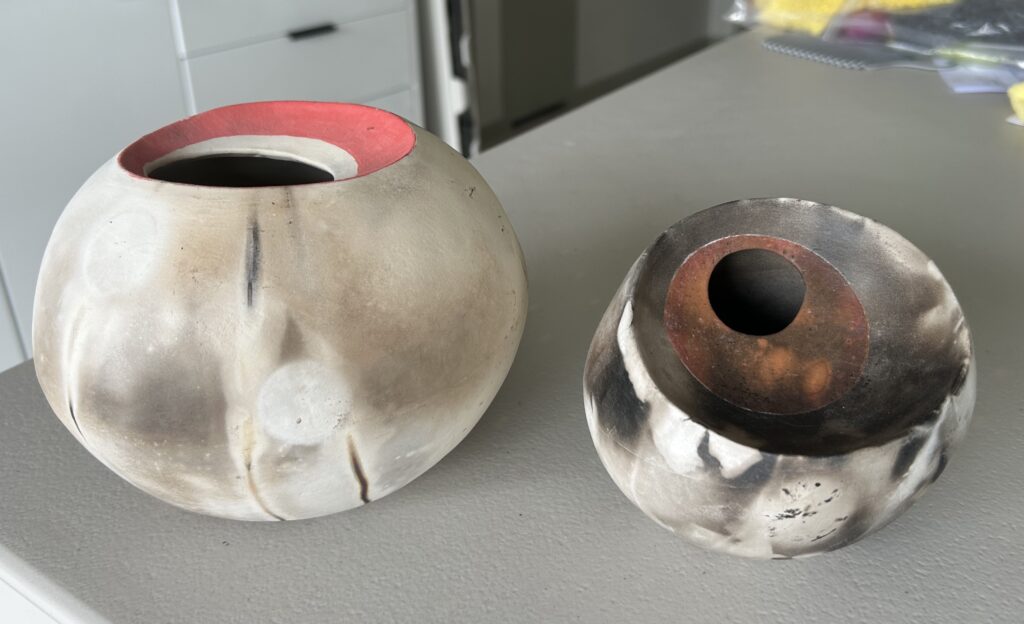
Early October saw my first ever pit firing with the Manurewa Potters, it was a lot of fun, with a shared lunch but, for me, the results were a little disappointing. I love colour and contrast and this style of firing produces more muted, subtle tones. It’s probably not a branch of pottery for me but I’m glad I got to try it.

These were my pots, the red / orange rings around the top were from underglazes I painted on before firing, the browns, greys and blacks were from the materials added to the fire. I have started waxing the one on the right, which has intensified some of the colours and it’s growing on me but the one on the left I think will be re-fired with some more traditional glazes.
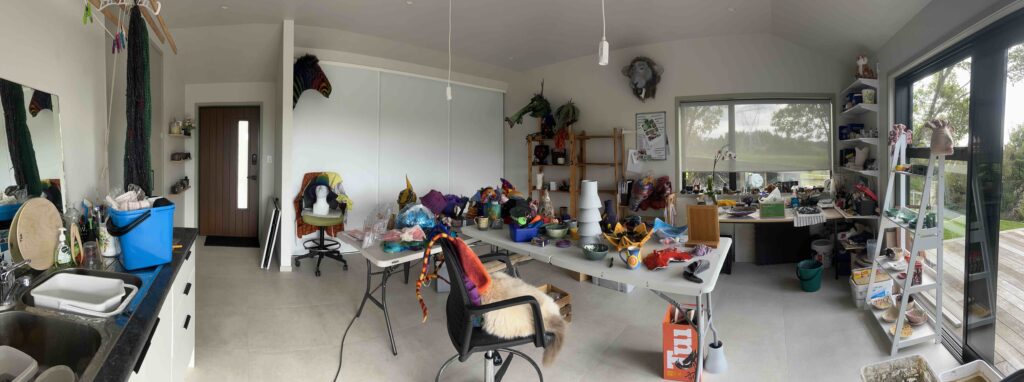
In mid October I hosted my first Open Studio event in New Zealand, as part of the Franklin Arts Trail (which gets unflatteringly abbreviated to FAT). It was a huge success, I met so many fascinating people, introduced some of them to felt-making and even sold a few of my finished pieces, so now I have space to make more!
This photo was taken during the reorganising / scurryfunging, I’m sorry to say I forgot to take any photos during the event. Can you spot the ever-helpful cat (Aoife)?
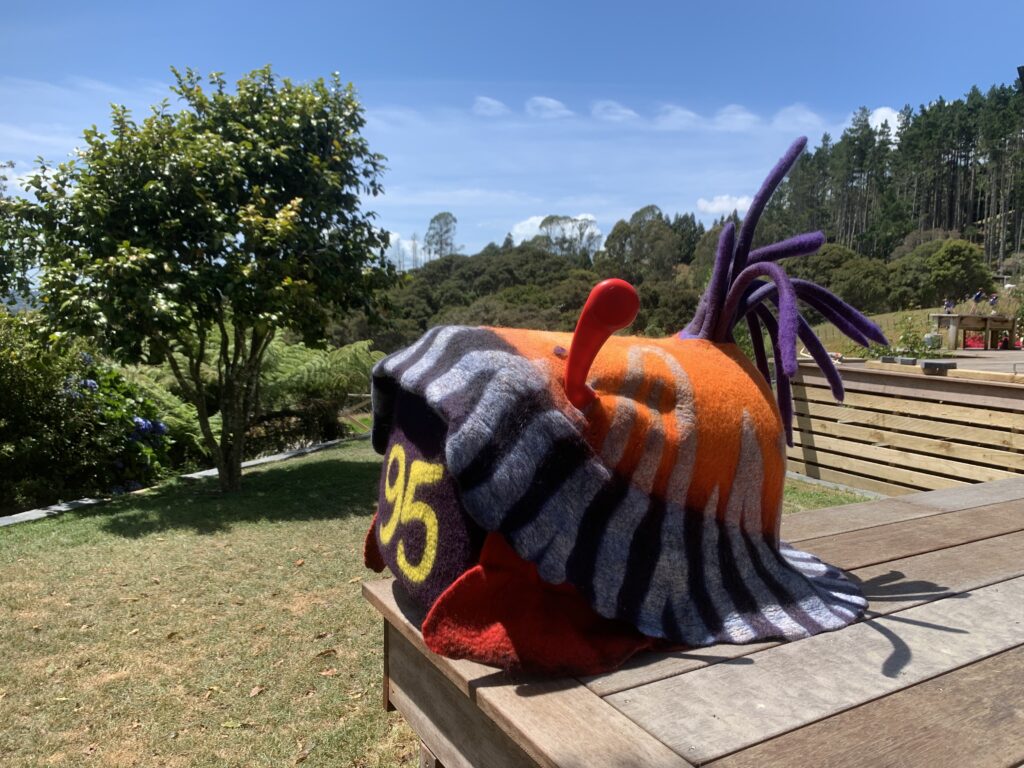
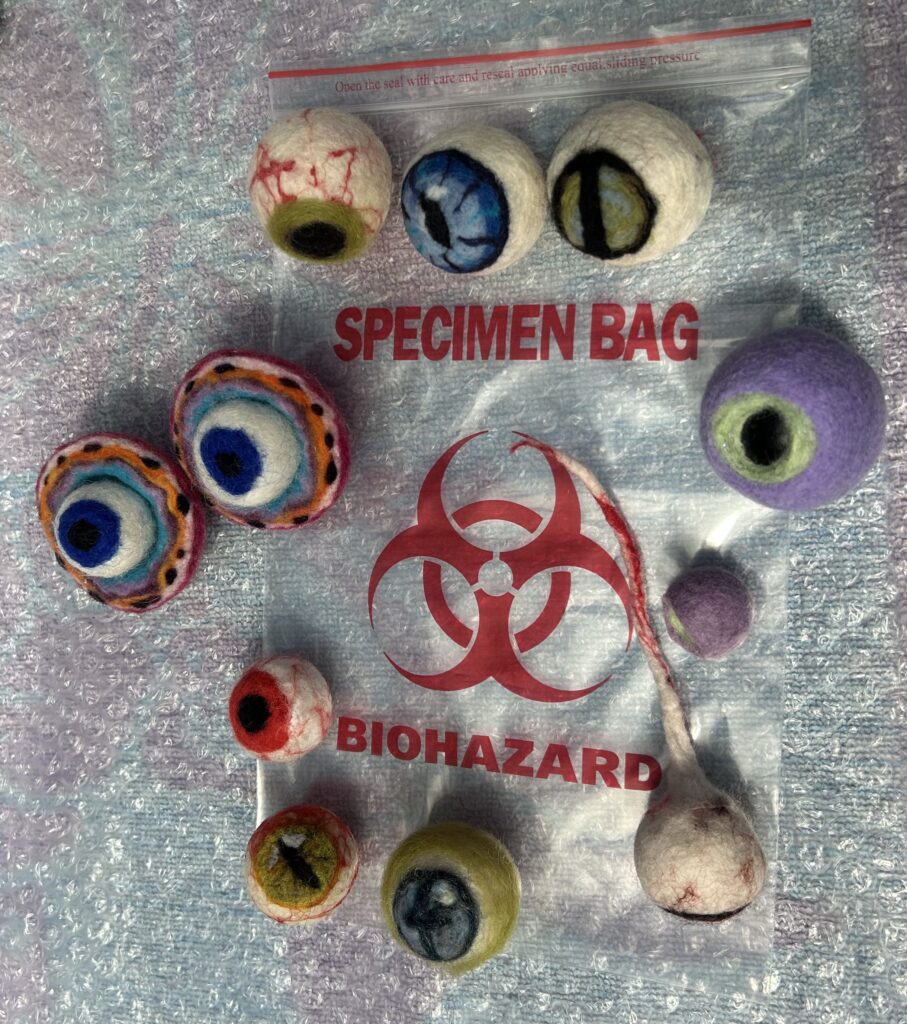
A few felty friends and I had a play date just before Halloween where we made felted eyeballs using a variety of different techniques (felting around glass marbles, polystyrene balls and making solid wool balls).
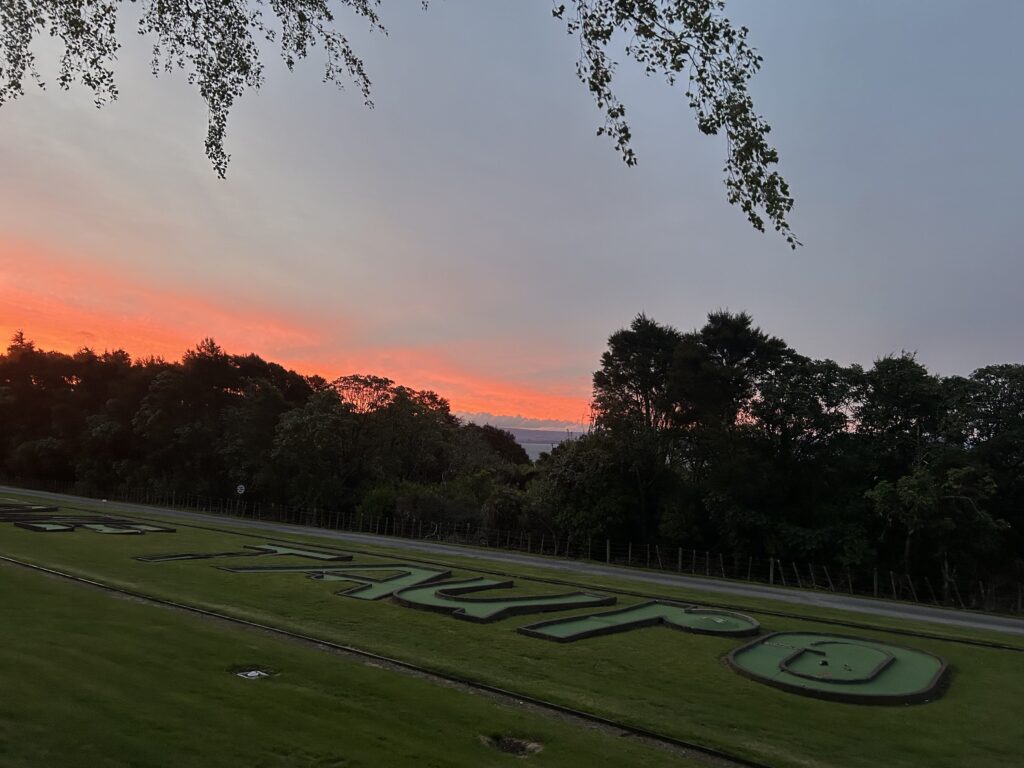
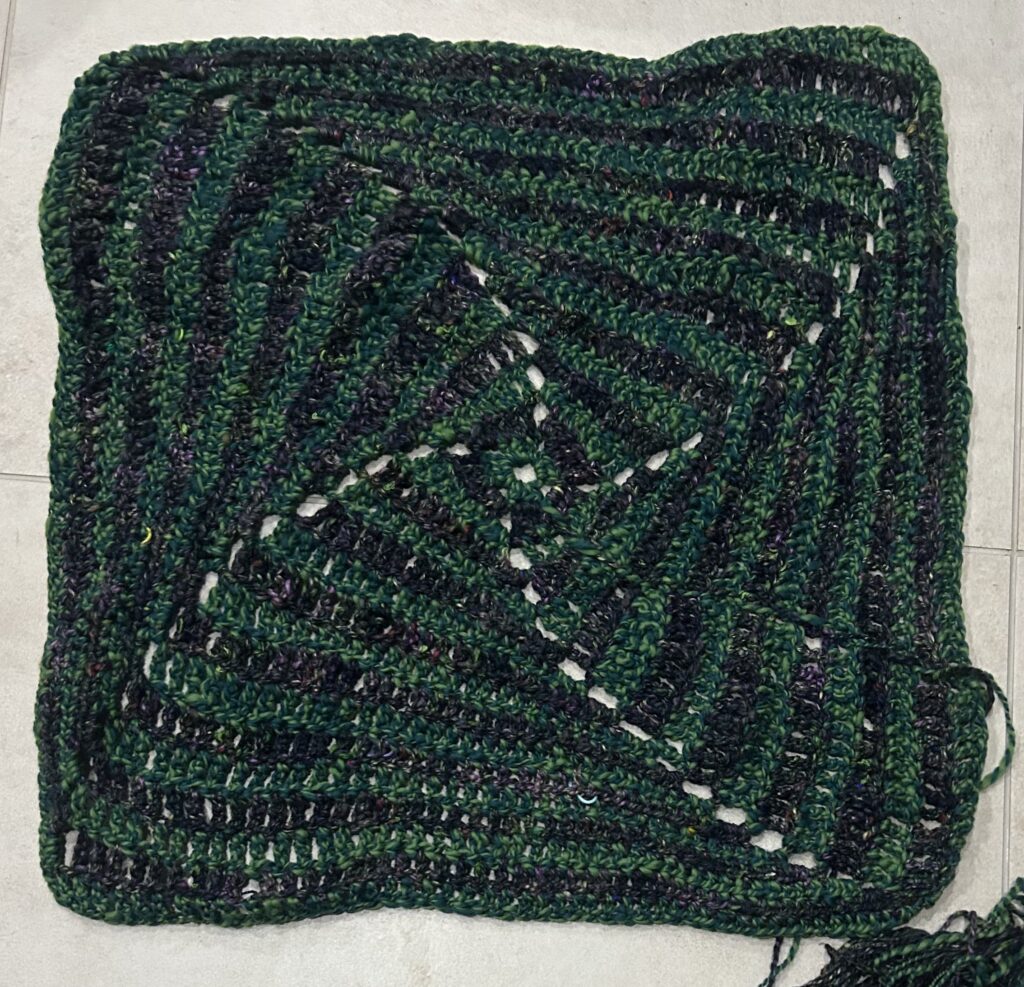
Halloween weekend was spent with the lovely Waikato Creative Fibre group at a wonderful 3-day fibre retreat. I even managed to get some spinning done in between teaching a couple of short felting classes and taking a mosaic crochet class.
Fingers crossed I now have enough yarn to finish making a sleeveless top with a tulip hem:
Auckland is starting to feel much more summery and the weeds in my veg patch agree, they were definitely winning…
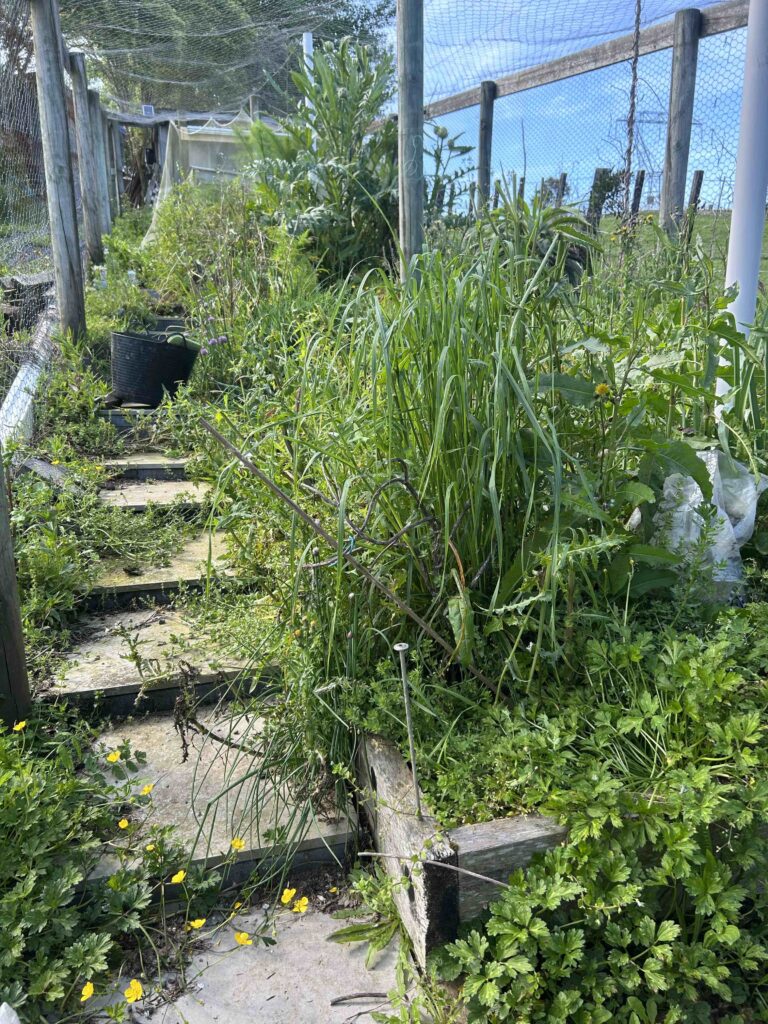
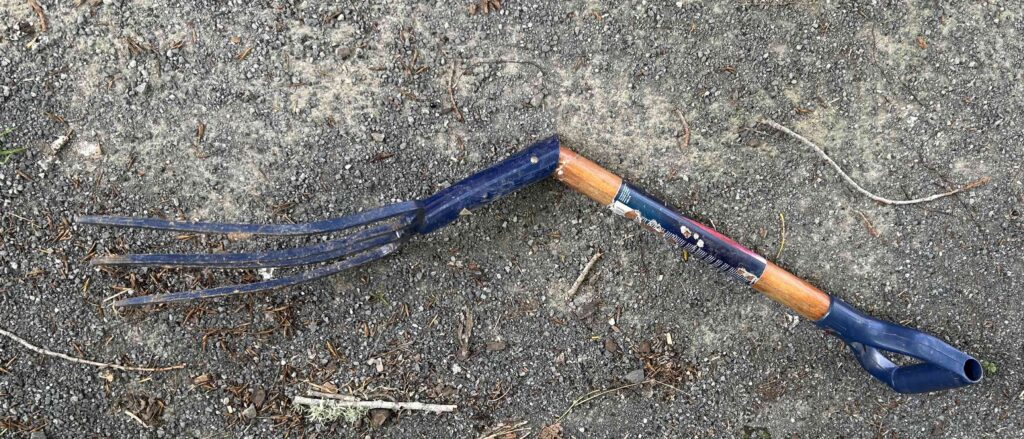
But after 6 days of hard graft and 1 broken garden fork later I was delighted to find half a dozen leeks, some potatoes and a couple of onions ready to harvest and I no longer cringe at the state of this part of the garden:

I contacted Spear and Jackson about the fork because it had a “10 year warranty” sticker not really holding out much hope that they would replace it but amazingly the replacement has just arrived, all the way from the UK, less than 2 weeks after I emailed them! Now that’s good service 🙂
A few months ago Auckland Felters applied to hold a group exhibition at Nathan Homestead, an historic building that has just completed a year-long renovation, and we were successful – YAY!
The exhibition doesn’t open until next March but deadline for the marketing materials was last week so there has been a lot of frantic activity as we formulated a plan for a felting workshop and market day. The date of our workshop falls on 25th April, ANZAC day (the antipodean equivalent of Remembrance day) so we thought a field of felted poppies would be a fitting project.
With only a few hours before the deadline I found myself hastily felting a sample for the brochure. The result is ok but not my best work. If I can find a spare 30 min I would like to fix the central flower with some needle-felting and add some more highlights and shading.

My local craft / gift shop, Clevedon Creatives + Co, have started stocking some of my work so there has been quite of lot of trips back and forth to get it set up. Now my studio looks even more empty than it did after FAT but I am pleased to have a wider audience for my work.
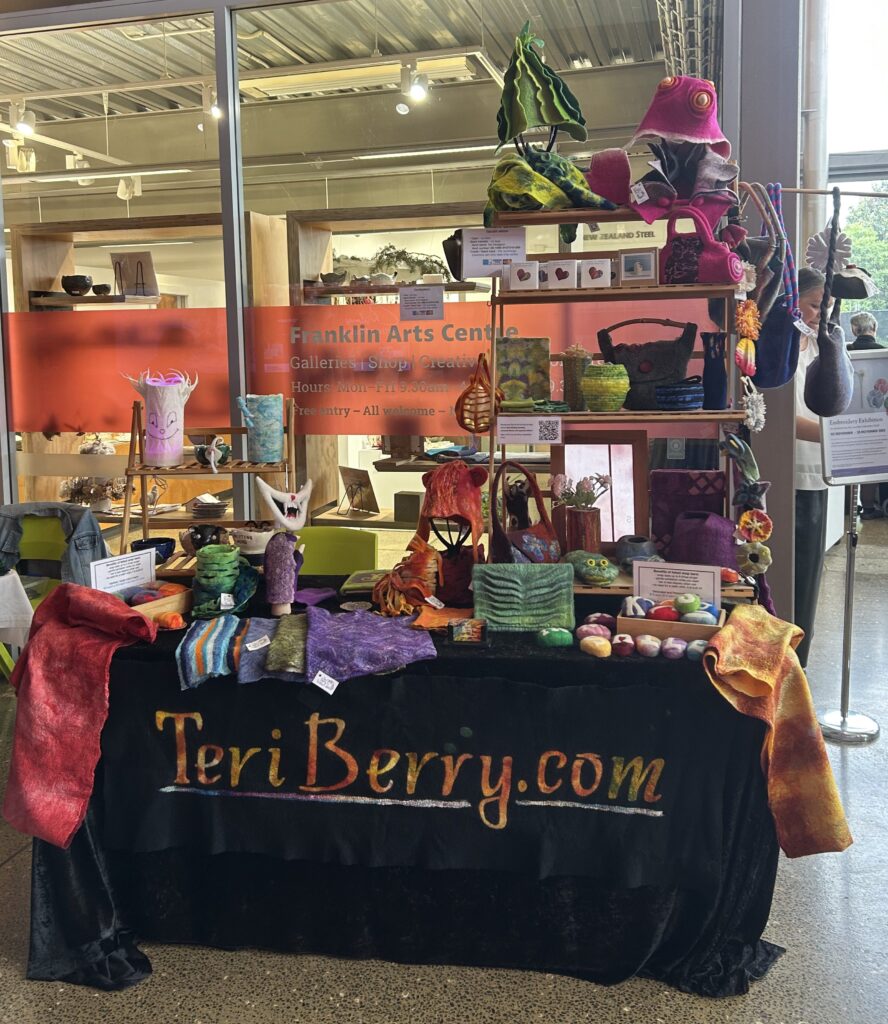
The Christmas season has already started here with my first artisan craft fair last weekend. This market, at the Franklin Arts Centre in Pukekohe, was a very successful start to the season, fingers crossed this is a good omen for the next few weeks after 2025 started with a bit of an economic whimper.
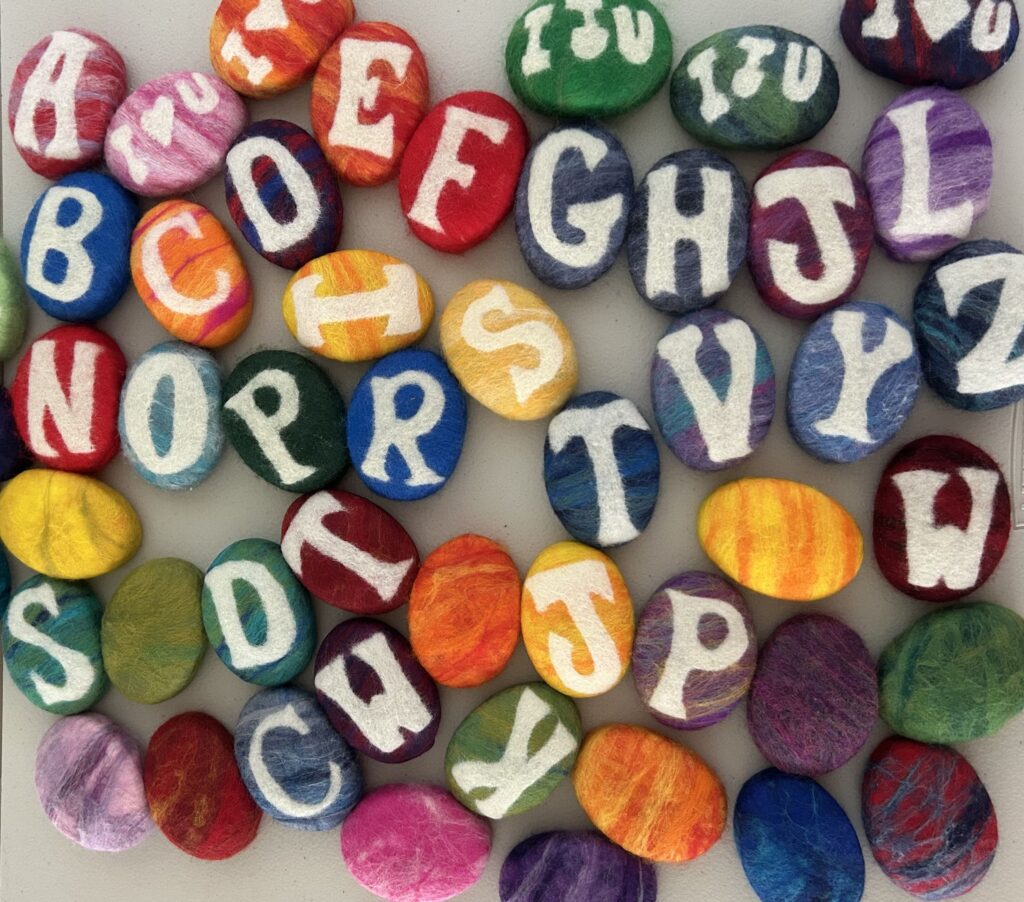
The felted soaps are eternally popular at my local craft markets so I have been furiously making these most evenings for the last few weeks:
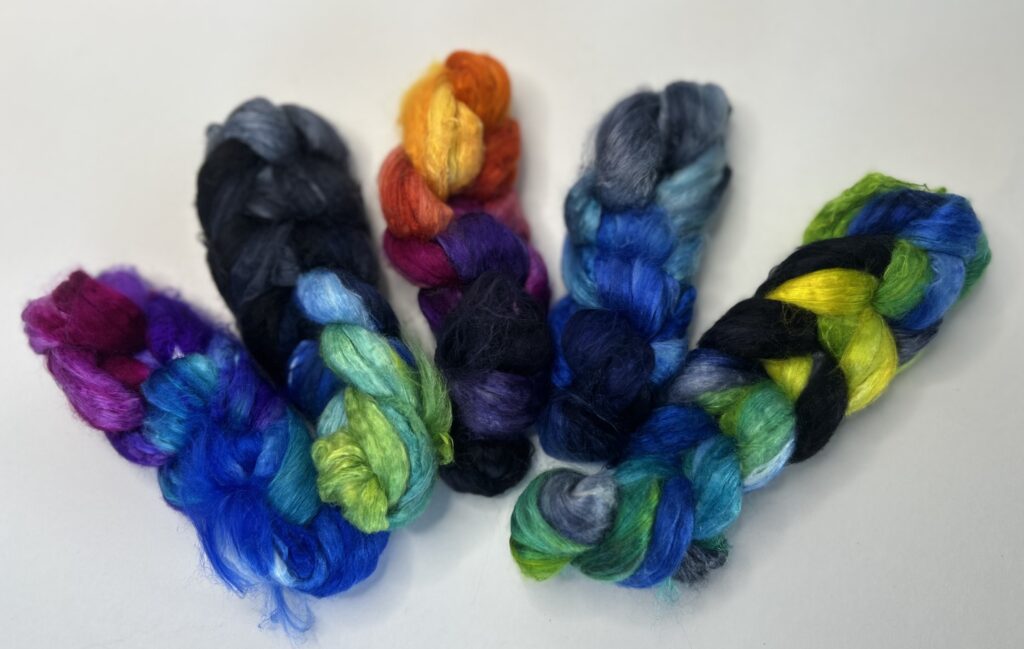
There has been quite a lot of dyeing going on too, mostly silk hankies and silk top as I try to keep up with demand. These plaits will be added to my Etsy shop over the next few days.
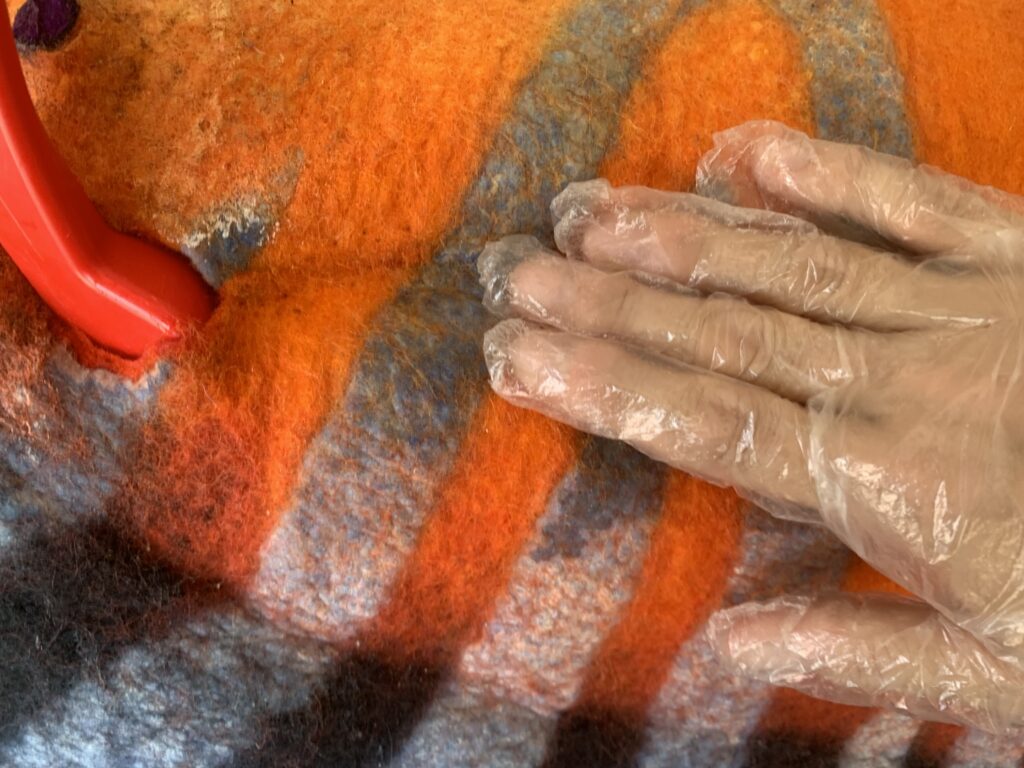
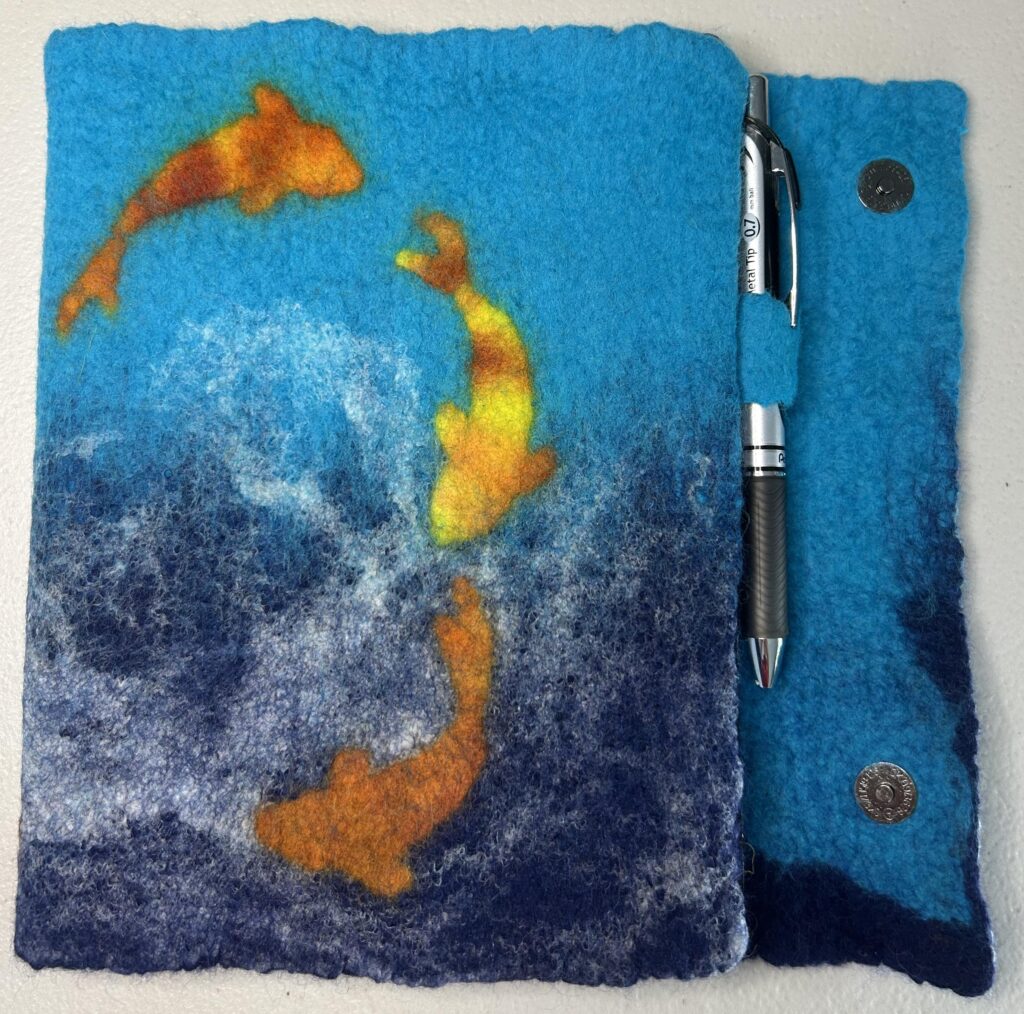
Finally a bit of felting fun, a new journal cover. When I started laying out the wool for this I was planning to cover it with yarn in a grid pattern but just as I was about to start laying out the yarns it screamed, “WATER!”. So I rummaged in my bag of prefelt scraps and found some space-dyed orange and yellow pieces. Perfect for fish! A couple of white silk hankies to emulate splashing water / surf et voila!
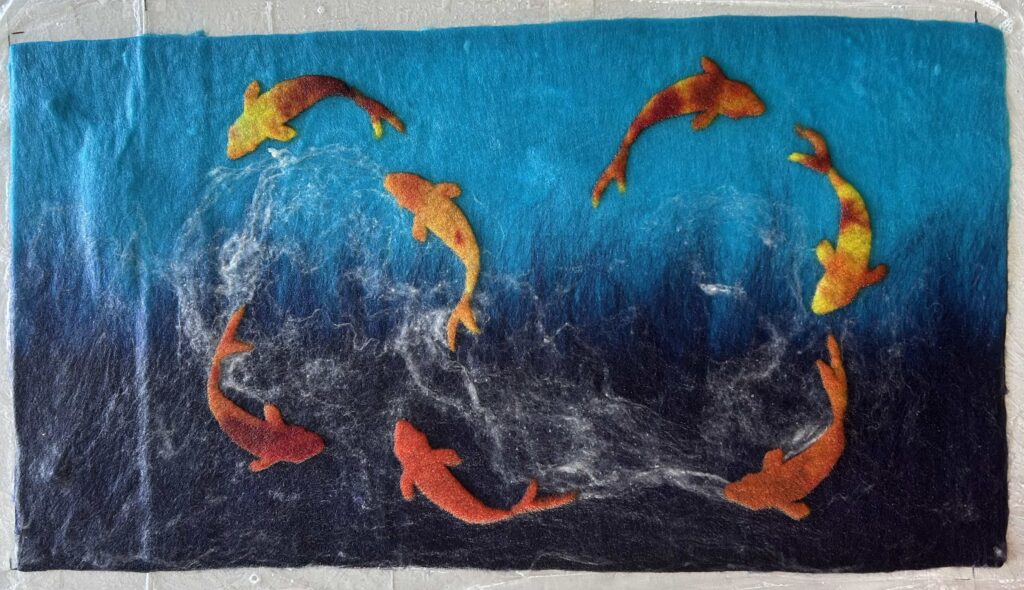
I’m so glad I ditched the yarn, the jumping, playful fish are much more fun! I can’t help but smile when I see them 🙂

Phew! No wonder the last few weeks have felt busy 🙂 Why couldn’t I remember any of that without my phone…?