Feeling a bit disappointed with the results from various metallic and hollographic papers I thought I would give fusible film a try. This will require a slightly different approach, the shapes will need to be cut out of the film before applying to the organza. I had expected to be able to fuse the film directly to the organza without the need for acrylic medium but that did not work. The film only limply attached to the organza, peeling away as soon as the organza was moved.
Acrylic medium to the rescue! Painting a thin layer of medium onto the fusible film and the pressing to the organza was successful. The fusible film was firmly attached, I gave it a quick iron before felting (literally less than 10 seconds on a medium heat).
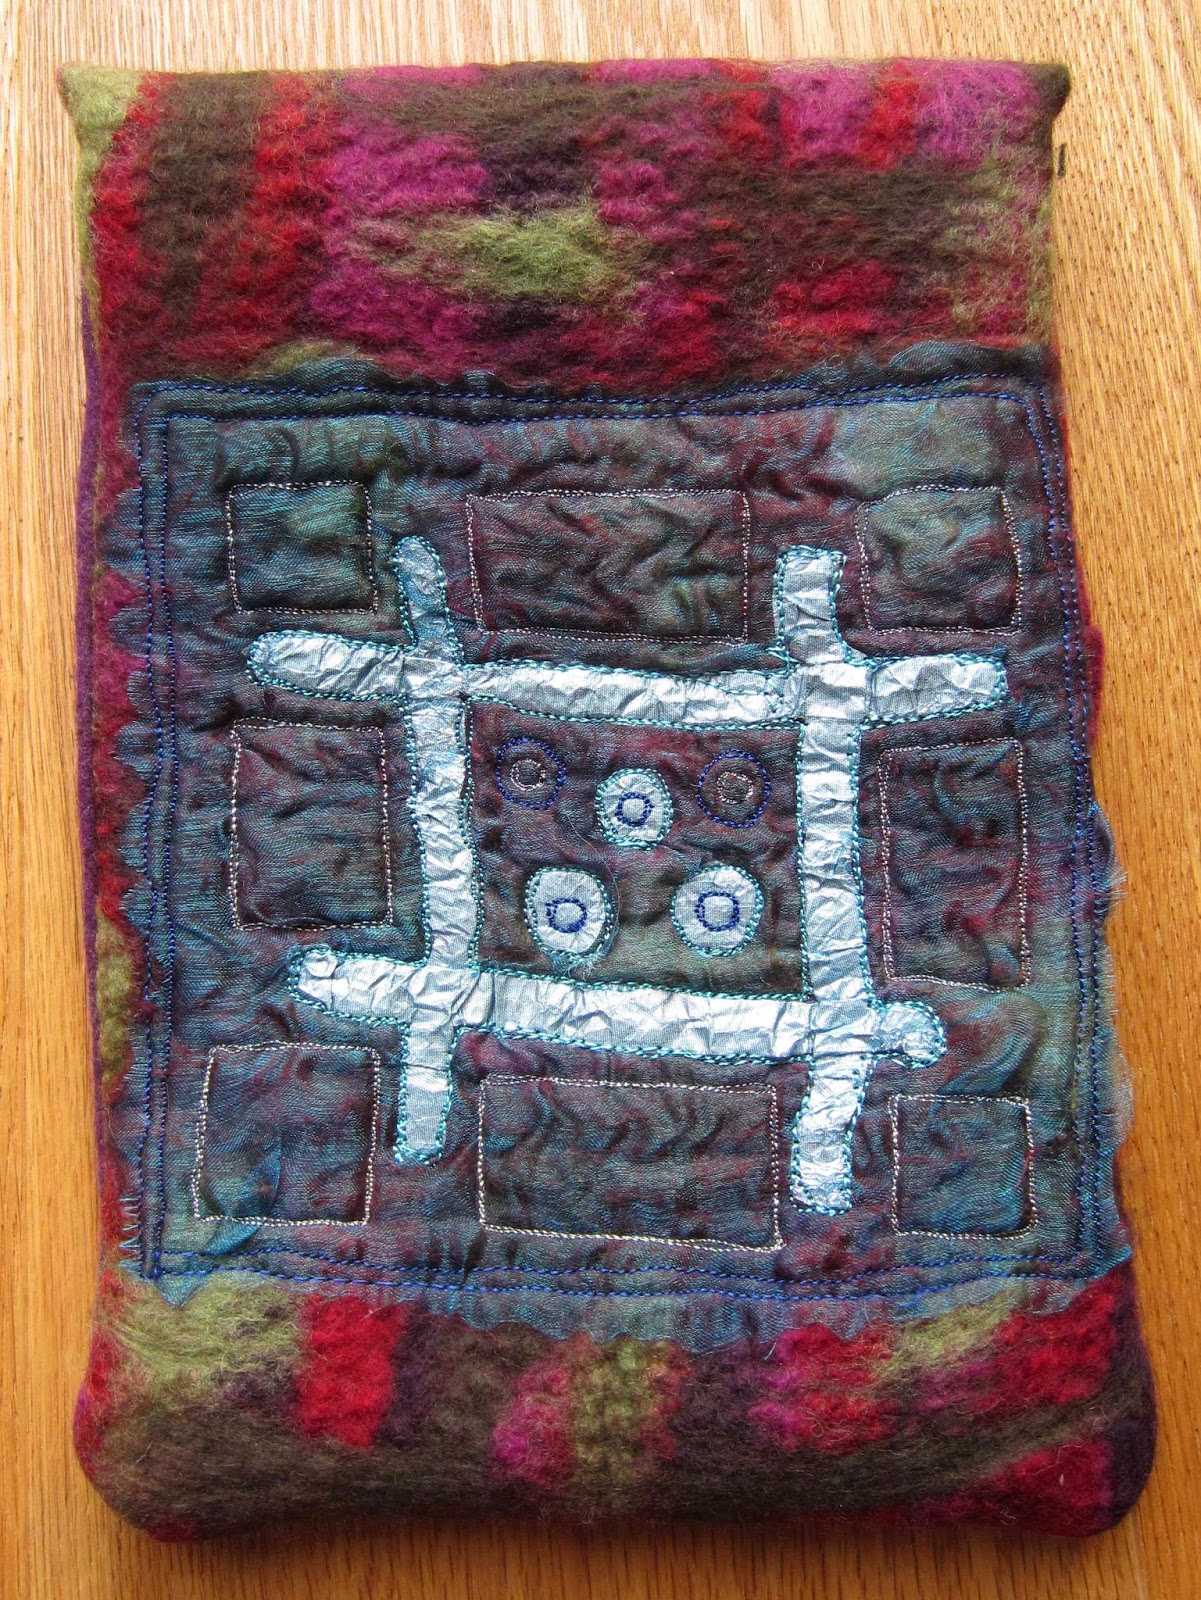
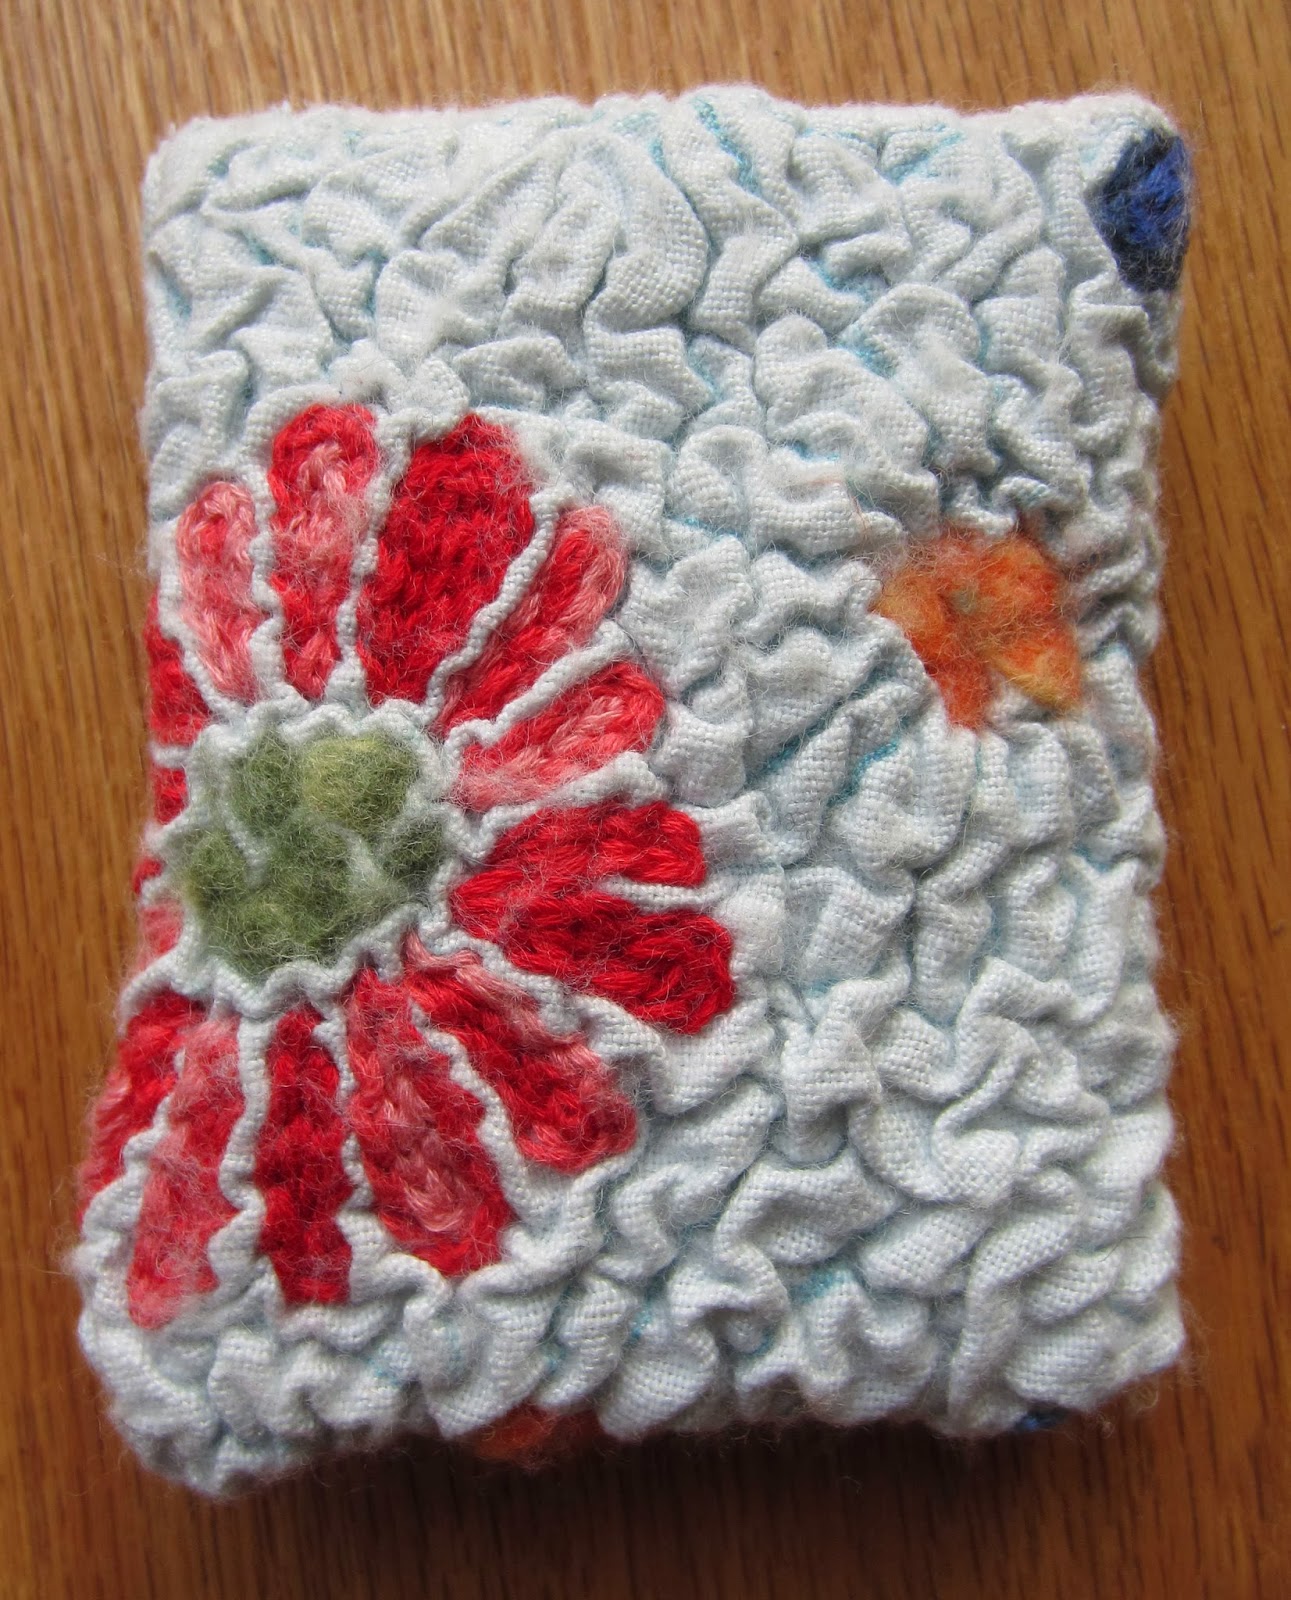
As this had worked so well I thought I would give the aluminium foil another try, cutting out shapes, painting on the medium and pressing the shapes onto the organza. So far so good…. I’m afraid I did not think to take any pictures at this stage – sorry, but here are some after felting each piece.
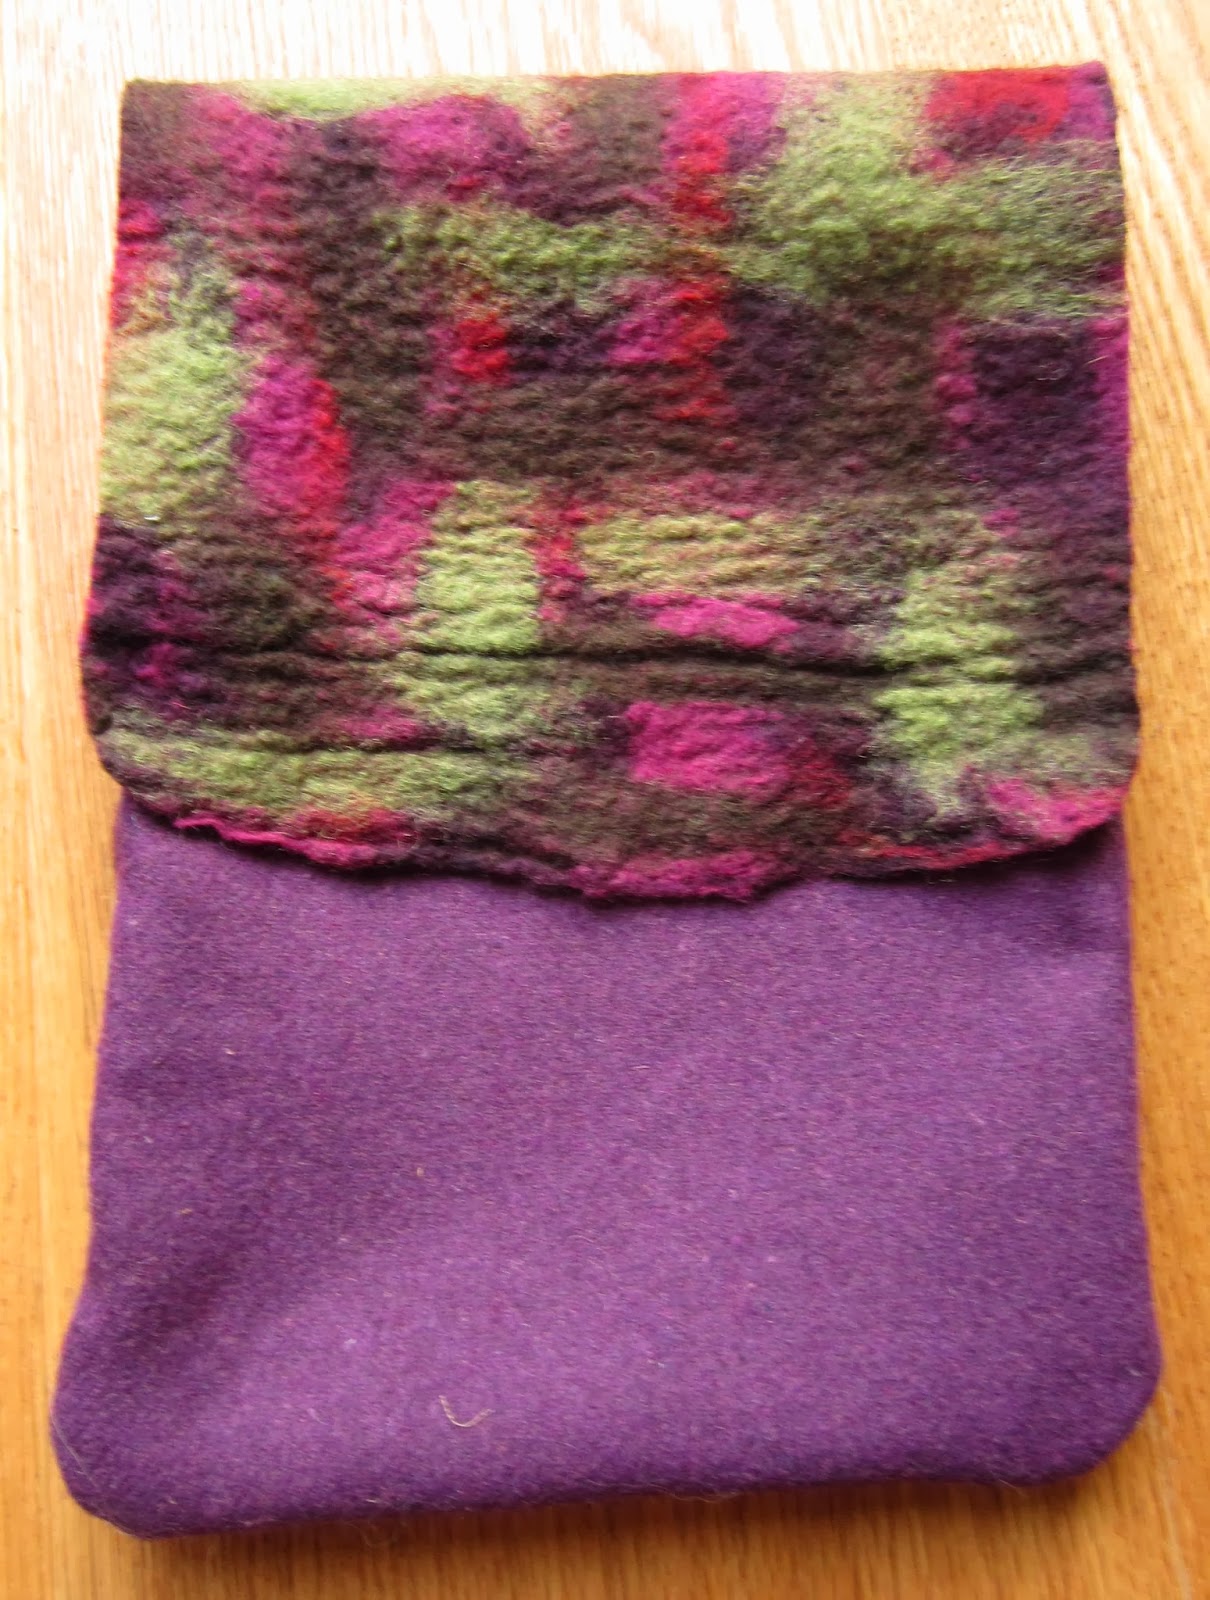
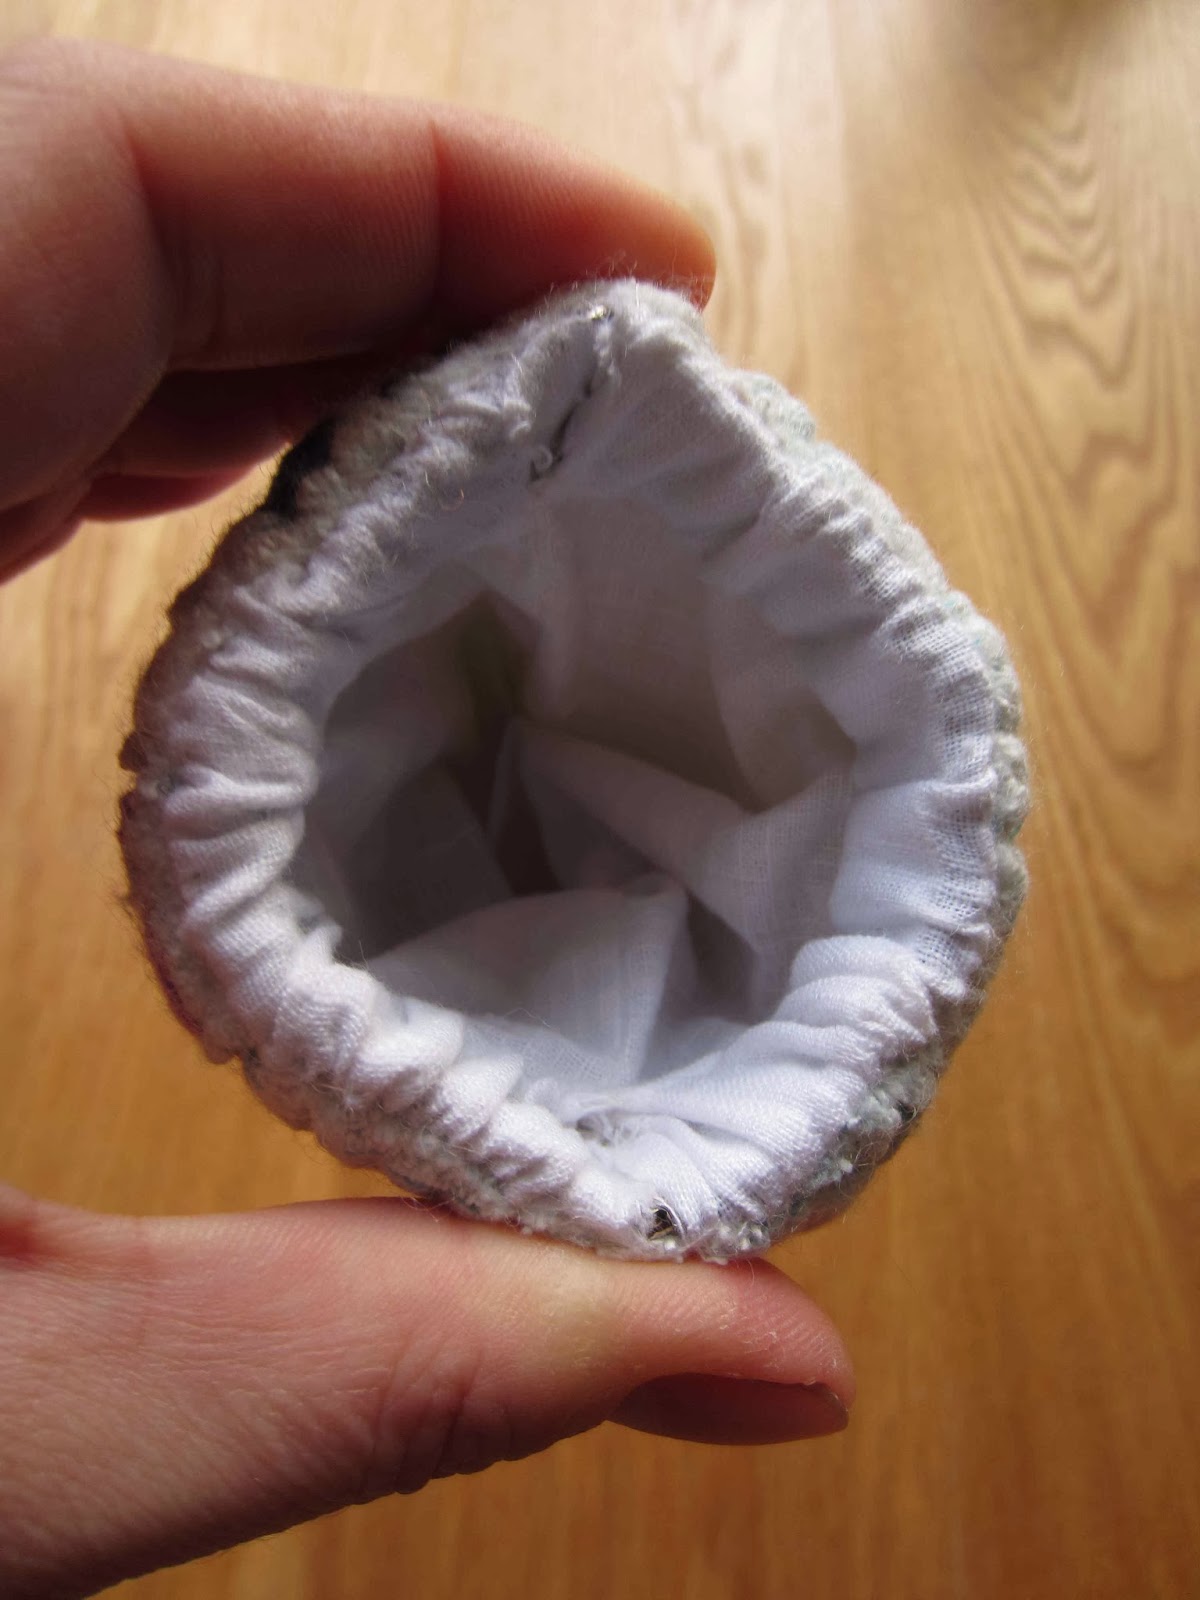
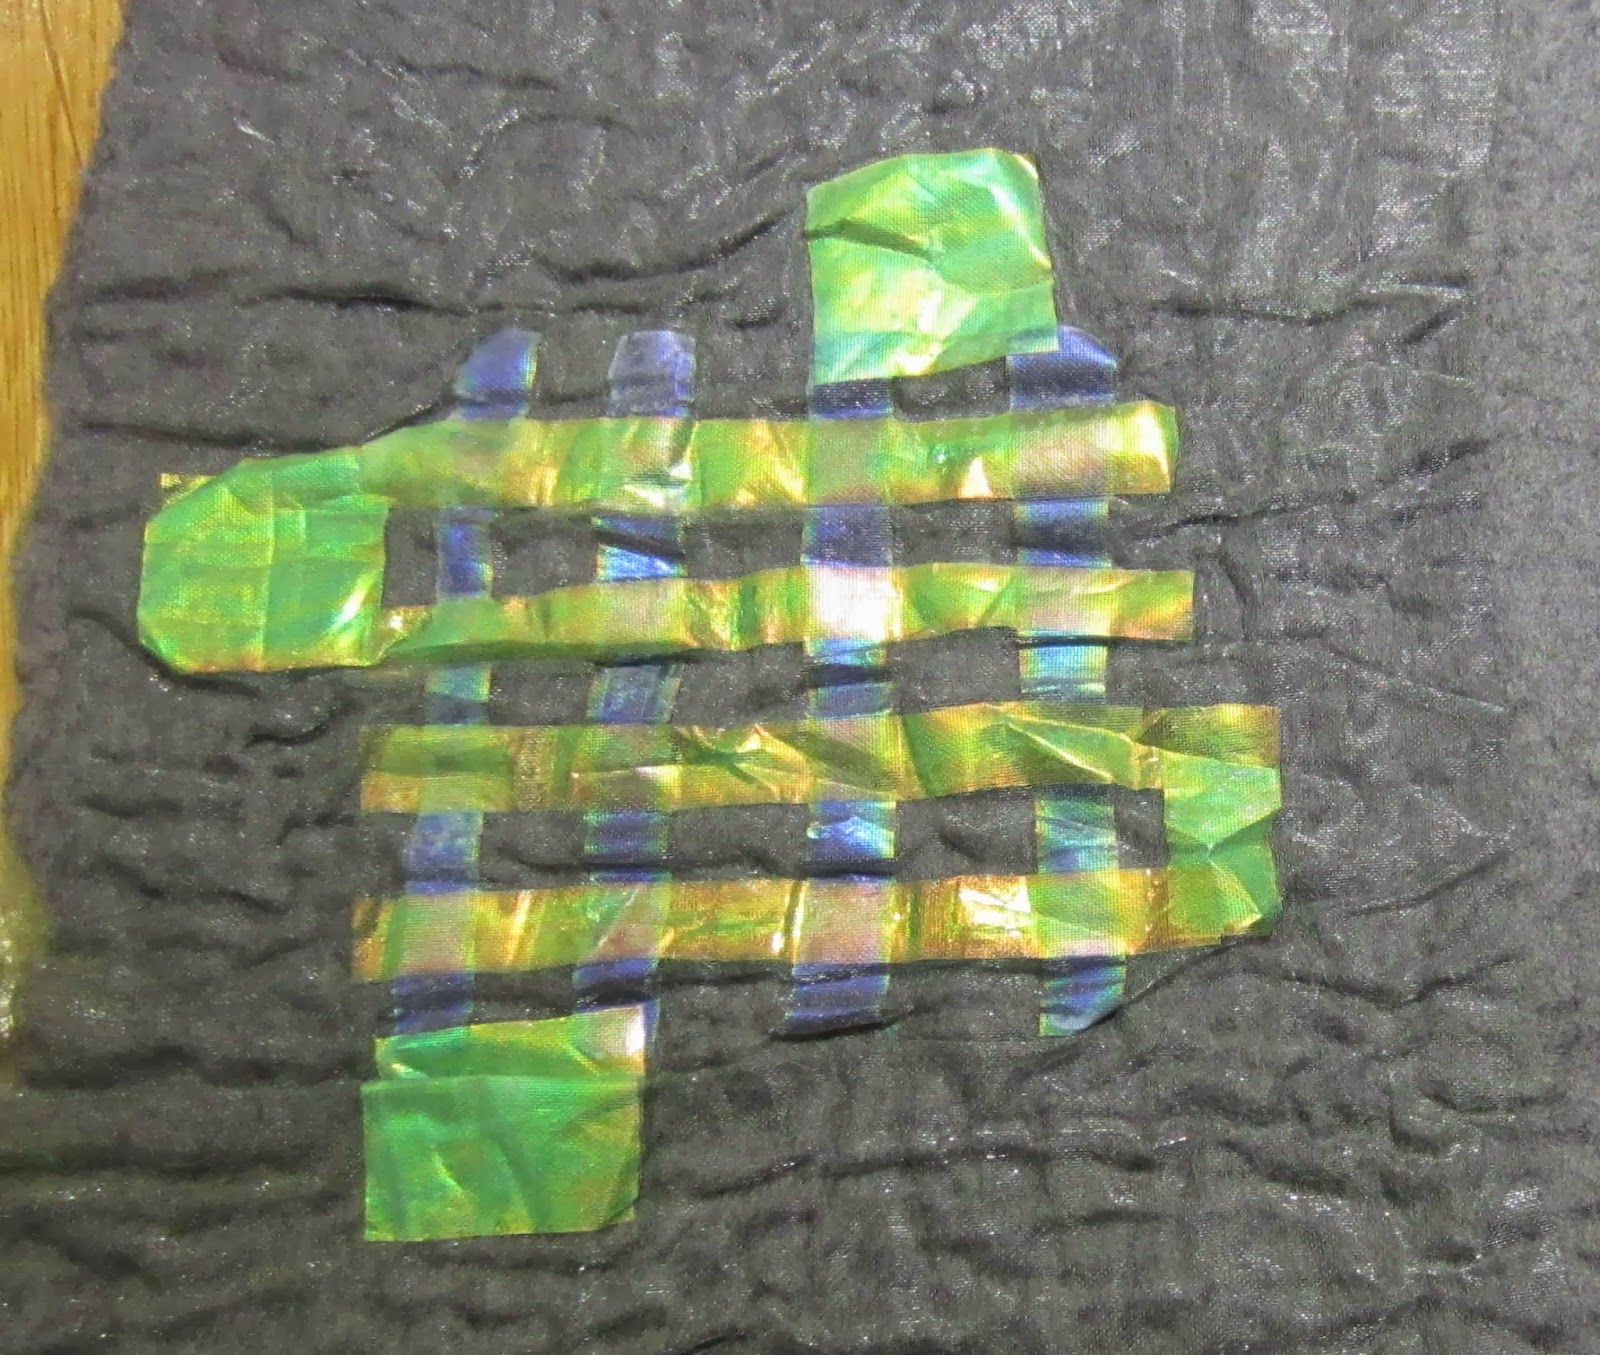
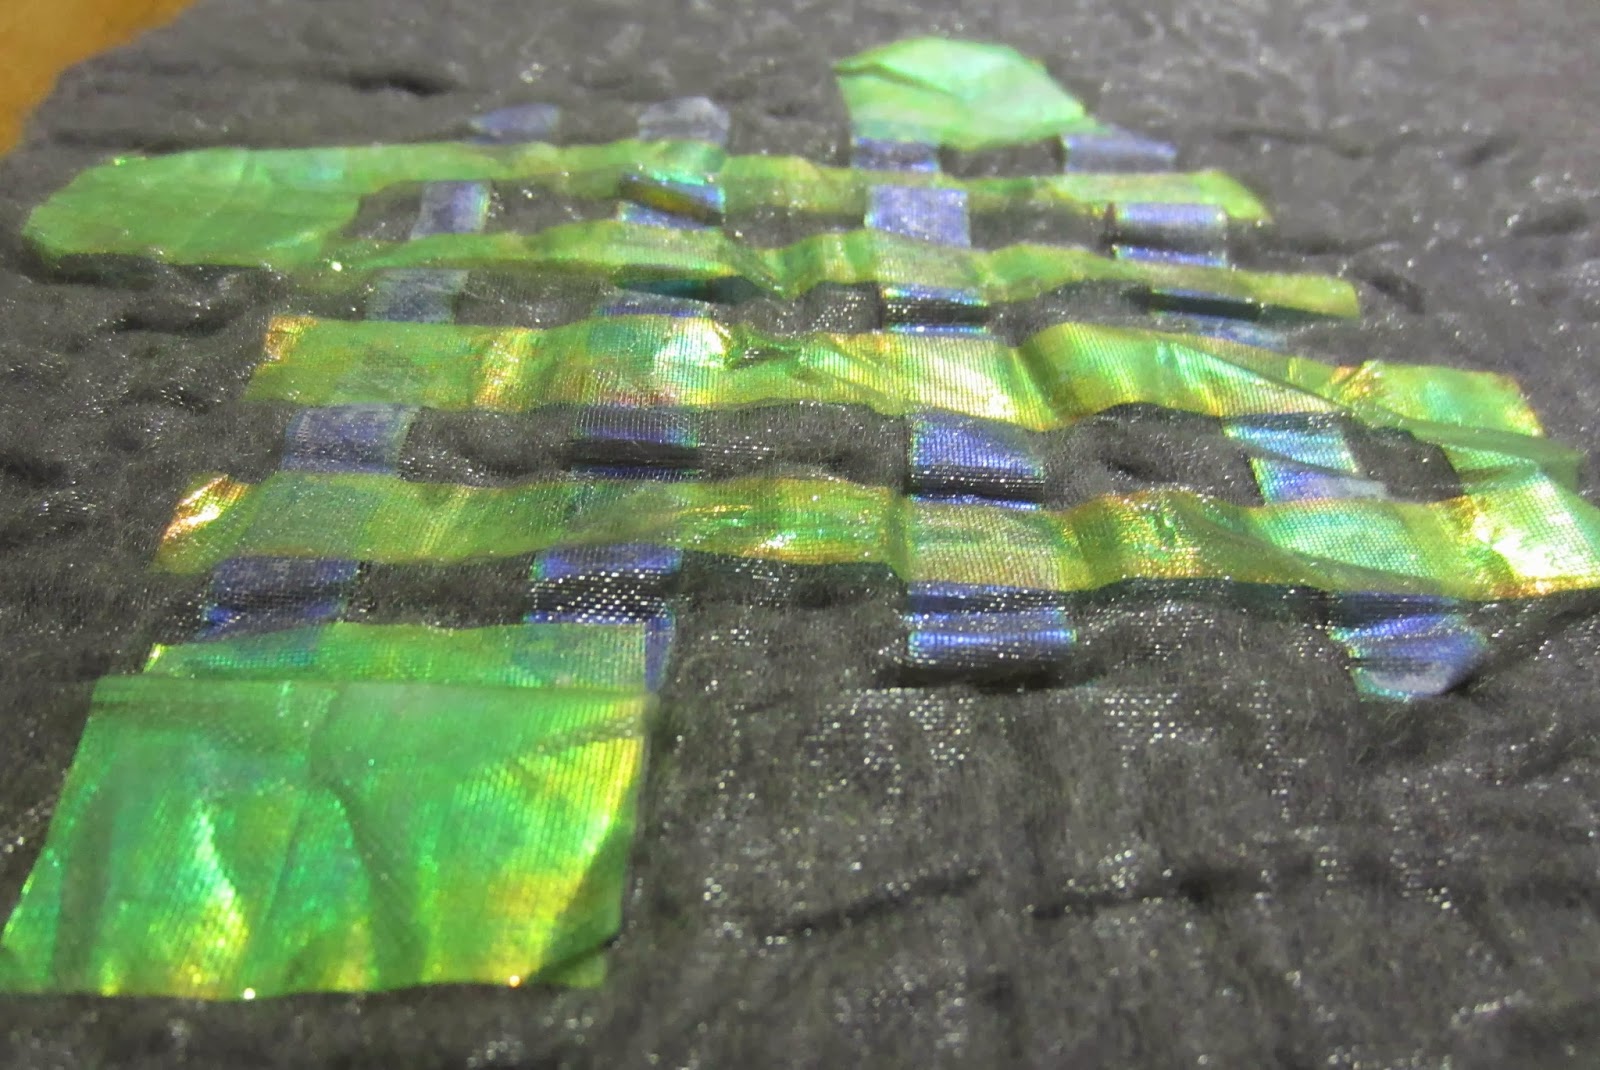
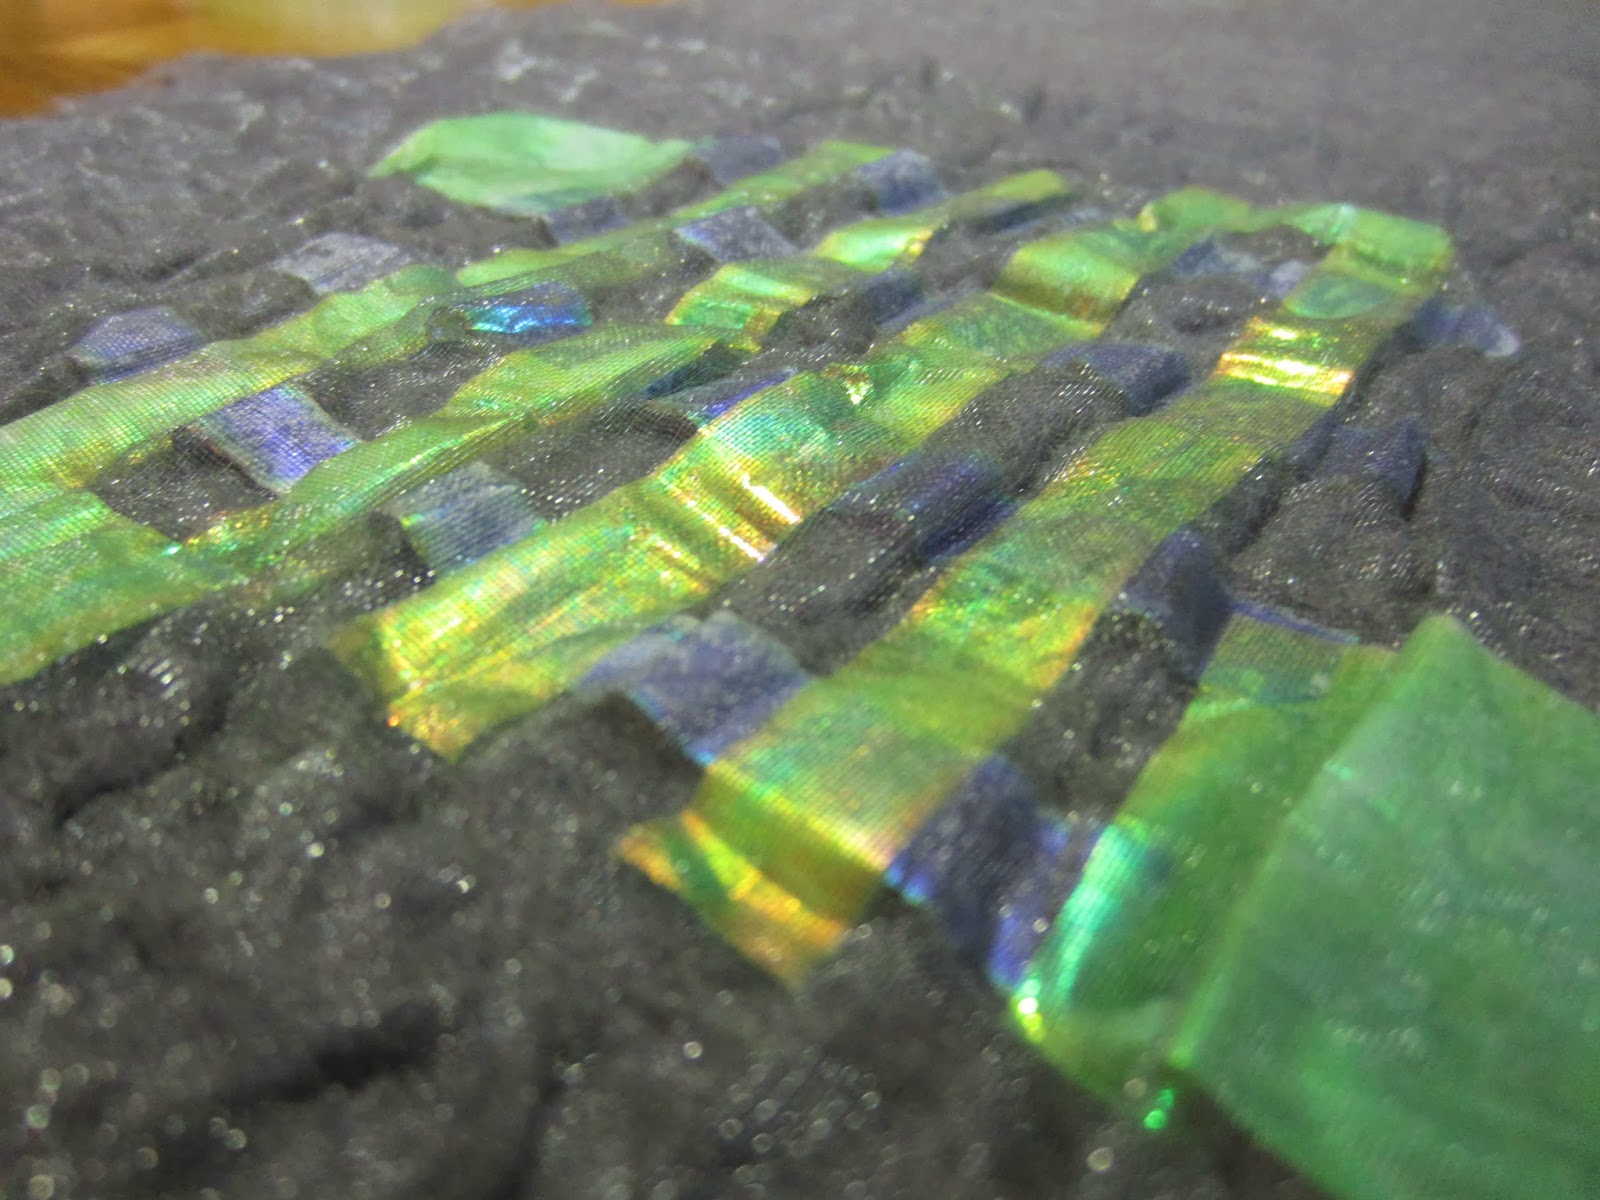
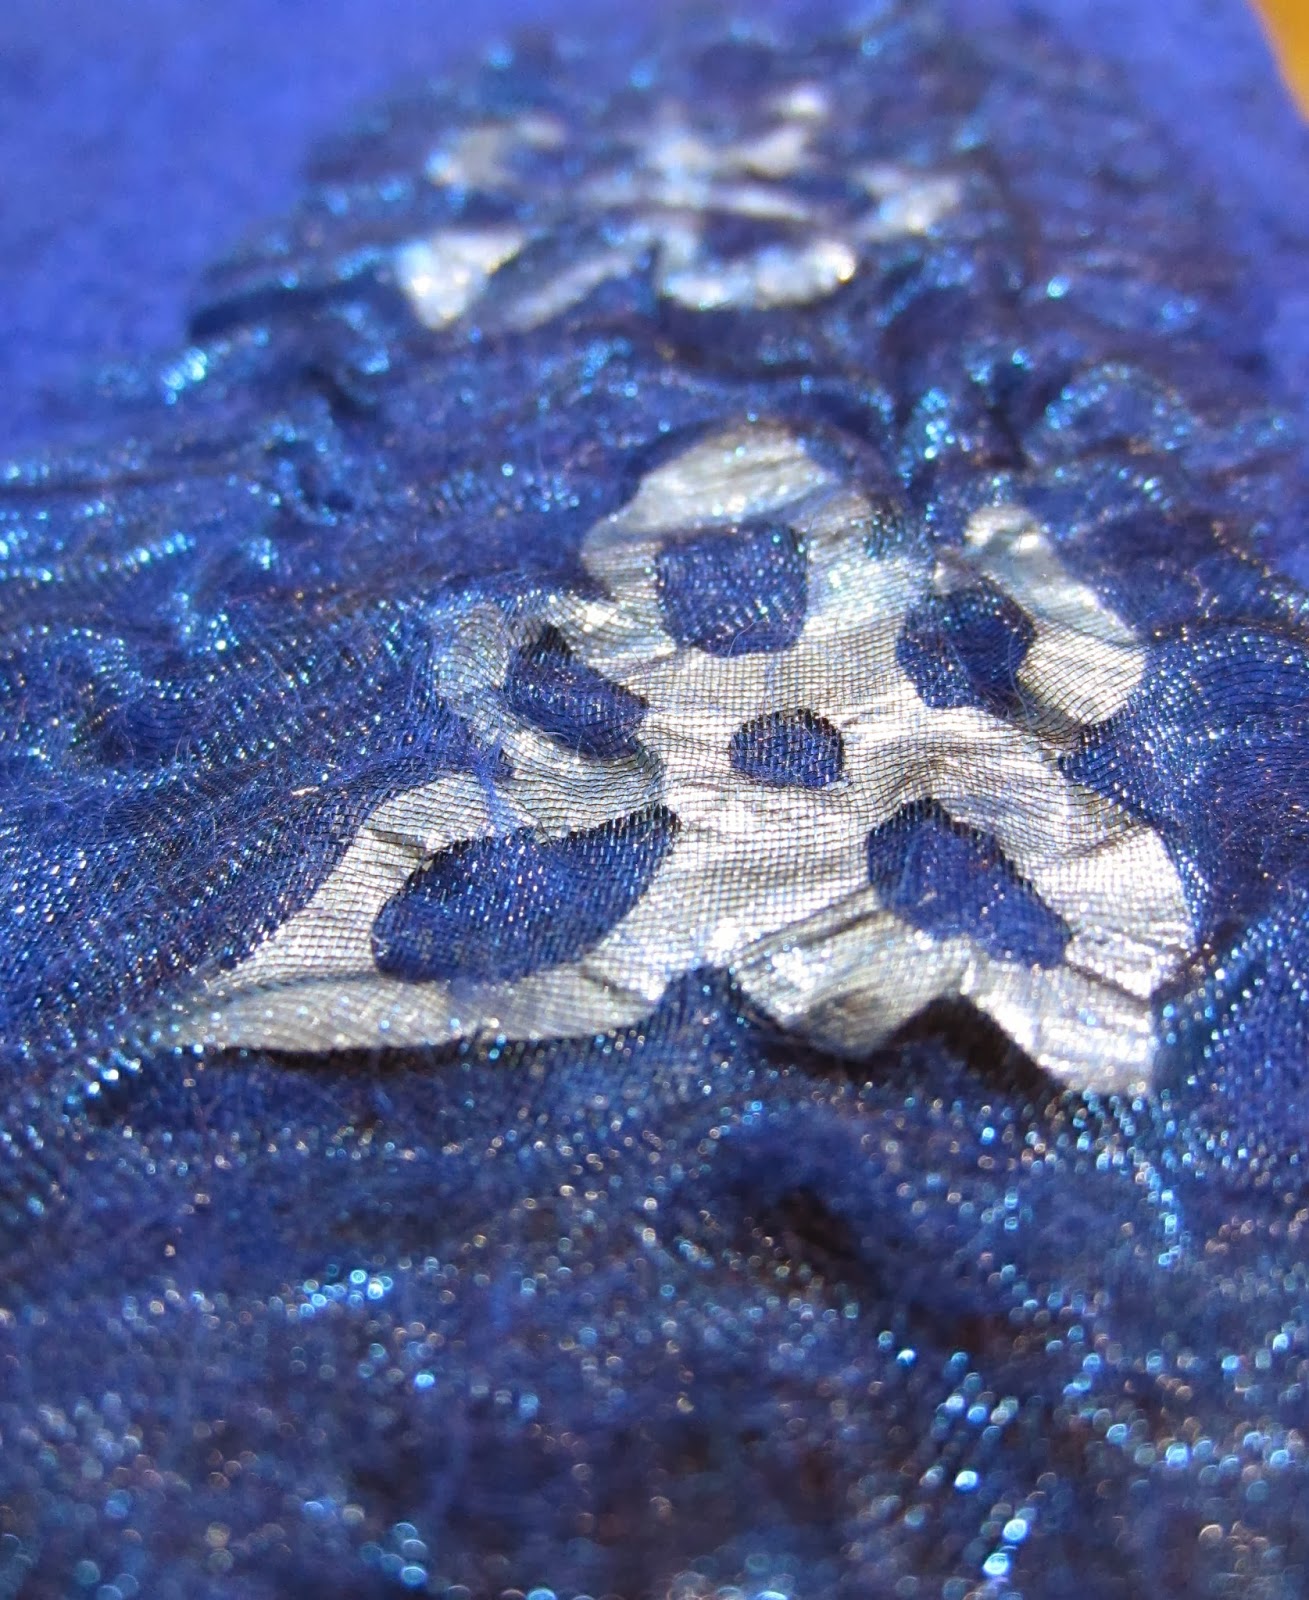
This is fusible film, I laid out 2 colours, green and purple in a grid, some folds have appeared in the film where the wool has shrunk dragging the organza and film with it. As you would probably expect the felt has not attached where the film lies between the wool and the organza.
I love the metallic, multicoloured effect of the film. It is almost holographic in the way it changes colour as the direction of light changes.
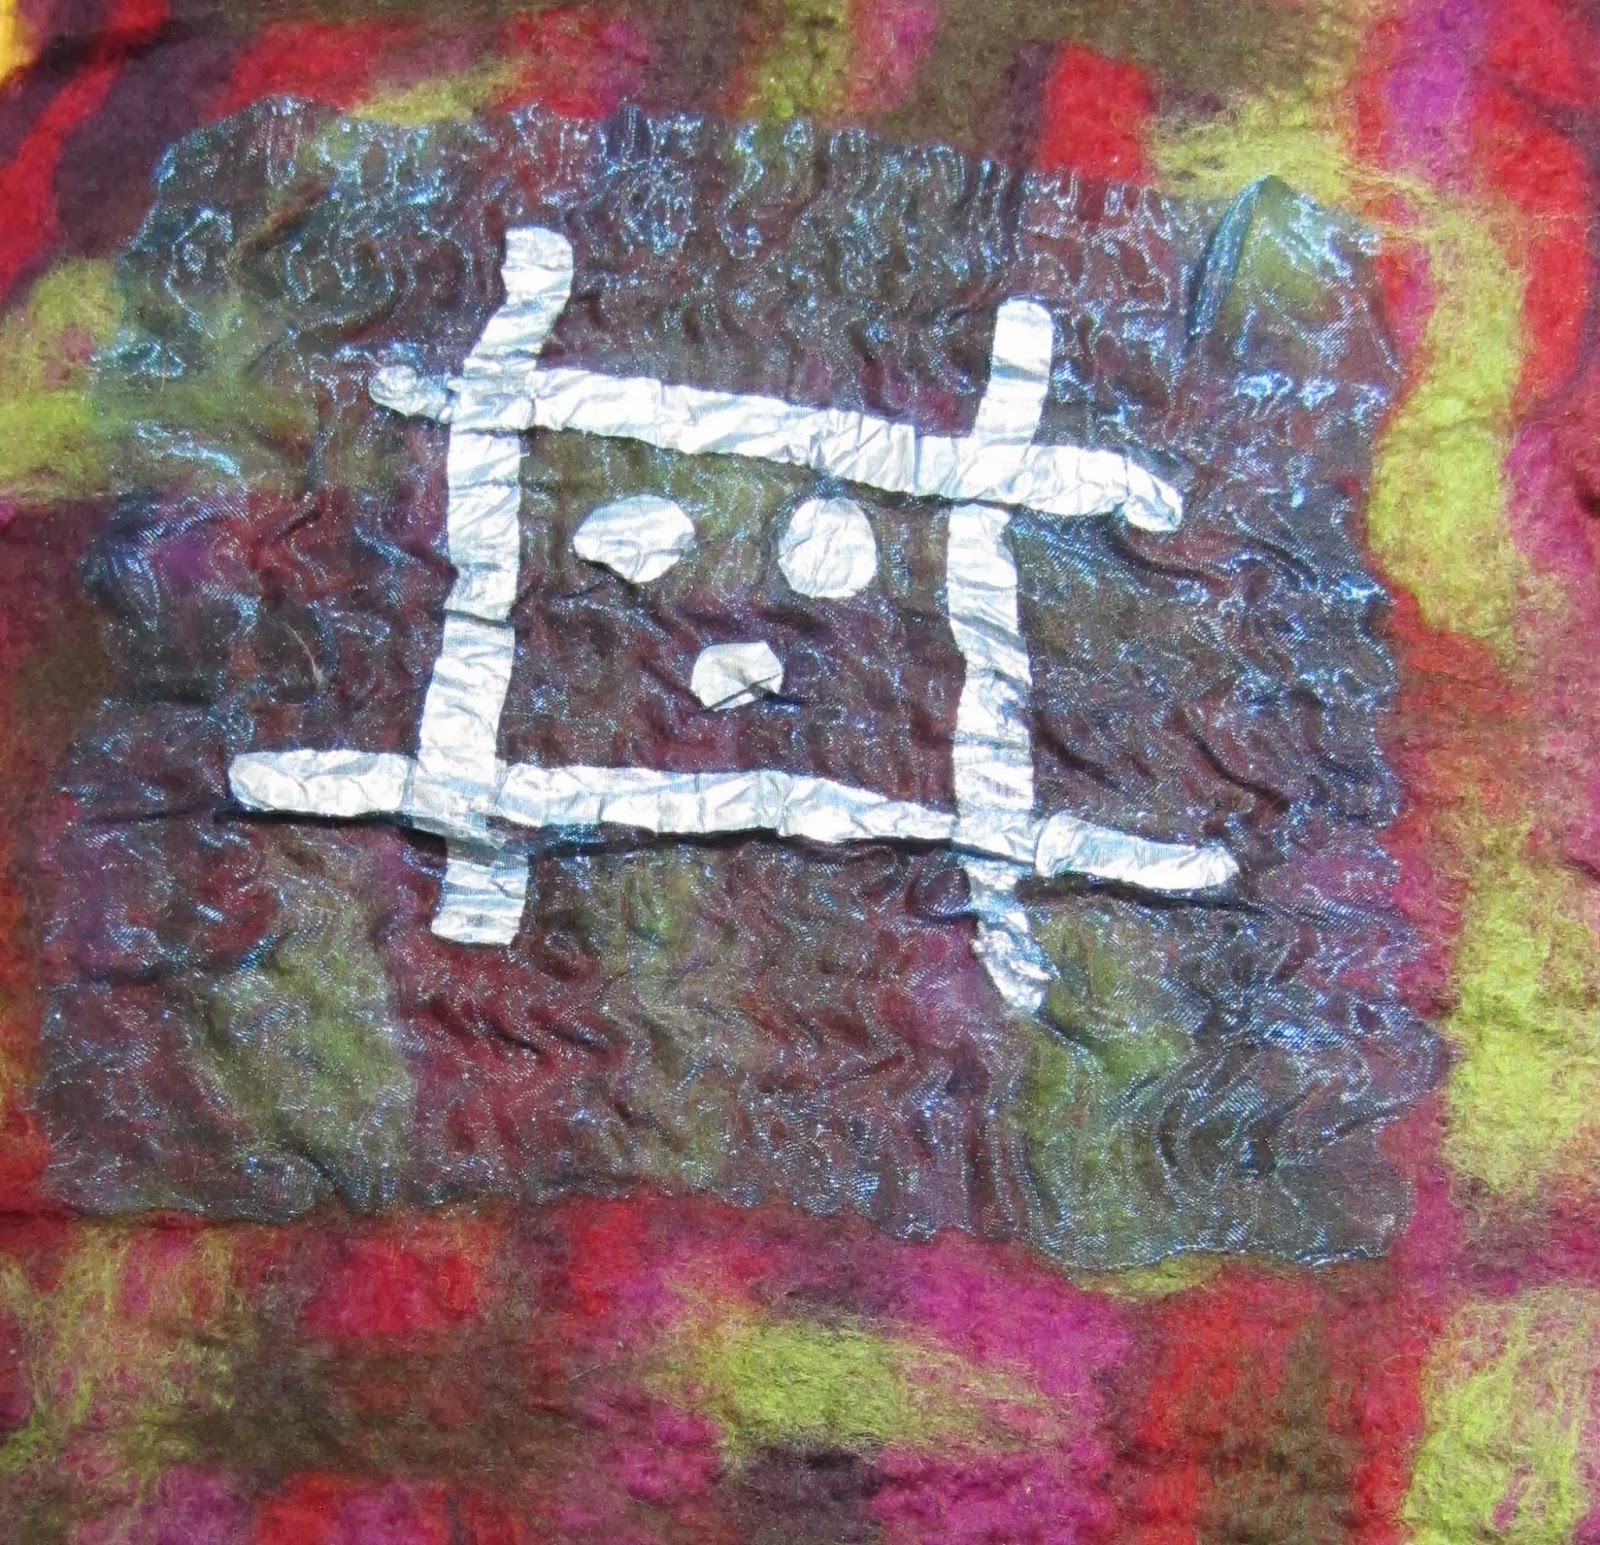
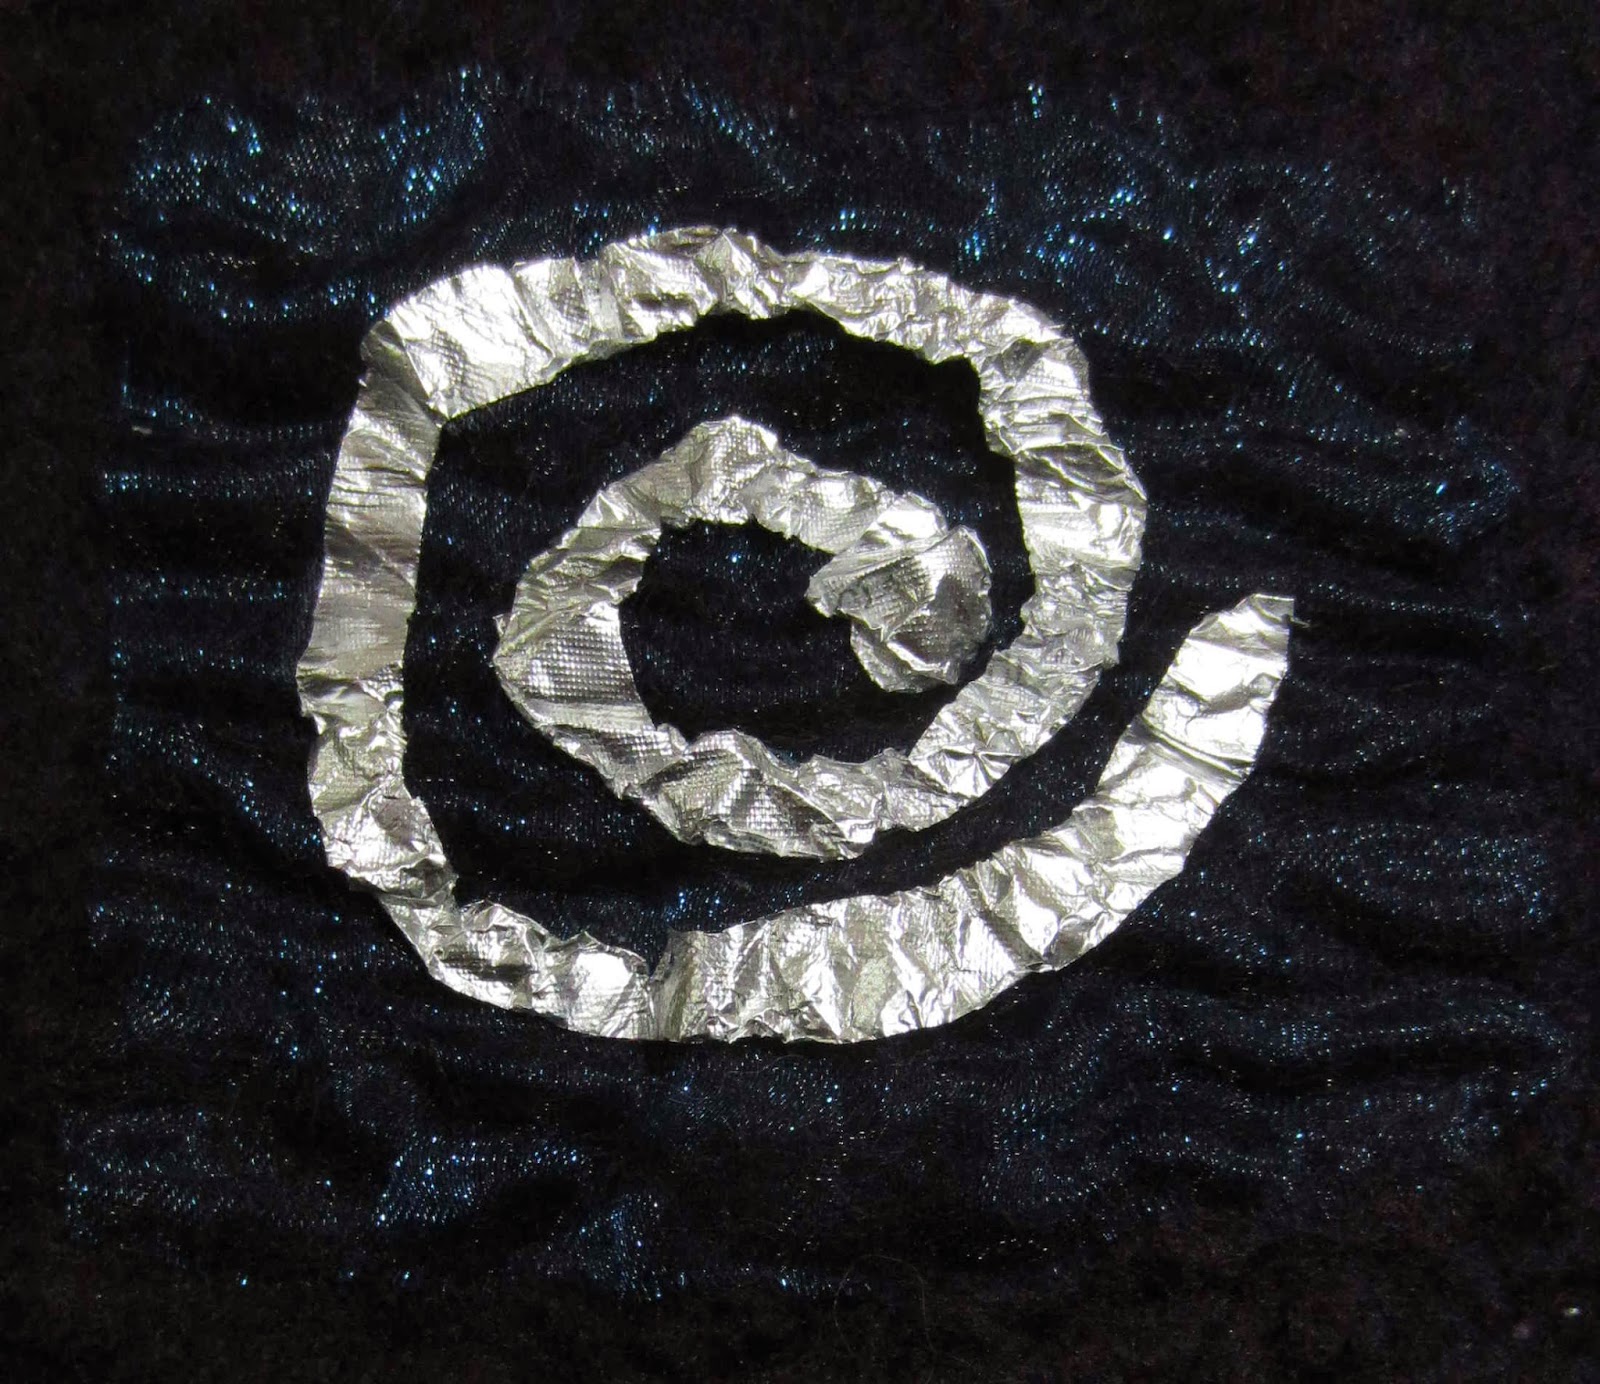
I also had a play with aluminium foil.
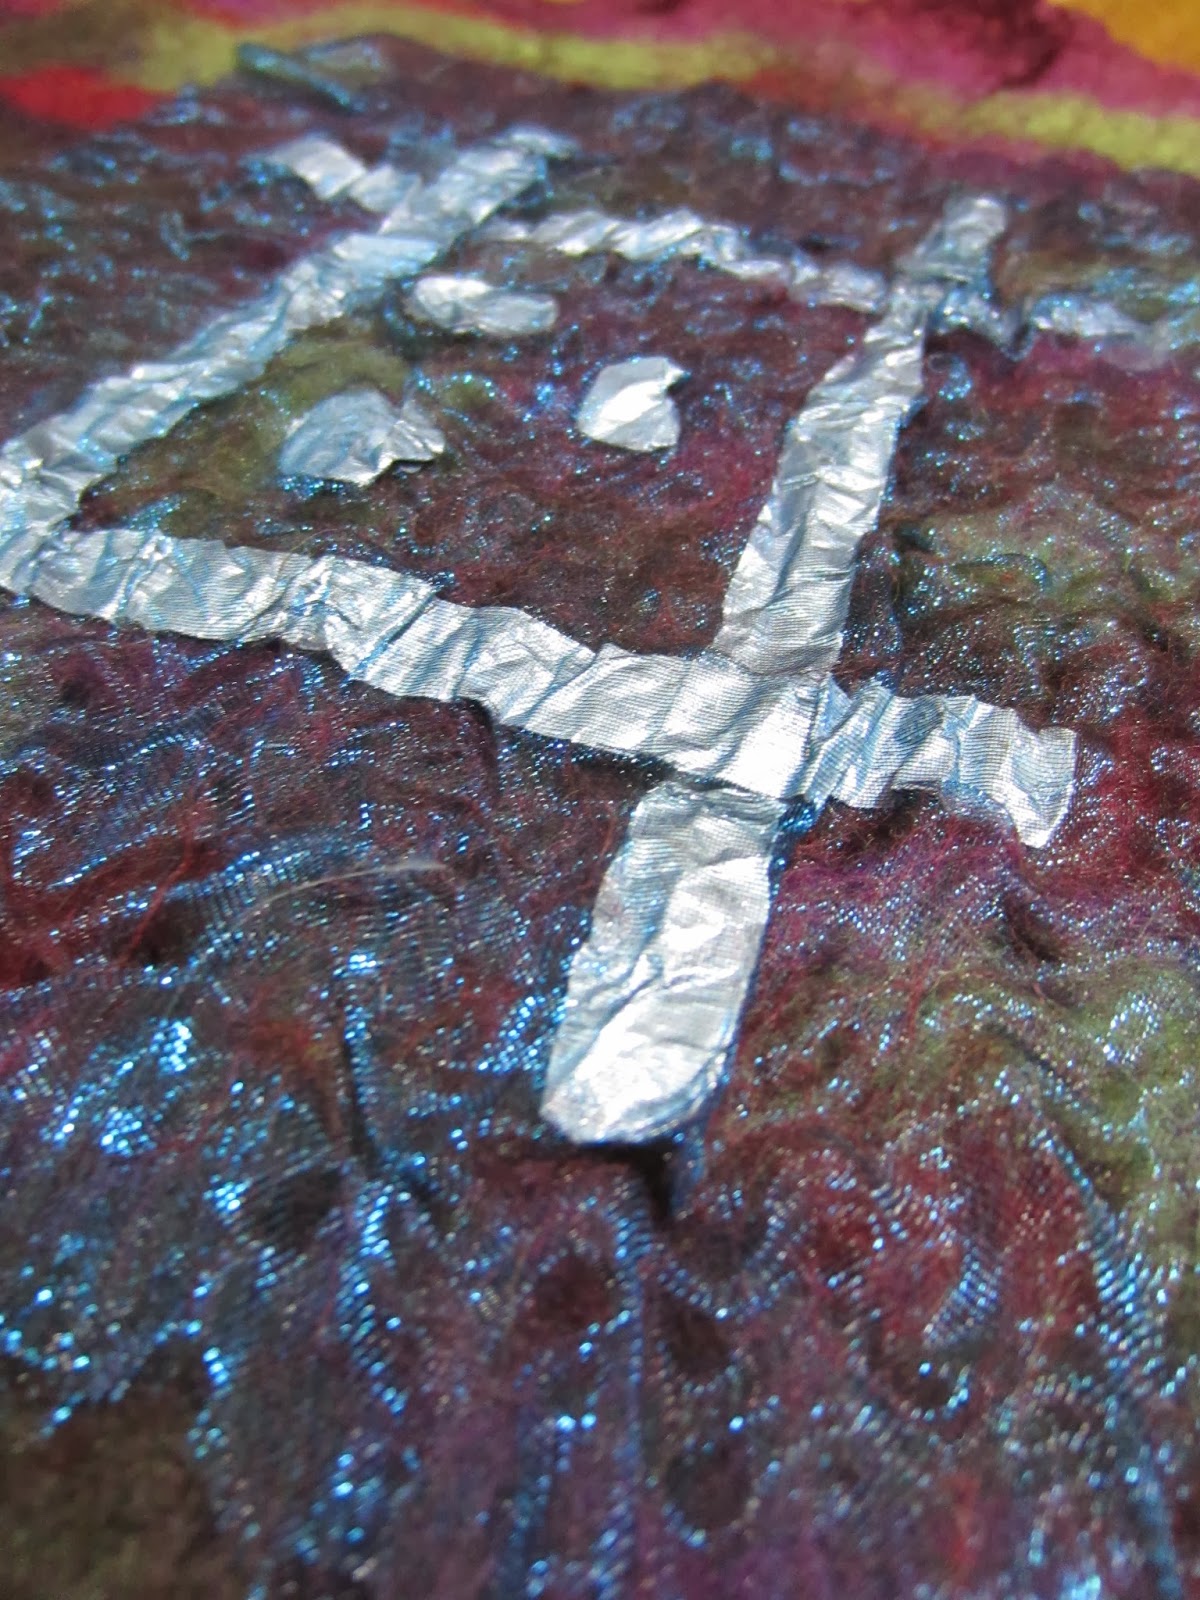
The foil has rippled where the wool shrank. Laying the laminate with foil beneath the organza means the foil takes on the hue of the organza, in this case a pale blue.
I also experimented with using my die-cutter to produce more elaborate shapes, this sort of worked but the shapes are a little distorted from felting.
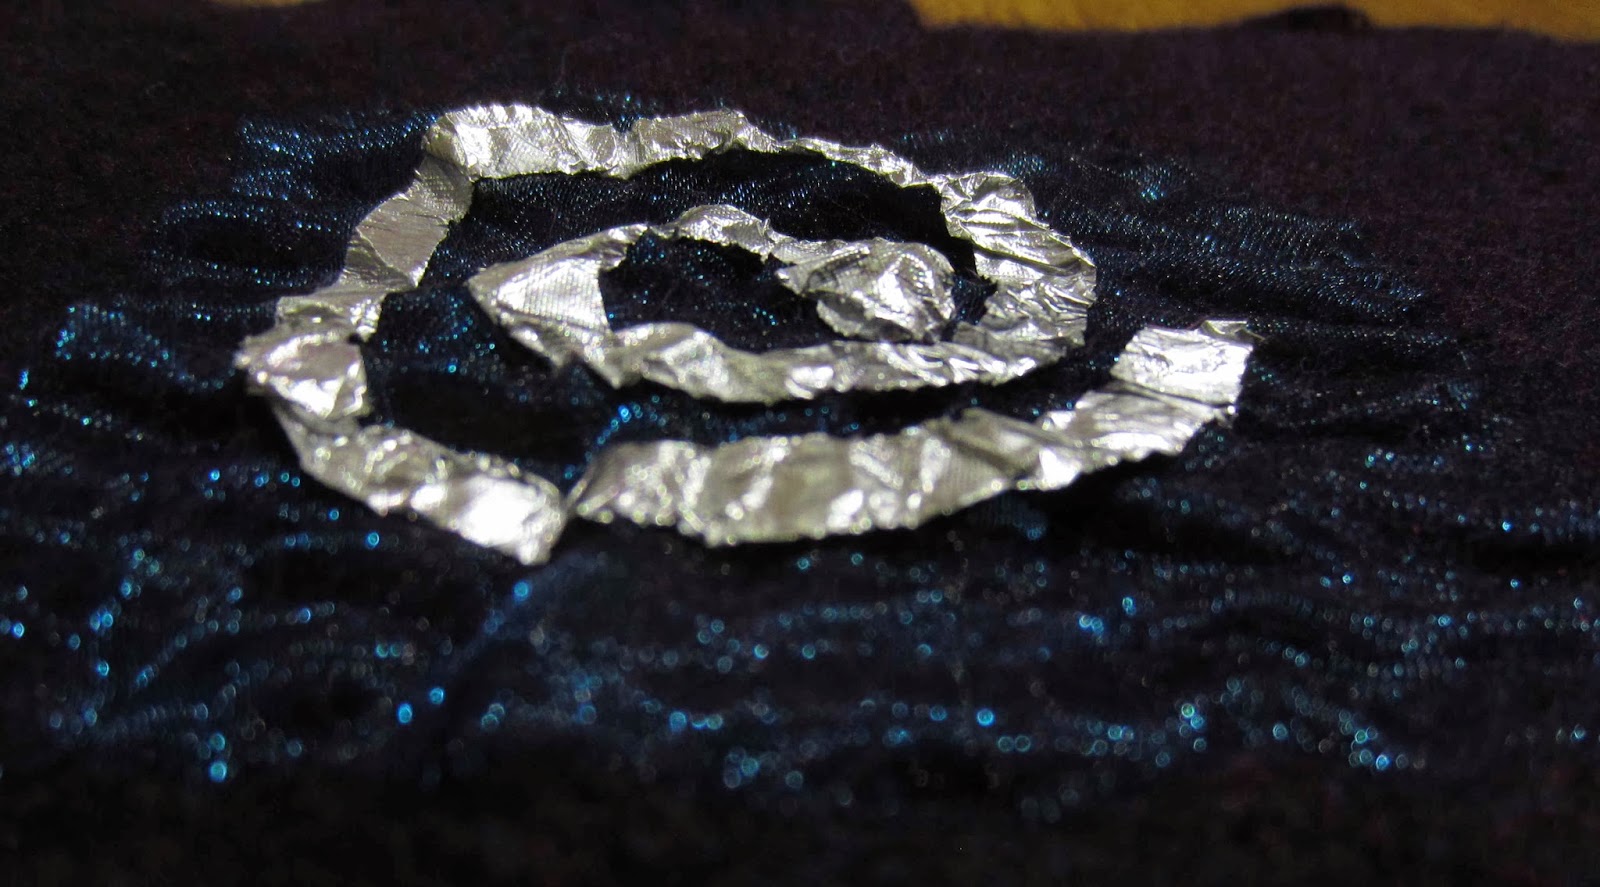
In this picture you can see how the foil prevents the felt from attaching to the organza where the foil has lifted in the lower right corner.
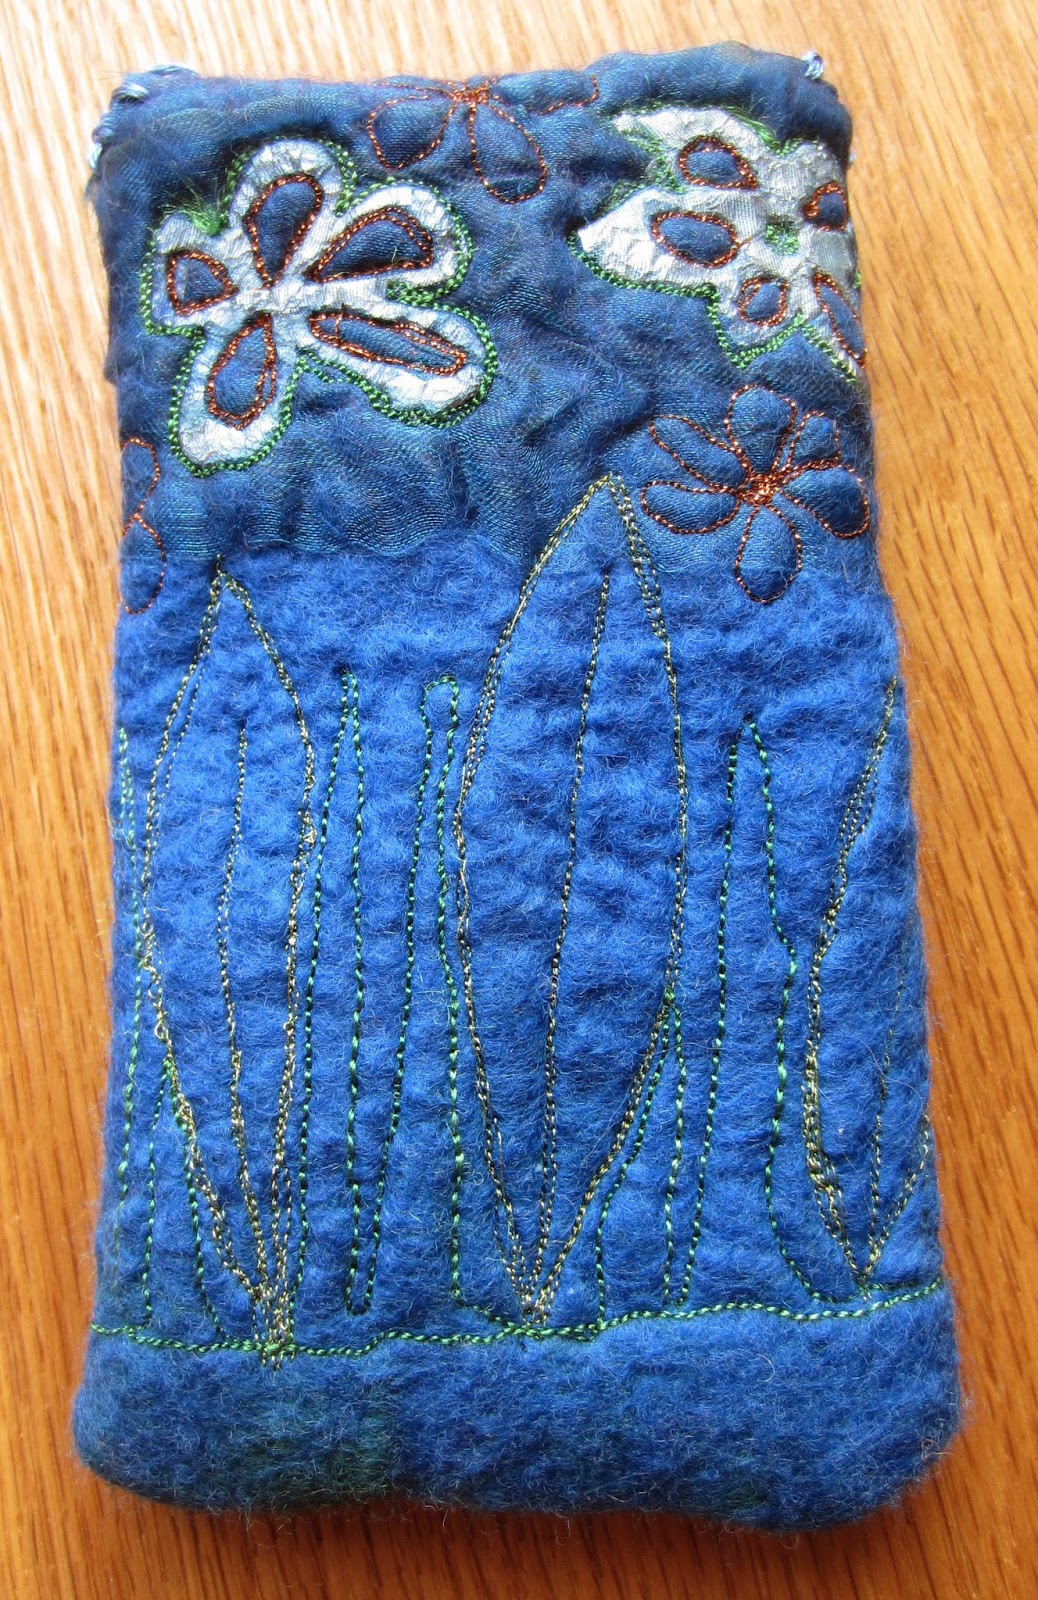
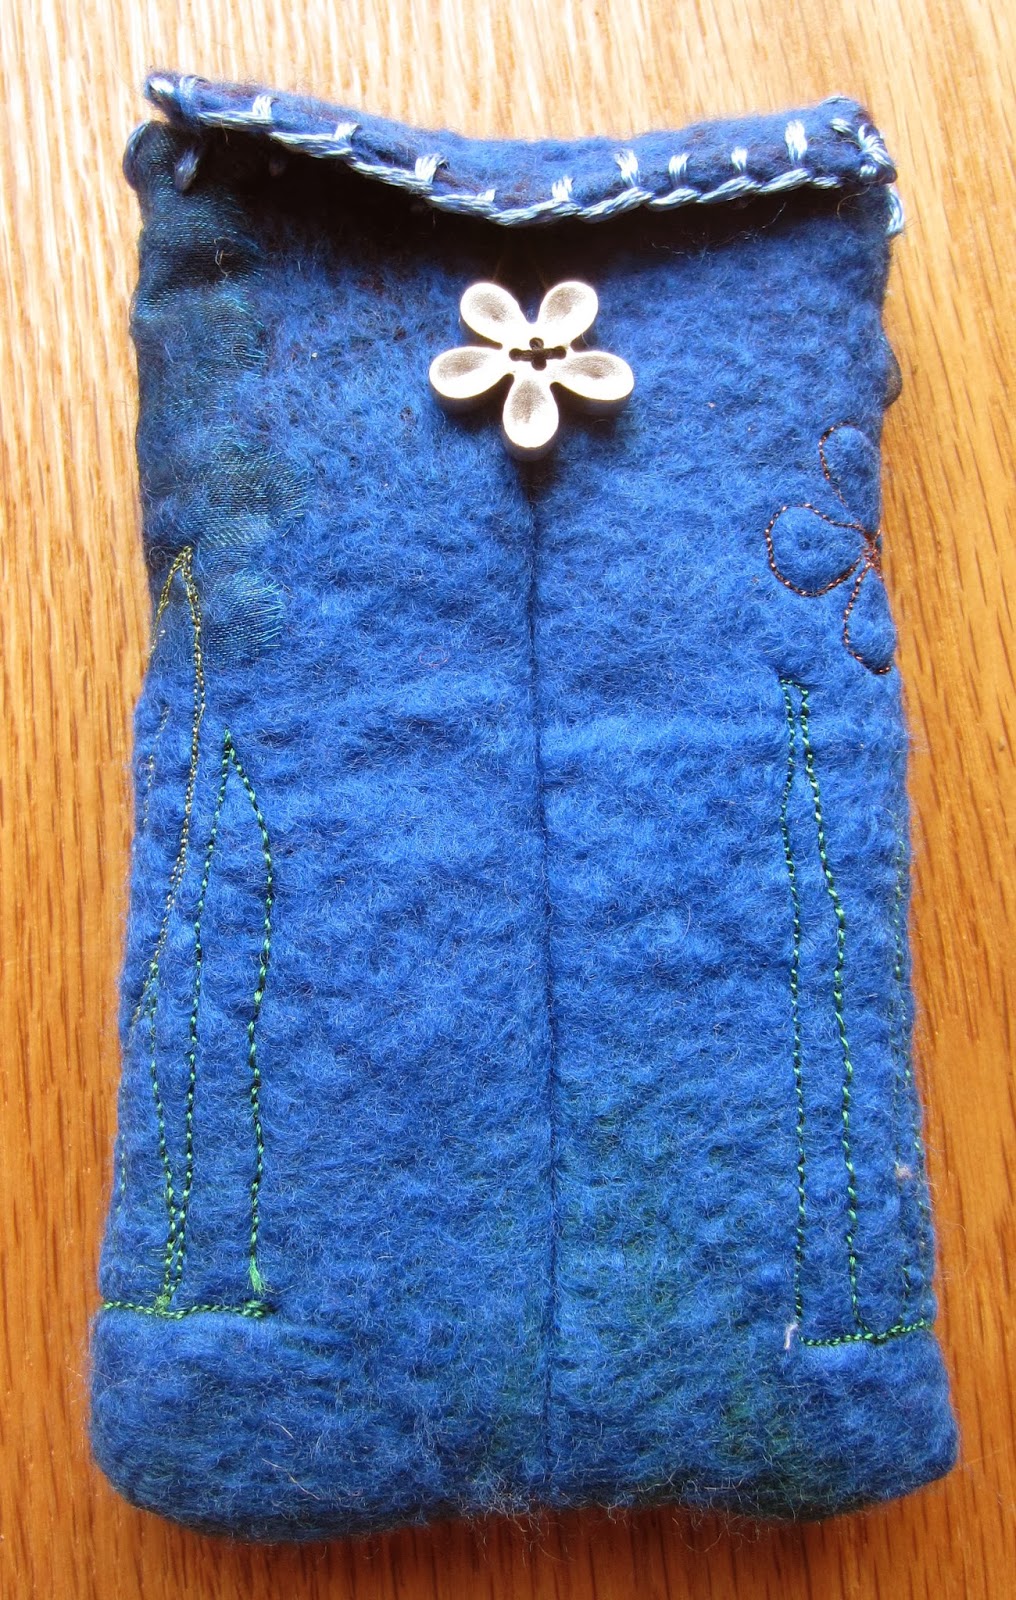
Finally, I tried one piece with the foil uppermost. This worked surprisingly well but I don’t expect it will be as durable, although the foil feels well attached now I can easily see it being torn in the bottom of a handbag if I made this felt into a gadget case.
I plan to follow
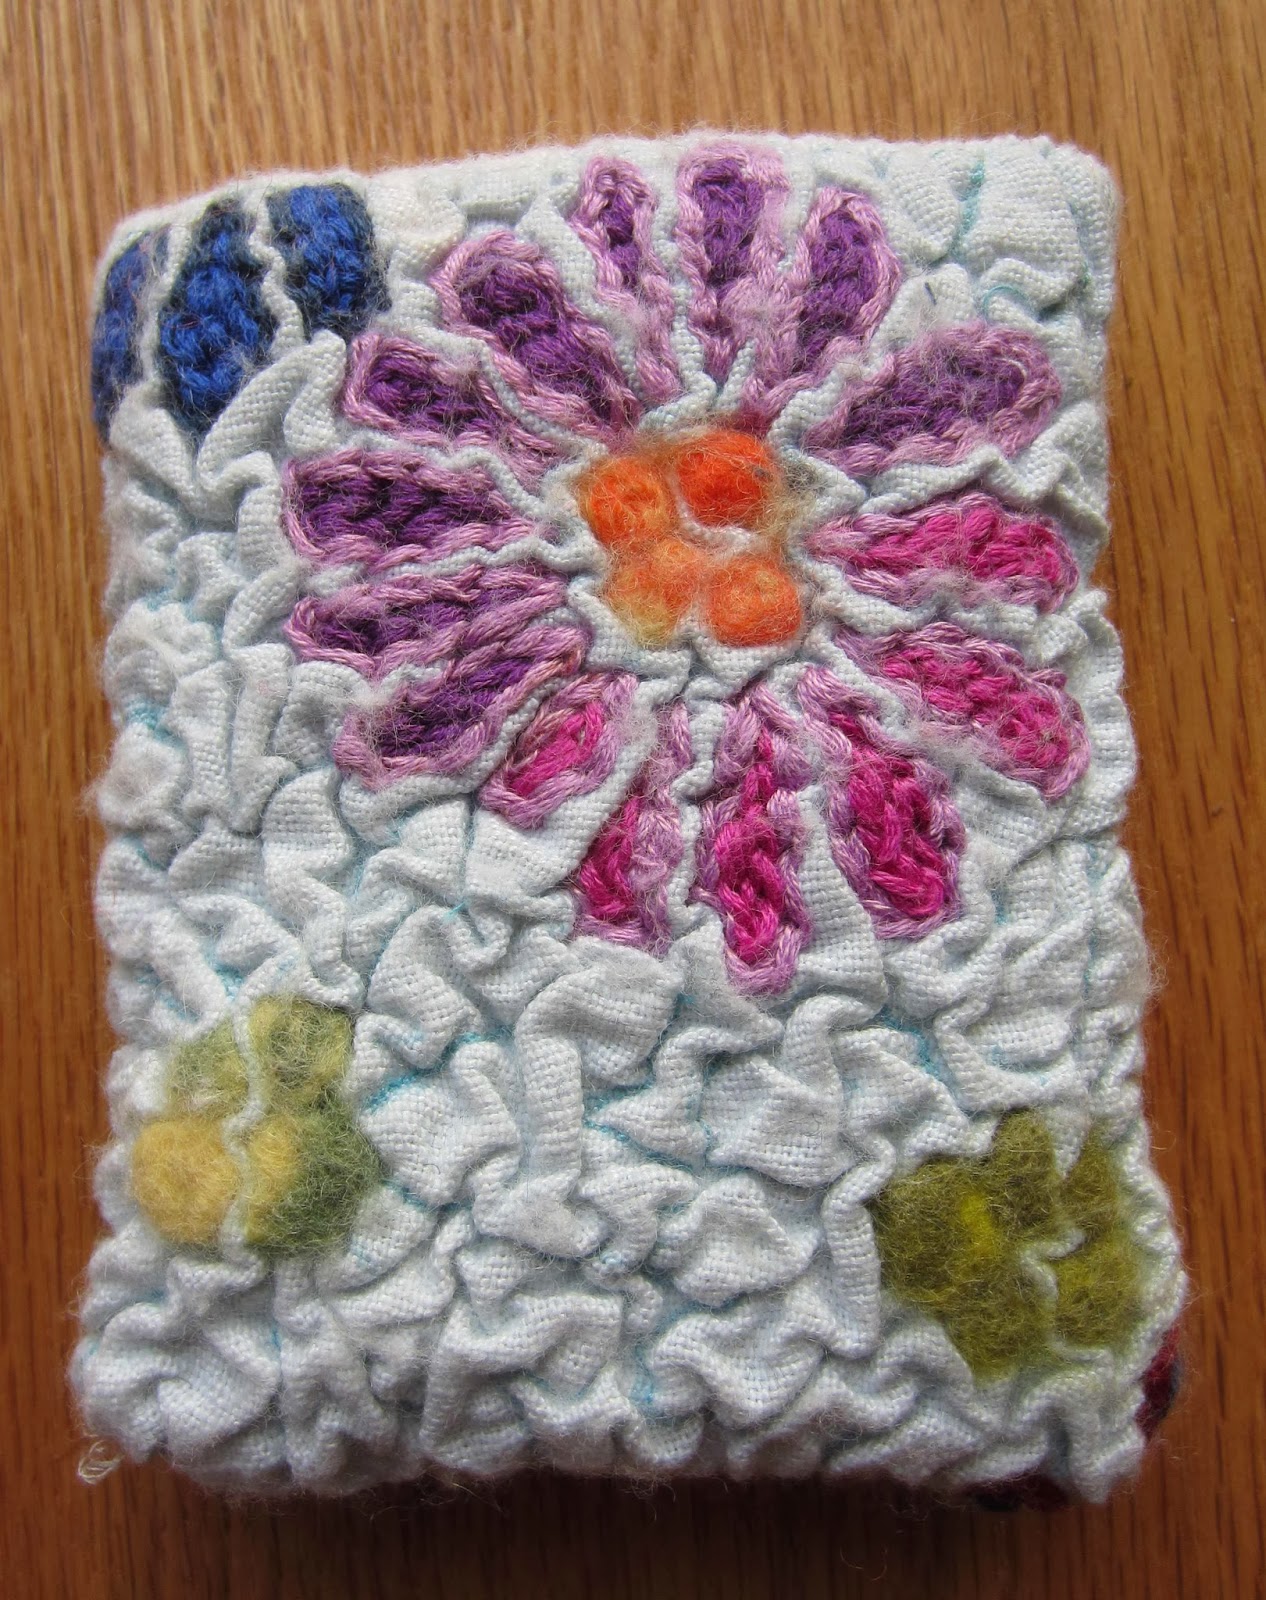
Ruth Lane’s lead and embroider some of these pieces. Her machine embroidery of the laminated fossil shells really lifted the shapes and made them very special.