Category Archives: felt resist

Hats with Judit Pocs

The last few weeks have been incredibly busy… After 9 happy years working for Eli Lilly and Company I handed in my notice, it was a  very difficult decision, the people I work with are so wonderful I am already grieving at the thought of not seeing them every day. I hope we will stay in touch but I know how difficult it is to maintain friendships if you don’t meet up regularly.

Now I am finding that it is very true what they say about job hunting be a full time occupation in itself but at least I am in the fortunate position of being able to be selective about which opportunities I apply for.

Last week was spent in sunny Devon, attending 2, two-day workshops with the very talented Judit Pocs, a felt-maker from Hungary.  The first workshop was in Tiverton, making hats. I have attended a hat making workshop with Judit before and she was so generous with the variety of styles and techniques that she taught in that first workshop, I wasn’t expecting to learn any new techniques, I was approaching this workshop as a fun activity vacation. I couldn’t have been more wrong!

The whole group managed to finish at least one hat in the 2 days, most of us had at least started a second, even if, like mine it wasn’t finished before we had to leave the community centre.

IMG_1208

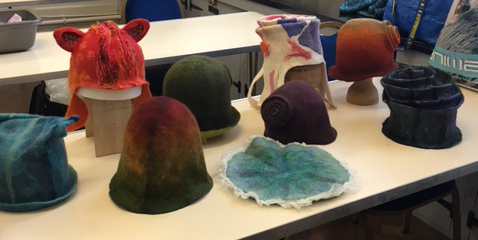
A selection of the hats we made, the white, blue and red one to the right of centre was also a bag!

IMG_1209

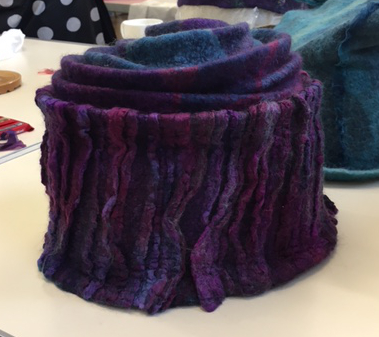
The texture on this hat was from a beautiful devore silk fabric

IMG_1206

Claire’s hat – she and I used a similar technique to create silk ruffles

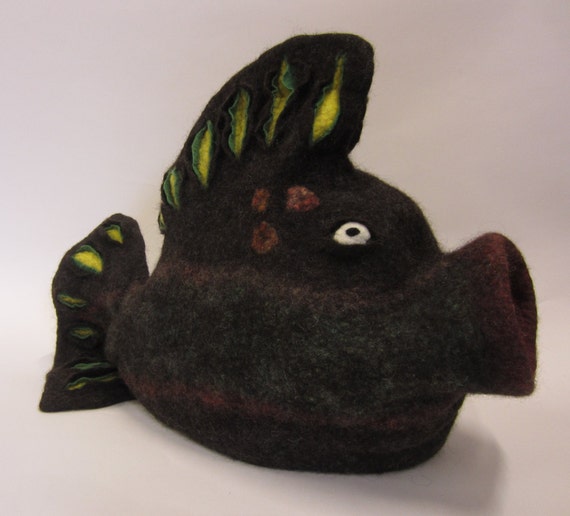
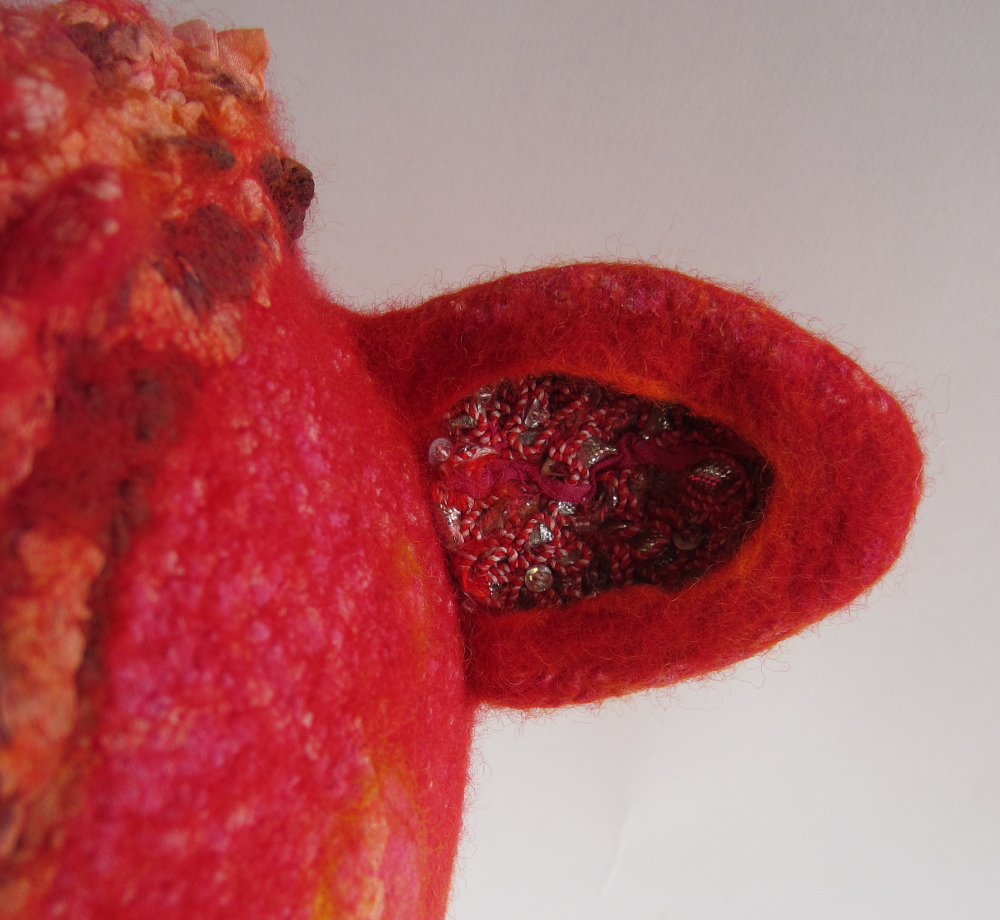
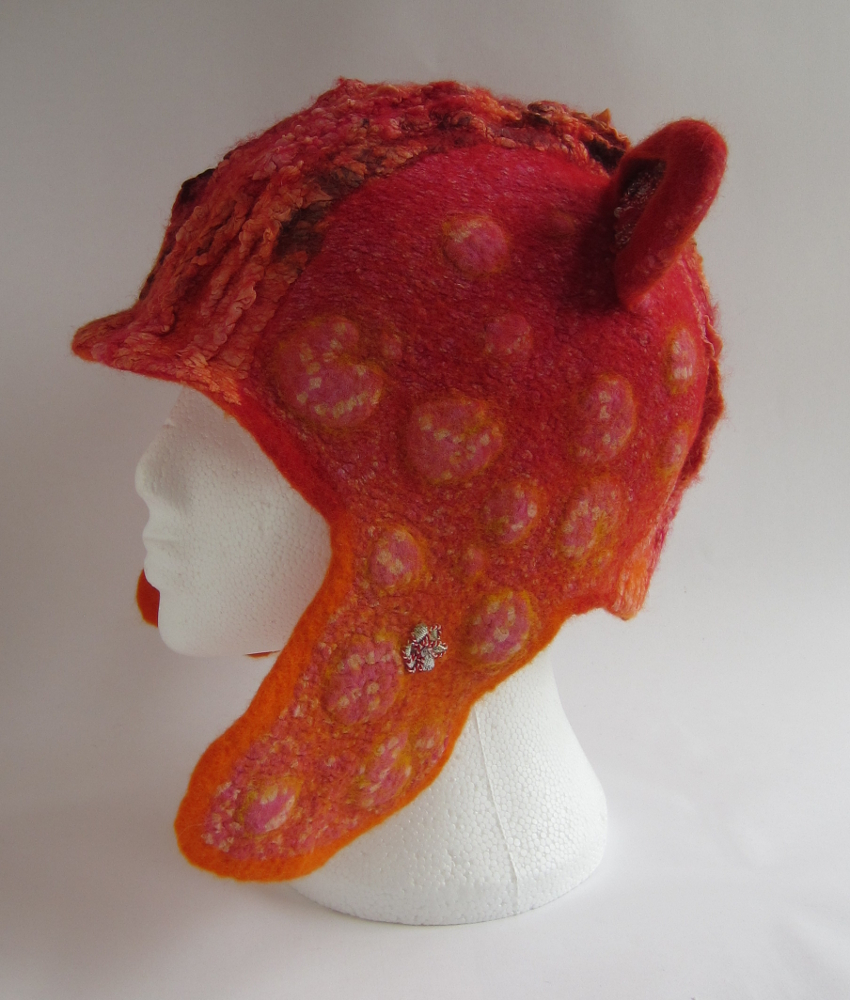
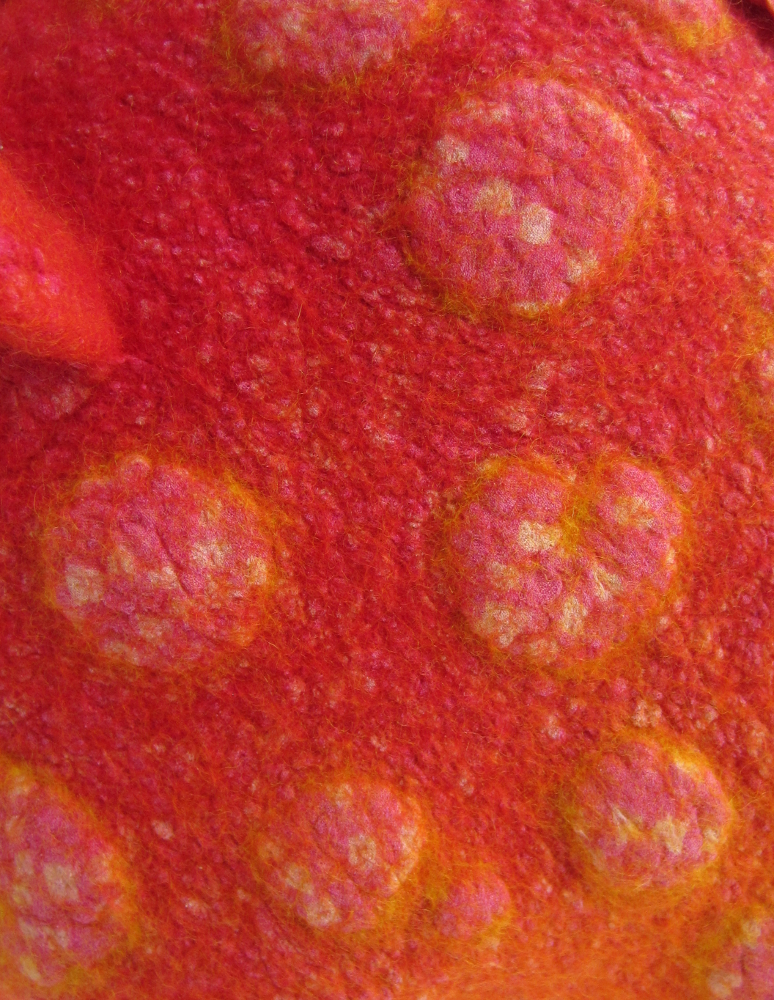
The next few photos are of the “cat hat” I made first, I’m very happy with how the sequins in the ears and the silk over the felt “bumps” turned out.

IMG_6558

IMG_6557

IMG_6555

IMG_6559

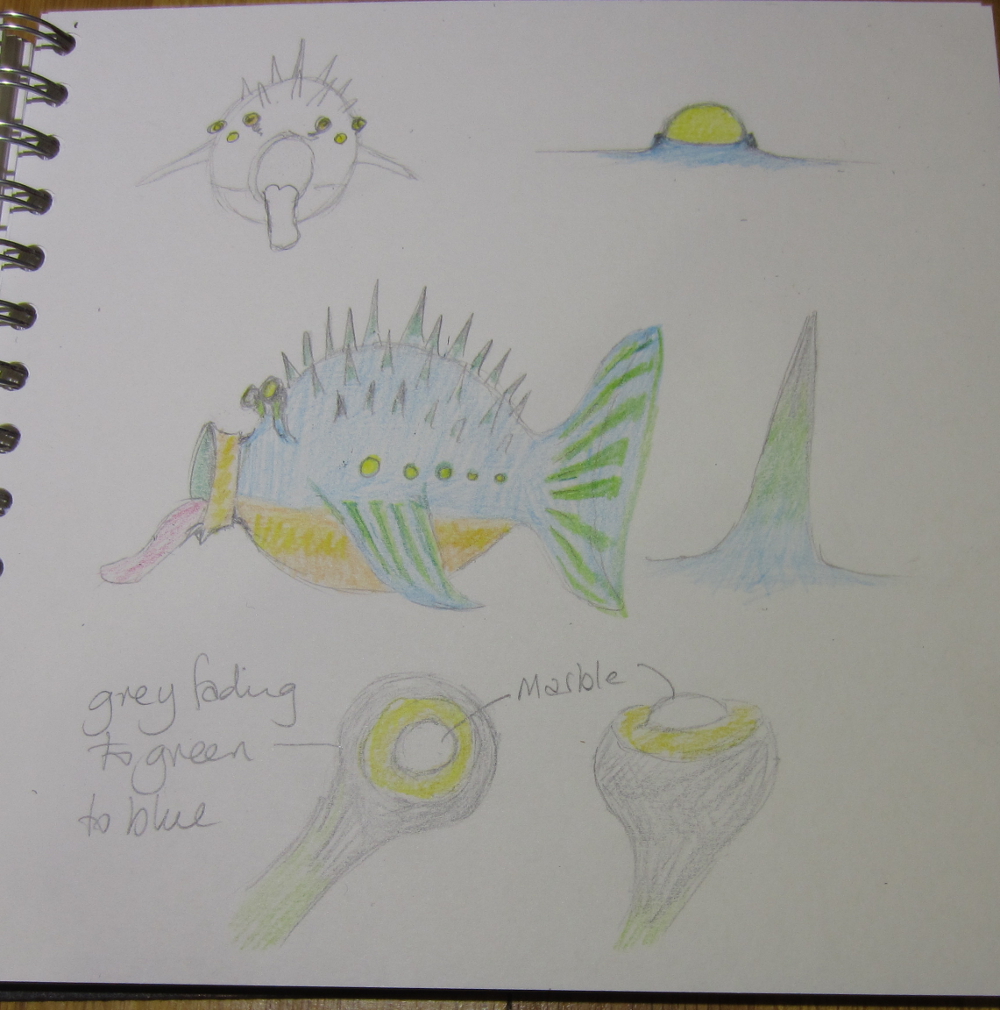
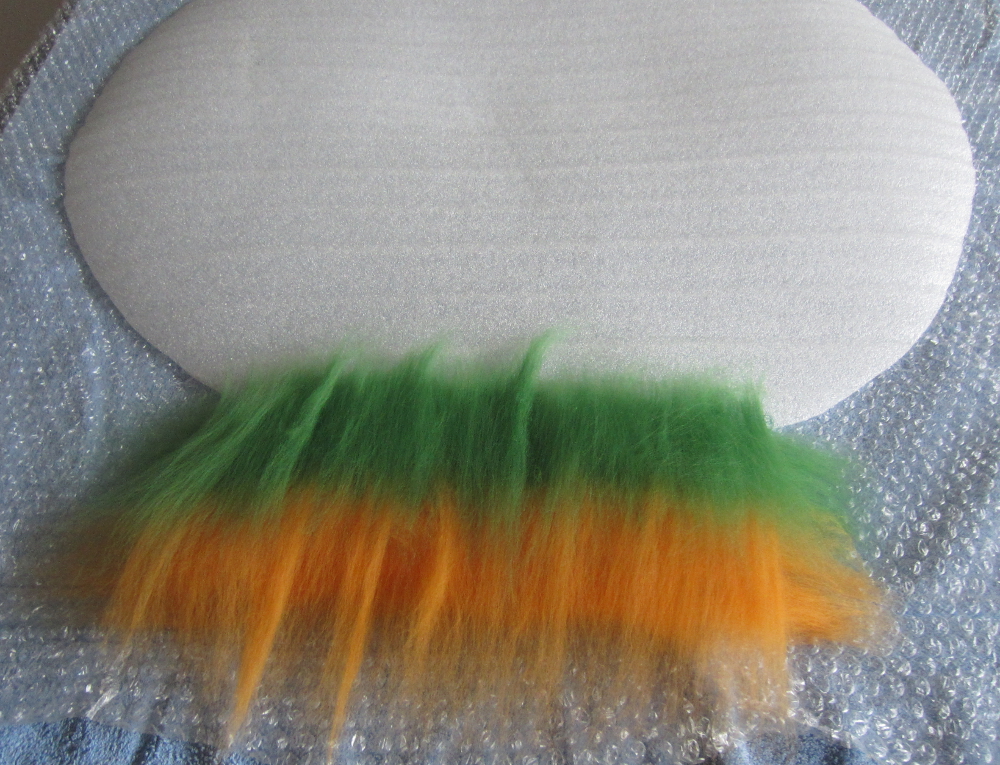
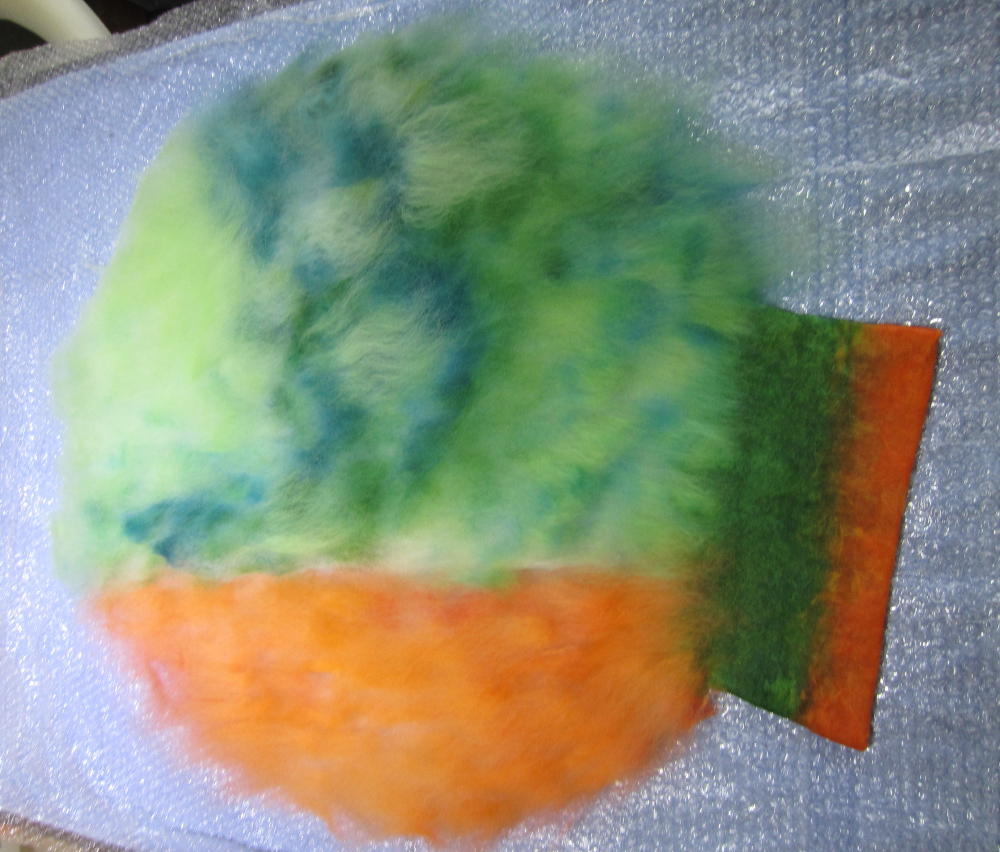
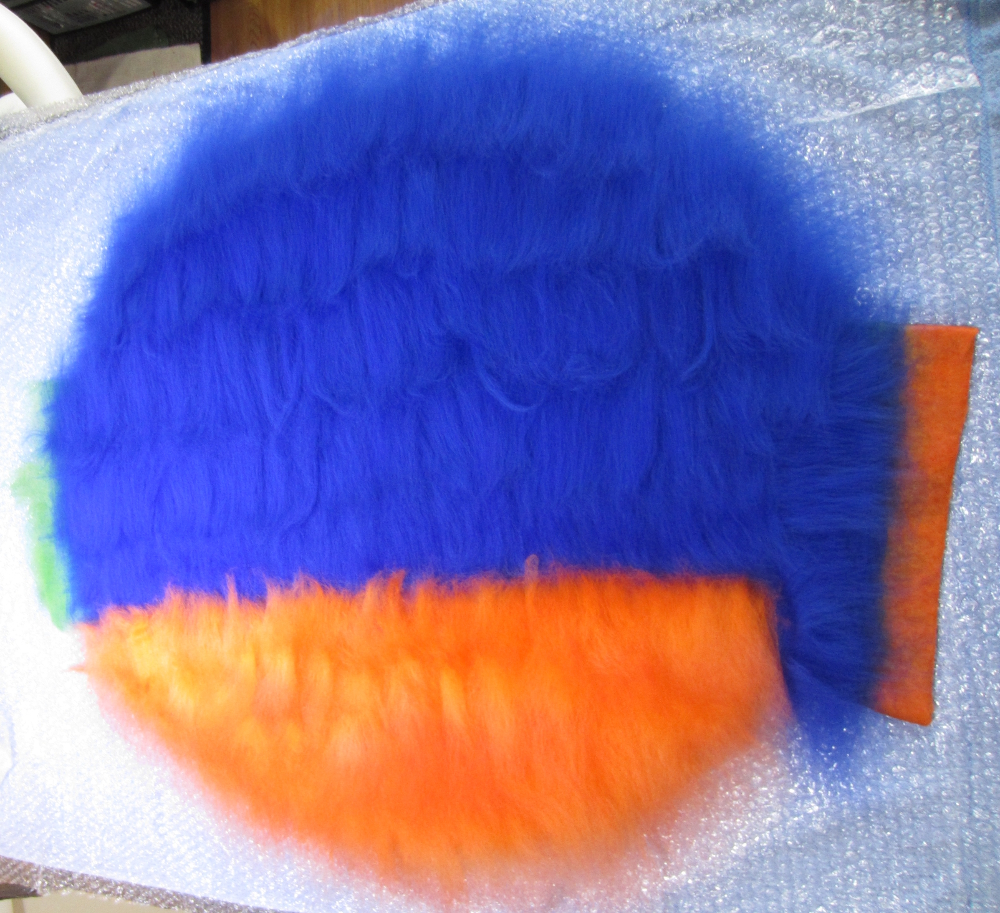
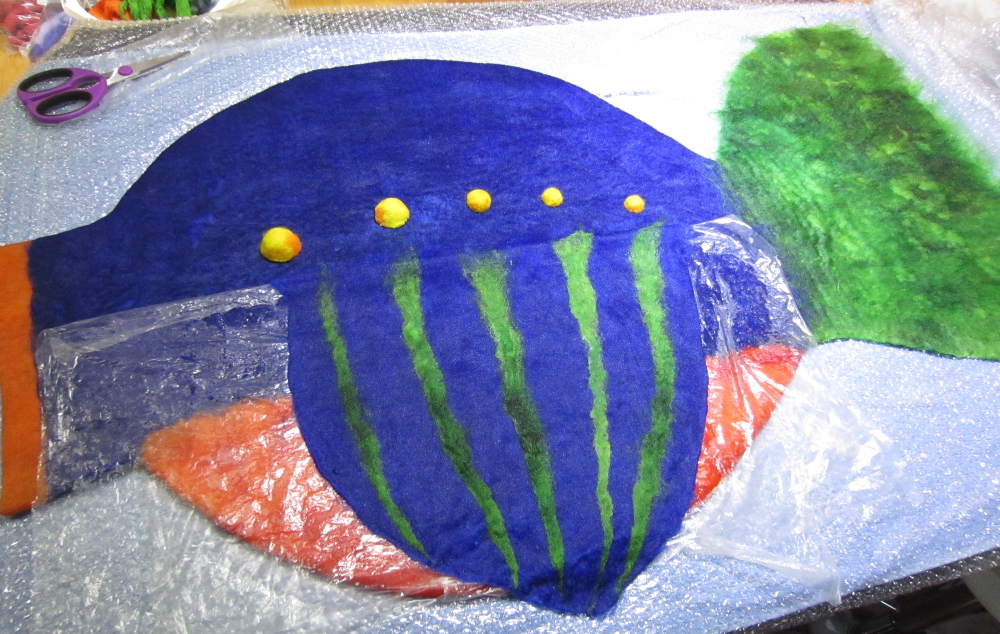
In the last couple of hours I made use of one of my screen-printed prefelts to make a “boxy” hat.

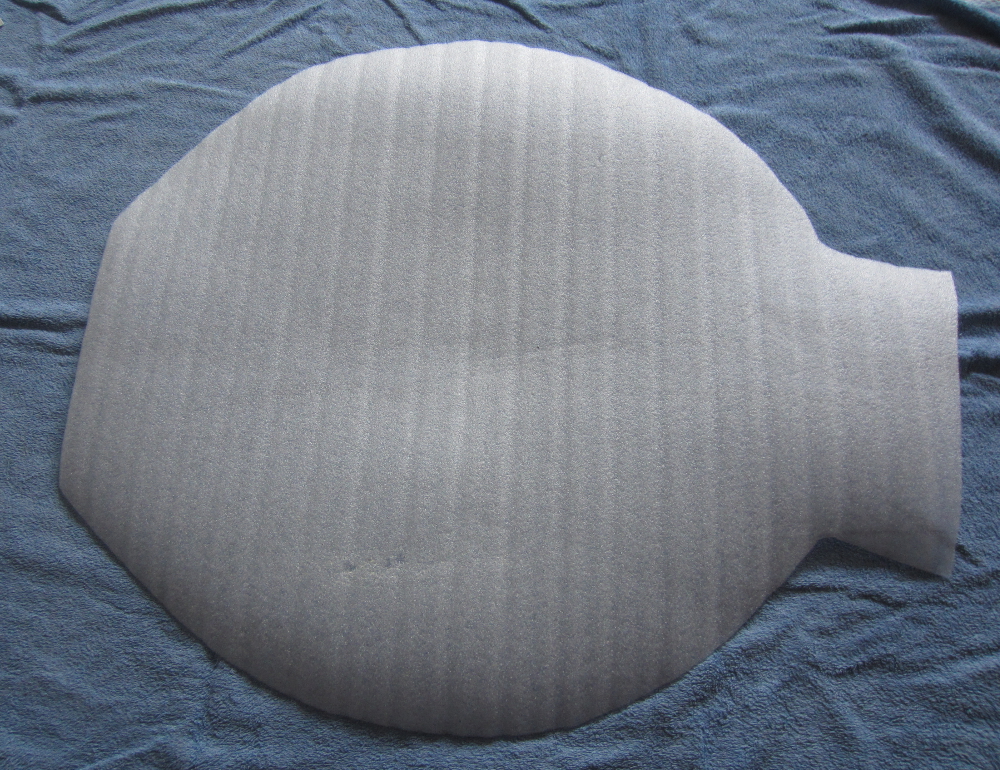
This was the prefelt before laying out the hat:IMG_6125

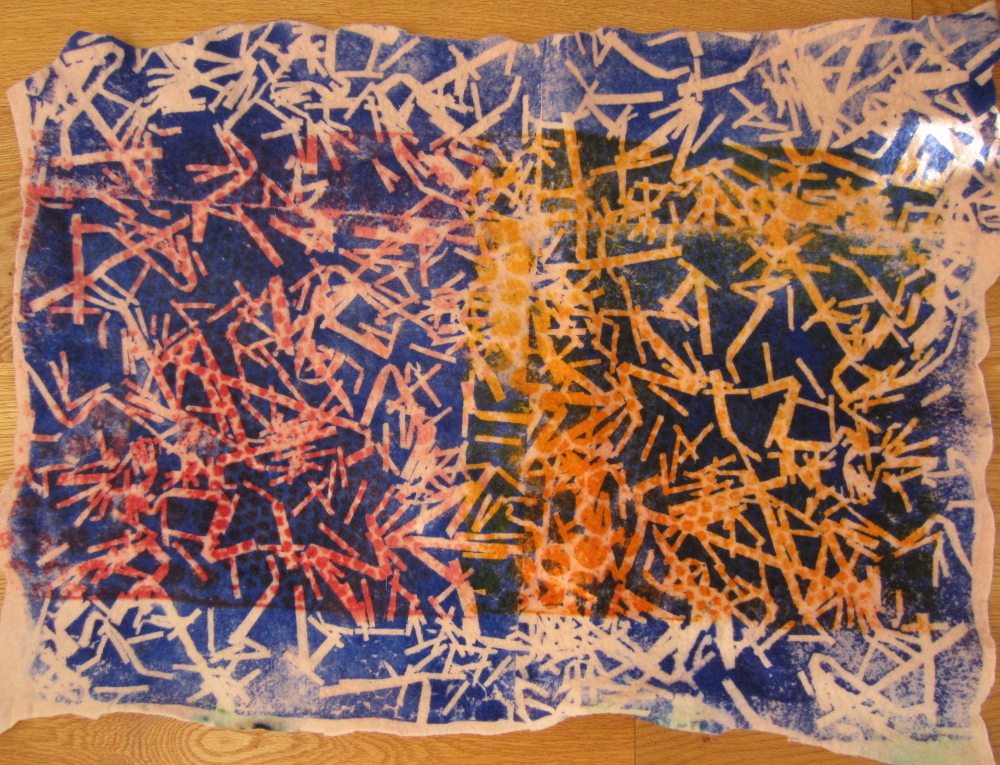
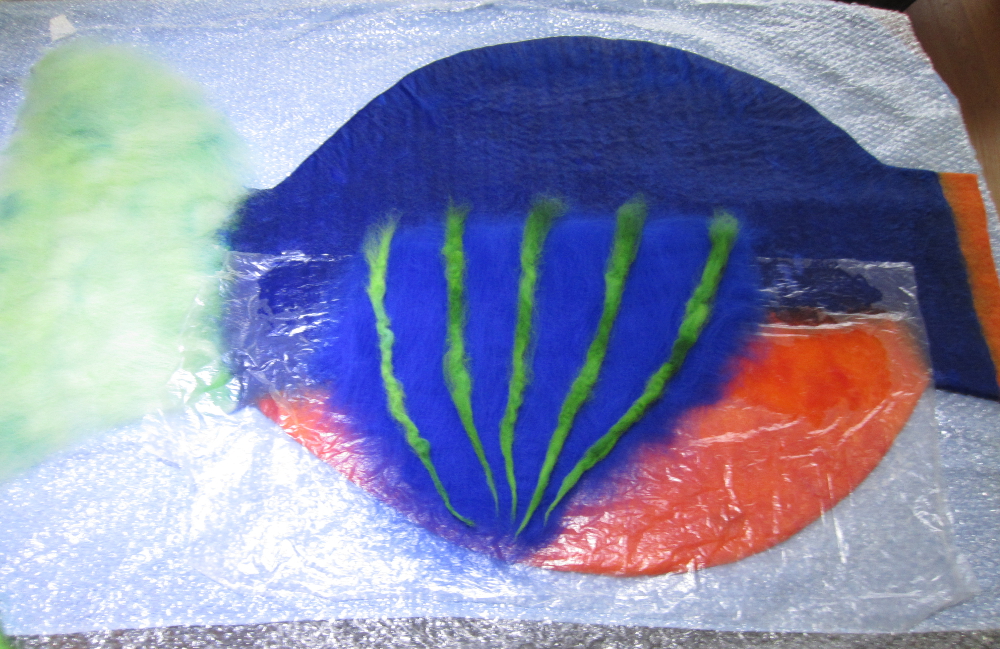
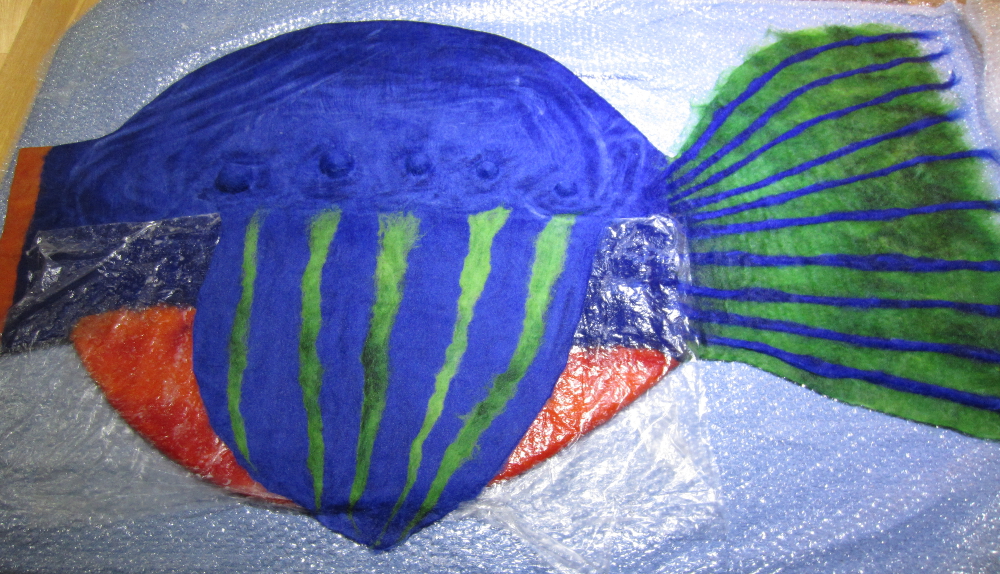
And the (nearly) finished hat, it just needs a couple of stitches to hold the felt ring in place:

IMG_6561

IMG_6563

IMG_6564

IMG_6565

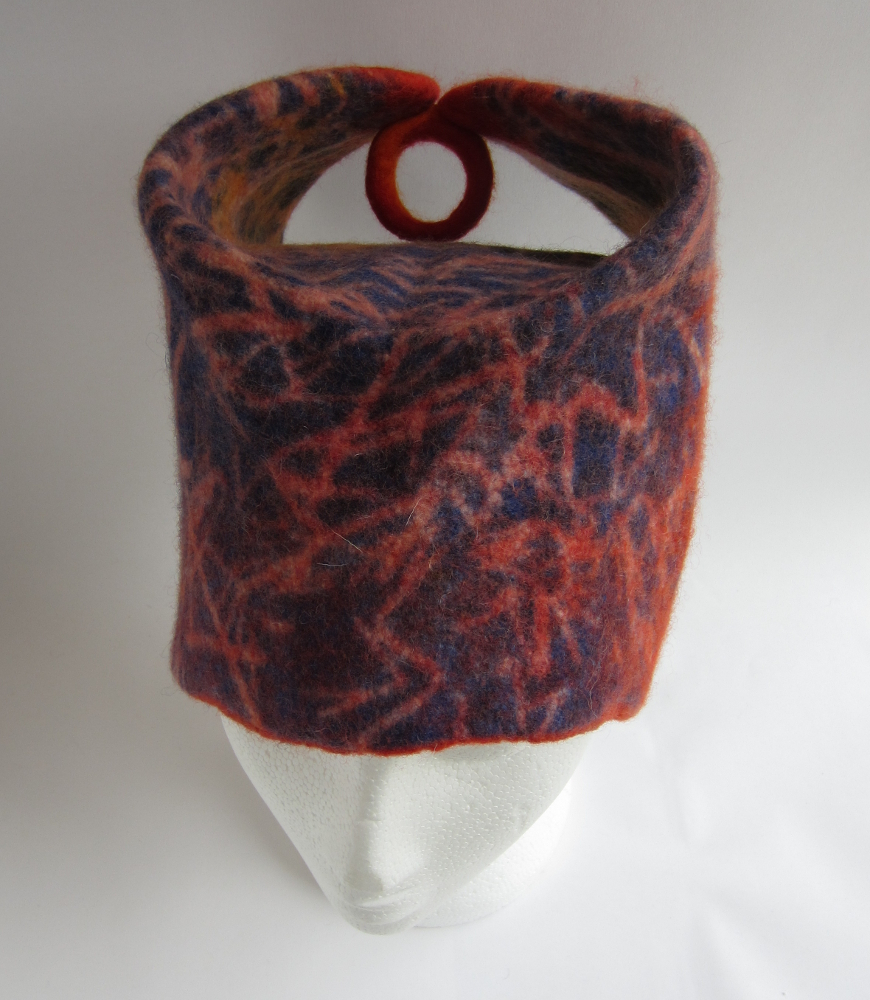
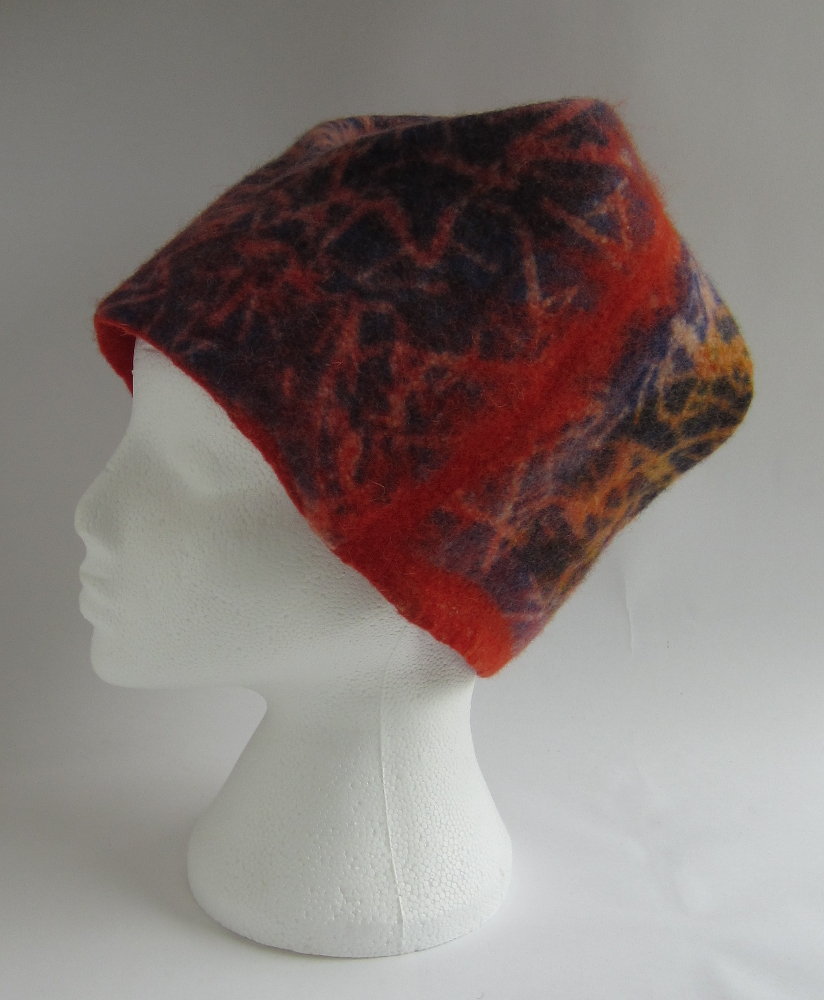
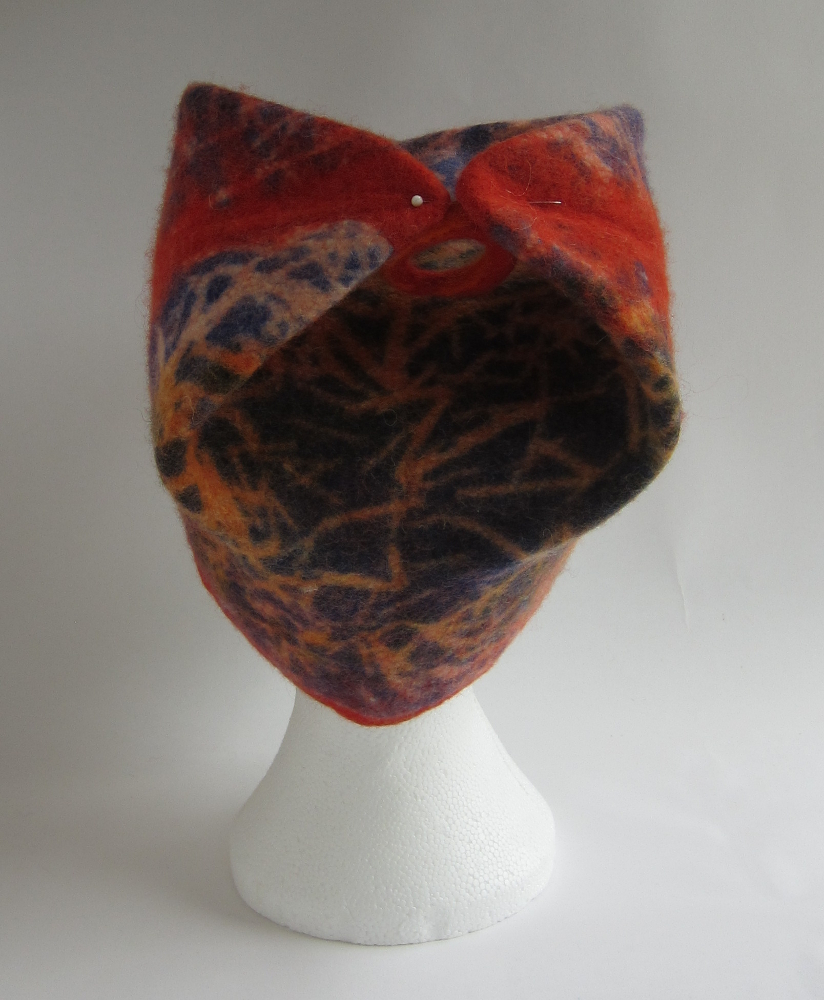
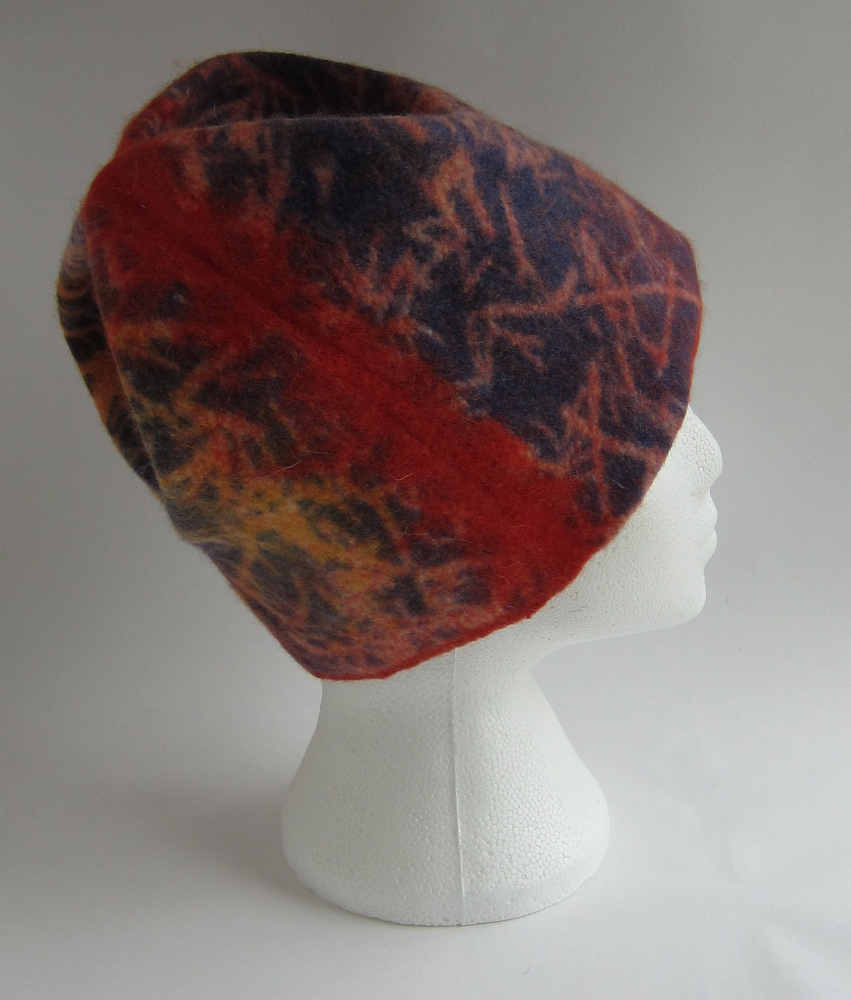
As with the other printed prefelts, the finer details of the print, such as the orange circles from the bubble wrap, disappeared but the rest of this print was so bold it has held up well to fulling.

Judit also ran a bag workshop after the hat workshop, more on that soon!

Parrot-Eating Sea Monster

This week I have been working on a commission piece for this very handsome young man. His name is Ki and he is a Senegal parrot.

His mommy (Ceci) wants to treat him to a new bed / hidey-hole and was taken with the idea of my cat / parrot eating fishes:

But being an artist herself (link here), Ceci and I have been having lots of fun creating a sea monster loosely based on Ki’s beautiful colours, this is a sketch detailing some of the ideas we came up with.

IMG_6099

The sea monster will have marble eyes on stalks, pectoral fins for Ki to snuggle under, a perch inside and a tongue “ramp”. This is proving to be a very unusual project! 🙂

I cut a resist based on the original cat-eating fish resist and adjusted the size to better fit Ki

IMG_6100

Then started with laying out the mouth / lips – Ceci said she would like the mouth to be green inside, once the “mouth flap” is folded back to give it strength to support Ki, the lips will be orange on the outside and green on the inside.

IMG_6101

Then I started laying out the internal layers of wool, Ceci expressed an liking for blue-green colours over the top, by using some hand dyed green wool for the inner layers I hope the green will migrate and blend with the very vivid blue I have for the top layers, giving a subtle, mottled green tinge to the finished cave.

IMG_6103

Then adding a darker layer of green and a brighter orange – this will form one of the middle layers.Notice how the mouth / opening is angled downwards to make it easier for Ki to climb inside.

IMG_6106

Then finally a couple of layers of sapphire blue and some more orange. I love this shade of blue and think it really “sings”next to the orange 🙂

IMG_6107

Then adding some pectoral fins on each side and the middle layer for the tail fin

IMG_6111

Then I made a series of felt balls in marbled yellow-orange colour and laid out the darker green for the tail fin.

IMG_6113

The felt balls were covered with blue wool to secure them (some of the blue wool will be cut away later to reveal the yellow underneath) and added some blue stripes to the tail fin.

IMG_6114

Tomorrow I start making lots of spikes and of course the eyes on stalks!

For those of you reading by email, this is the link to the web page: blog post