My productivity for this challenge has really slowed over the last few weeks because I treated myself to taking Fiona Duthie’s Felt Illuminated online course. While it has been a substantial time (and financial) investment it has already sent my thoughts off in new directions. Some of these ideas involve how I can combine paper in my felted sculptures but also wondering if I can also illuminate some of these folded structures too….
Spoiler alert! I am definitely going to finish this 30 day challenge, but not all of the days will be consecutive 🙂
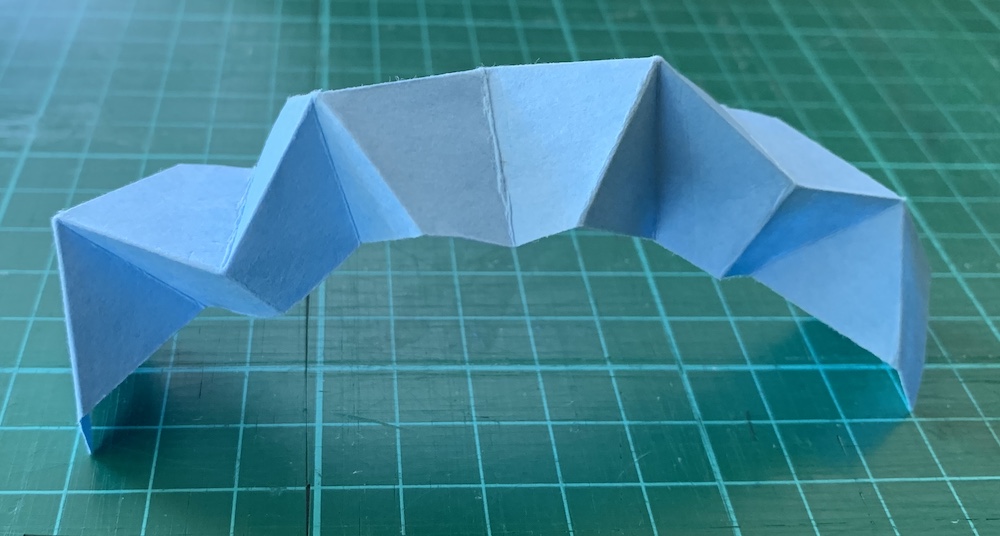
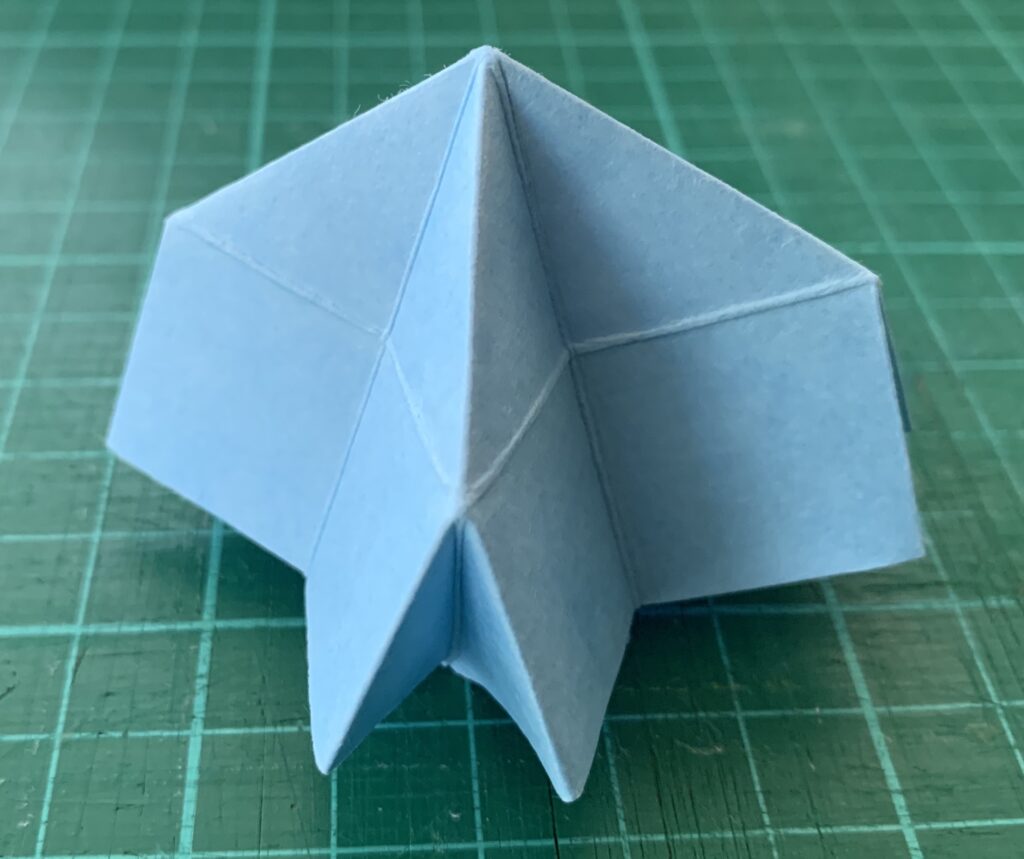
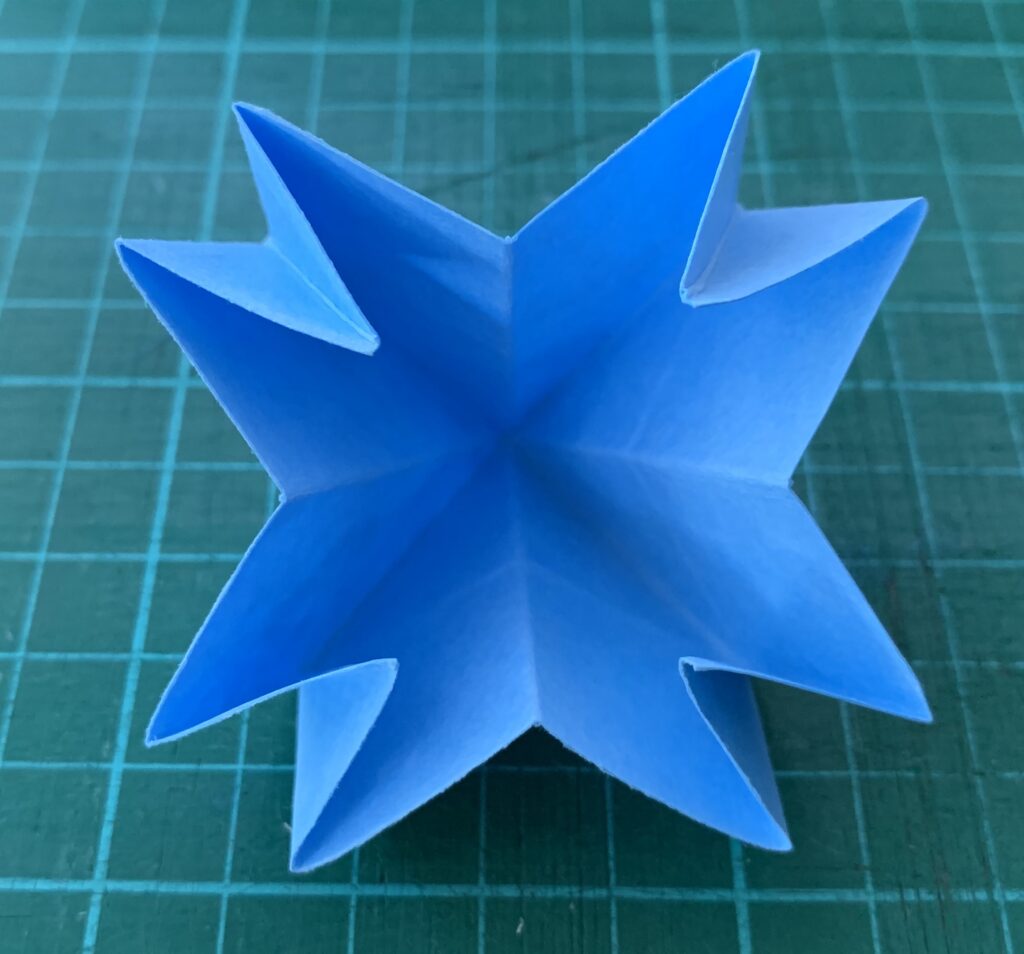
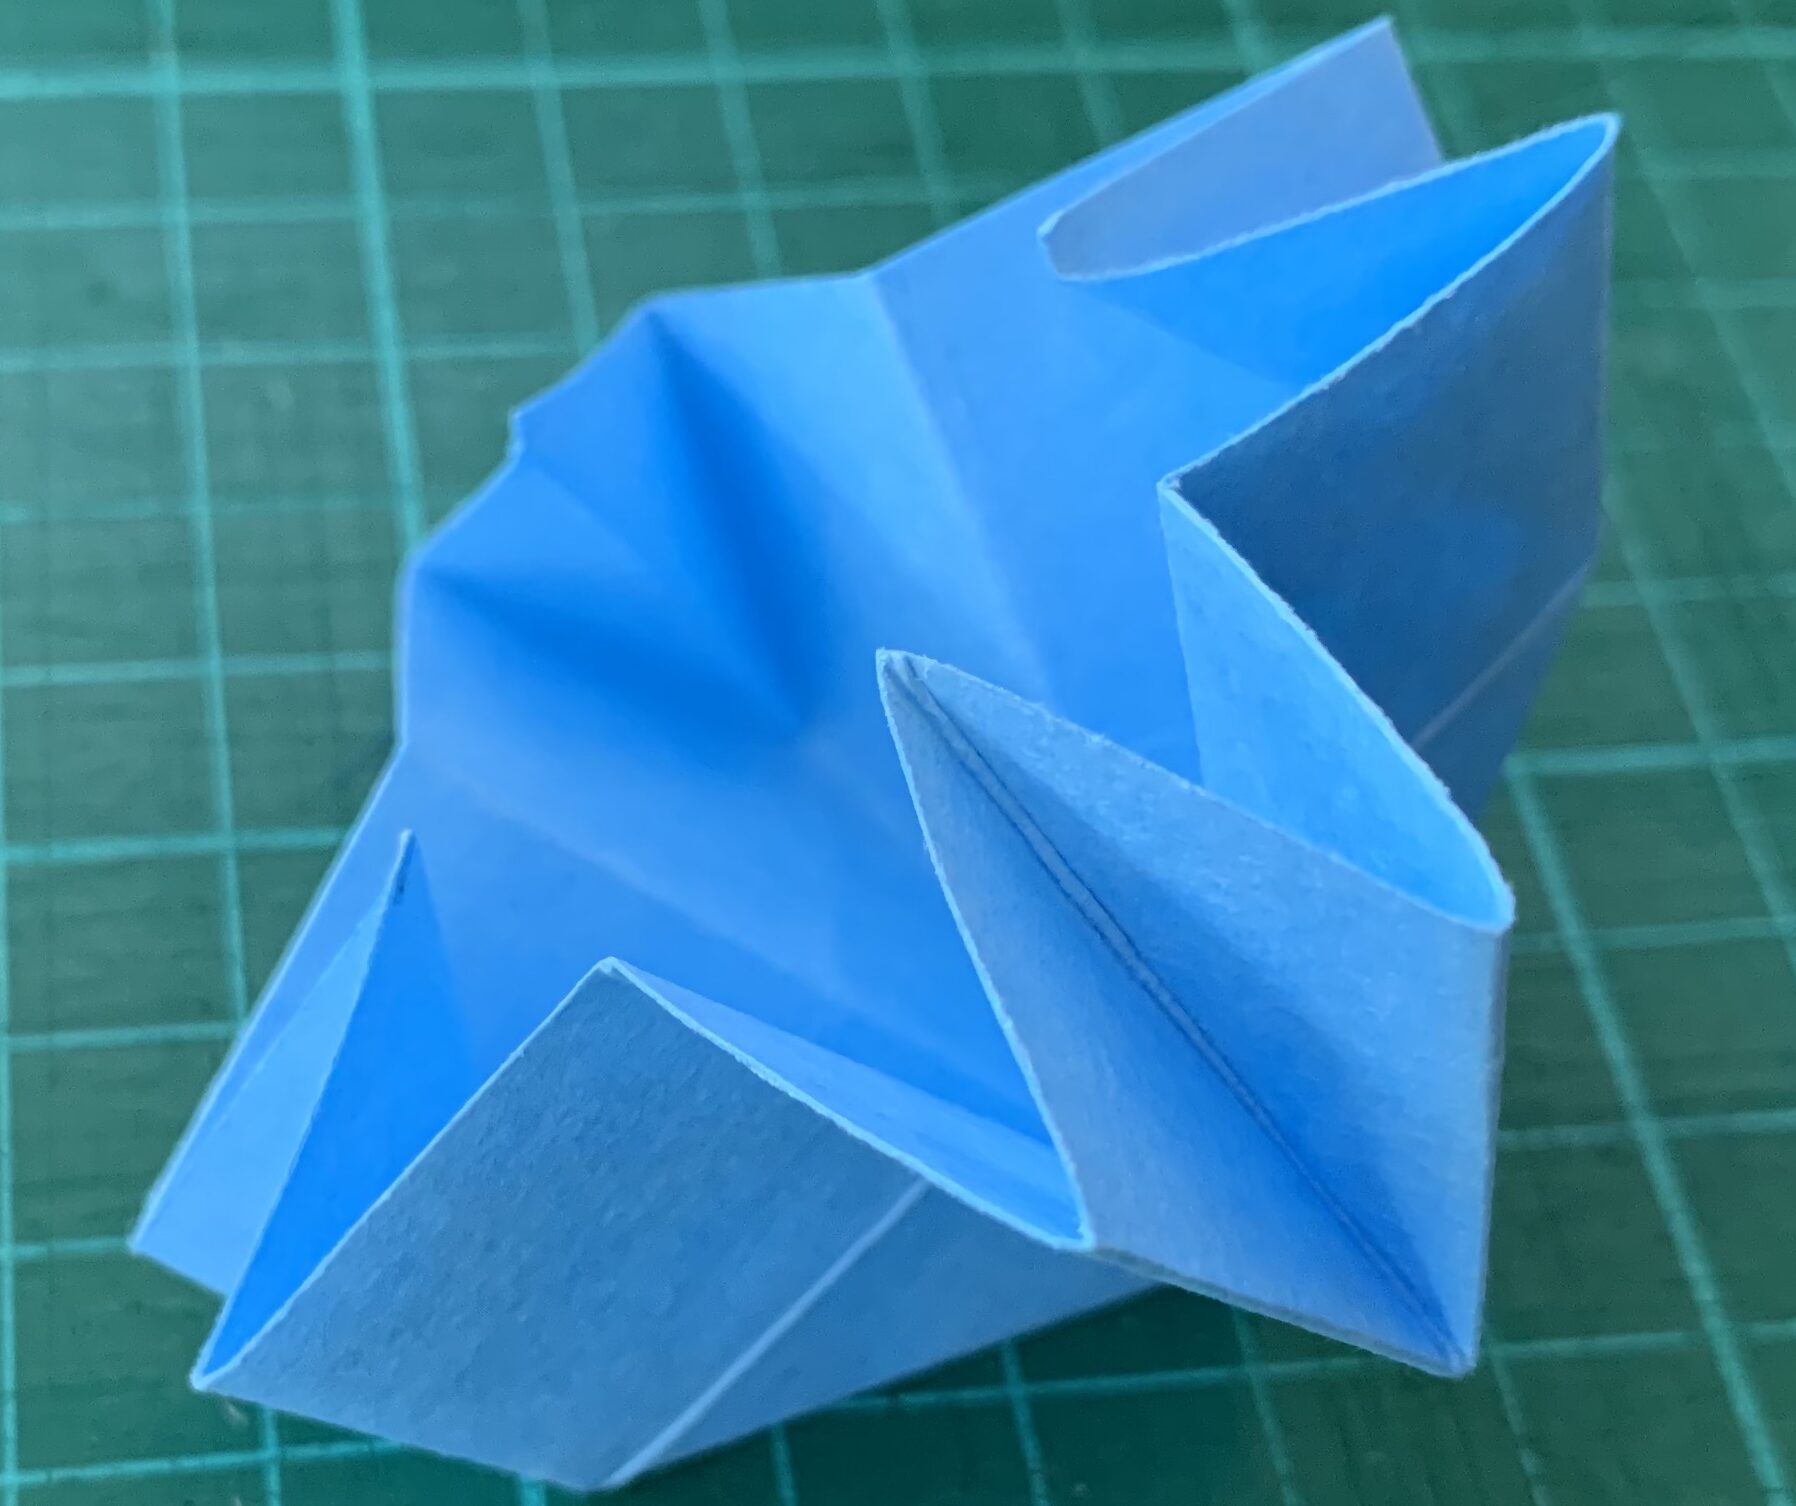
Day 22
Revisiting the Kaleidocyle designs from Day 19 to see if I could make a cardboard one that turns like the felted ones do. This one was double the length of the first paper kaleidocycle attempt. It cycles really easily but doesn’t look as pretty when folded up, perhaps it needs an extra segment, or two?
Day 23
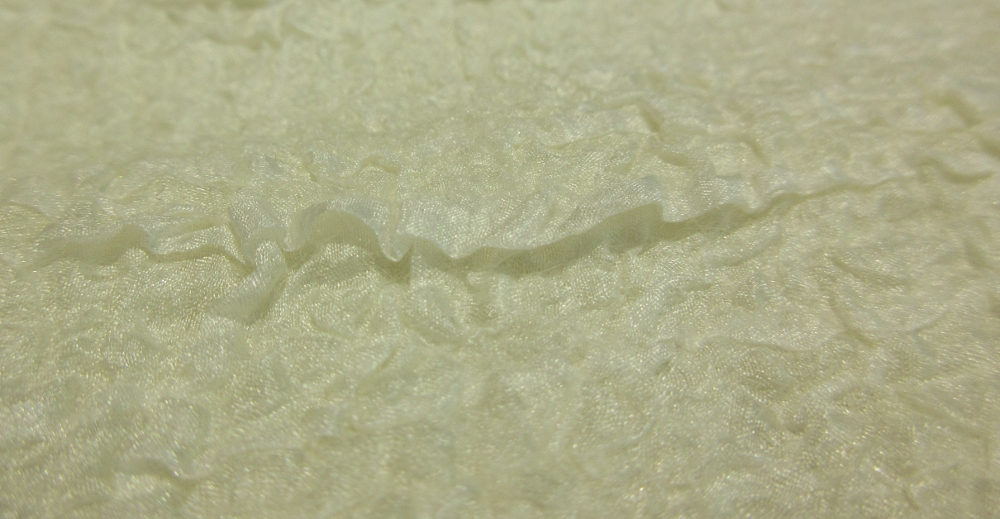
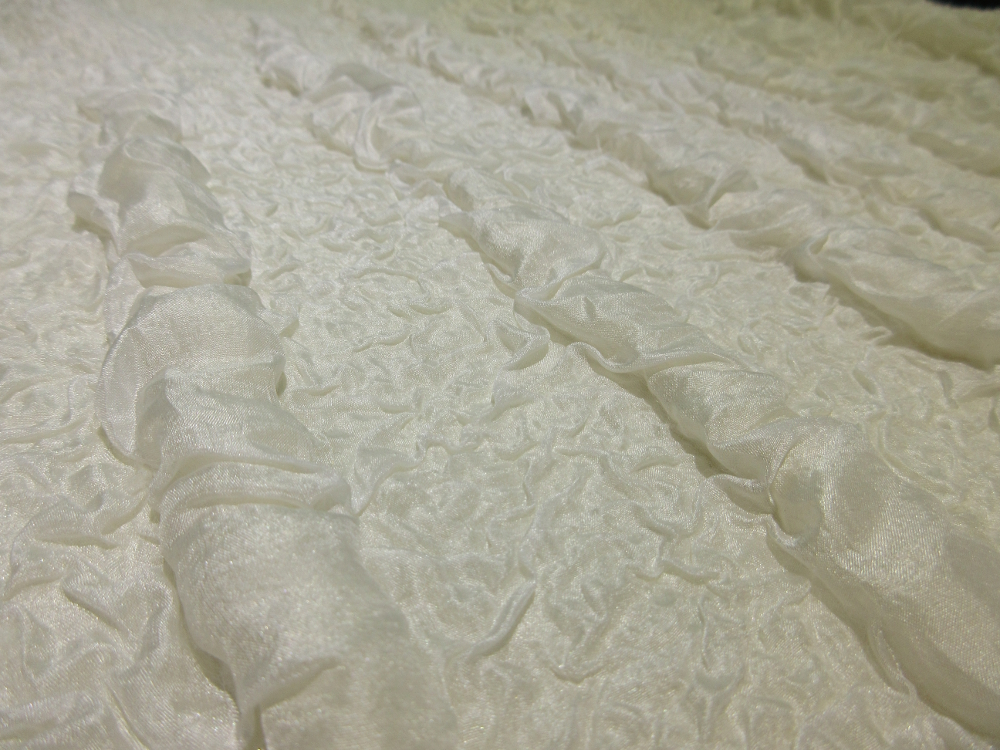
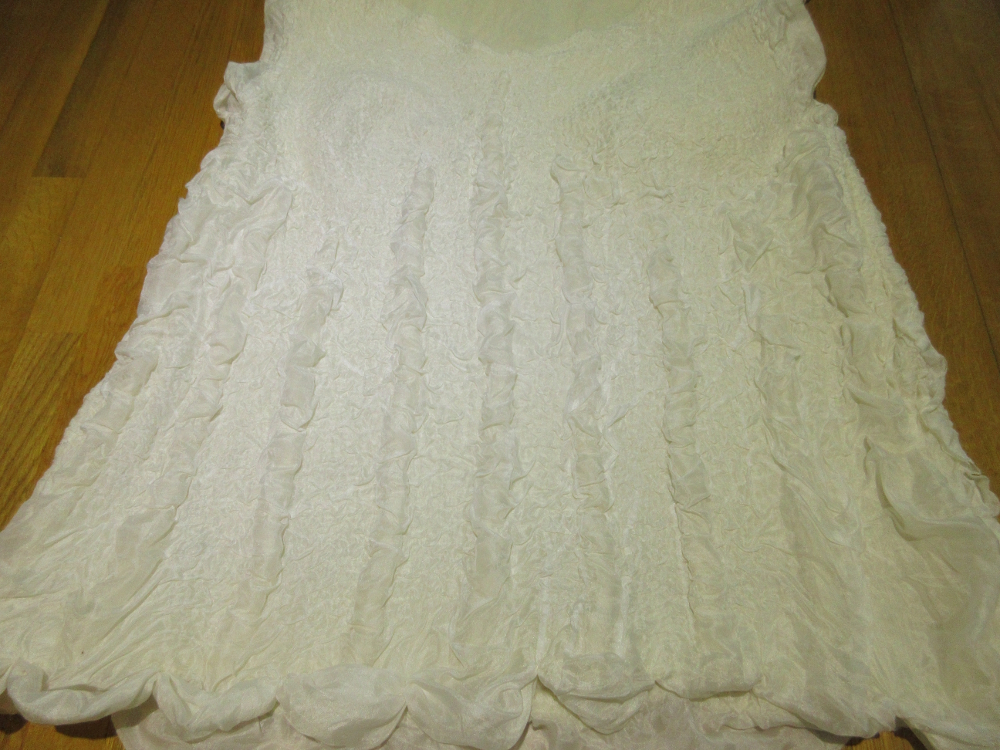
Inspired by Fiona’s Felt Illuminated class I tried using paper in place of some wool layers, this first one wasn’t too successful, the area where there was just paper and no wool became extremely fragile and limited how much I could full the piece.

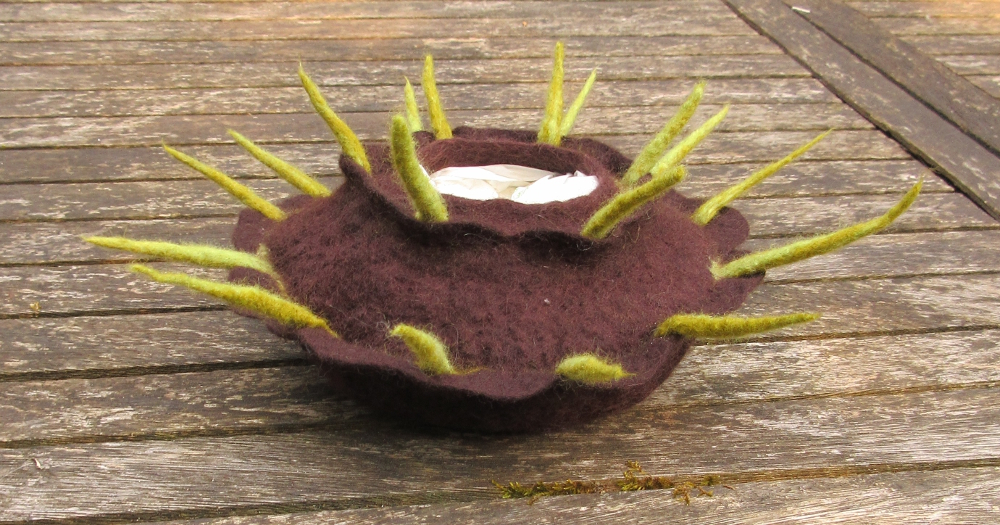
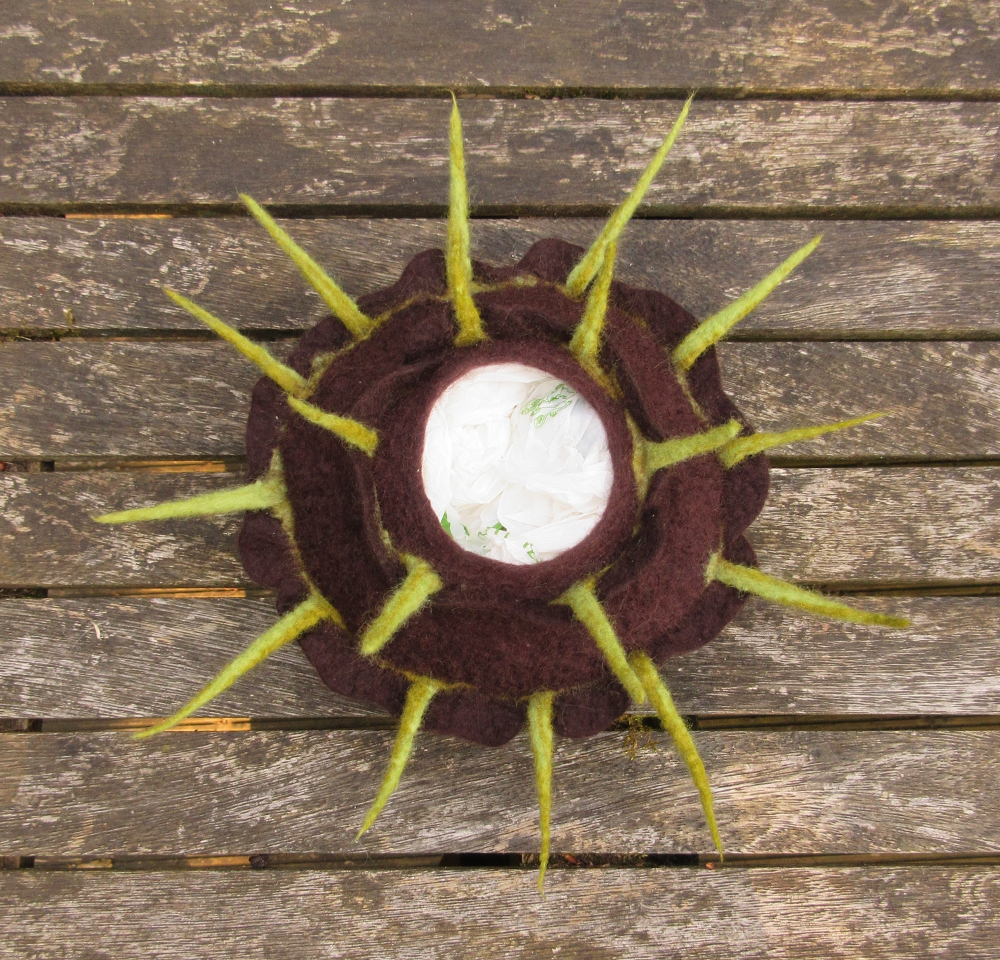
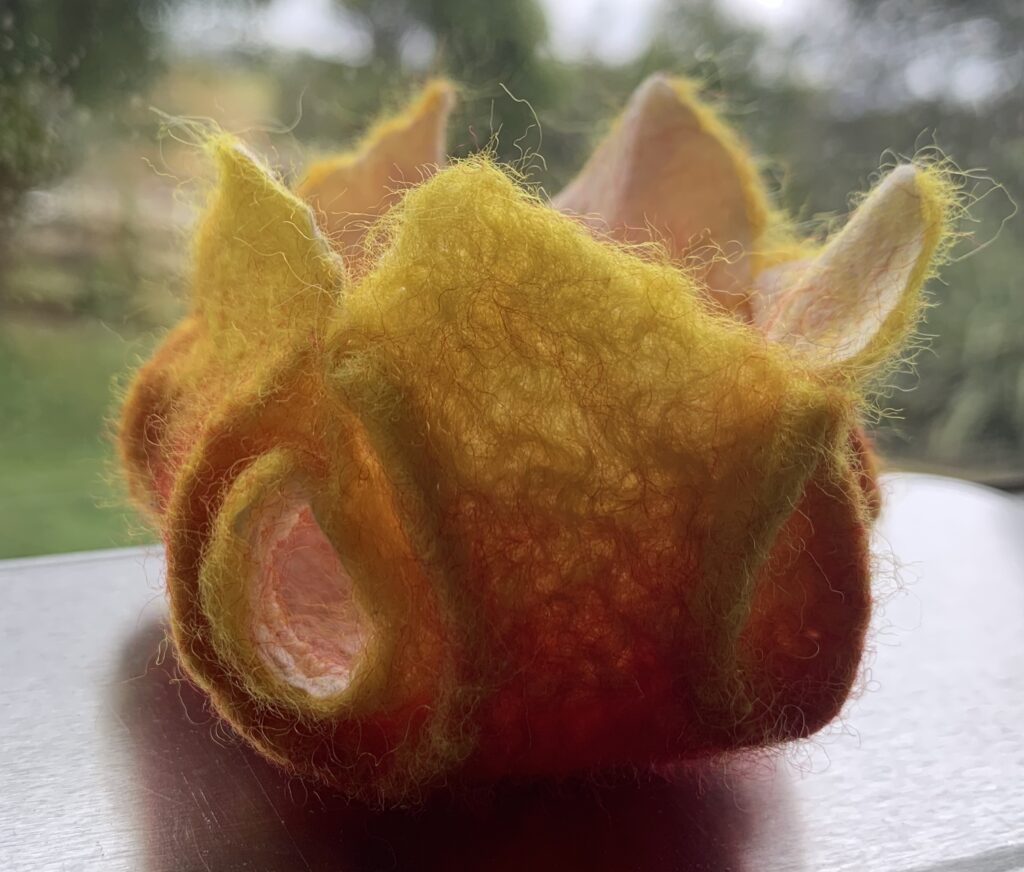
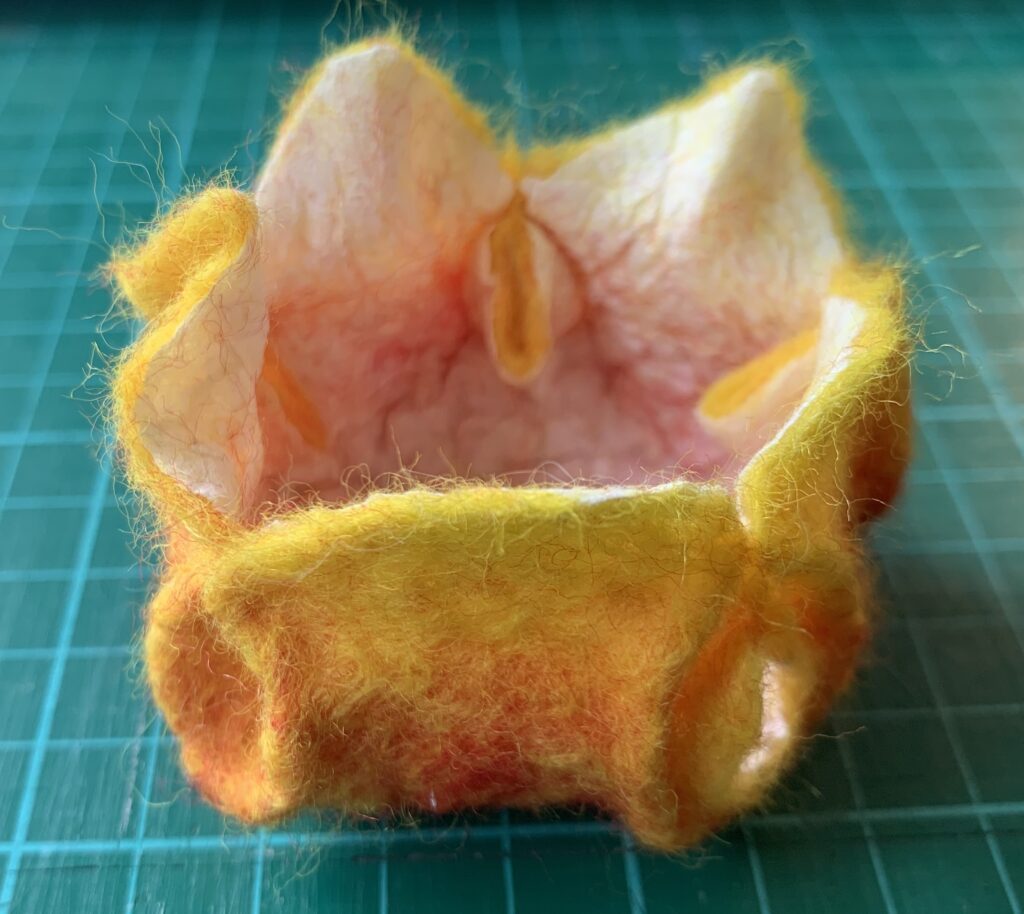
Day 24
Trying again, but this time cutting the paper where I wanted to place the folds. This piece was much more successful, although I could definitely full this tiny bowl some more. I have added a few stitches at the top of the pleats for security but the paper in this bowl allows it to keep its shape without them.
Day 25
While searching for origami books I found another awesome book in the Auckland Library catalogue: Folding Techniques for Designers From Sheet to Form by Paul Jackson.
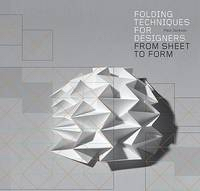
He makes no apologies for starting with some really basic shapes and forms but they get more complex as you progress through the book, this is where the clear diagrams / maps he provides invaluable.
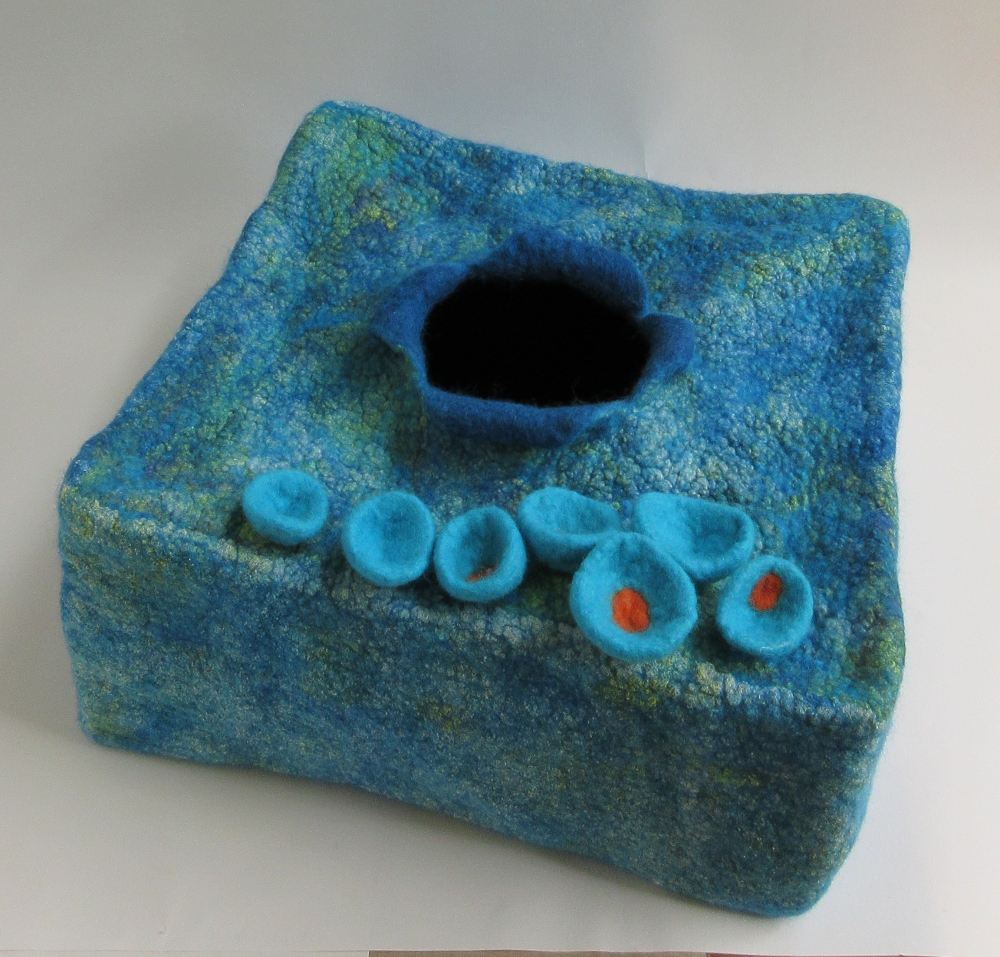
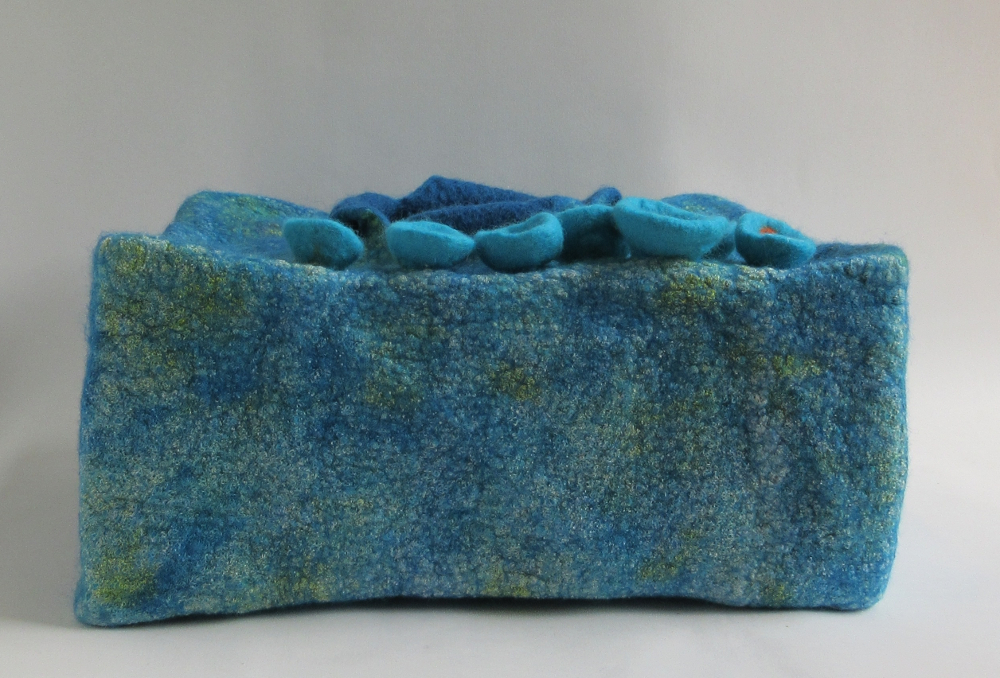
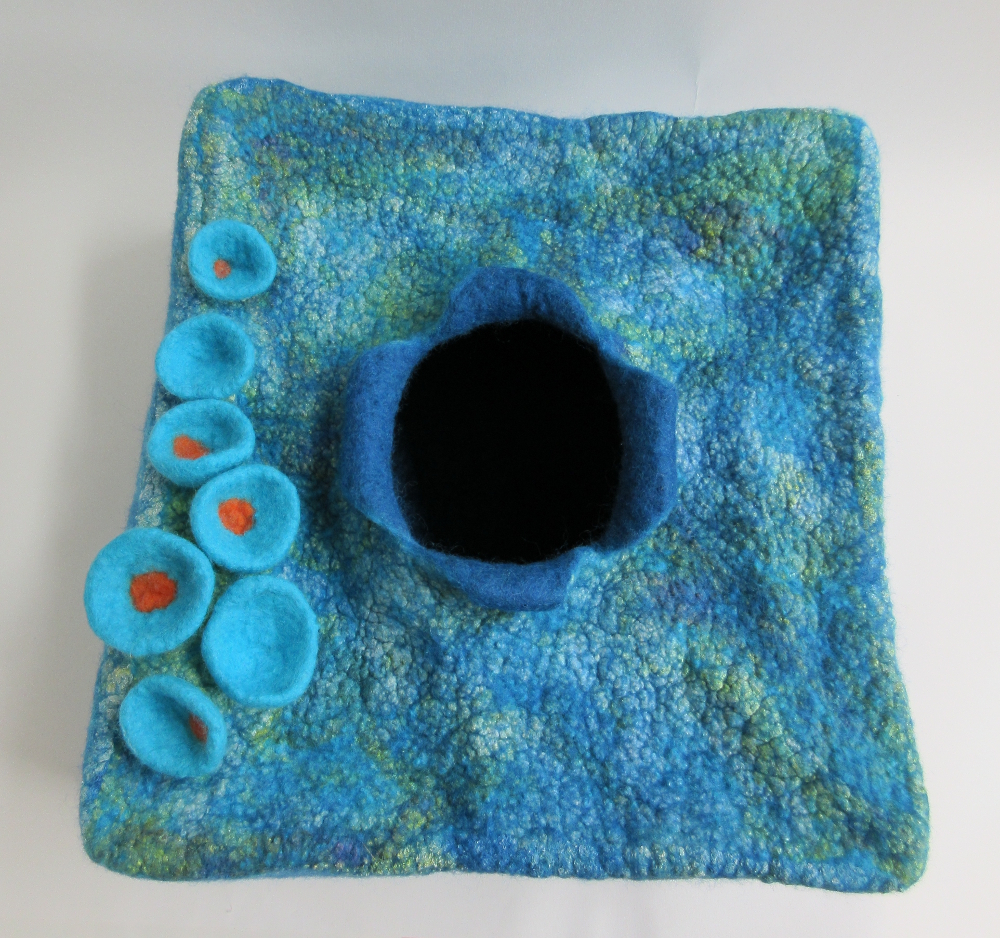
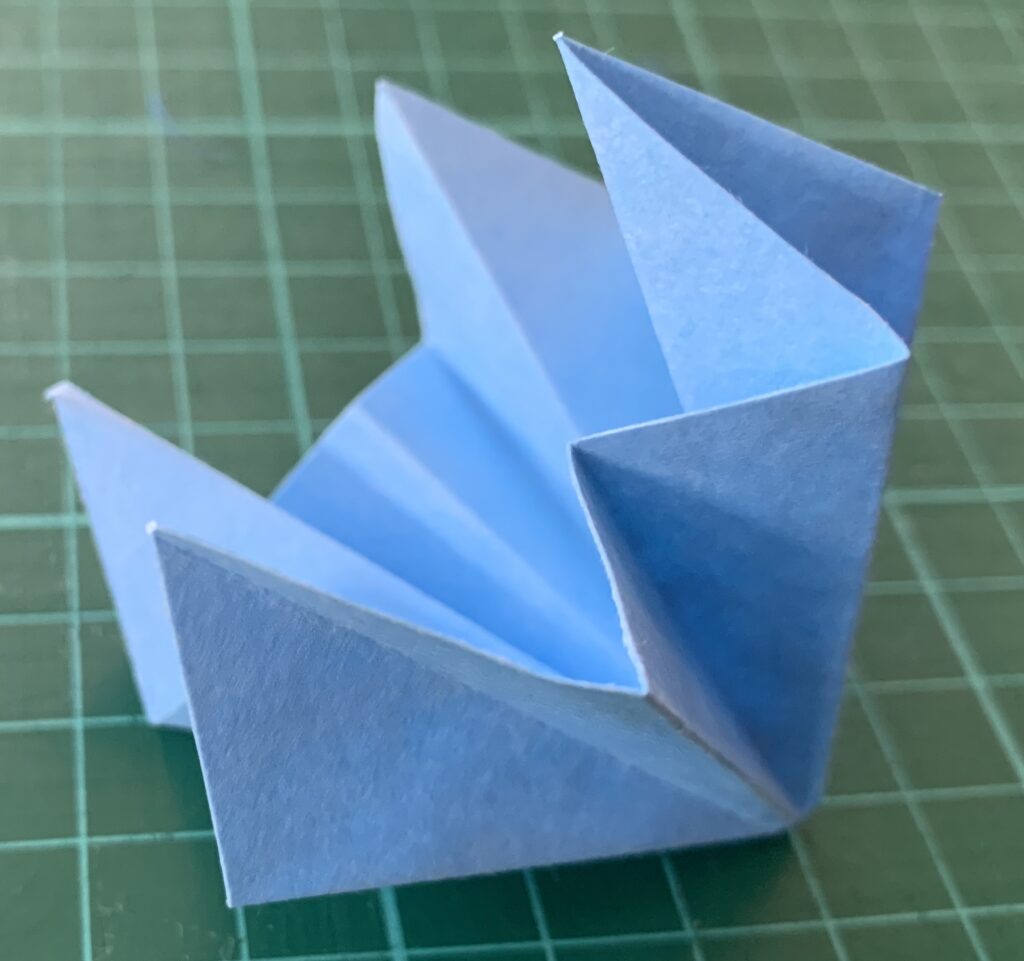
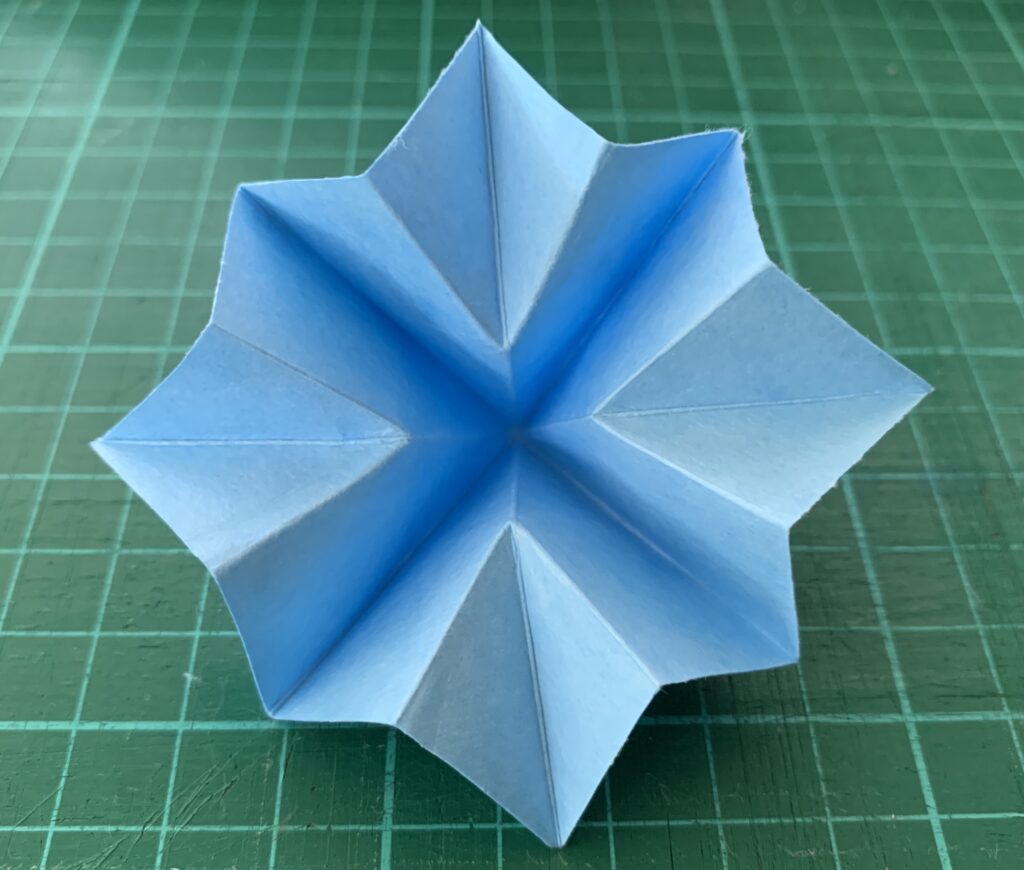
Day 26
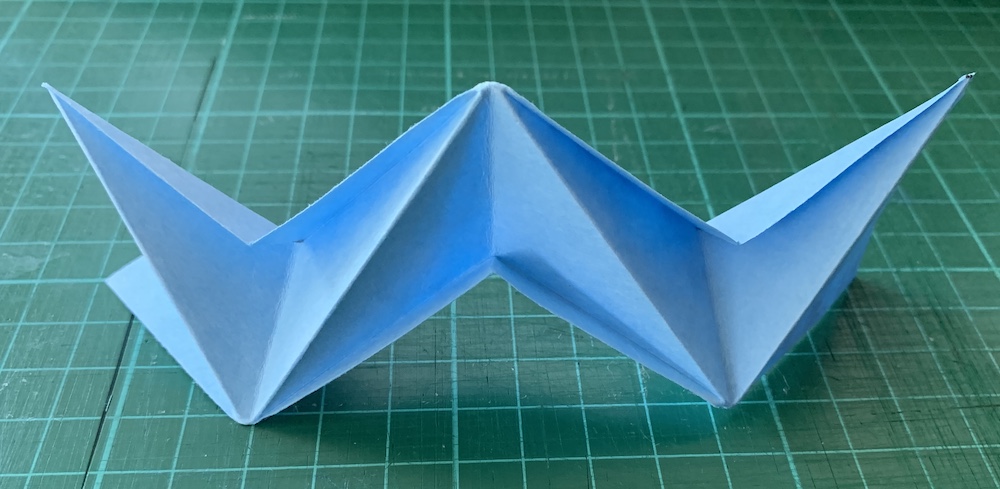
Day 27
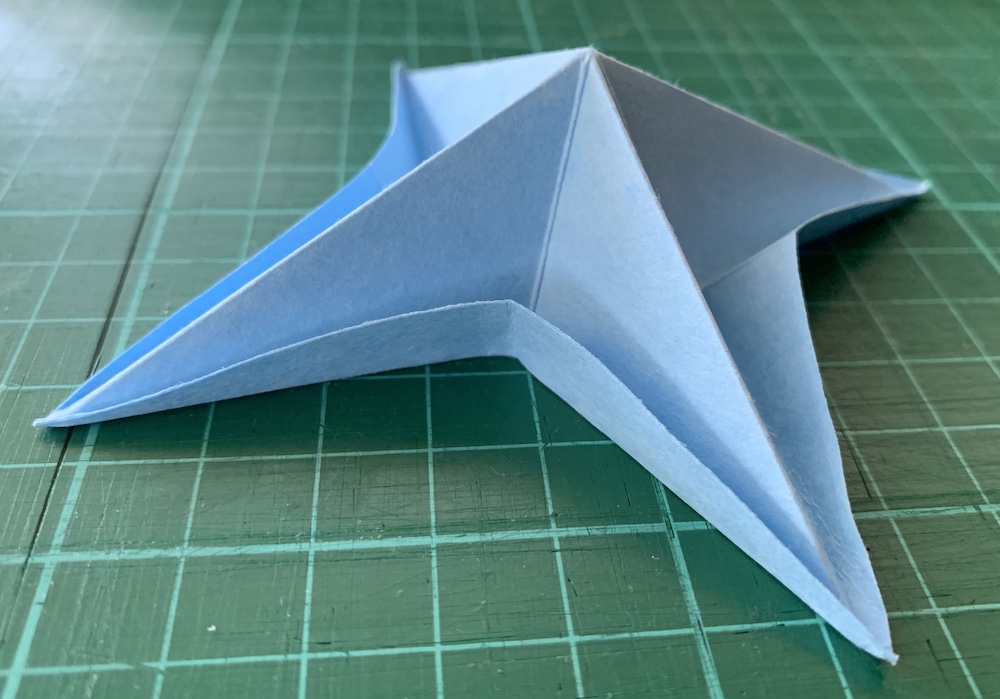
Day 28
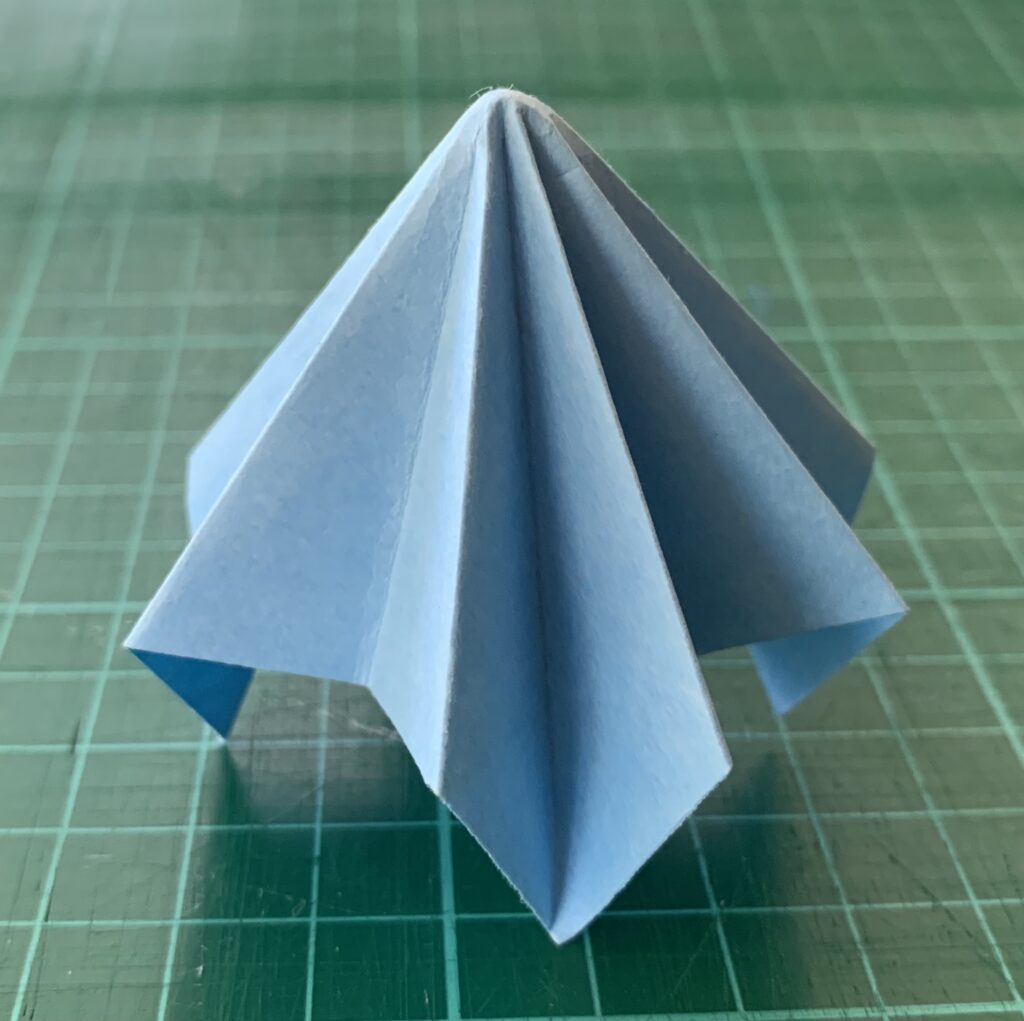
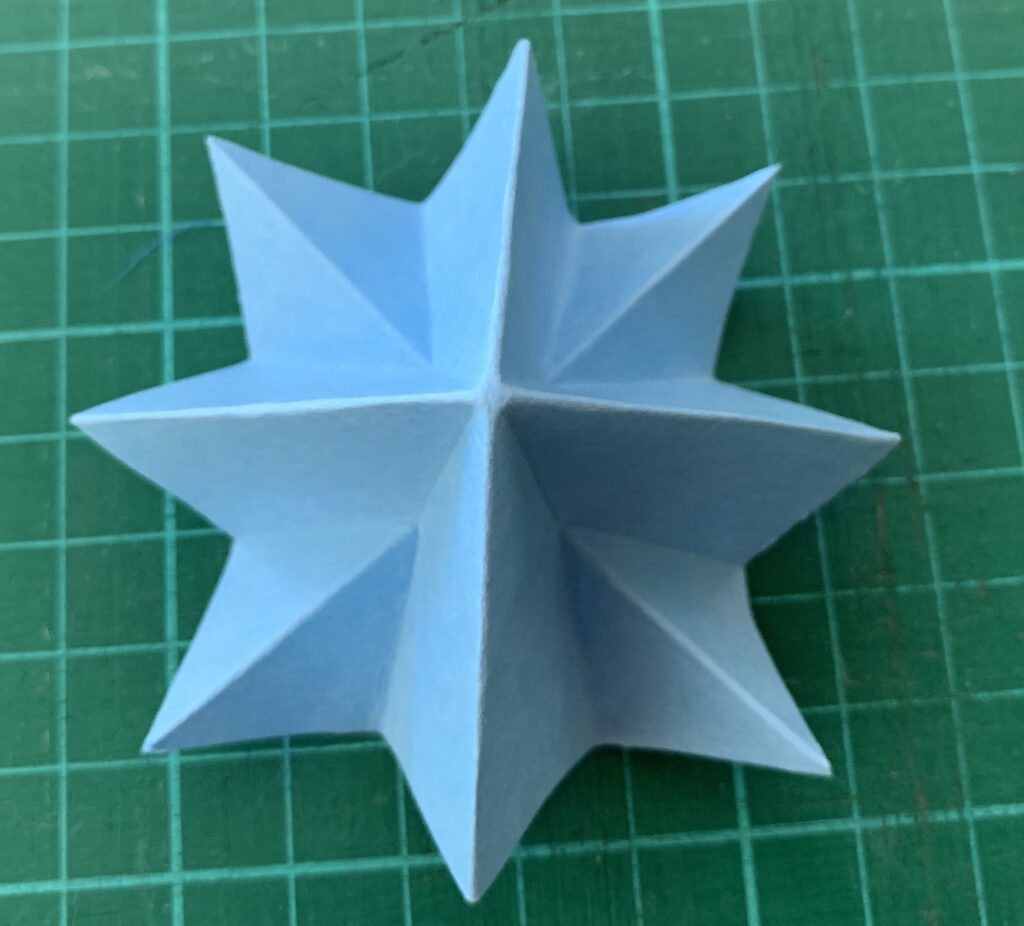
Day 29
Day 30
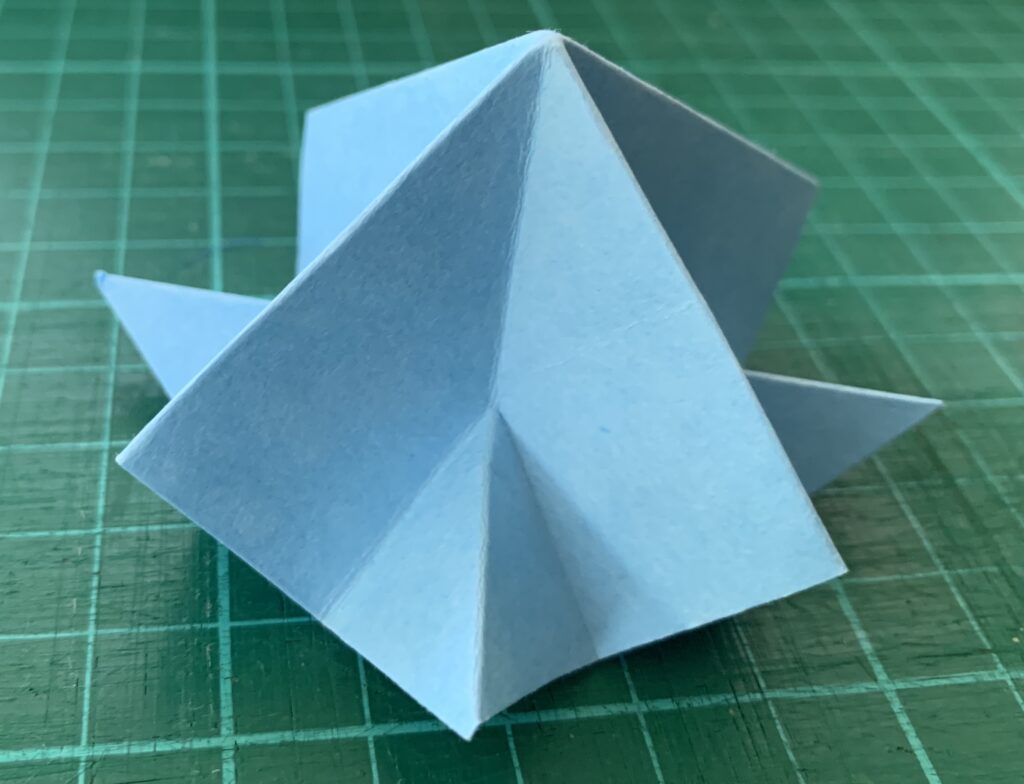
I started playing with the shape from Day 29, exploring what would happen if I reversed some of the folds, so mountain folds became valley folds…
Unfortunately someone else requested this book before I could get any further, so I could not try out all the forms I wanted to before I had to return it. I will borrow it again though, it is an inspiring book!
While my original 30 day challenge complete, this idea still has lots of mileage left in it and I plan to continue exploring, especially taking more of the paper sculptures into fibre… Watch this space!
Have you been playing along? If so, please share where your journey is taking you, links in the comments to a FB page, IG or blog post should work if you have any images.