
This is the other method I tried for ice-dyeing prefelts over the weekend, you might want to take a look at the results before giving this a go, I won’t bother with it again :o(
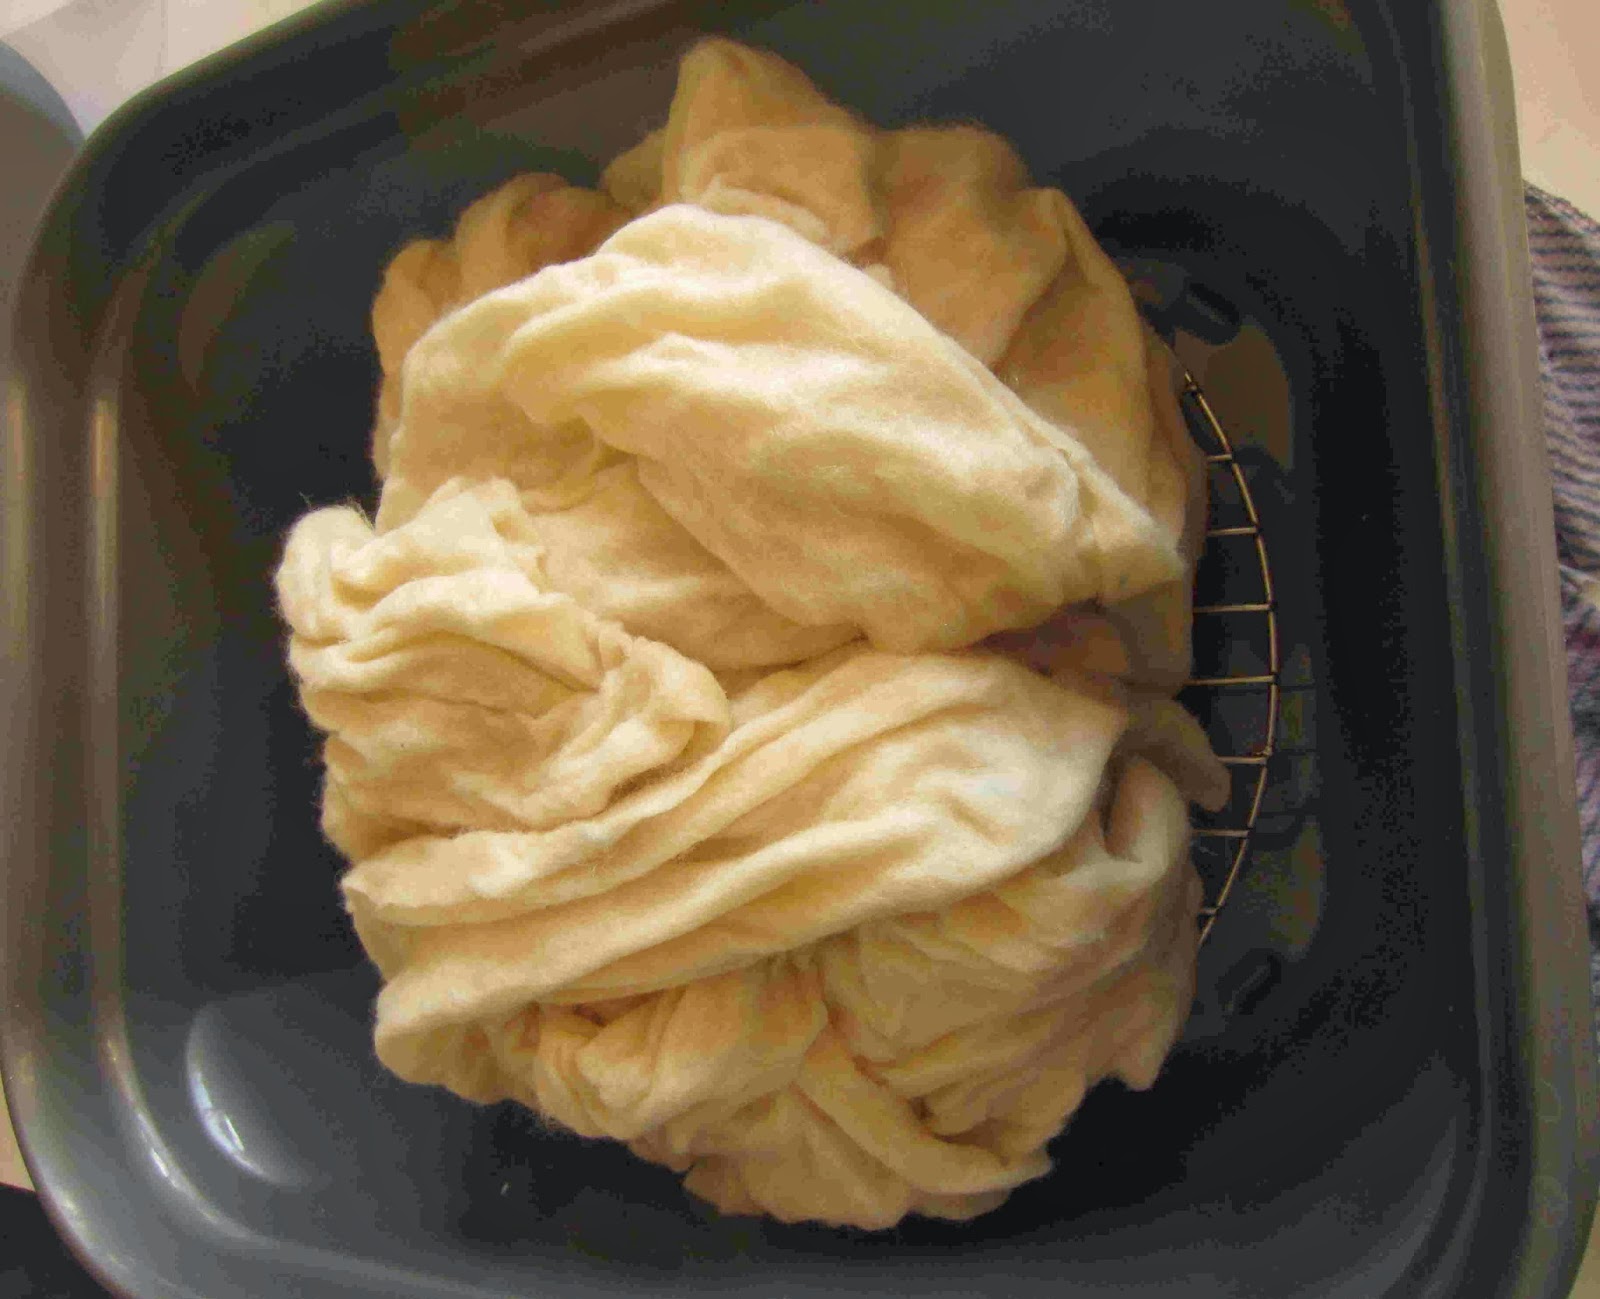
- As before, I soaked my prefelts in water with 1/4 cup of vinegar and a drop of washing up liquid for every litre of water.
- A wire cooling rack was suspended on some old glass jars in a washing up bowl and my wet prefelts were arranged on top.
- Then a piece of nylon netting was stretched over the top using pegs to secure it.
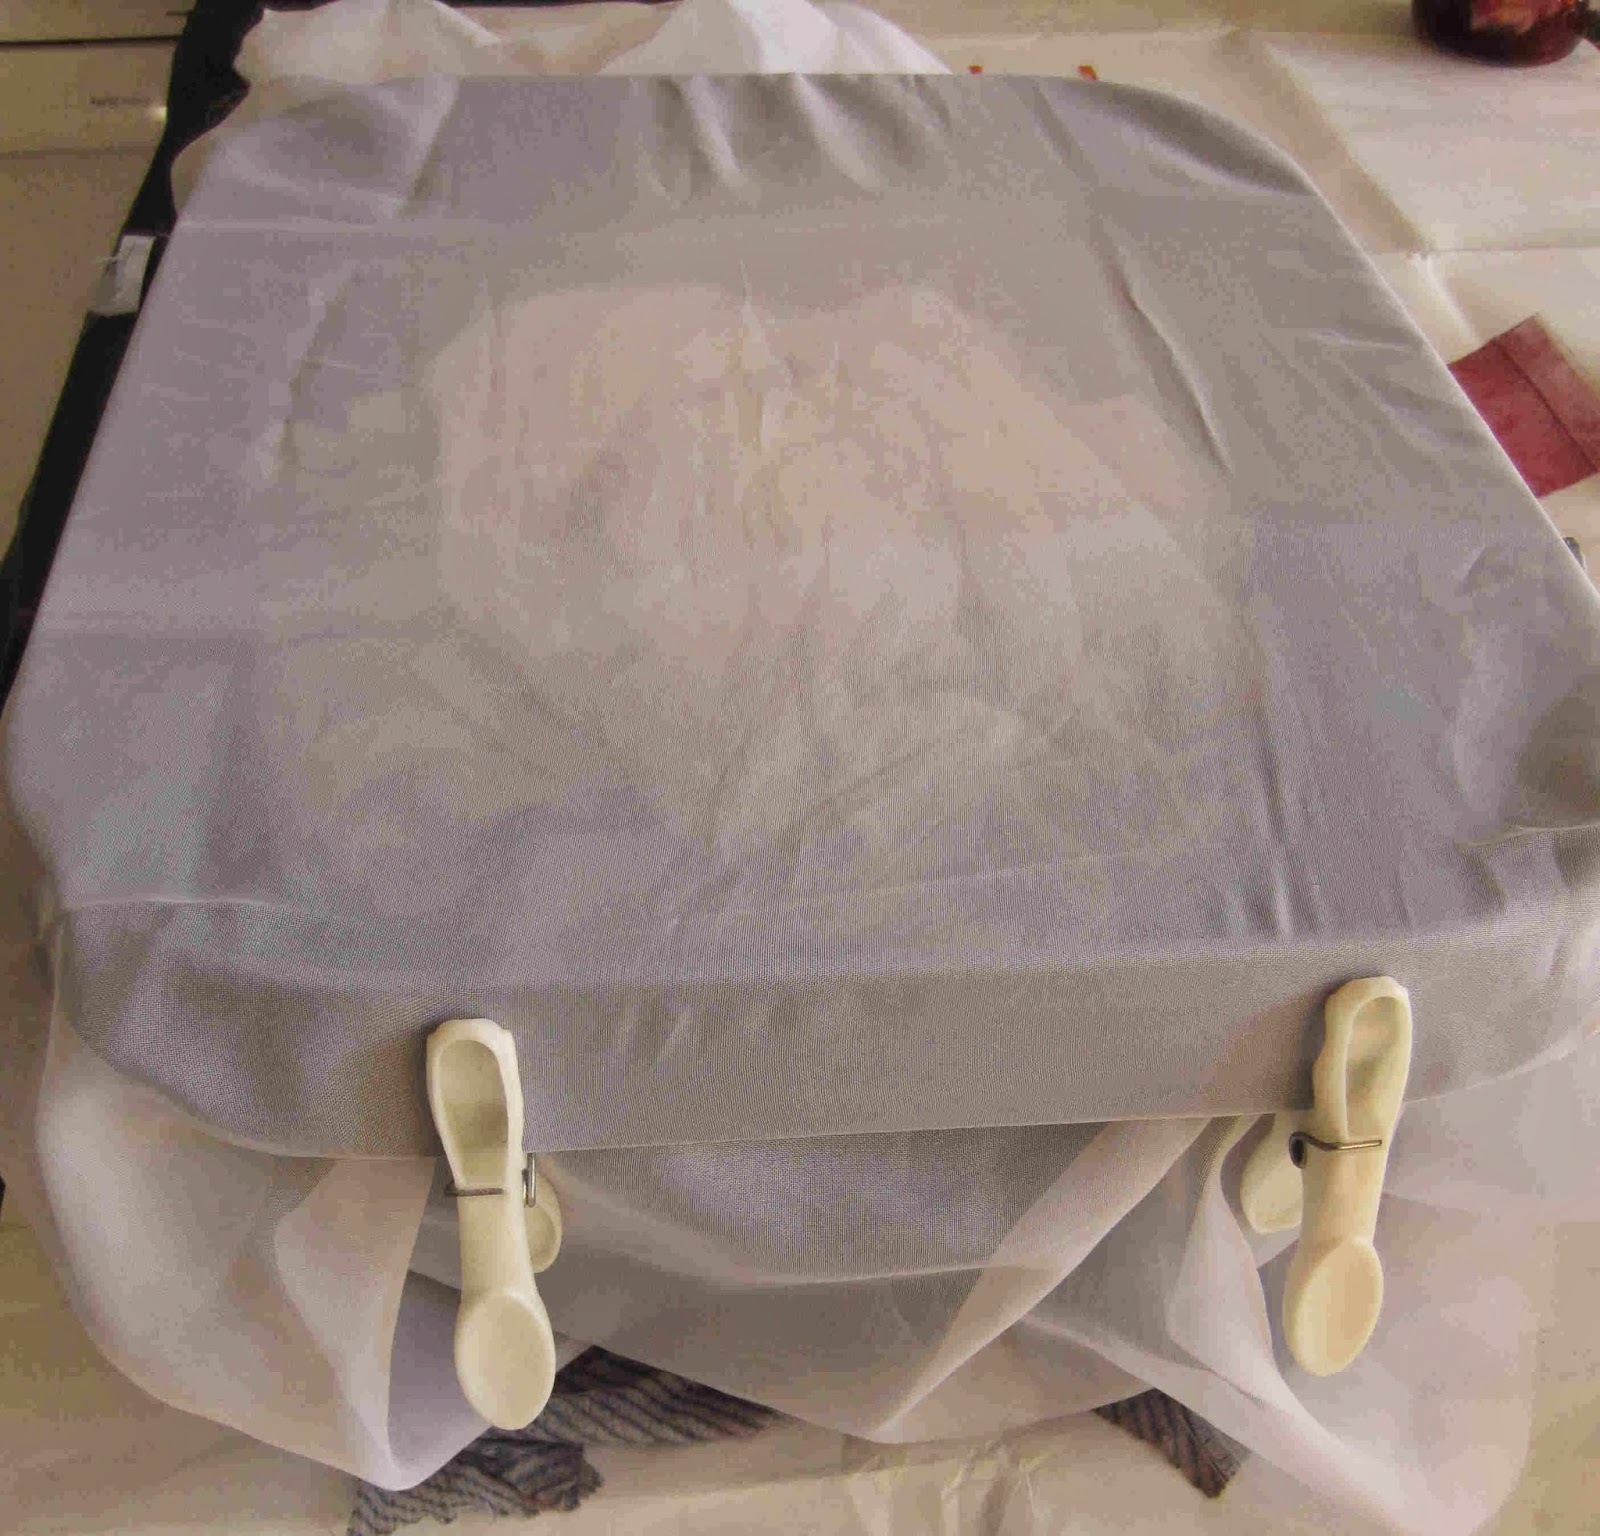
- Ice was tipped on top of the netting so that it covered the felt below.
- Yellow, red and blue acid-fast dye powder was sprinkled over the ice, I used about twice as much yellow as red or blue.
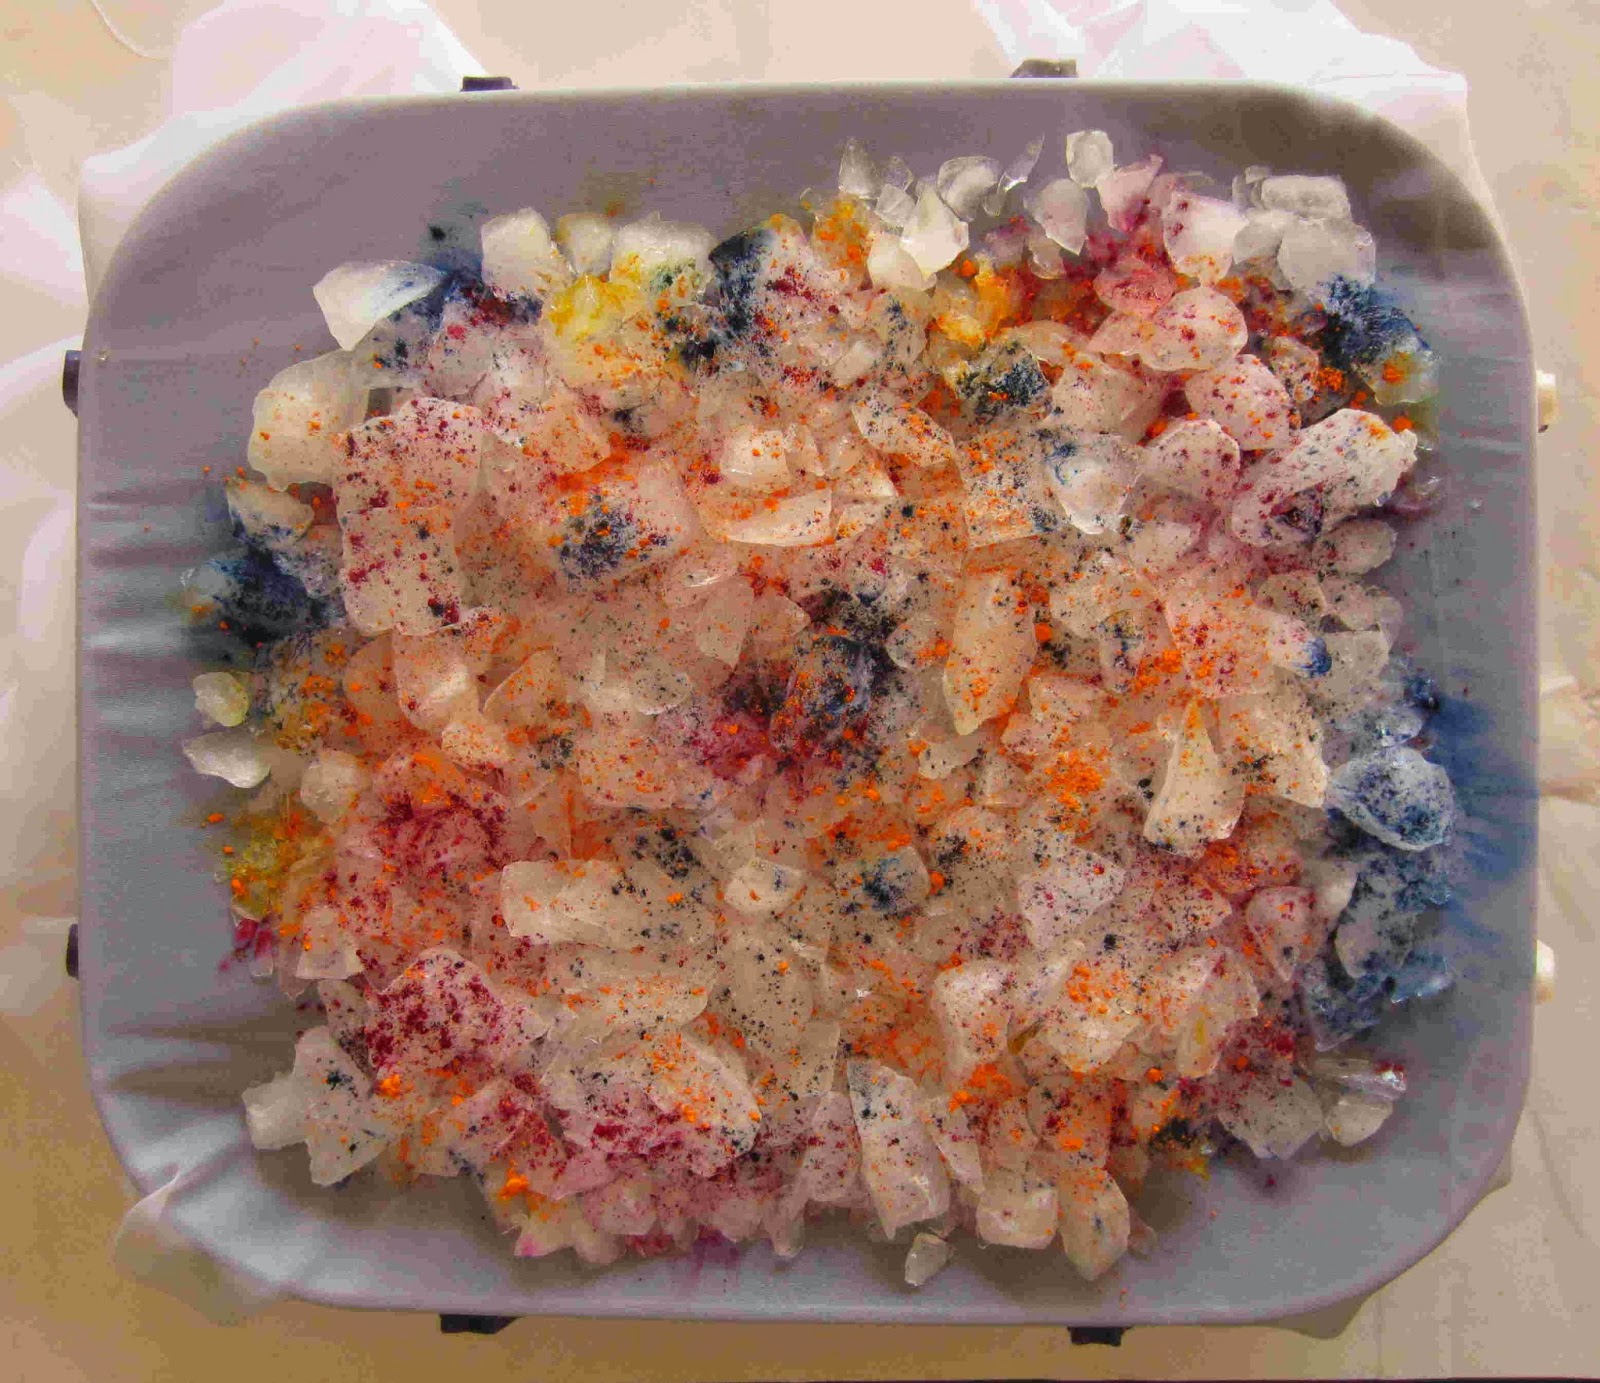
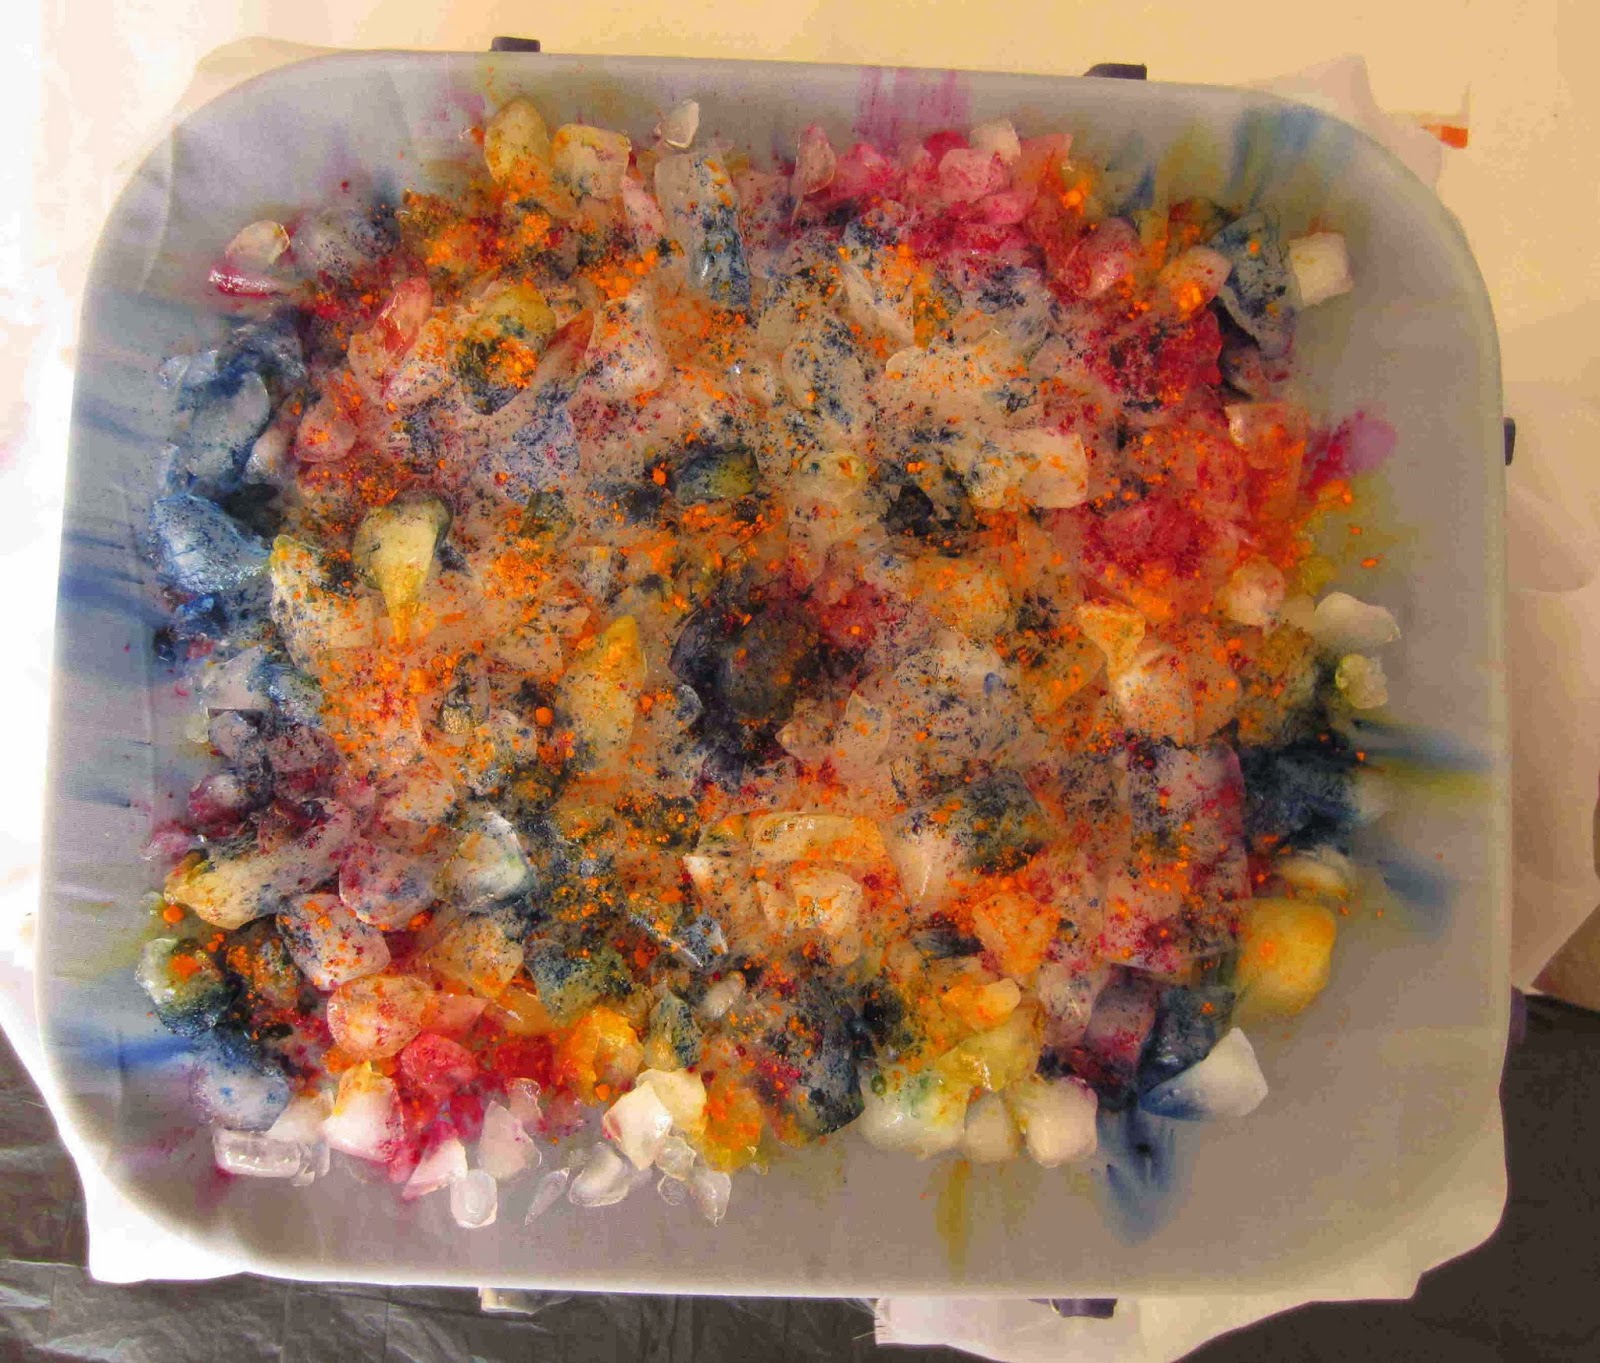
- I waited, and waited for the ice to melt, it looks really pretty at this stage:
- The netting was removed and I put the icky brown mess into a zip lock bag.
- Then I dropped it into my urn that was just bubbling and left it for 90 min.
These were the results, more than a bit disappointing…
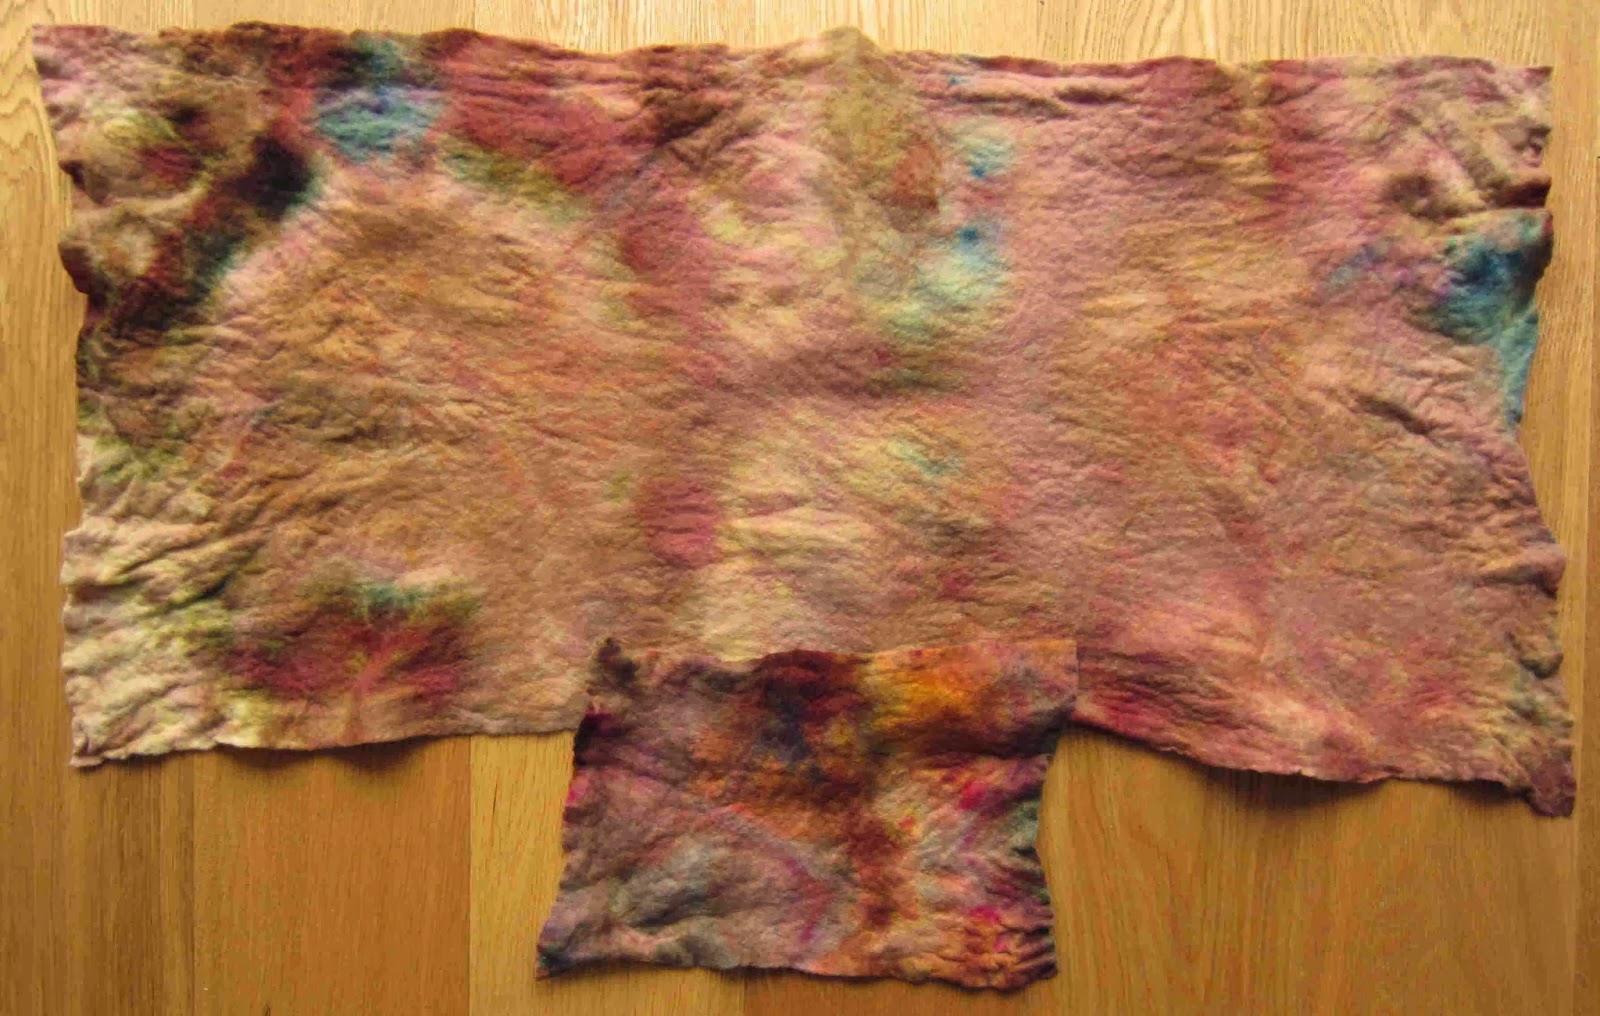
Not one to waste anything I put another piece of prefelt into the dye run-off in the bottom of the washing up bowl and steamed that in its own zip-lock bag with the other piece, looks somewhat similar doesn’t it?

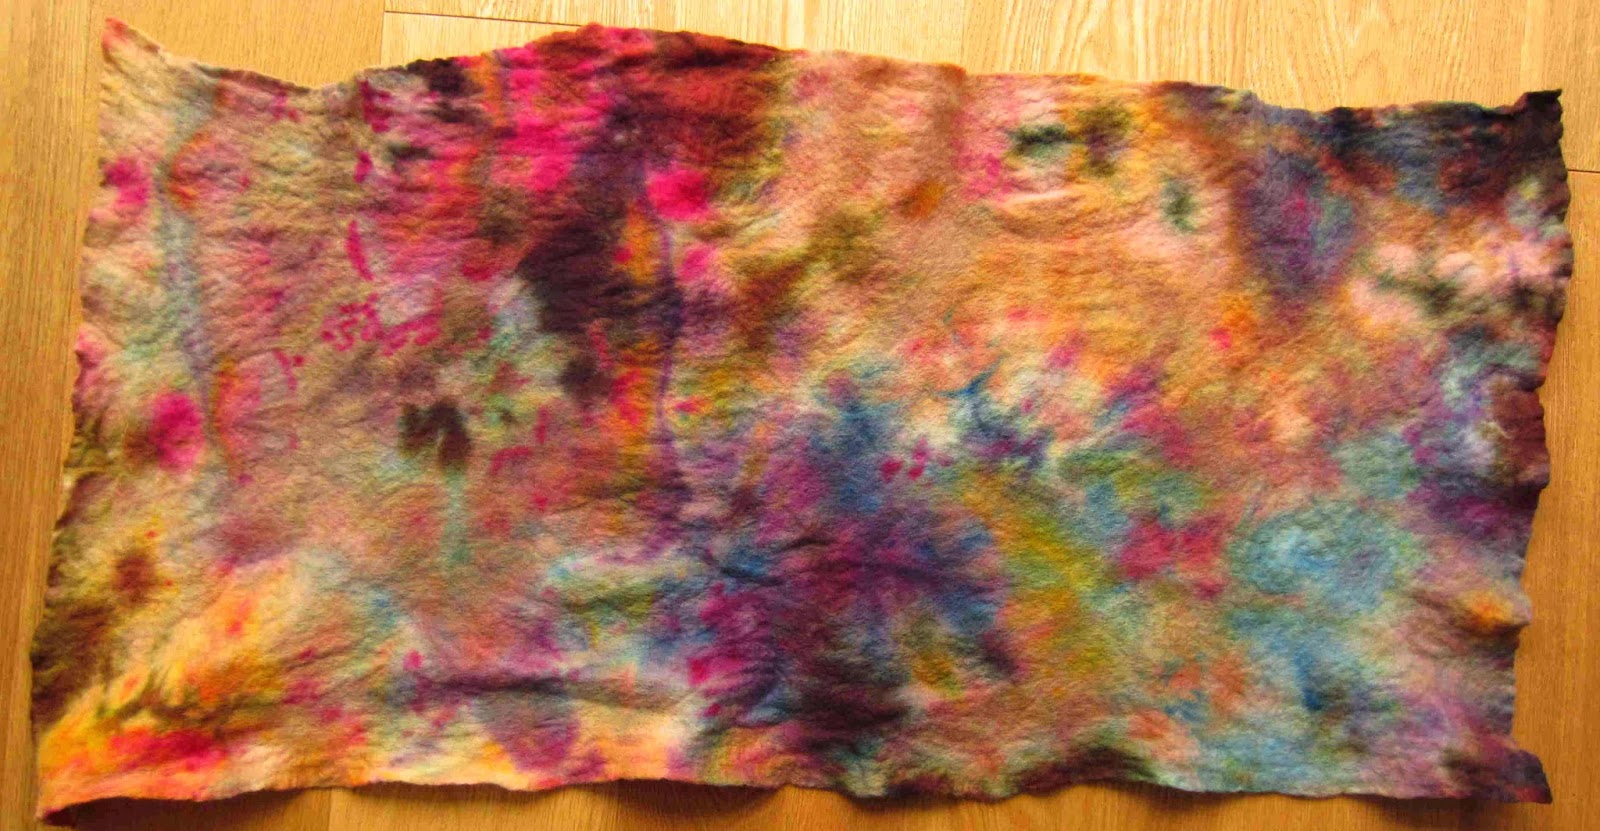
All is not lost though, one of the pieces from the ice dyeing did not receive much dye so I sprinkled some more dye powder directly onto the felt before putting it in a bag and steaming it. This was the result. I quite like this piece and it makes me want to try ice dyeing without the ice!
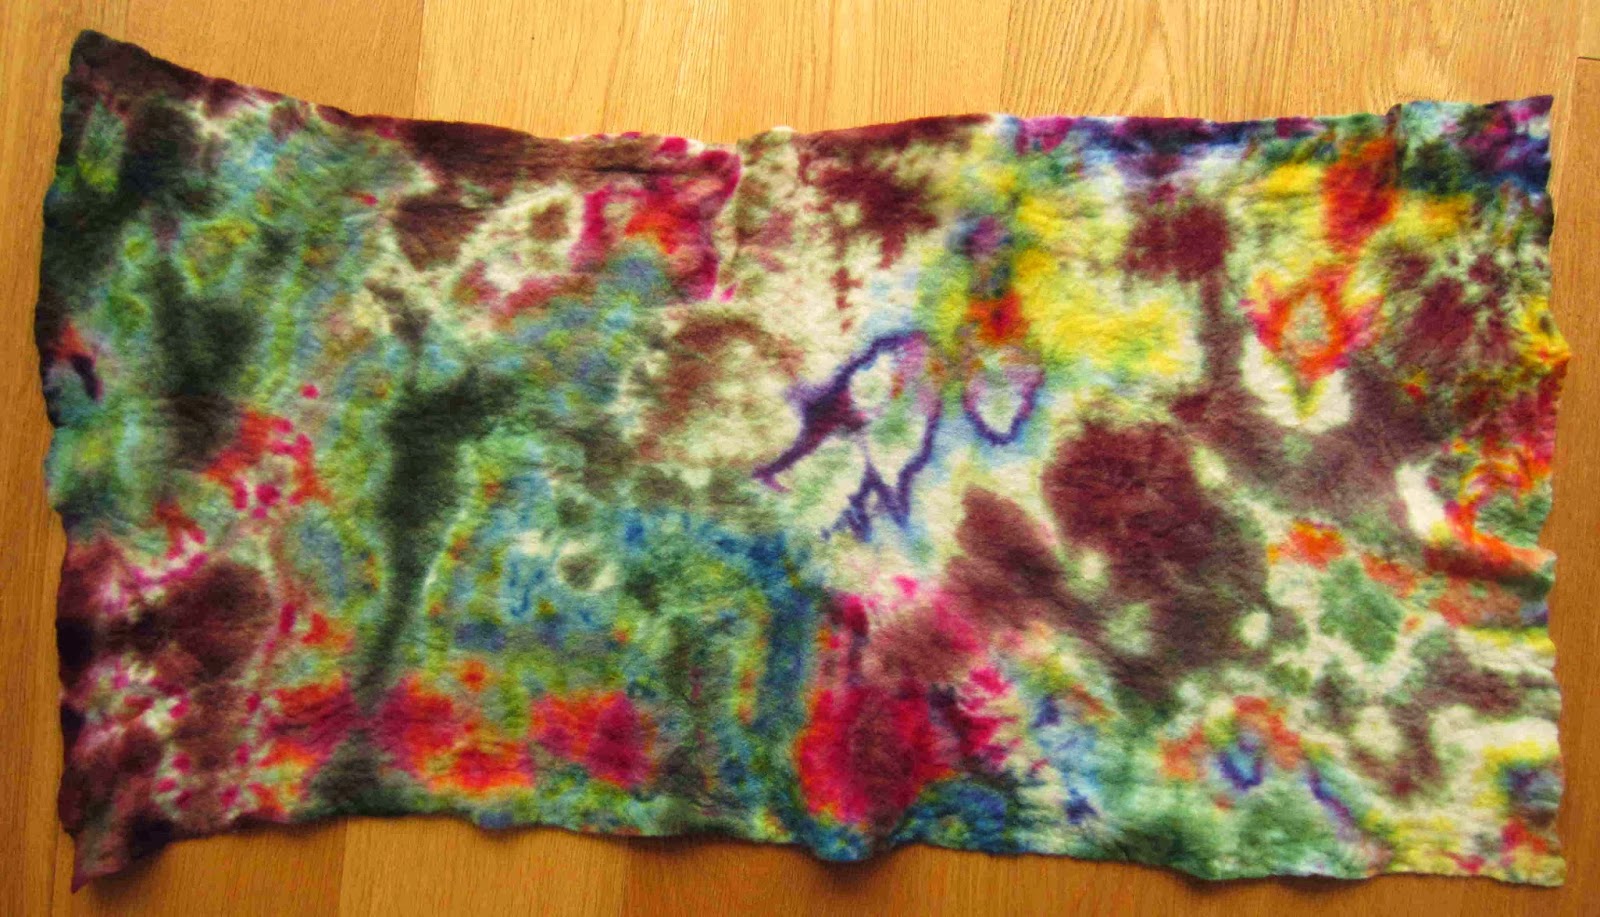
I also did another “jar of ice-dyeing” using the same primary colours used above, this is my favourite of the whole bunch… The jar method is definitely the winner! :o)
Linking up to nina-marie
Looks like you had fun with the prefelts. Perhaps for the area of dyeing you didn't have enough dye powder? The nice thing about the jar method is you get drip through from the other layers. But I actually like the colors in the first prefelt photo. I could use that easily 🙂
Looks like you had fun with the prefelts. Perhaps for the area of dyeing you didn't have enough dye powder? The nice thing about the jar method is you get drip through from the other layers. But I actually like the colors in the first prefelt photo. I could use that easily 🙂
What exactly is a prefelt, and how do you use them once they're dyed? This looks pretty wild, not sure what it would be used for/with…
What exactly is a prefelt, and how do you use them once they're dyed? This looks pretty wild, not sure what it would be used for/with…
I did enjoy it, it's always exciting tipping your fabric out of the jar to see what effects you have, it's really hard for me to leave the jar alone while the ice is still melting it's so tempting to poke around and see what is going on inside! :o)
Not sure that adding more dye wouldn't have just resulted in a deeper brown for the first one, I think the problem is the colours mix together before they drip onto the fabric, using colours from the same side of the colour wheel might work but the other method is so successful I can't see any reason to use the netting method…
Another good question Laura, I clearly spend too much time with other woolly fanatics that I forget we have our own language… felt is made by laying layers of loose wool fibre over each other, wetting and rubbing, if you only rub to the point where the fibres are just holding together you get a prefelt (or half felt as some people call them). If you keep rubbing, the piece will shrink and harden as the fibres knit closer together (that is called fulling). You can also buy commercial prefelts where they have used barbed needles to start the felting process instead of water and rubbing.
I will probably continue fulling some of these into serviceable pieces of fabric that will become journal covers, the brown one might become the background to a felt painting and others will be cut up and used as surface decoration on other pieces of felt. You can also needle felt this onto other fabrics to create an appliqué style effect without the stitching. Versatile stuff is wool felt! 🙂
Thanks for the explanation, I've seen prefelts for sale but didn't know what they were, or how they were used. Now I know that I don't have to buy them, I can make my own. I definitely could see your prefelts being used as journal covers or something like that, or being cut up and used in other projects!
Thanks for the explanation, I've seen prefelts for sale but didn't know what they were, or how they were used. Now I know that I don't have to buy them, I can make my own. I definitely could see your prefelts being used as journal covers or something like that, or being cut up and used in other projects!
Hi Teri, thanks for commenting on my blog.. I have replied there and wanted to let you know so you can read it.. please (rather than typing it here).
I haven't heard of ice dyeing before.. the piece you did in the jar is lovely and vibrant!
x
Hi Teri, thanks for commenting on my blog.. I have replied there and wanted to let you know so you can read it.. please (rather than typing it here).
I haven't heard of ice dyeing before.. the piece you did in the jar is lovely and vibrant!
x
Thanks Deborah 🙂
Thanks Deborah 🙂