I recently discovered Kumihimo (pronounced koo-me-he-mo) braiding and thought I would share some of the techniques with you.
It’s a fascinating technique with a mind-boggling array of different pattern possibilities, a small selection of which I have shown at the bottom of this post.
You will need a Kumihimo disc and some yarn or thick threads, embroidery thread works well, the discs are not expensive but you can also make your own. All you need is a disc off dense (stiff) foam (the sort garden kneeling mats are made from is good) or some thick cardboard, a craft knife, pencil and tape measure or ruler.
Making a Kumihimo Disc
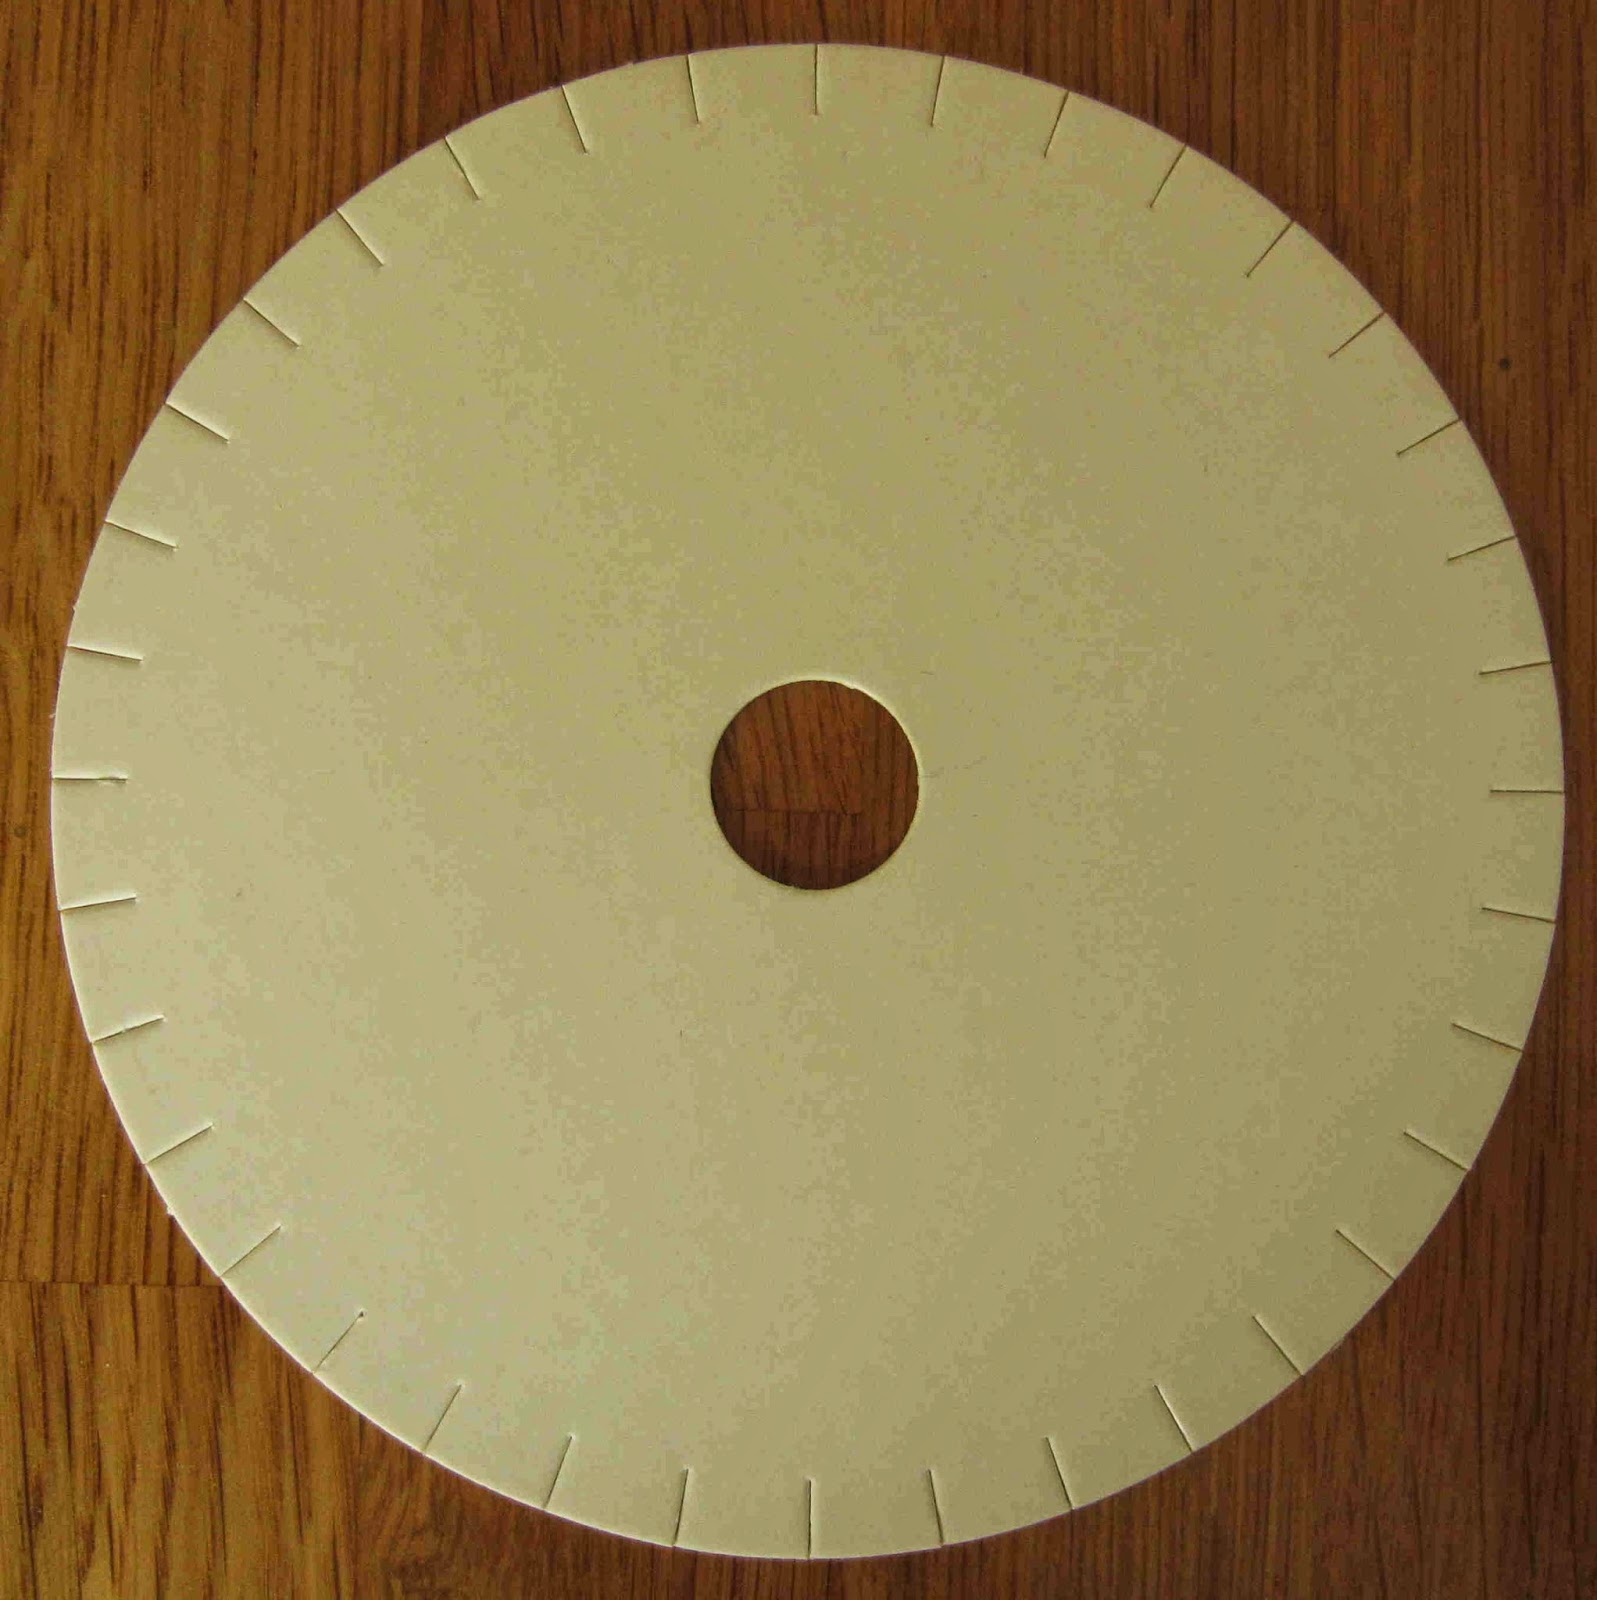
- Use a compass, saucer, small bowl or pint glass to trace a circle on your foam / cardboard and cut out the circle.
- Mark the rim with 32 evenly spaced pencil lines, this does not need to be exact but I find it easiest to mark the 12, 3, 6 and 9 positions of the clock first.
- Then measure the distance around the edge between 2 of your marks, this is easiest with a tape measure but can be done by rolling the disc along a ruler too.
- Divide this figure by 9.
- Use the result to mark out 8 equally spaced lines between each of your clock quarters, you should now have 36 equally spaced pencil marks.
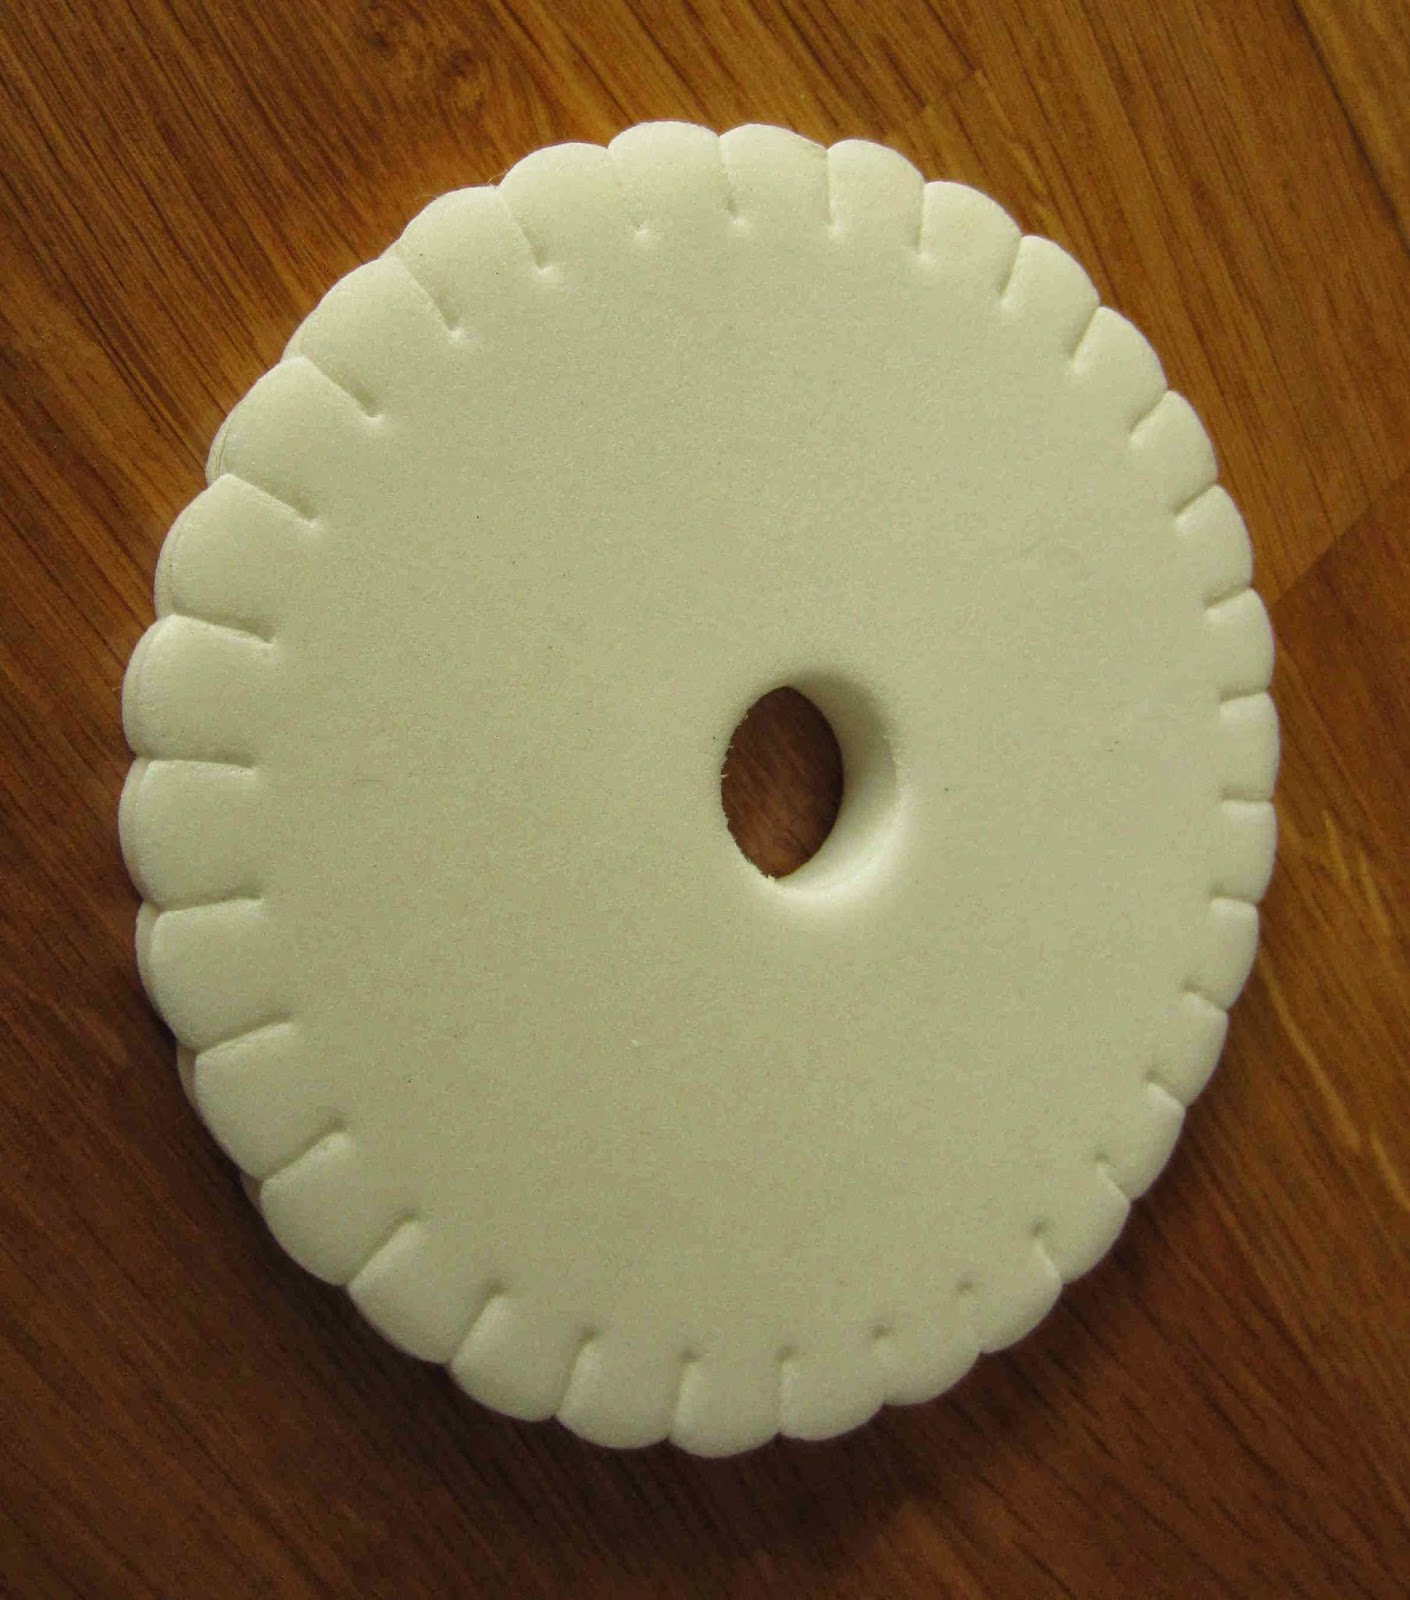
- Using a craft knife cut notches at each of the marks and a 2 cm wide hole in the middle of your disc.
Setting Up Your Disc for Braiding
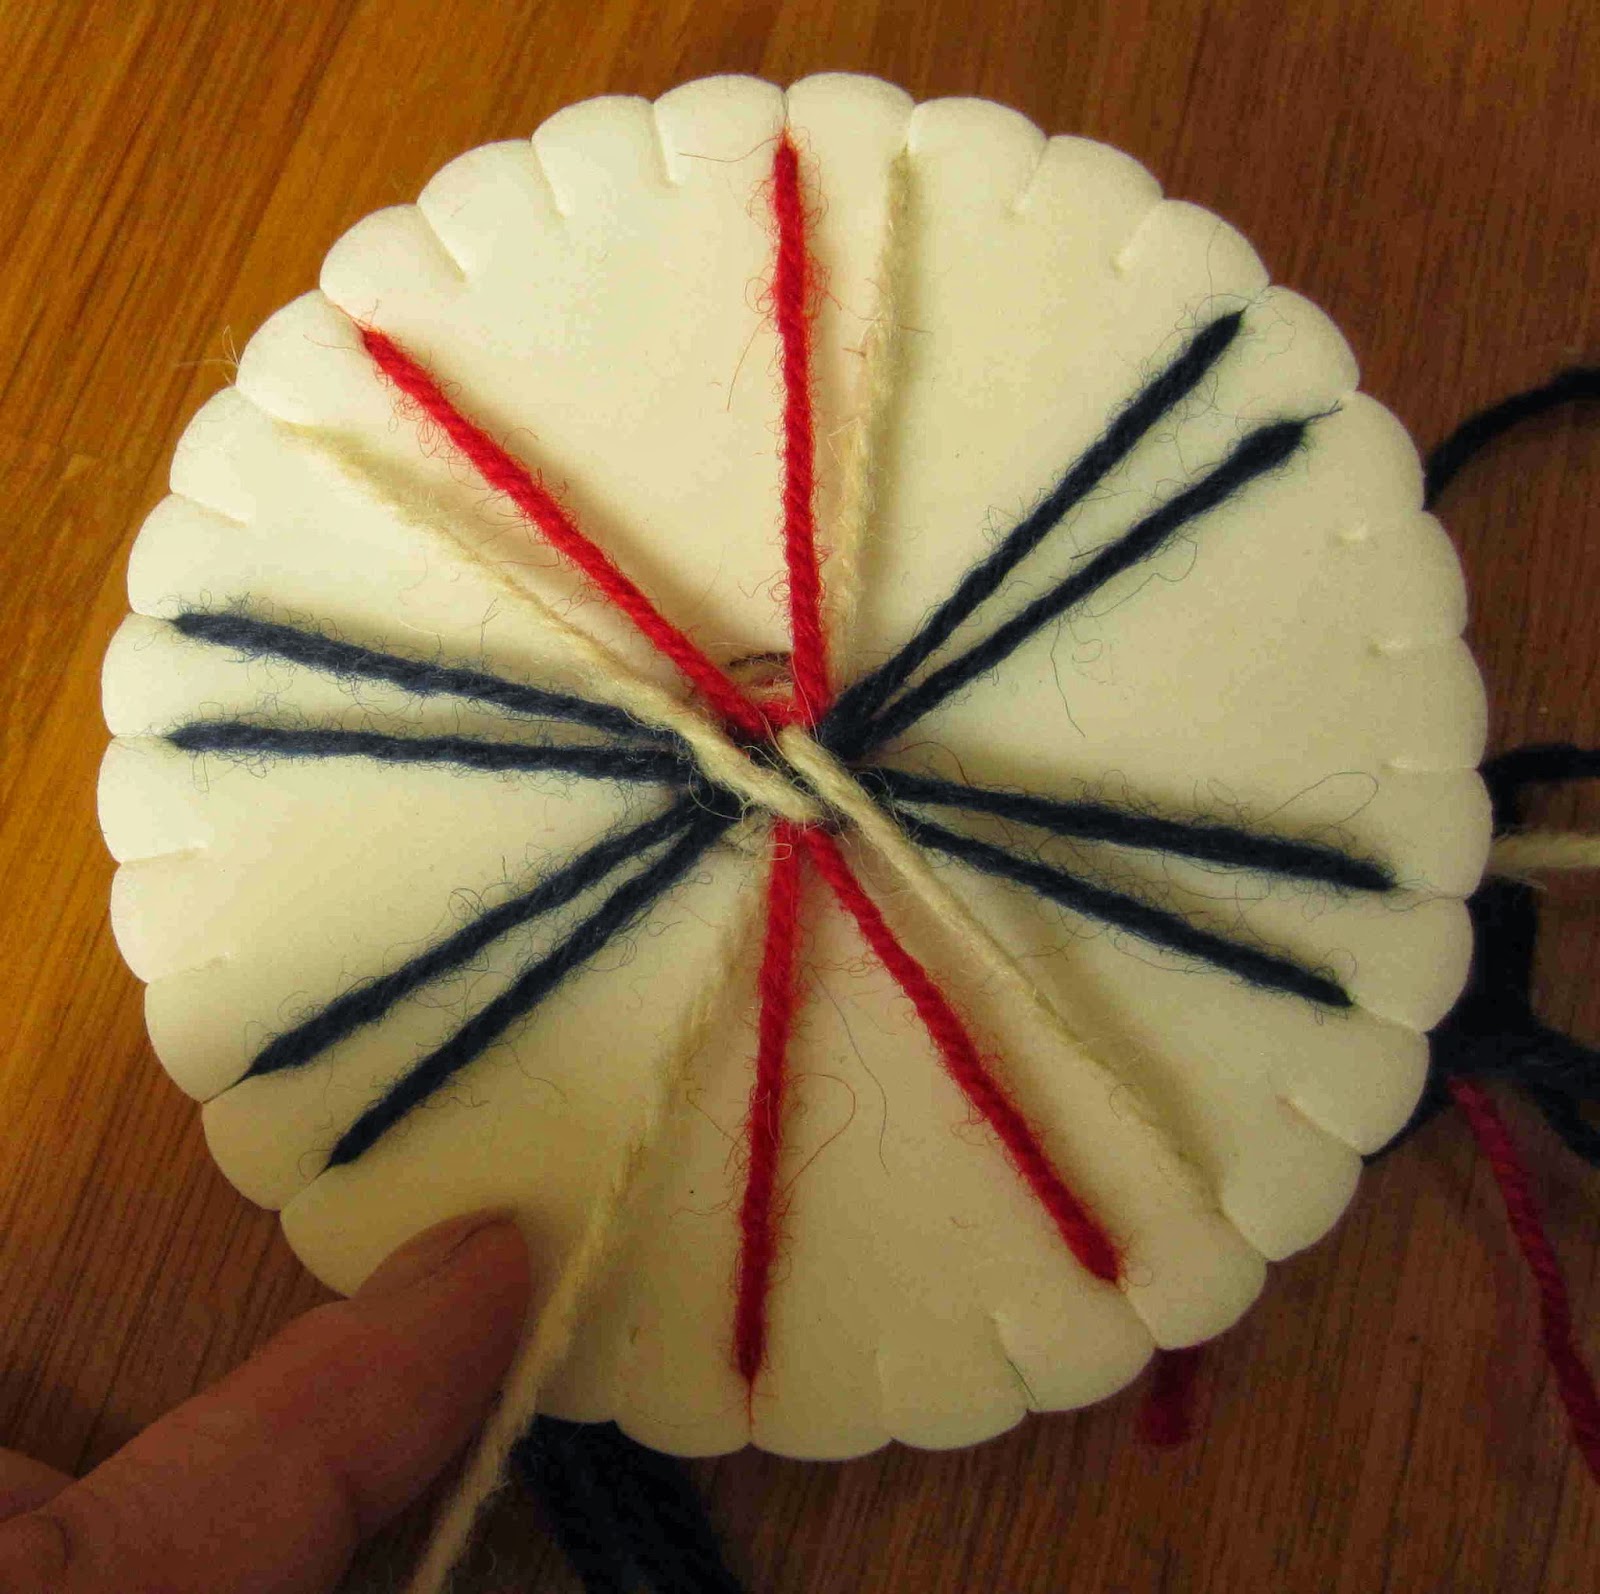
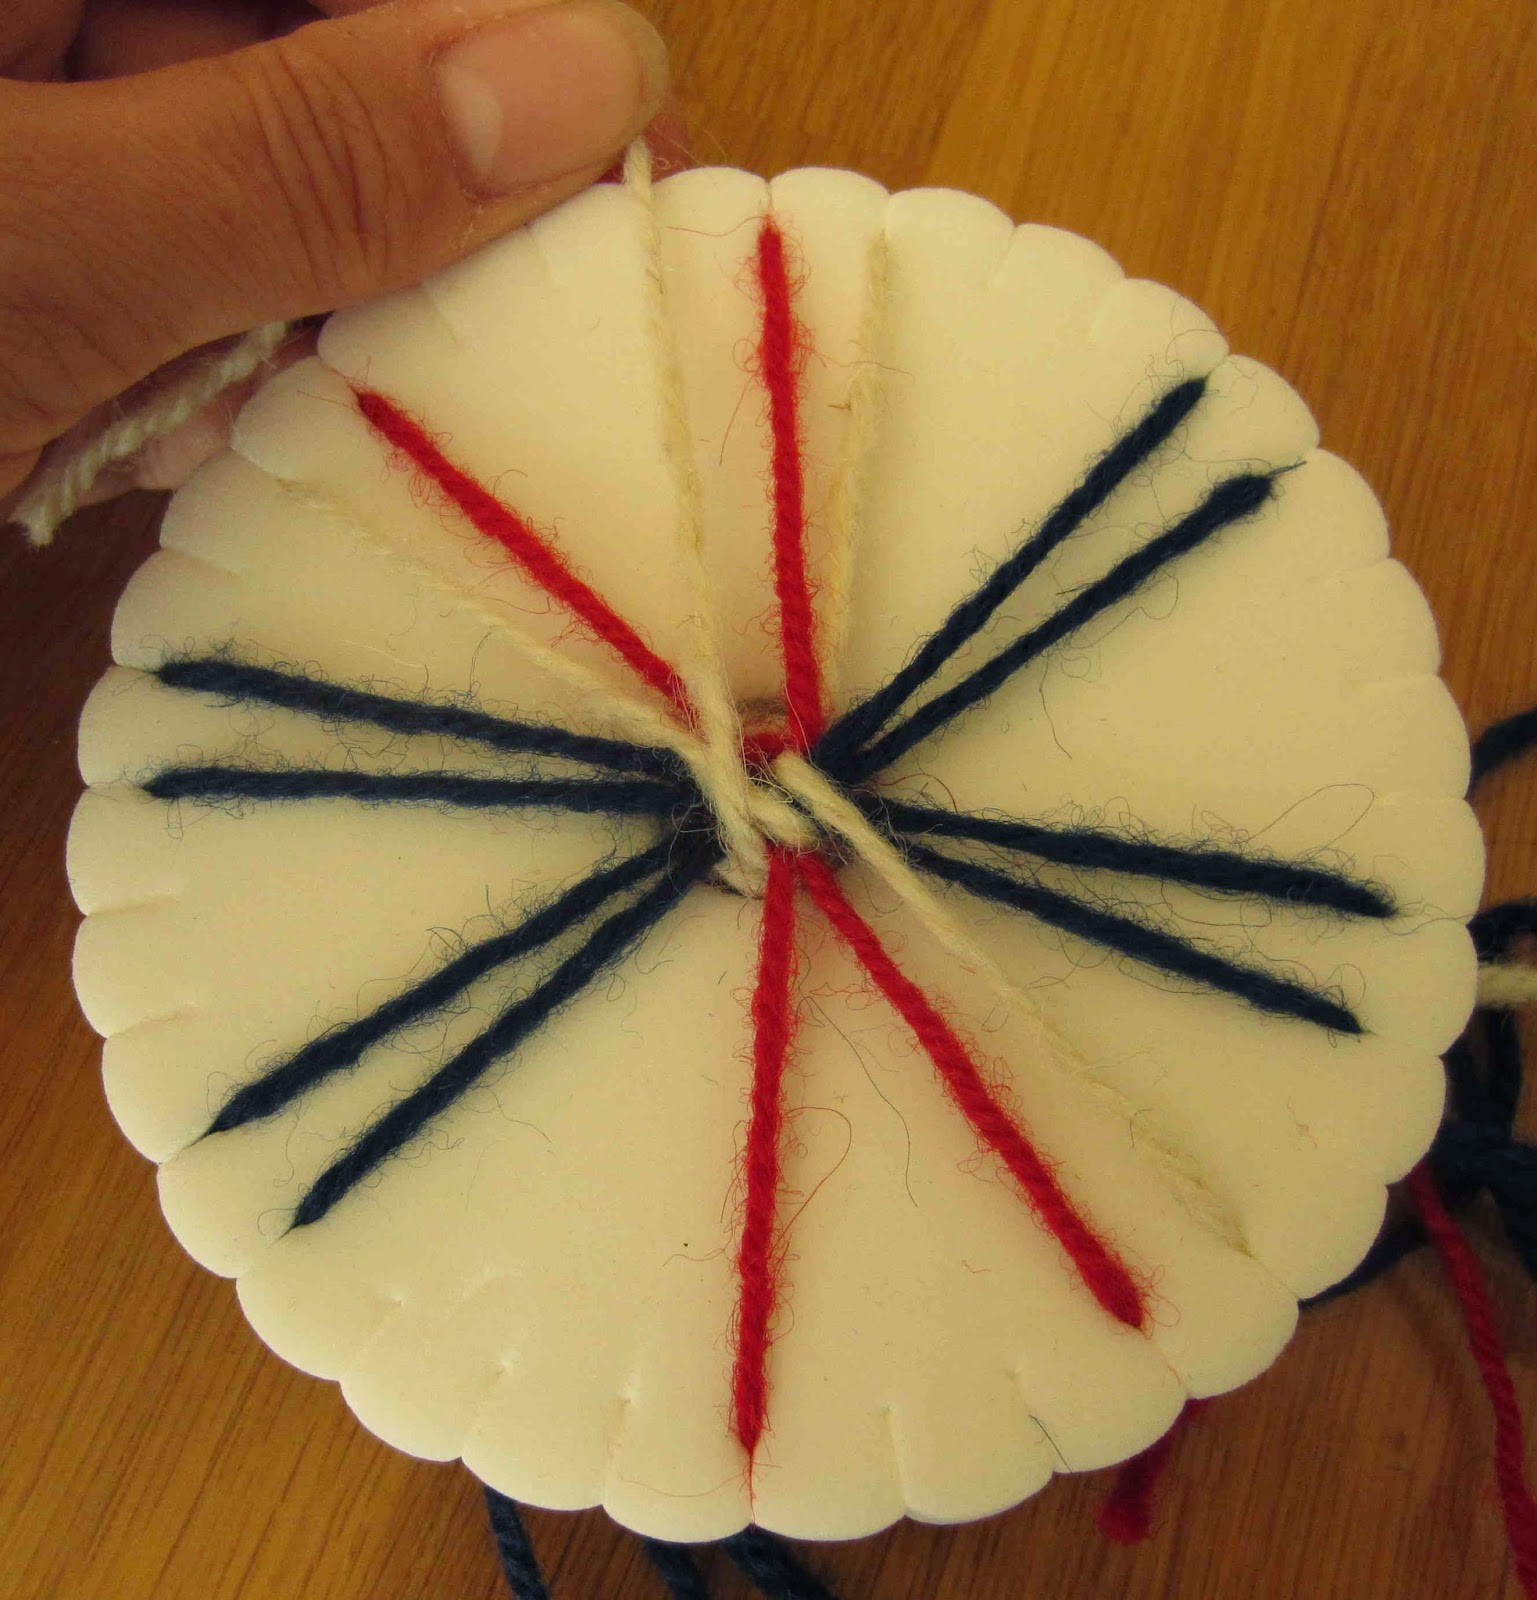
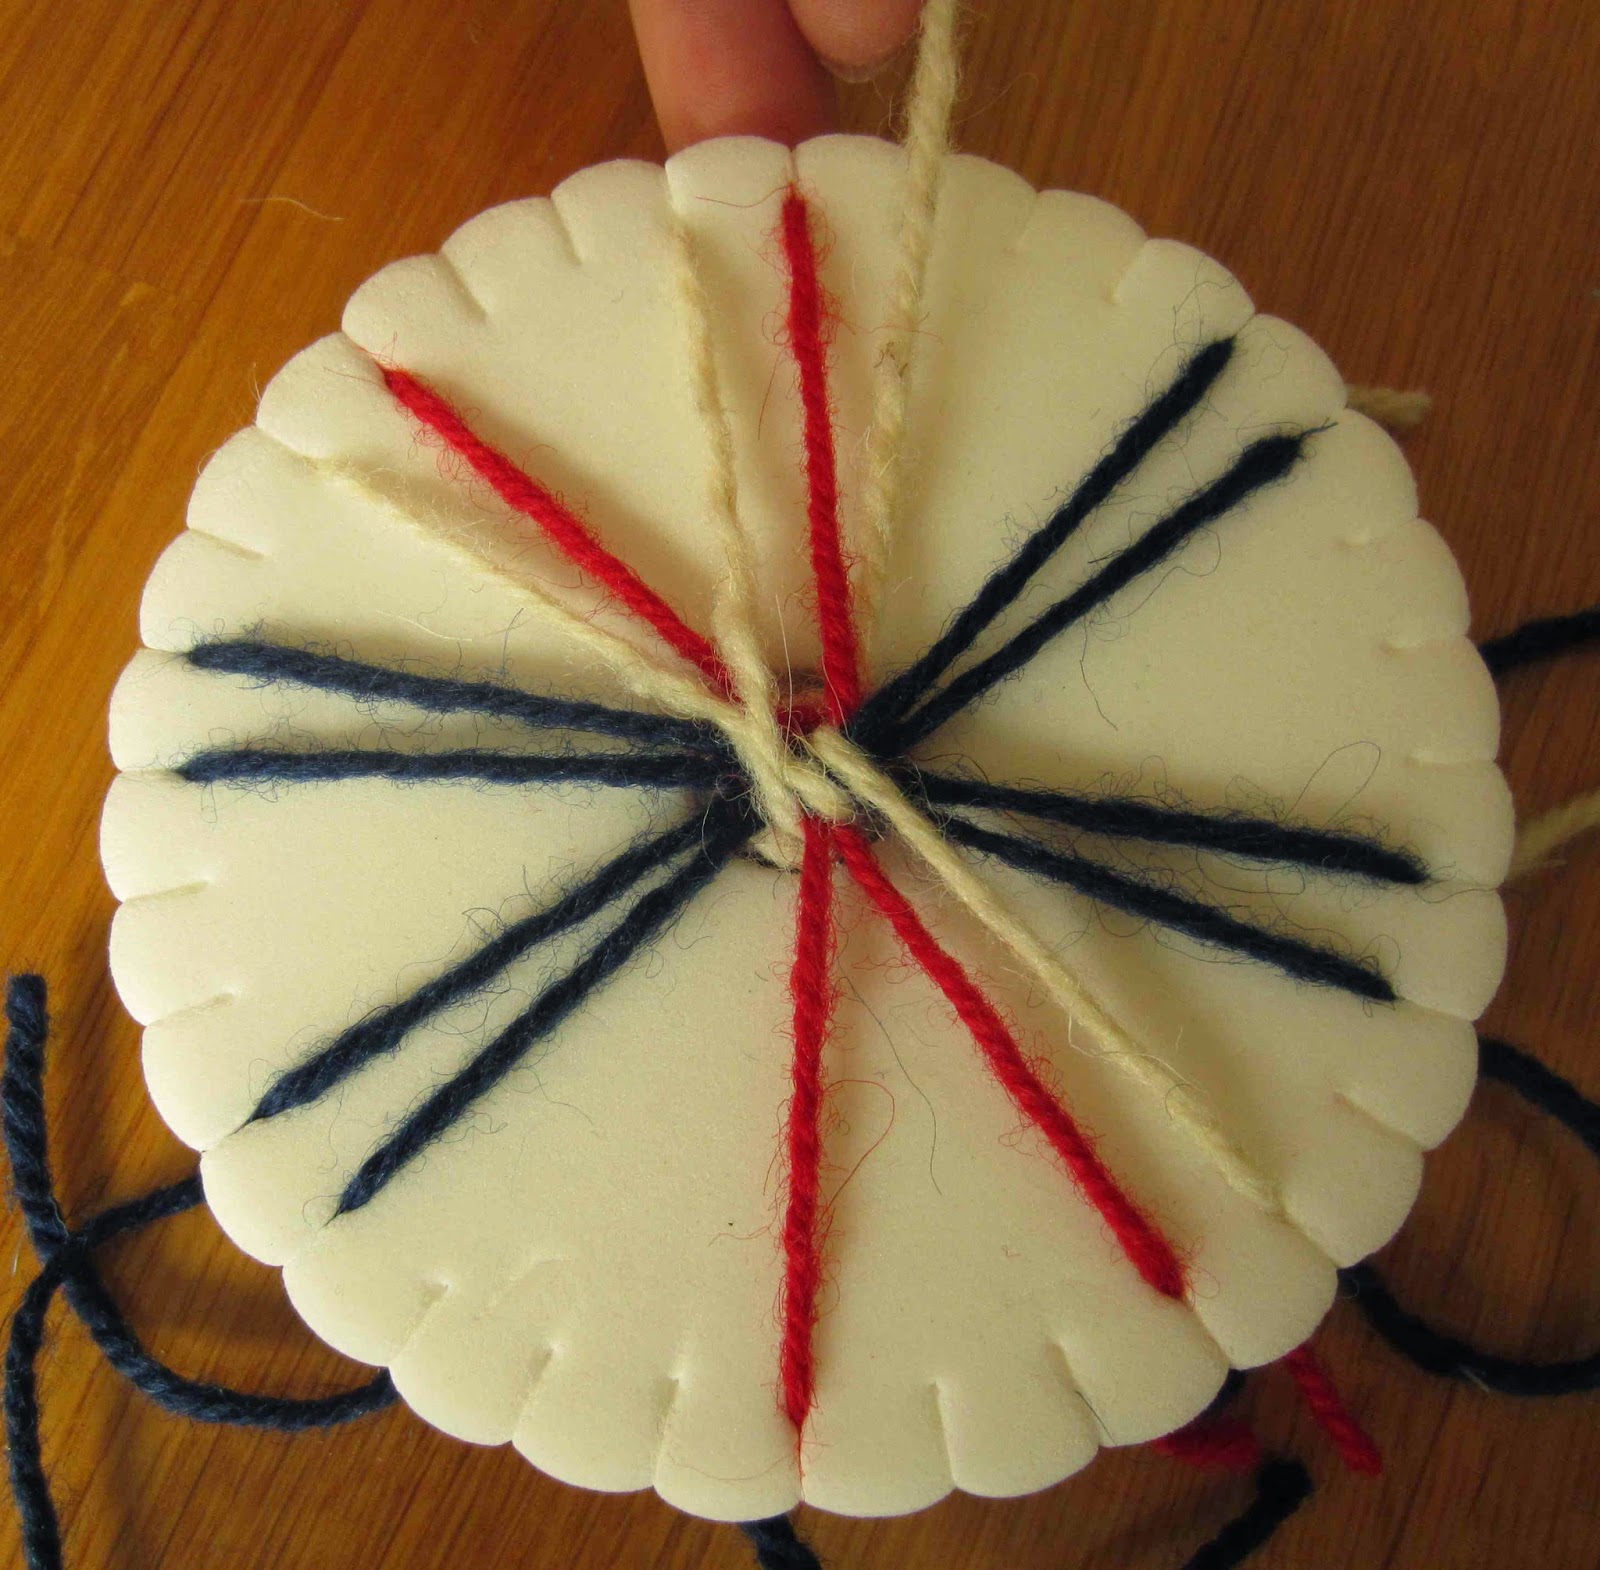
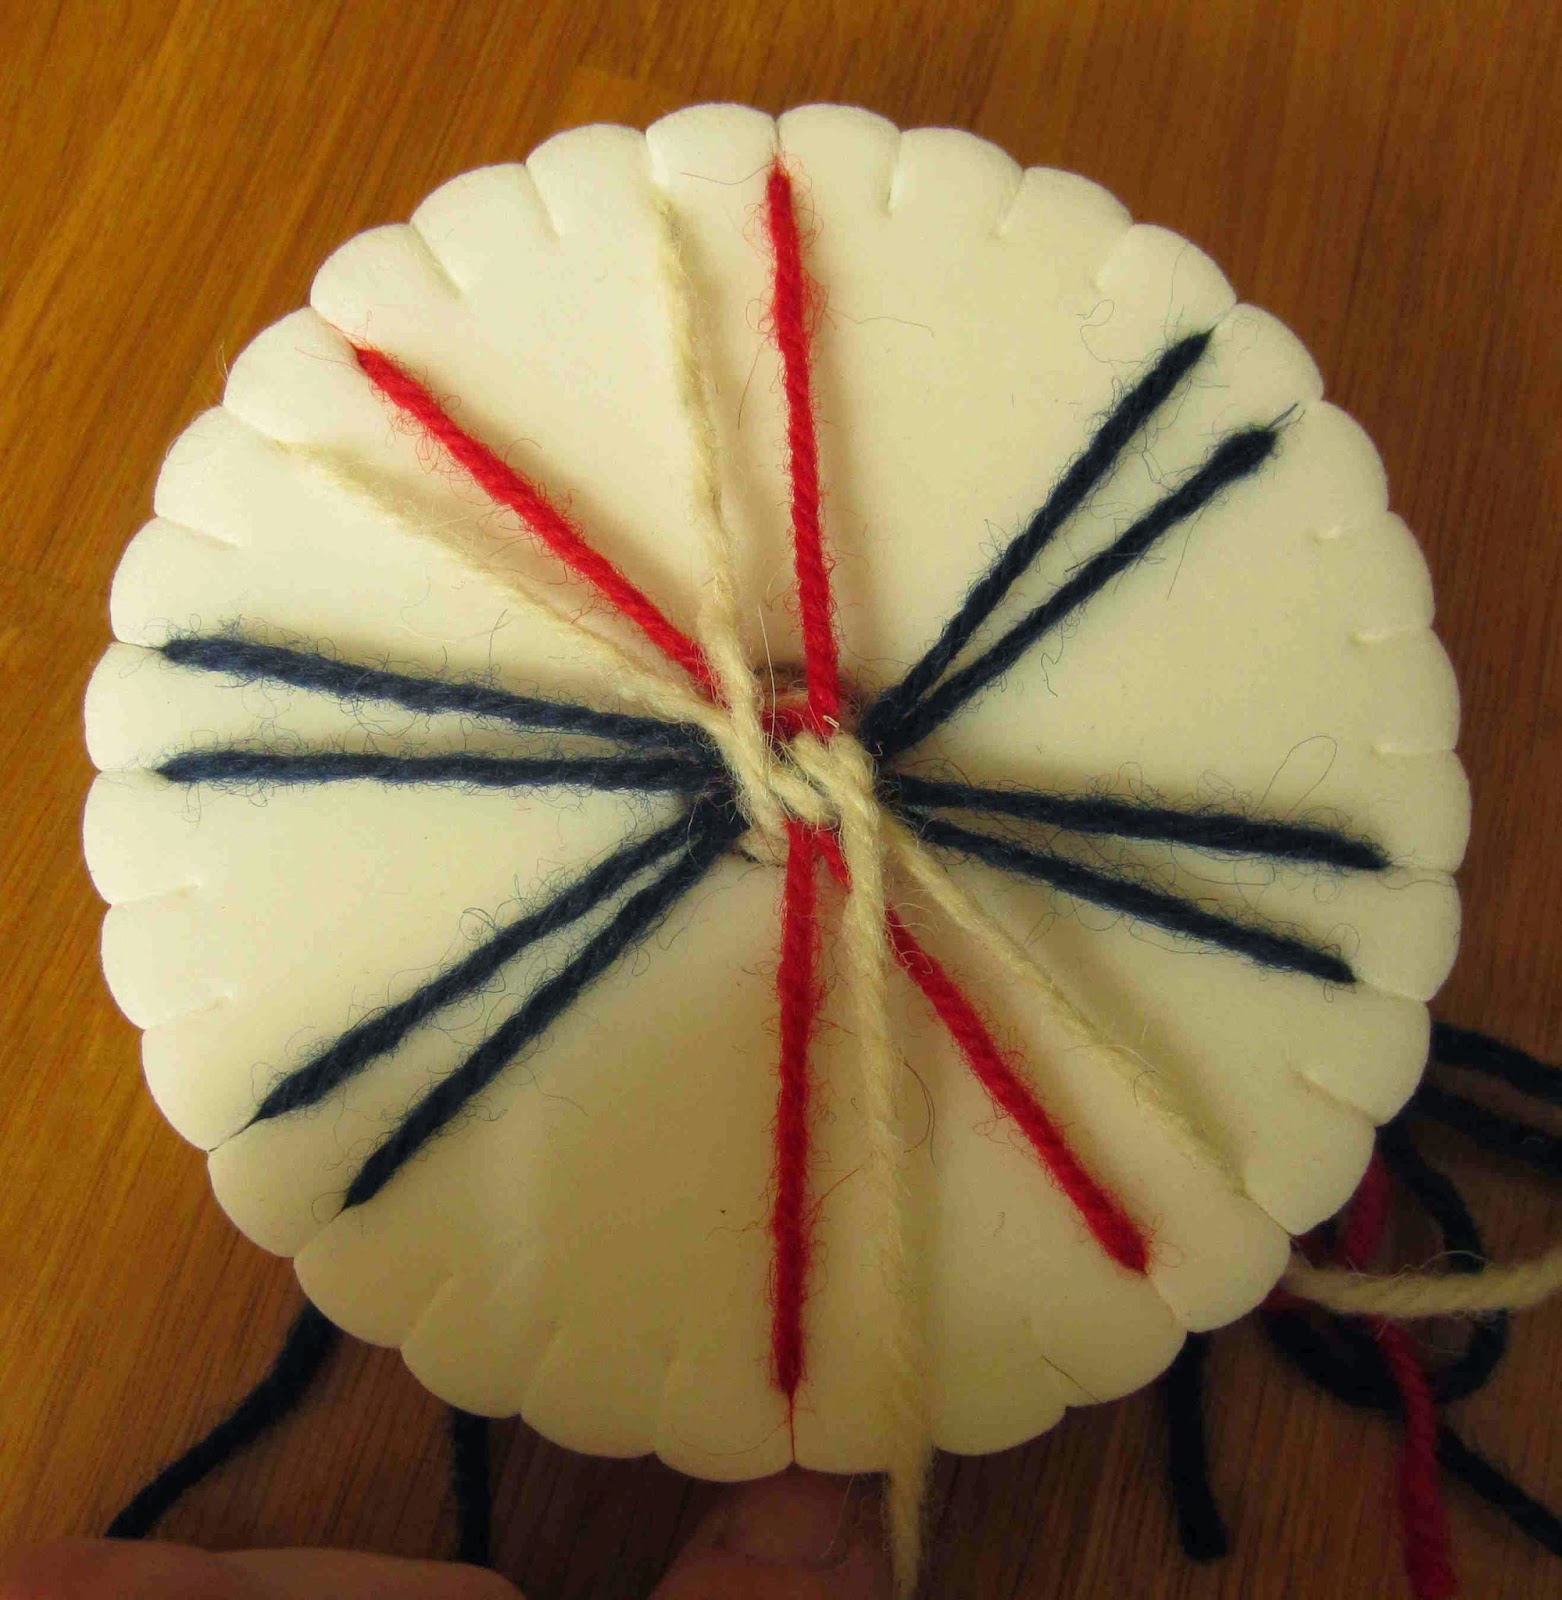
There are dozens of different braiding patterns available and these are largely determined by where the different coloured threads are placed on the disc at the start.
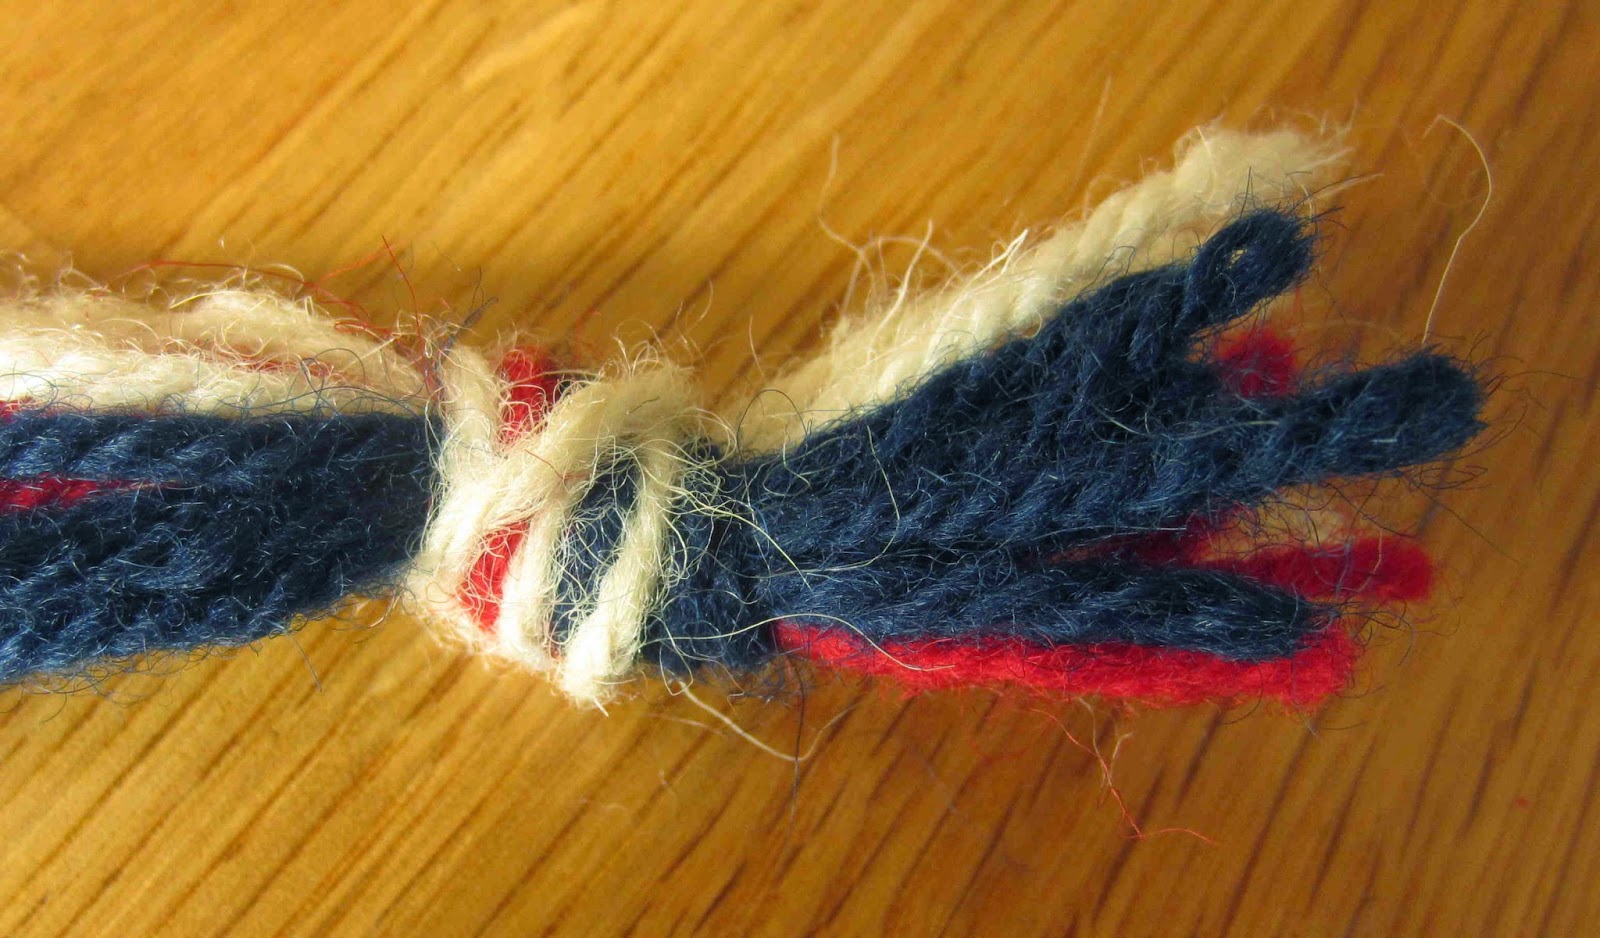
Once you have chosen your pattern (see below), cut 8 or 16 lengths of yarn (as dictated by your pattern). They need to be 3 times the length of your finished braid plus a few inches for knotting the ends. Tie them together with a single knot at one end and drop the knot through the hole in the middle of your disc.
Place the threads in the groves according to your pattern, making sure each pair is at least 2 notches from their neighbours (unlike the image below), they should be fairly taught with the knot just below the surface of the disc:

Holding the disc in your left hand (it doesn’t matter where you start) *take the left hand thread at the 6 o’clock position and place it in the grove to the left of the 12 o’clock position.
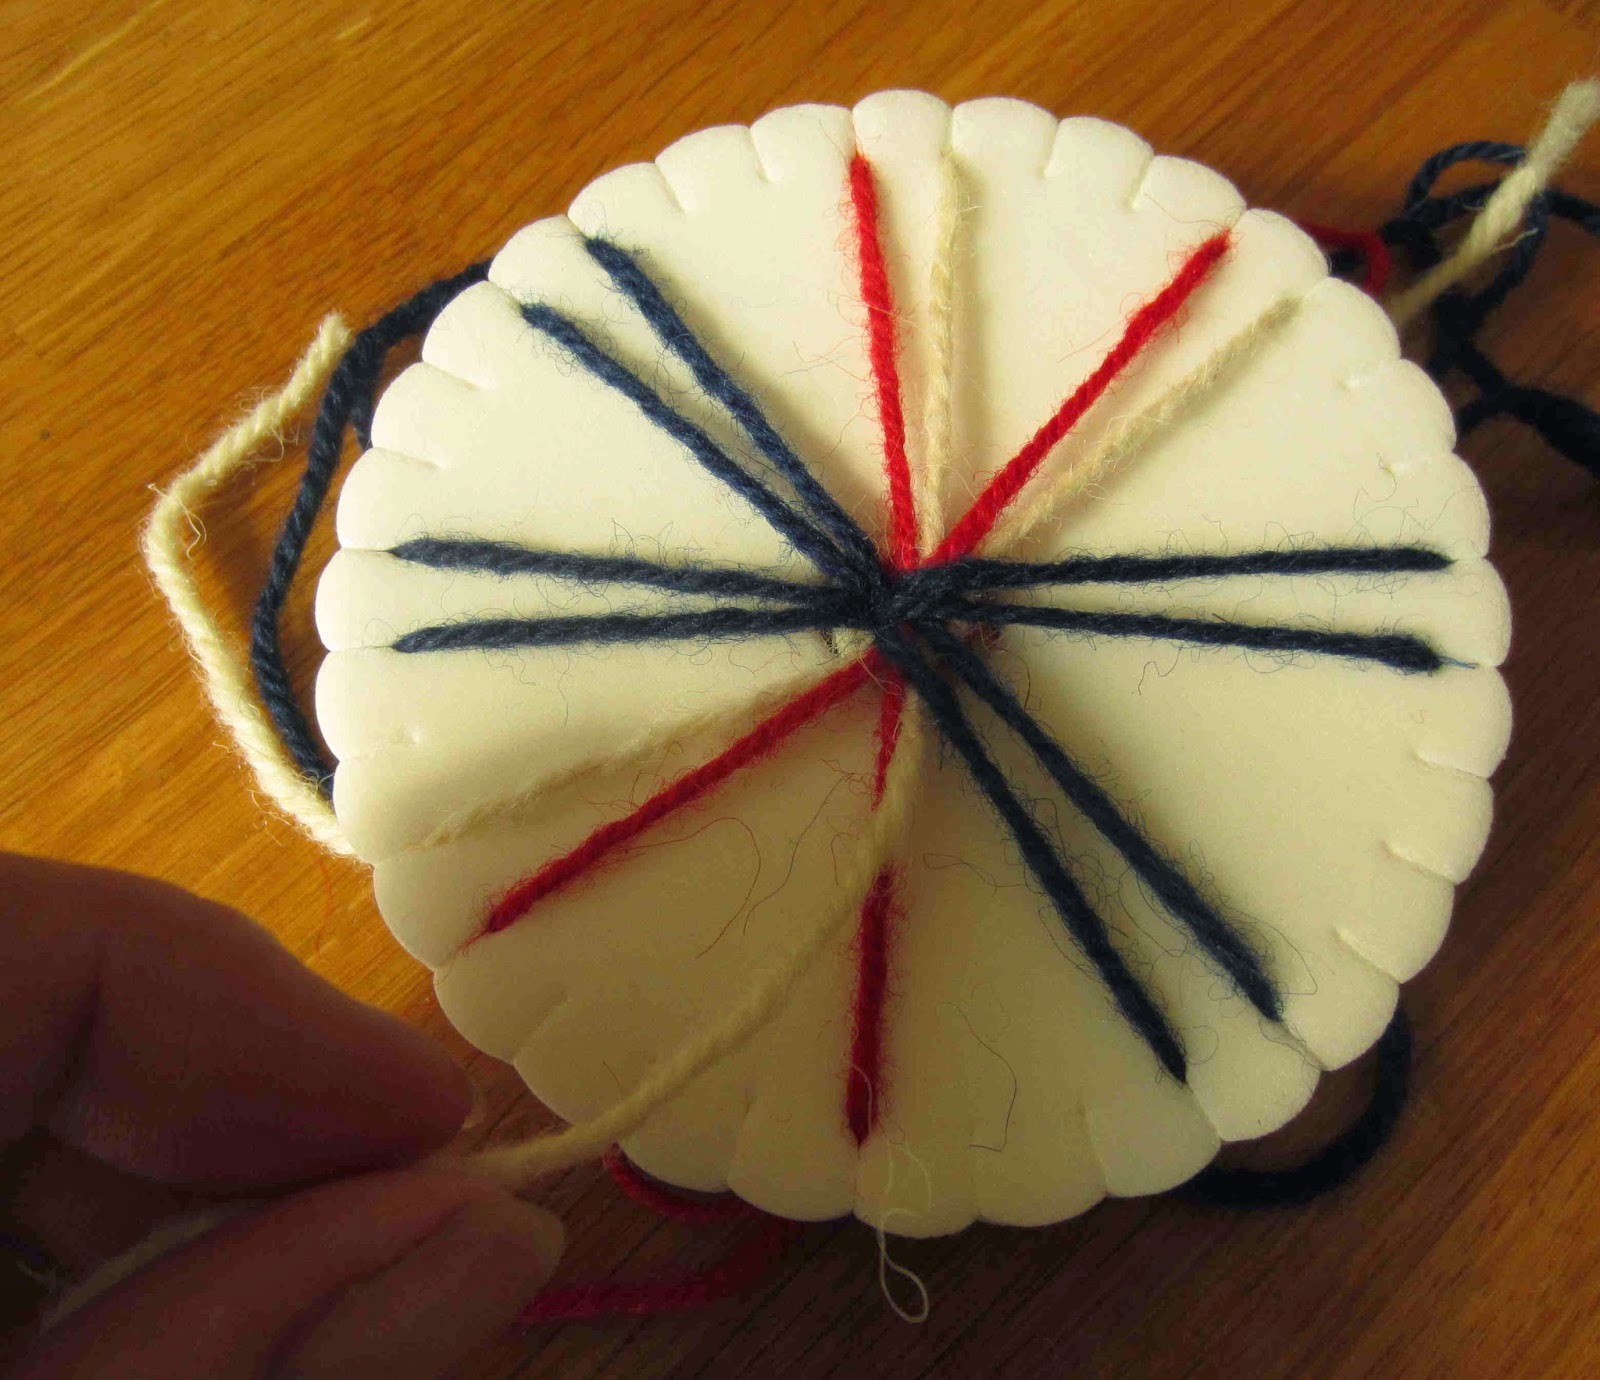
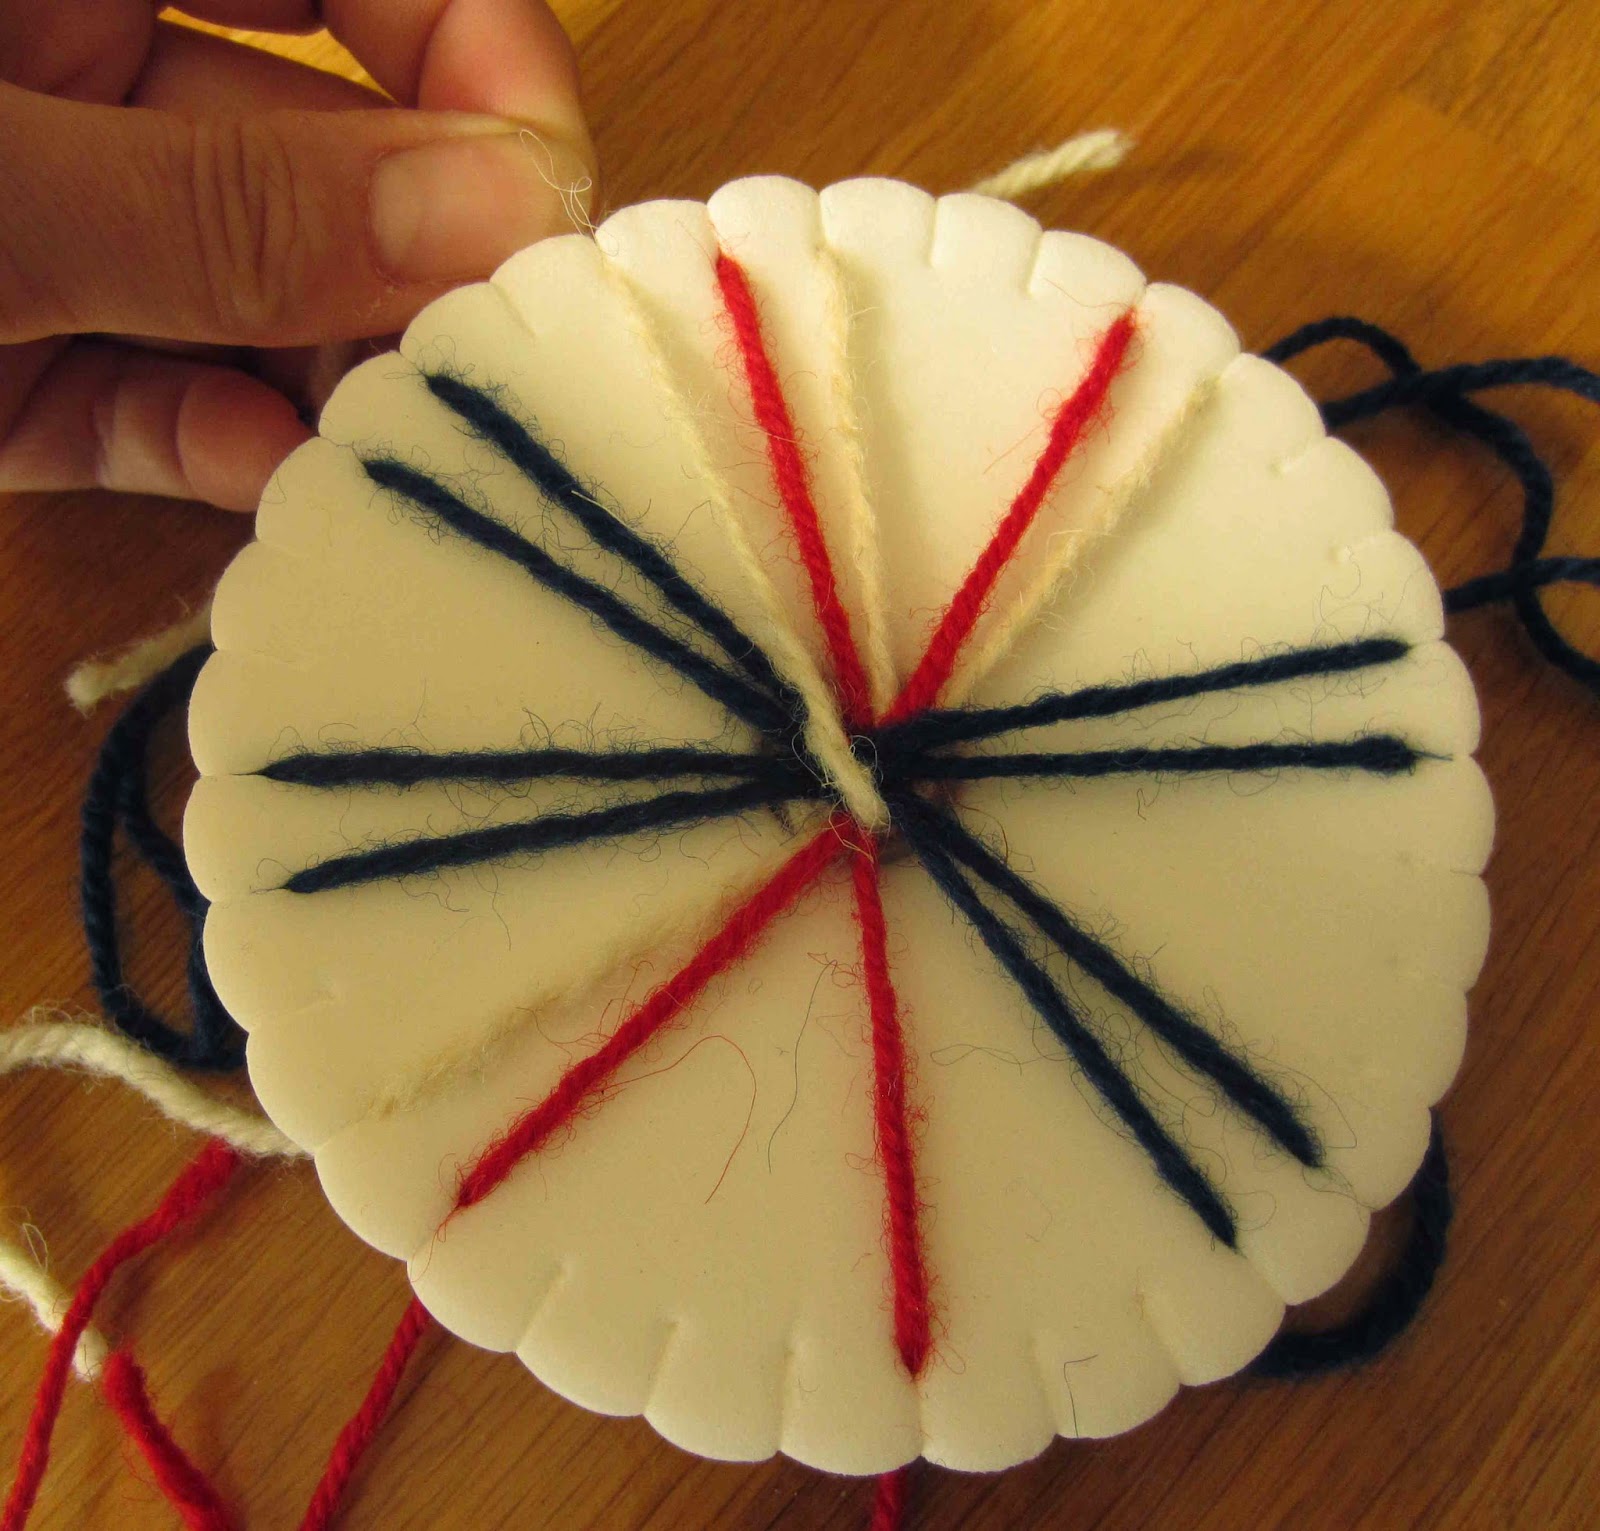
Then take the right hand thread from the 12 o’clock position and place it to the right of the thread at the 6 o’clock position.
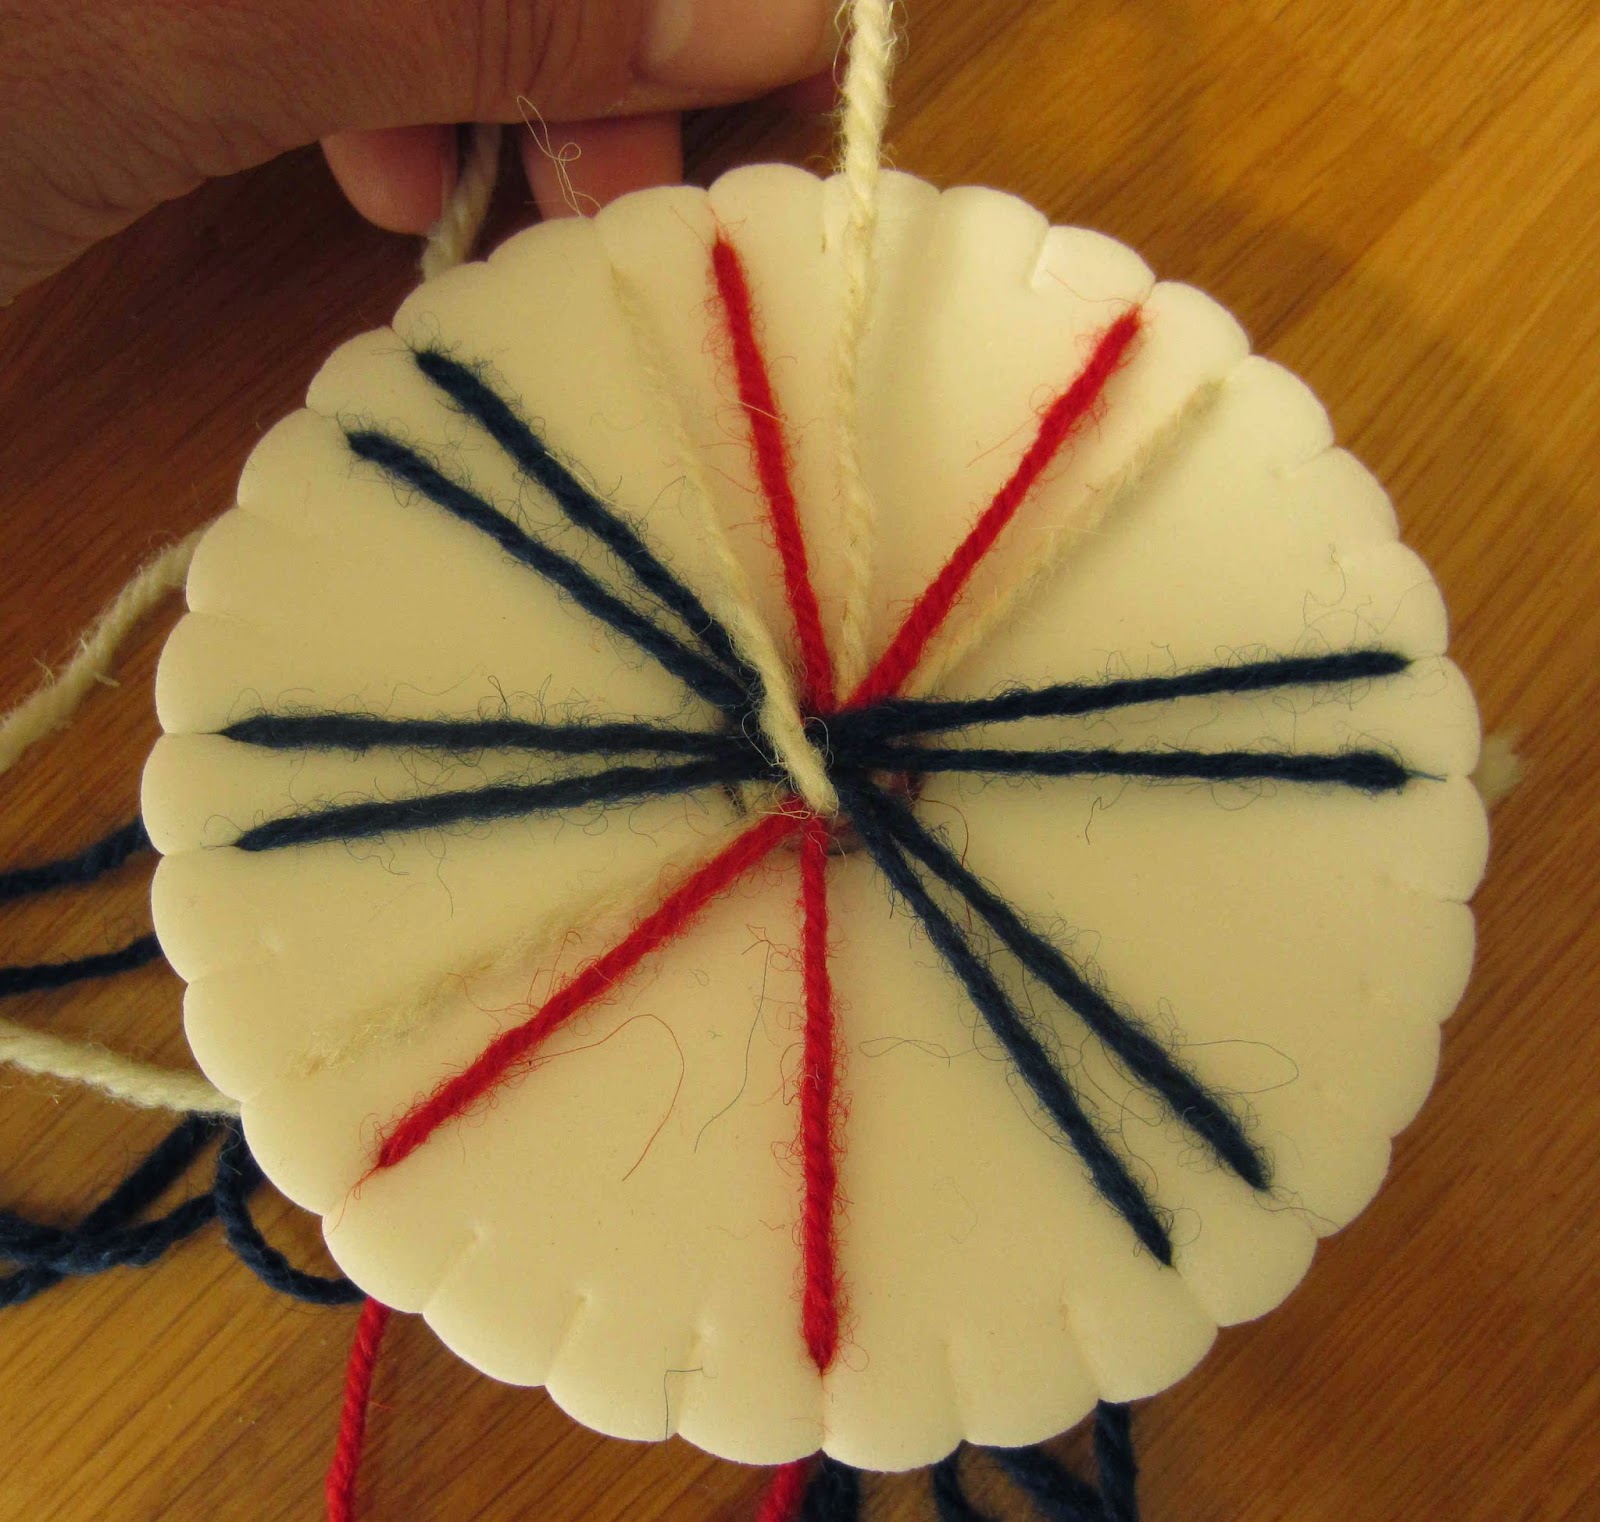
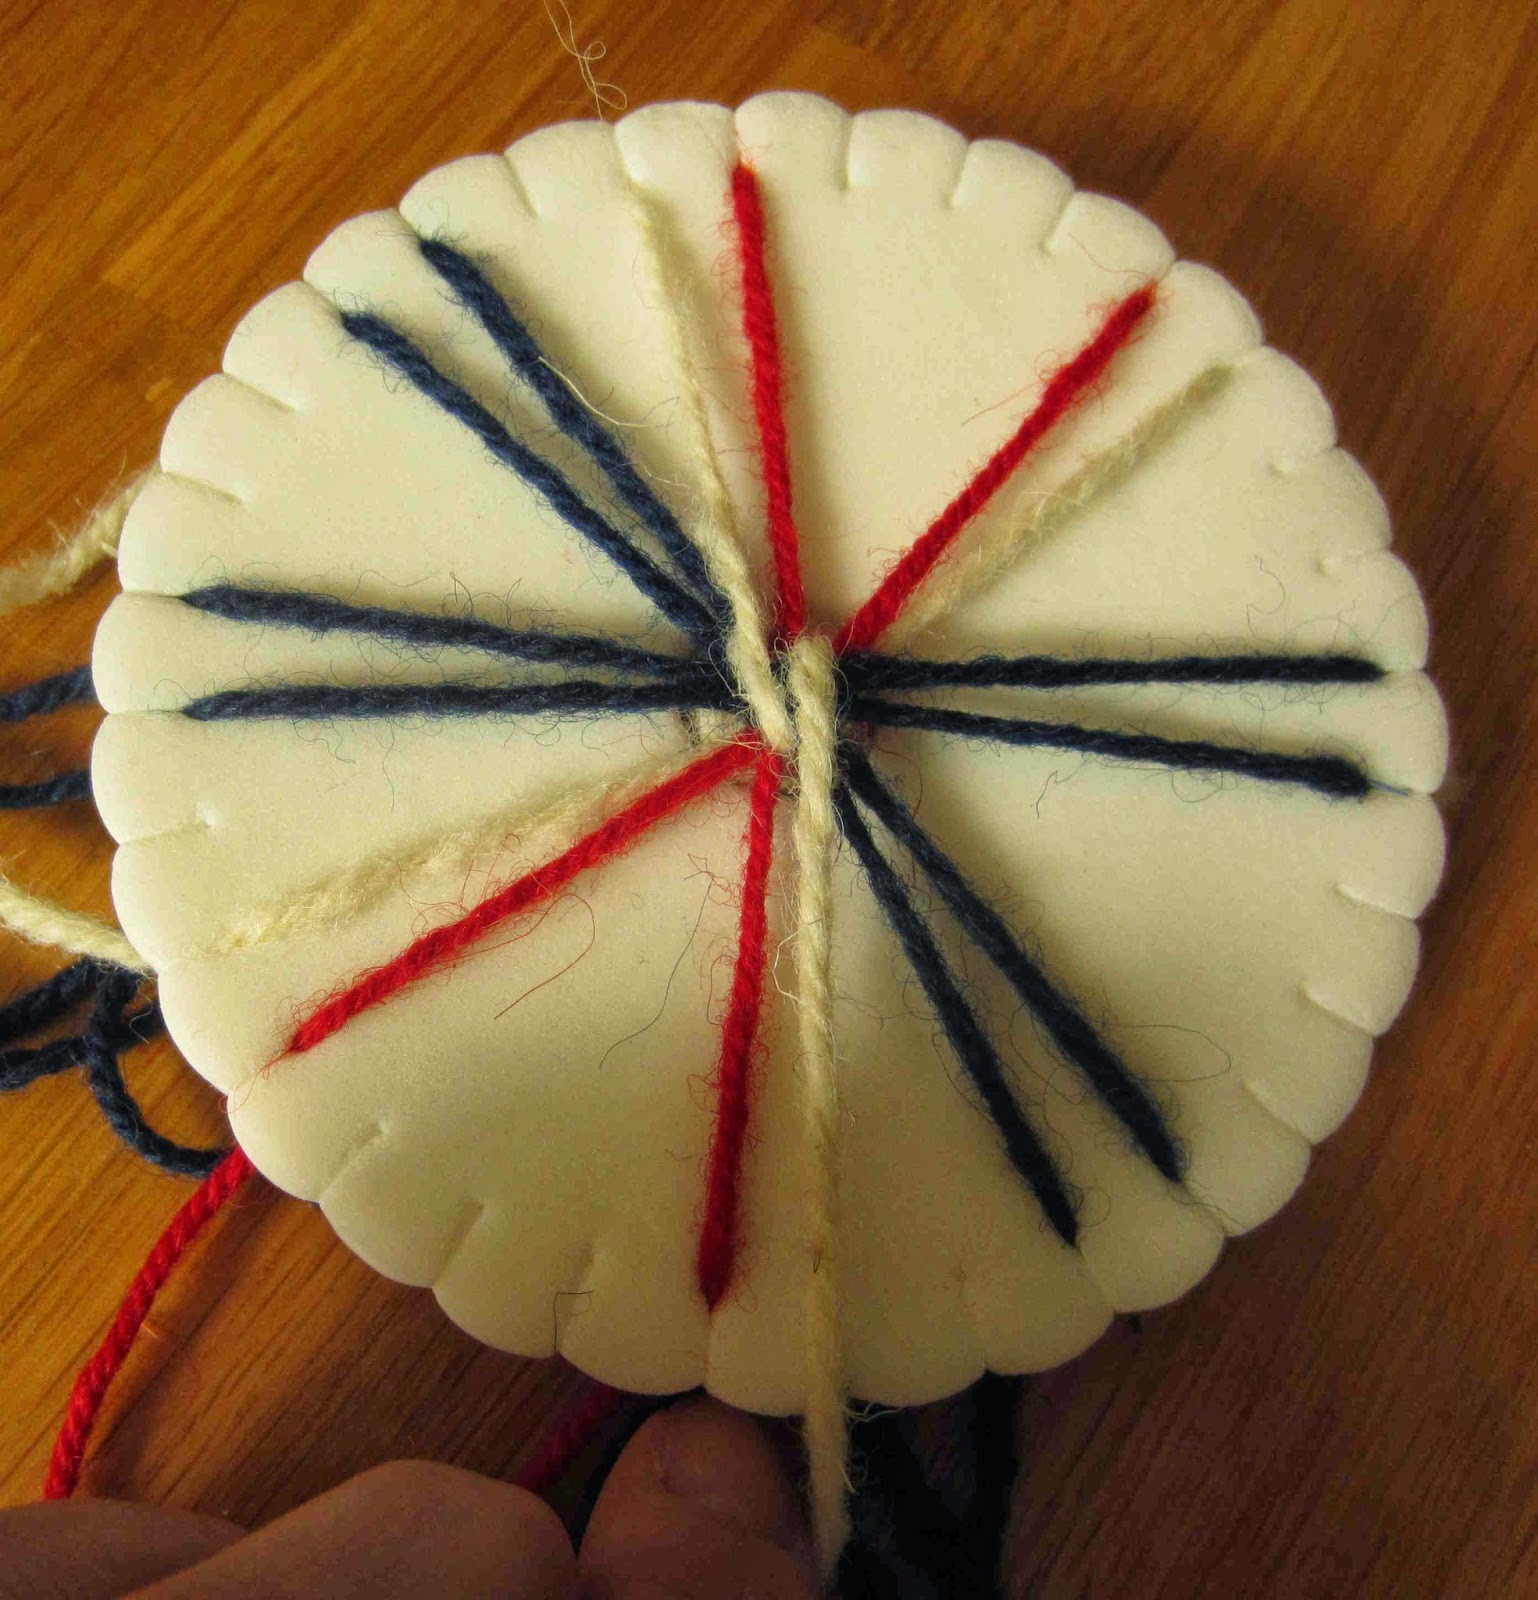
Rotate the disc anti-clockwise 1 position so the next pair of threads are at the 6 o’clock position and repeat from *. Keep going until your cord is the desired length then remove all the treads from their notches and tie them all together with an overhand knot to finish.
If you have to put it down and come back to it, simply look for the uppermost threads and start with the next pair to the lower left (at the 8 o’clock position).
A Neater Way to Finish
If your ends will be seen or you want to tuck them into jewellery findings this video describes a better method for finishing the ends.
Pattern Choice
There are countless patterns available on the internet and in books but there is also a lot to be said for exploring and finding your own patterns too, just start with lengths of wool approx 20 cm (5 inches) long and make a note of the starting position of each colour on the wheel.
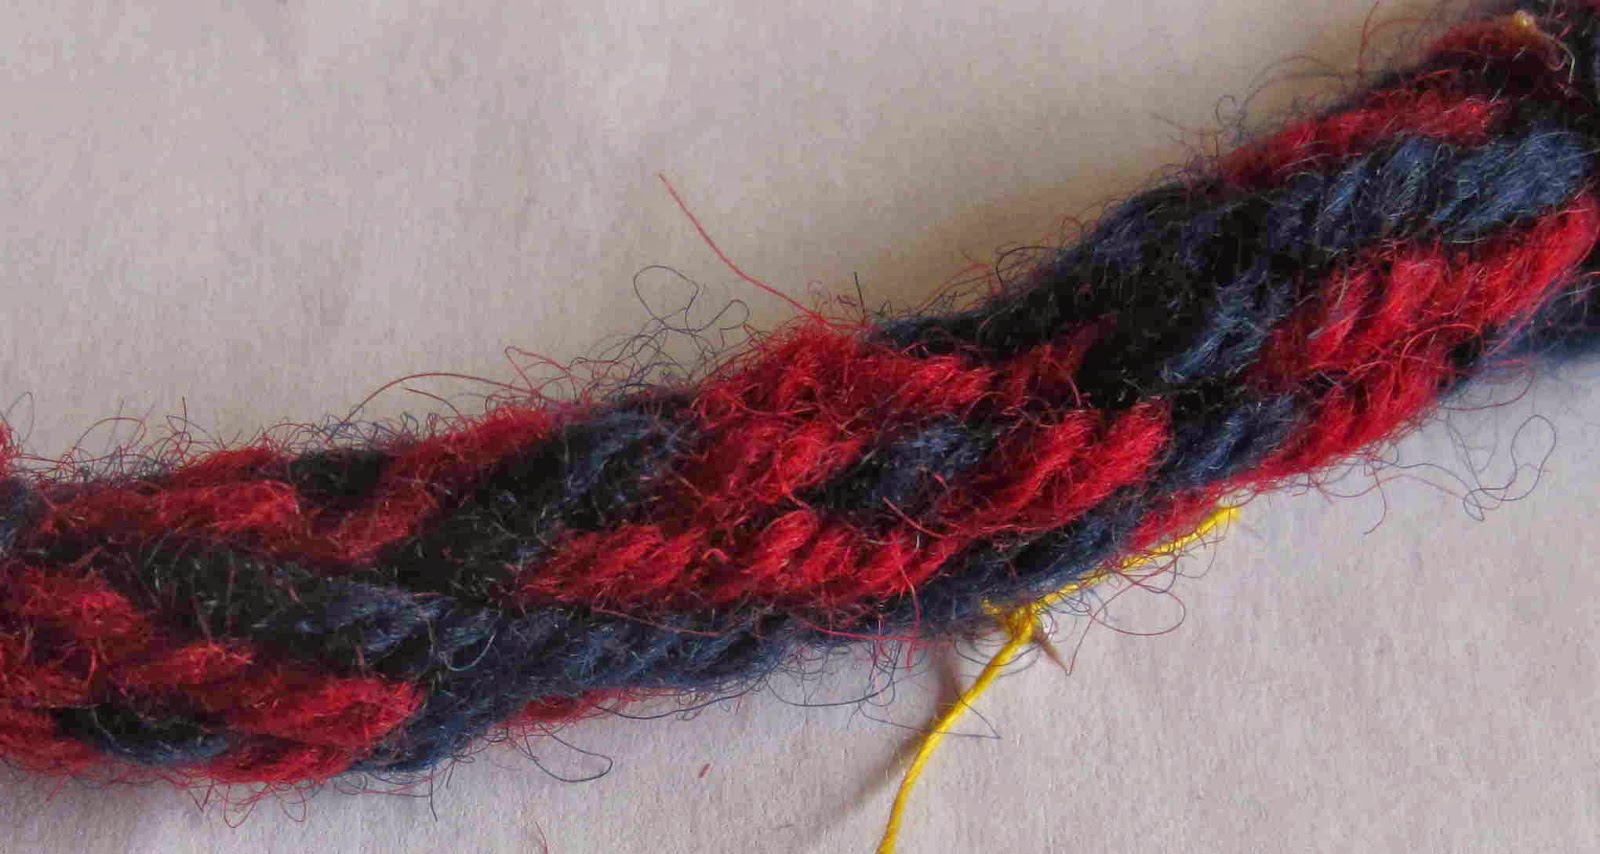
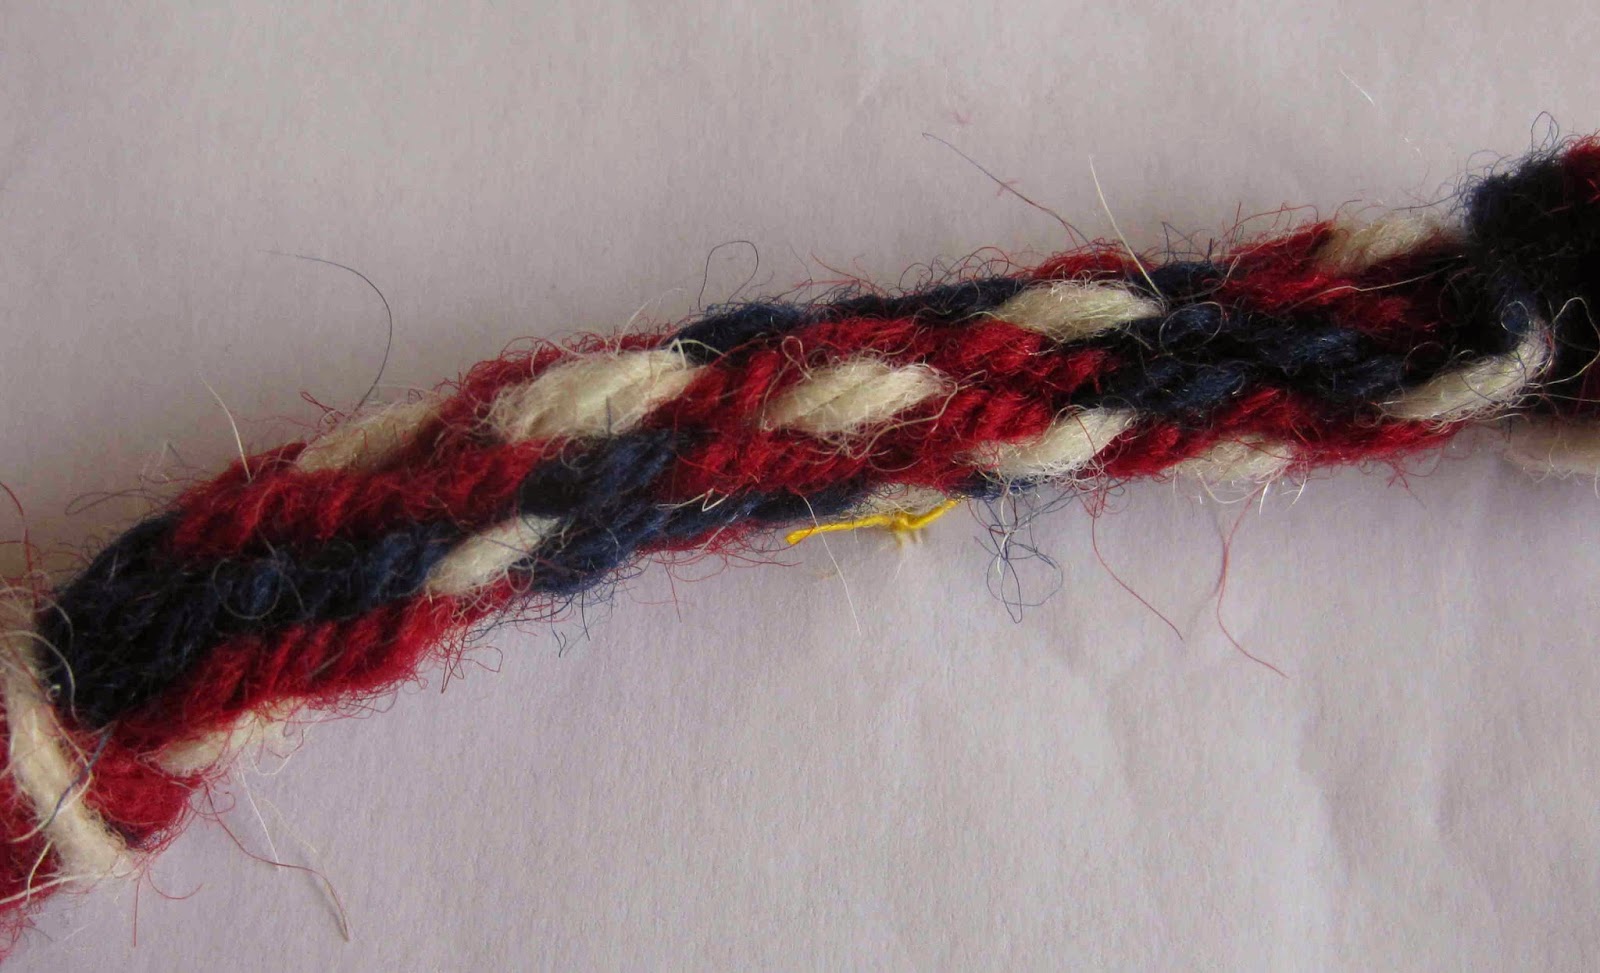
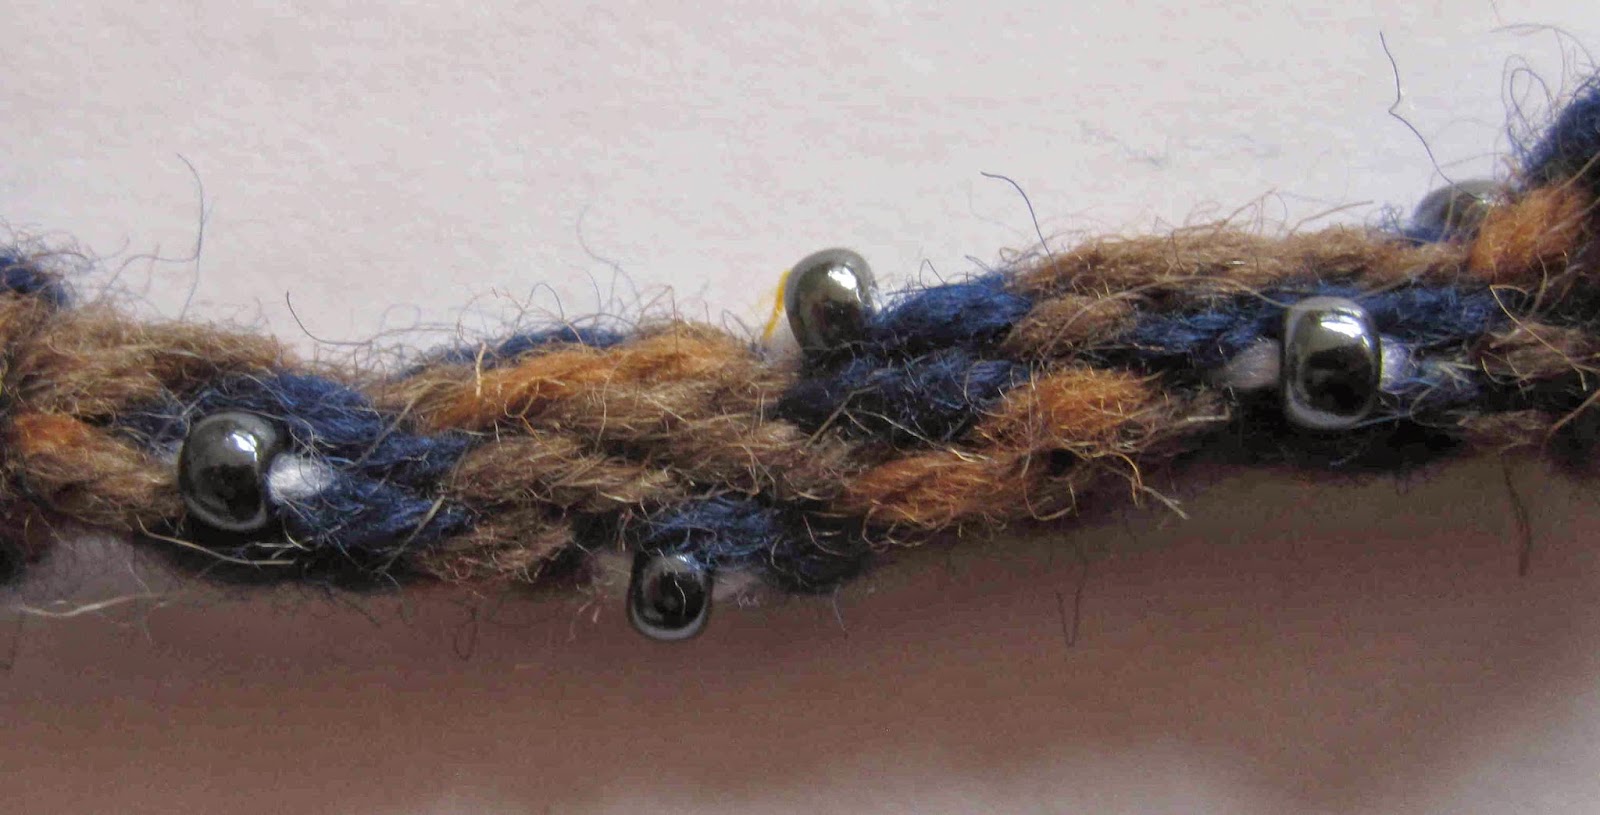
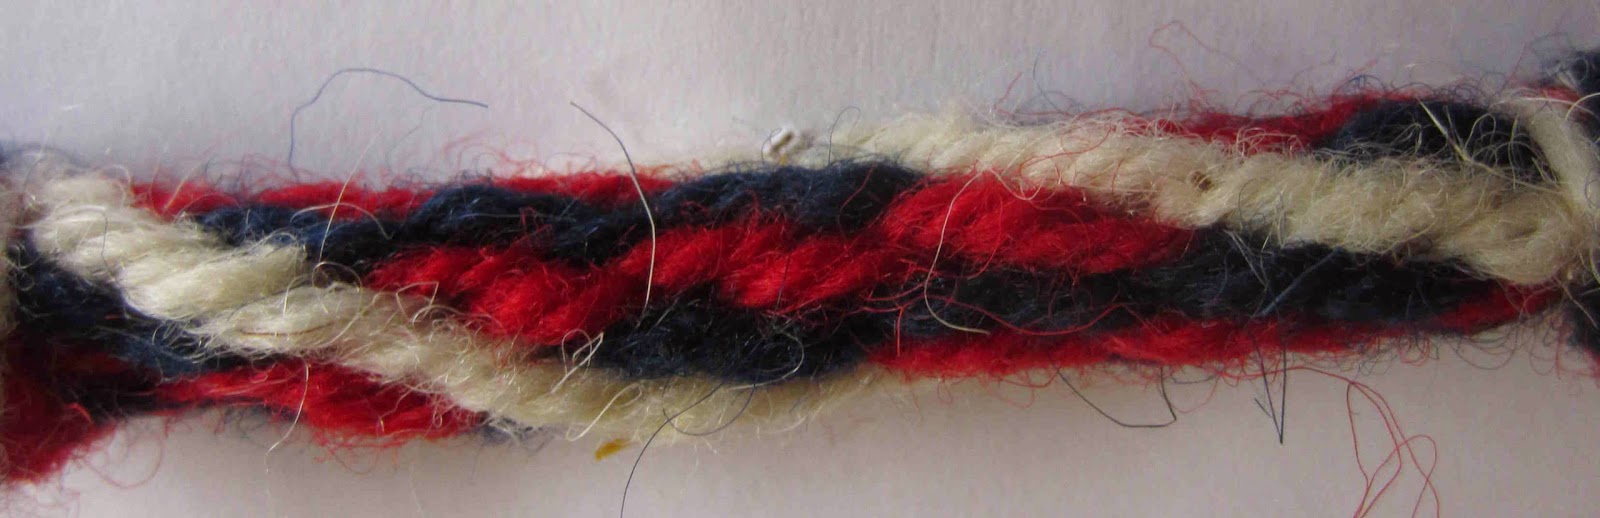
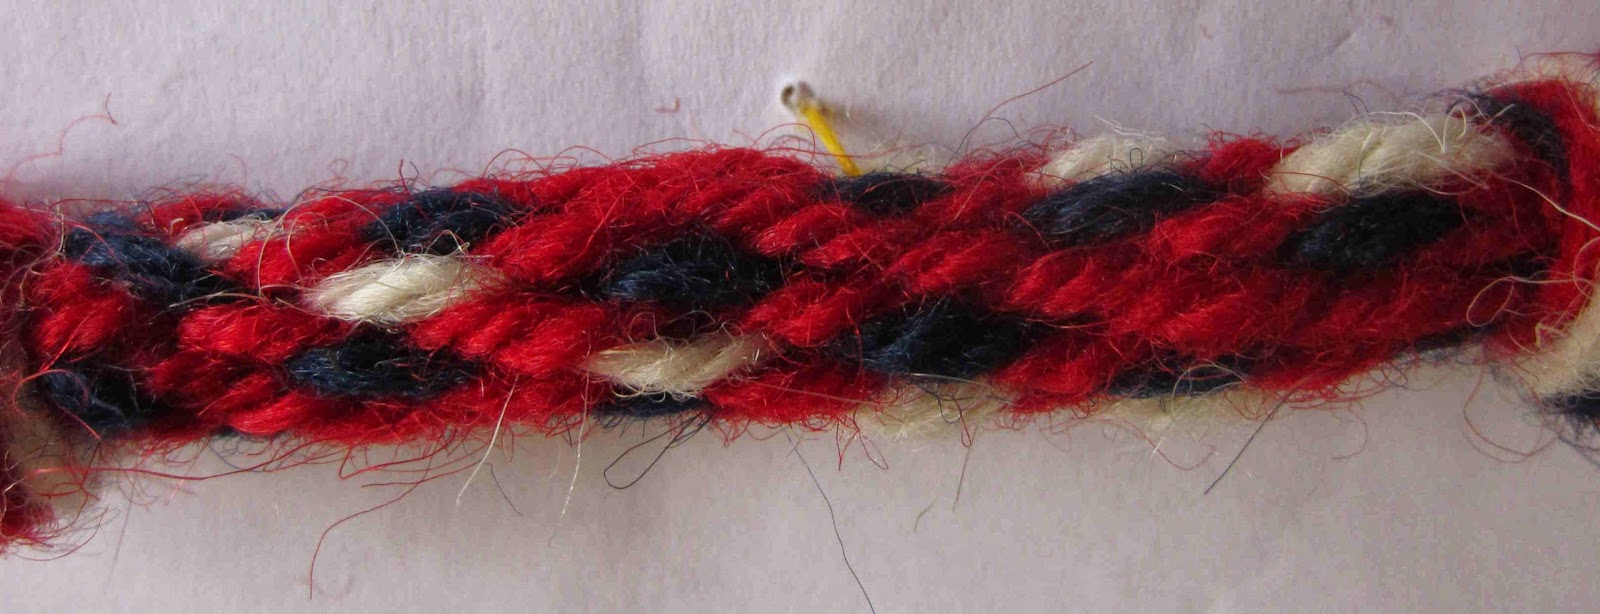
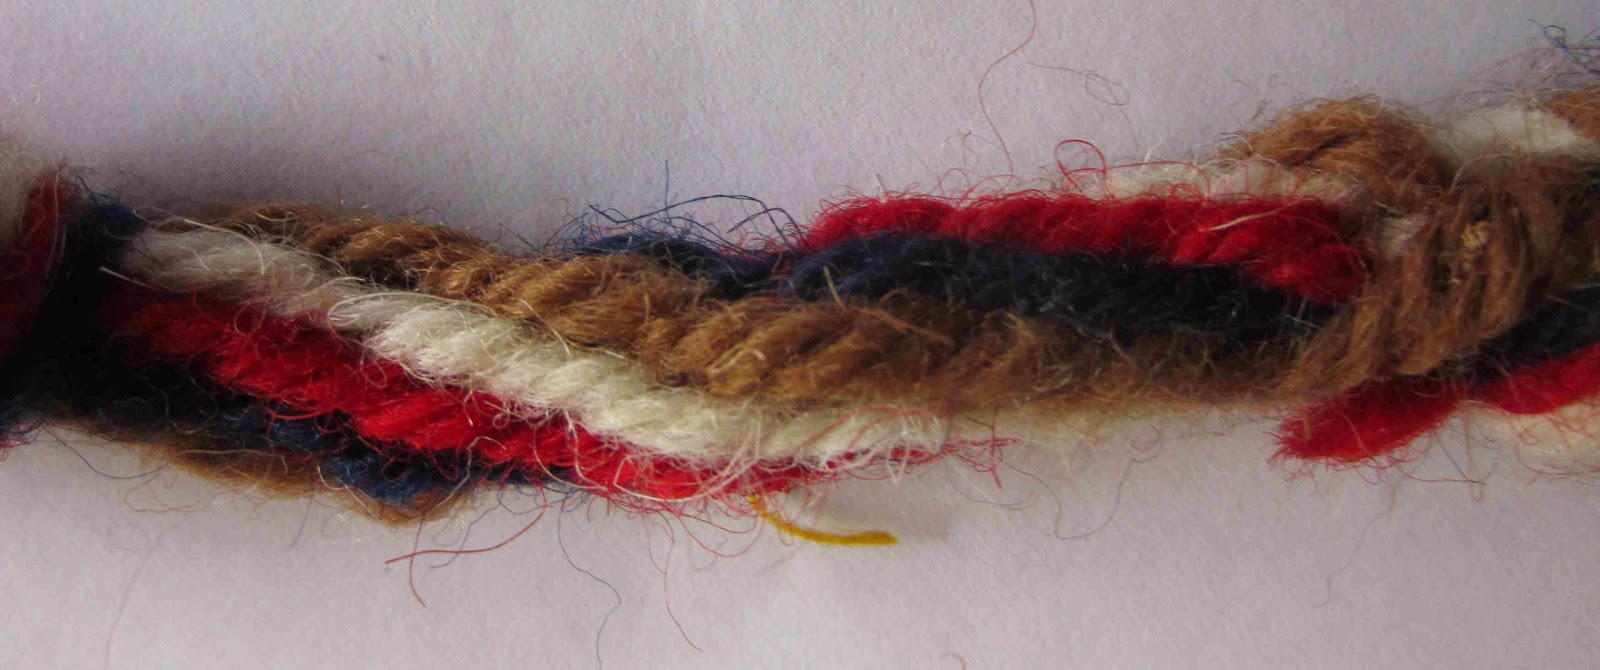
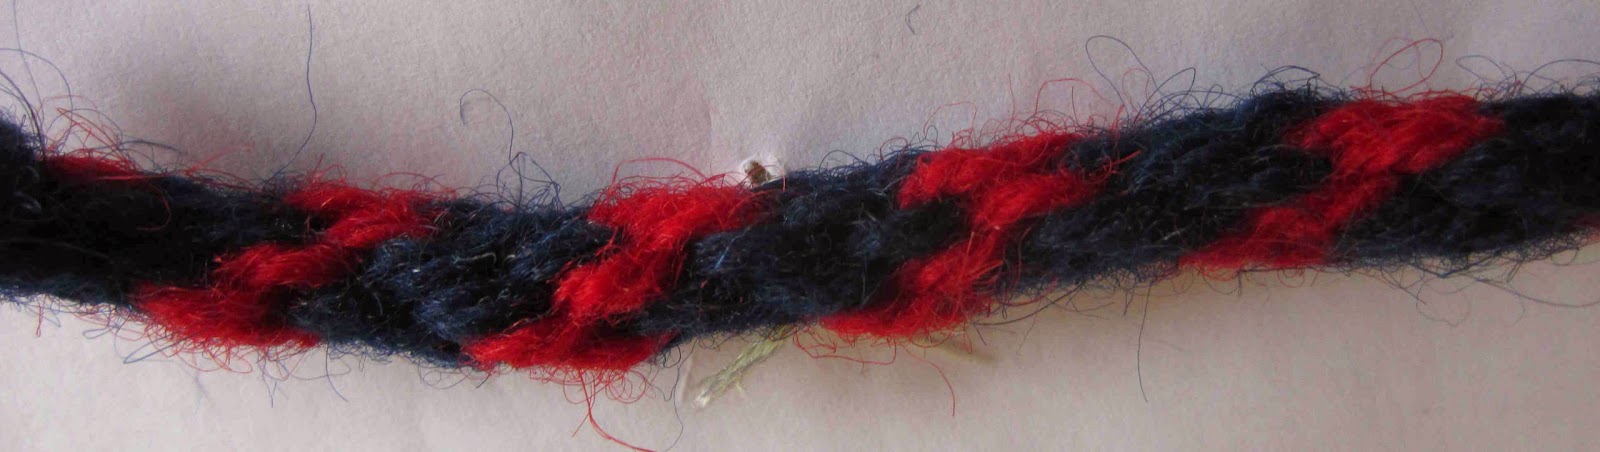
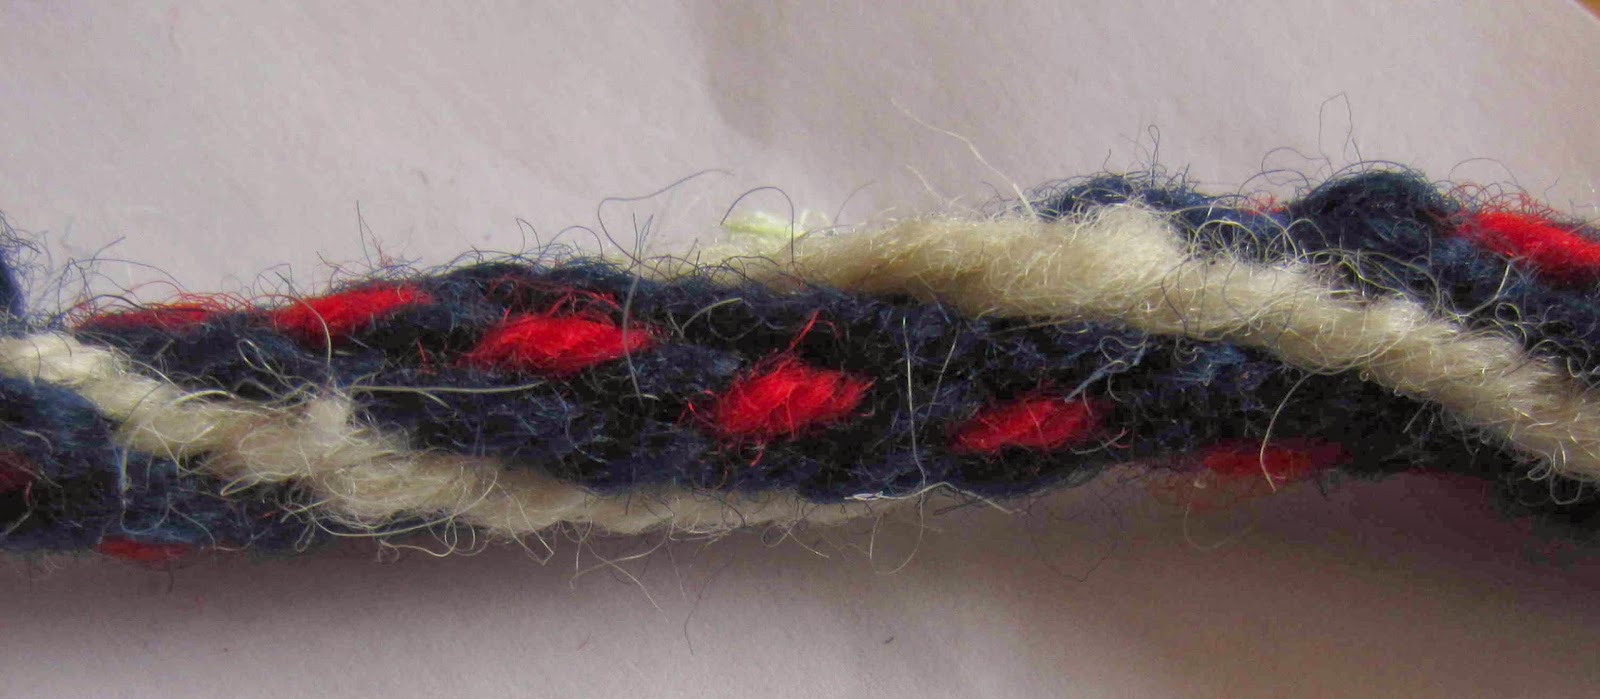
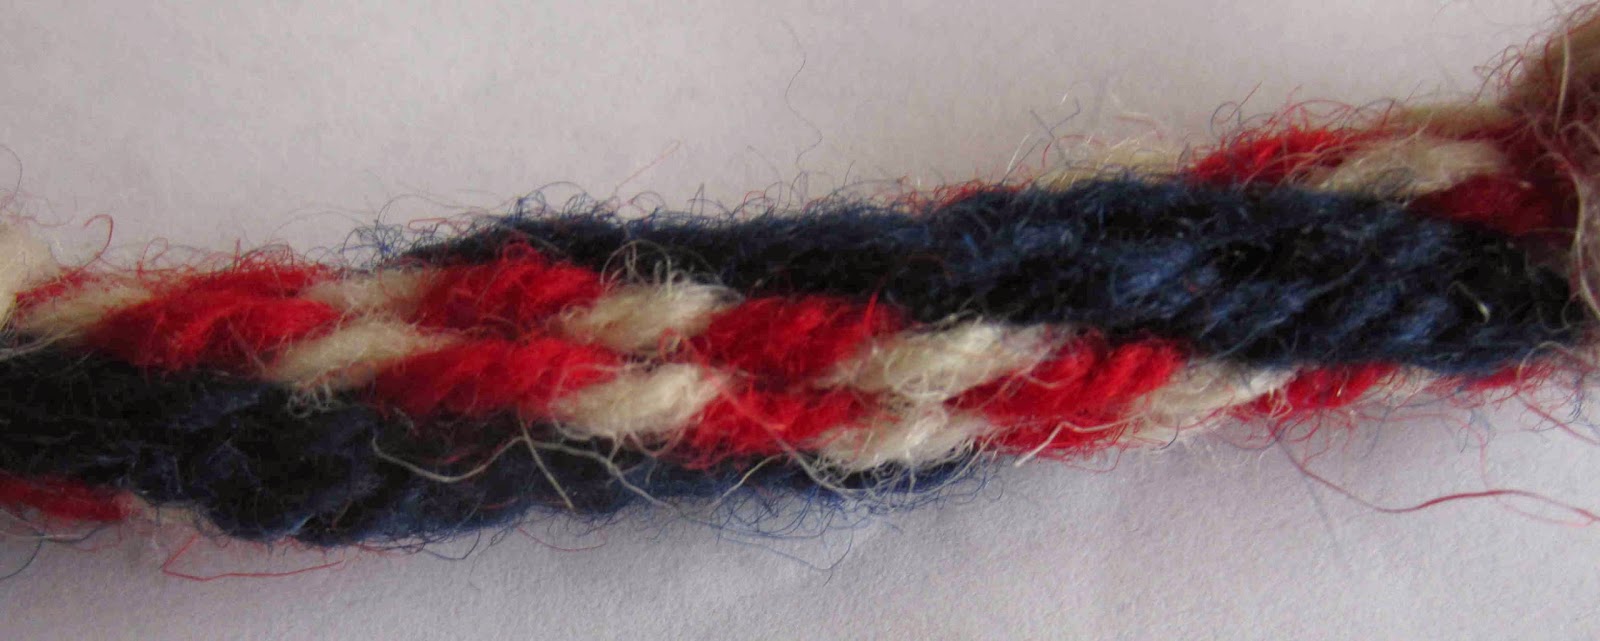
Here are a few examples to get you started:


How do you use your braids? Please feel free to post a link to photos of your work below.
Happy Braiding!