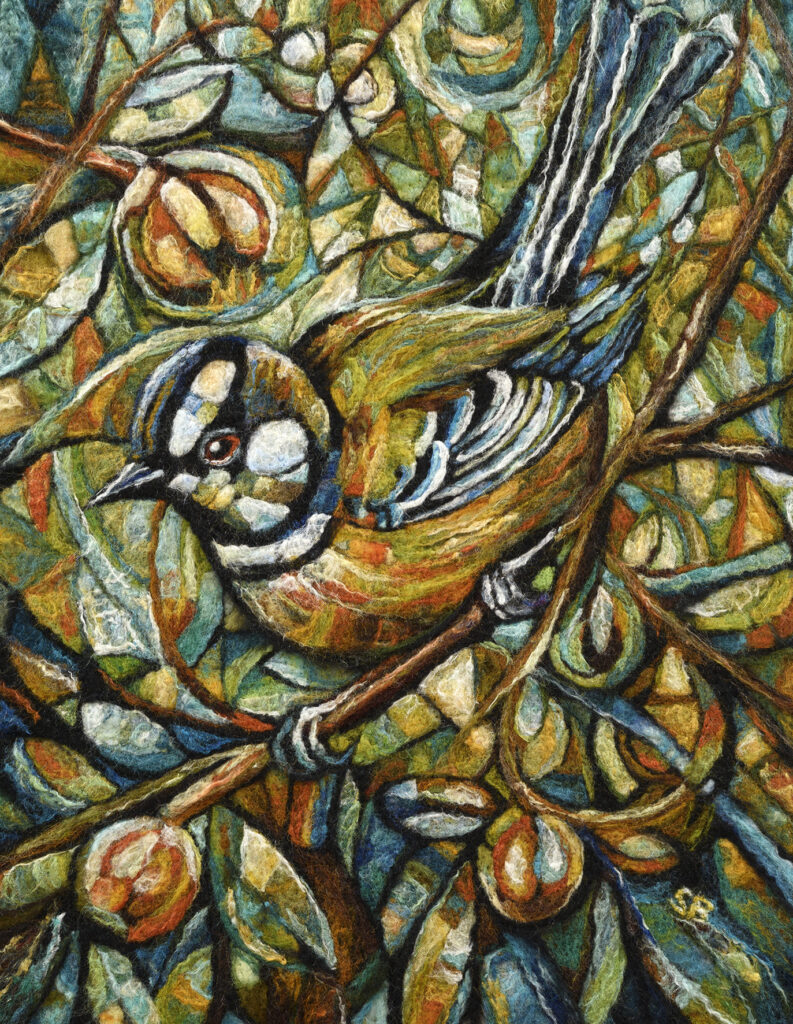
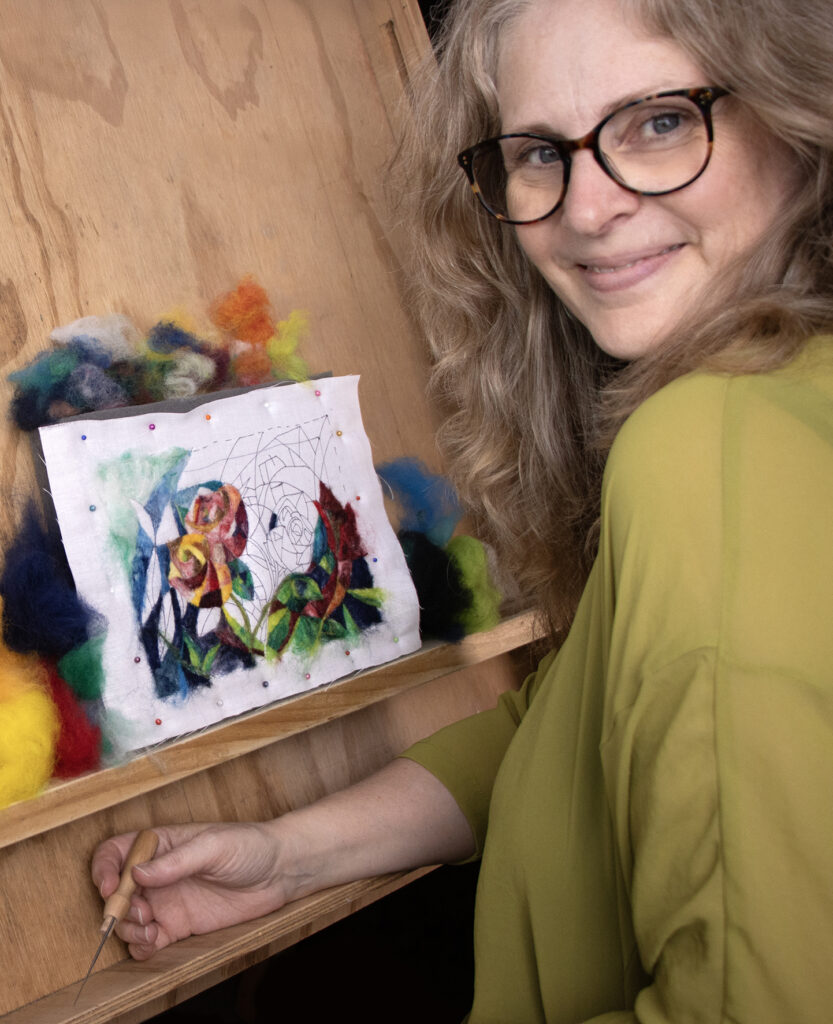
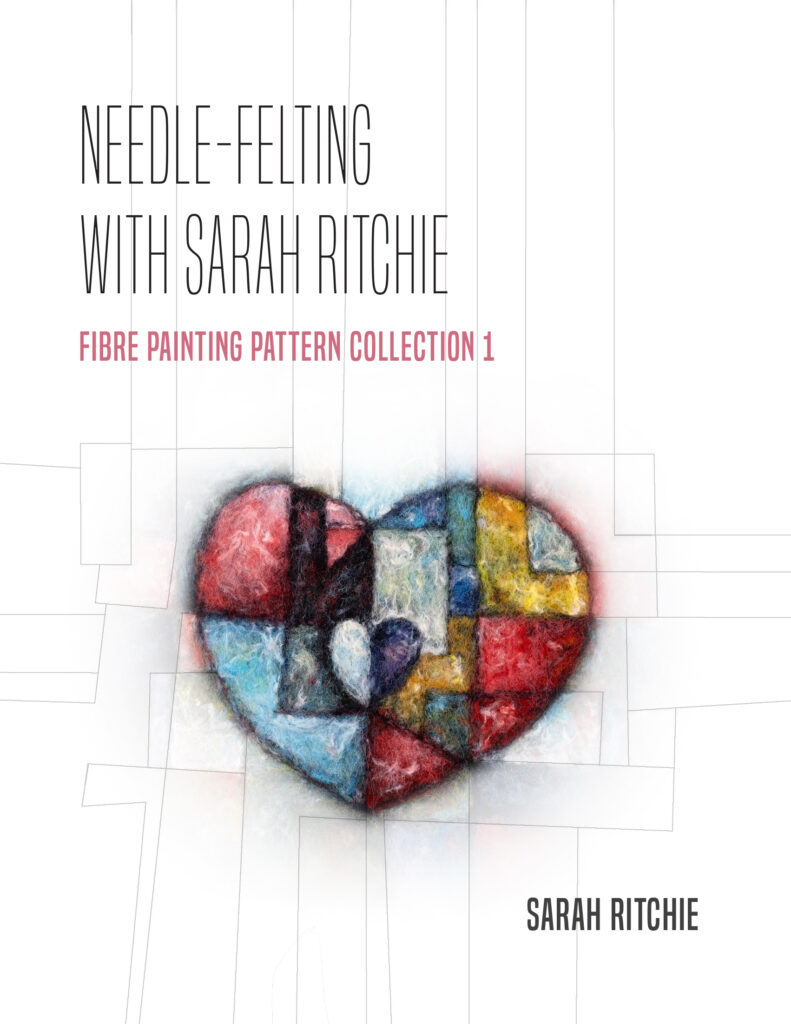
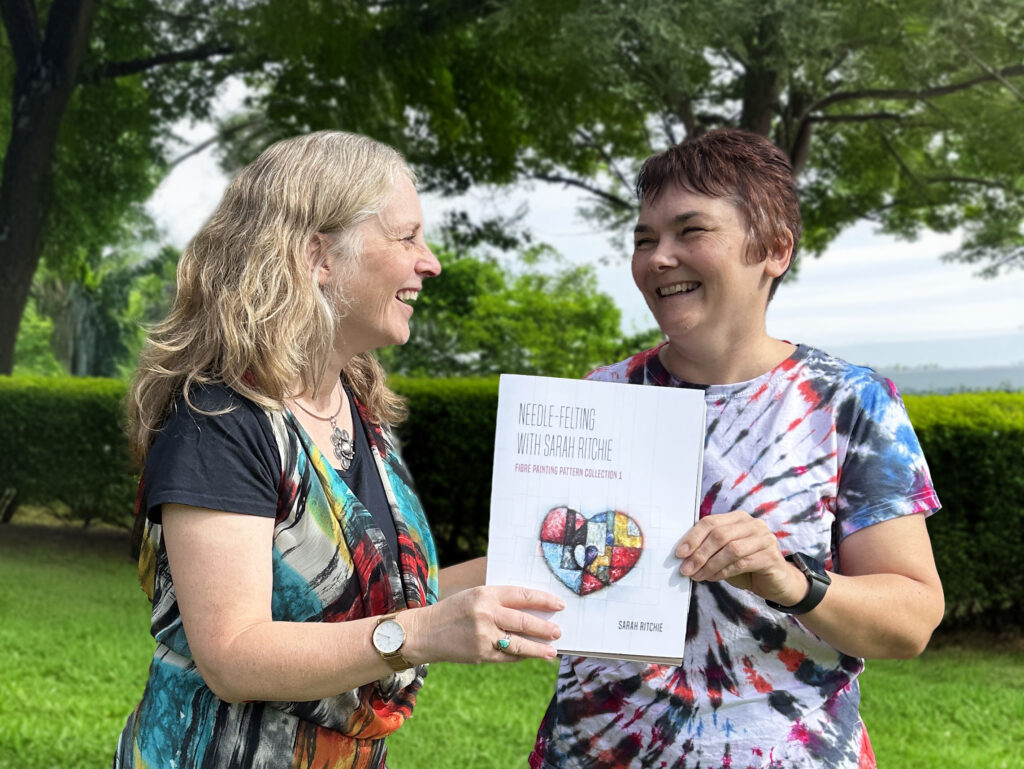
If you are a felt-maker in New Zealand, you probably recognise Sarah’s name and her distinctive style from Creative Fibre circles. Her jaw-droppingly beautiful, cubist-style needle-felted artworks have appeared on the front cover of magazines and in many exhibitions. We have felt (excuse the pun 😉 ) very fortunate to learn from Sarah and watch her work, and now you can too… Sarah is about to publish her first needle-felting book! It is packed full of tips, lots of “how to” information as well as 10 patterns and designs for you to follow and adapt to your own personal style and colour palette.
There is something for everyone, from curious beginners to experienced felters looking for a fresh creative direction.
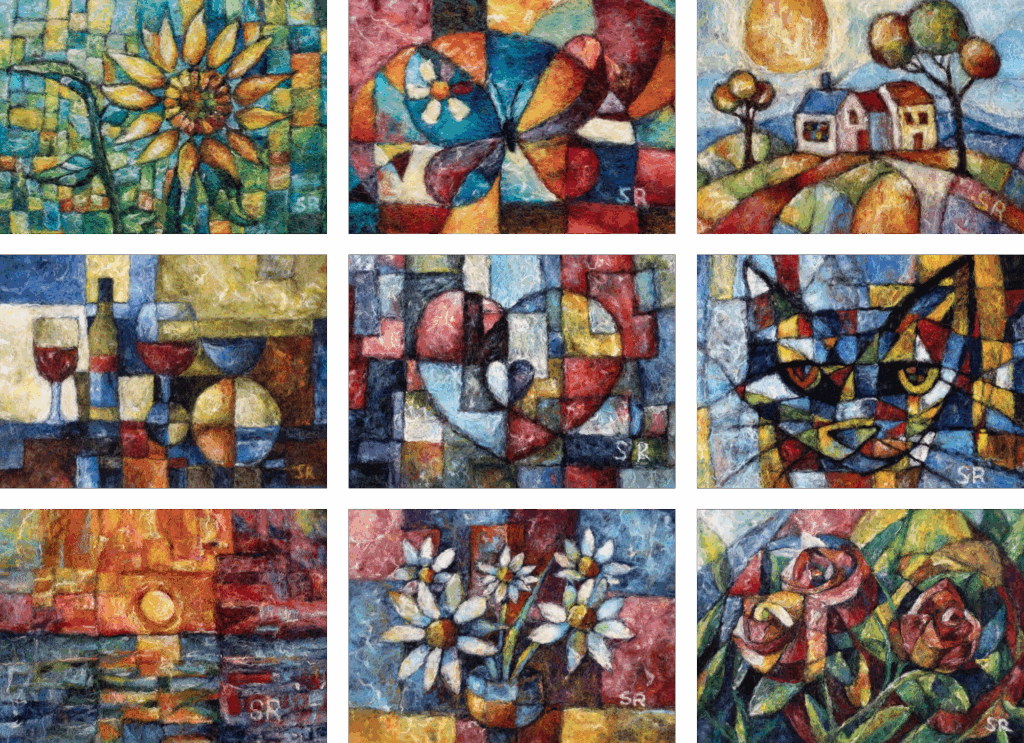
This book is the result of Sarah’s own journey as a self-taught artist. After years of experimenting with wool, colour and composition, she developed a painterly style and soon discovered how eager others were to learn her techniques. Writing this book was a natural progression from offering kits and teaching in person, providing a way to share what she’s learned in a practical and approachable format.
Where can I buy a copy?
If you are coming to Woolfest in Auckland on 24th May 2025, you can pick up your hard copy and chat with Sarah in person. Alternatively, if Auckland is just a little too far to travel, you can download the e-book from Sarah’s website (www.sarah-ritchie.com) or purchase a hard copy from Amazon.
What makes ‘Needle-felting with Sarah Ritchie’ stand out is the combination of technical guidance and artistic encouragement. Rather than simply replicating each piece, readers are invited to adapt, explore, and make each artwork their own. It’s a book that doesn’t just teach a craft — it nurtures creative confidence.
I hope you enjoy it!