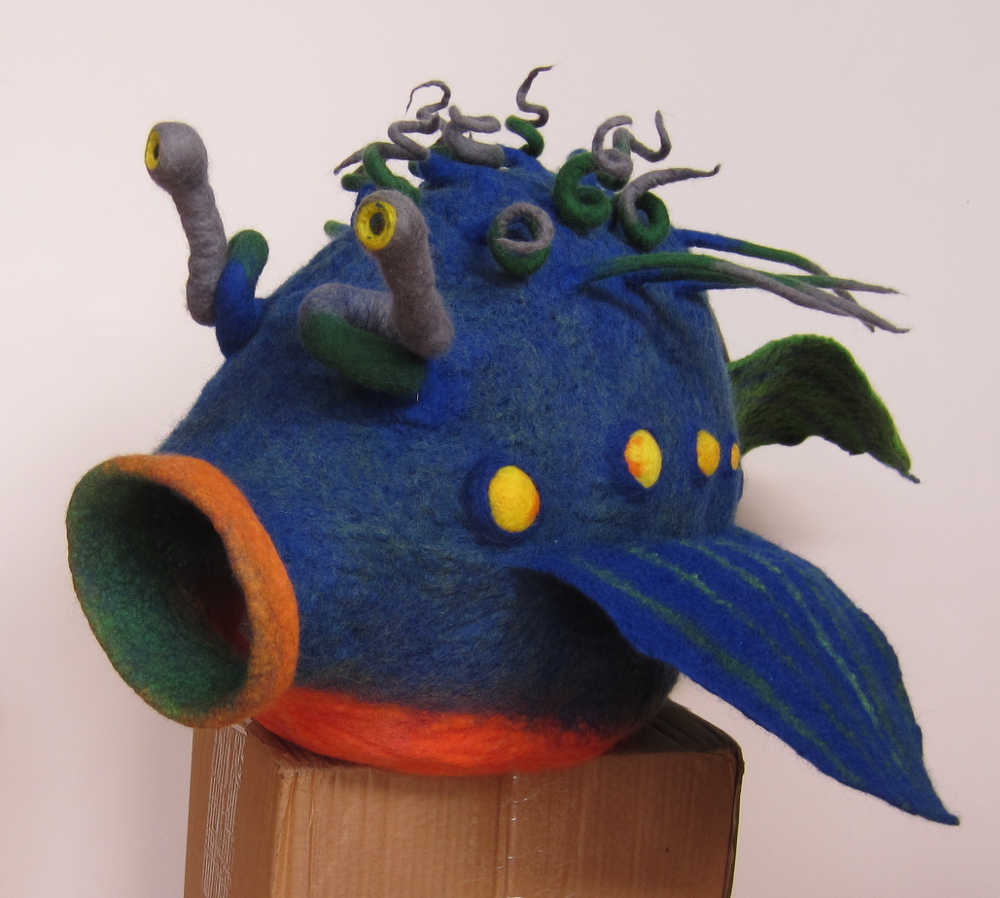
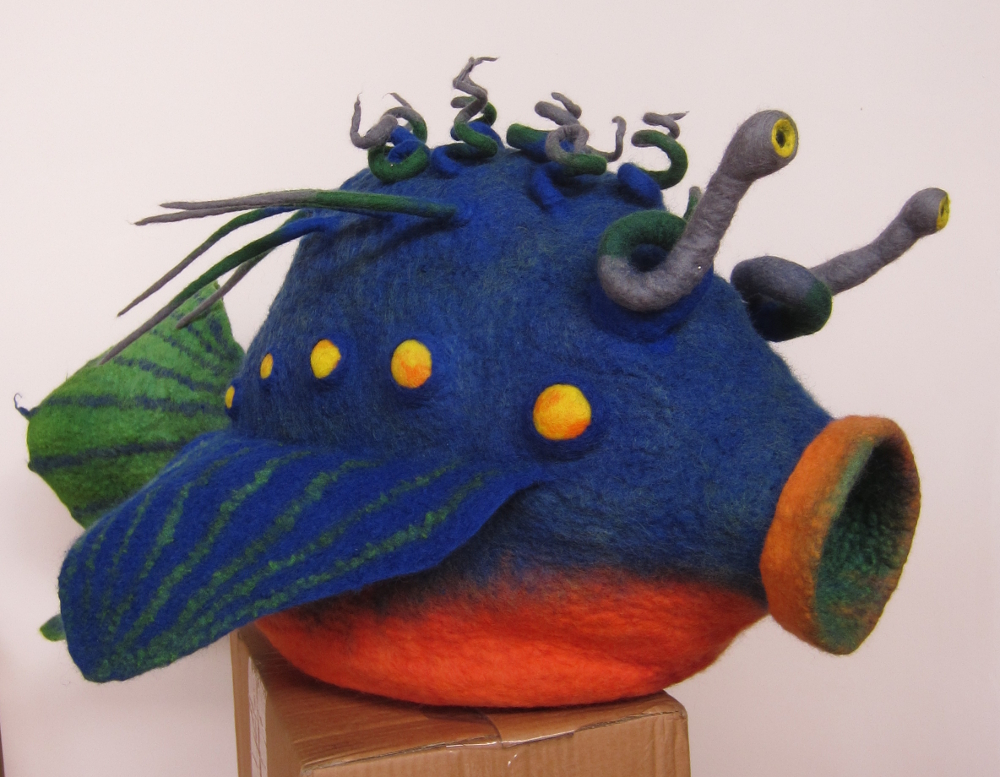
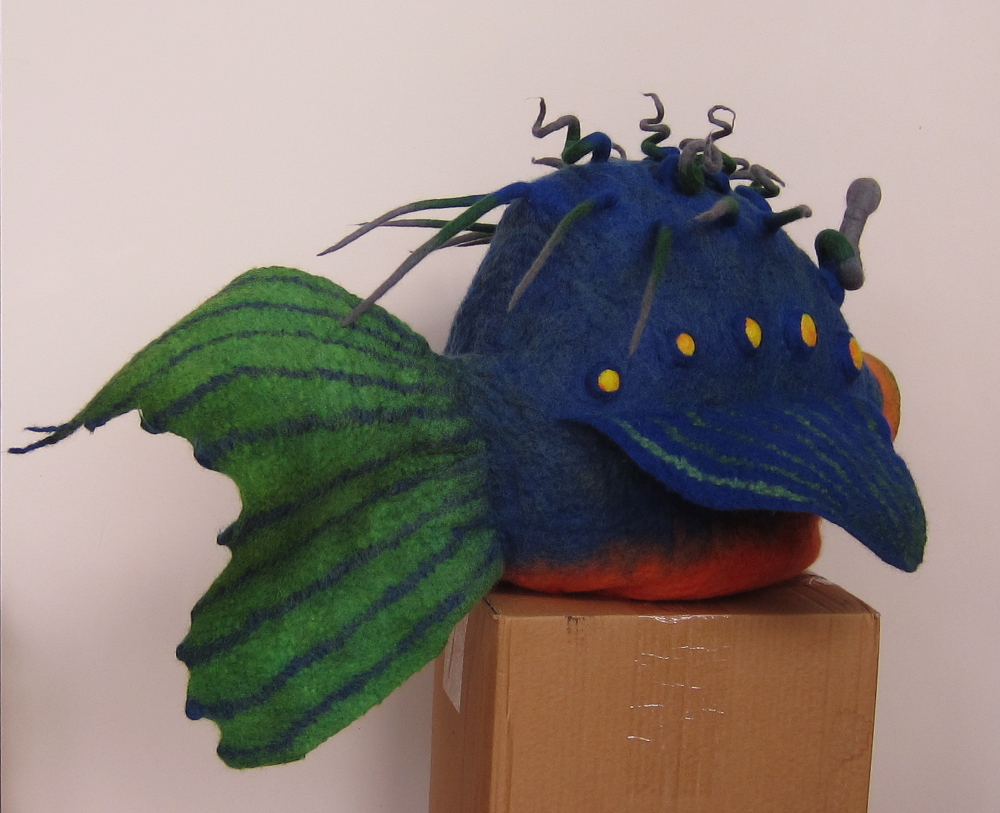
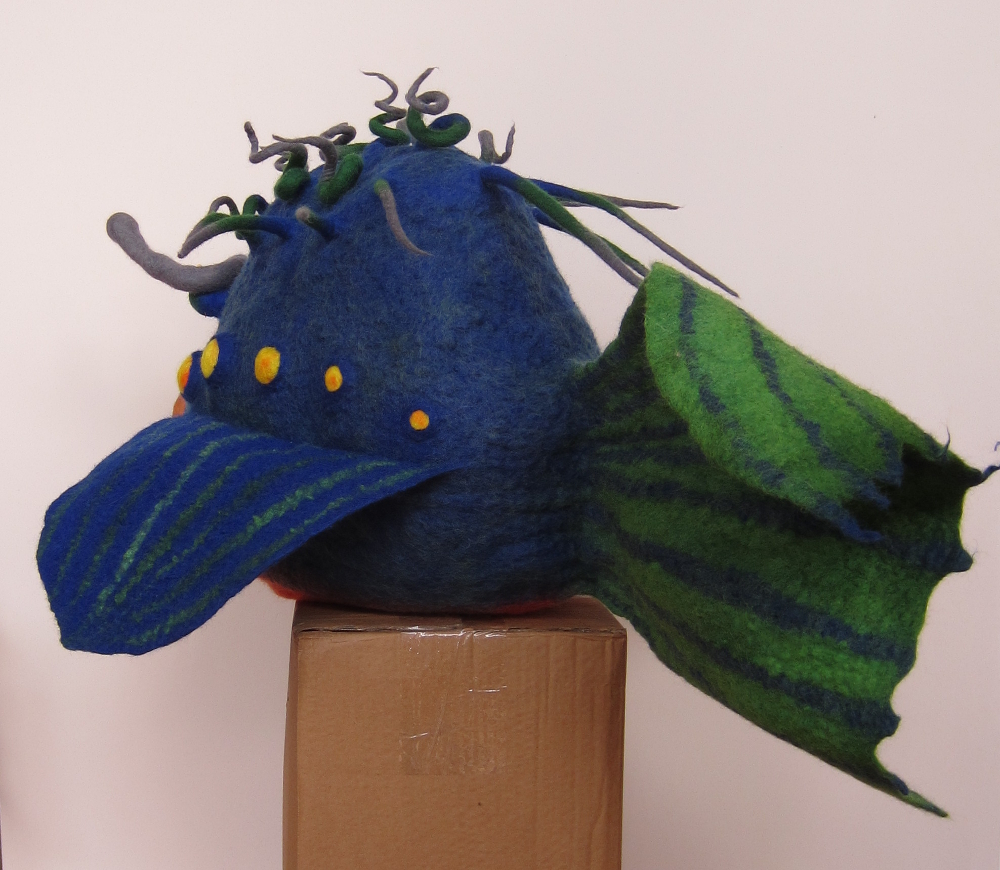
The Sea Monster came on in leaps and bounds over the weekend, it still needs the tongue and internal perch but I’m so pleased with him I thought I’d share a few photos of him in his nearly finished state…
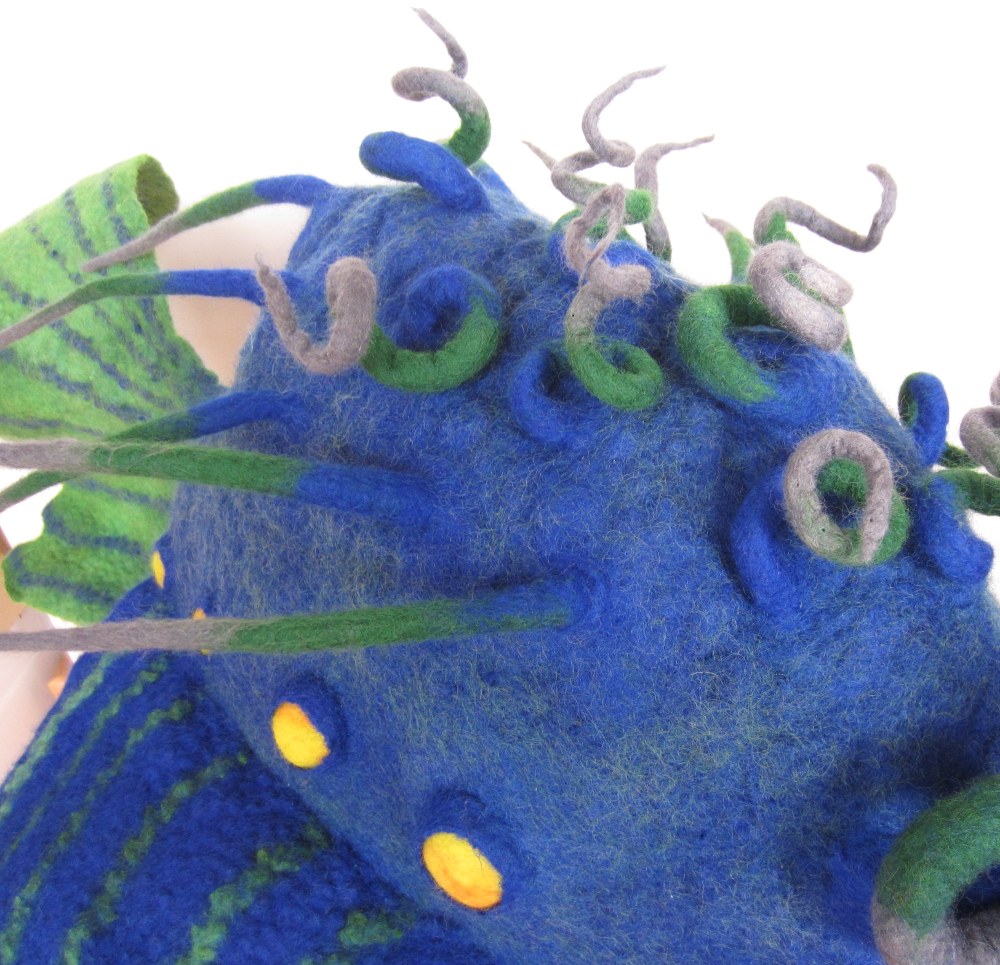
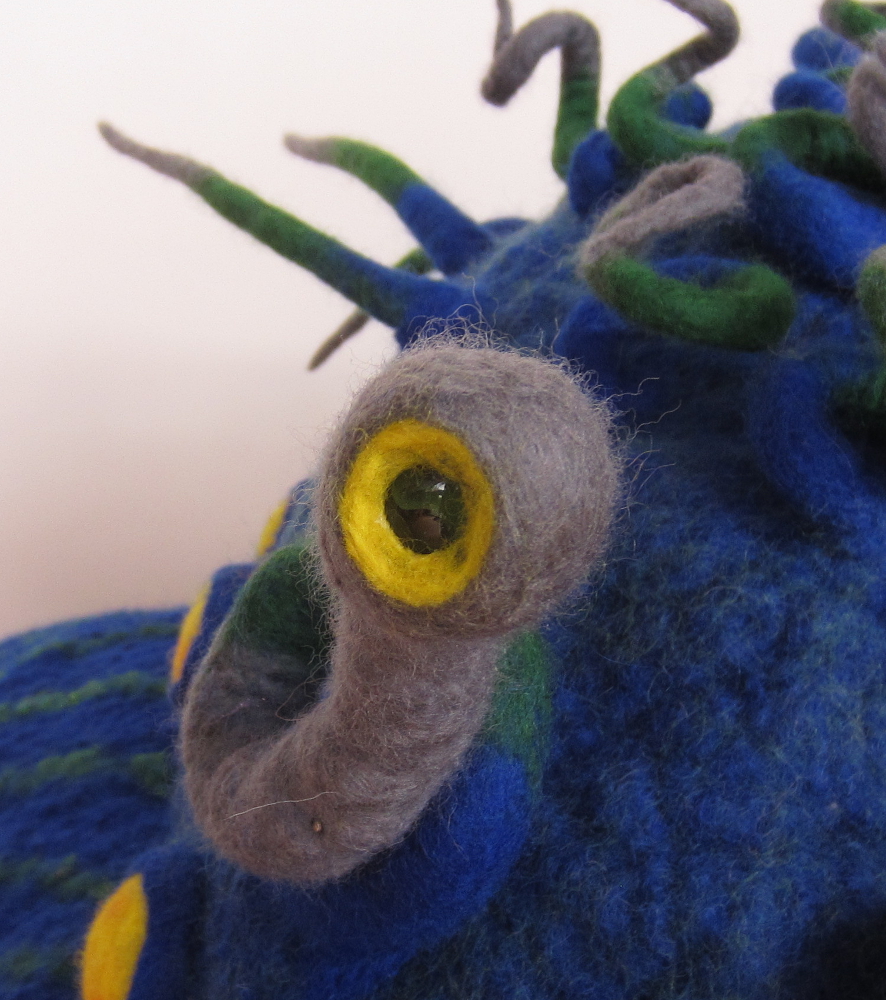
Finally a close up of the glass eye

The Sea Monster came on in leaps and bounds over the weekend, it still needs the tongue and internal perch but I’m so pleased with him I thought I’d share a few photos of him in his nearly finished state…
Finally a close up of the glass eye
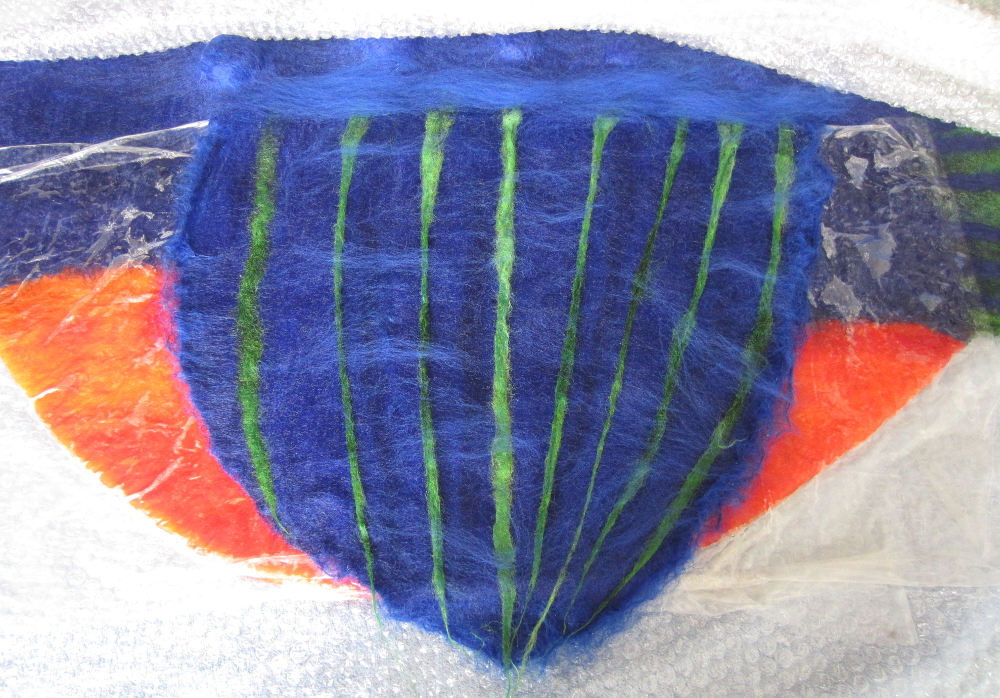
I rearranged the green stripes on the pectoral fins and I’m much happier with the finer stripes.
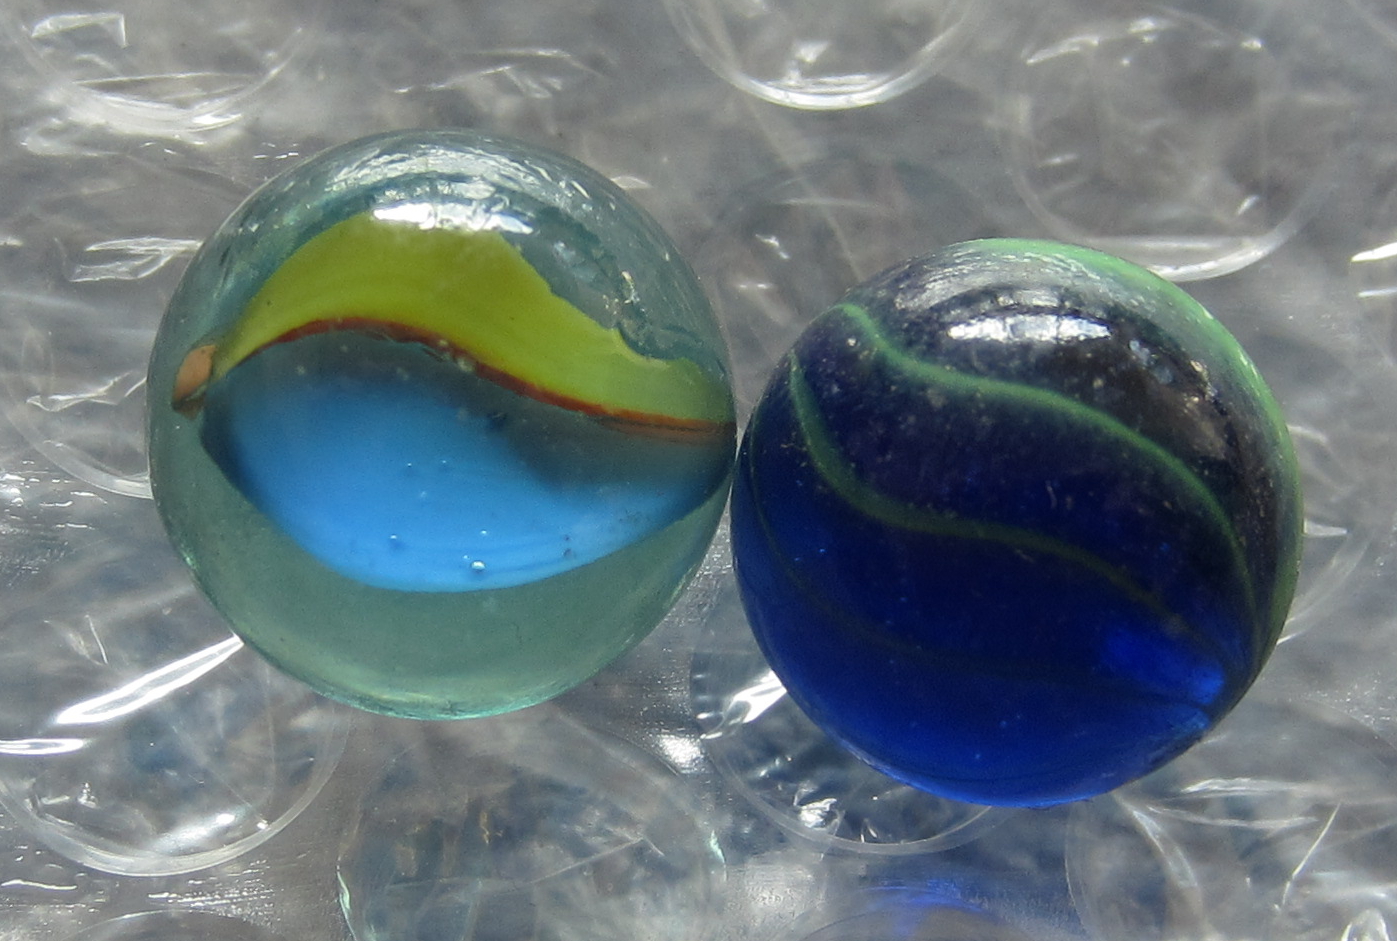
Ceci requested marbles for eyes and chose the traditional cats eyes type.
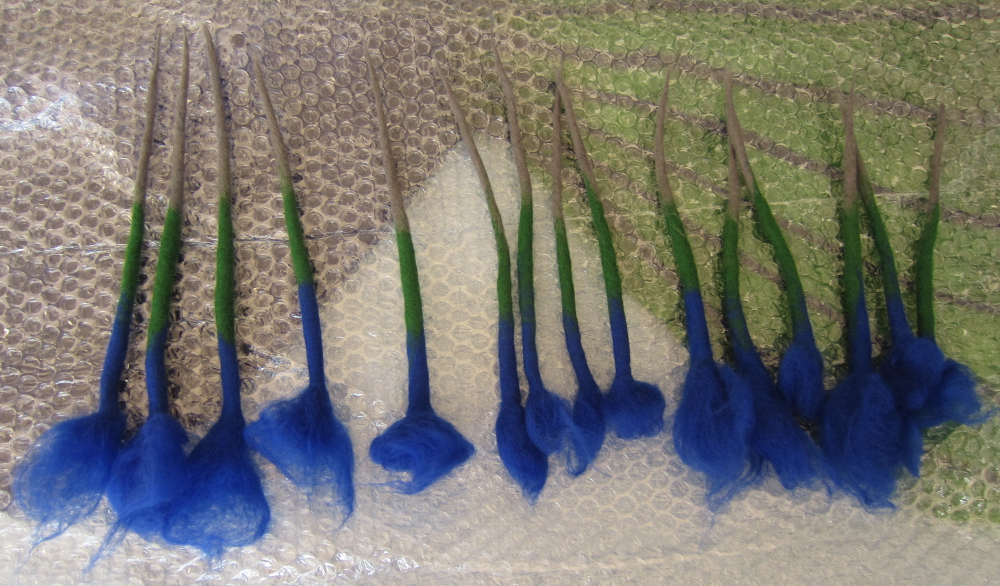
Starting to make the spikes for the monster’s back.
It has been a busy weekend and the monster is almost finished, it just needs a tongue ramp and the perch to be installed on the inside once it has dried. I’m rather pleased with how the eyes on stalks have turned out, they are very comical, I will try to get a photo of the nearly finished cave tomorrow or Tuesday.
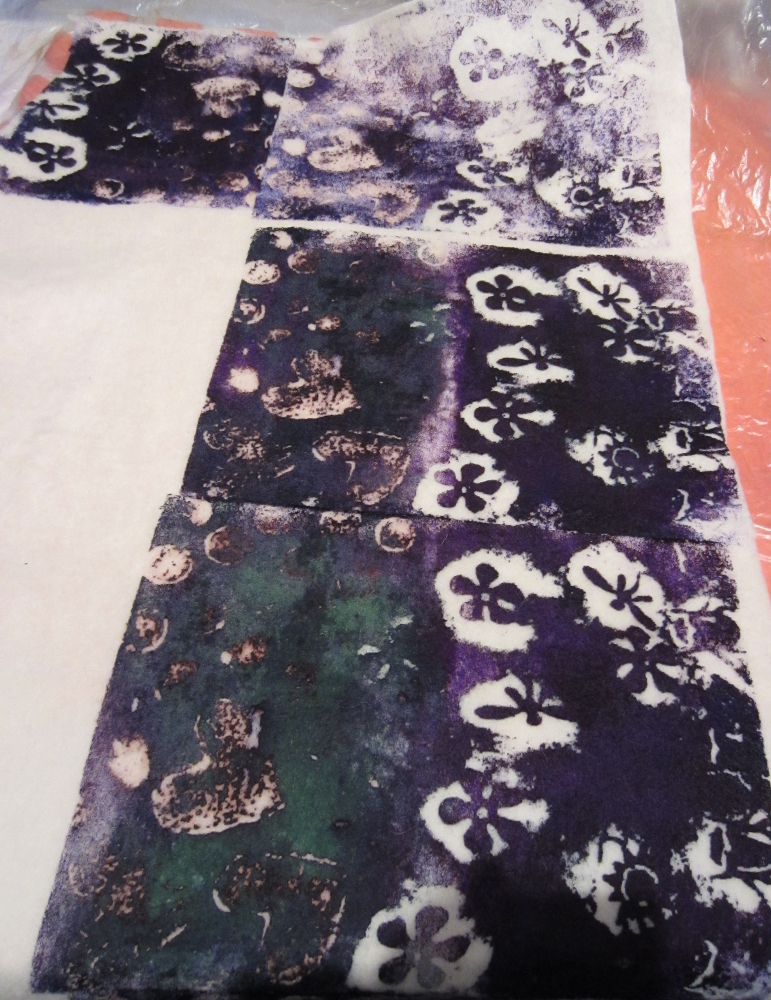
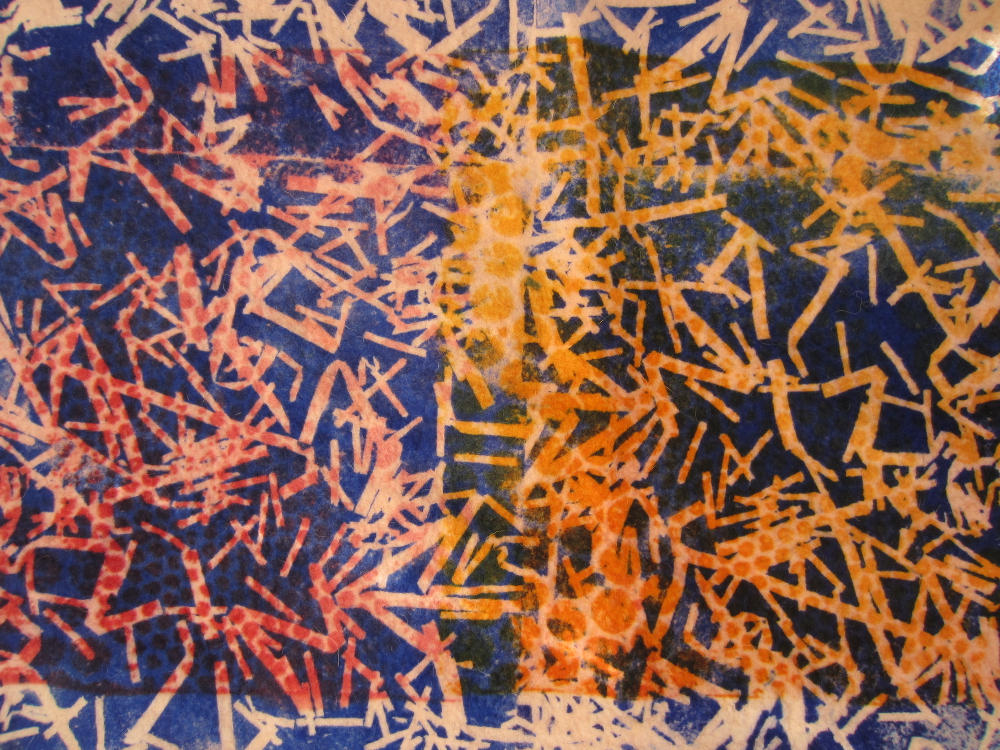
While waiting for the cave to dry I have been doing a bit more screen printing, playing with some different stamps / resists:
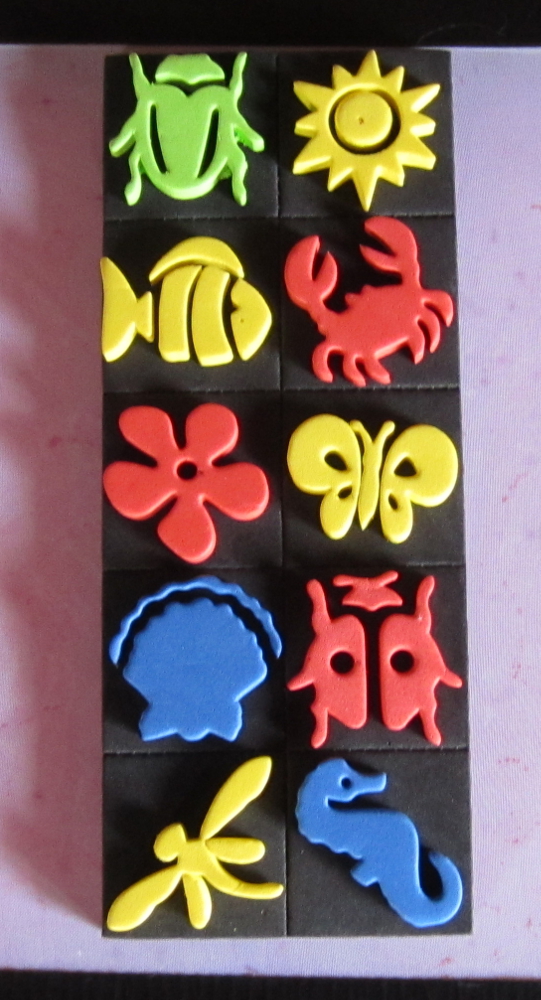
The larger and simple stamps worked quite well just dipping them in print paste and stamping onto the screen, but the more detailed stamps only really worked if the paste was squeegeed over them through the screen.
This is the print from the stamped (left) and squeegeed staps on a deconstructed screen.
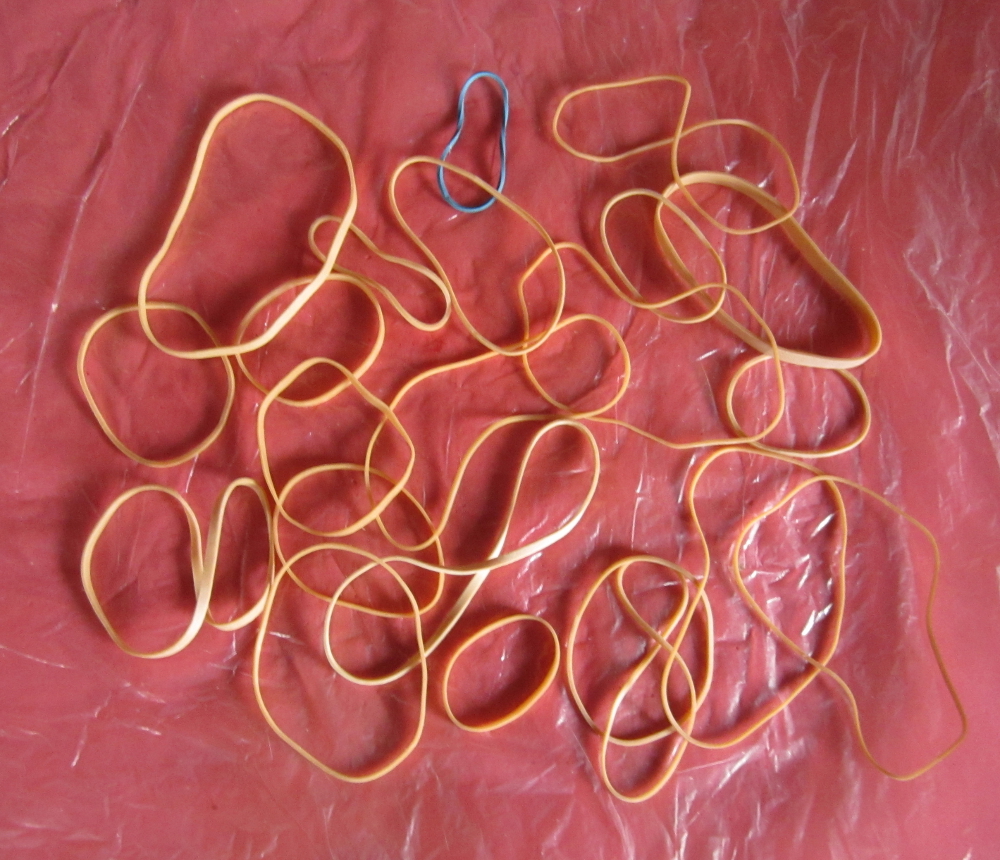
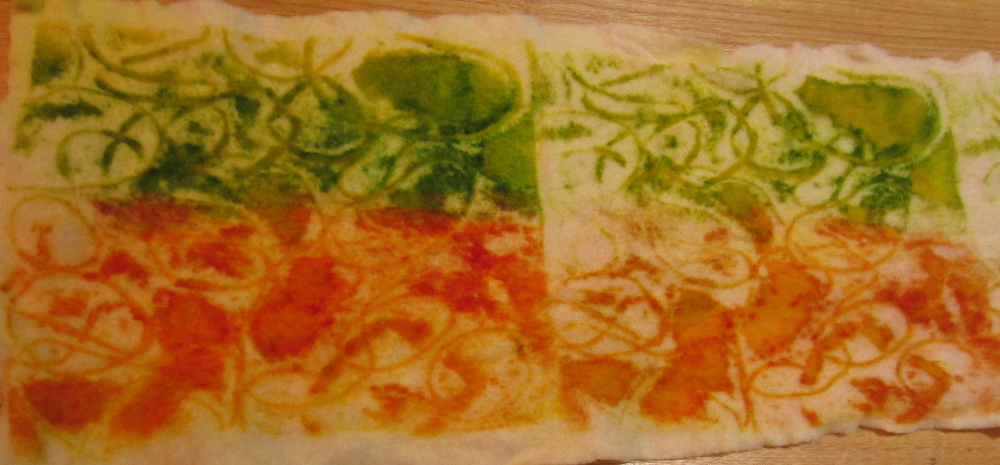
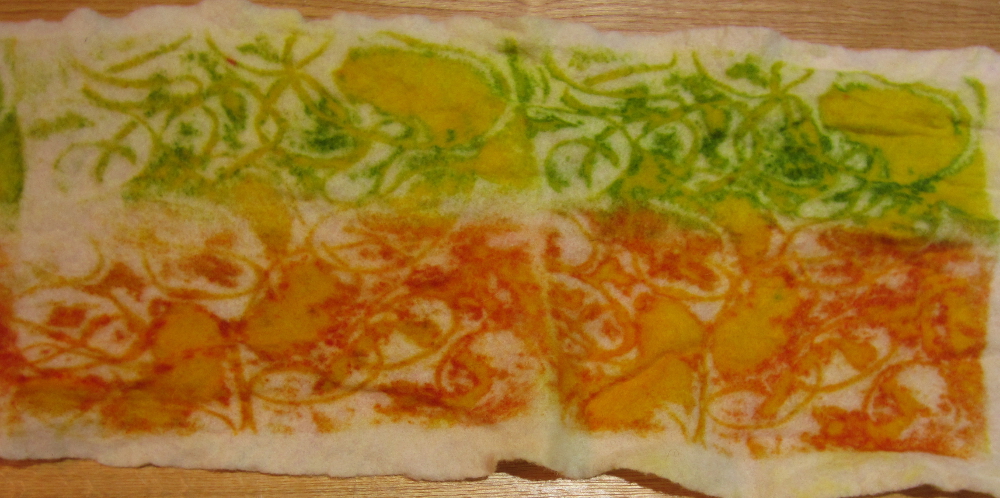
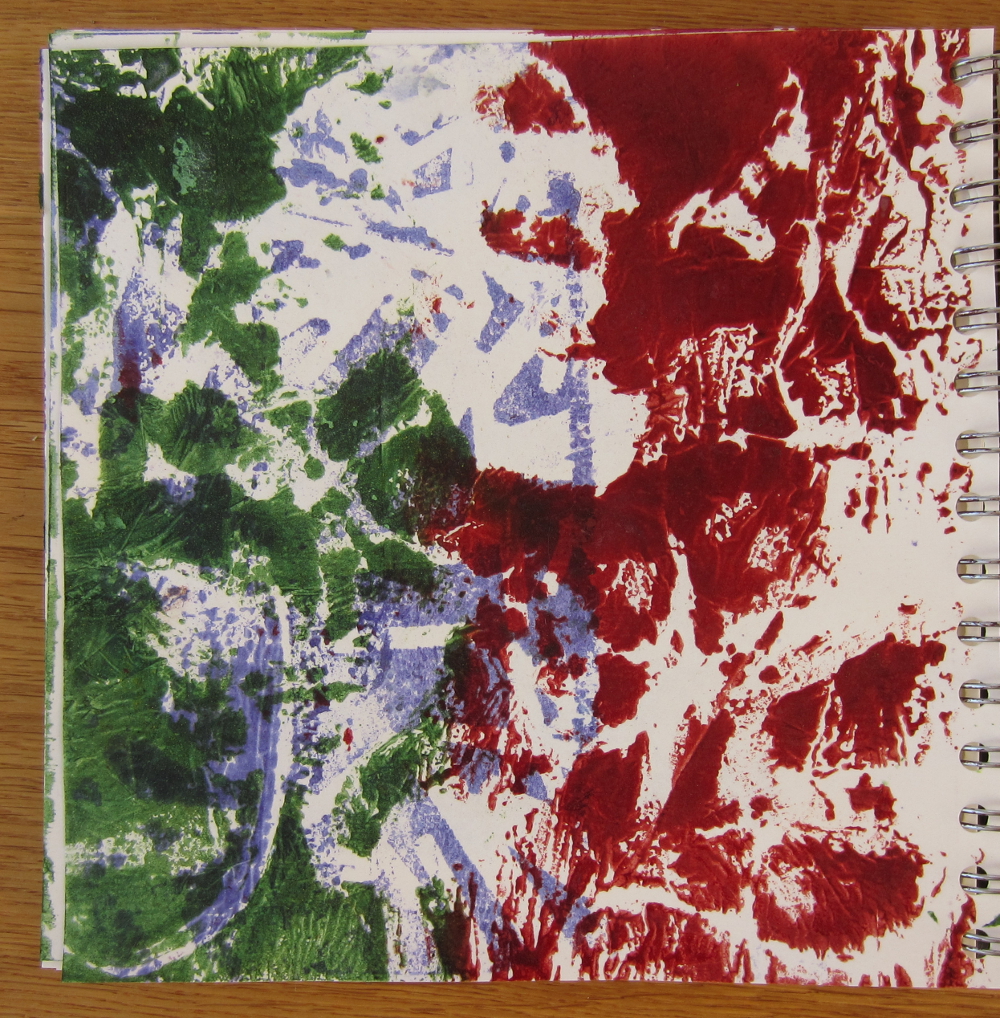
The elastic bands made a nice deconstructed screen:

And these are the prints it gave:
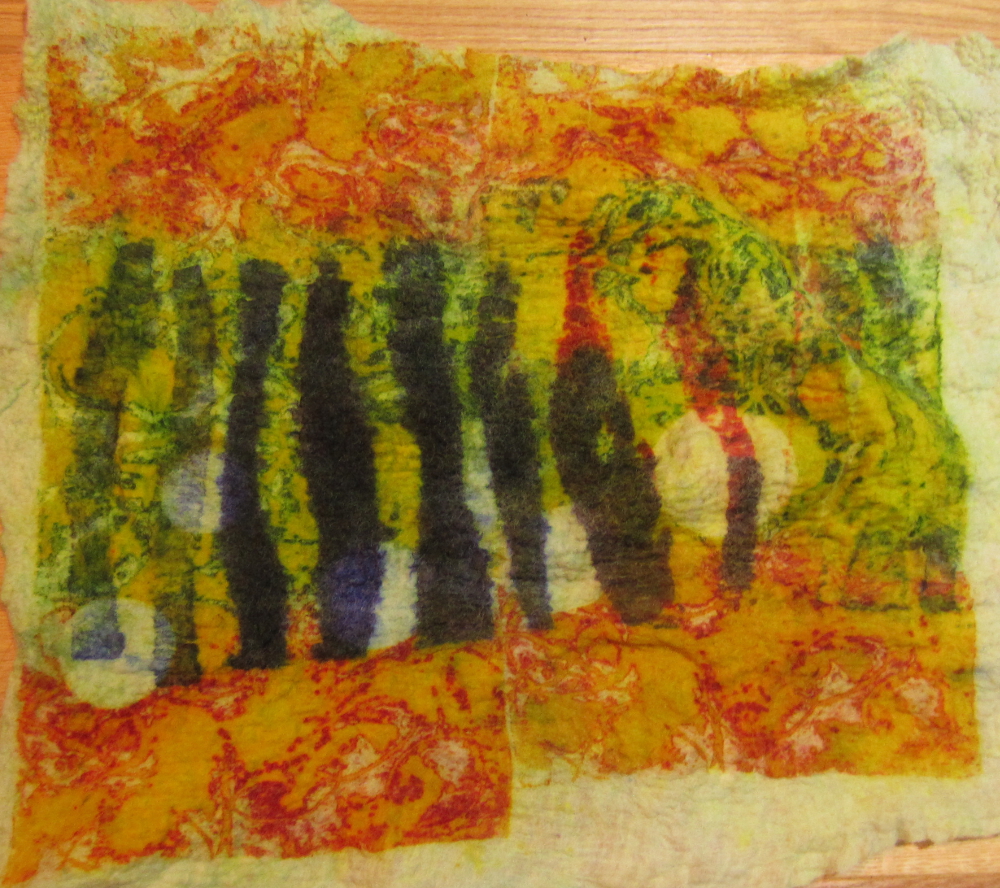
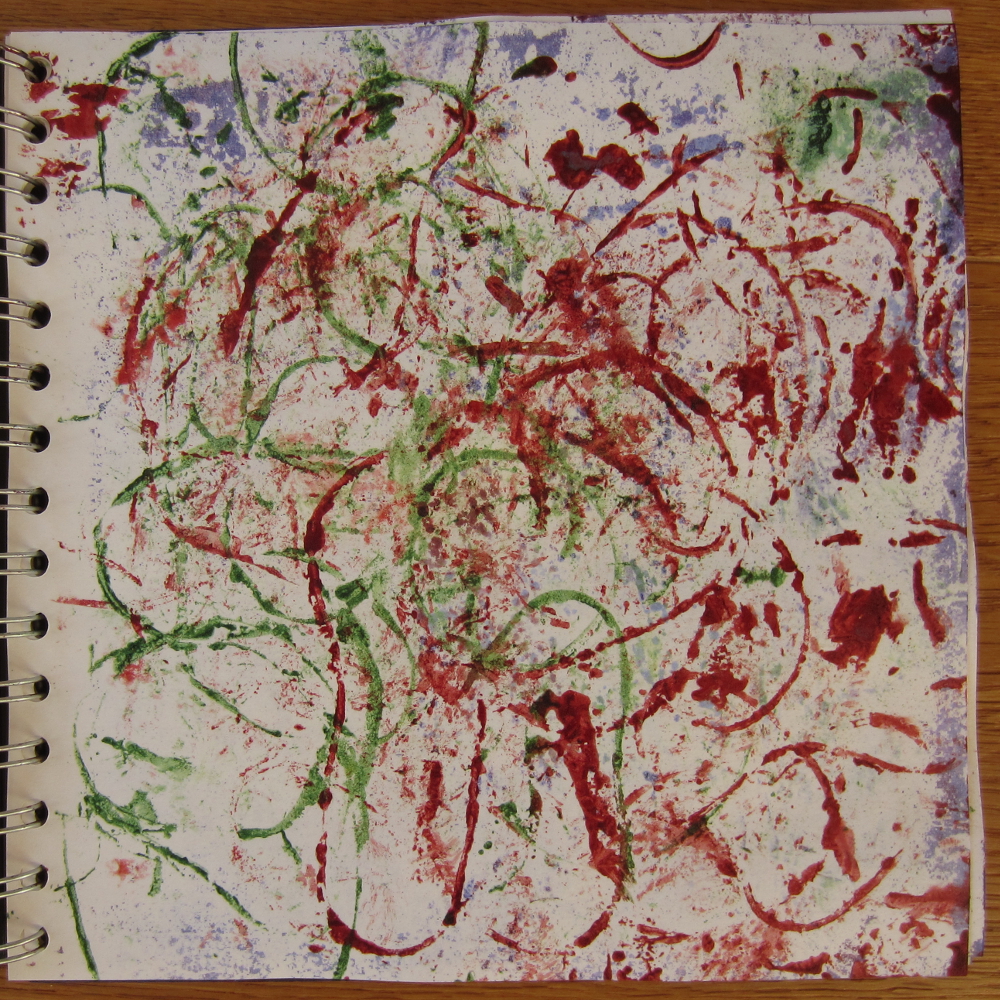
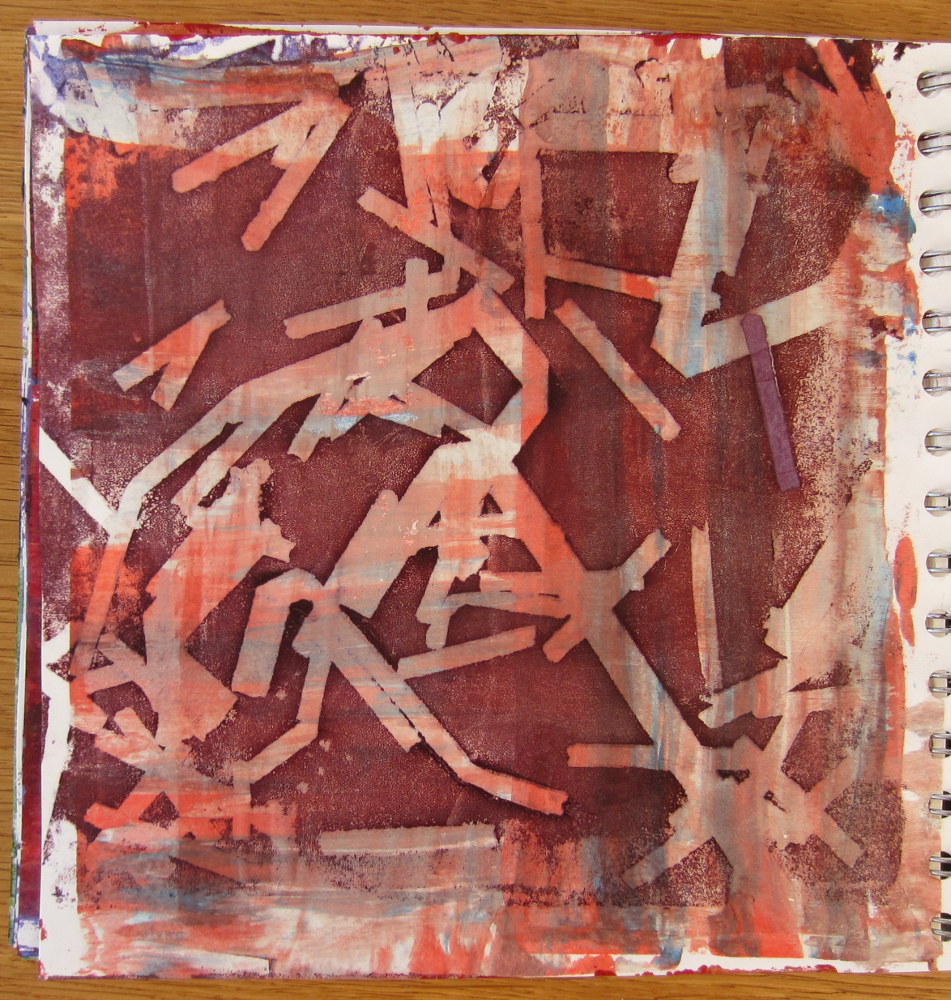
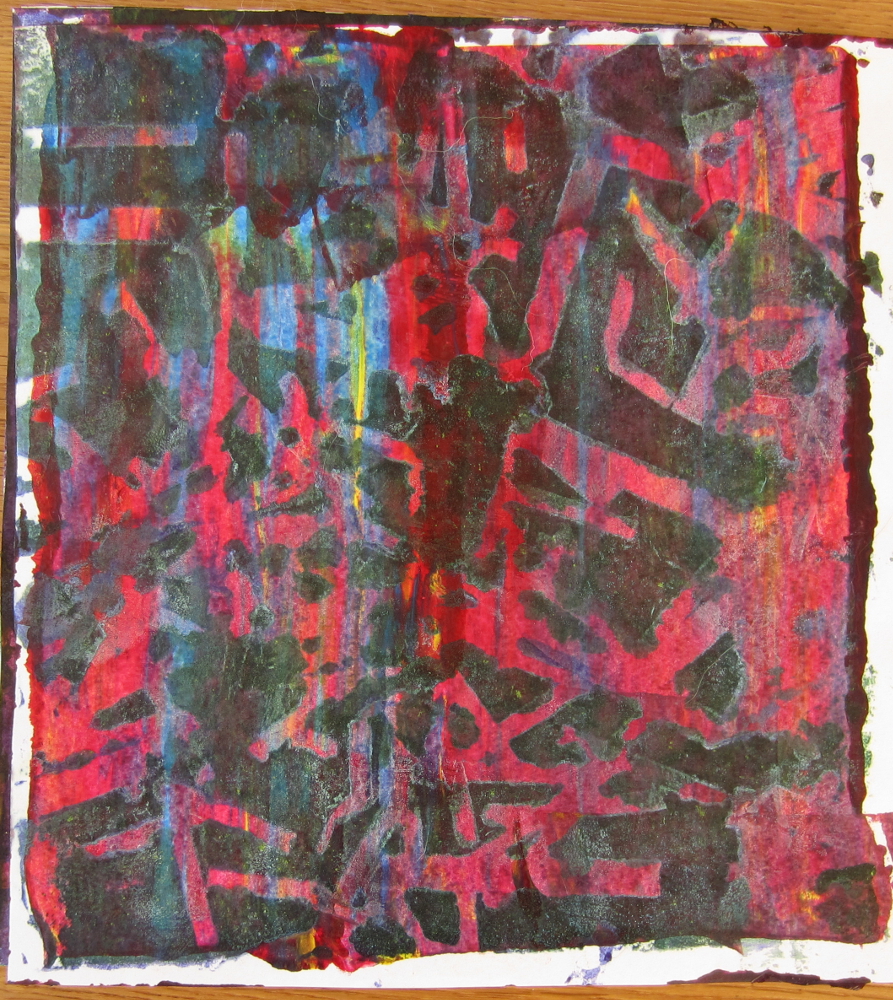
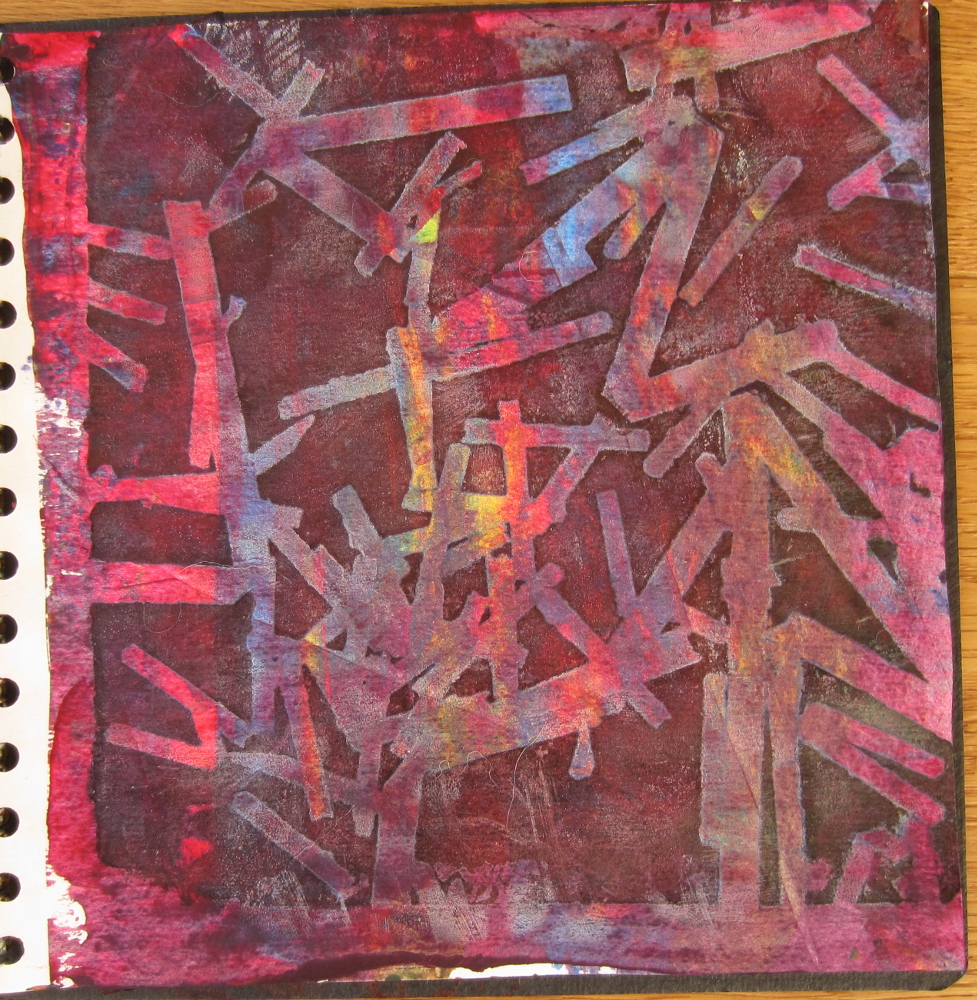
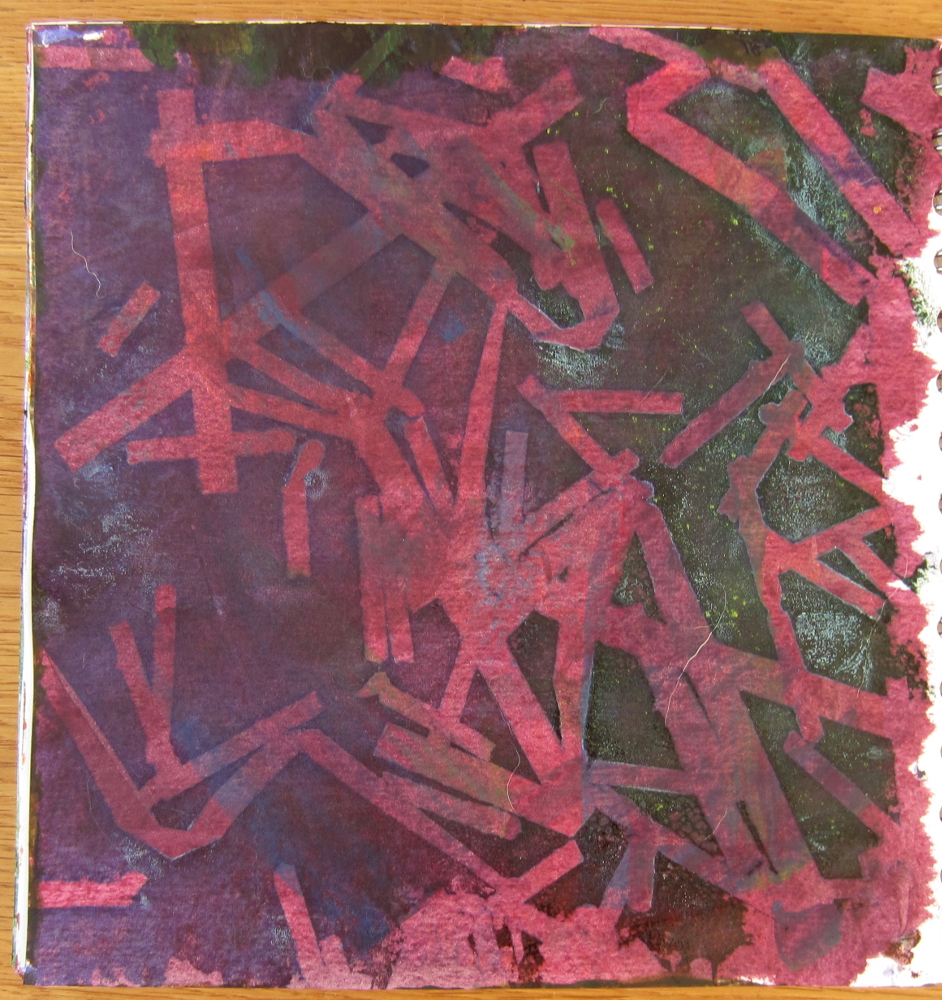
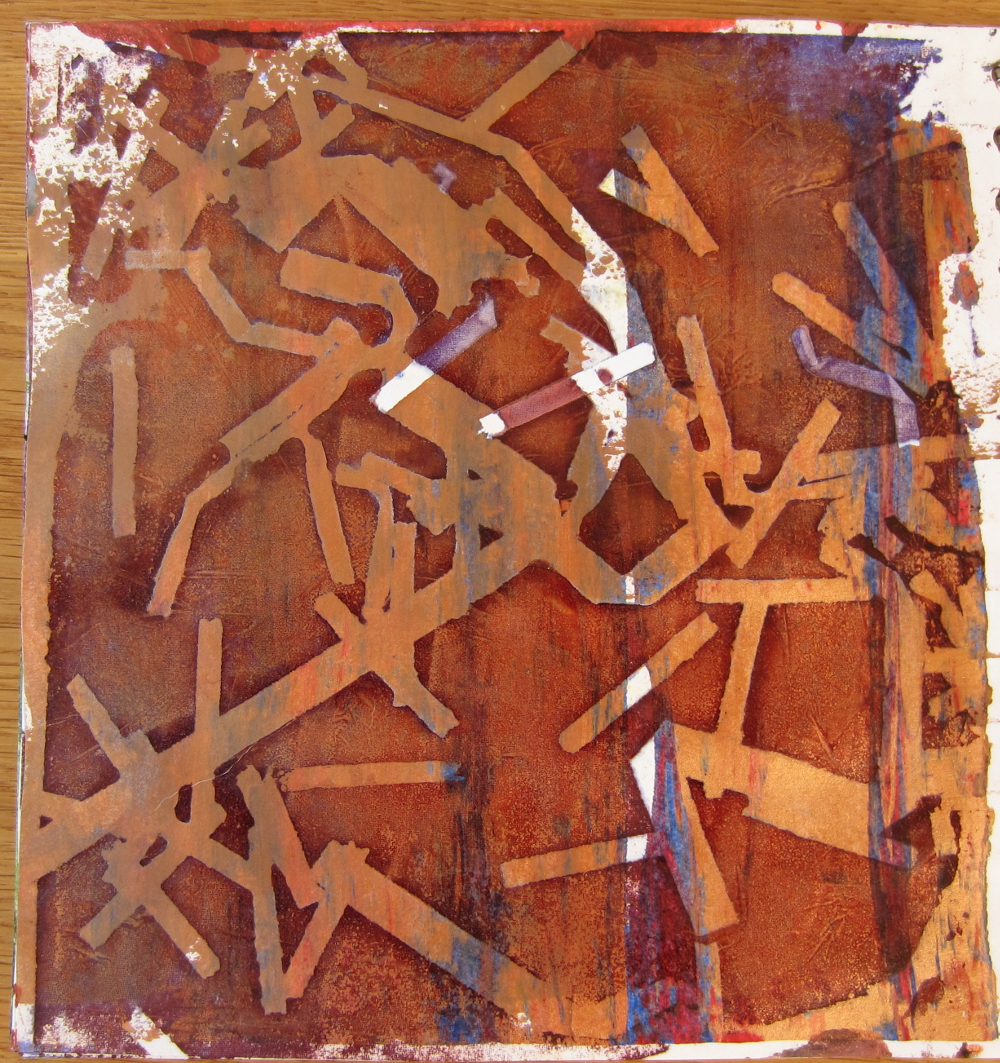
I also had a play with some paper resists:

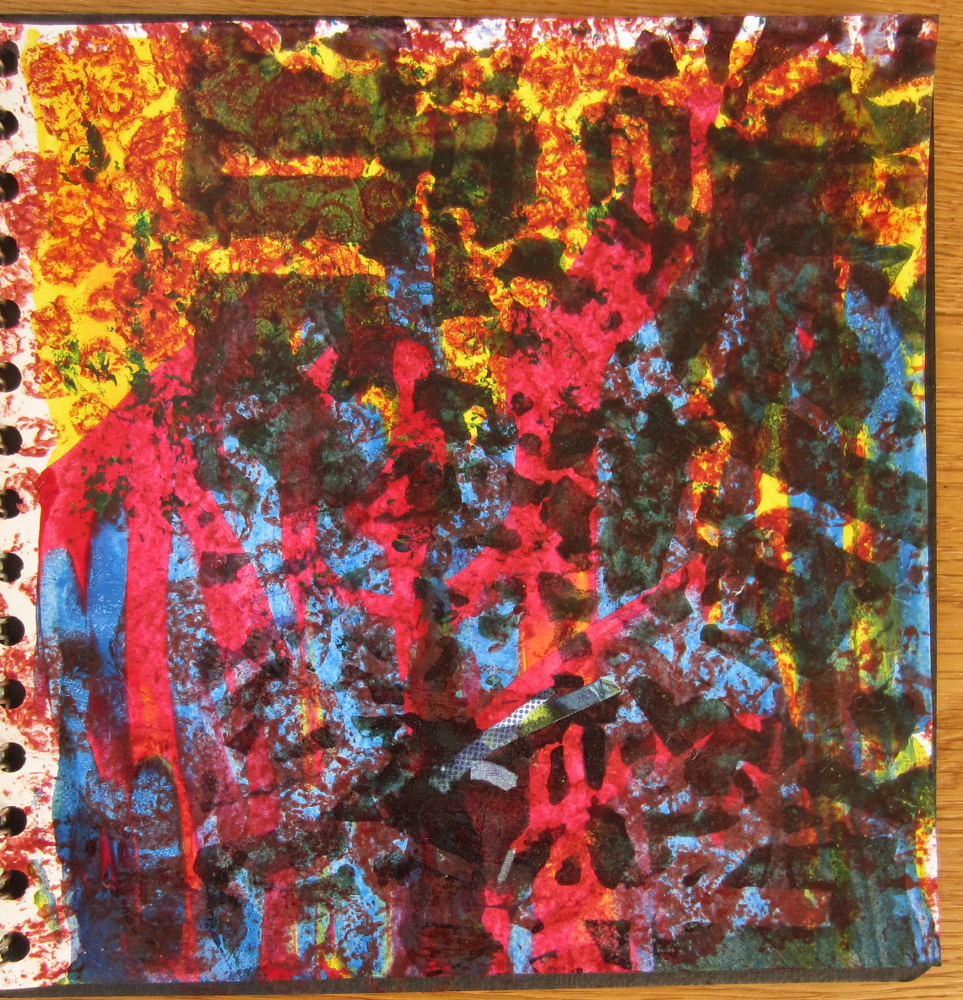
And of course printed into my sketchbook to use up the left over paste:
For those of you reading by email, this is the link to the web page: blog post