
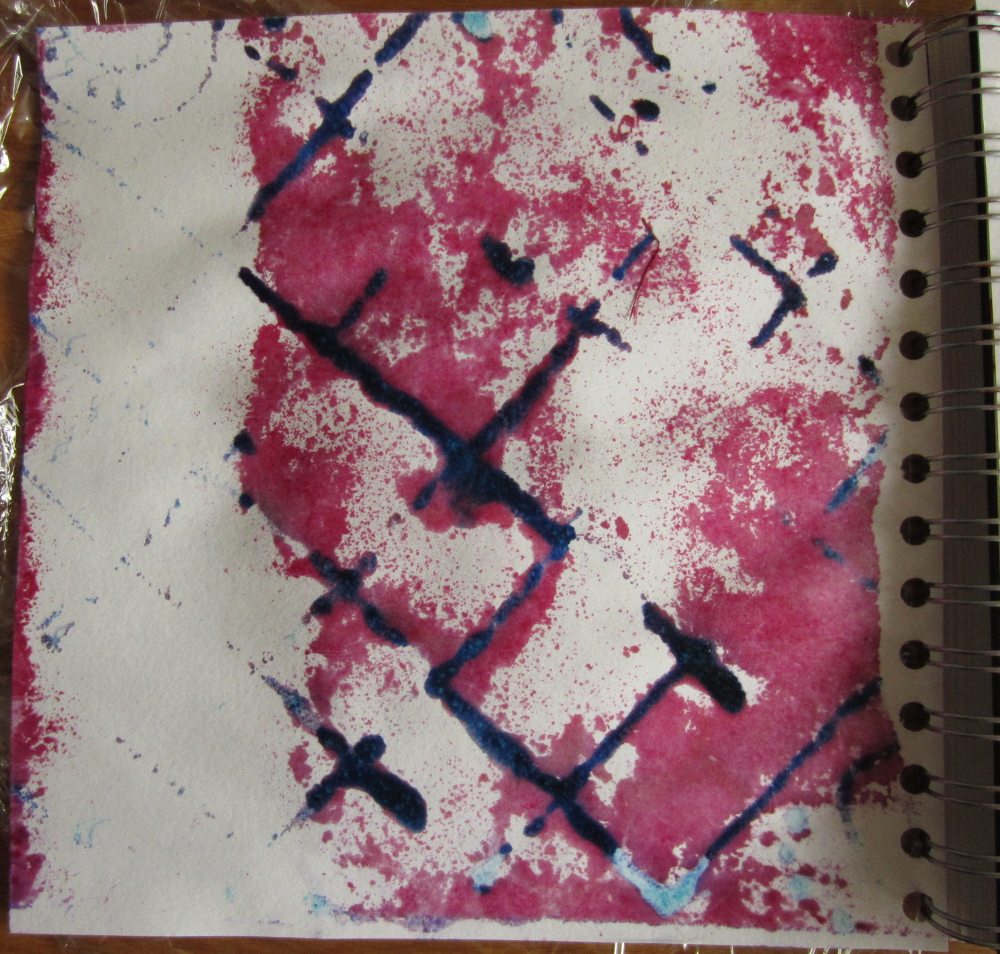
This is week 3 of Ruth Lane’s Experimental Screen Printing class but before starting on the new methods, I still had a deconstructed screen that I made last week to use. I’m not sure if it was applying the print paste to the flat side of the screen or leaving it to dry for a week but it lasted much longer than the others.
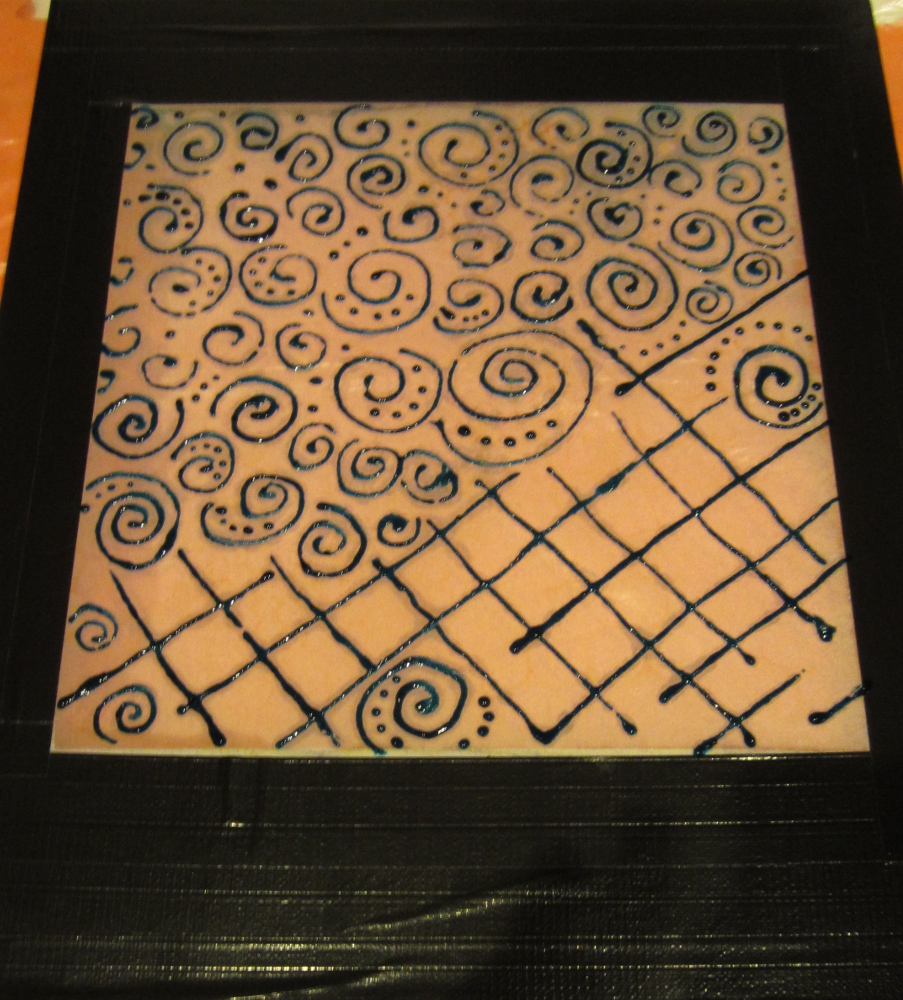
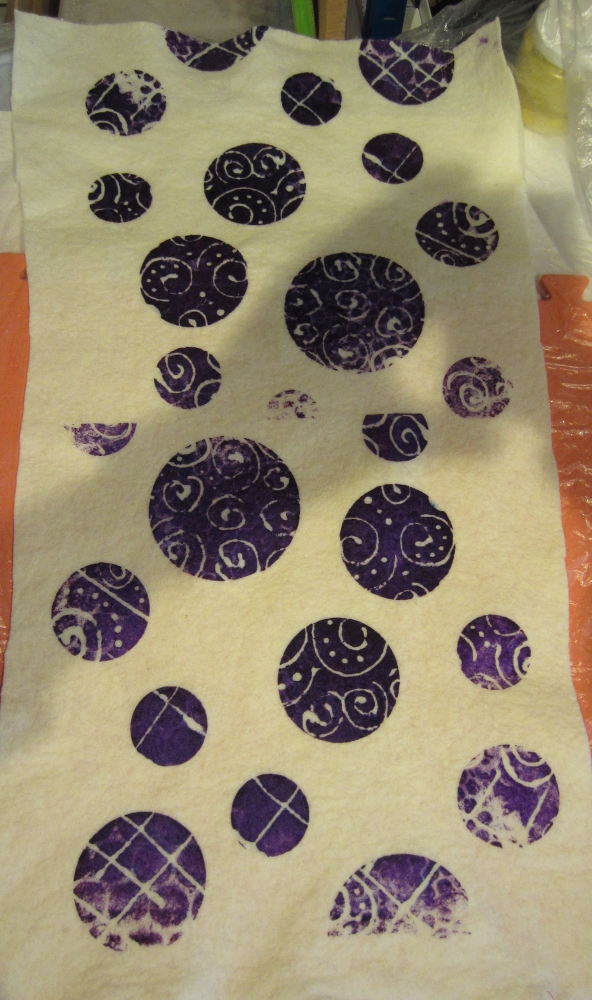
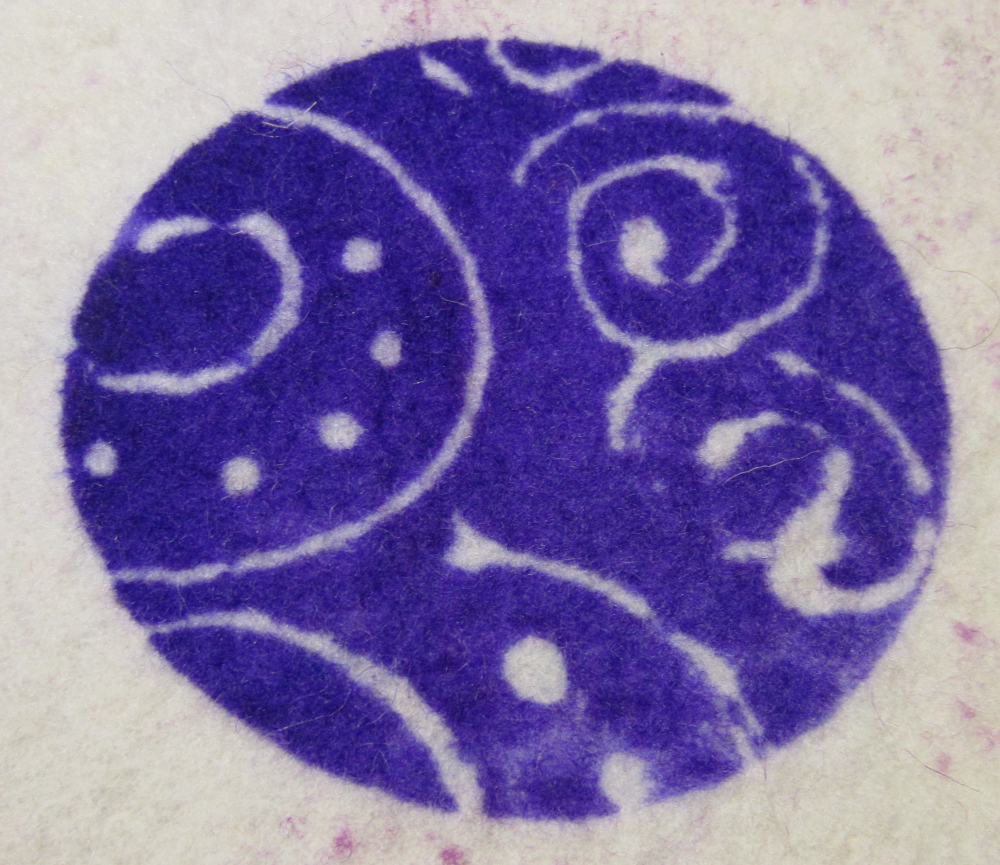
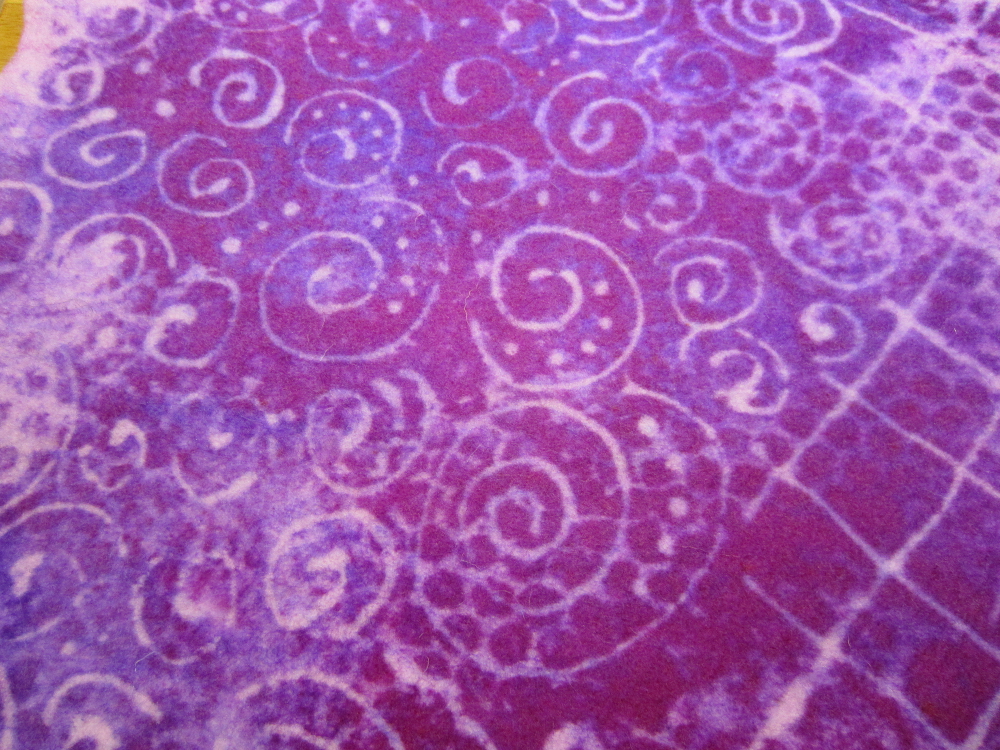
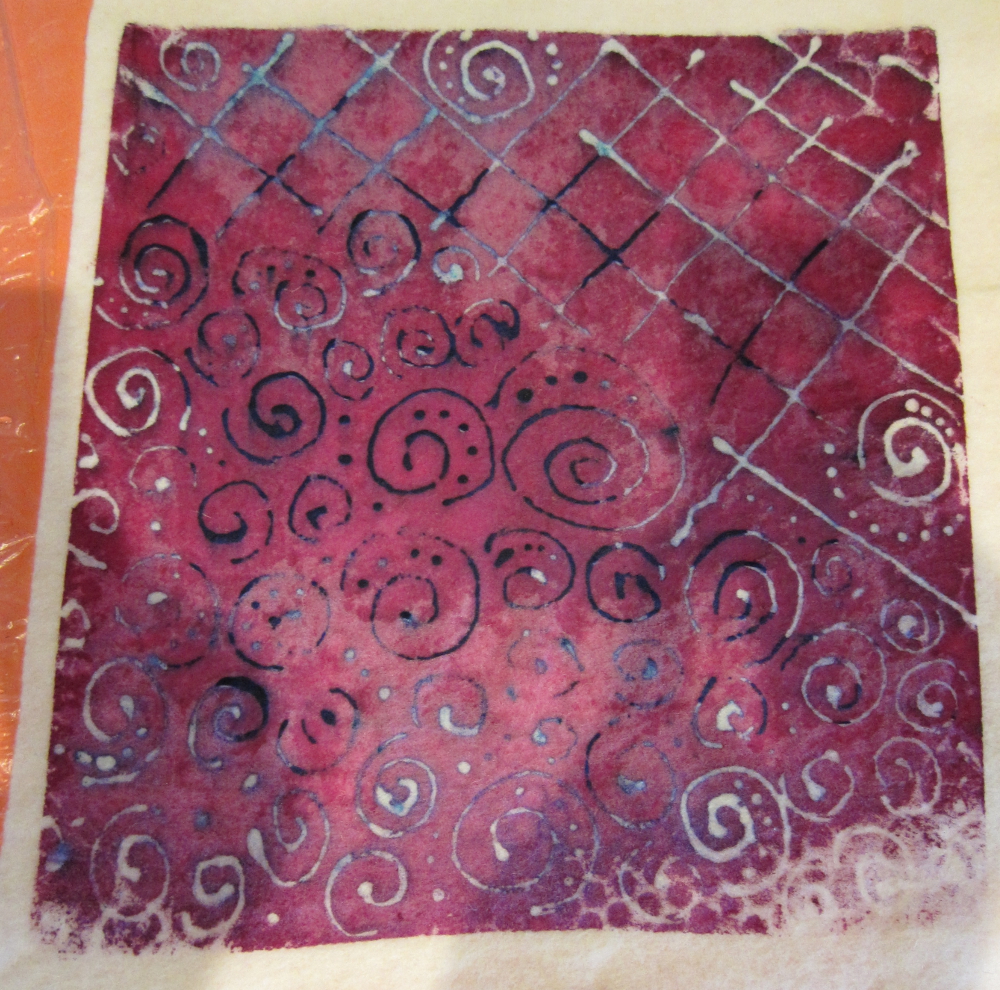
I used a double resist for these first few prints (I couldn’t “resist” 😉 using at least one of this week’s techniques!), firstly on wet prefelt, I clearly didn’t do a very good job of cleaning this screen as you can still see the bubble wrap print in the top left circle:
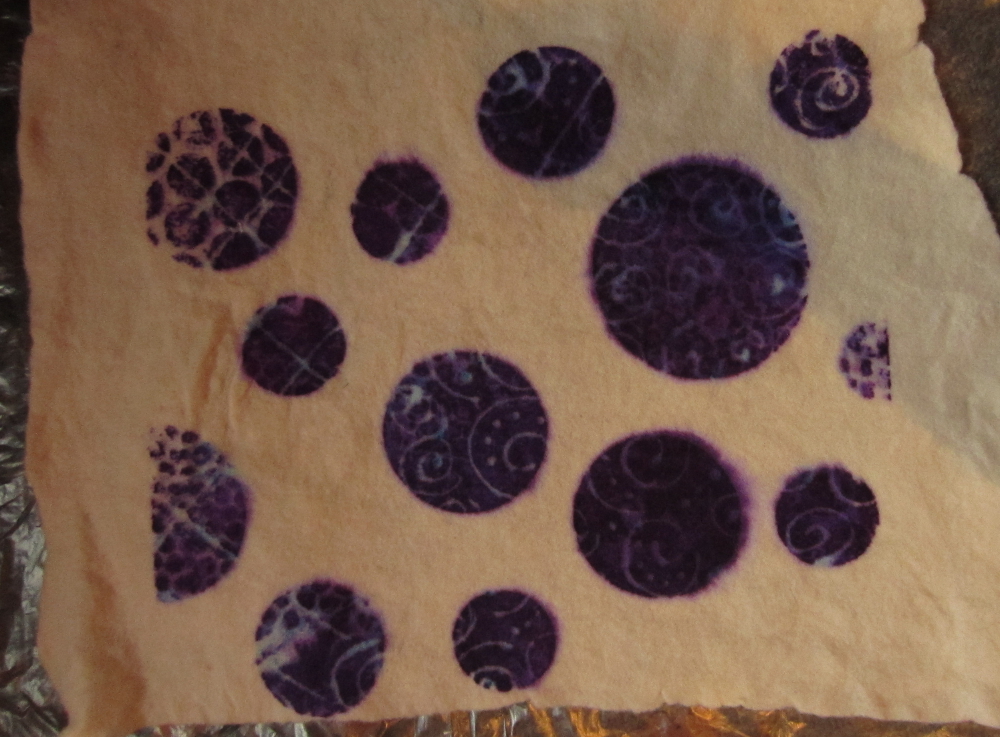
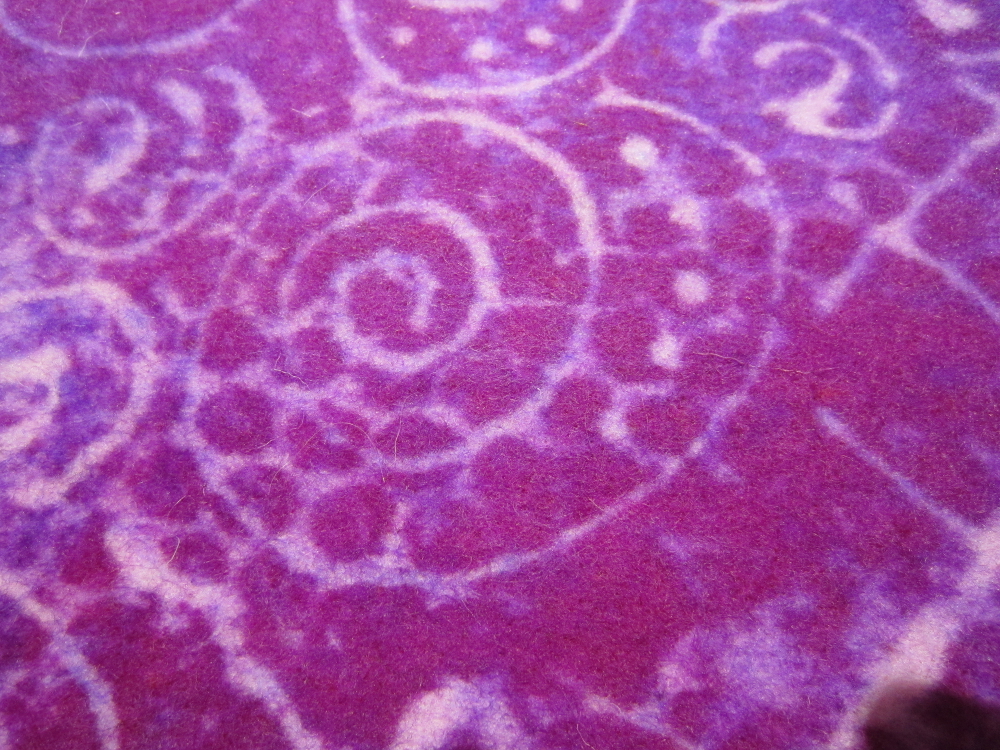
After fixing, even though I let the print paste dry first, the colours still bled:
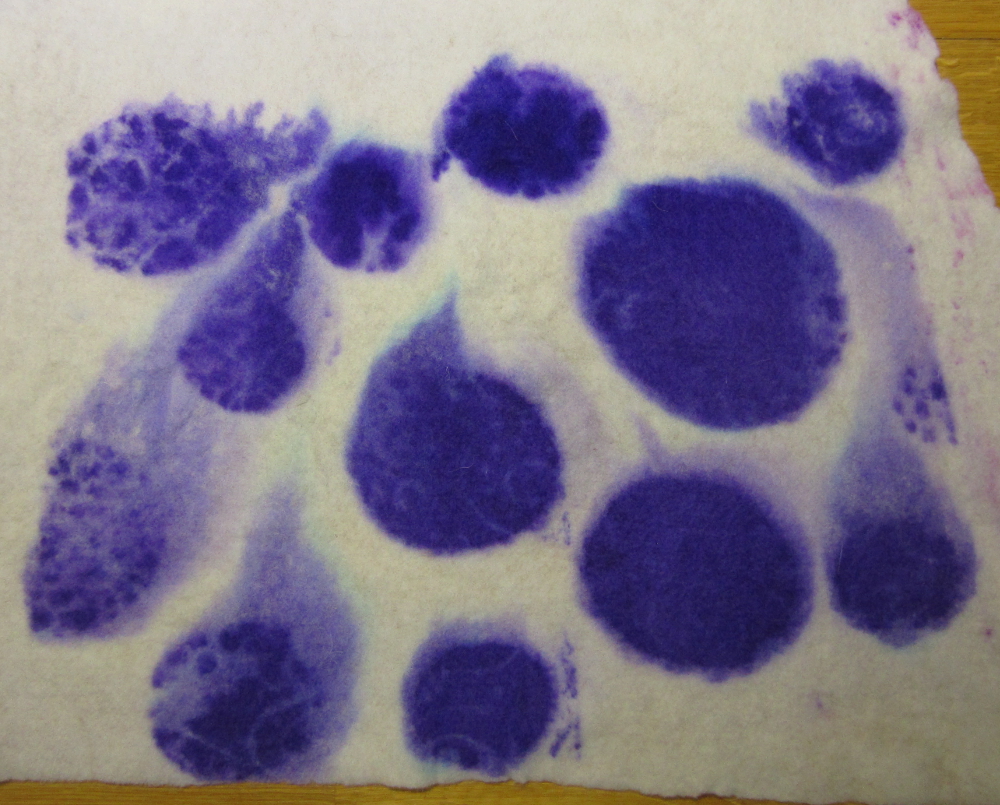
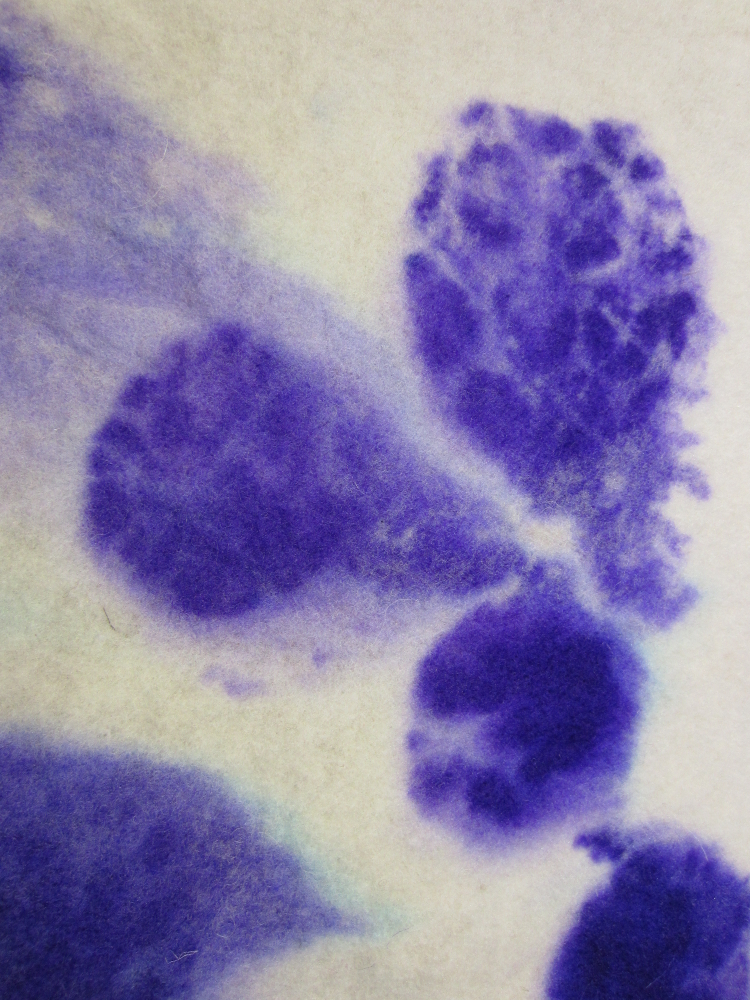
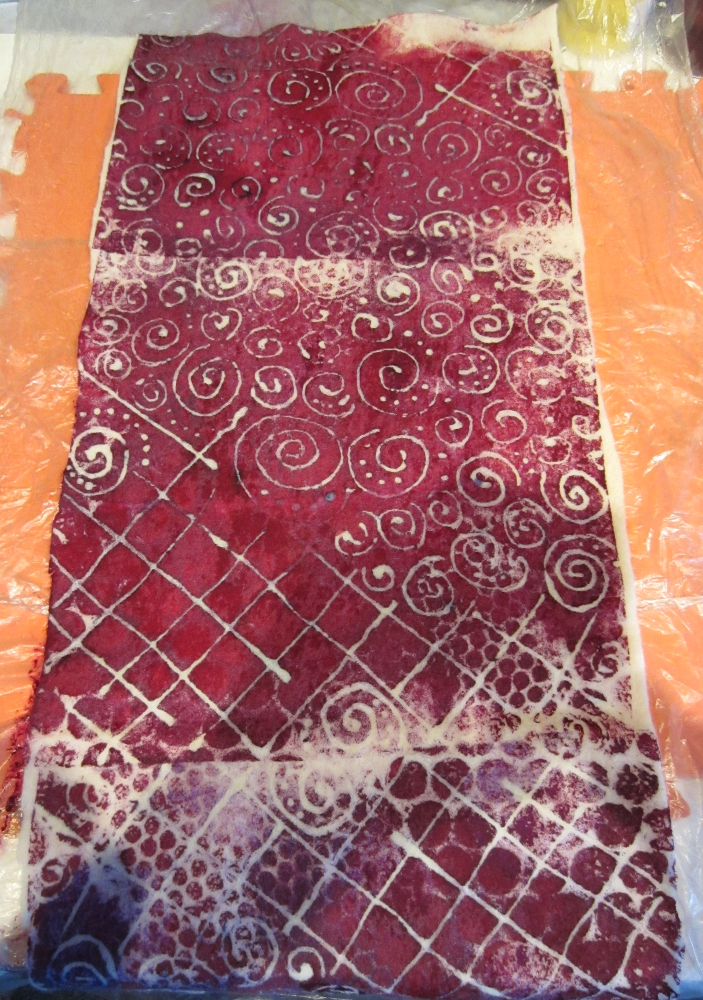
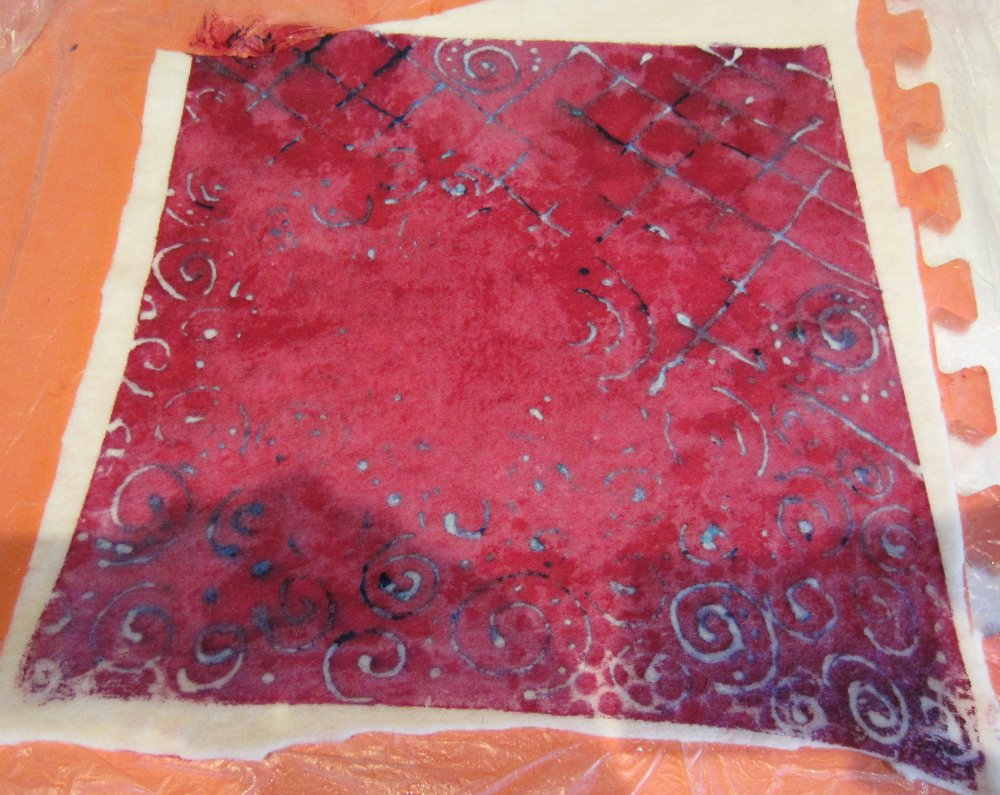
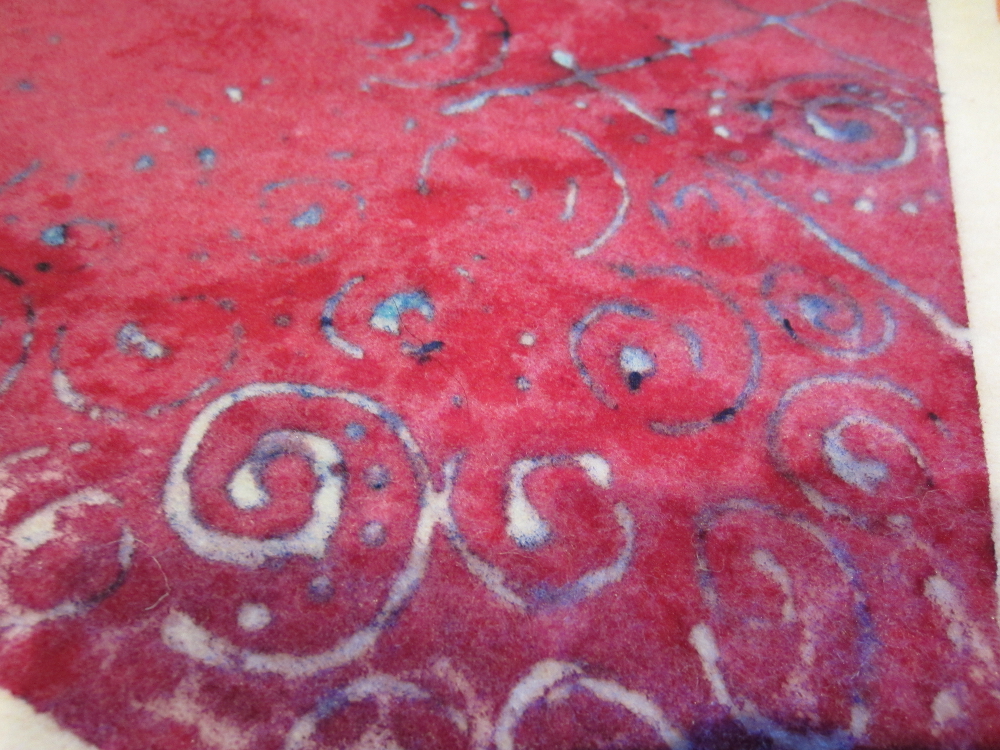
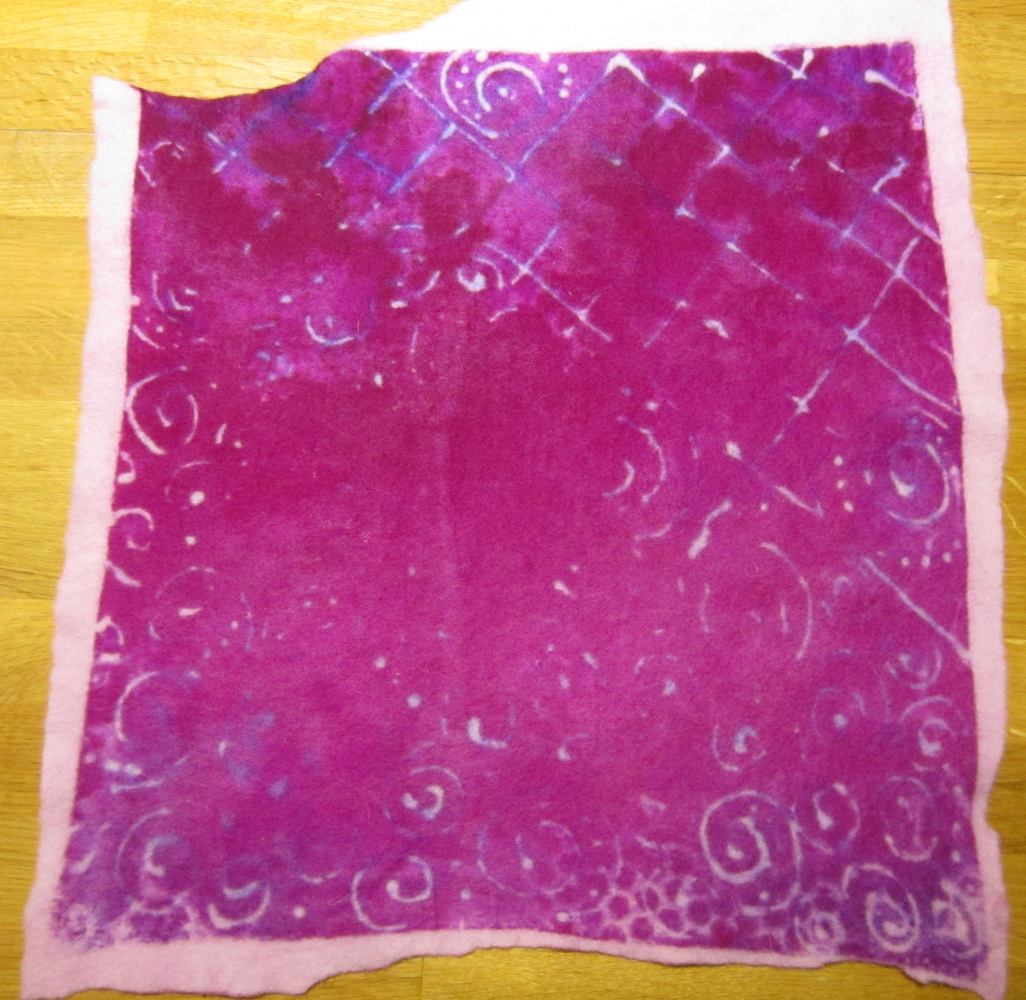
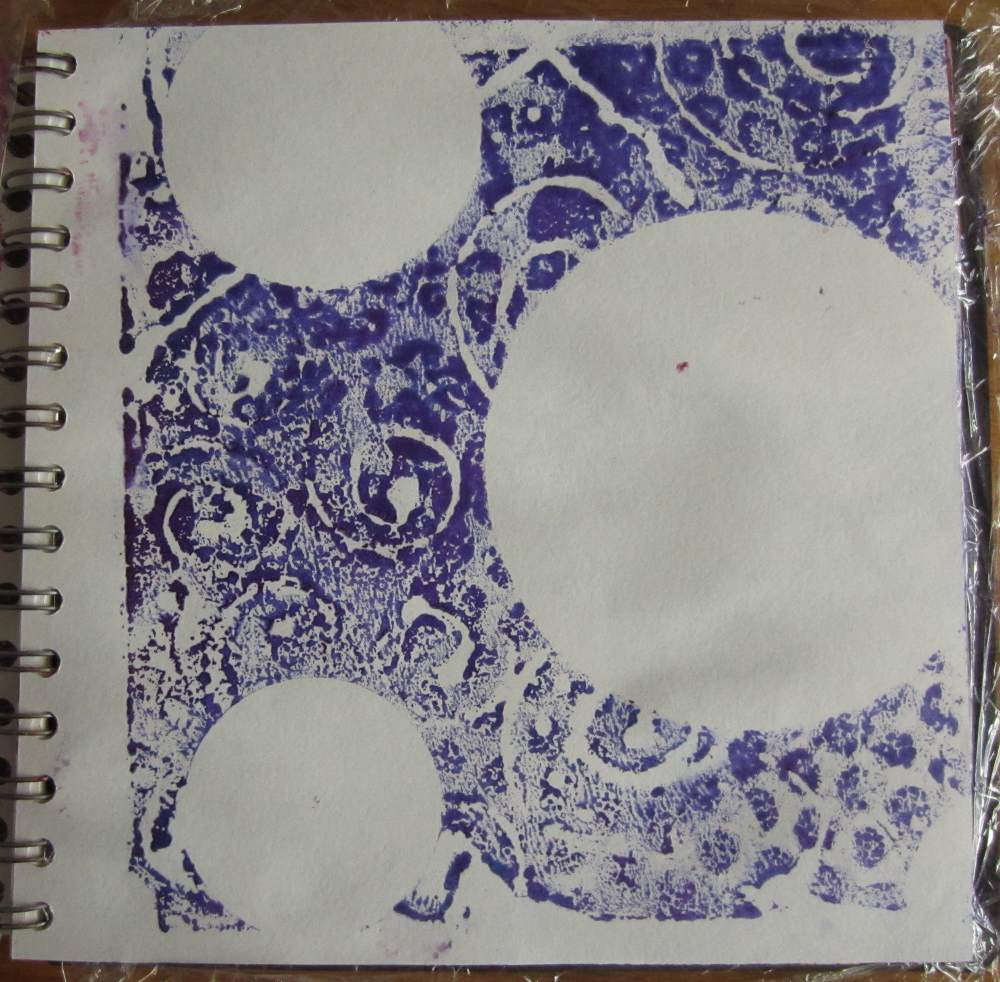
The same screen on dry prefelt:
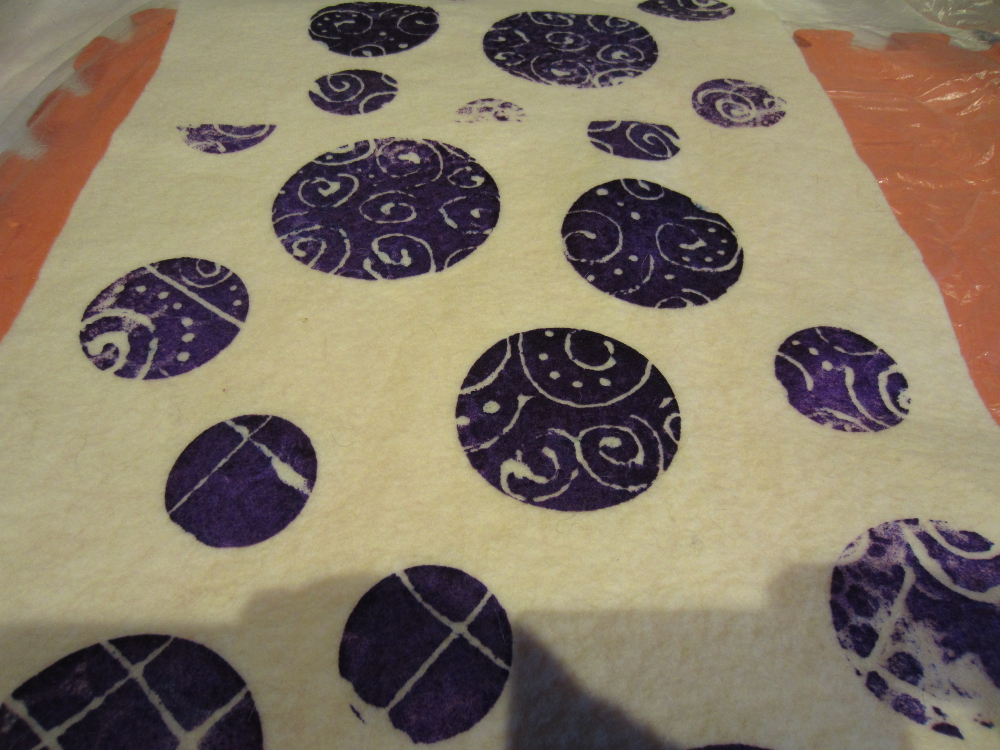
After fixing, I really like this piece although I am contemplating cutting out the discs to use in a project. I don’t want to print / dye over it as I like the patterns as they are:
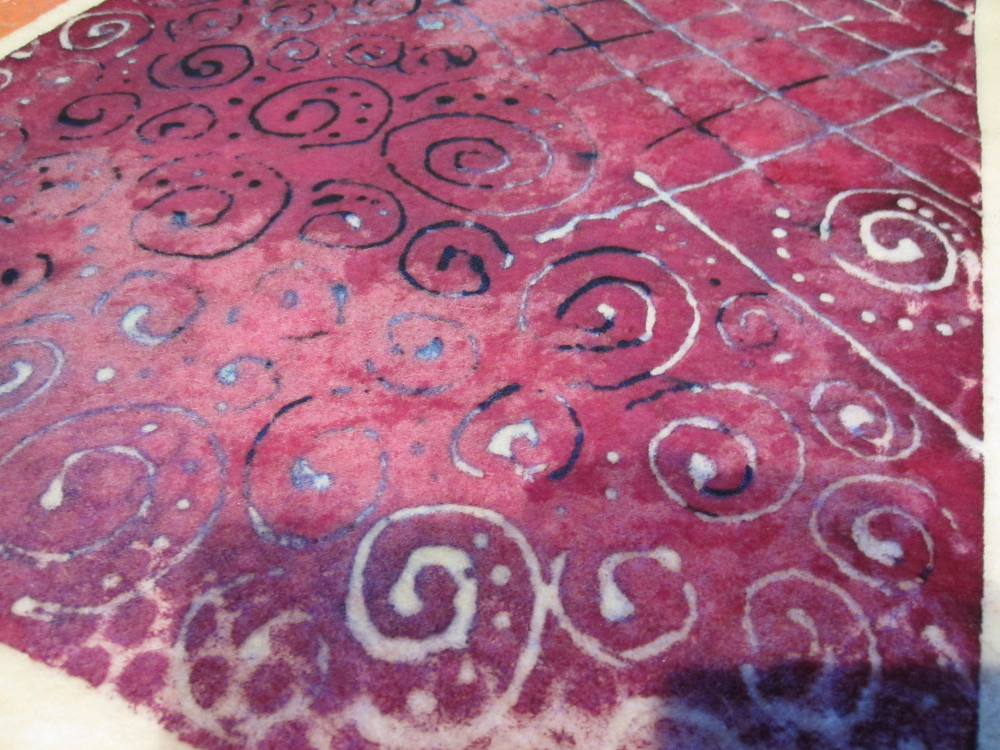
You can still see the bubble wrap sneaking through:
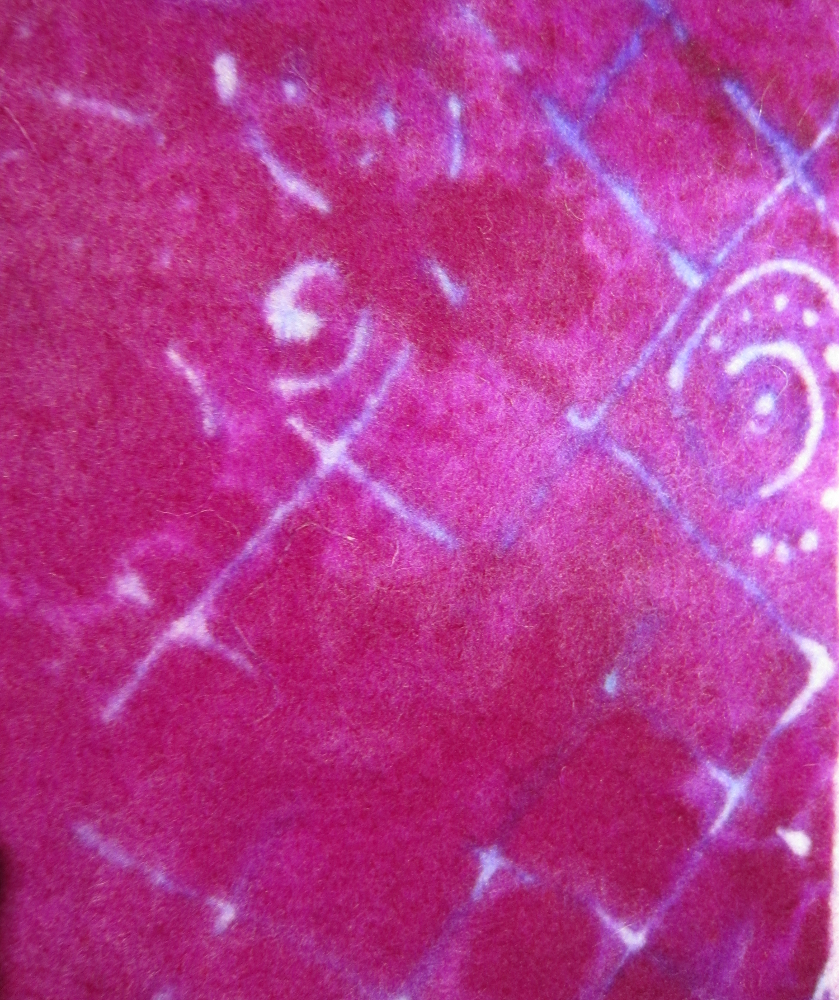
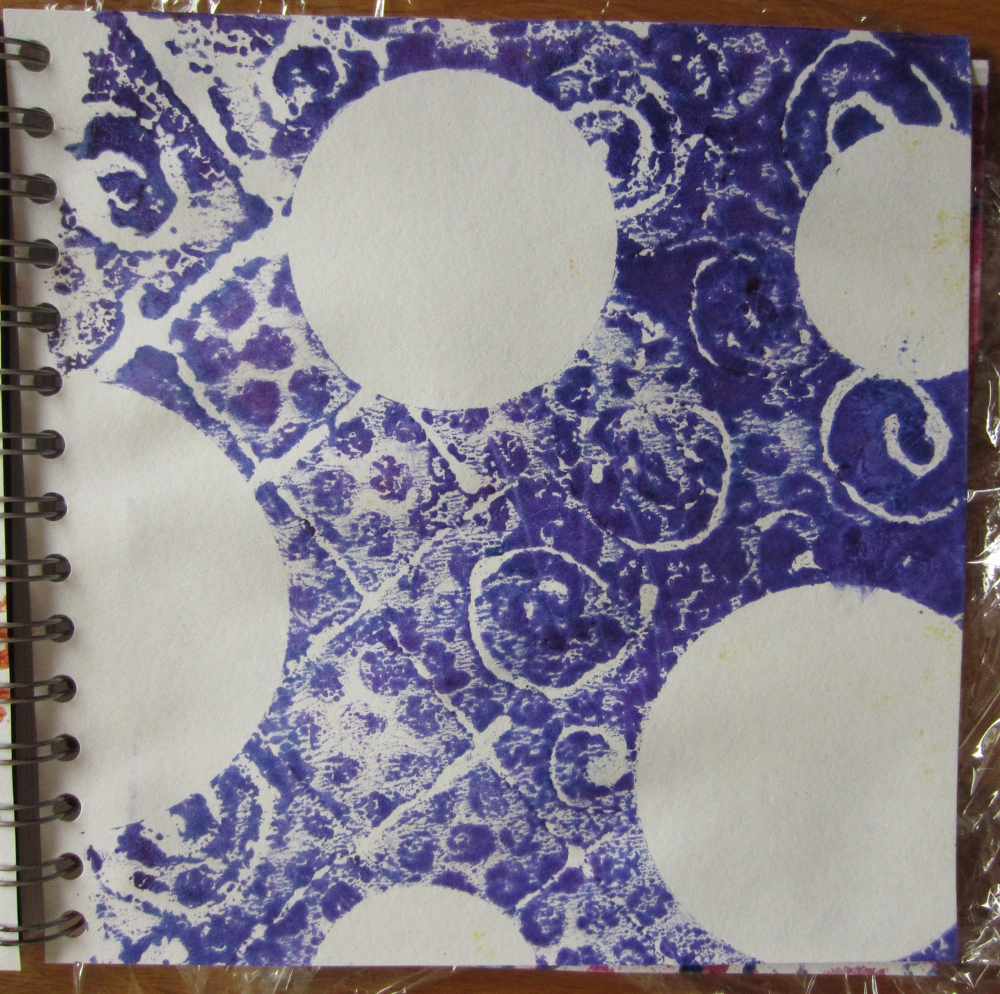
More conventional screening onto dry prefelt:
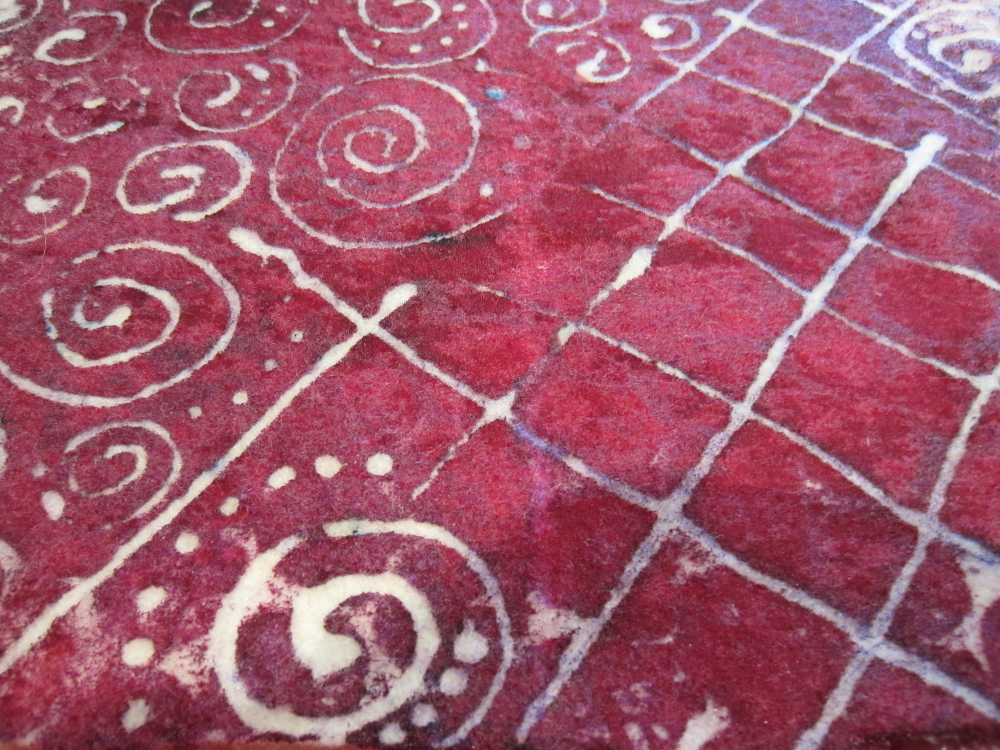
The same piece after fixing:
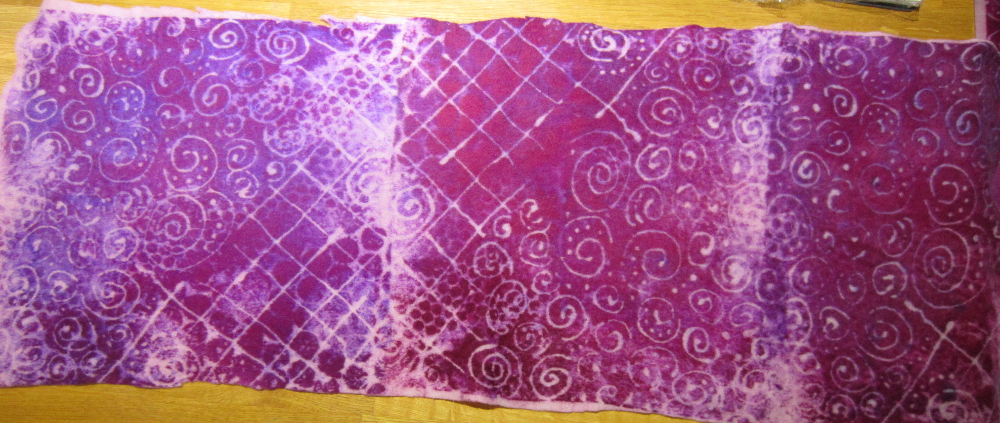
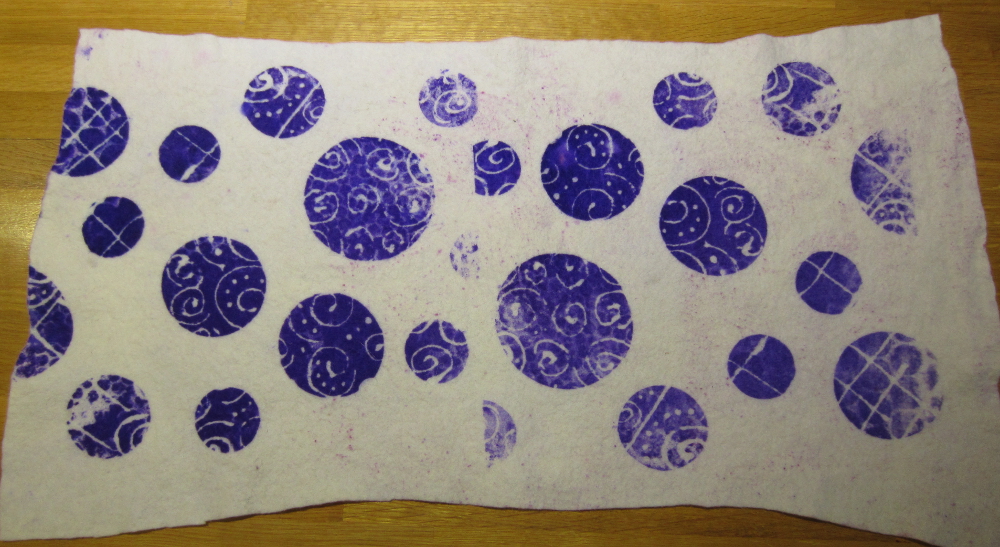
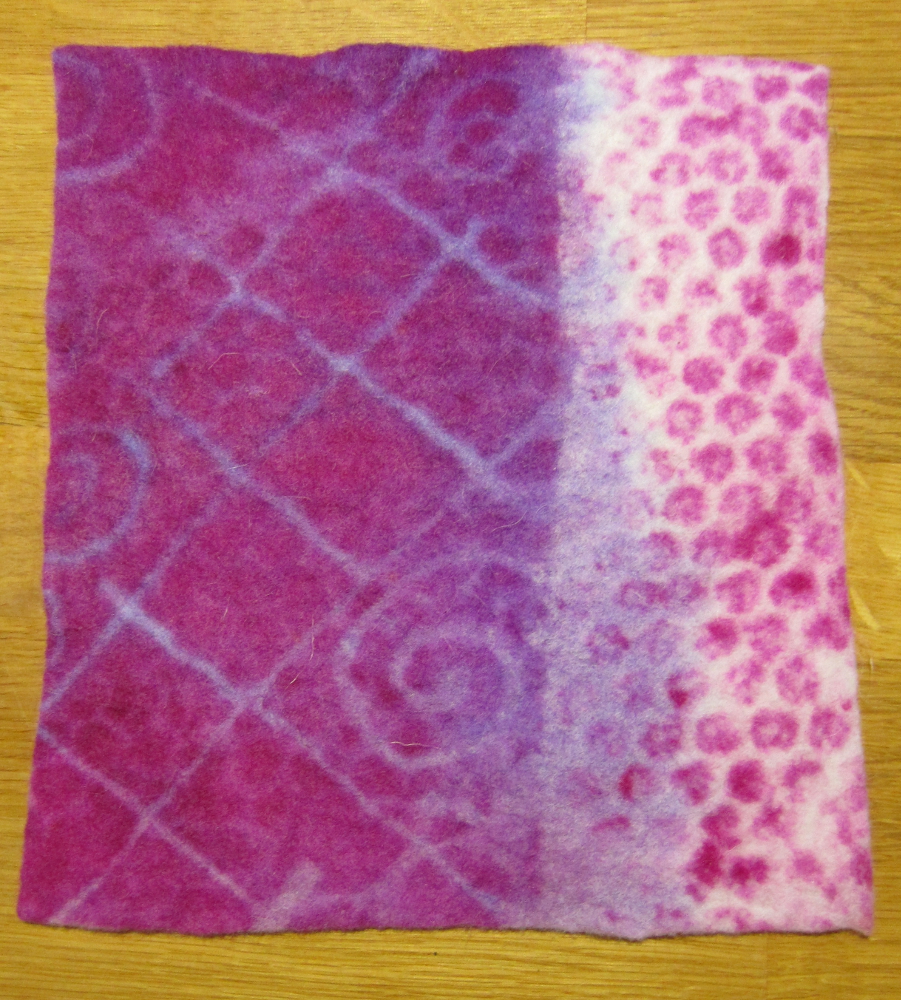
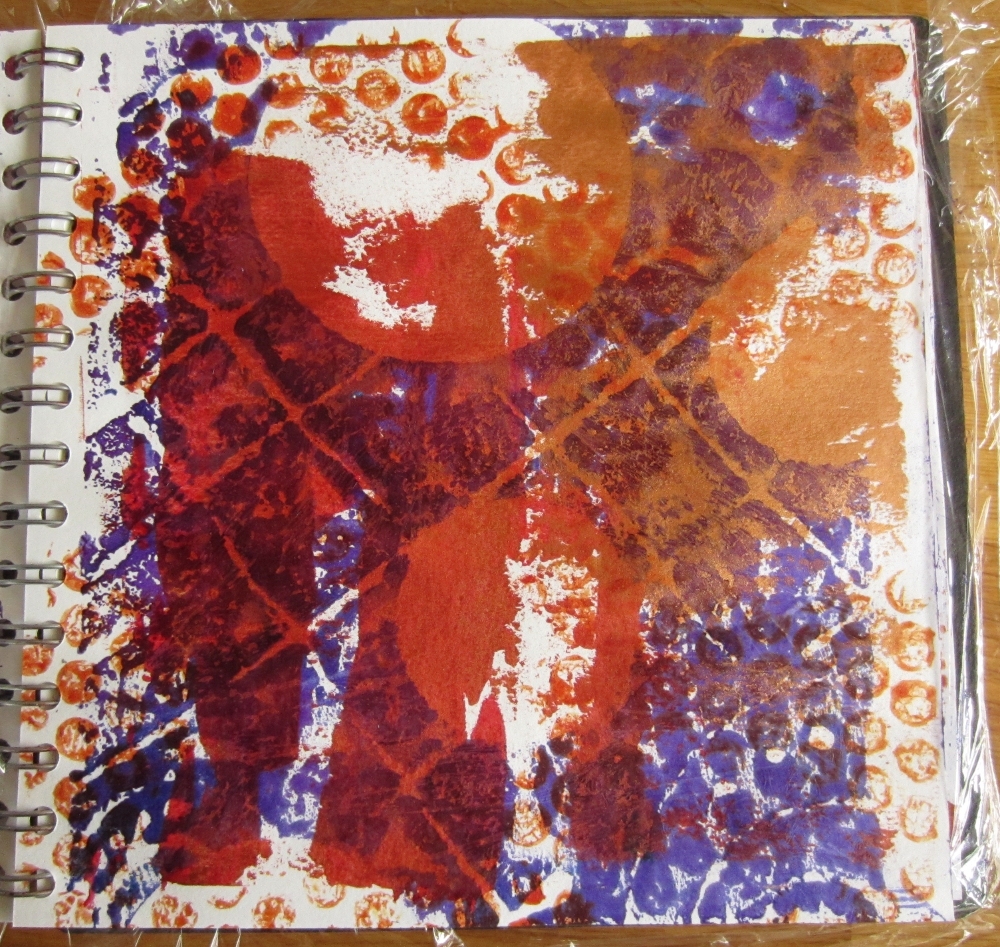
This time, screening onto wet felt, I love how the wet felt and released the blue pigment. The right hand side was some mono-printing with bubble wrap:
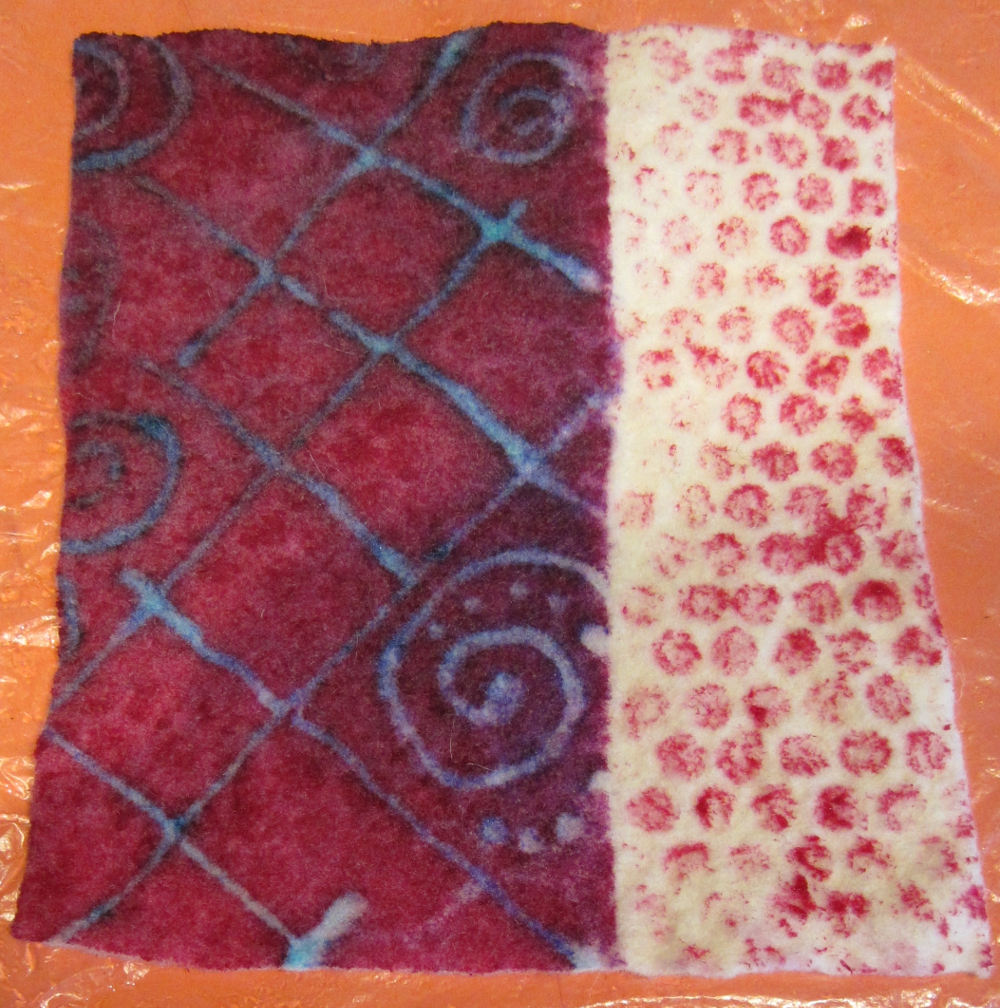
After fixing, although this is the smallest piece by a long way (only 15 x 20 cm) it is my favourite out of this batch. This might just be a coincidence but using wet felt vs wet prefelt seems to make the colours bleed less:
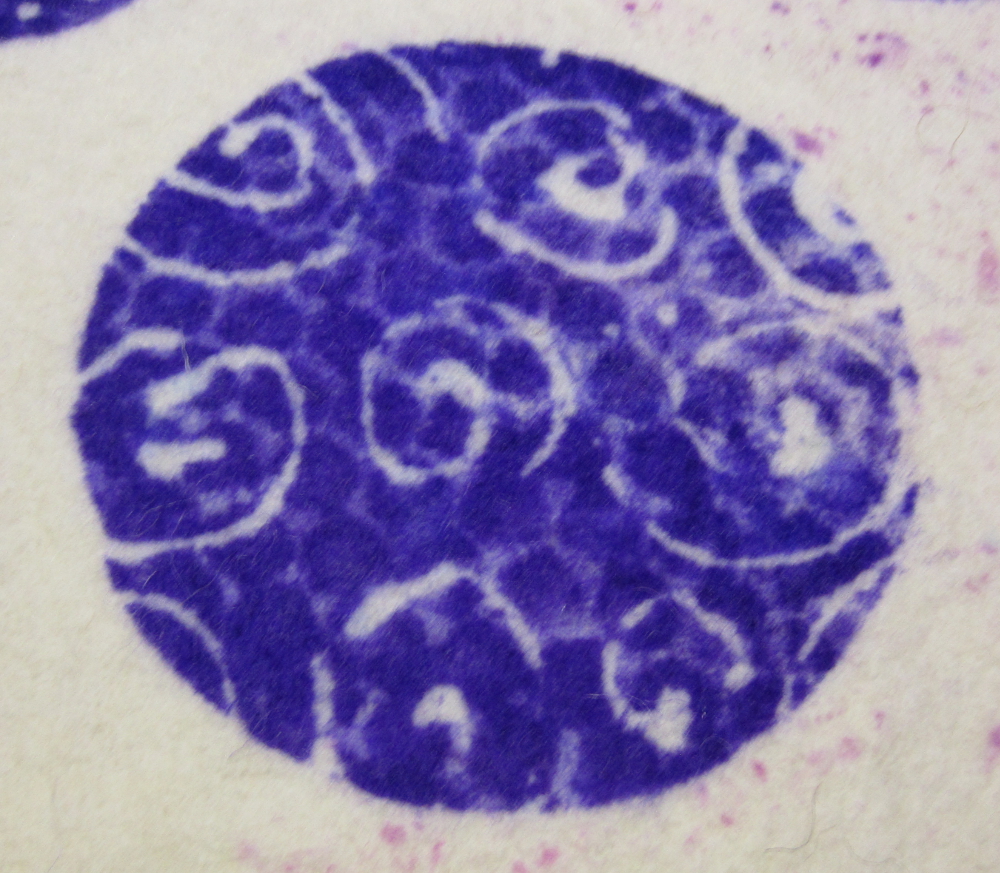
Then I really started to work the screen quite hard to try to get the blue lines to come though, I ended up pouring some water over the middle section, I think you can see the wool is slightly darker and it was a very effective way of releasing the blue colour, so much so that it almost appears black in places.
After fixing:

Repeating the same process to release the remaining blue colour around the edges of the screen:
After fixing:
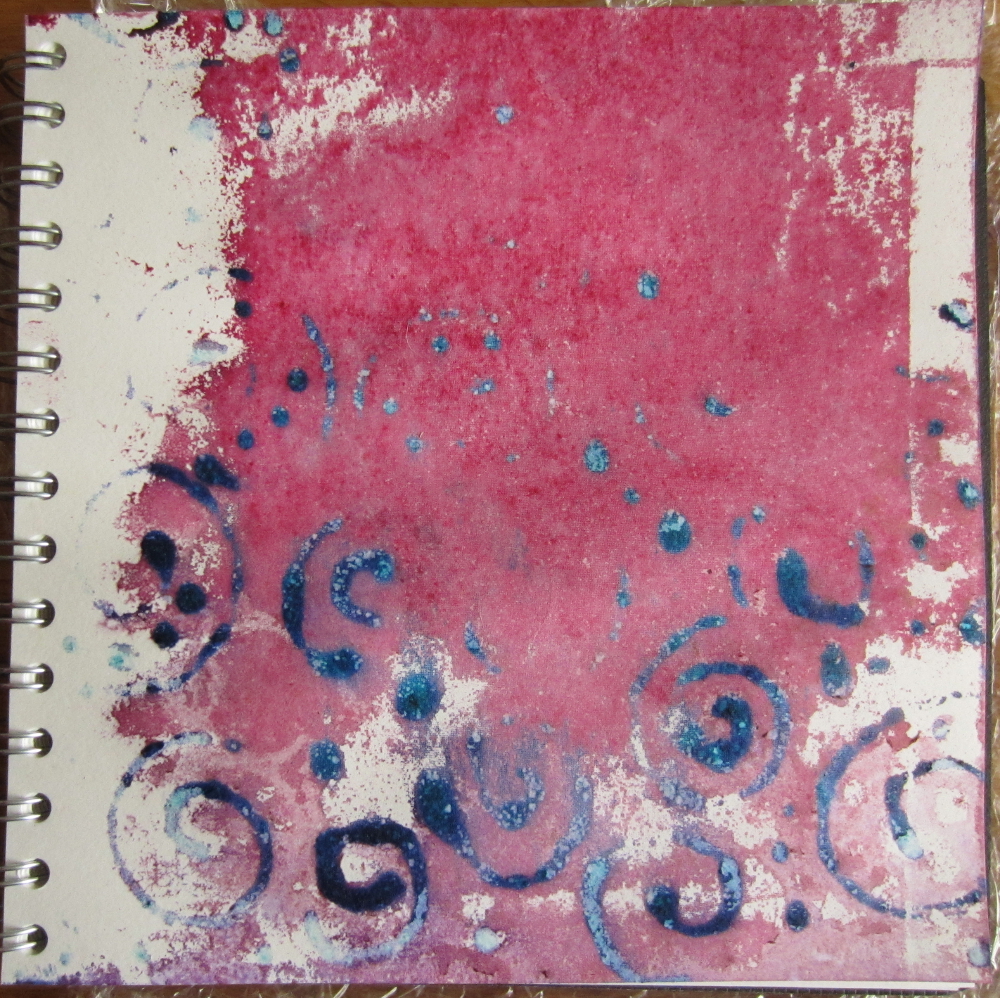
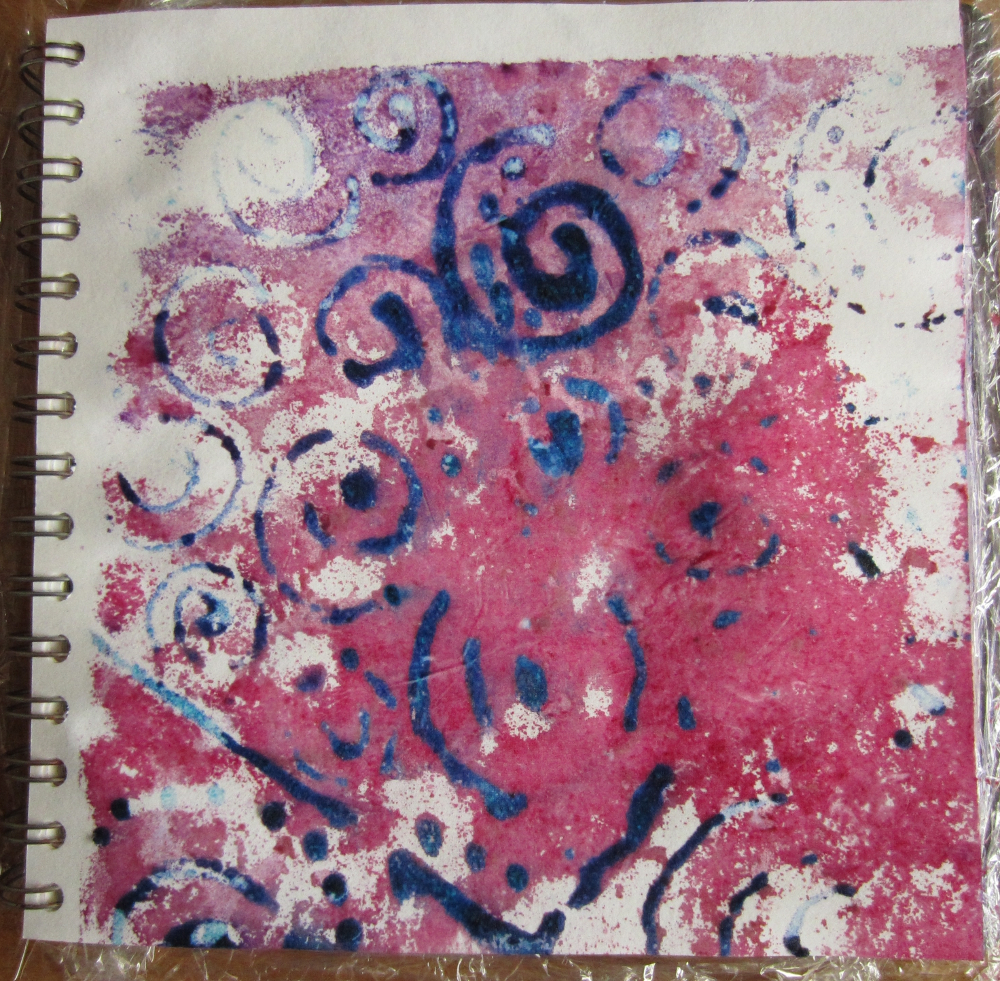
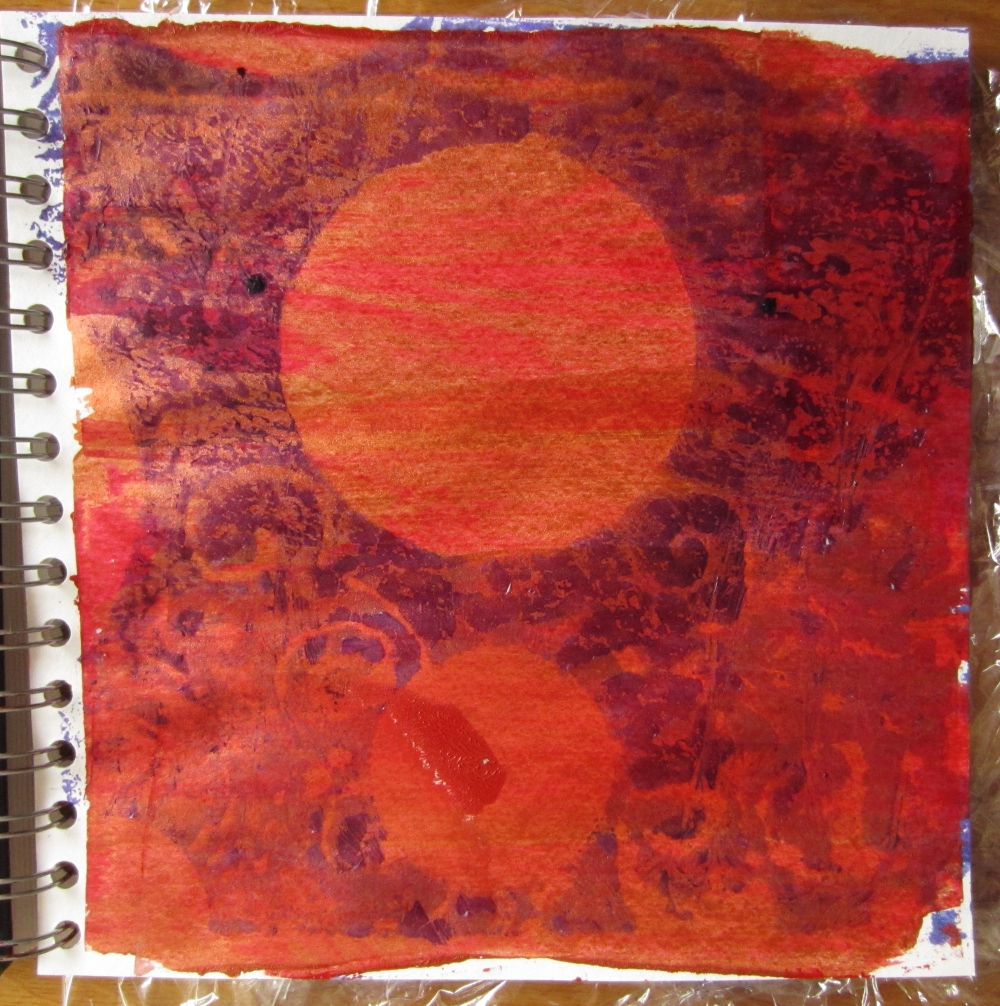
Finally, on Ruth’s recommendation, I used my sketchbook to mop up any remaining print paste at the end of each print run, I’m not sure how I will use these, (most of my sketchbooks read like a technical manual of hare-brained felt oddities, I rarely ever paint or draw in them for pleasure) but I think most of them are attractive already:
For those of you reading by email, this is the link to the web page: blog post
Great job Teri. I love the screen prints in your sketchbook. You can add more color if you like or not, they are very nice as is.
In the summertime, I hose down my screens. But in the winter they are definitely harder to clean. But I love the combination of the bubble wrap in there.
Thanks for encouraging other students to post on the forum. Not sure why people take a class and don’t participate at all.
Thanks Ruth, next time I travel I will take my sketchbook and a box of pencils to while away the time 🙂
I have been cleaning my screens hunched over the shower, it’s not very comfortable so I’m probably not spending as long as I should but I’m actually really happy with the bubble wrap prints sneaking in, they add an extra dimension that I couldn’t have done deliberately, even if I had thought to.
I’m sure some of the other students will be printing but might not feel technologically confident enough to upload photos to the forum but I agree, it would be silly to sign up for a class and then not do it.
Phew! The lovely ghostly bubbles bit is serendipity stepping in! Some lovely results there – especially the first piece done on to wet felt.
Thanks Lyn, deconstructed screen printing and serendipity do seem to visit each other a lot 🙂