Last week Ruth sent her usual reminder that I am scheduled to publish a post on the Felting and Fibre Studio Forum, a reminder that I am always grateful for as life often gets in the way and activities like writing blog posts always seem to be the first to fall through the cracks. I can safely say the last month or two definitely qualify as “busy”!
There are so many exciting things happening at them moment, where do I start…?
The New Studio
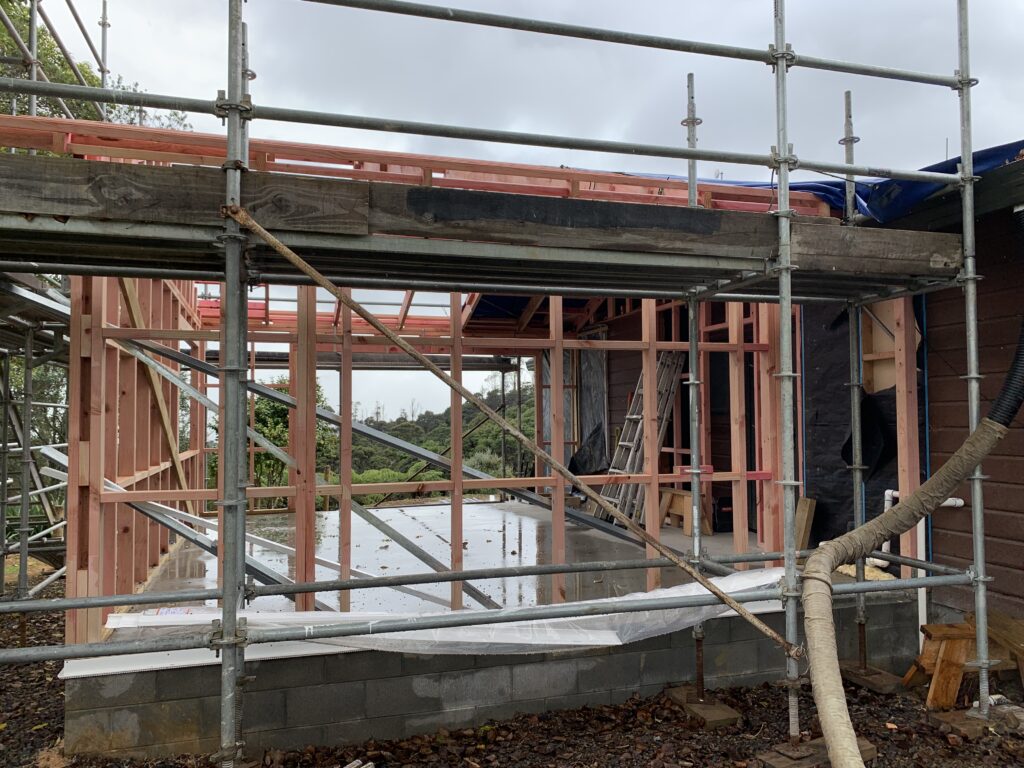
This one has been an emotional roller-coaster, flip-flopping between ecstatic excitement at the thought of having my own light, bright area where I can work and teach to feeling overwhelmed by living in a topsy turvy mess, never being able to find anything because it was moved to make space for builders to work or because the cupboards where it normally lives have been ripped out…
I have been working out of our double garage since we moved to New Zealand 3 years ago and while the space is (just about) big enough, it has almost no natural light (its still quite dark, even with the lights on), it’s drafty and very cold in the winter. A purpose-built, insulated studio is long overdue 🙂
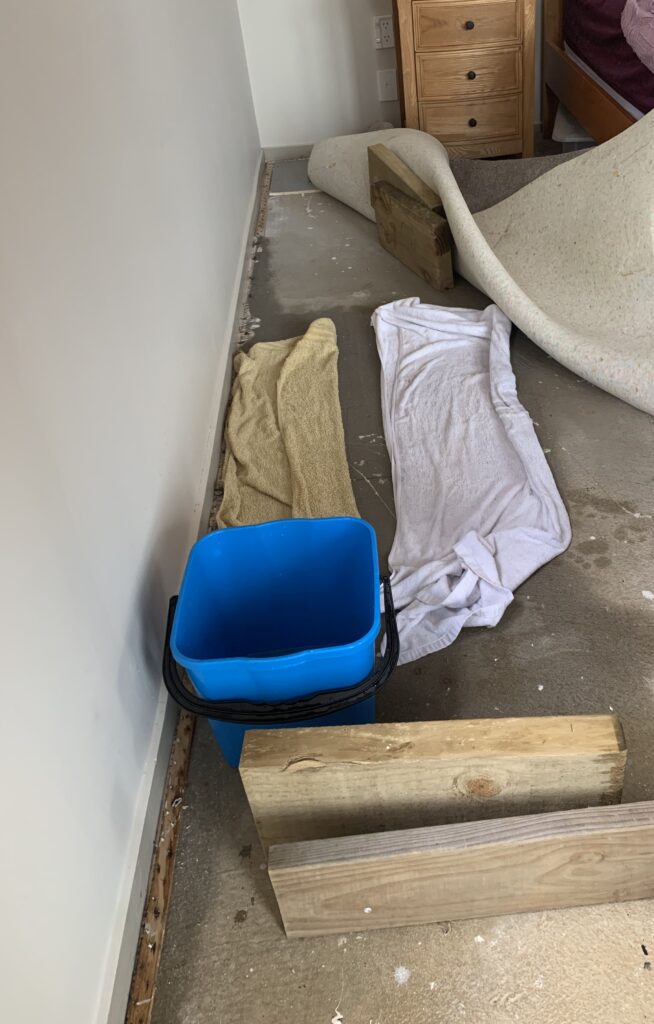
I’m not convinced ensuite paddling pools will ever catch on…. The builders have had to remove some of the weatherboard cladding to pour the concrete floors, leaving us with 2 walls that are no longer waterproof, so every time it rains we end up mopping the bedroom floors… It rains a lot in Auckland!
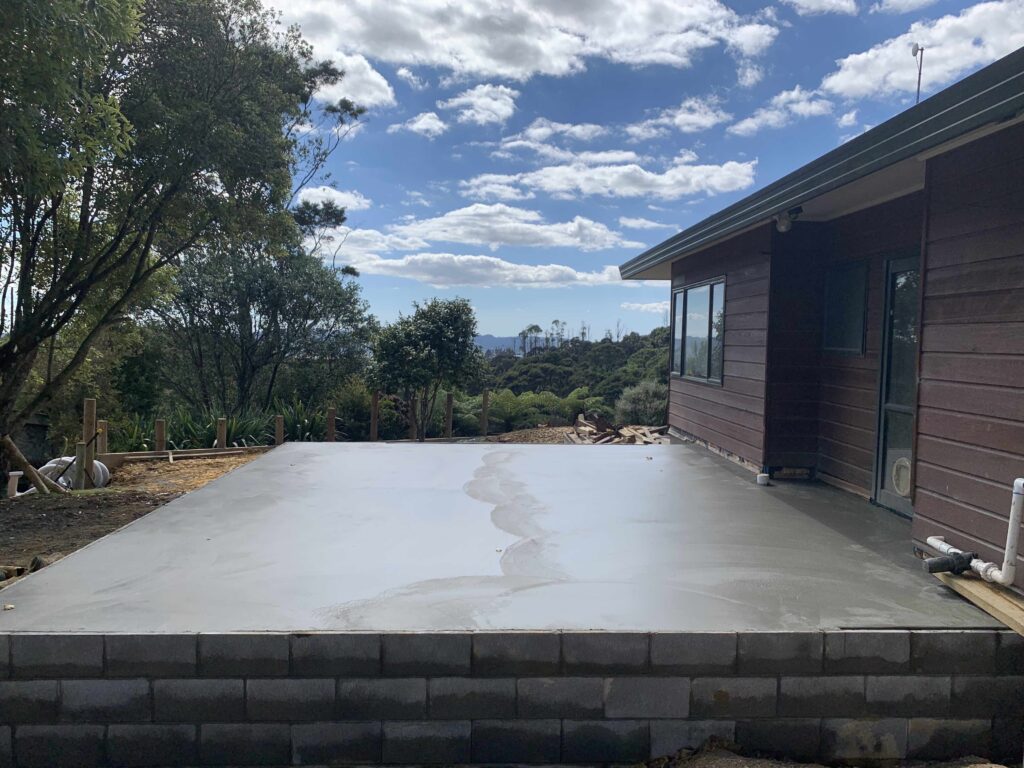
I have plans to install large cupboards with sliding doors along the wall nearest the camera, there will be two large laundry sinks on the right hand wall with drying racks over them and electrical sockets (with retractable leads if I can find some) in the middle of the ceiling.
What is the one thing in your studio that you wish you had or couldn’t live without?
Auckland Felters Group Exhibition at the Franklin Arts Centre
Resilience – The Fibre That Connects Us
We have hired a gallery space at the Franklin Arts Centre in Pukekohe for 3 weeks. The exhibition will actually open on Tuesday June 18th but our main opening event will be on Saturday 22nd June.

We will have traders selling various fibres, felting equipment and finished felted items, felting demonstrations and free “have a go sessions” as well as live music all in a beautiful centre with a lovely cafe.

Places on the “have a go” workshops will be limited so please arrive early to book your place and avoid disappointment. The event will be open from 10 am.
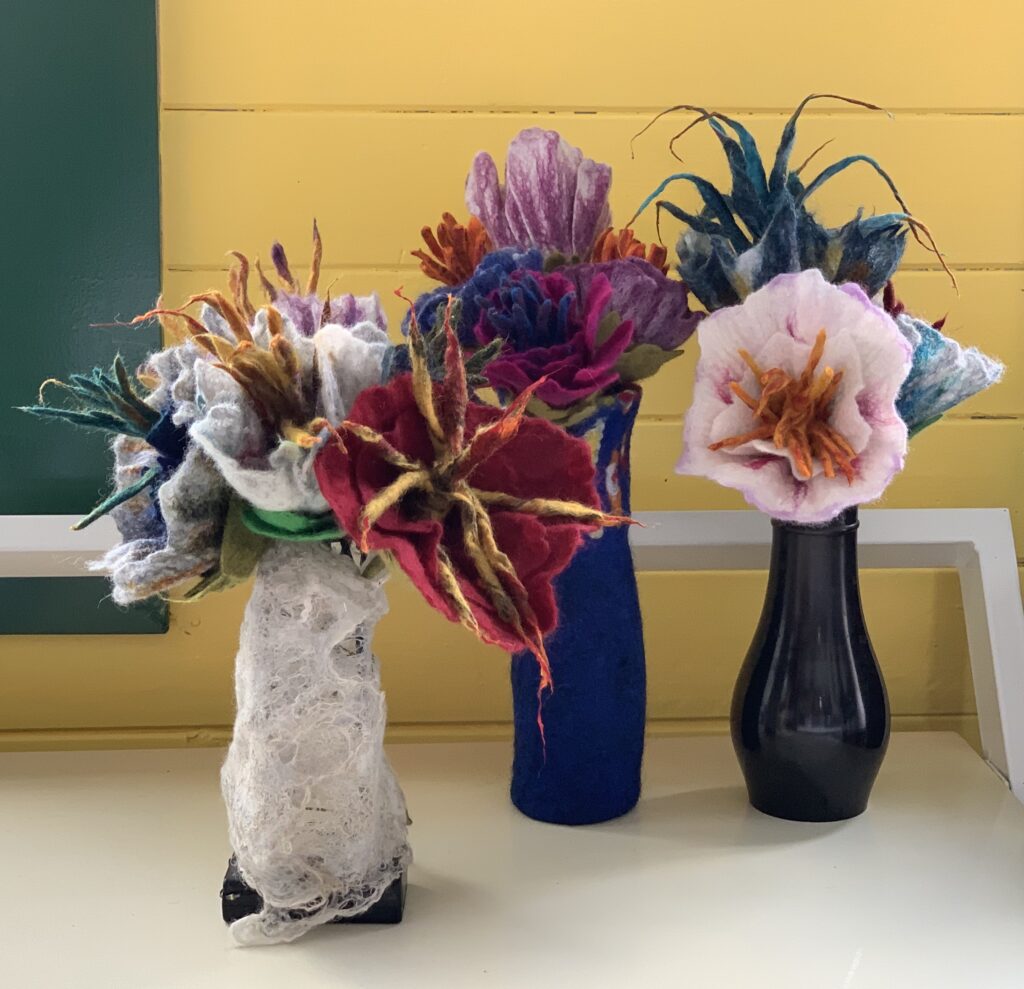
Everyone exhibiting has very different styles, you will get to see an eclectic mix of wet felting and needle felting, 2D and 3D art works, textural pieces, homewares and wearables.
Lots of Teaching and Fairs!
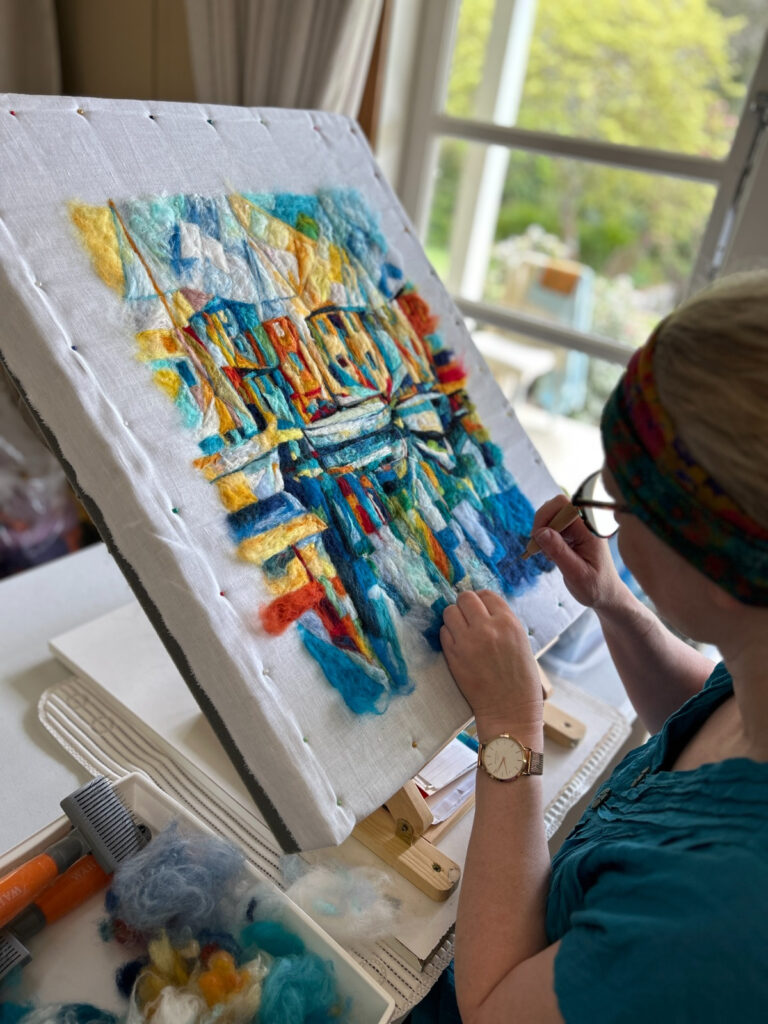
When I started teaching face to face again (after the lockdowns ended) I pictured maybe one or two classes per month but I have been blown away by the number of requests I received from groups and individuals to host extra sessions this year. Most of them are open to everyone but places are limited, so please drop me a line if you would like to join any of the classes.
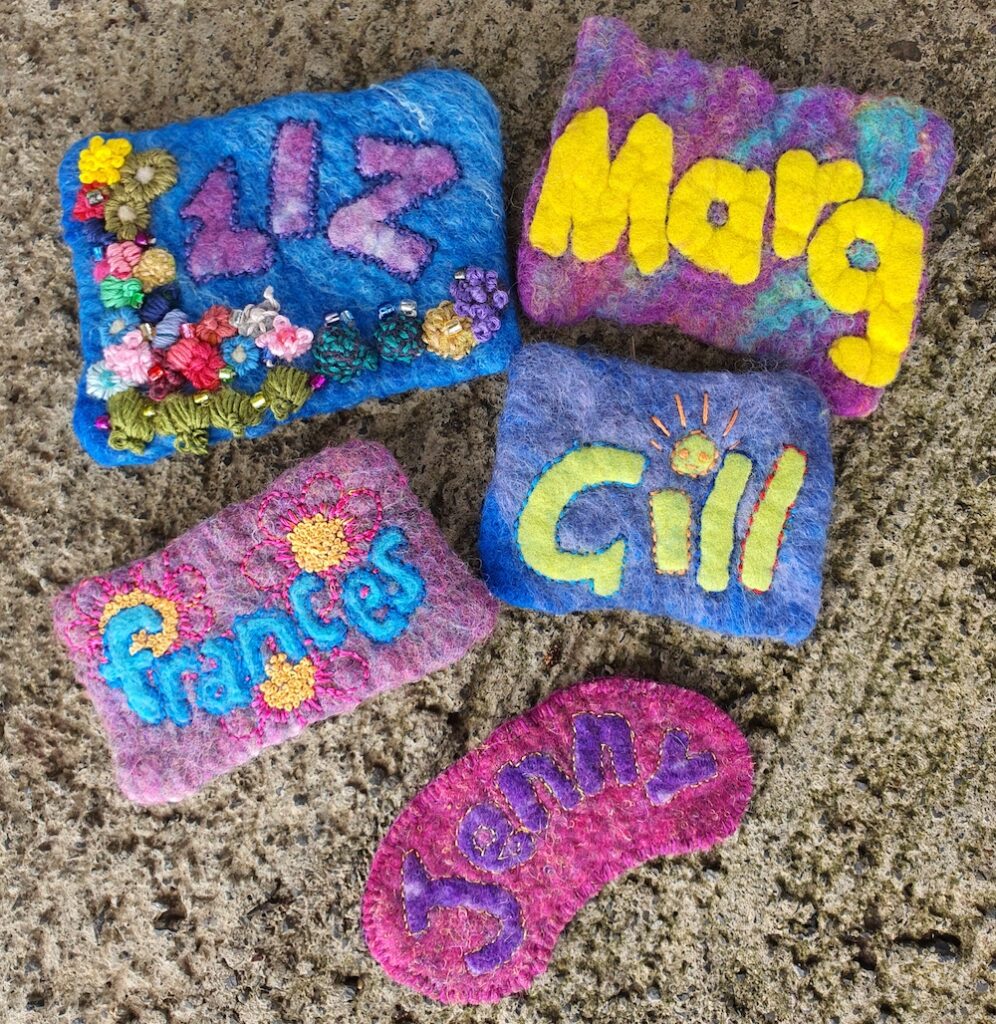
Here are some photos from a few of the most recent classes (I keep forgetting to take photos):

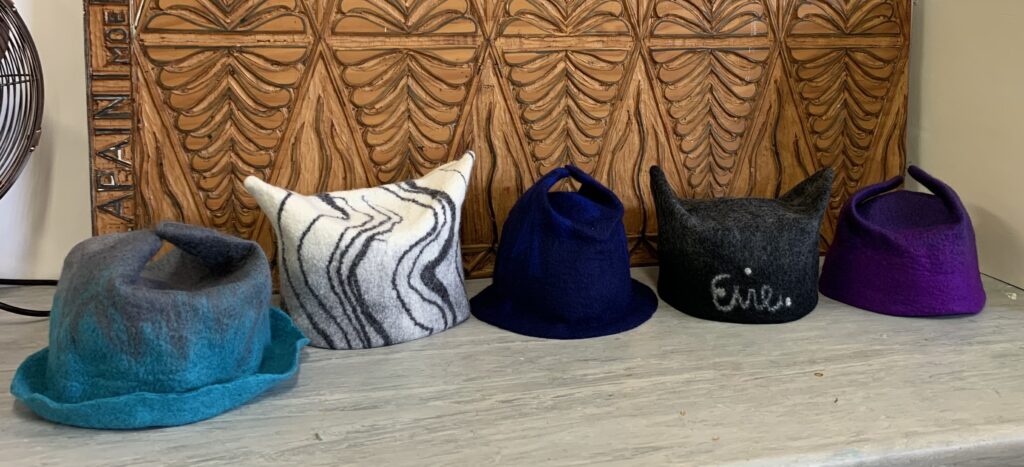
Two of the students from the hat class made a short video too, you can view it here.
I have several big fibre fairs coming up too:
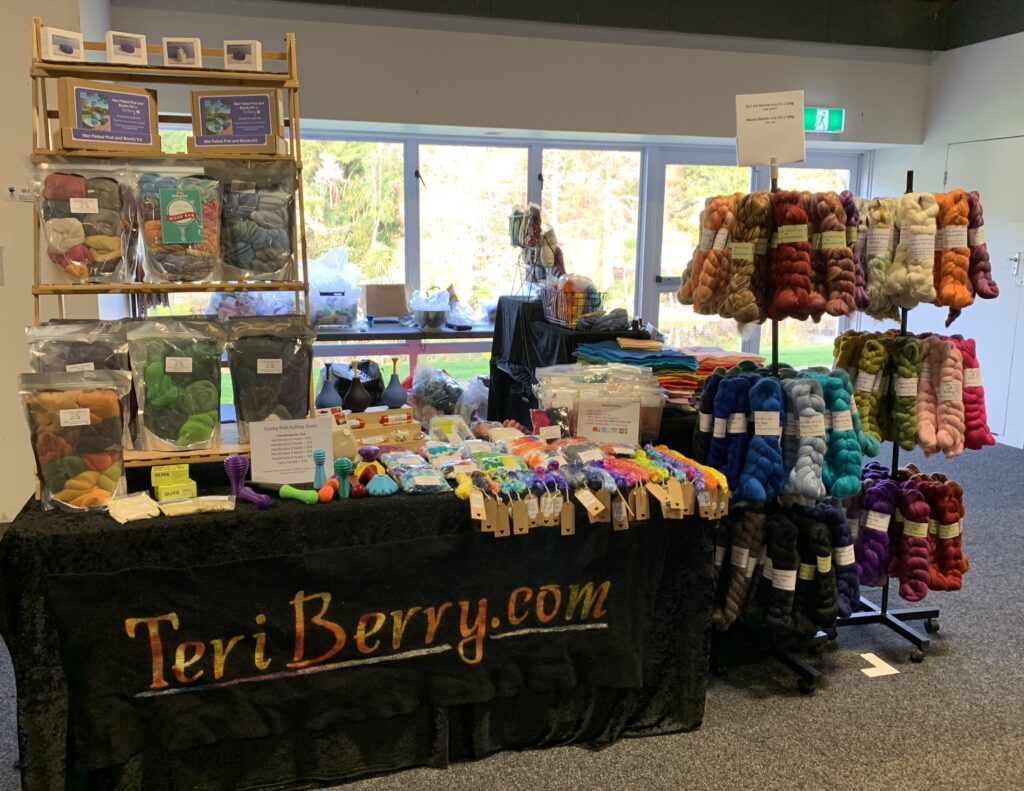
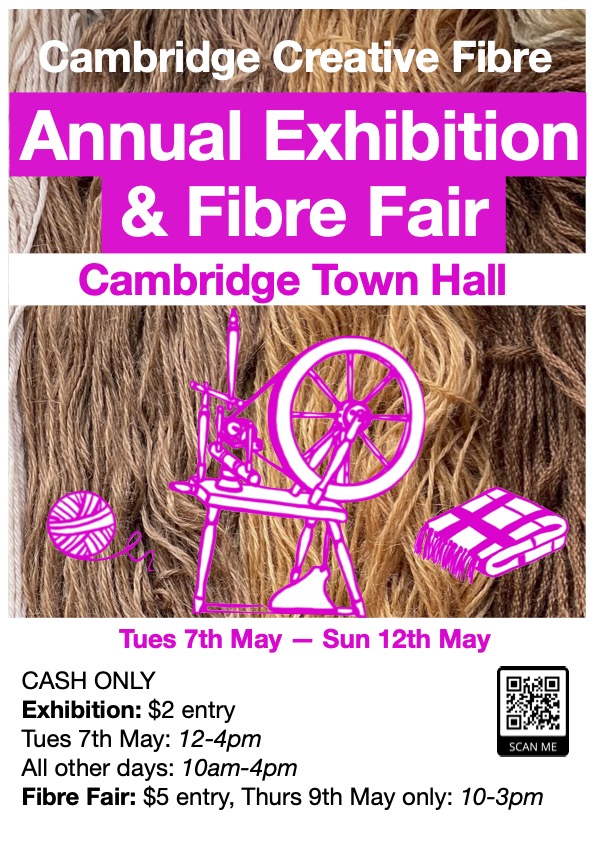
This Thursday (9th May) is the Cambridge Fibre Fair:
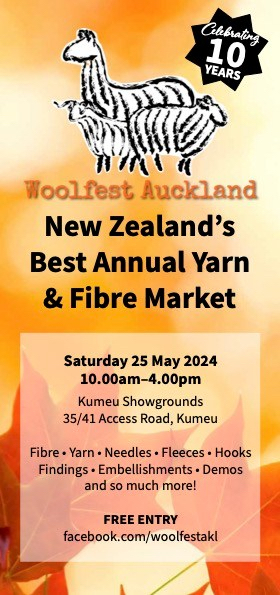
And Saturday May 25th is Woolfest’s 10 year anniversary – if you can only get to one fibre fair this year – I highly recommend this one! There will be about 80 traders selling everything from raw fleeces to yarns and knitwear and everything in between, along with crafting equipment, demonstrations of a wide range of fibre crafts and of course the eternally popular pre-loved equipment stand. Entry is free.
Southern Hemisphere Felters Convergence 2025
Is coming to Auckland!!
I am so excited to be attending my first SHF Convergence I could burst! But confess I never expected to be organising the first one I would get to attend!! At least I have some awesome partners in mischief, Christine Roxburgh and Jenny Forrester along with the amazing Auckland Felters.
We have booked The Parnell Hotel and Conference Centre and Hotel and we’re confident we will be able to secure the school across the road for wet felting activities too. This combination of venues proved to be a hit at the 2015 Convergence. We have been talking with some incredible international tutors about what they could share with us, I so want to tell you who they are and what they plan to teach but until we have contracts in place I really can’t…. but I am sure you will be impressed!
One of the most wonderful things about Convergence is the generous sharing of ideas and techniques, while the headline tutors are certainly a key part of that, we also have a small army of volunteer tutors who give up an hour of their time to share an idea or demonstrate a technique. I have to say, I am just as excited to attend some of the volunteer sessions as I am the headline tutors! We have already received some really intriguing offers but are looking for more to fill all of the time slots, if you plan to attend Convergence and have and idea you’d like to share or a technique you can demonstrate in under an hour we would love to hear from you! Please contact us here
If you’d like to be among the first to hear who our fantastic tutors will be, you can sign up for email alerts about Convergence here.
Dates for your diary: Thursday (registration will open in the afternoon) 25th September to Monday evening 29th September 2025.
Hope to see you there!