
Happy New Year!!
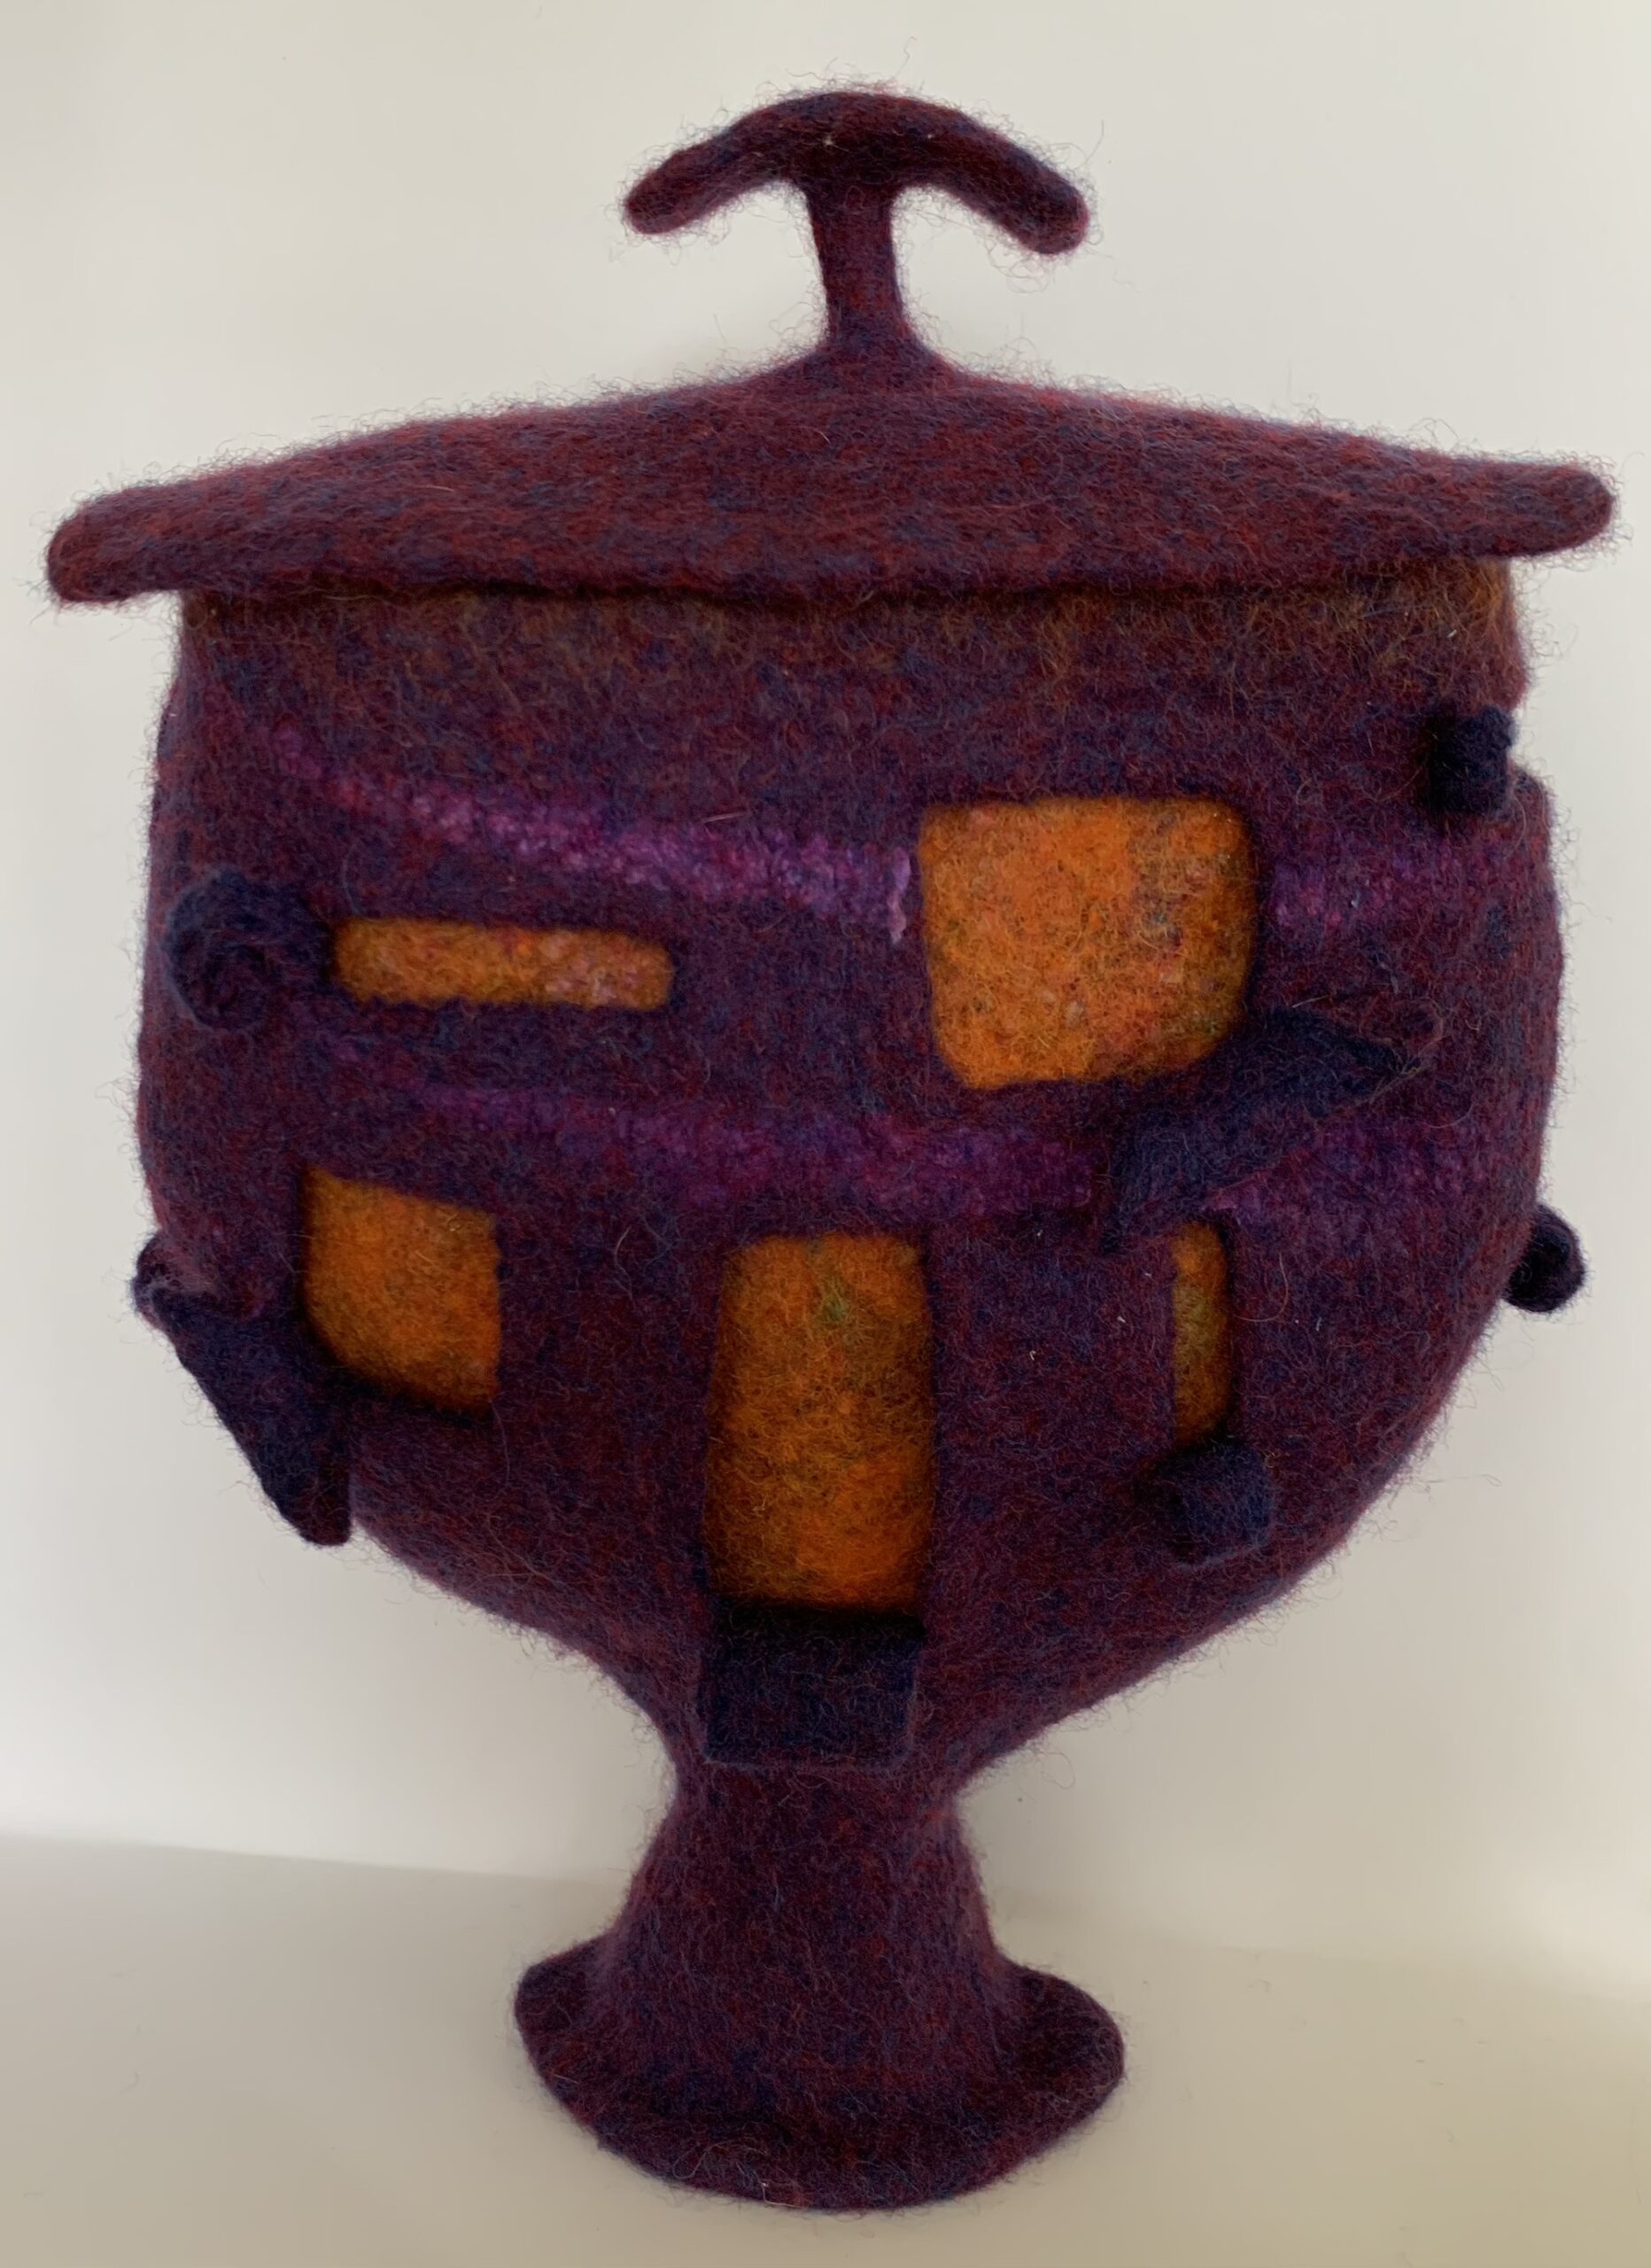
November and December were incredibly busy but I am glad to say things have calmed down a lot in the last 3 weeks. The Christmas markets have closed and I have nearly finished writing the first draft of the much requested tutorial on how to make vessels with feet and lids. The lidded vessel pictured below is the main example I will demonstrate how to make in the new tutorial (with a few others for alternative ways to make lids etc):
I just need to write one more section, then edit and proof-read it. I hope to make it available in my Etsy shop in a couple of weeks.
I have managed to complete just one piece of work between the markets, fairs and writing the new tutorial….
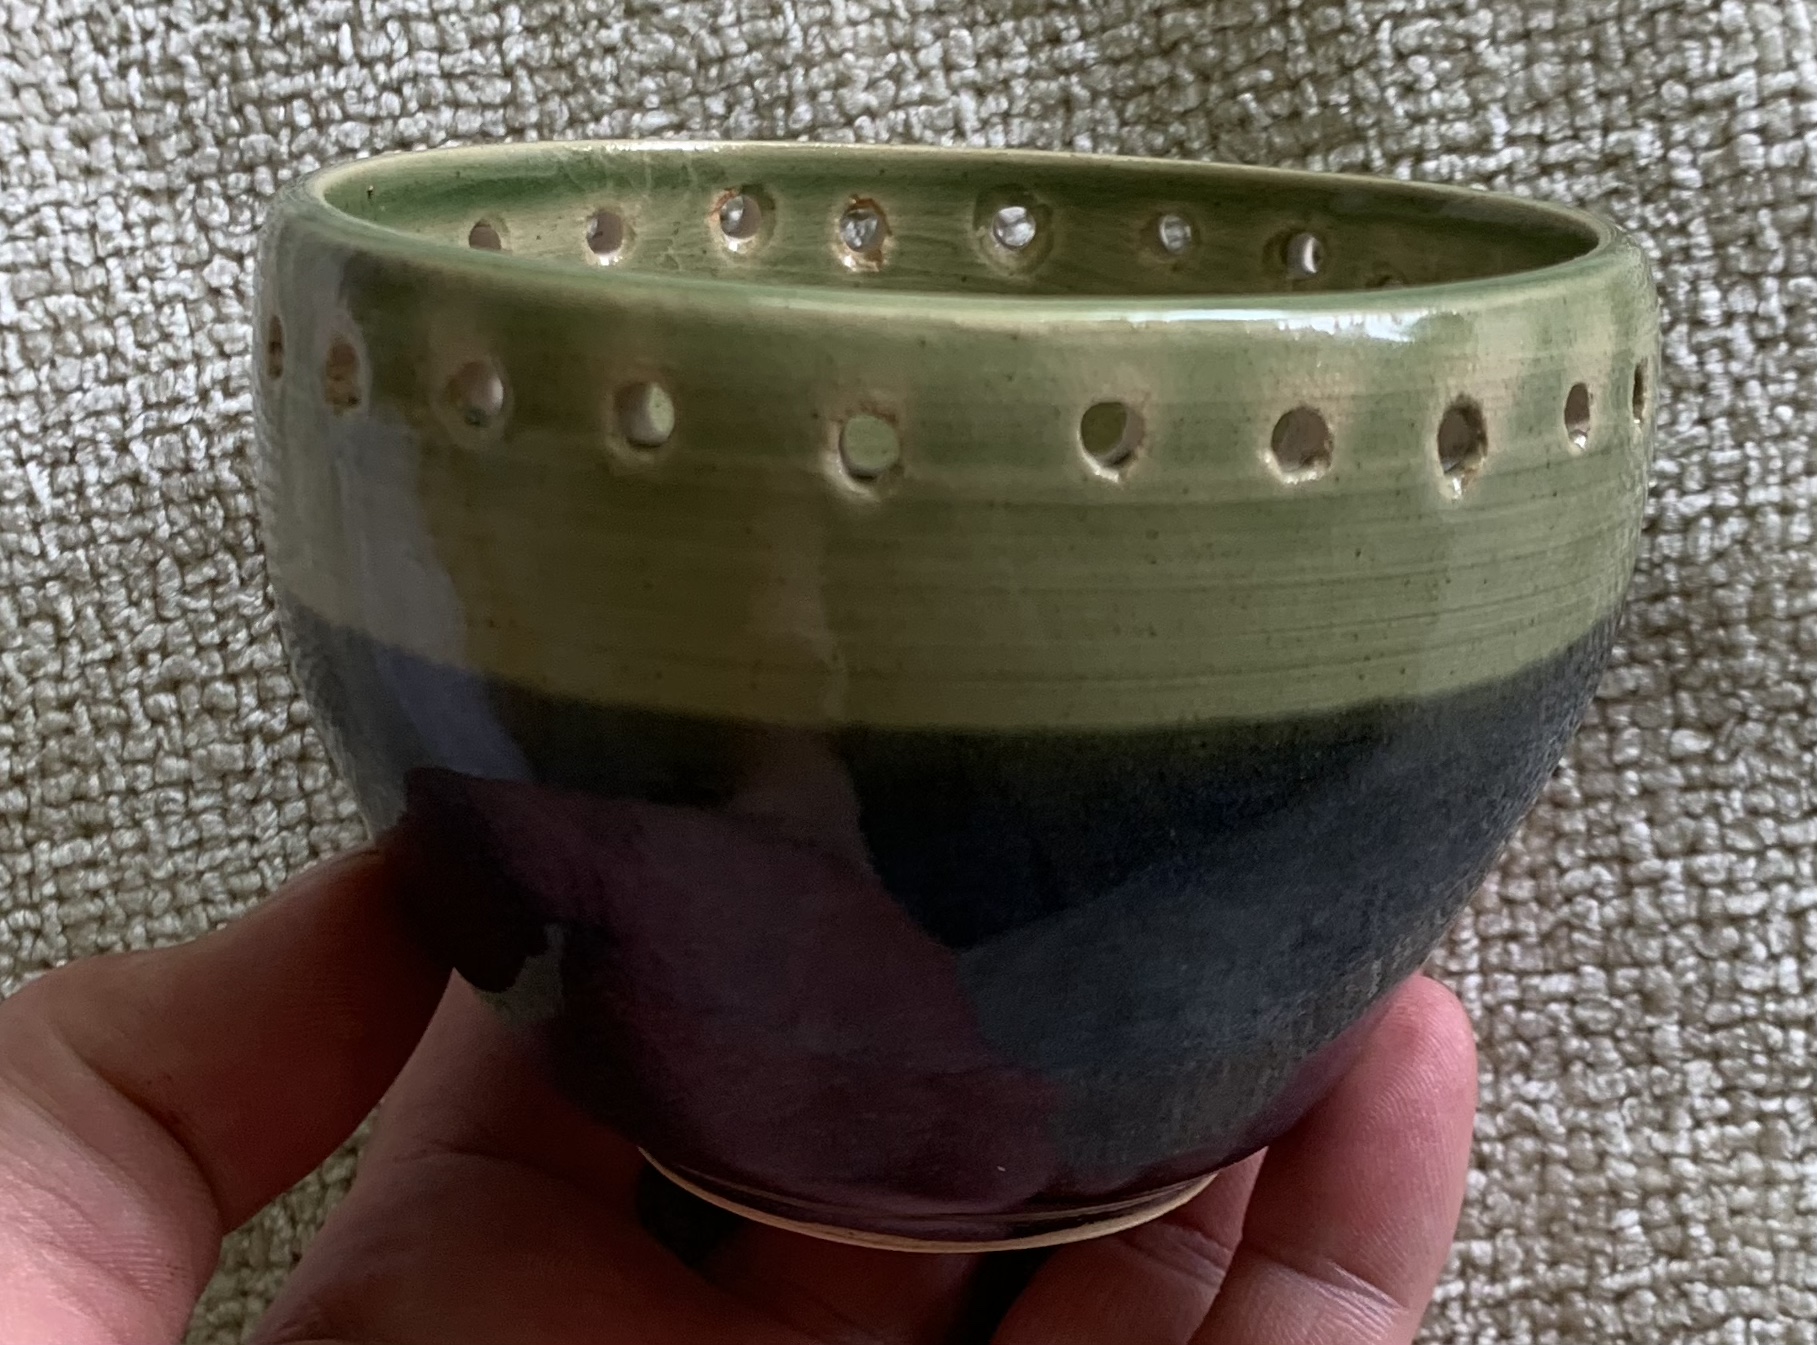
Back in September I was core spinning with the intention of using the yarn to experiment with adding twining to ceramic pots, you can read the post about that here.
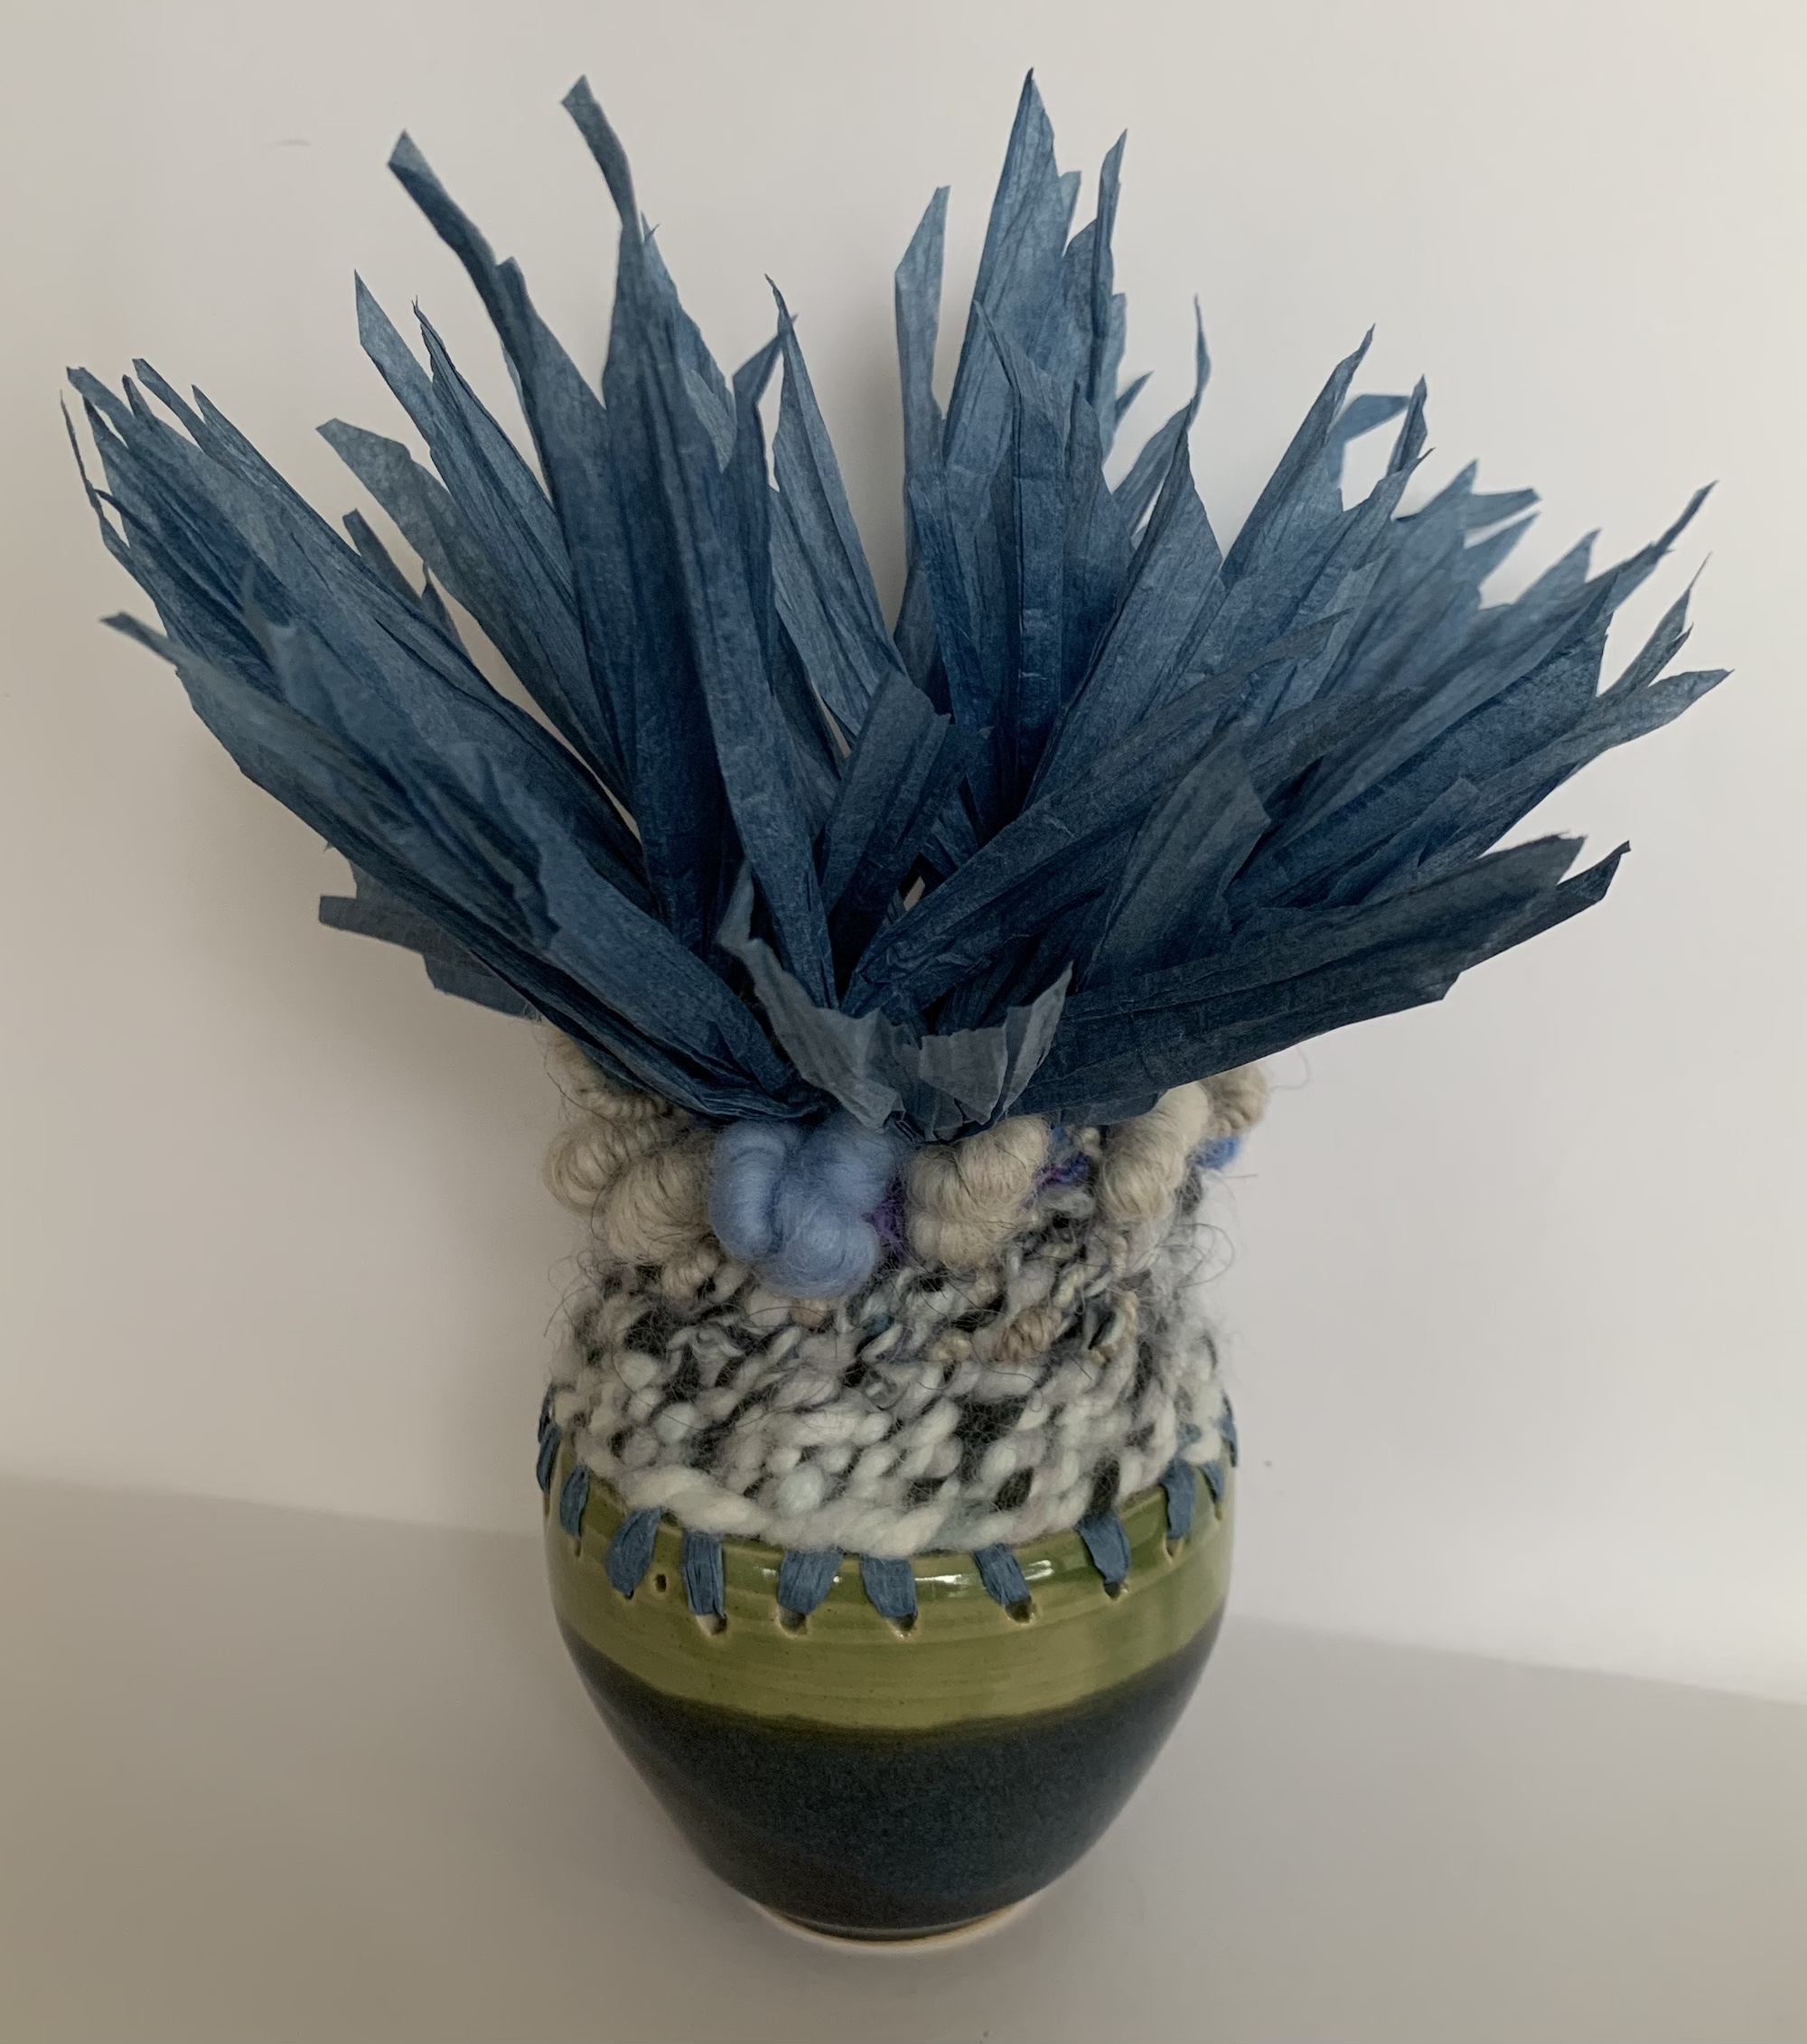
This is the pot I made, after drilling out the holes I unintentionally filled with glaze. Drilling the holes has made them a little untidy but at least I can now get my yarn through them 🙂
I used paper yarn for the warp by threading equal sized lengths through each hole.
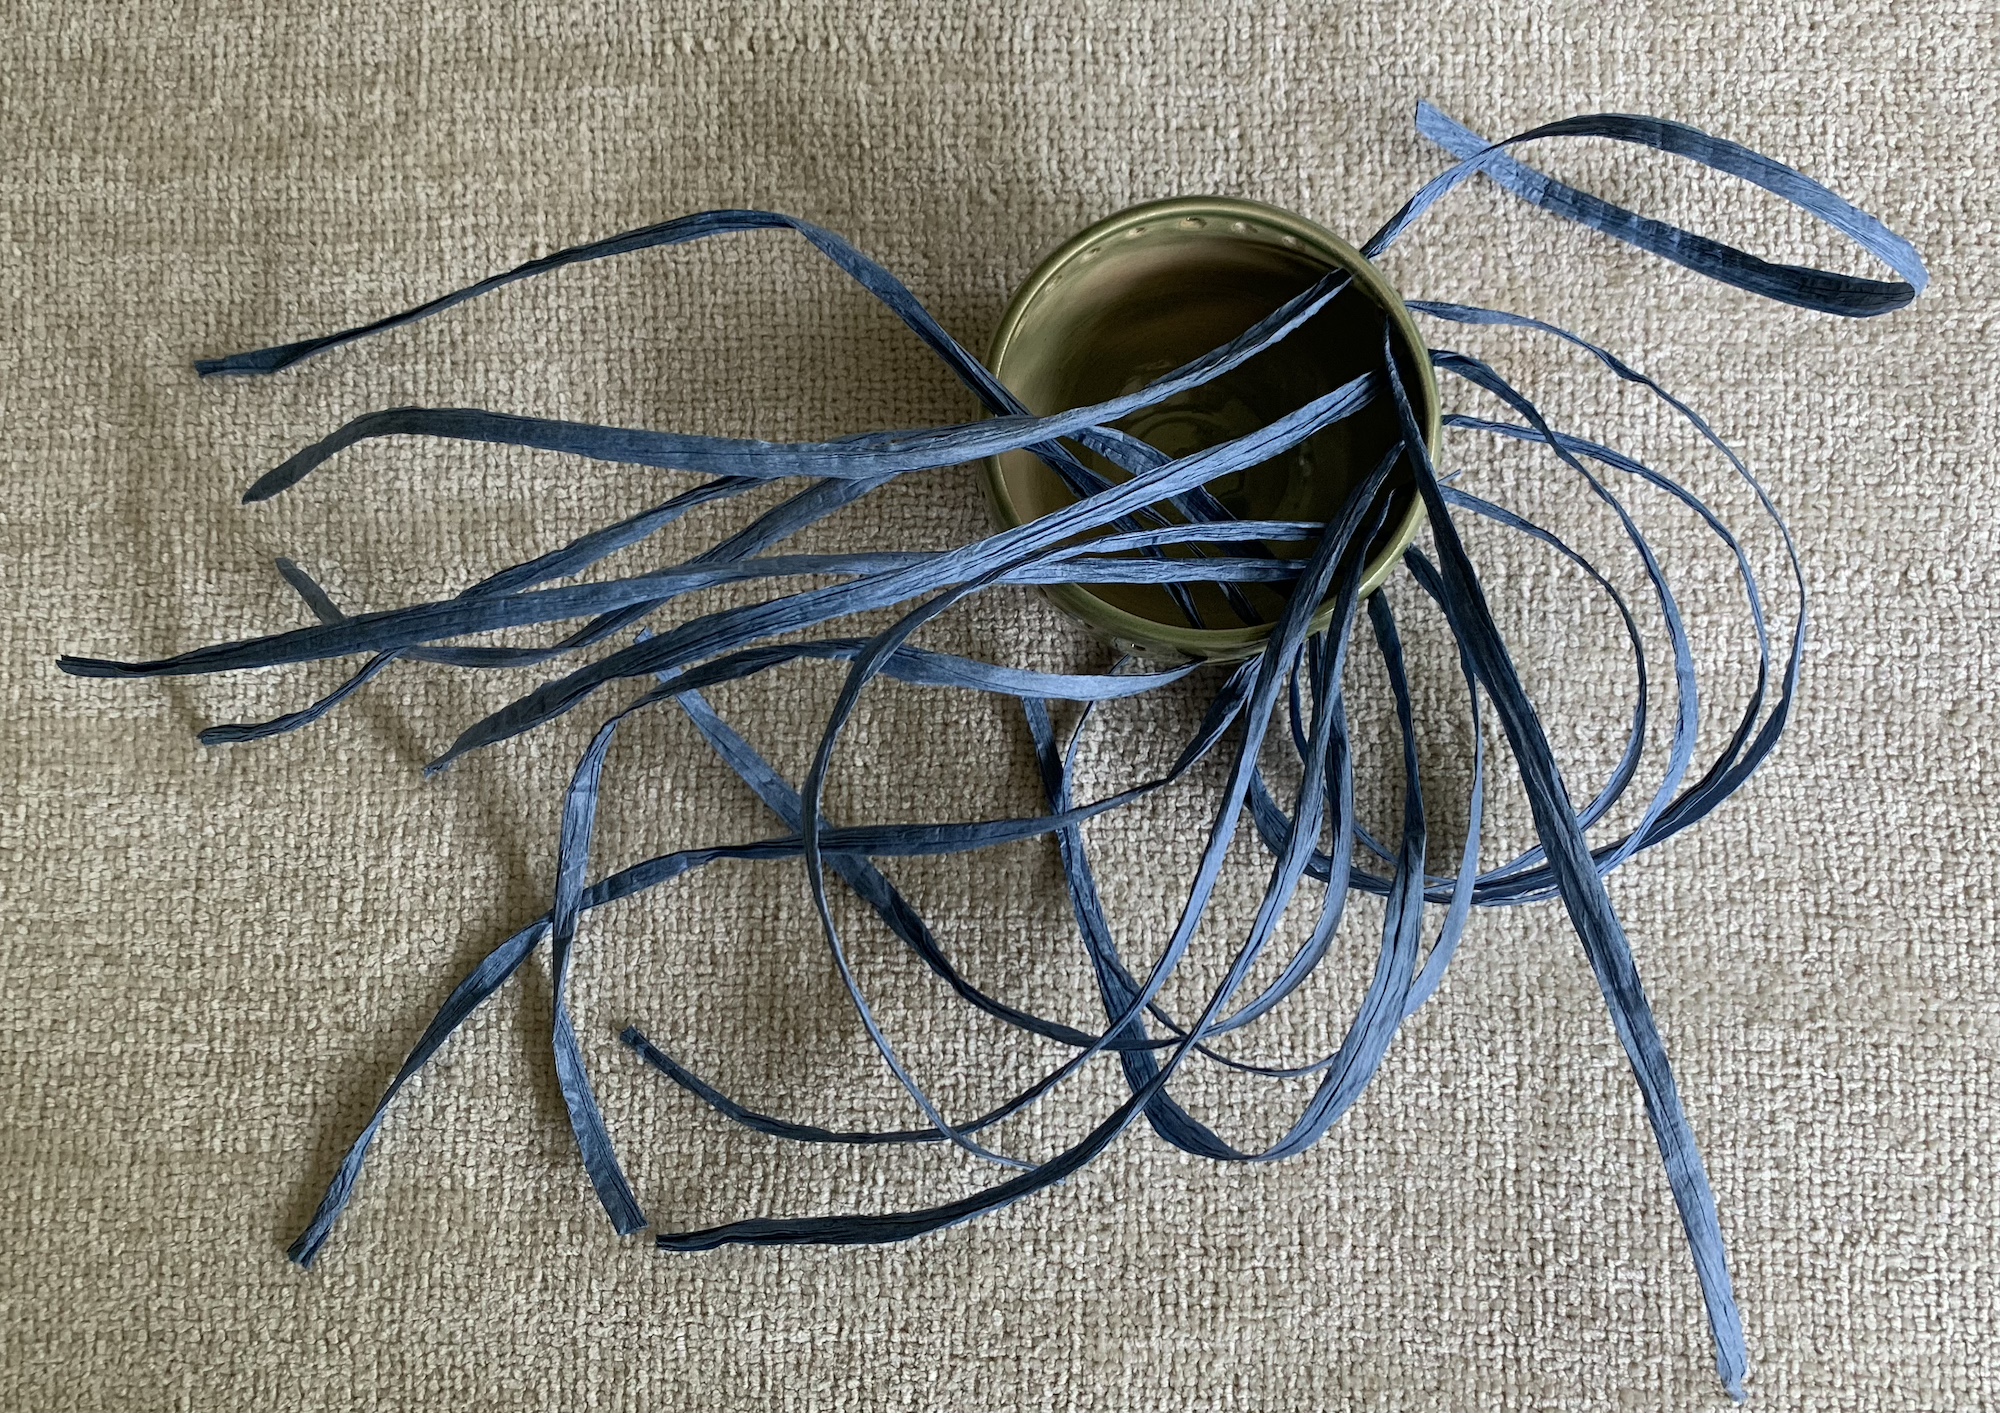
Once all of the holes contained a strip of paper yarn I cut 2 metres (6 feet) of a pretty boucle yarn to use as my weft. I folded it in half with one side longer than the other, this is so that when the yarn runs out while you are twining it only runs out on one side making it easier to add a new length of yarn.
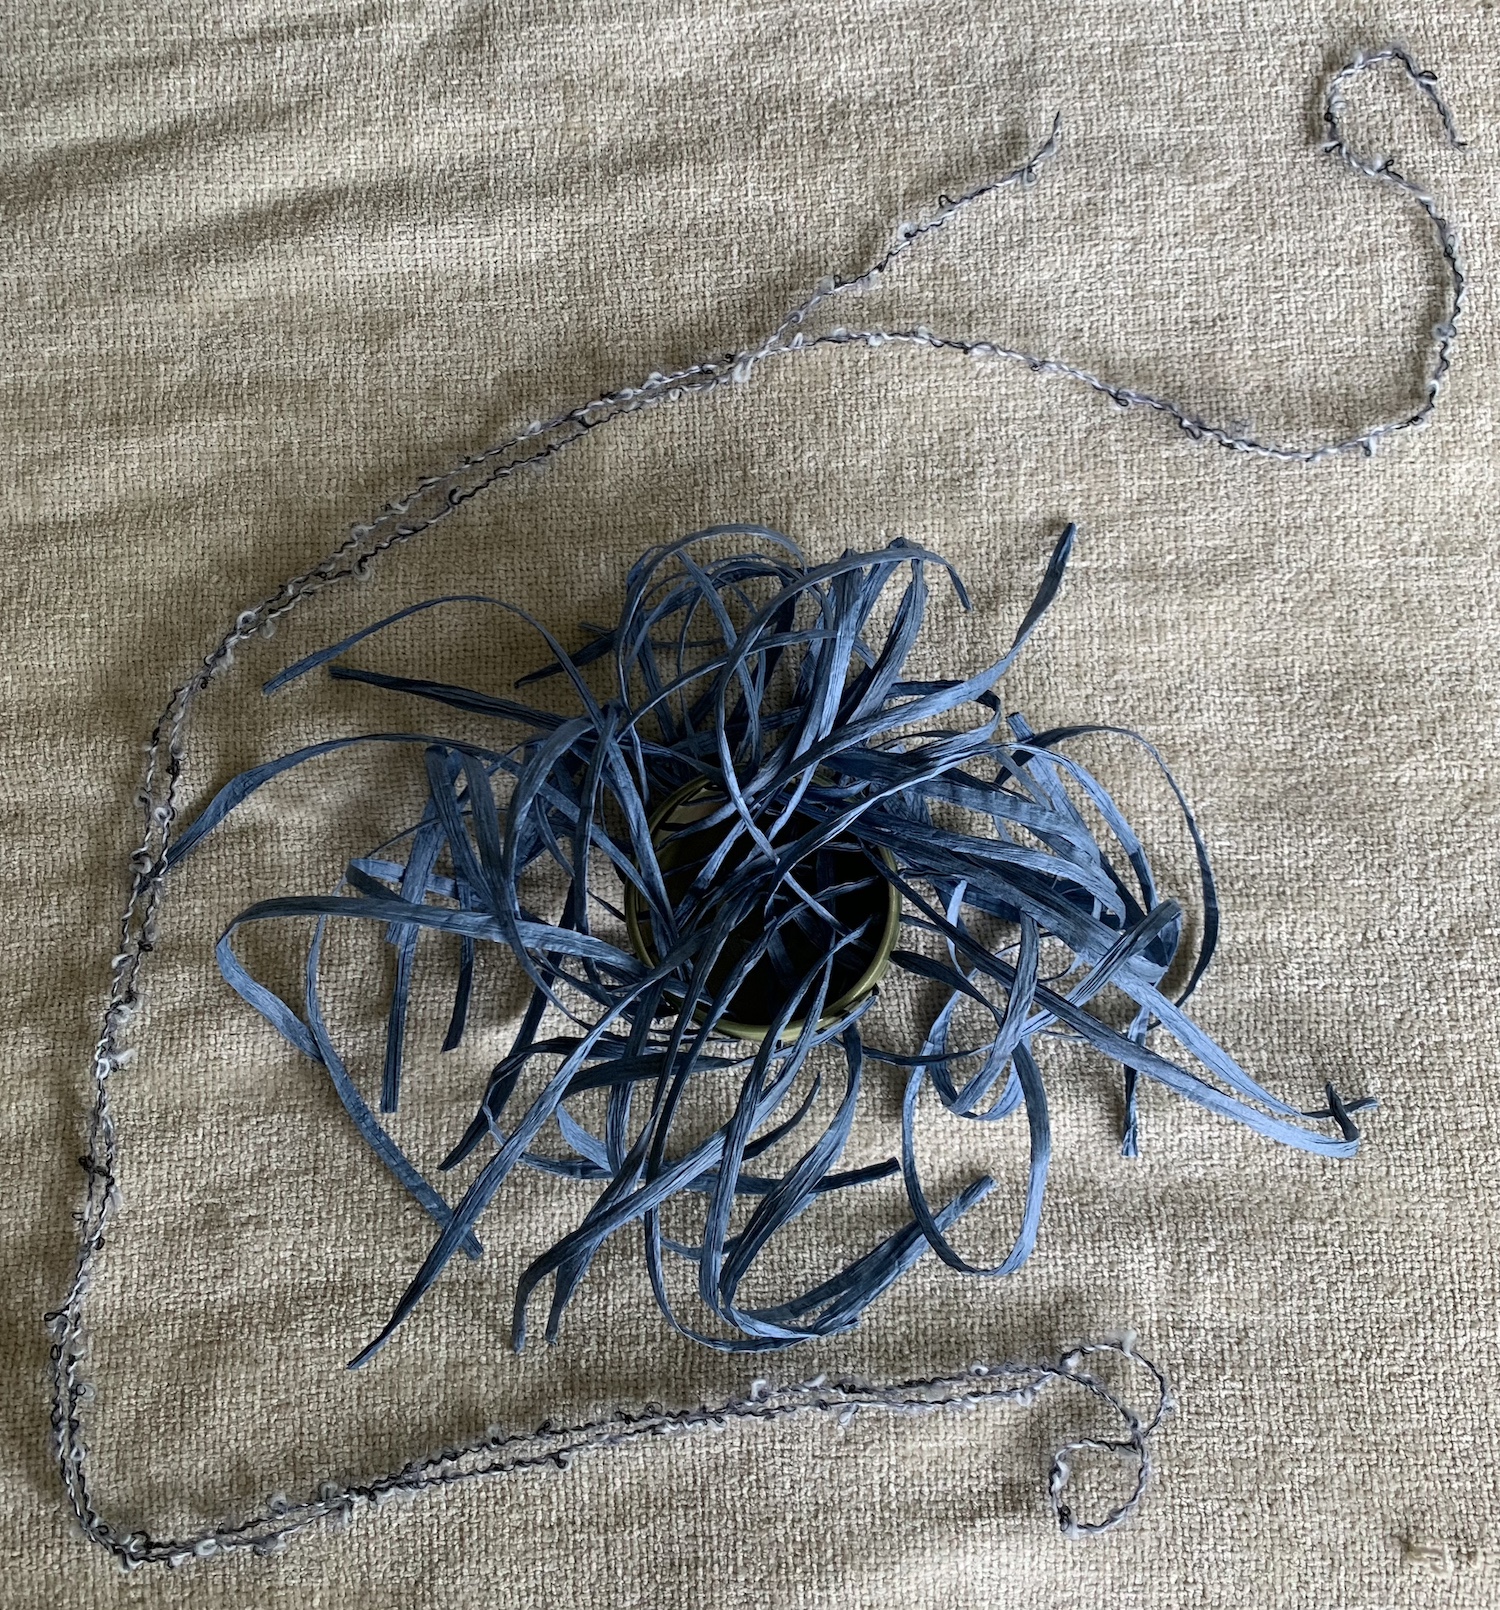
Before looping the yarn over the first warp strip, I twisted the bottom of each pair of paper yarns to help hold them in position for the first few laps with the weft yarn. For the next pot I will try tying a knot in each pair of warp strips to secure them as the twist tended to come undone while I was twining, I really needed an extra pair of hands to hold everything in place while laying down the first layer of yarn.
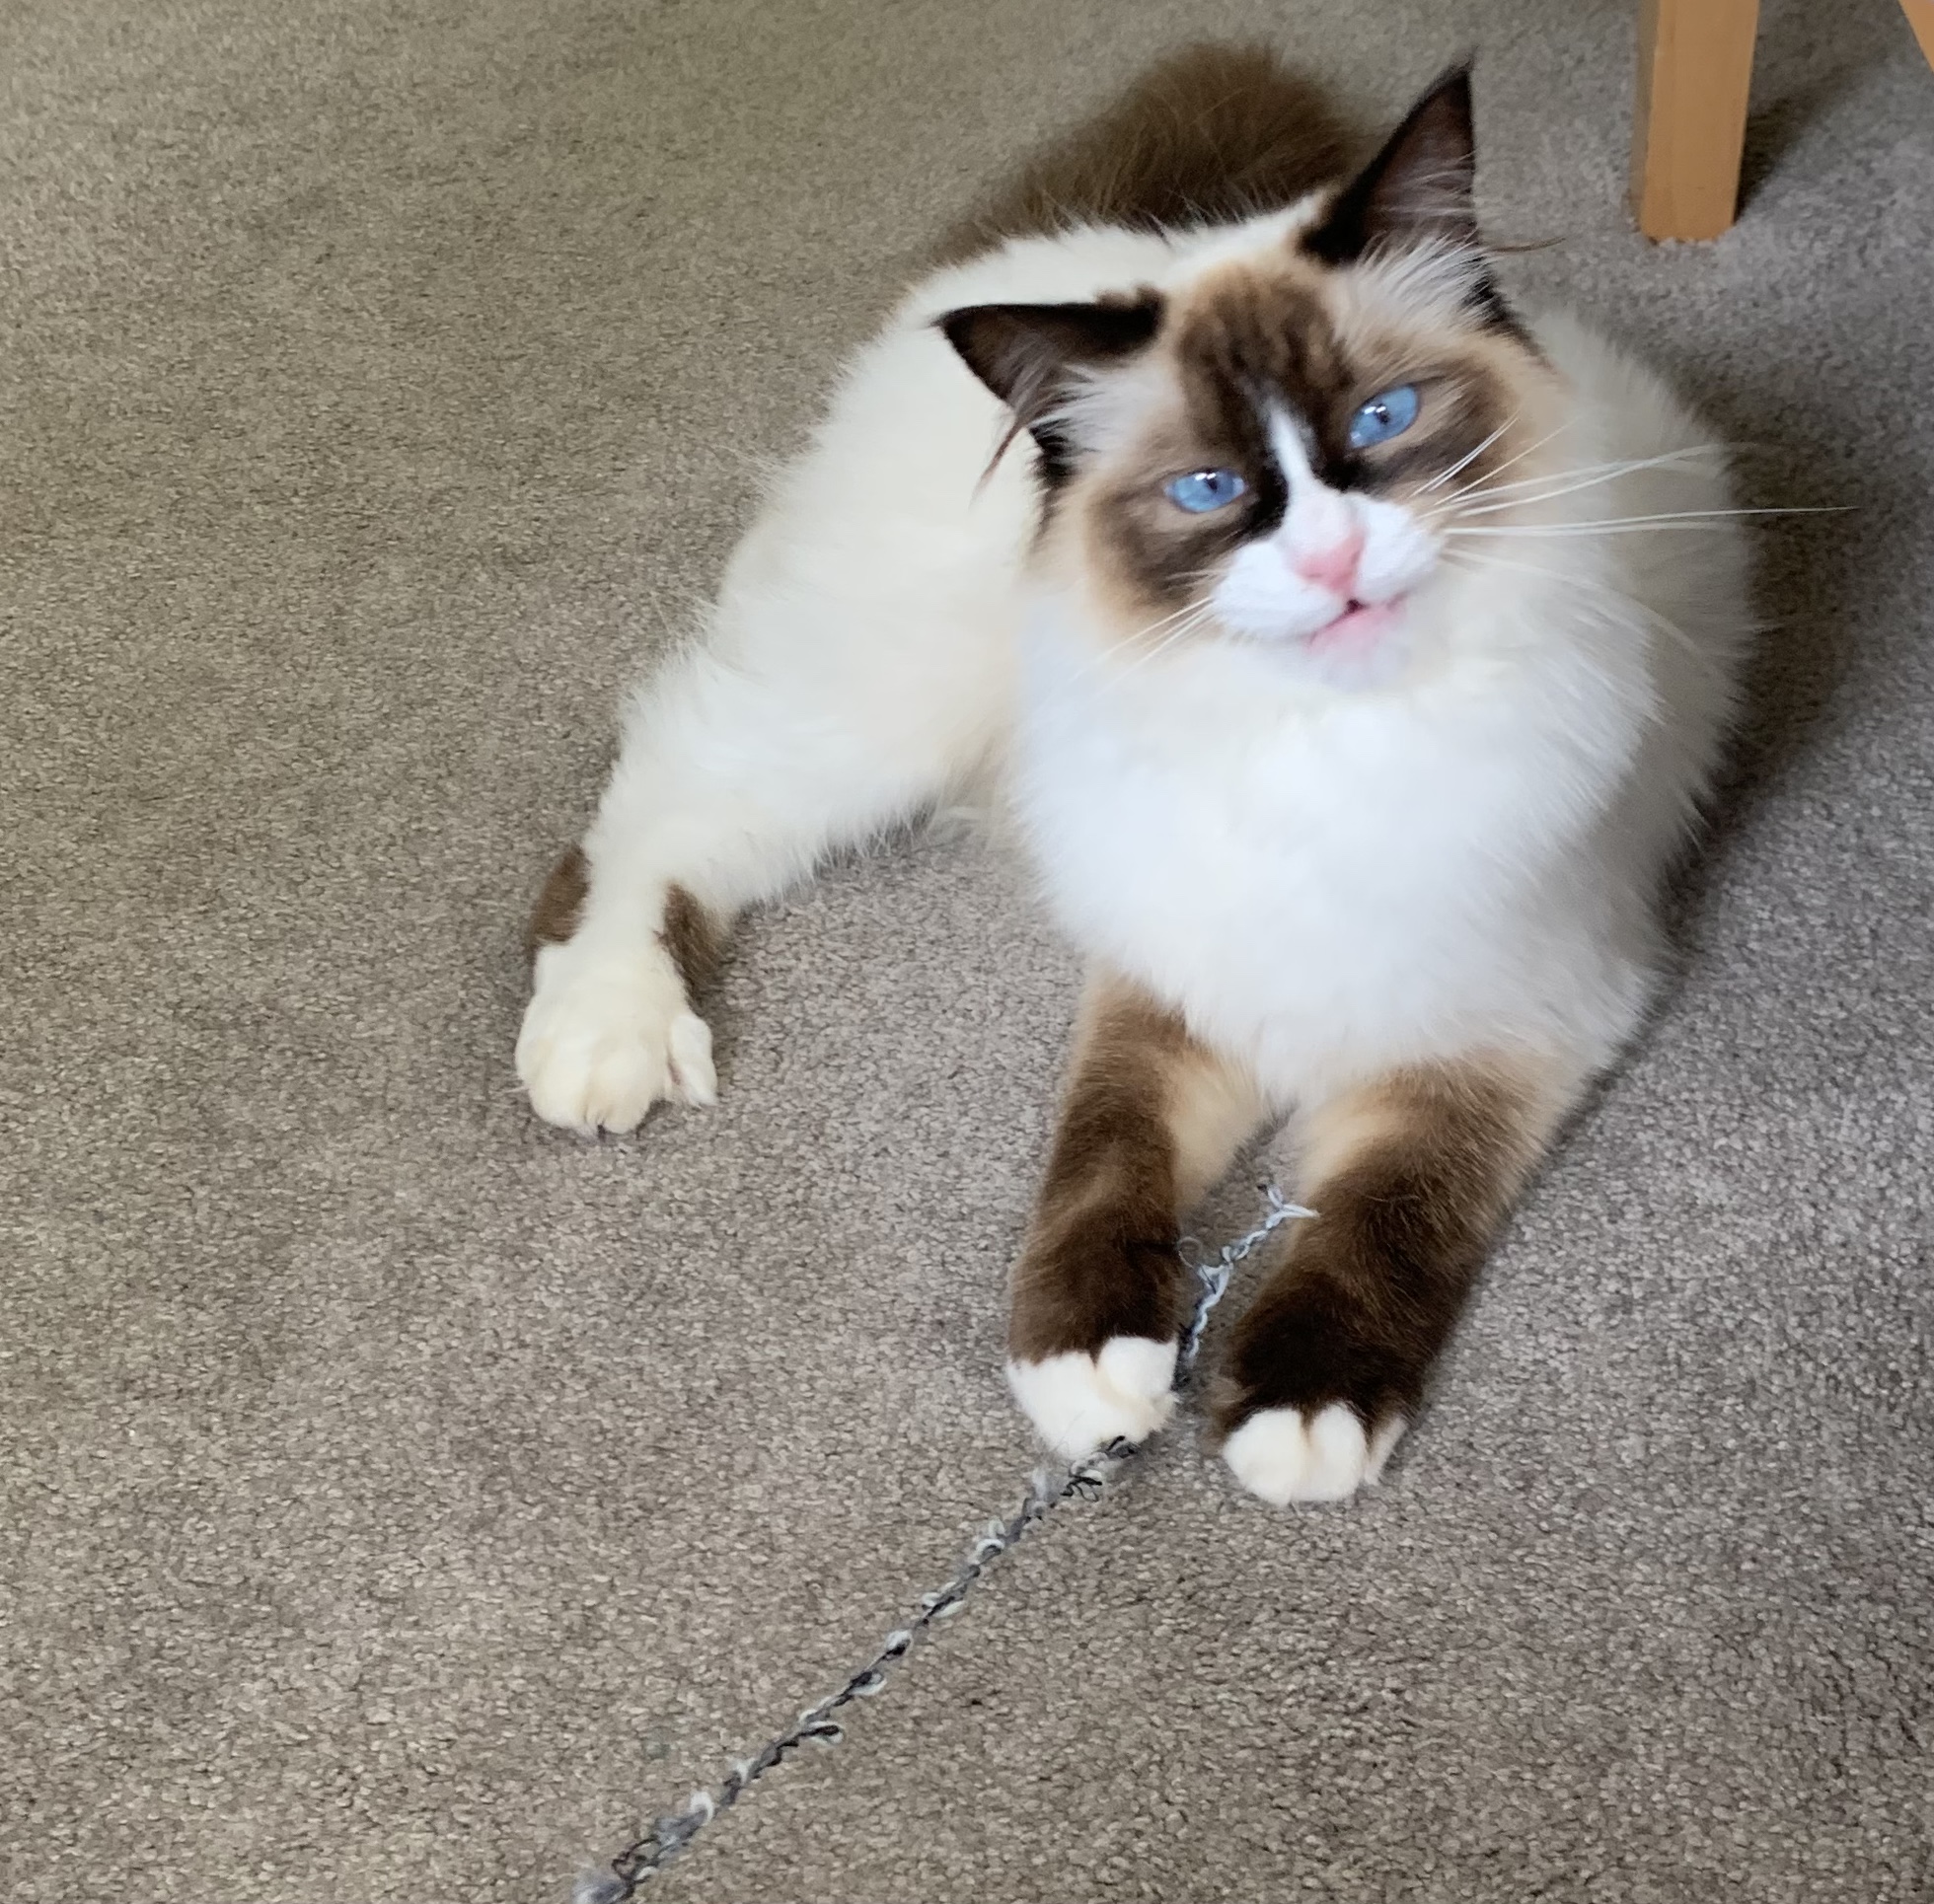
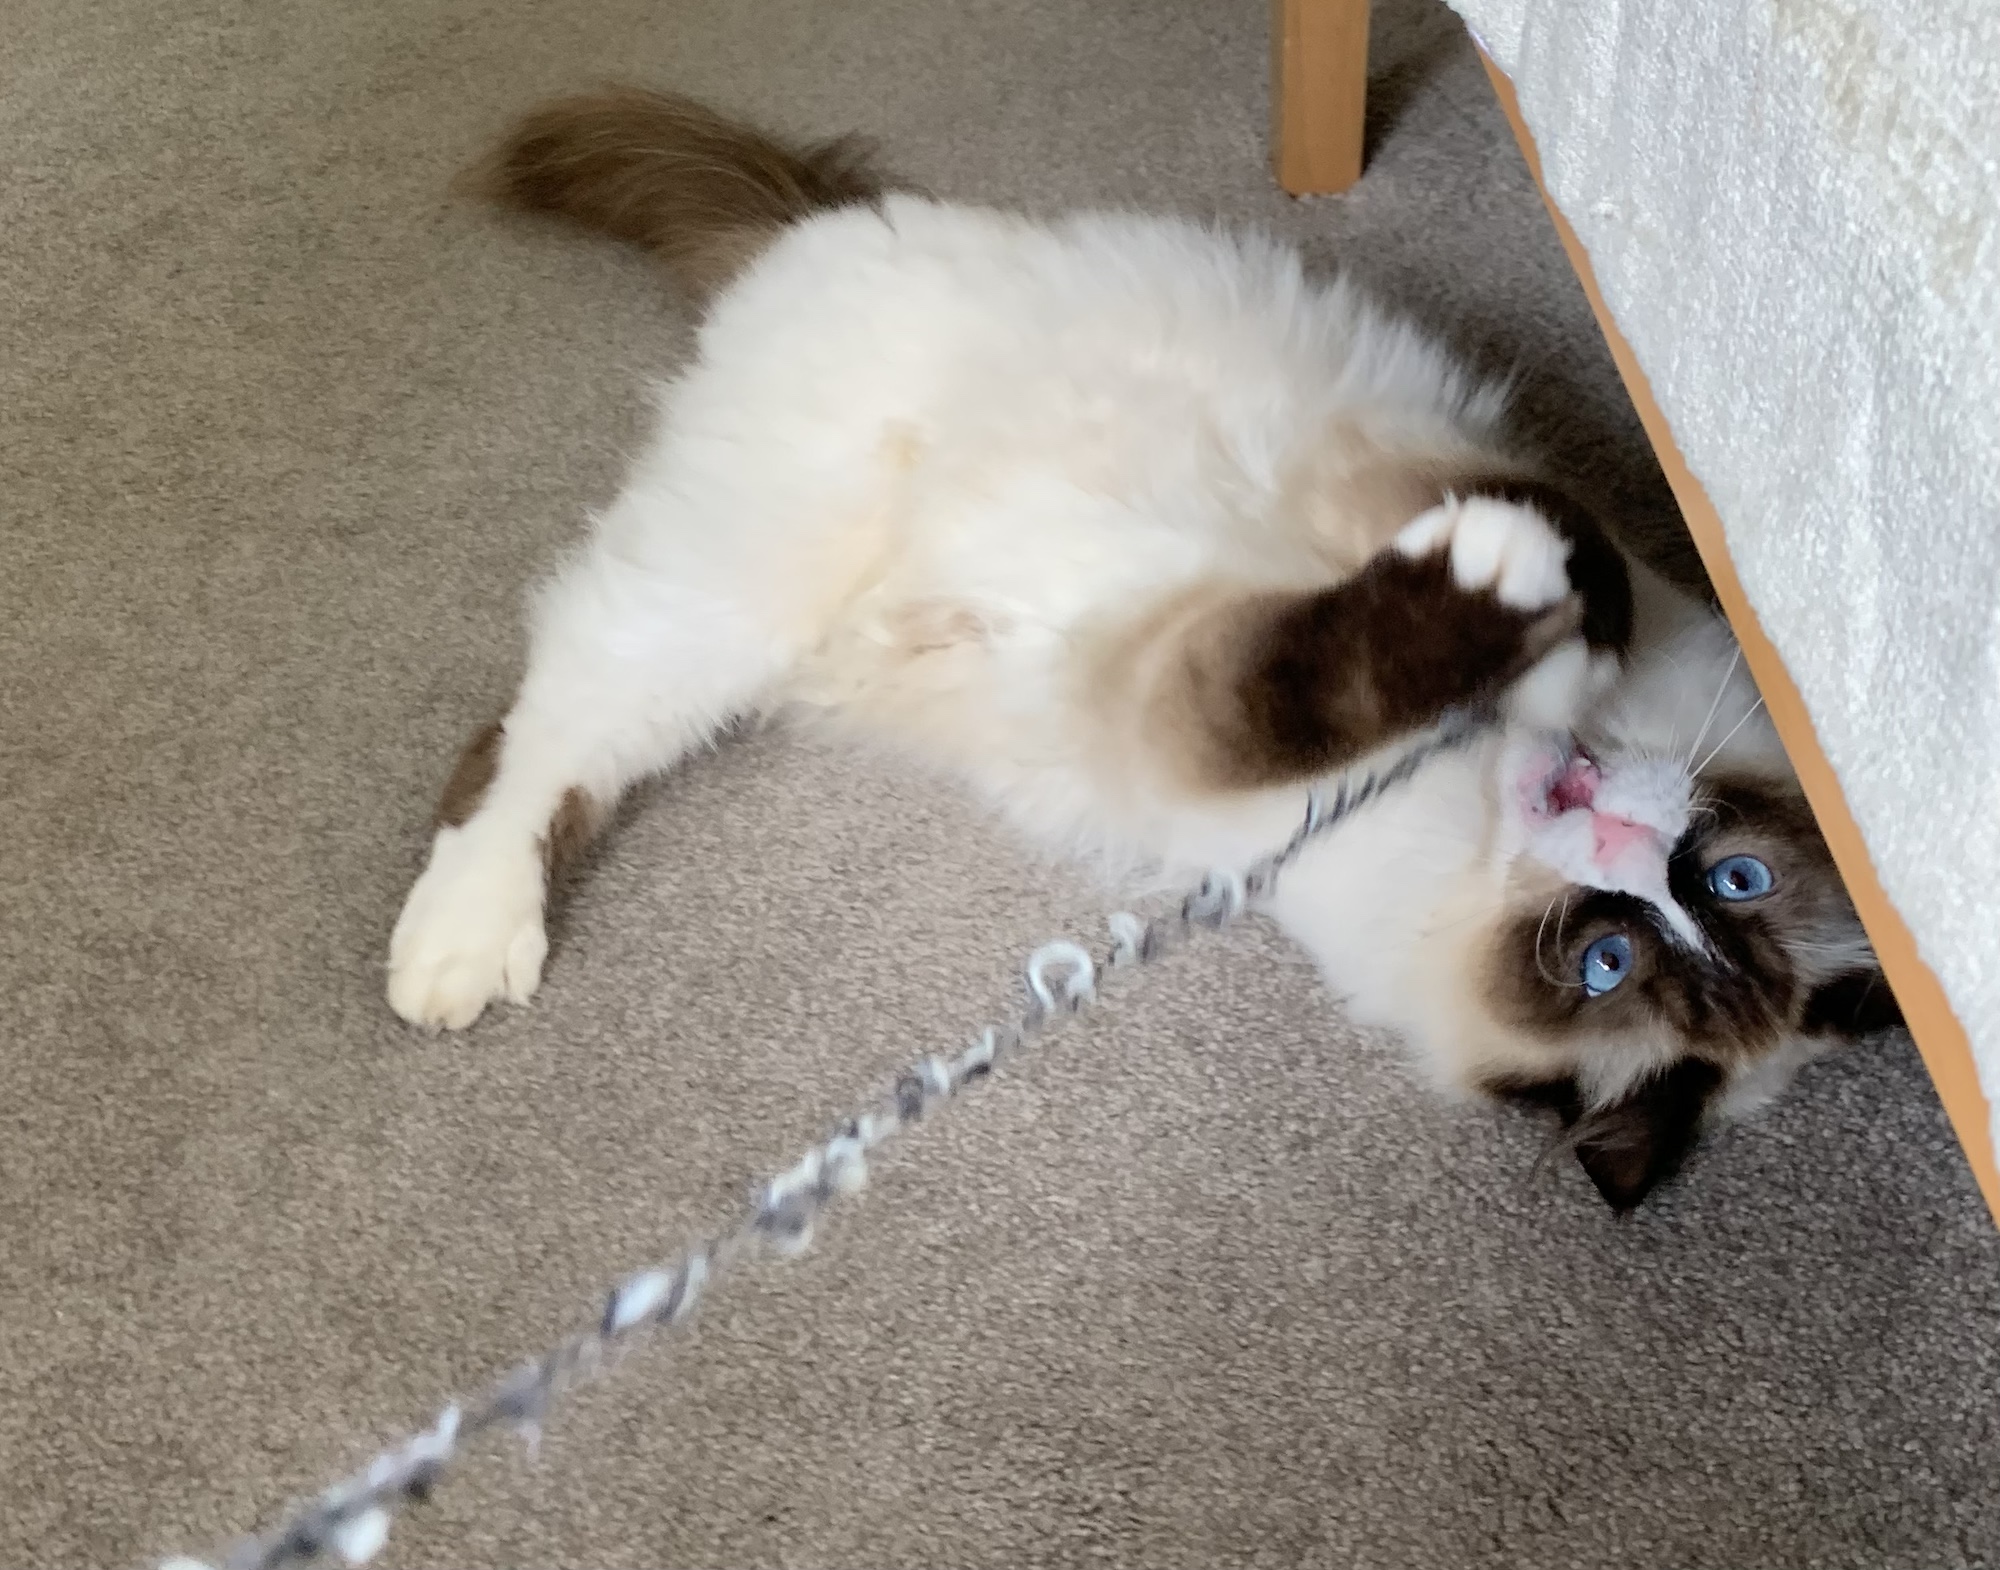
Floki was only too happy to “assist”….

Even with Floki’s assistance the boucle yarn proved to be too fine for the space between the holes in the pot. I could have used 3 or 4 threads to bulk it up but it had proved so fiddly trying to hold the warp strips in place while twining the first layer I couldn’t face the prospect of trying to do that with 8 strands in the weft so I had a rummage in my stash and found some chunky grey yarn to use instead.
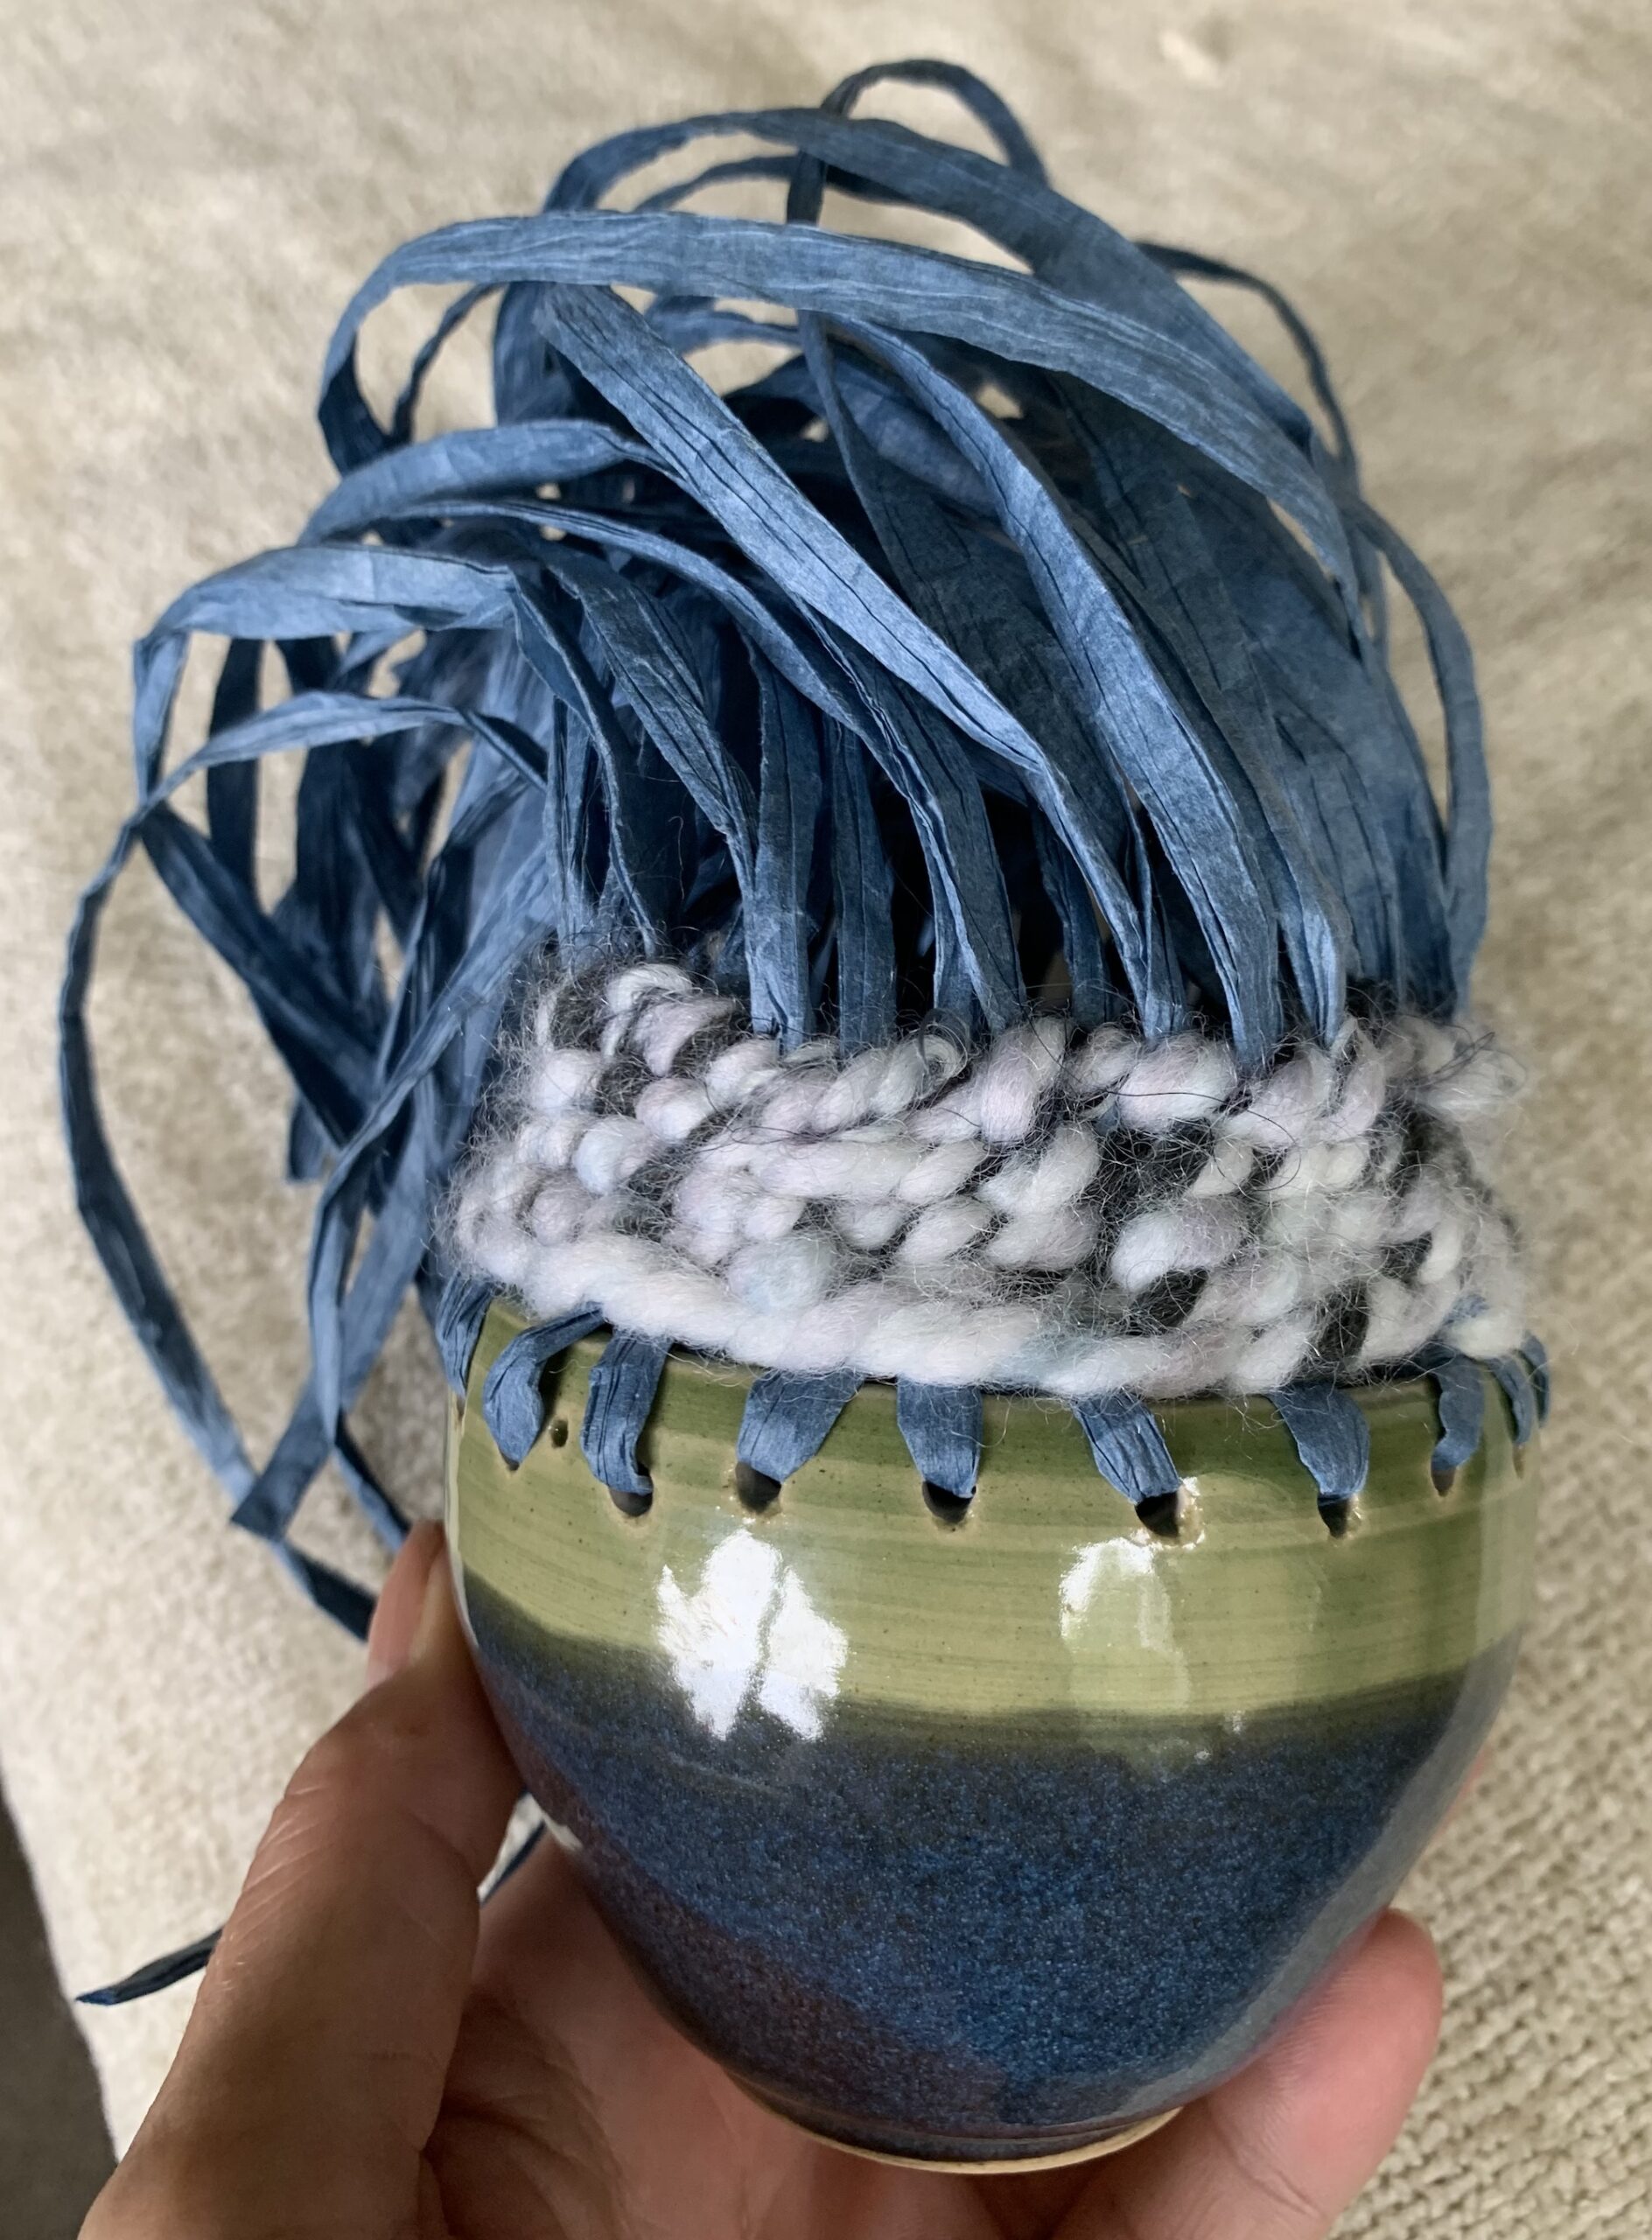
At this point I introduced some of my hand spun yarns, starting with the grey core-spun yarn from September (they are the grey bulges you can see at the top of the woven section) and then a yarn with colourful beehives.
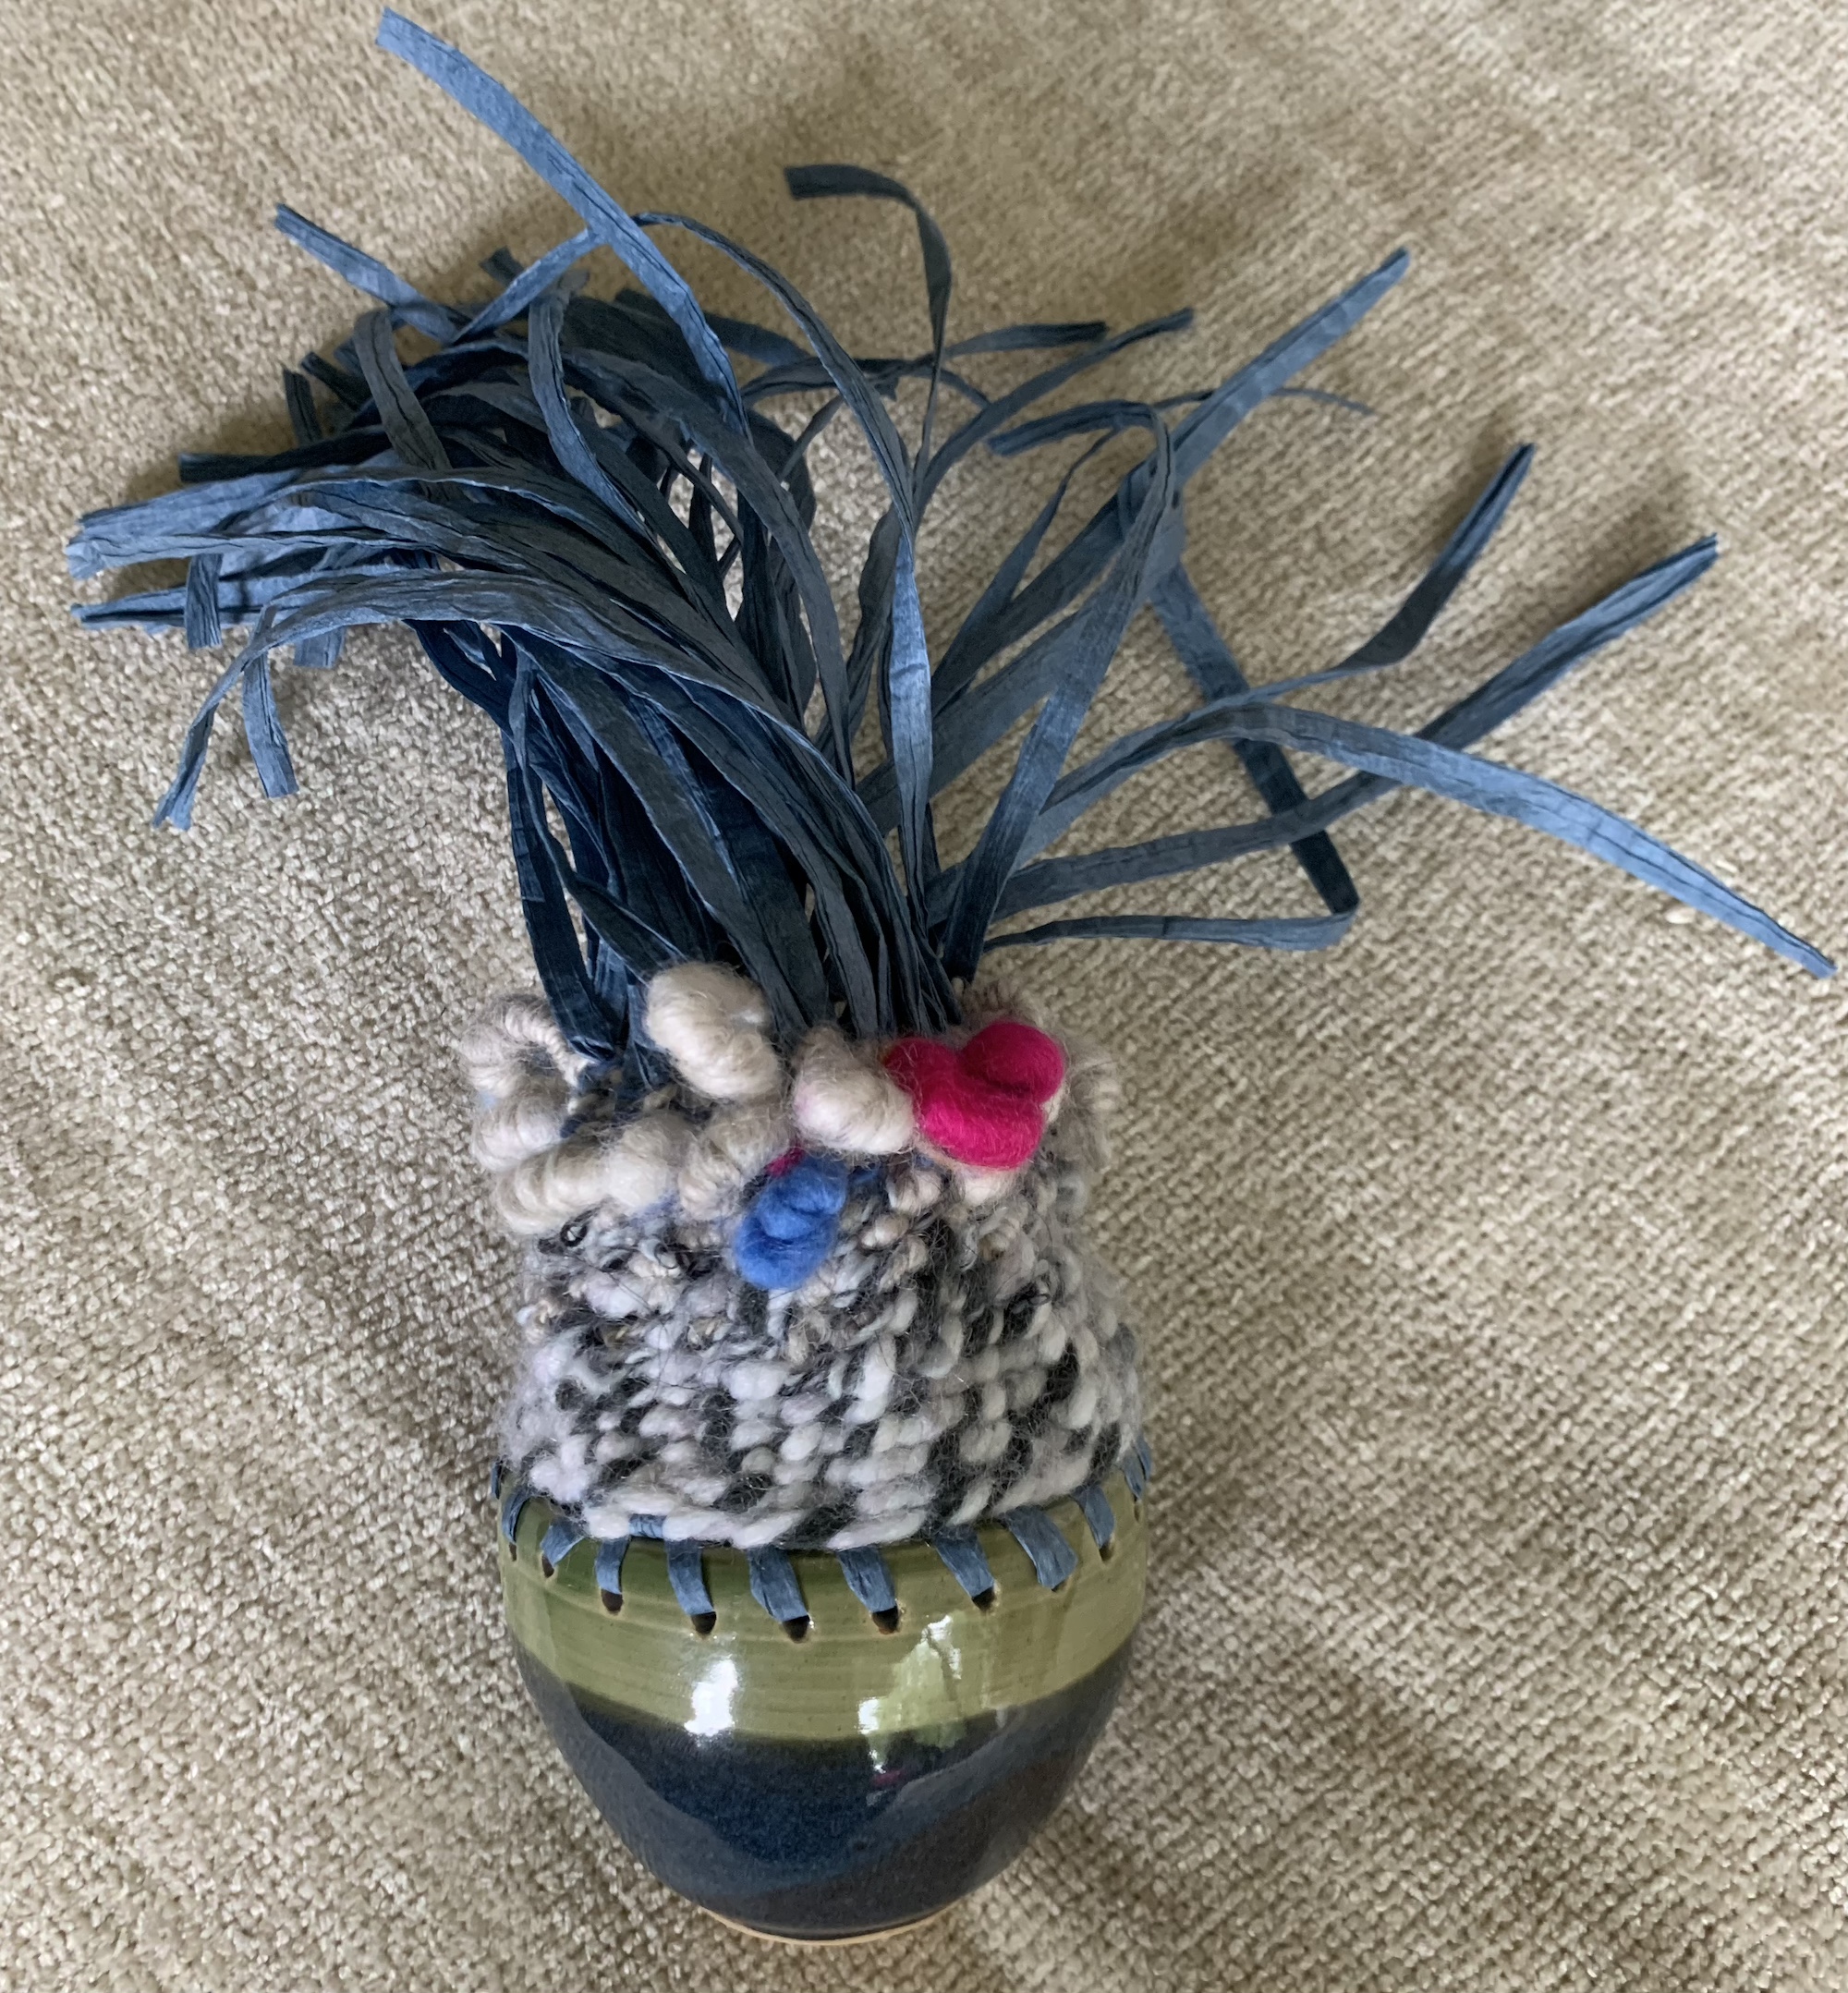
Happy with the height and shape of the weaving, I tied each pair of warp strips to secure the top of the weaving and opened up the paper yarn before trimming the ends.
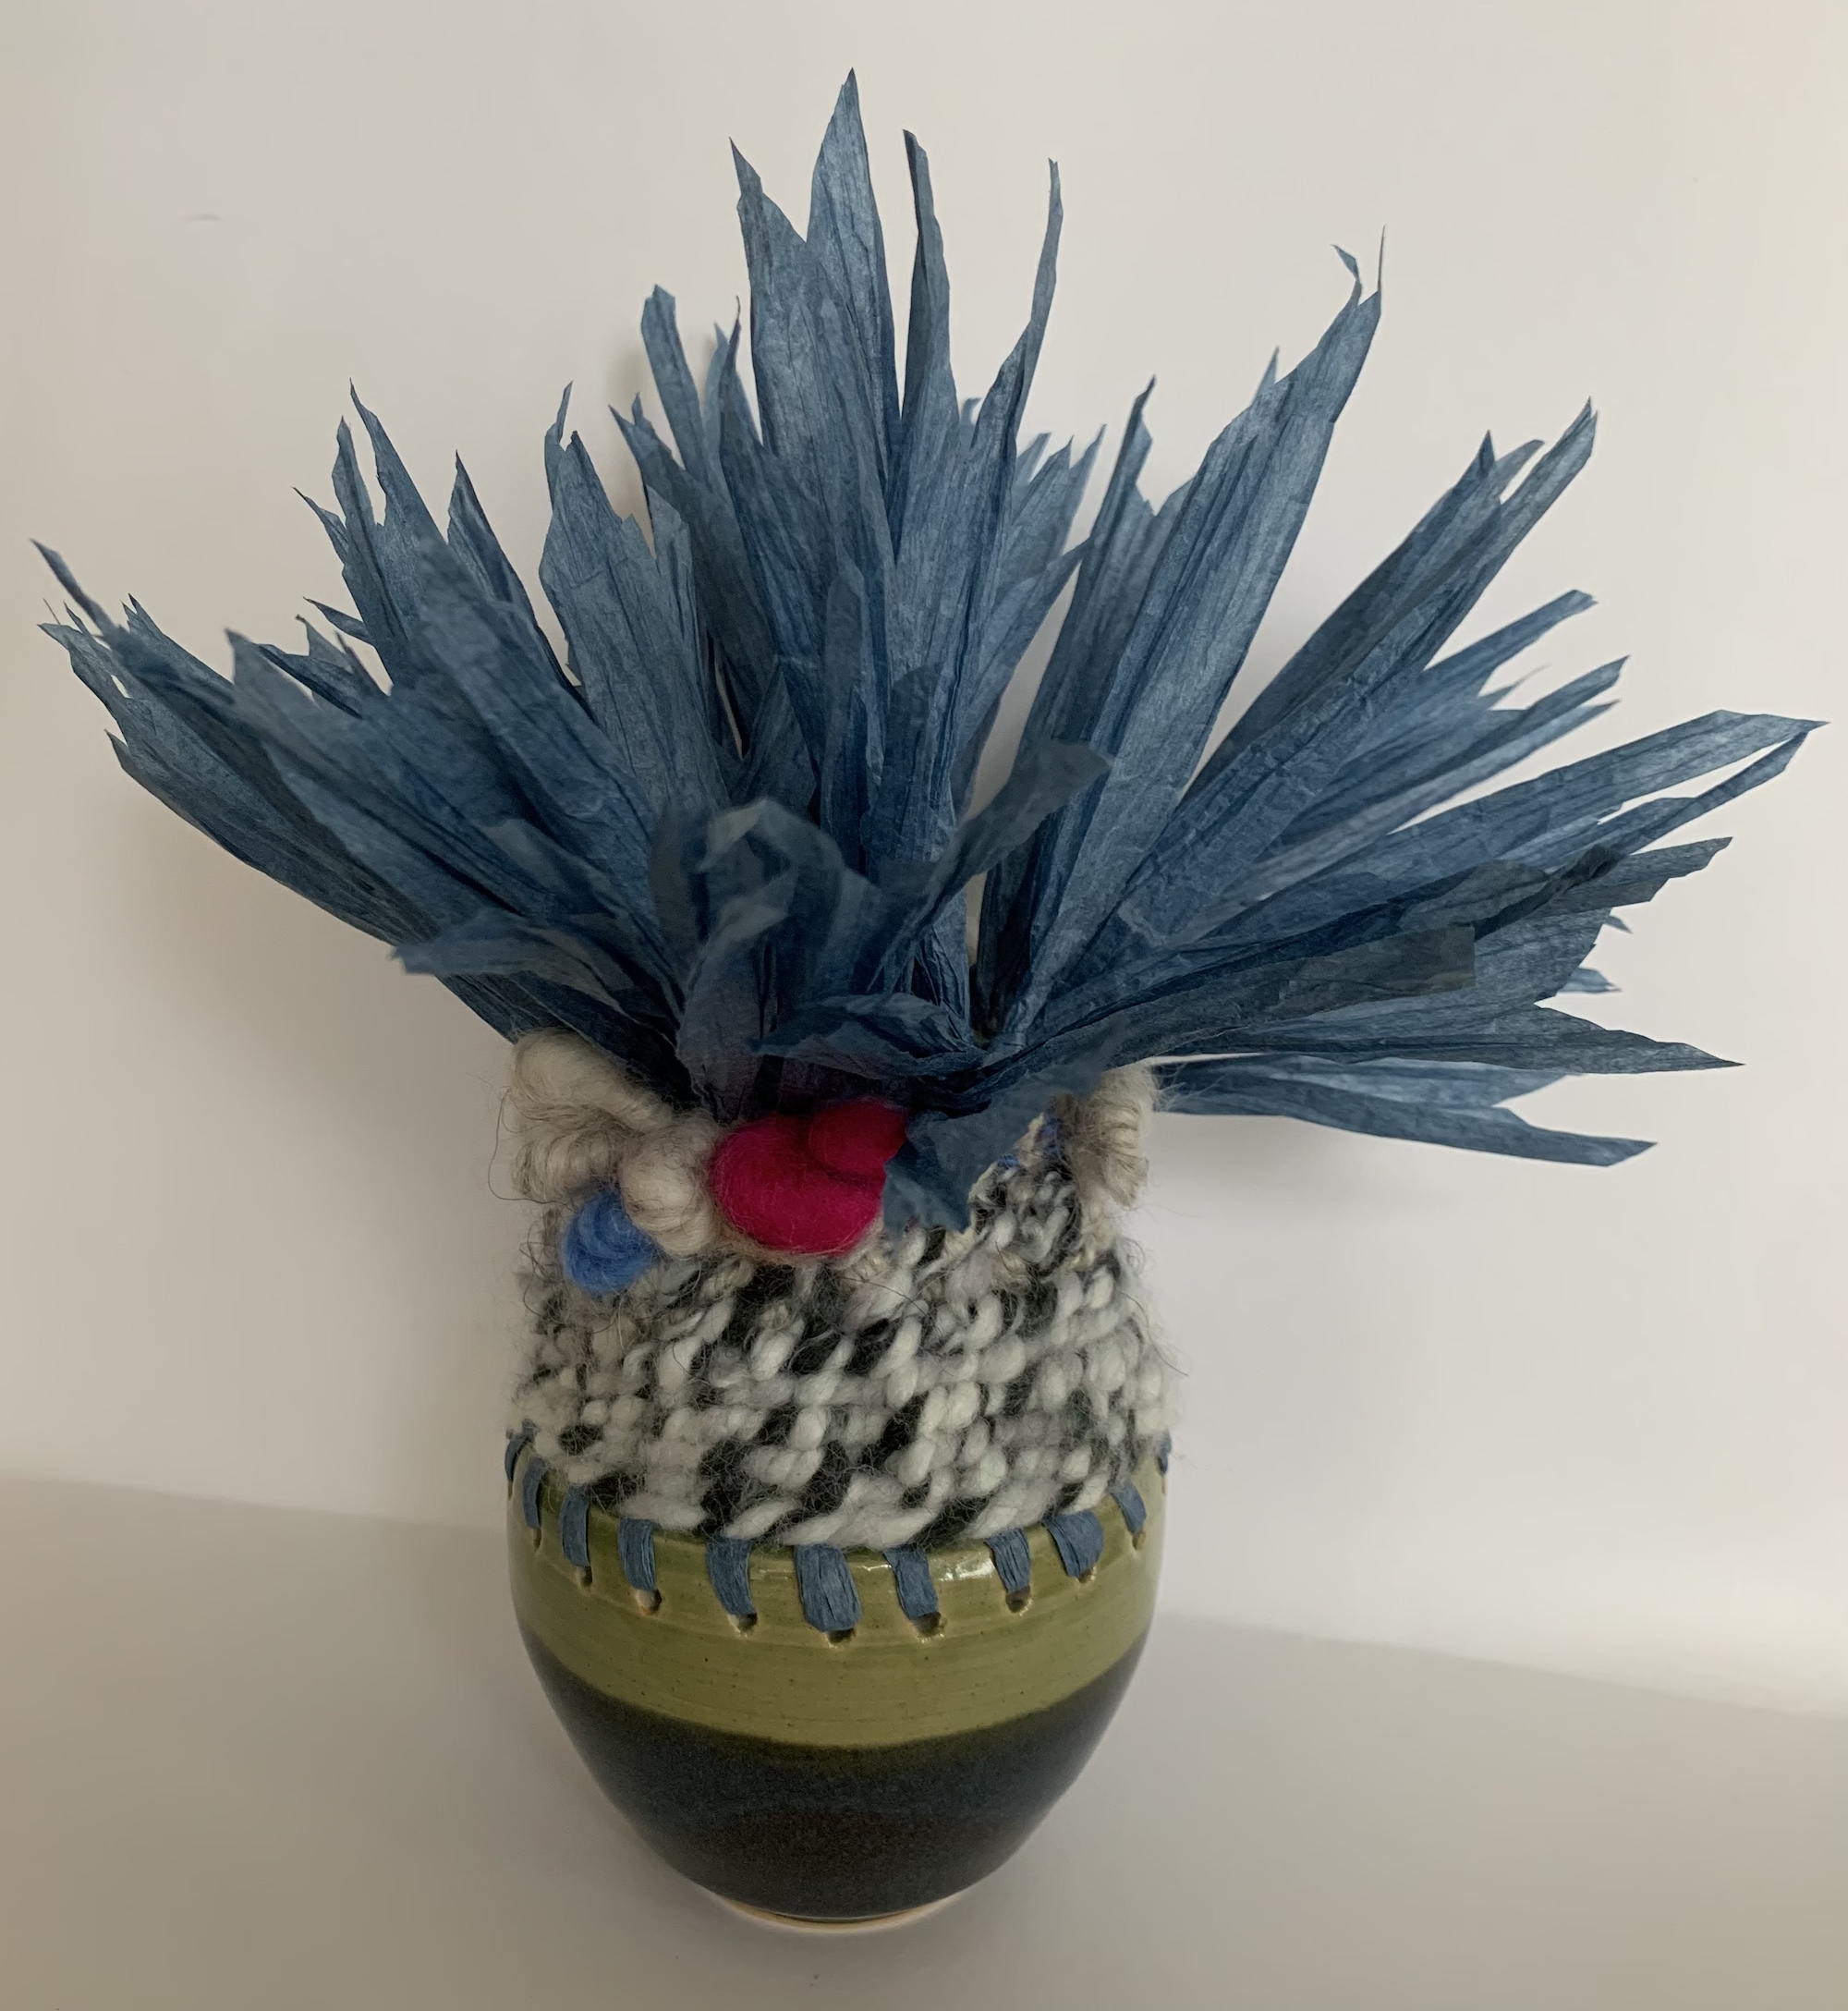
It reminds me of a blue cornflower.
How has your new year started?
Hi Teri
Great to see this all. You are very creative again!
I miss the link to the video at day 7..
maybe i will go back to felting but at the moment i am in love with watercolor painting..
i will sent your link to somebody who is still in love with felting ..
best regards Jifke / fryskeskiepke
Thank you Jifke and for letting me know about the missing video, I will take a look at that.
It is good to explore different skills and art forms, your new learnings will make your future works even more uniquely yours as you integrate elements and take influences from the different art forms.