Creative Fibre in New Zealand are hosting a series of workshops next weekend, one of which is a beginner’s spinning workshop with Pat Old. She is quite the celebrity in NZ spinning circles but I’m not sure if that is also true internationally…. have you heard of her before?
I dithered about signing up for this class because one of the prerequisites was that you need to bring a wheel in good order, bobbins and lazy Kate. I wasn’t sure how much I wanted to learn to spin and buying all that equipment up front was quite an investment, so I put out some feelers to see if anyone had a wheel they would like to sell. I was (and still am) keen to make art yarns so was ideally looking for a wheel with a jumbo flyer. It took a few weeks of asking around but a friend from Auckland Fun Felters came through for me, she had an Ashford Traditional and best of all, it was already fitted with a jumbo flyer! 🙂
I took delivery of my new toy at the end of May and have been watching far too many Youtube videos ever since 🙂 These are my first efforts….
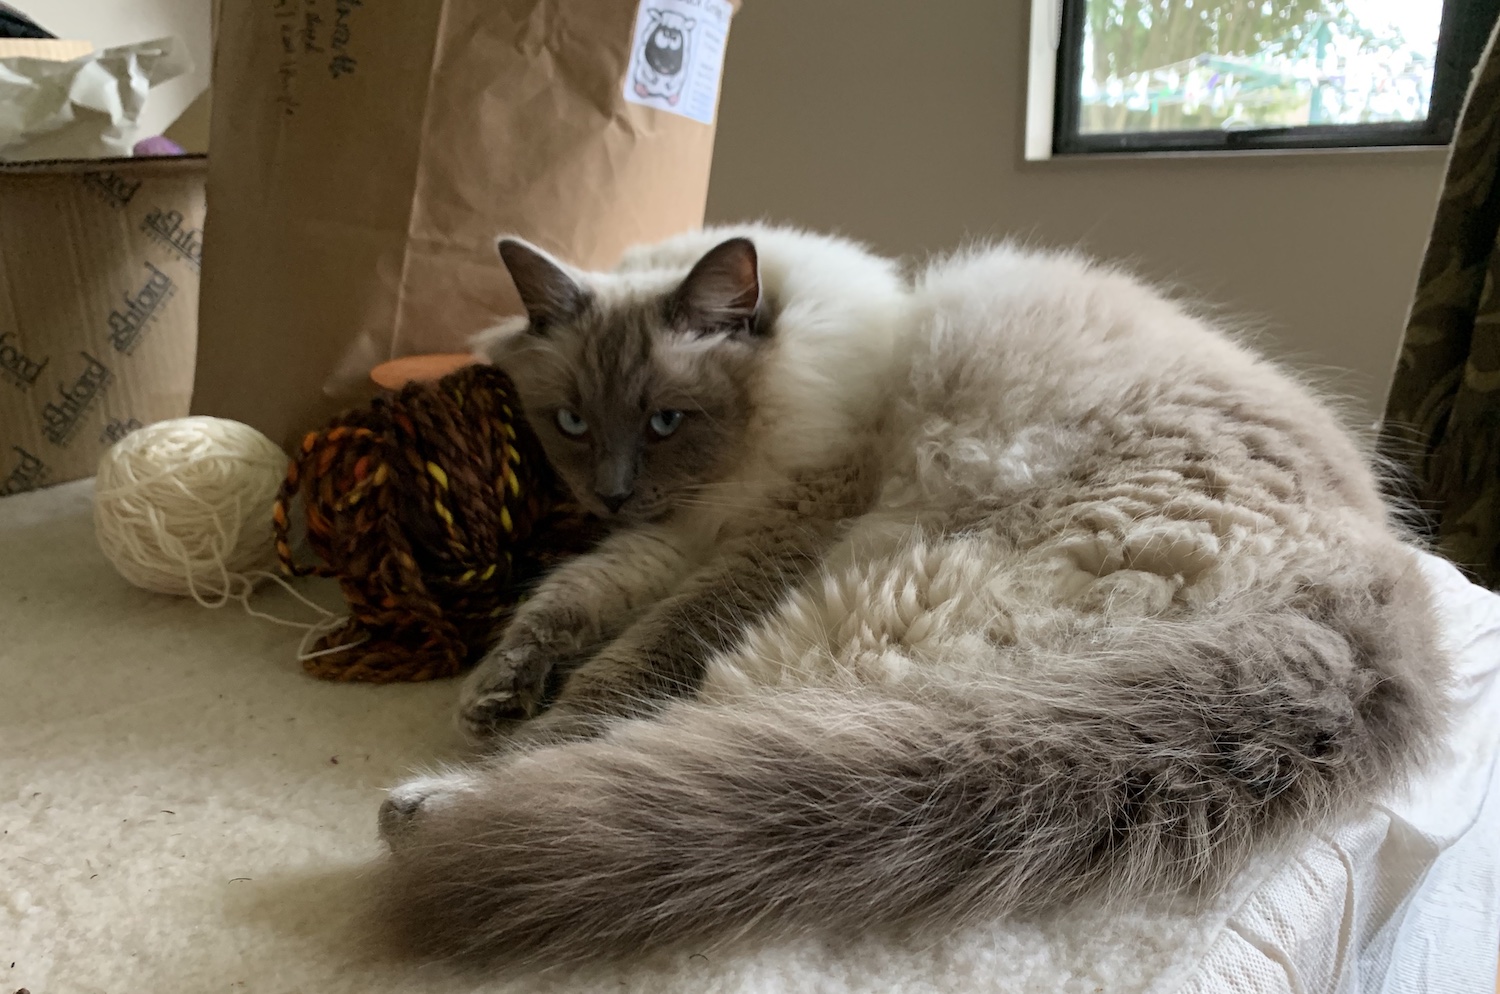
Autumnal colours spun from a Merino art batt full of textured bits and pieces, probably a bit ambitious for a first go but I was pleased with the results:

Aoifa says it makes a very nice pillow…
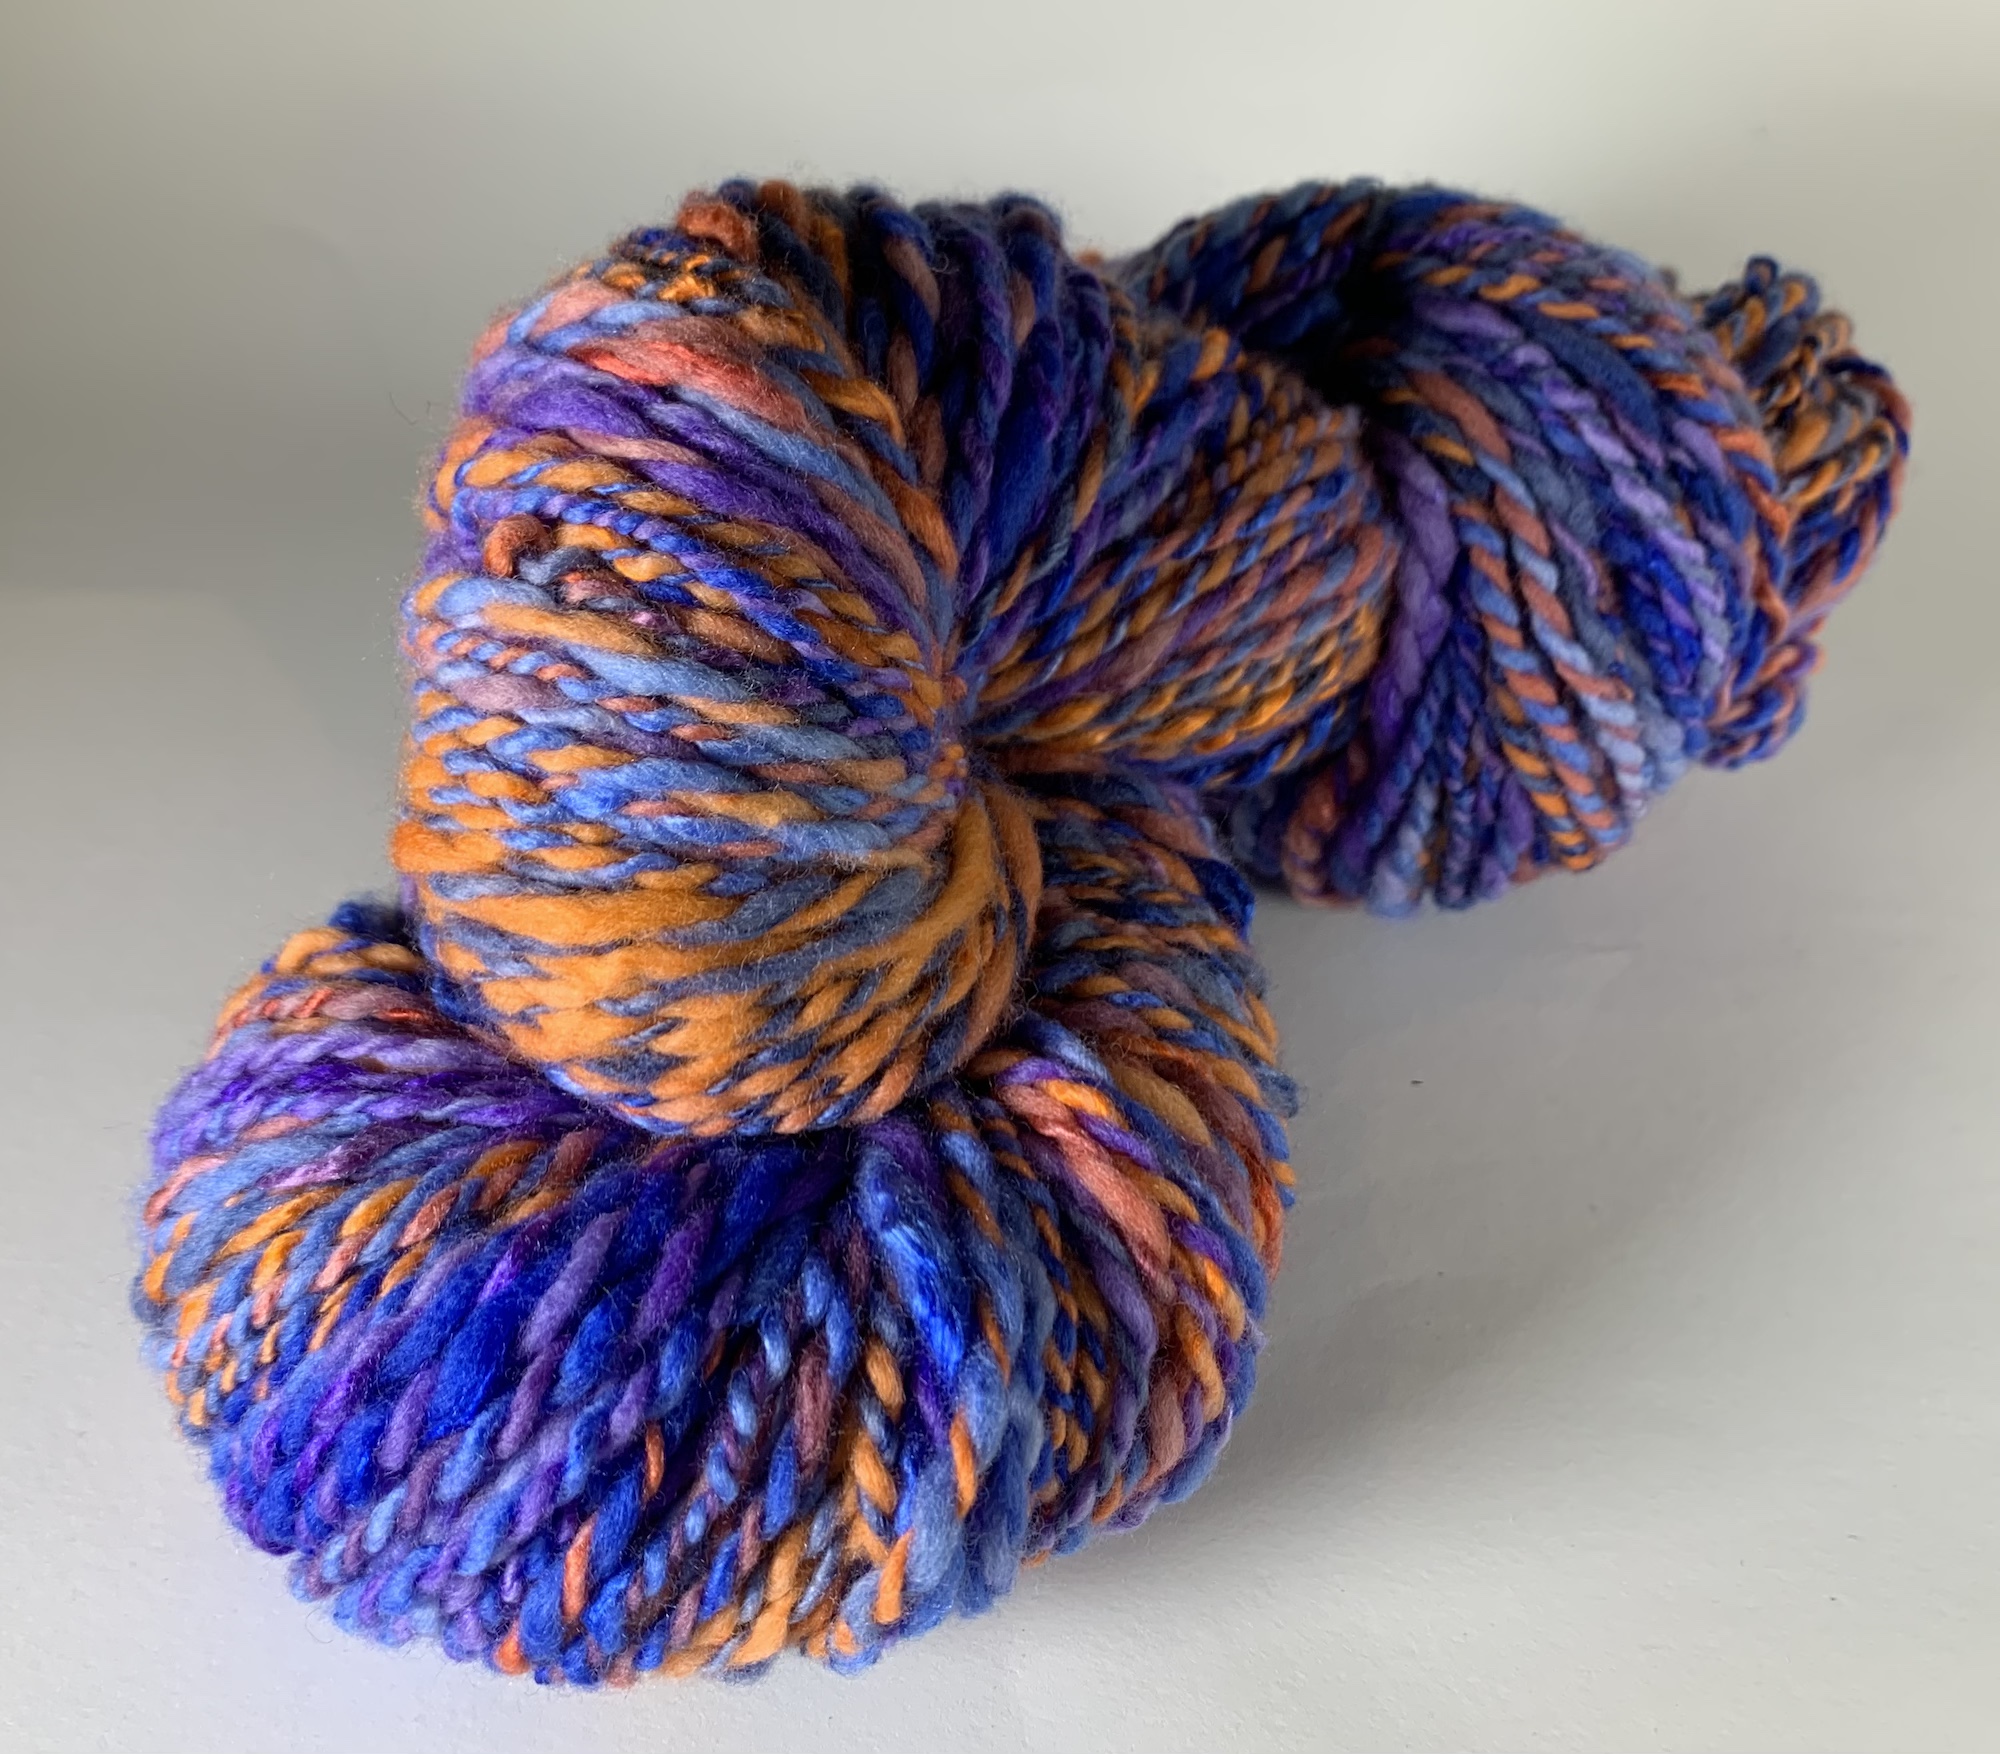
After reading Ann’s post on FFS a few weeks ago I had a shock of inspiration and added some orange to the singles I planned to ply post dying with purples and blues:
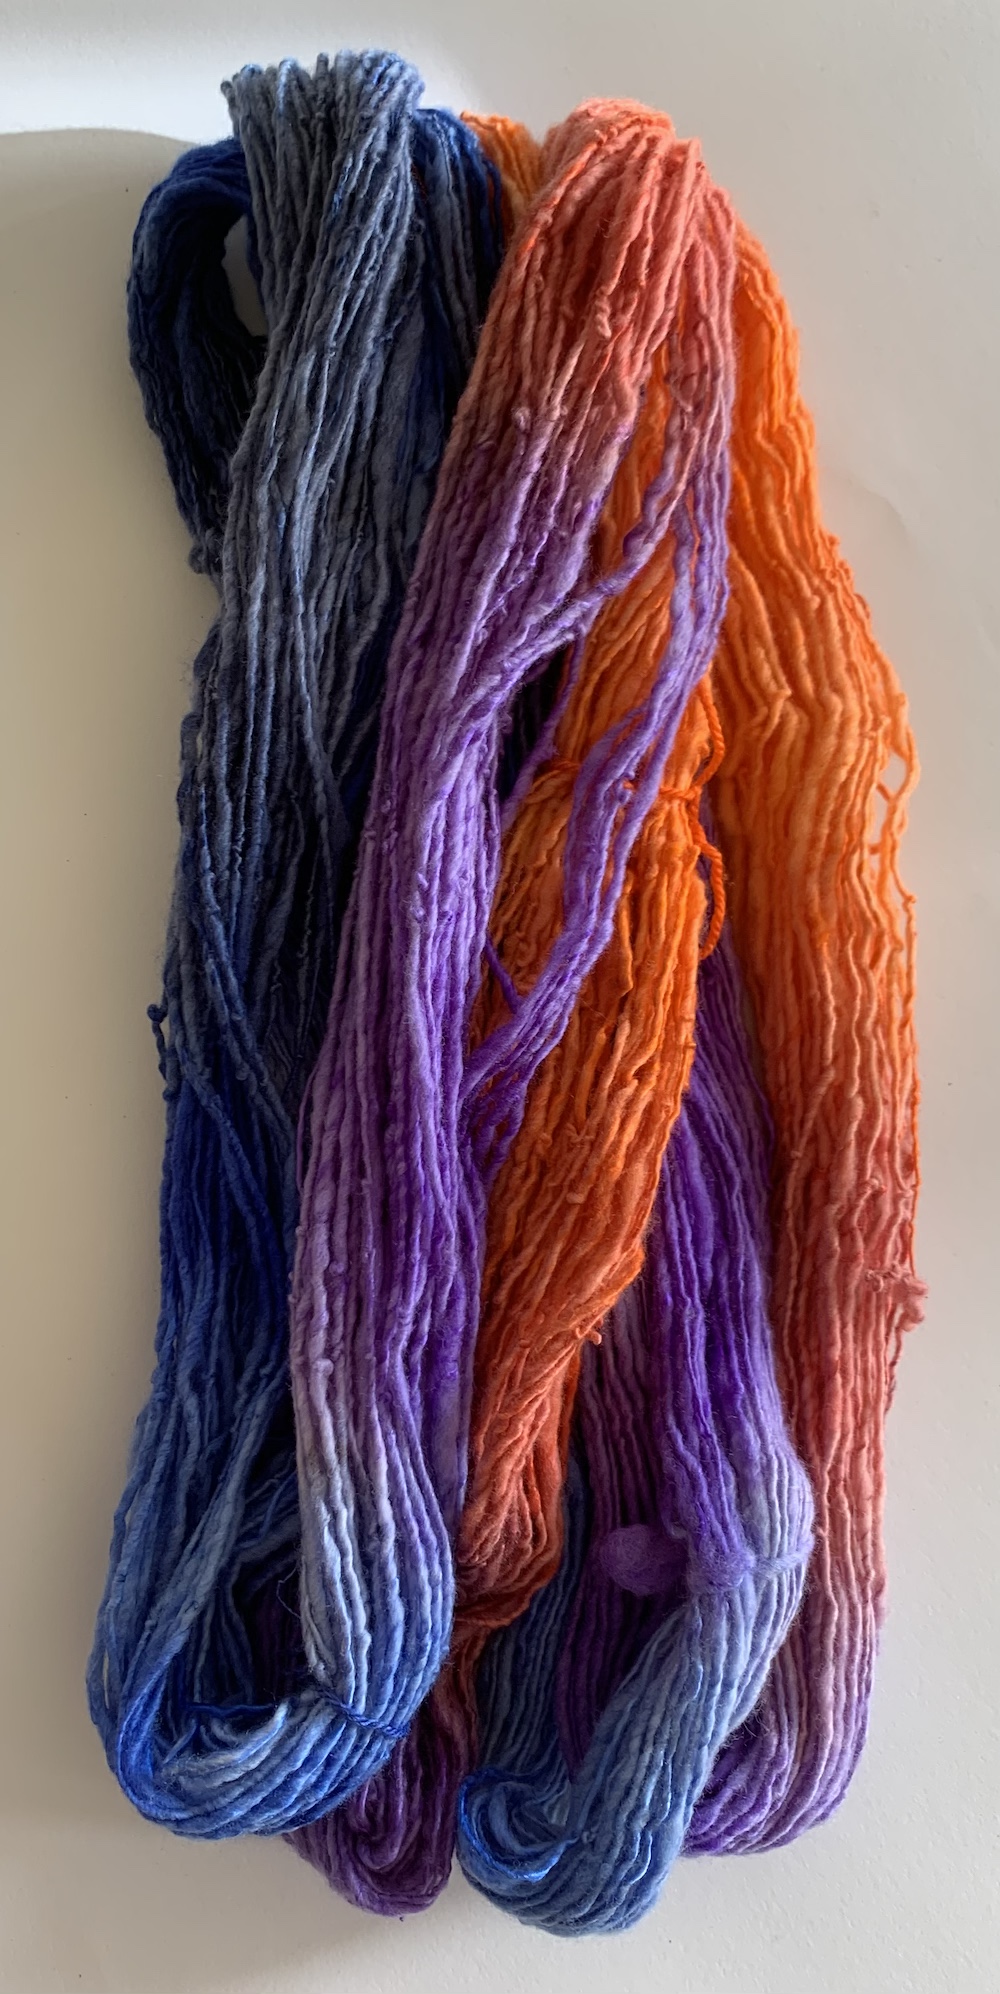
This is the plied yarn:
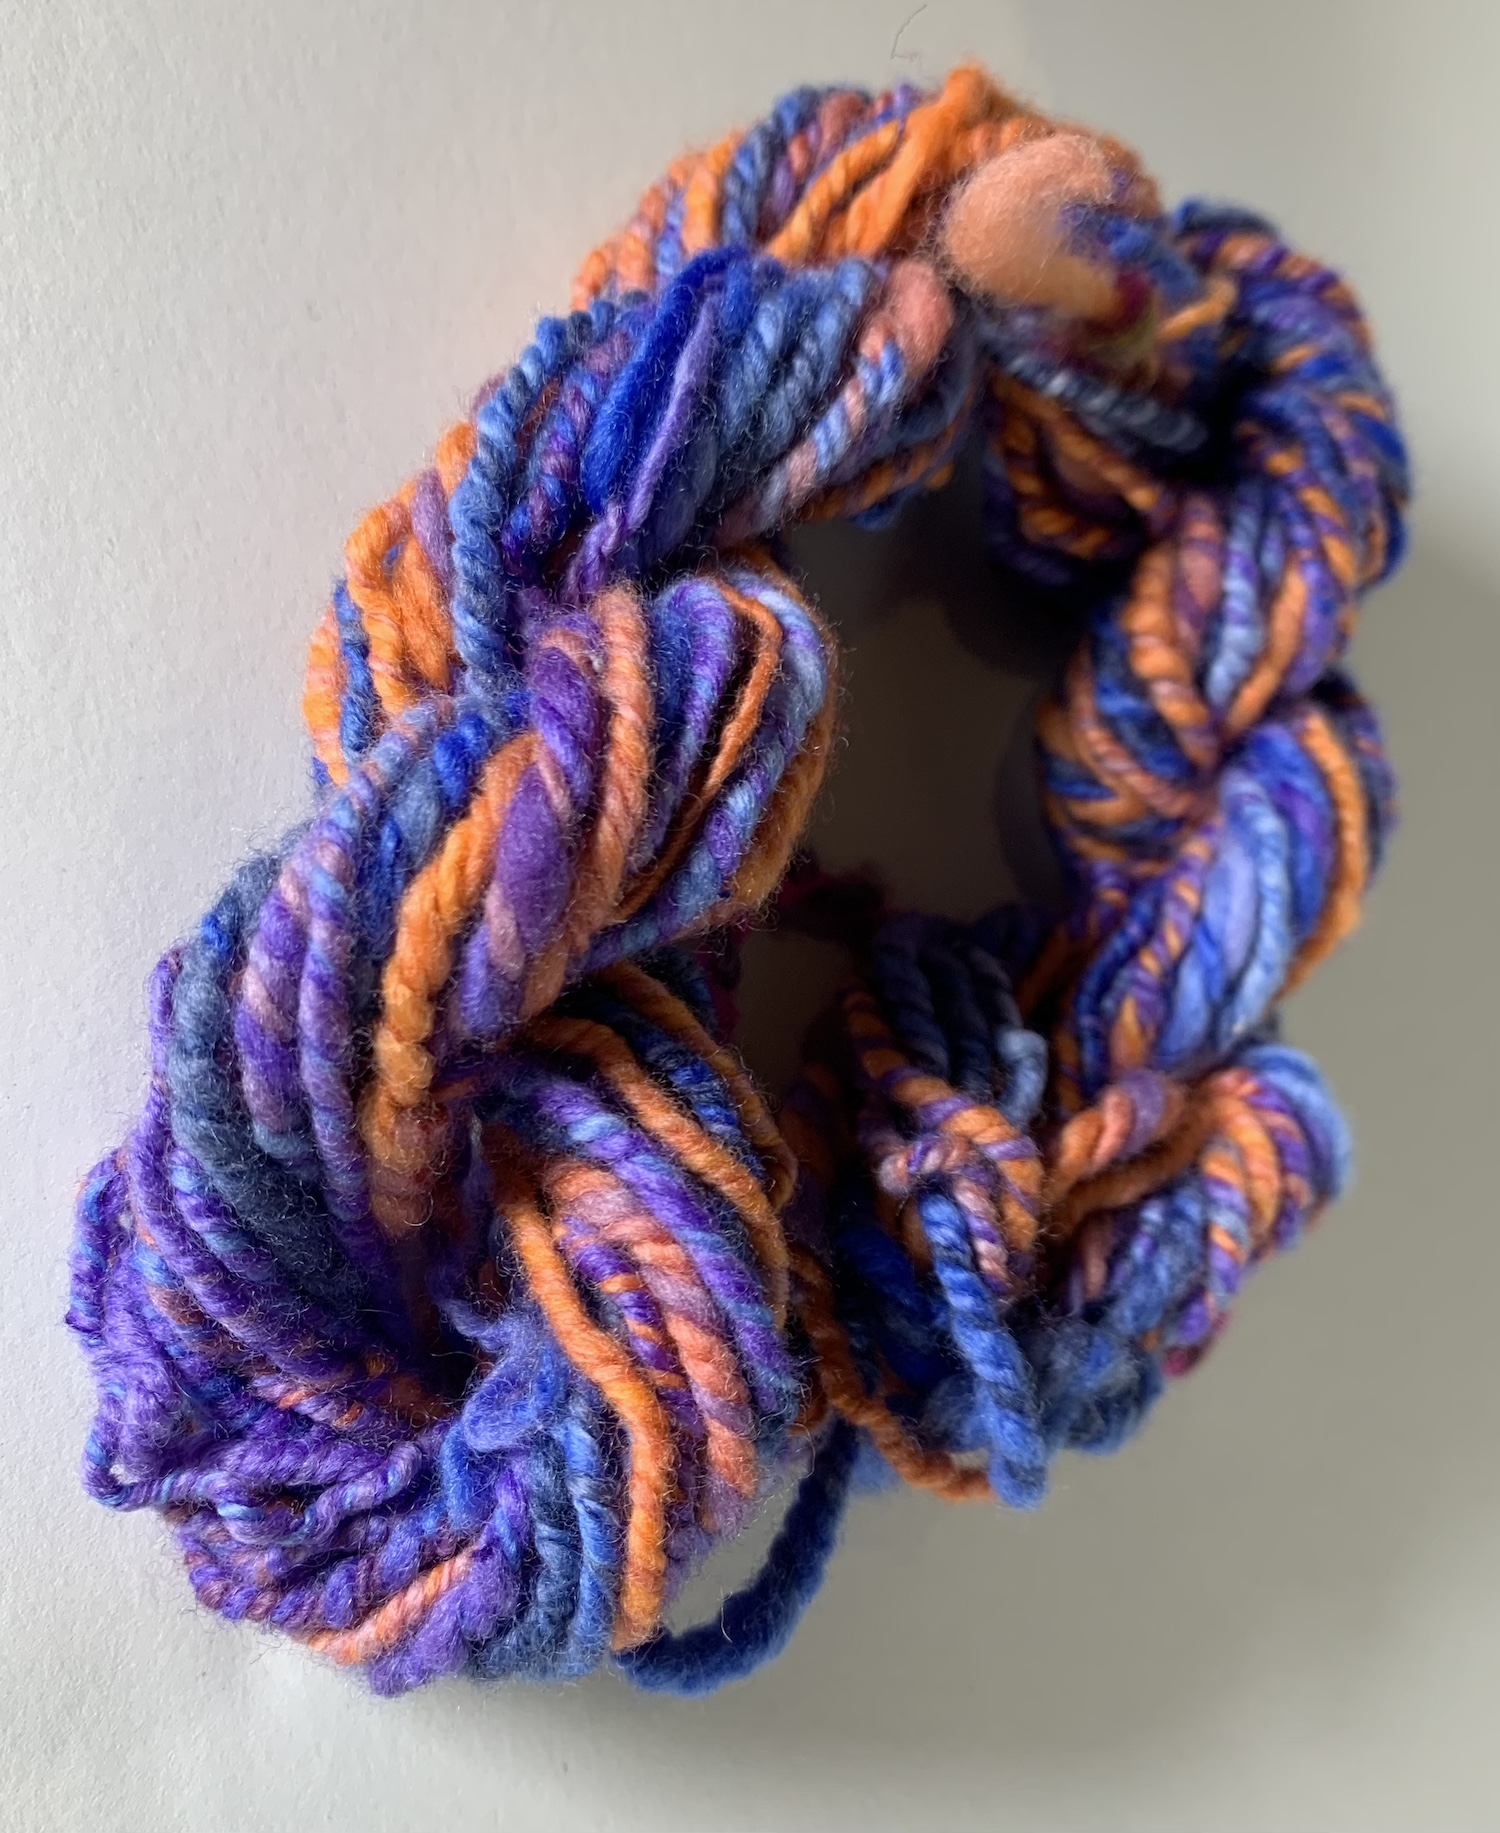
After plying I had some “single” left over on one of the bobbins so thought I would have a go at chain-plying (apparently it’s not very PC to call it Navajo plying any more). This method produces 3-ply yarn and in theory you can line up the colours on a gradient dyed yarn so you loose the stripy, “barber-pole” effect. I succeeded in places but definitely need more practice!
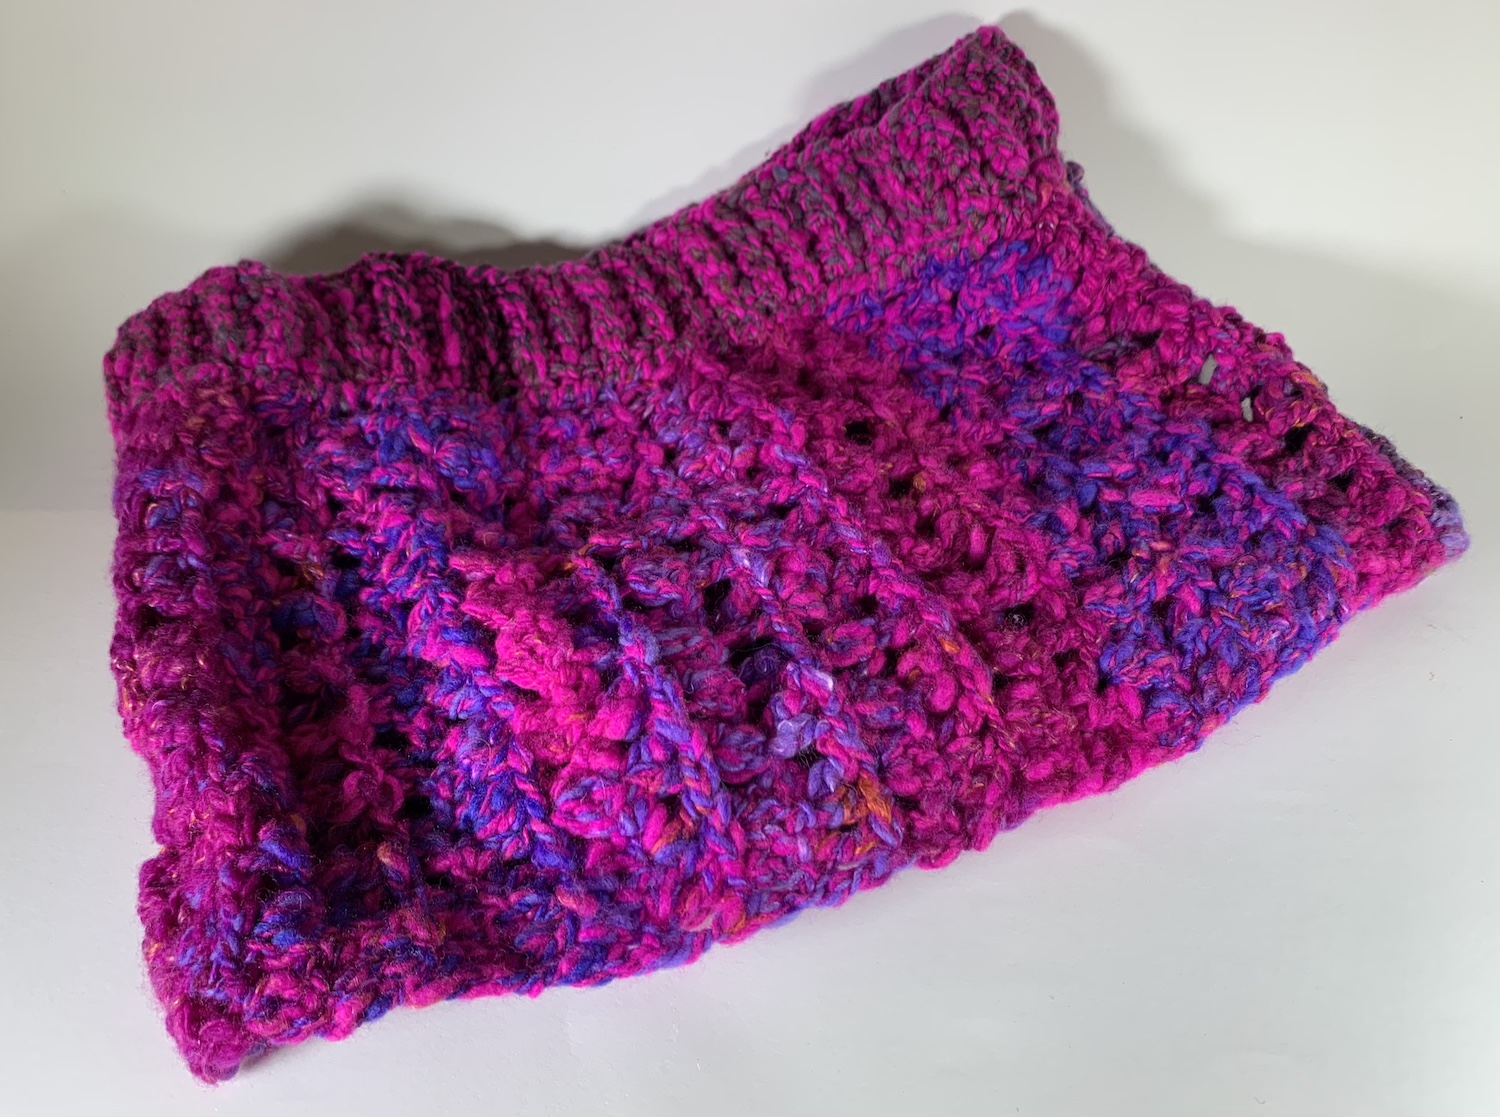
I am really enjoying spinning with Polworth (a Merino-cross breed that is better suited to the wet NZ climate), it is a lovely, soft wool. I crocheted this cowl but was not keen on the hot pink.
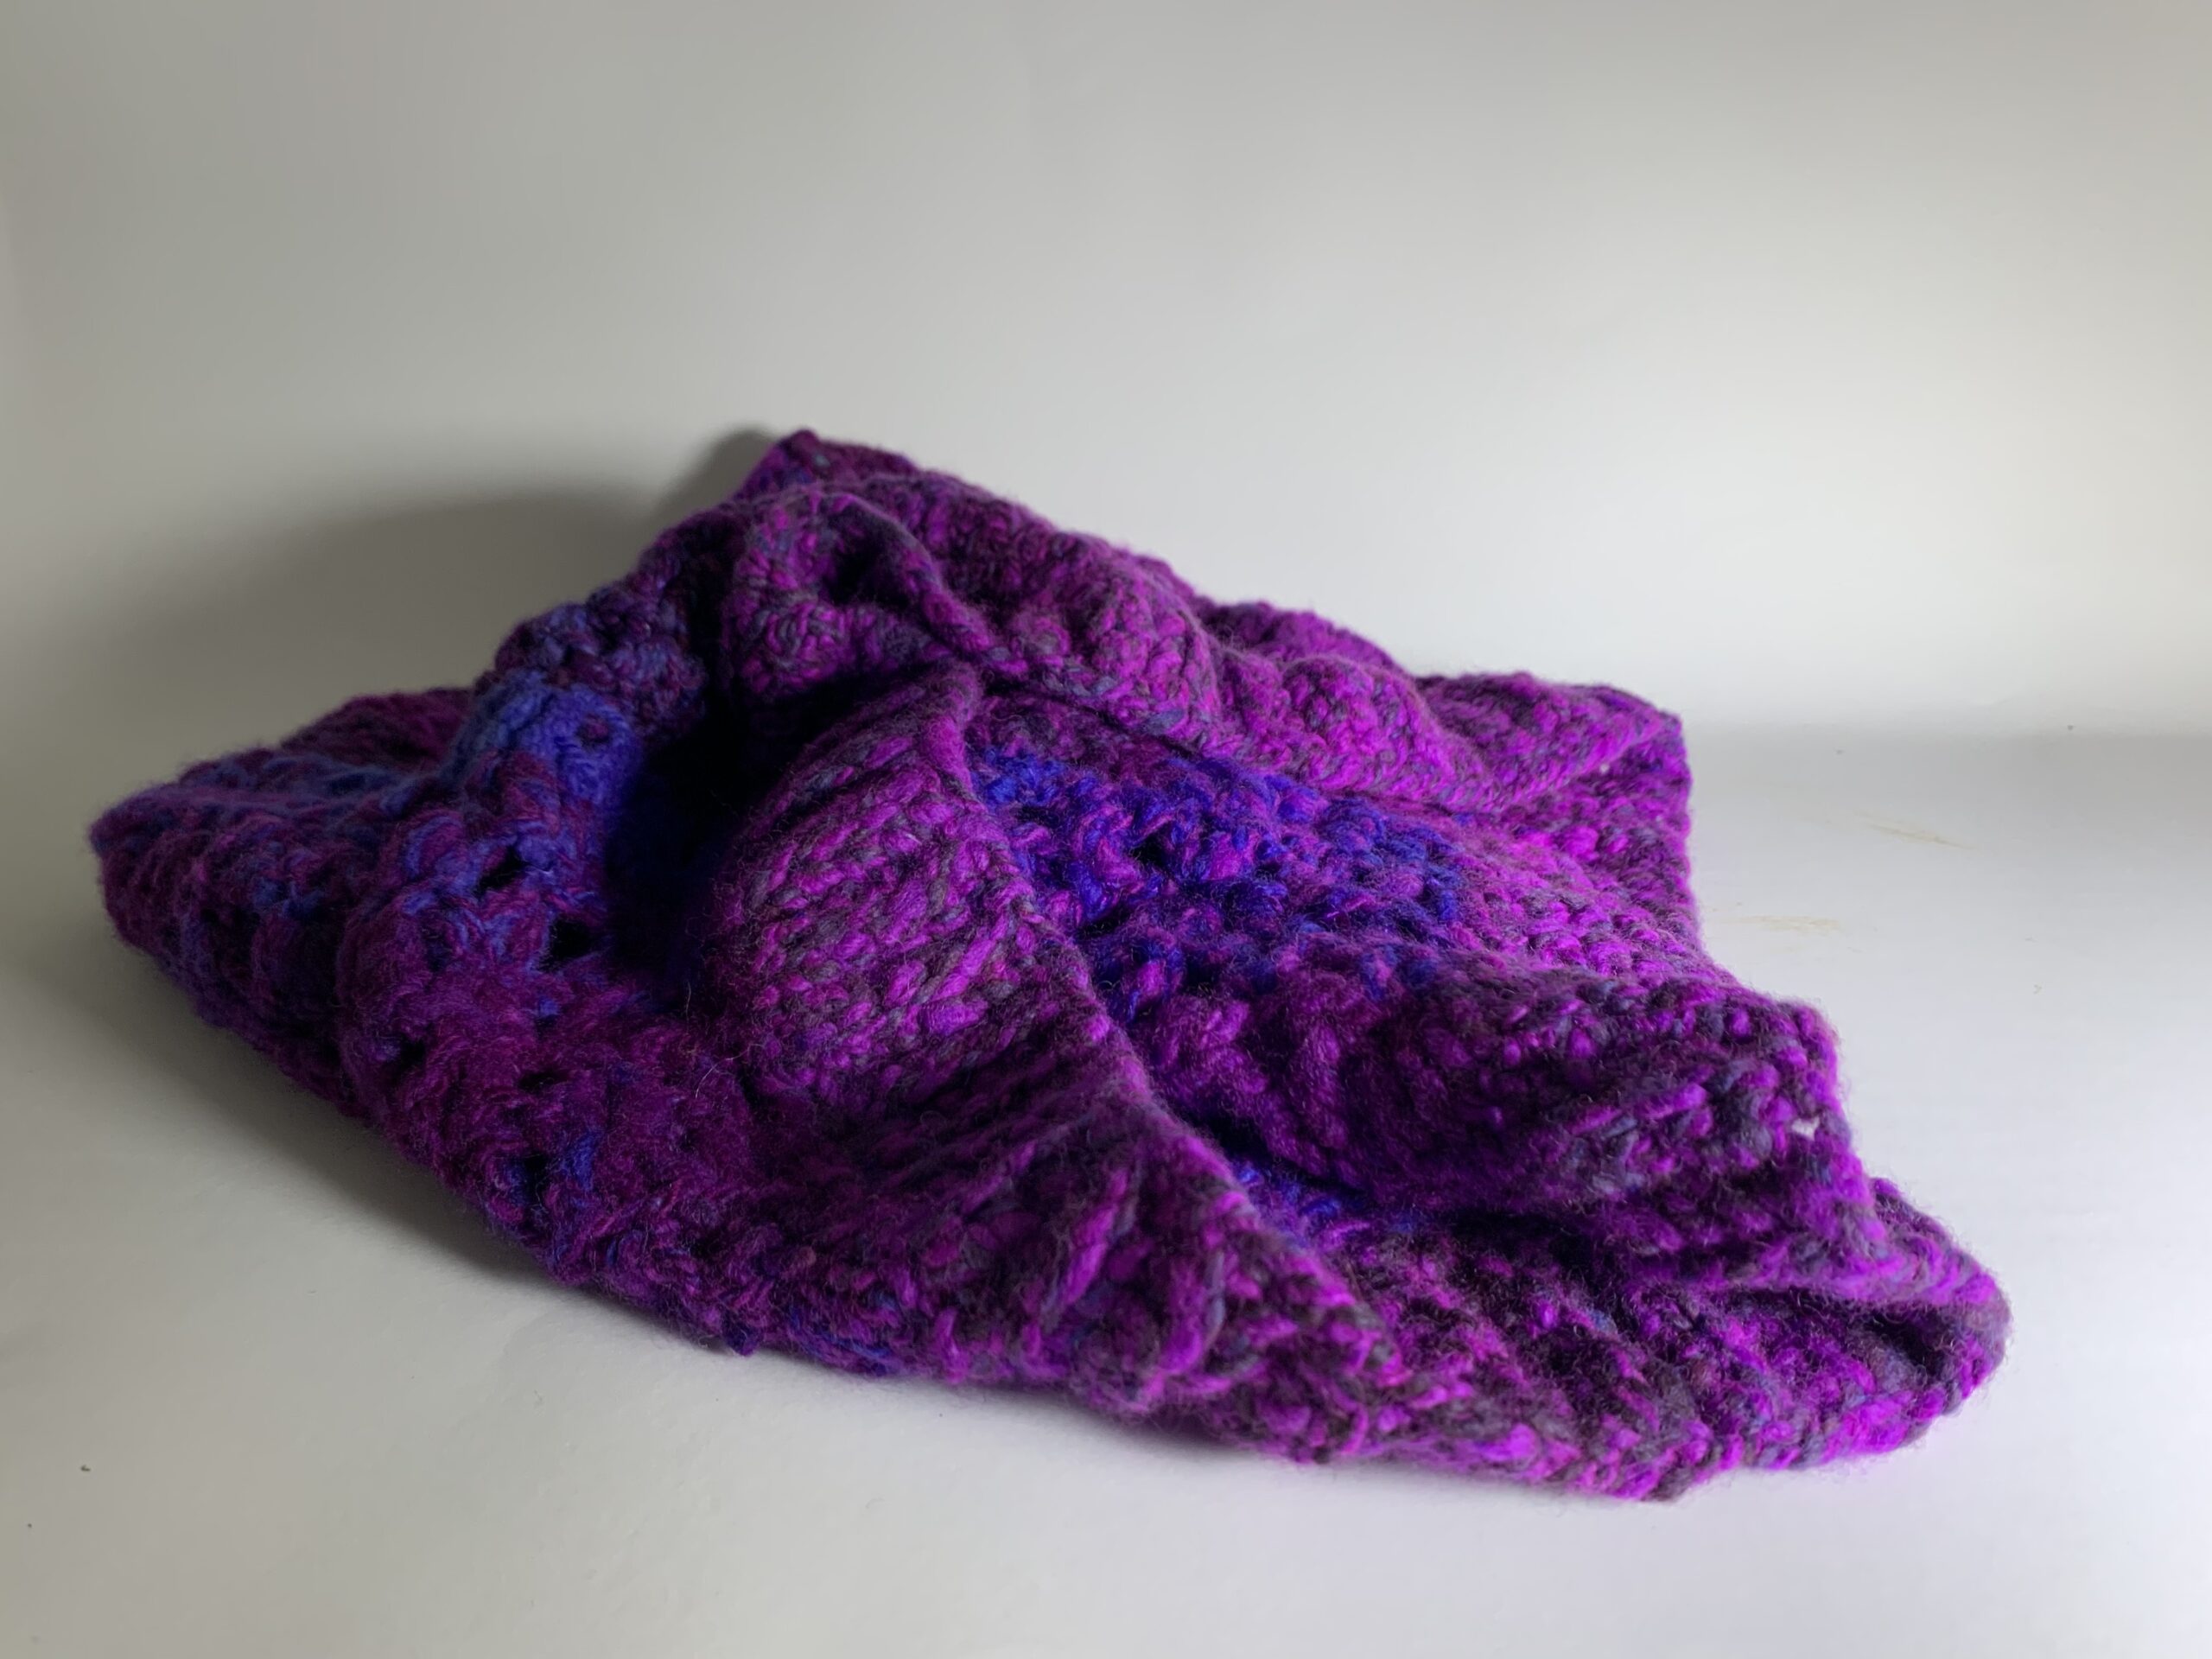
So I over-dyed it with blue:
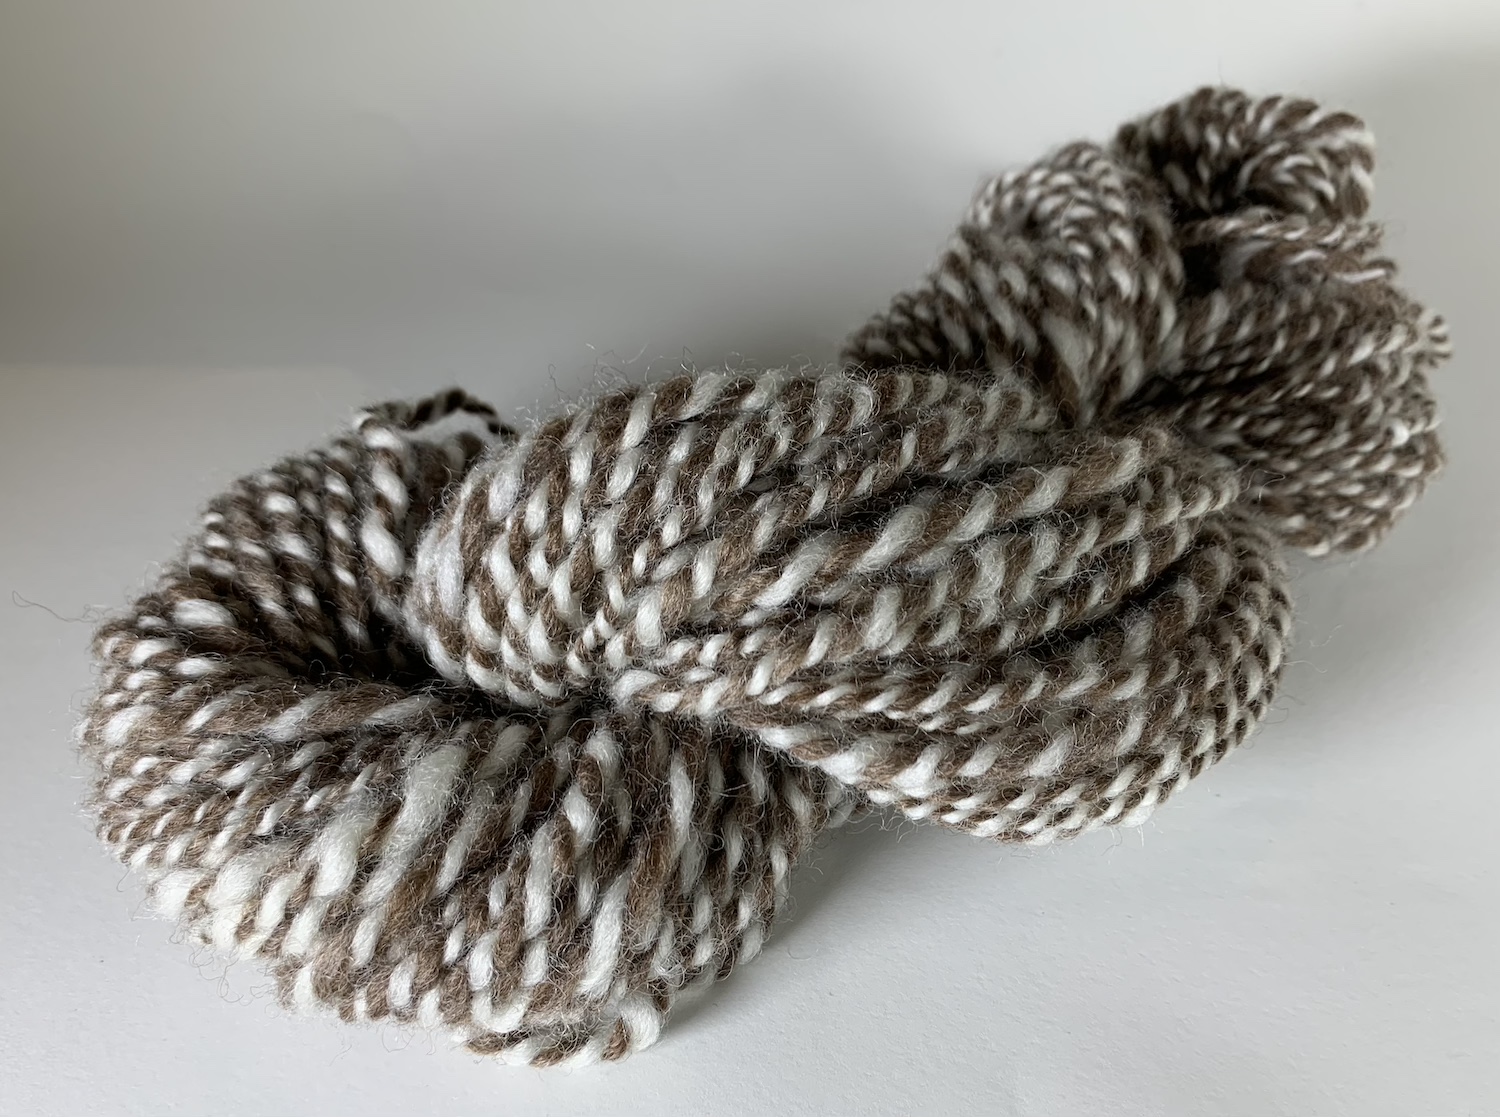
One month into my spinning journey, a beginners class in Auckland came up so I toddled along with a friend (Margaret) who was curious but not really interested in taking up spinning (she couldn’t knit or crochet). They gave us some mystery brown and white wool to play with, I am pleased with the results but it is very coarse, too coarse for anything wearable so I am crocheting it into a bowl.
Margaret ended up buying the wheel she had been practicing on in the class (from the same person who sold me my wheel, I am starting to imagine Shirley has a house full of wheels that she has to climb over to move between rooms) 🙂 Margaret is also learning to crochet now she is enjoying spinning – another convert to the wonderful world of fibre!
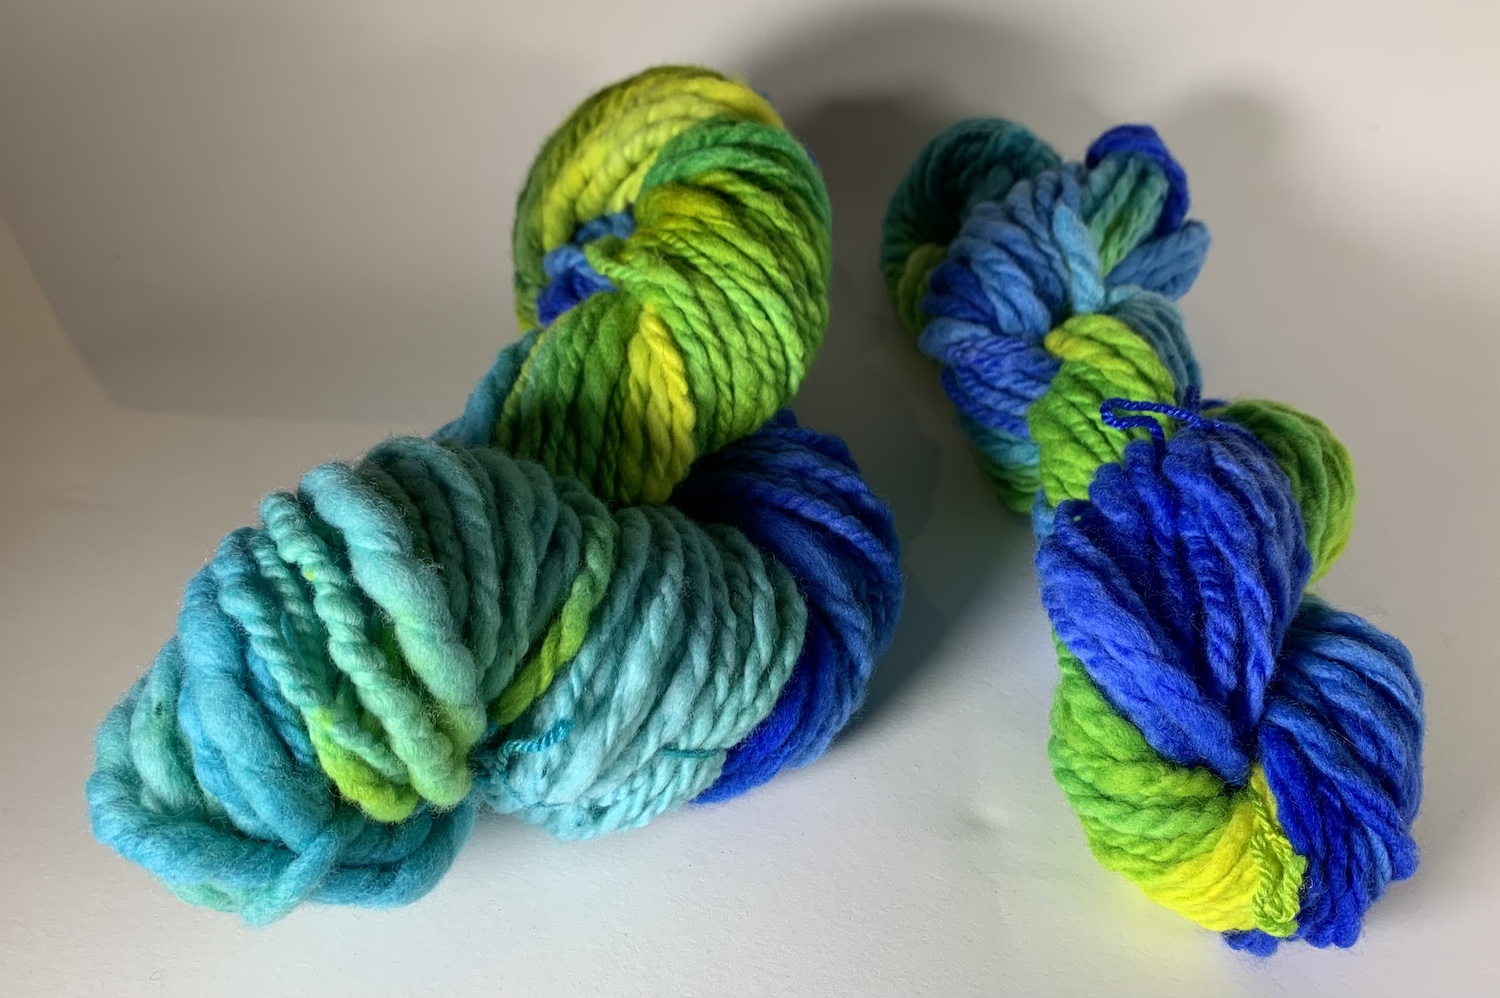
I have also been playing with making slubby and chunky yarns and then dyeing it:
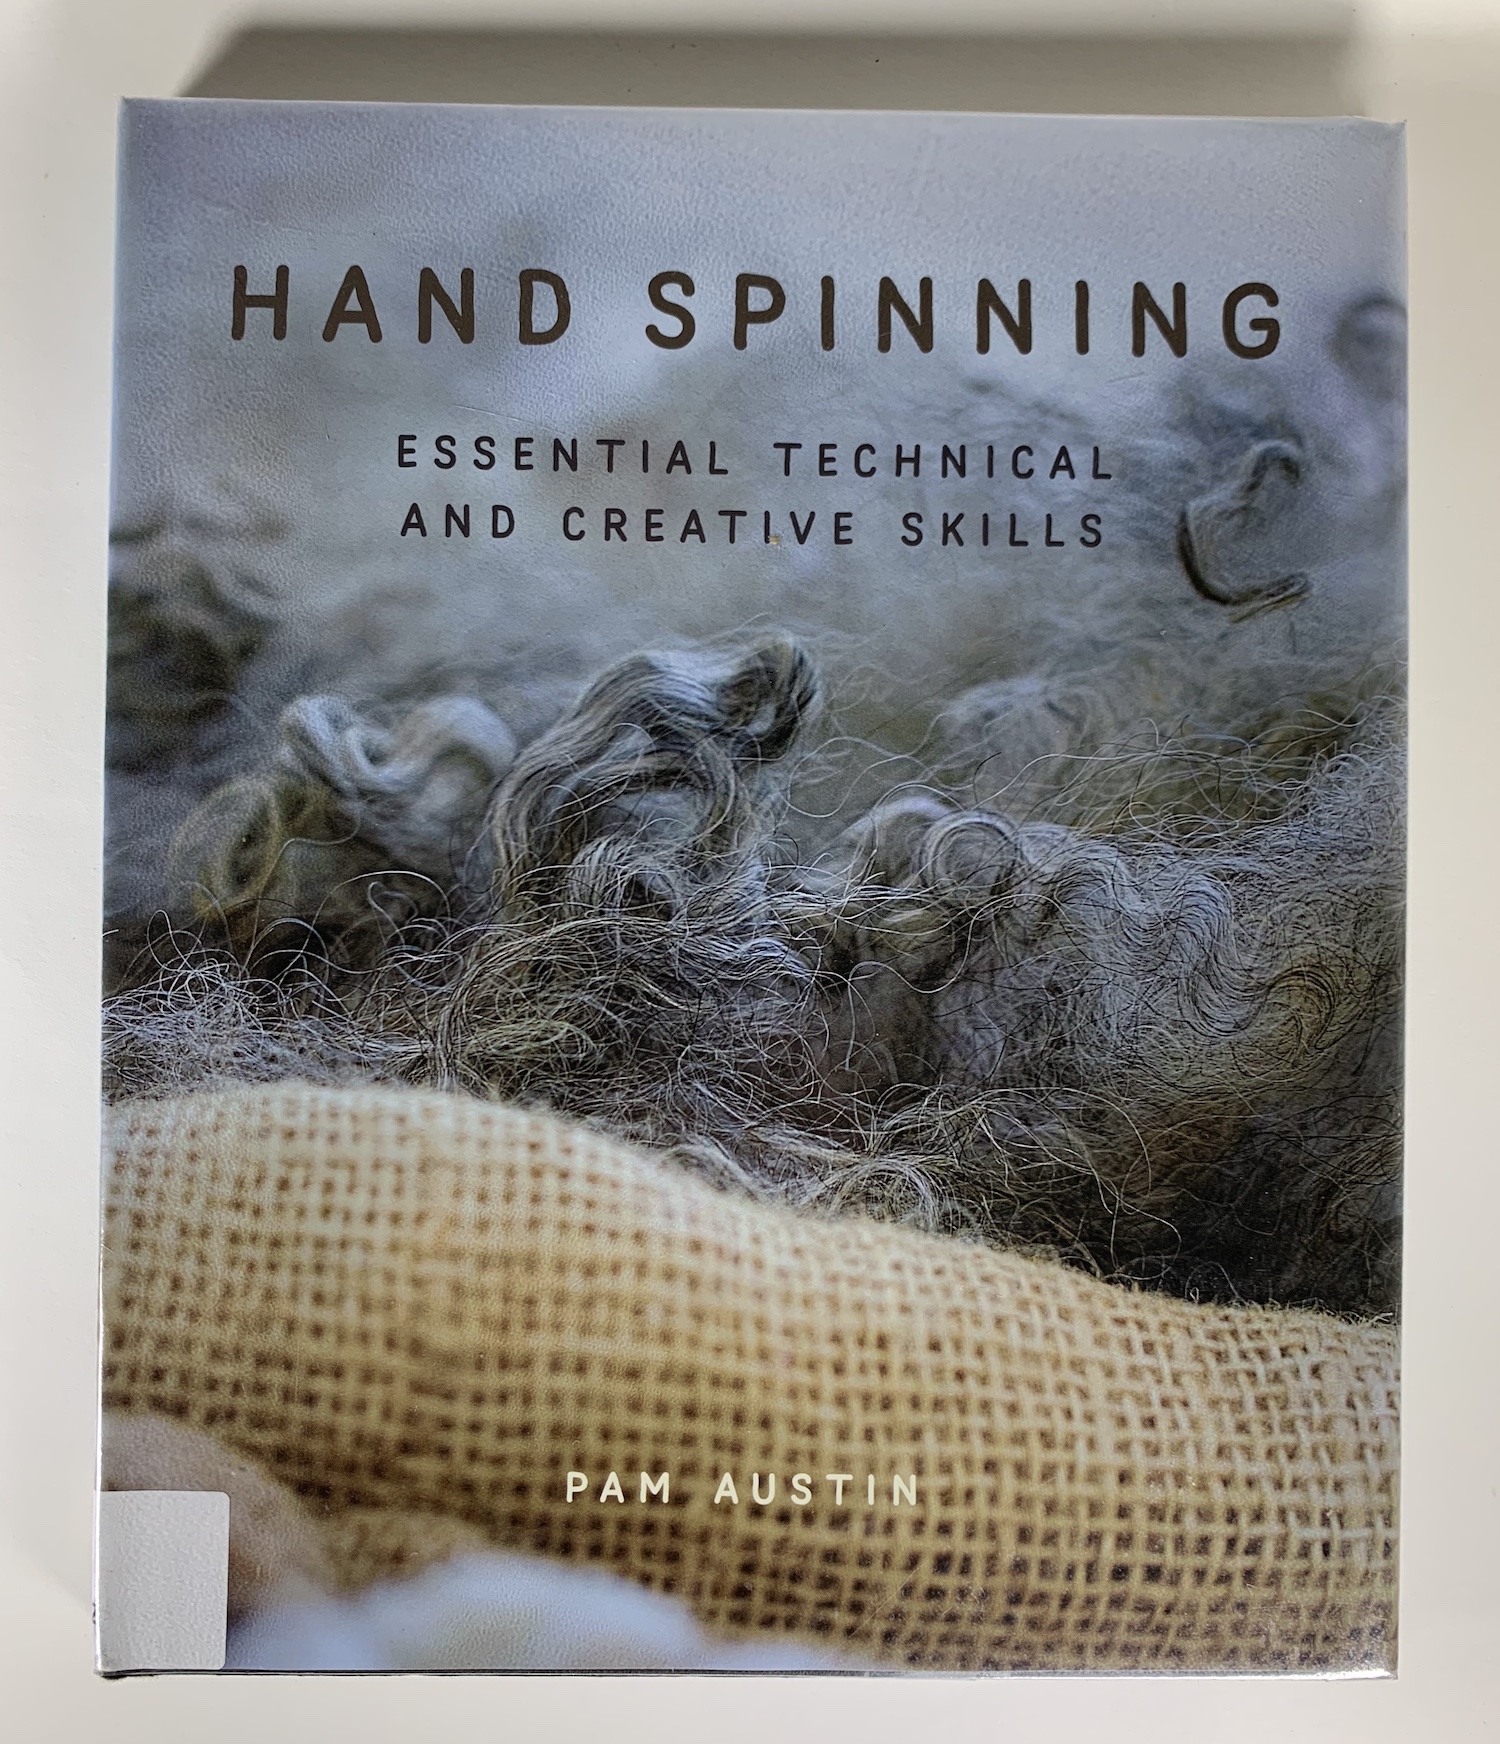
I found a few books on spinning at the library, the first one I read, Hand Spinning by Pam Austin was a bit disappointing, it didn’t cover anything I hadn’t already learned from watching YouTube videos. Frustratingly it mentioned a limited selection of art yarn types but didn’t offer any information on how you might spin them.
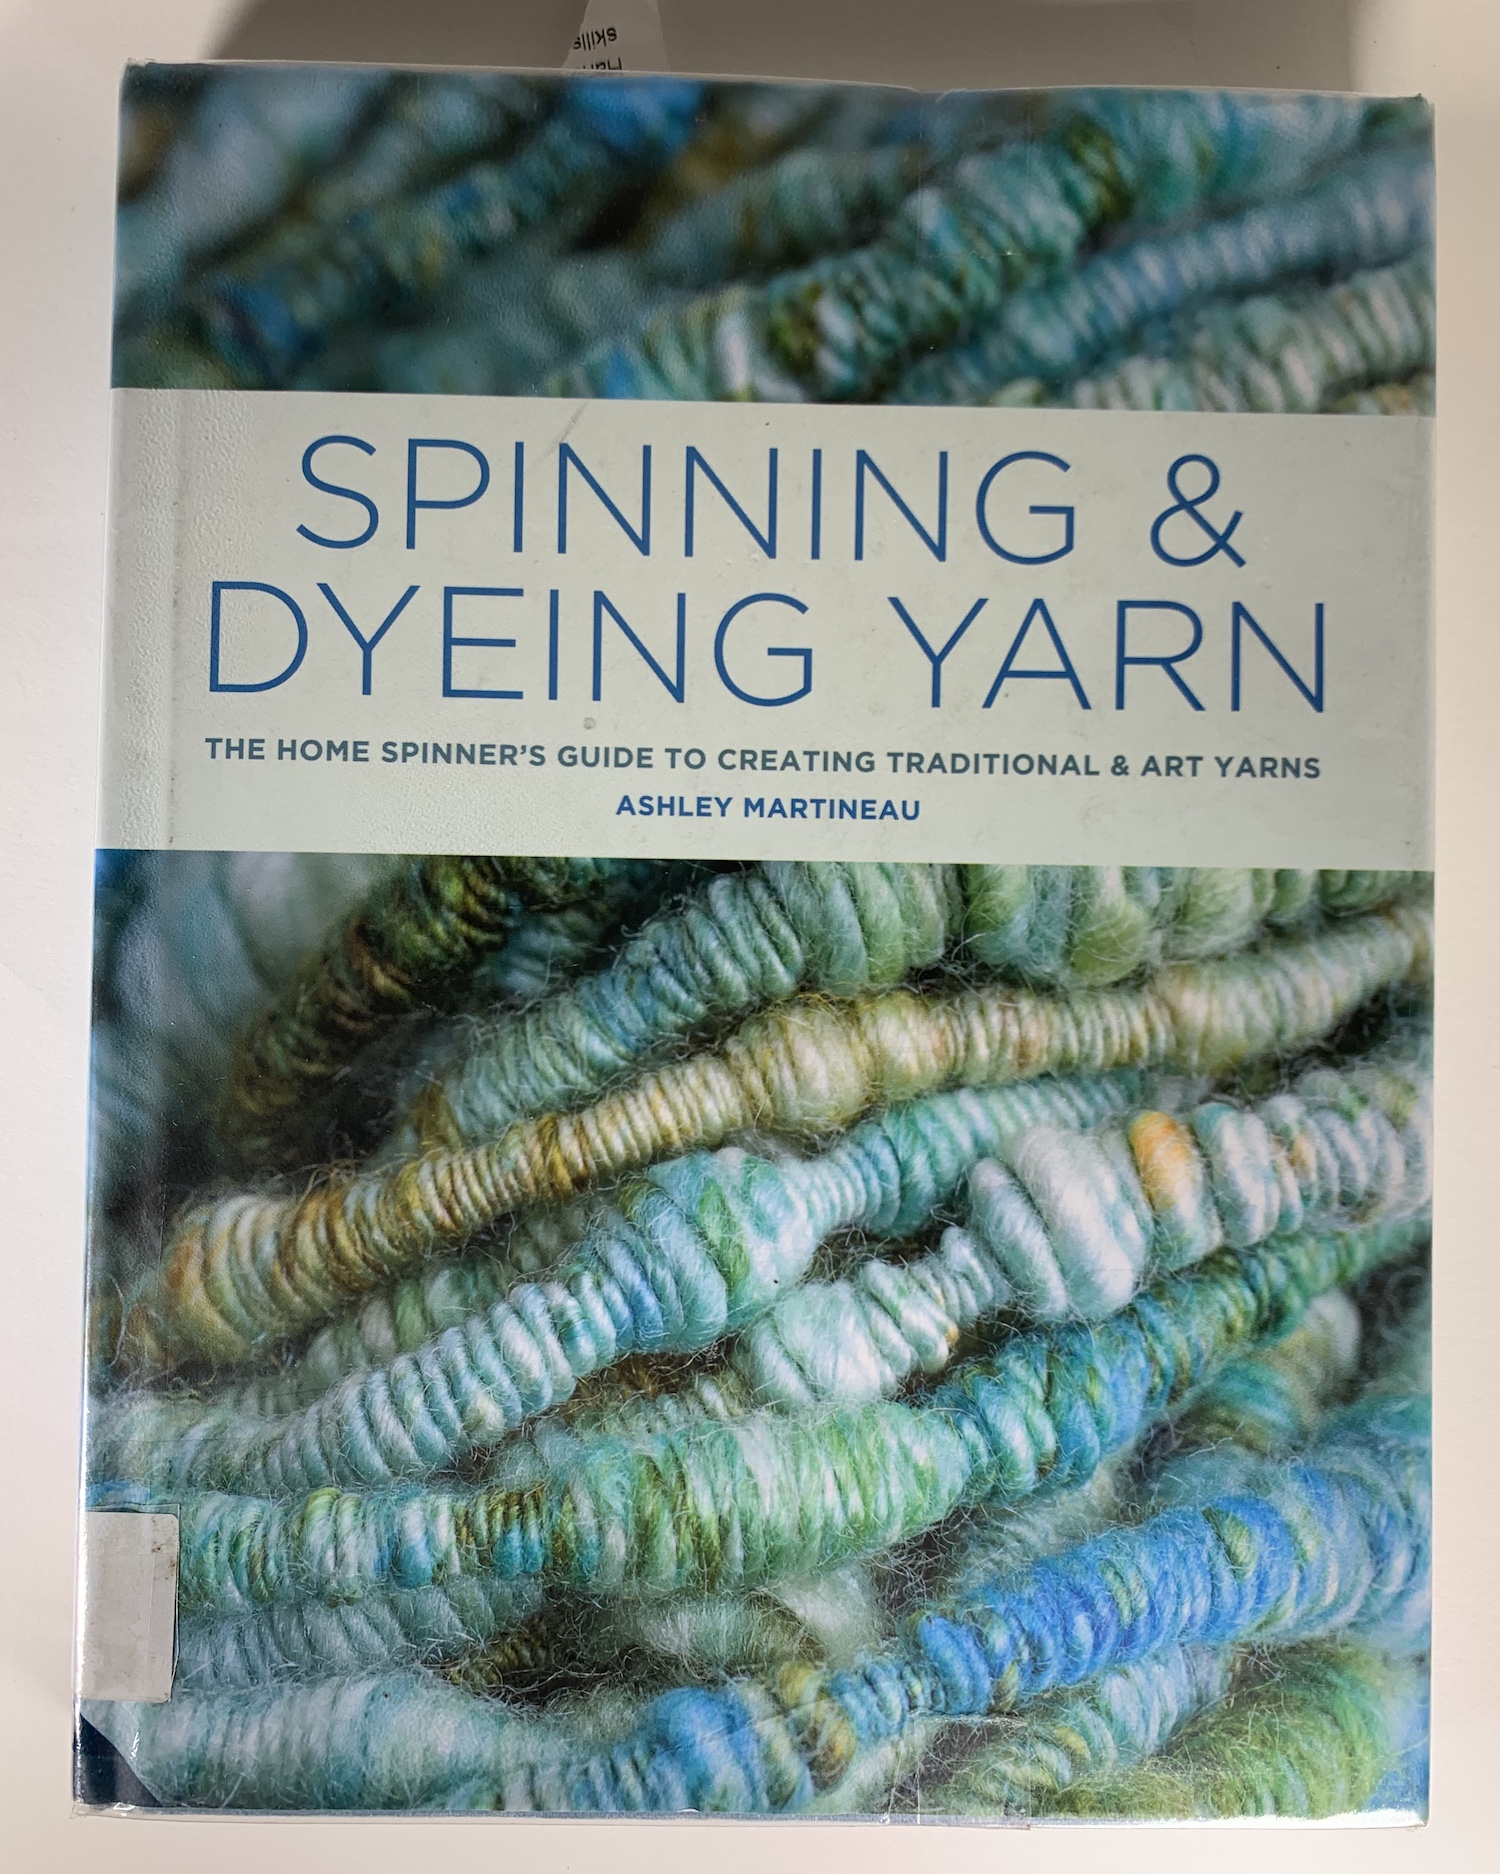
I found Spinning and Dyeing Yarn much more useful, jam-packed with technical, how-to information and lots of drool-worthy photos of beautiful yarns by different artists to give the reader inspiration and something to aspire to. For me, I was very taken with the art yarn chapter – I had no idea there were so many different species of art yarn and for each one there is at least one page explaining how to create it yourself.
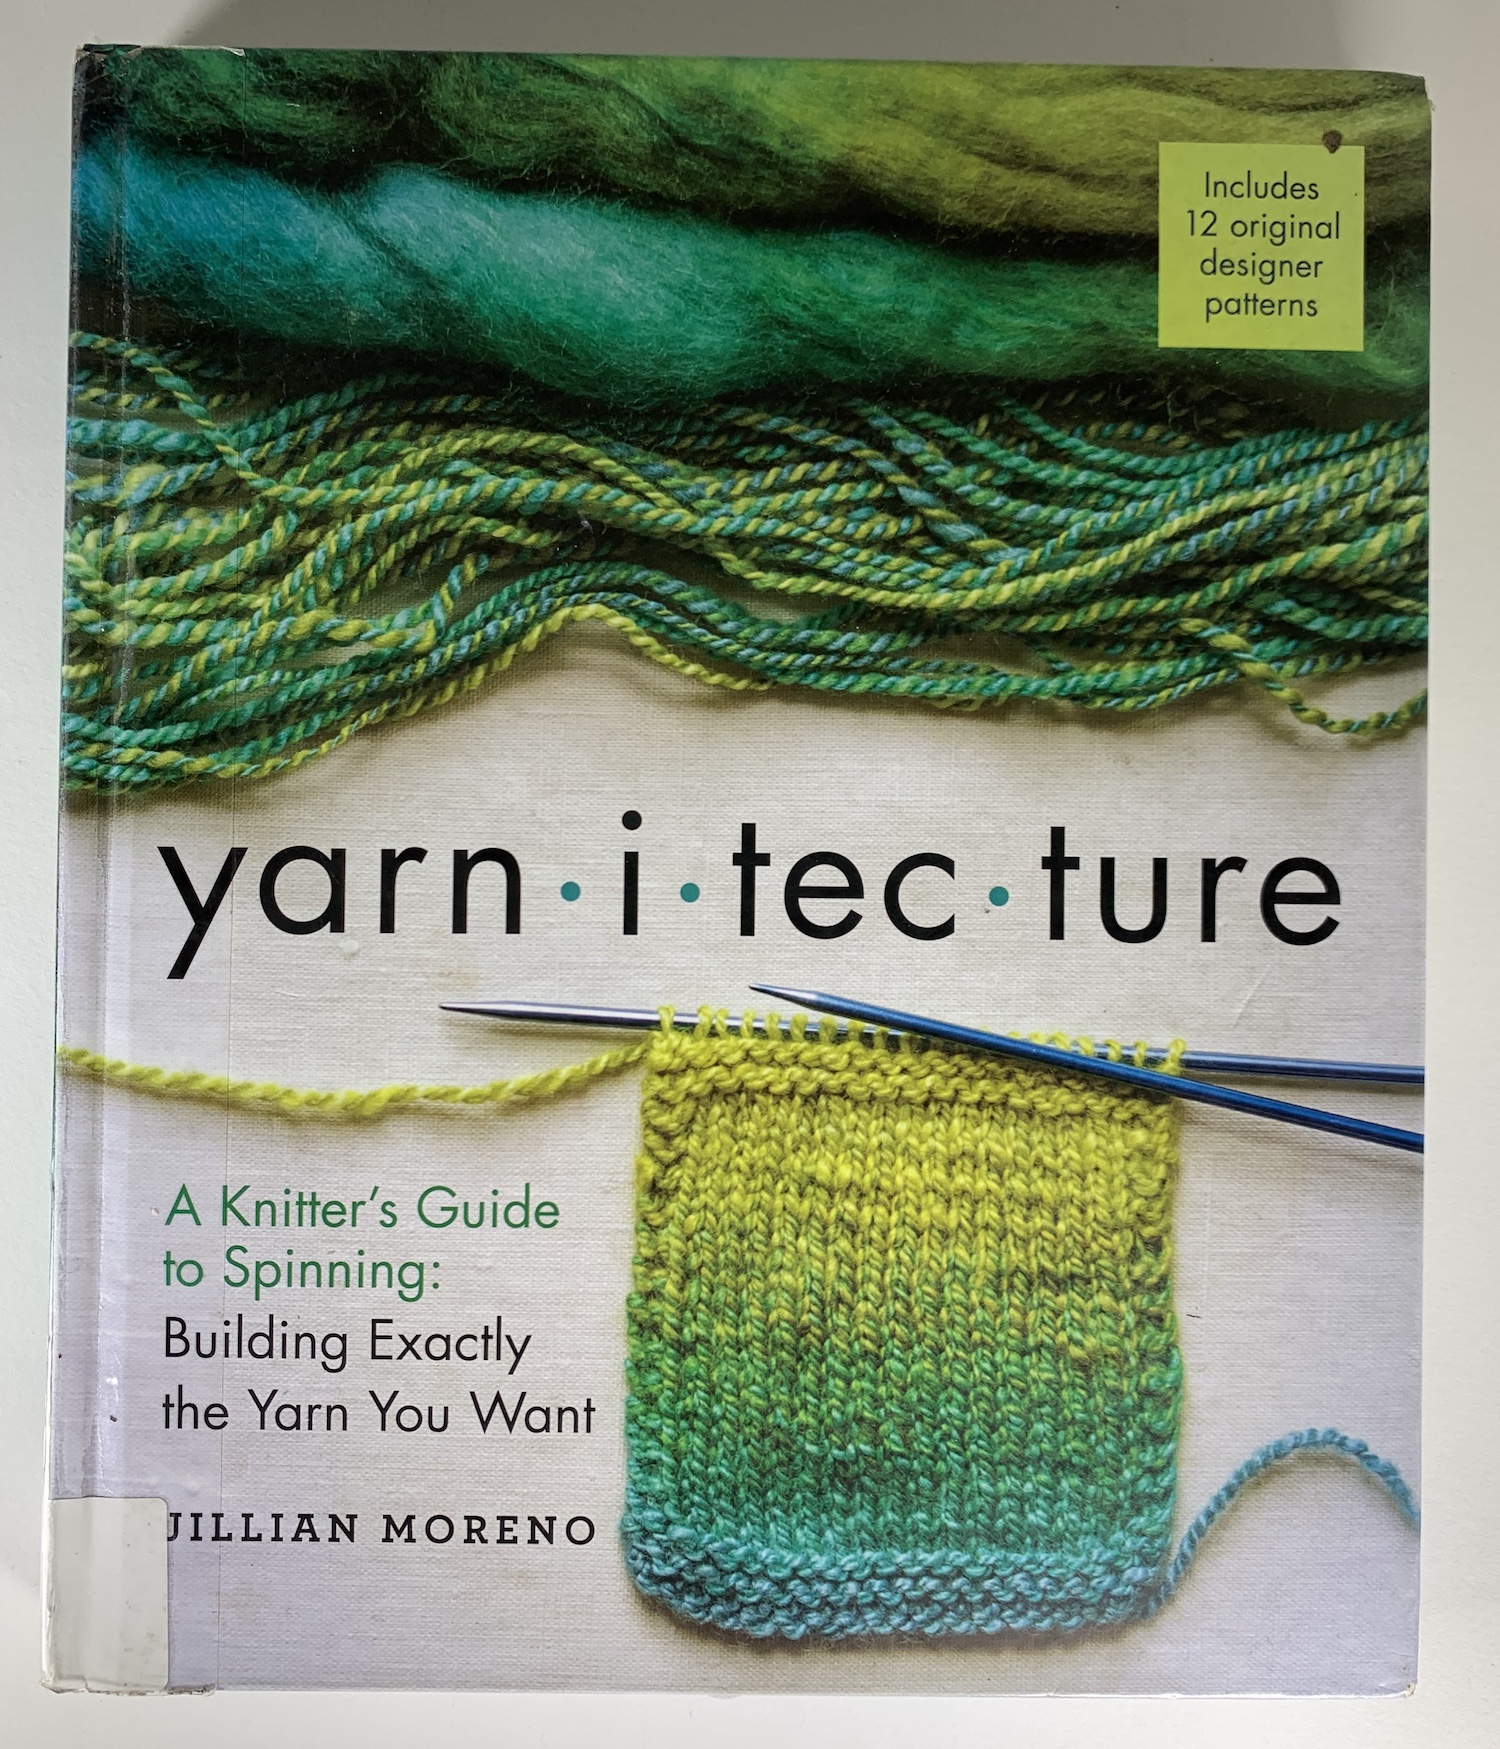
I have only just started reading Yarn-i-tec-ture but I find the concept behind it intriguing, that you can spin a yarn with exactly the properties (stretch, warmth, shine etc) and colours you want…. Can’t wait to see if it delivers on that promise 🙂
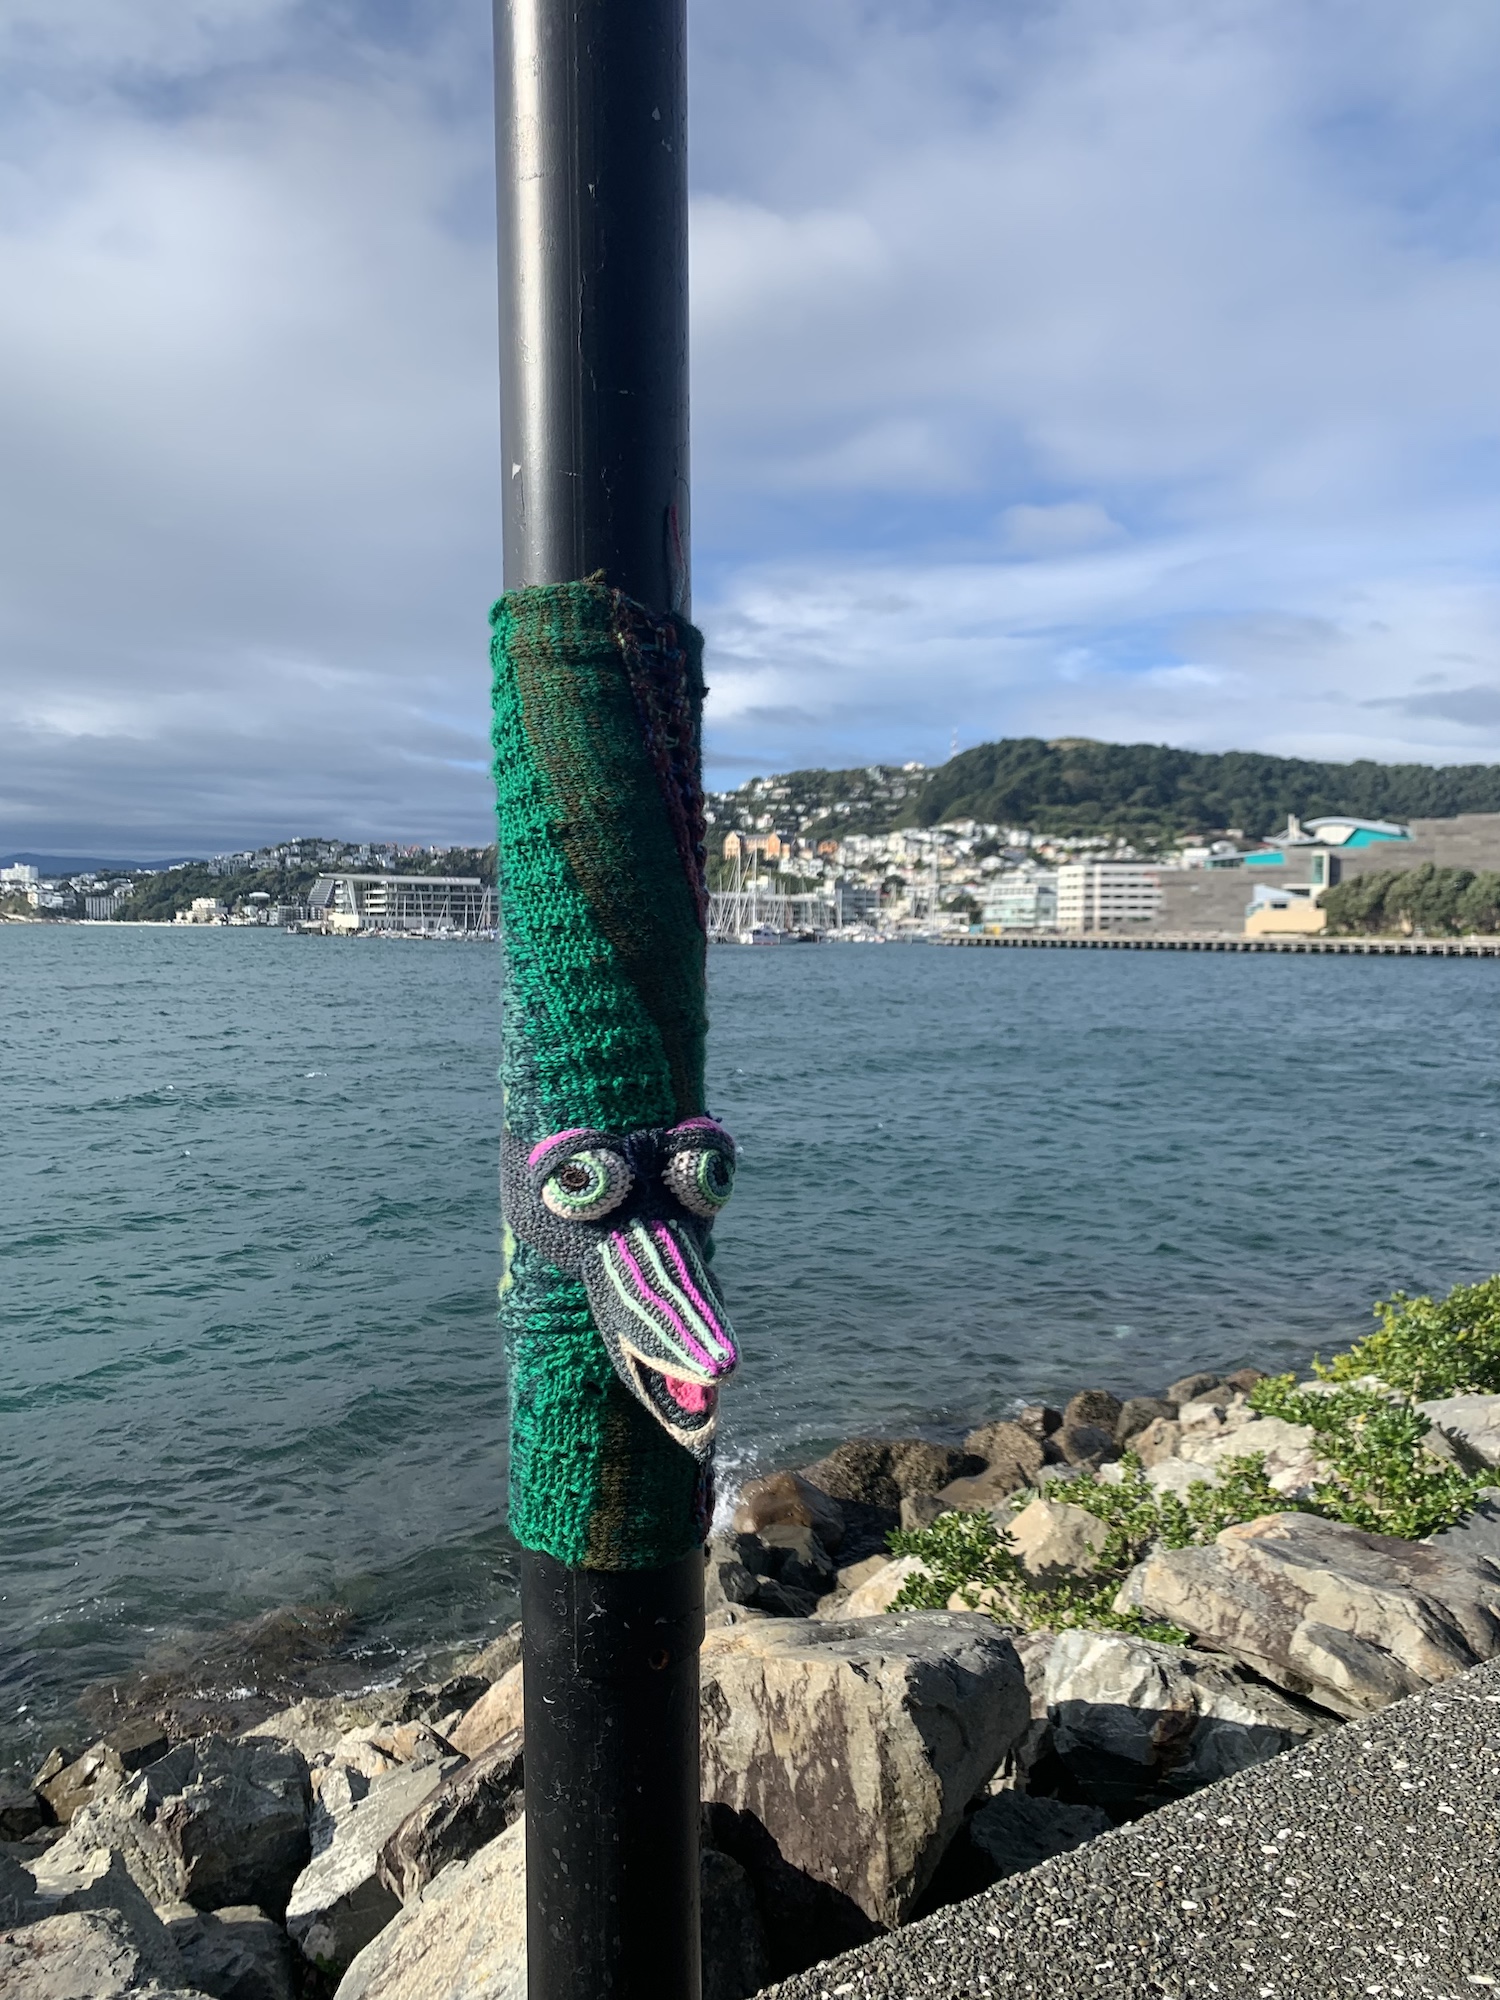
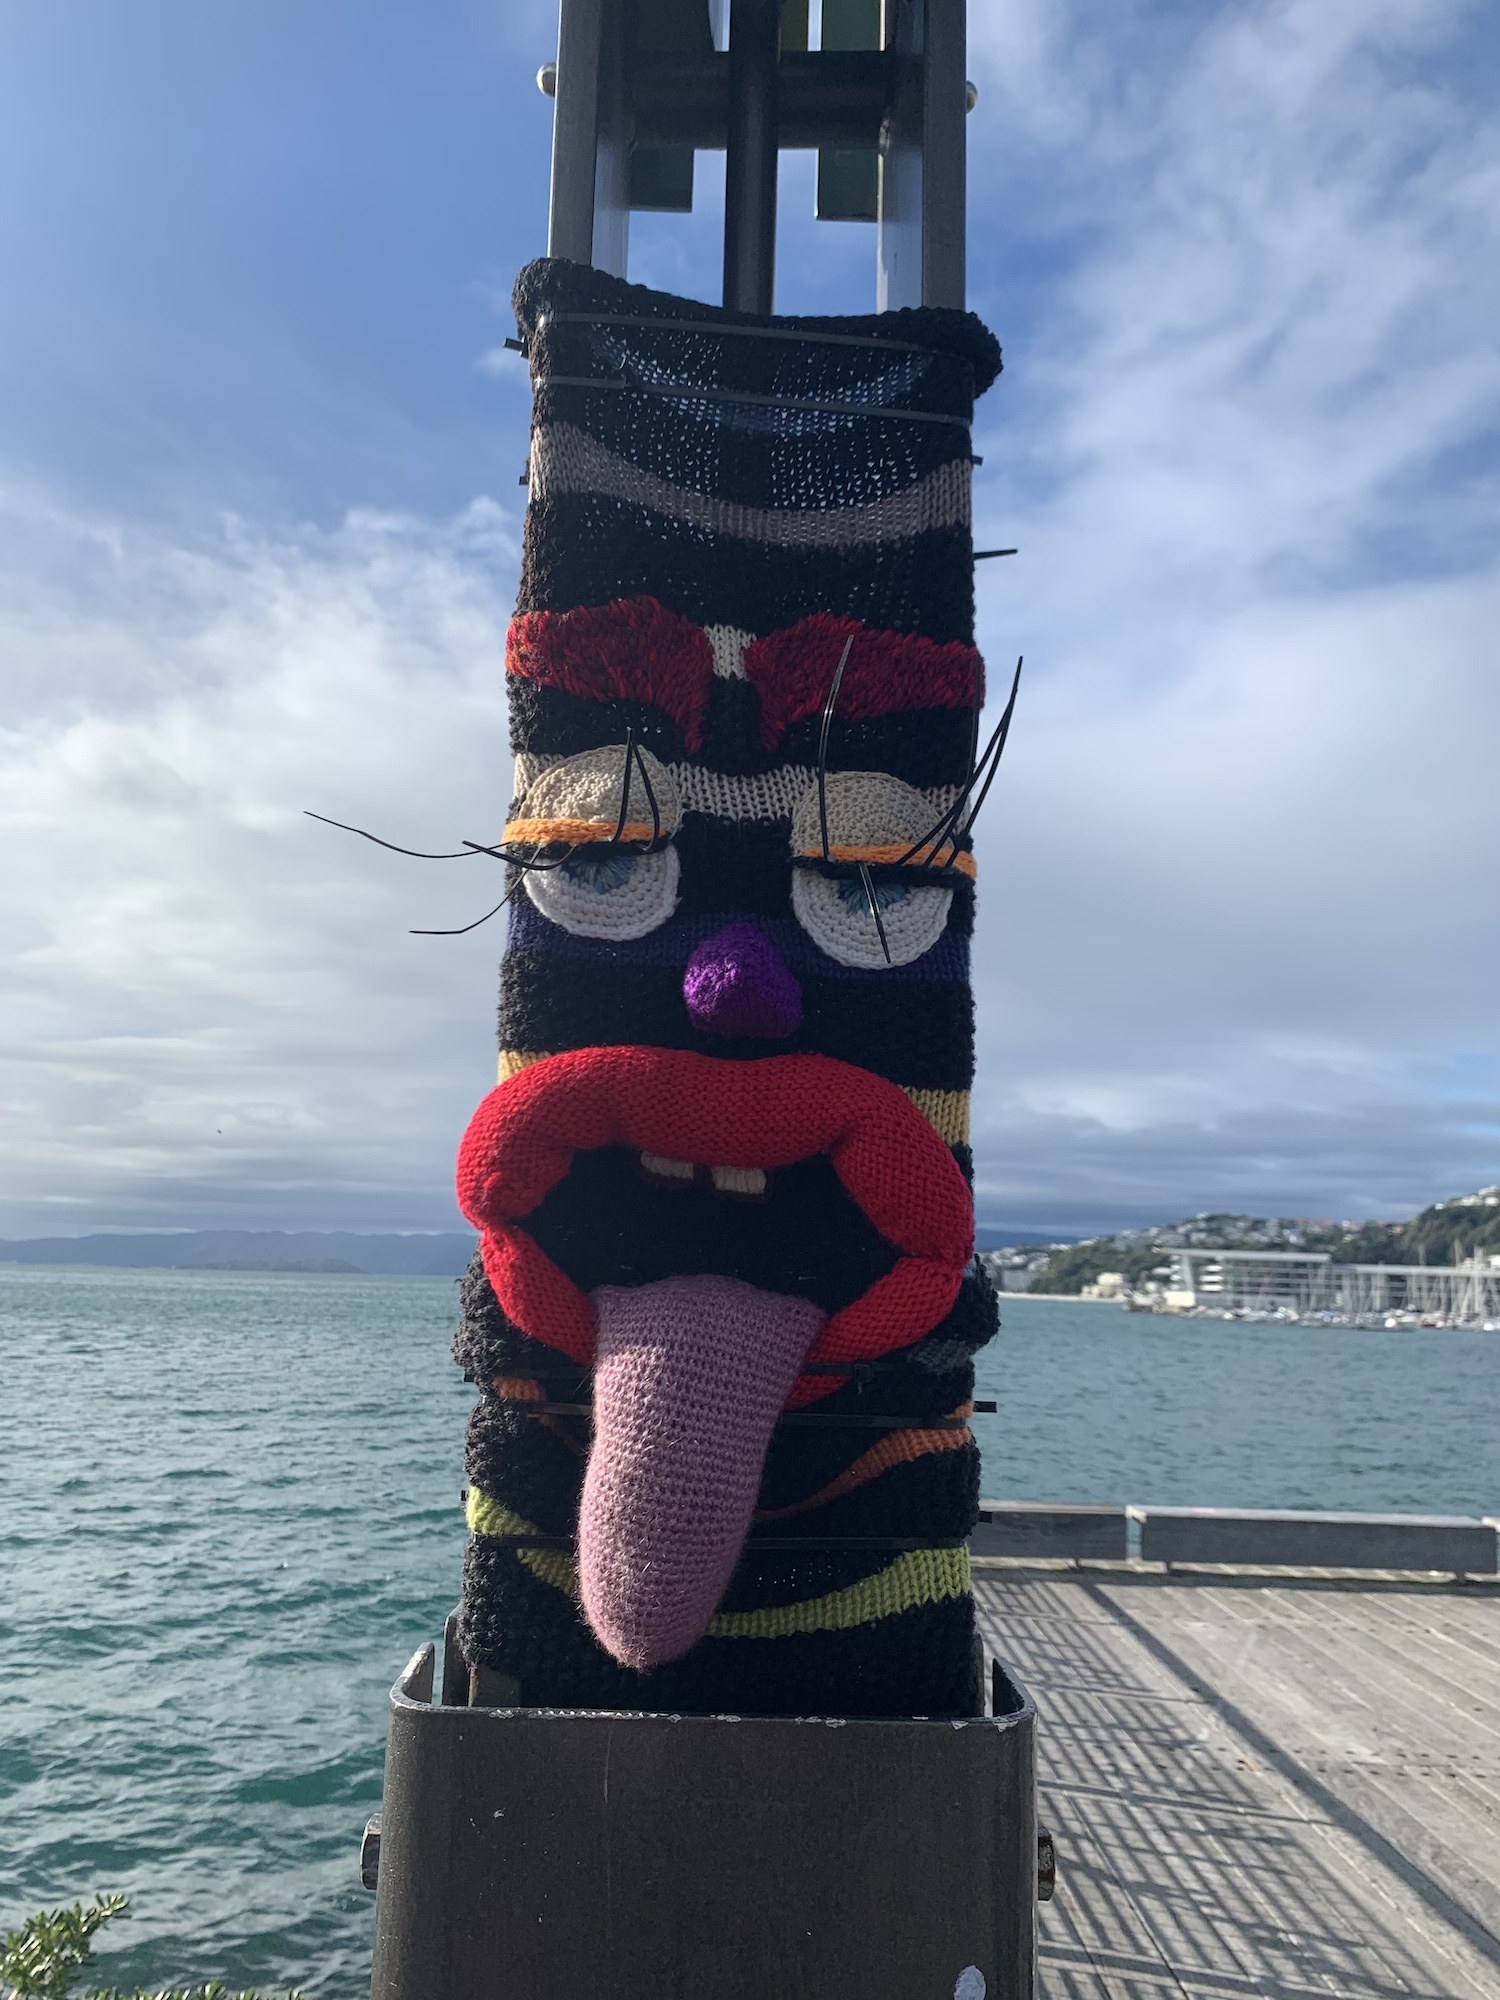
I had to share these with you, there are several of them along the Wellington waterfront, they were very popular for selfies so I only managed to get photos of two of them but they are so cool I just had to share. Something for me to aspire to on my learning to knit journey! 🙂
Following several requests, I have posted my Concertina Hat and Snail Hat tutorials on Etsy. If you enter code FAFS30 (before the end of July) you will receive a 30% discount at check out. Alternatively, if you prefer a more interactive learning experience, the full online course, including the “taking it further module”, will be starting again in October, for more information and to sign up for notifications when registration opens please follow this link. Or for the bag class this link.