Fabric paper lamination

Last week Ruth Lane blogged about her experiences of experimenting with paper lamination, it was so inspirational I immediately bought a tub of gel medium, I couldn’t wait to try it!

The medium arrived yesterday, so I have been busily following Ruth’s instructions, this is how I got on…
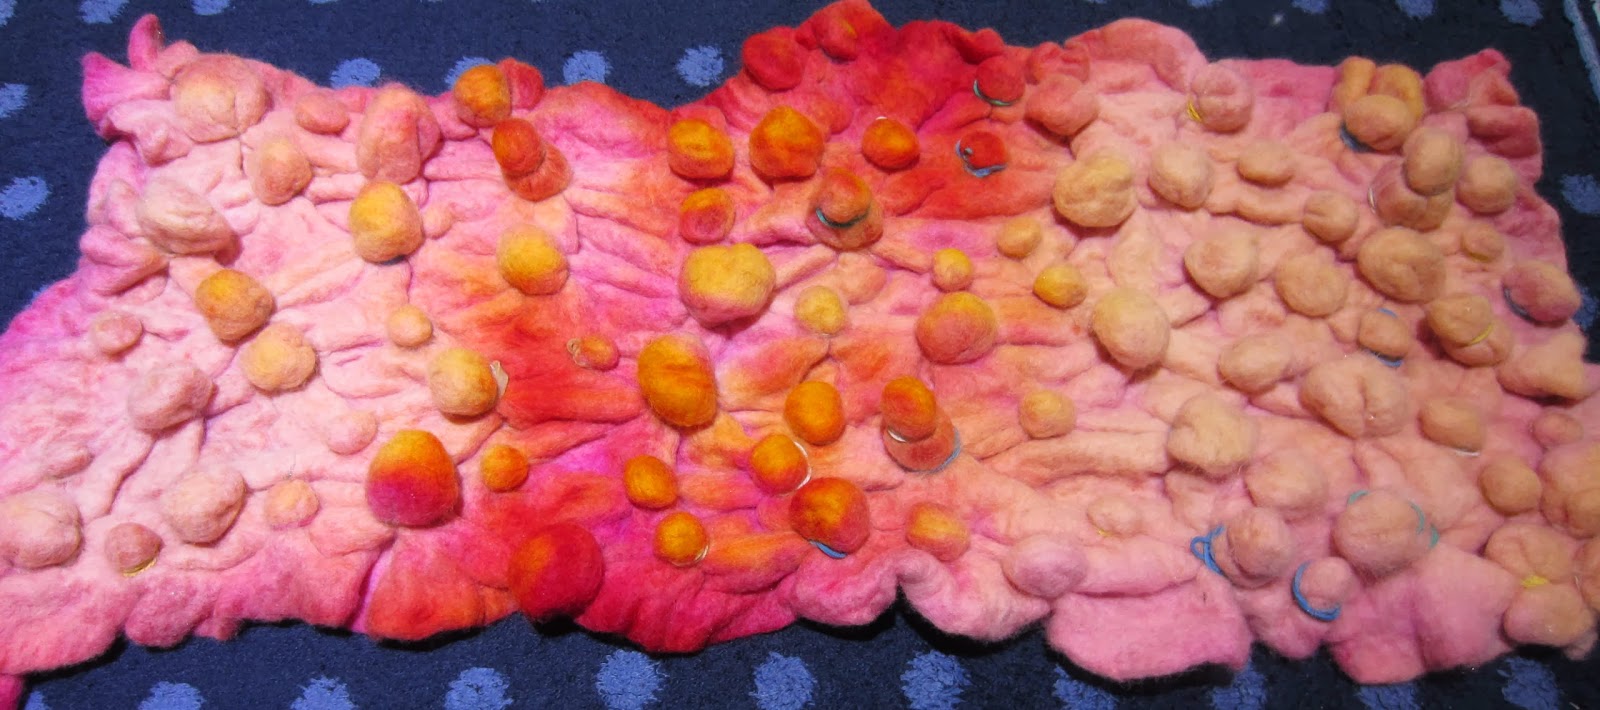
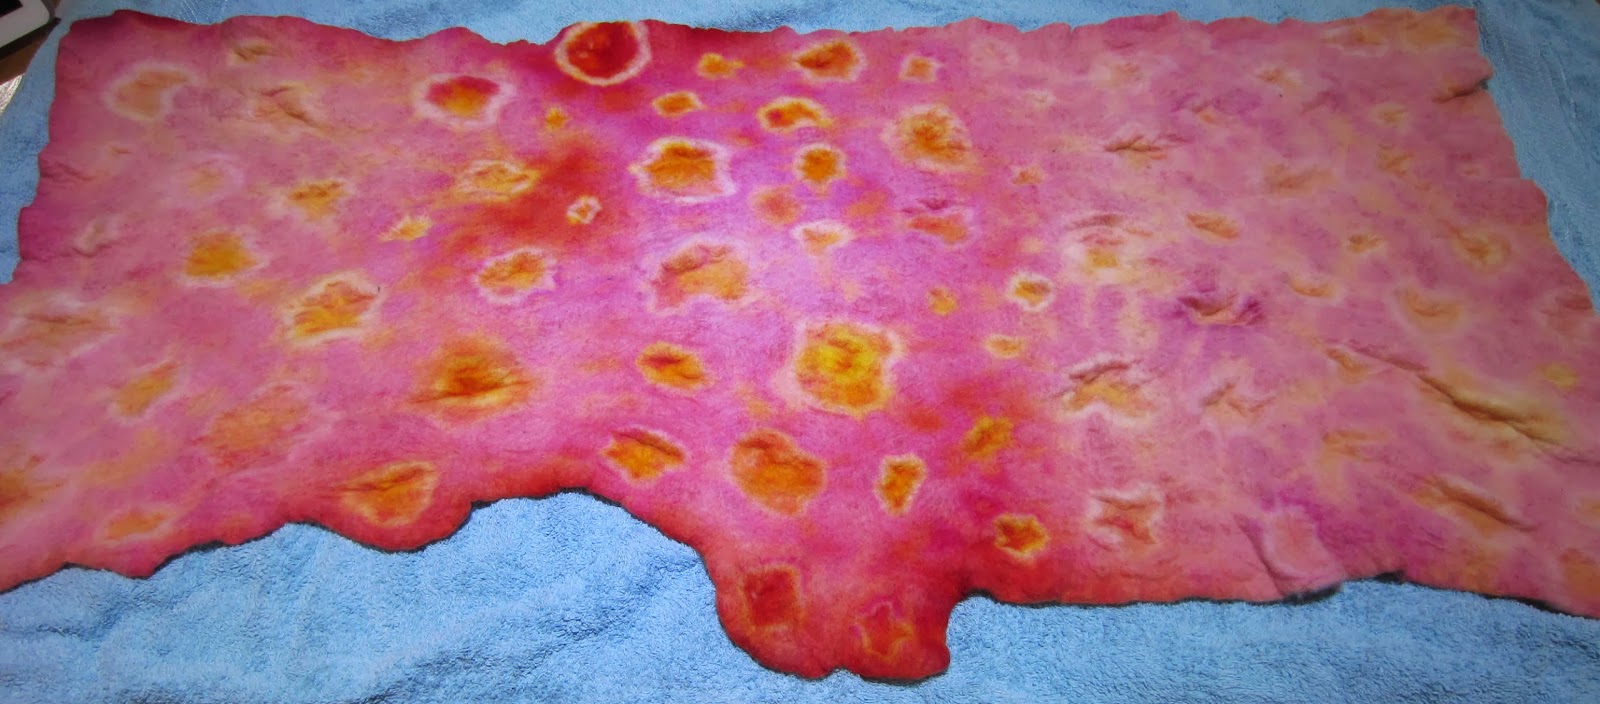
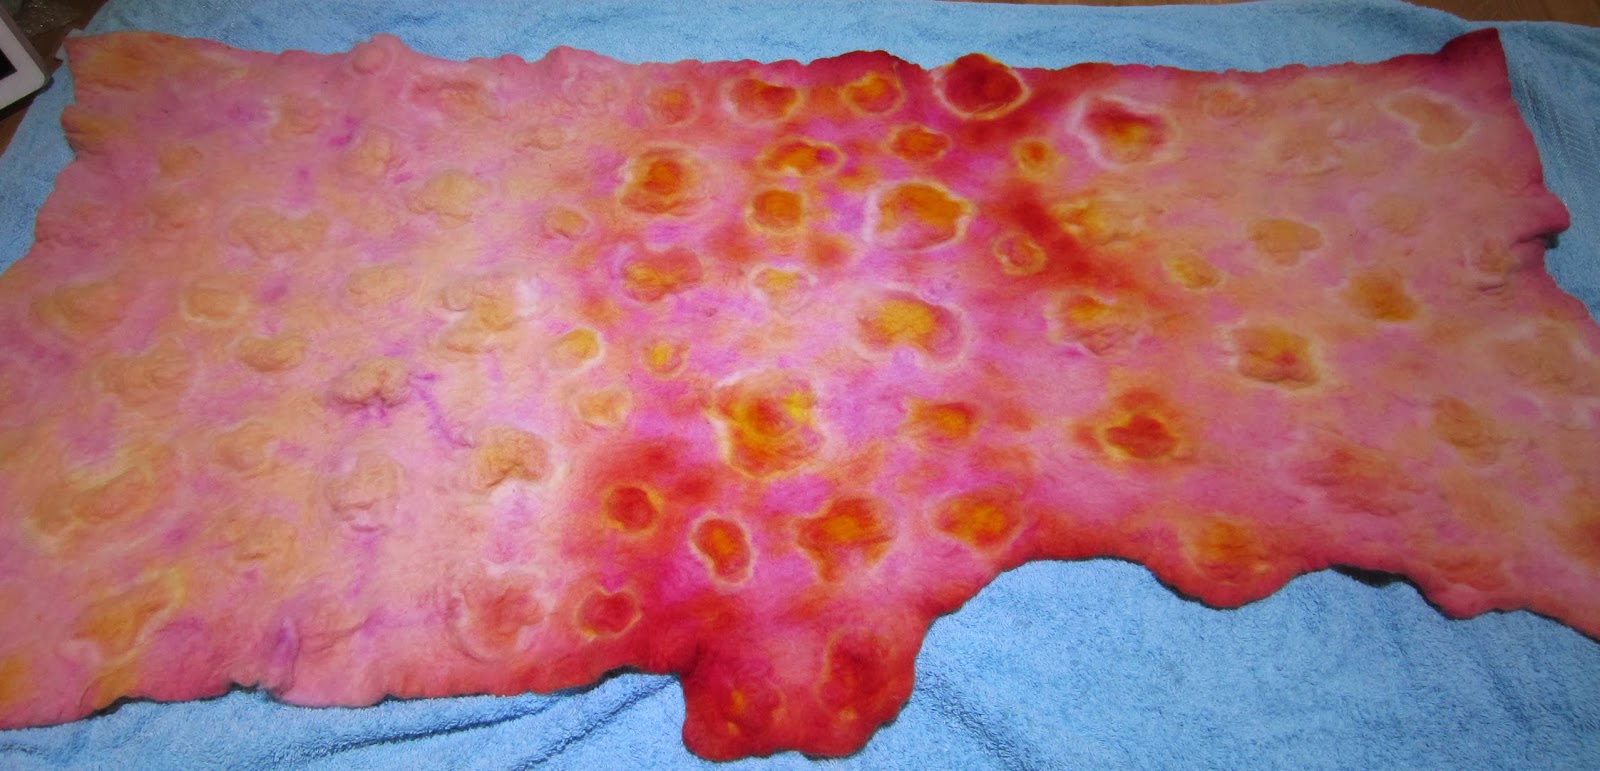
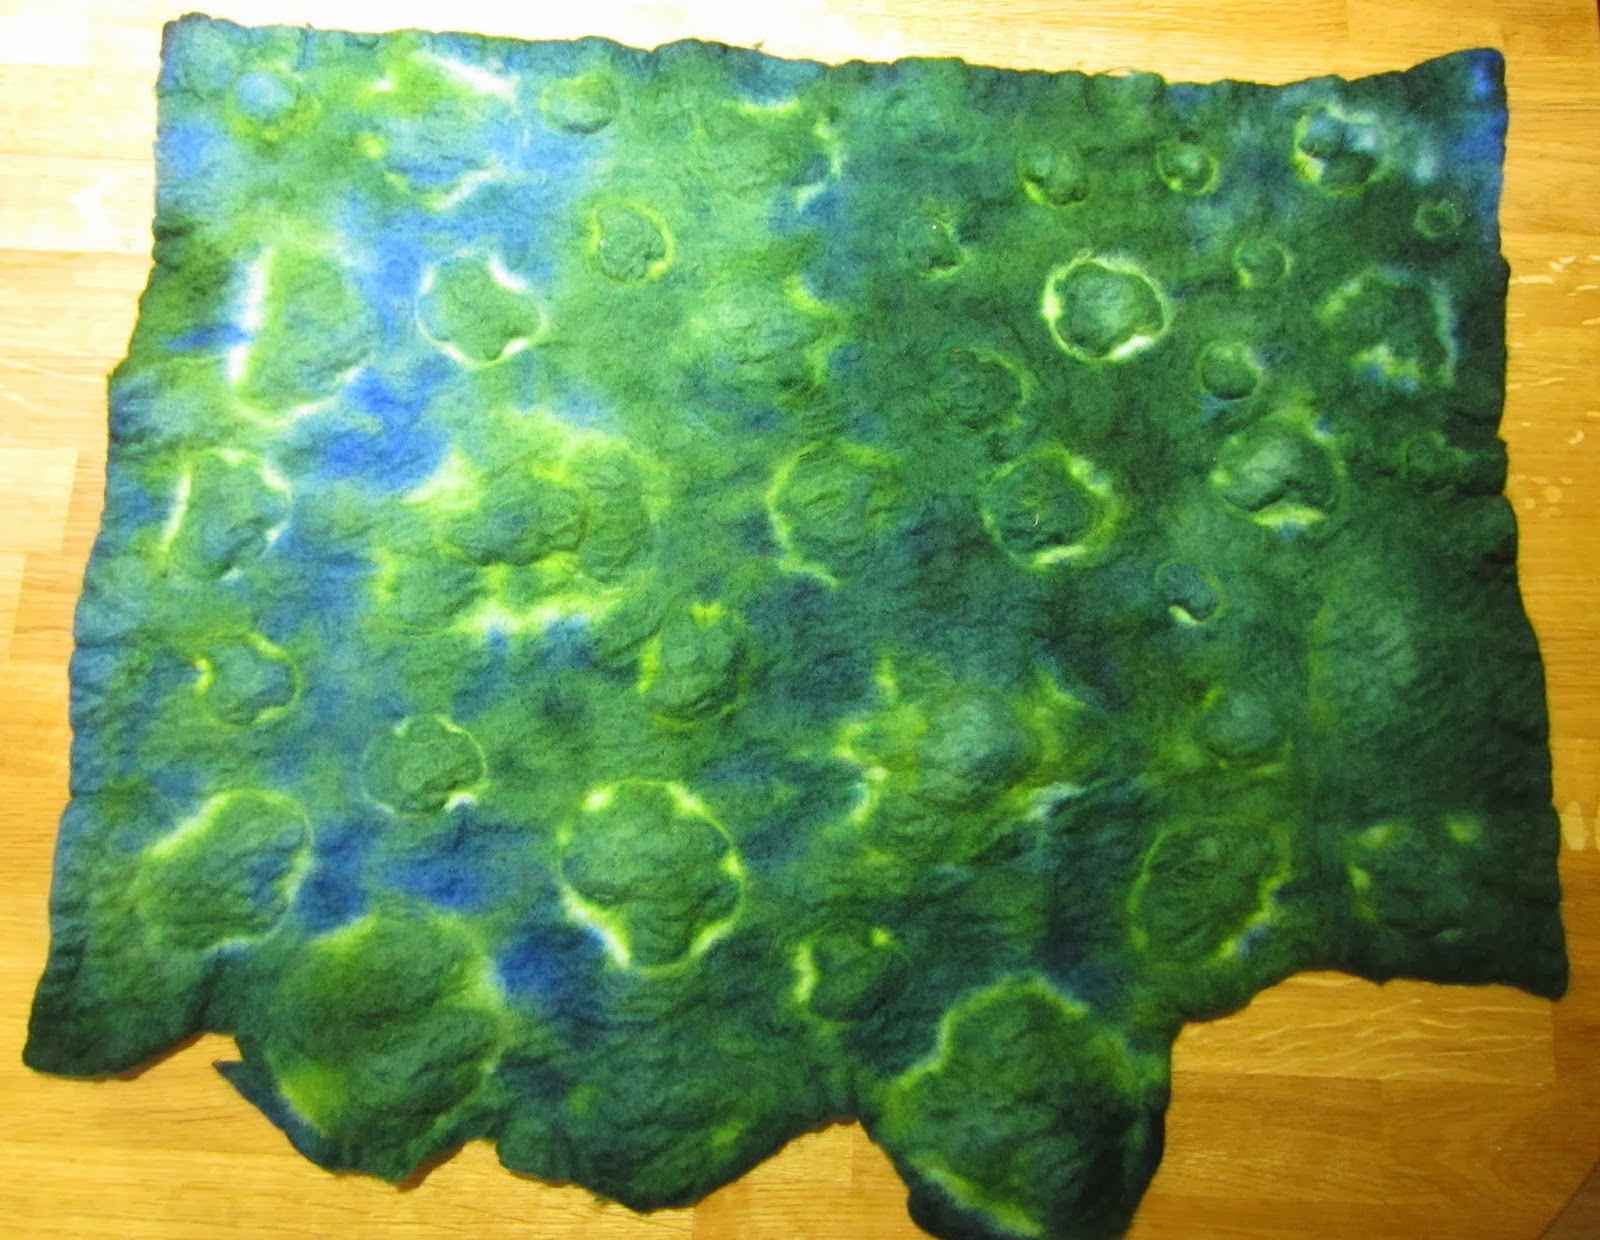
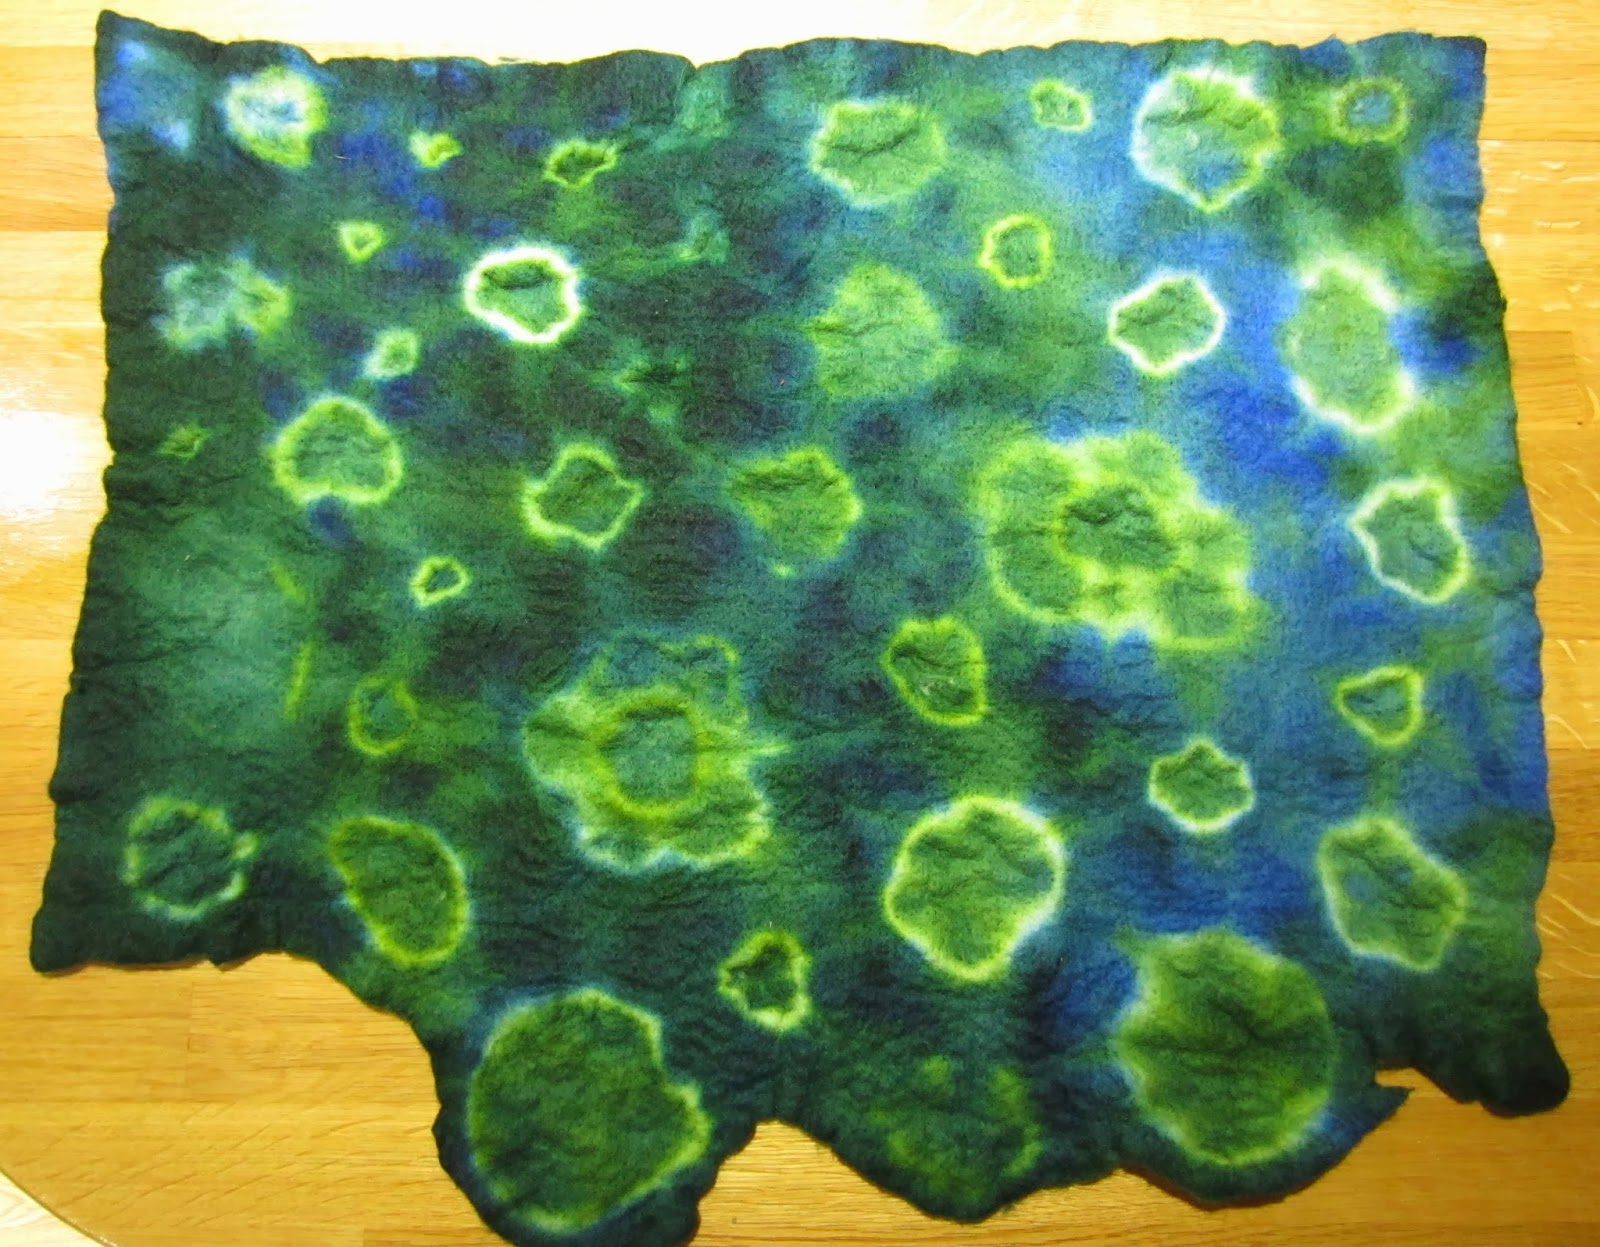
I experimented with 4 different papers and using some stencils I had to hand, painting the medium on with a stiff paint brush.

Glitter paper:
Metallic green paper:

Red card:

Handmade paper with tea leaves (this is after soaking as you could not see the stencilling in the photo taken before):

These are the results after soaking and removing the excess paper…
The glitter paper

 The metallic paper, this stencil kept moving so it is not very well defined and looks rather scruffy:
I think the ladybugs on the red card have worked the best of all the stencils, perhaps the others are bit too detailed and the detail was lost (mostly due to my ineptitude with using stencils).

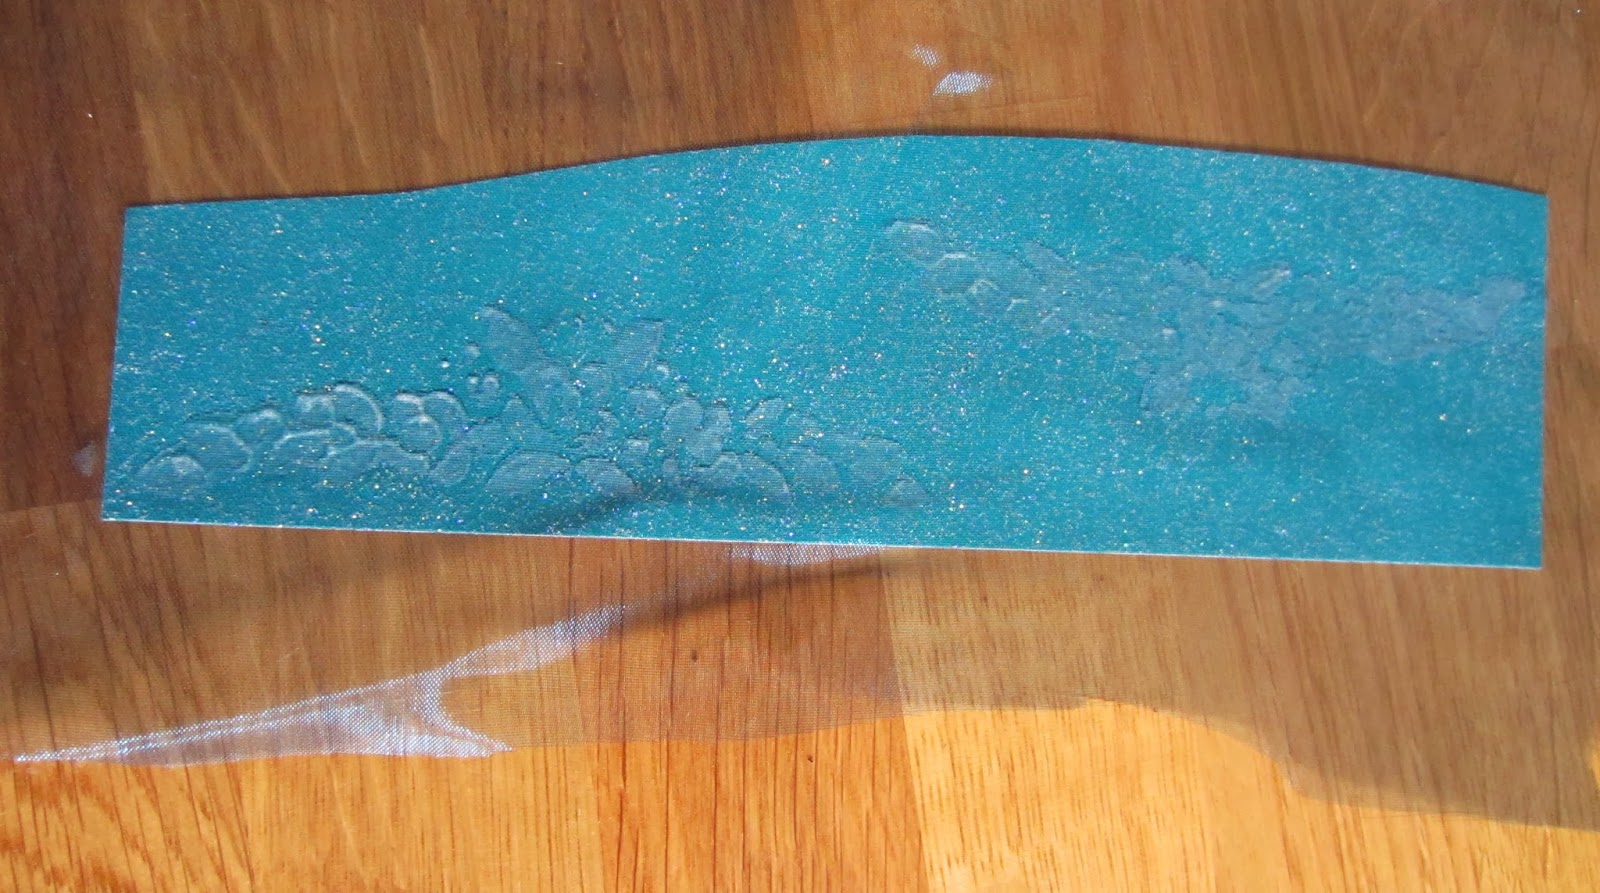
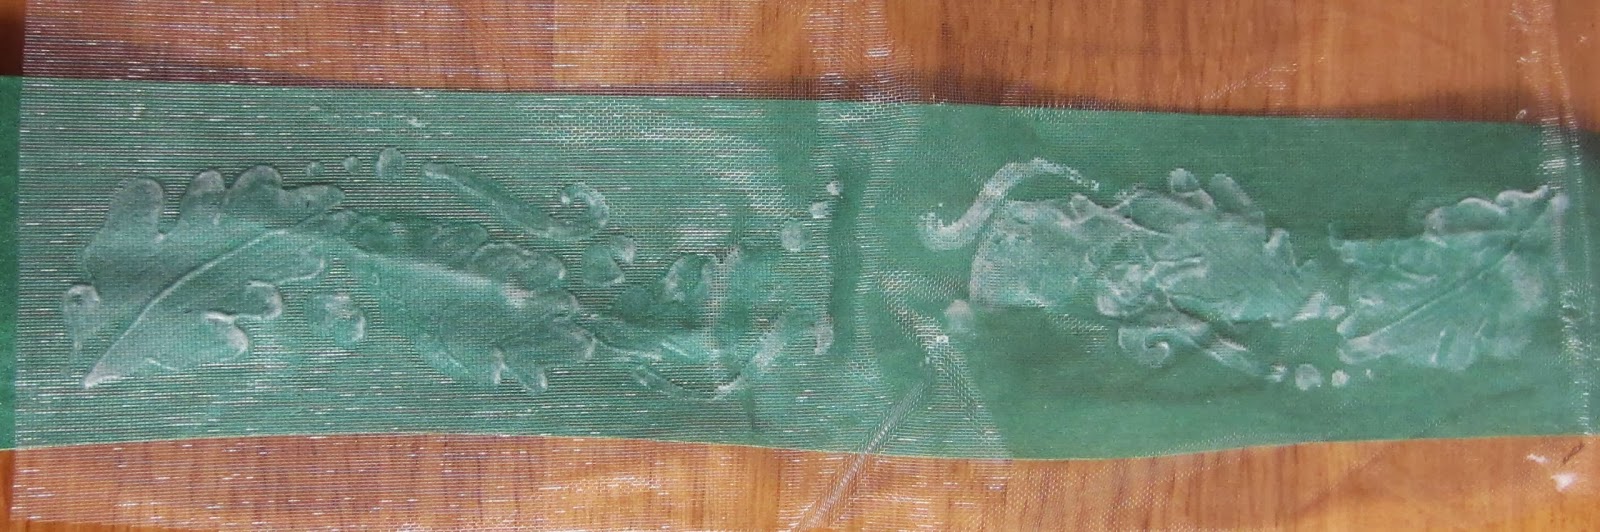
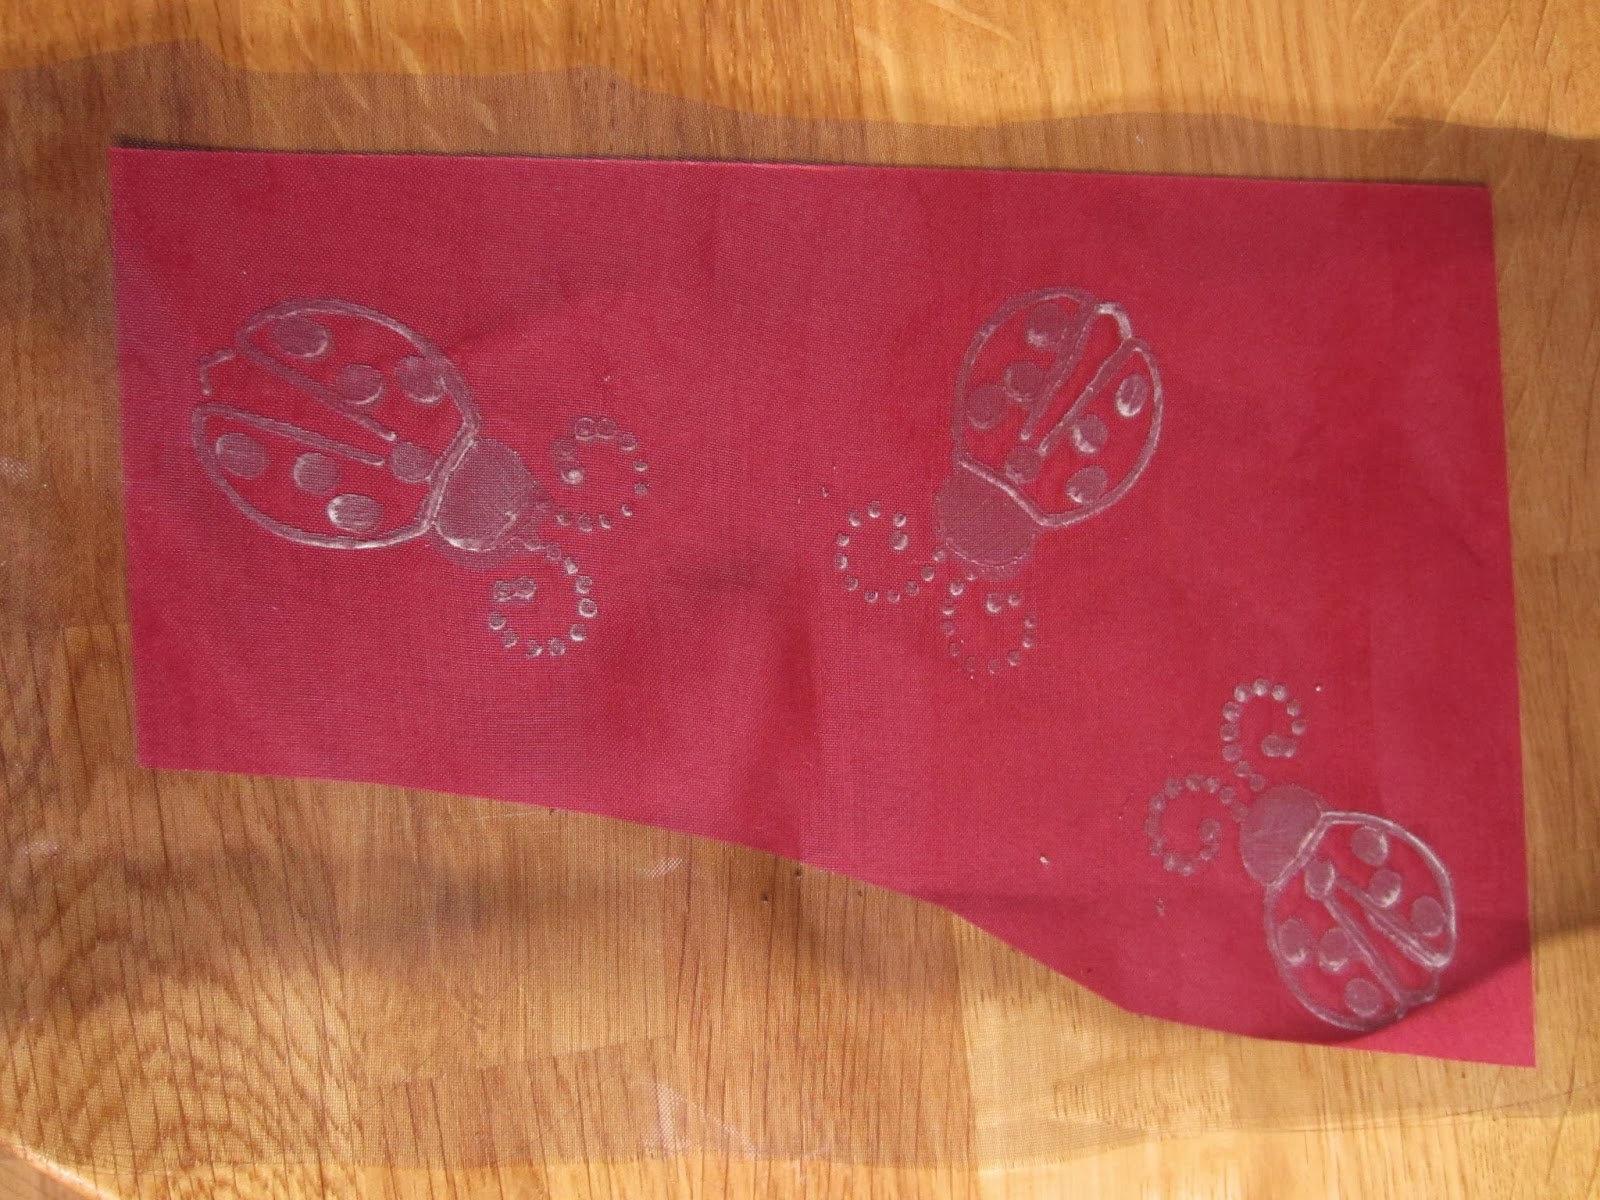
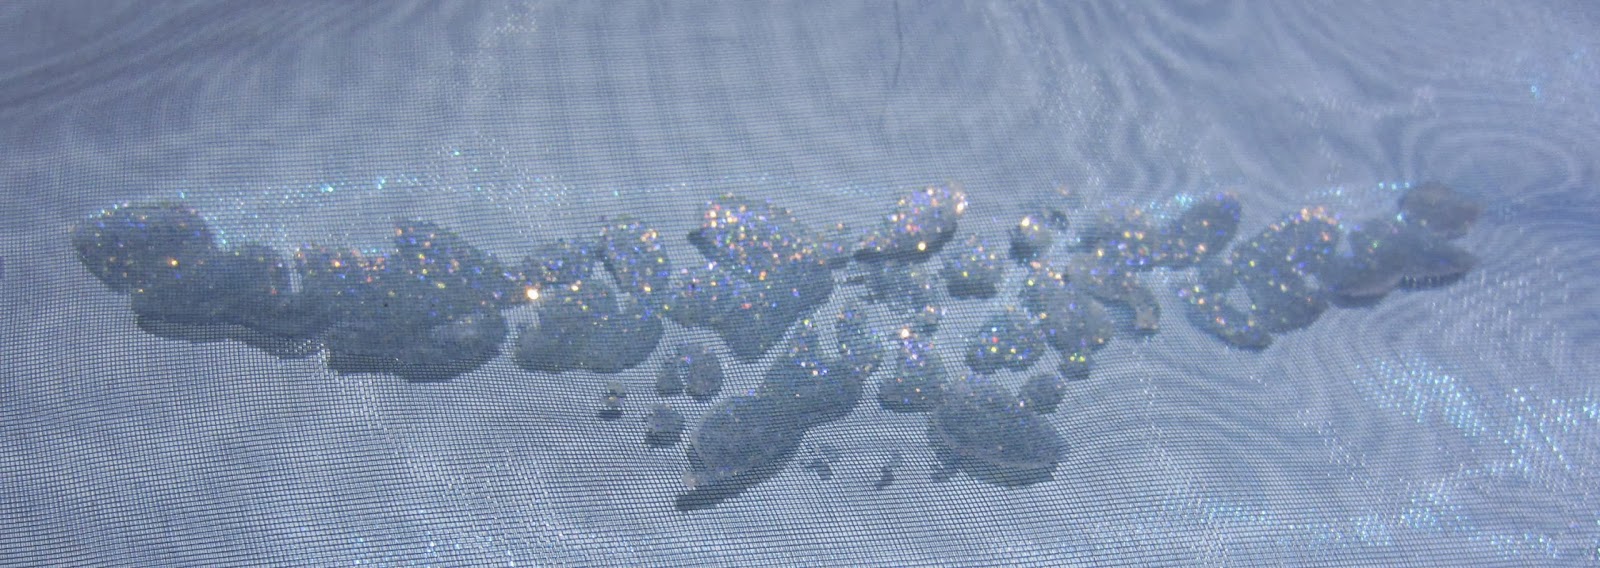
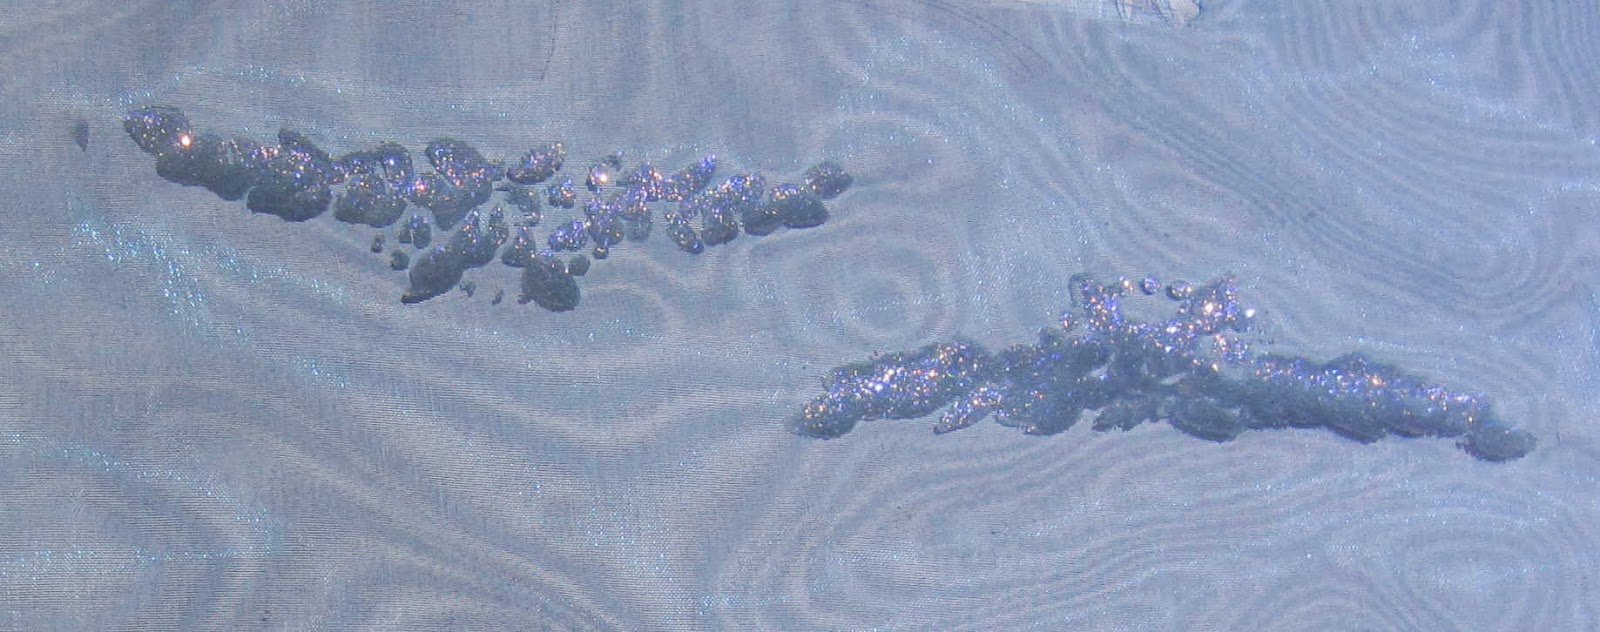
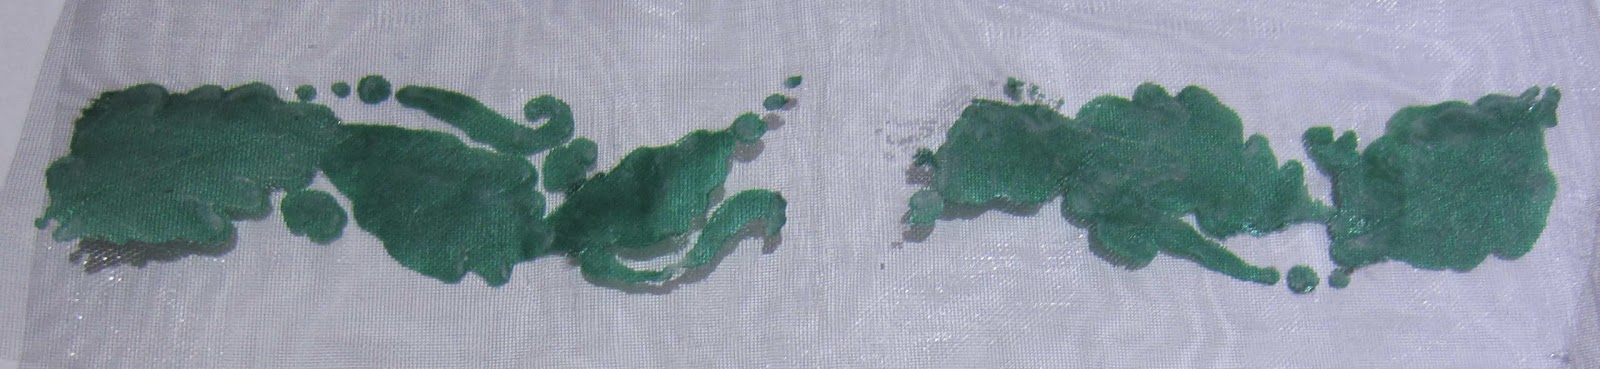
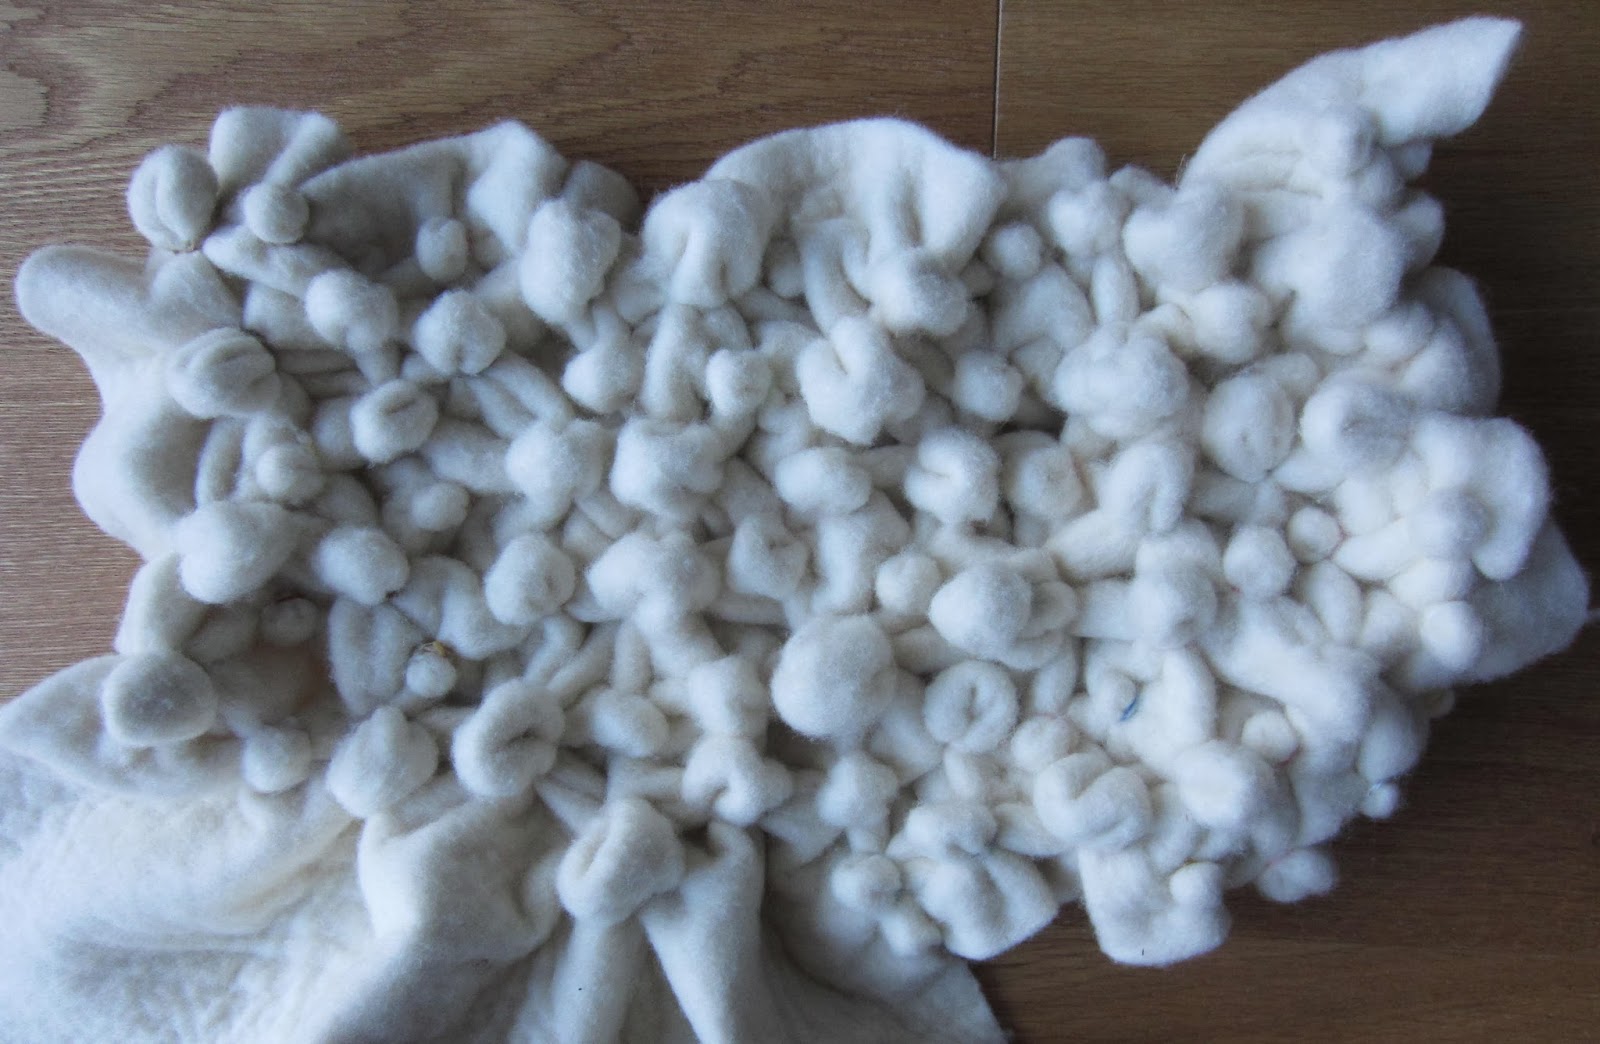
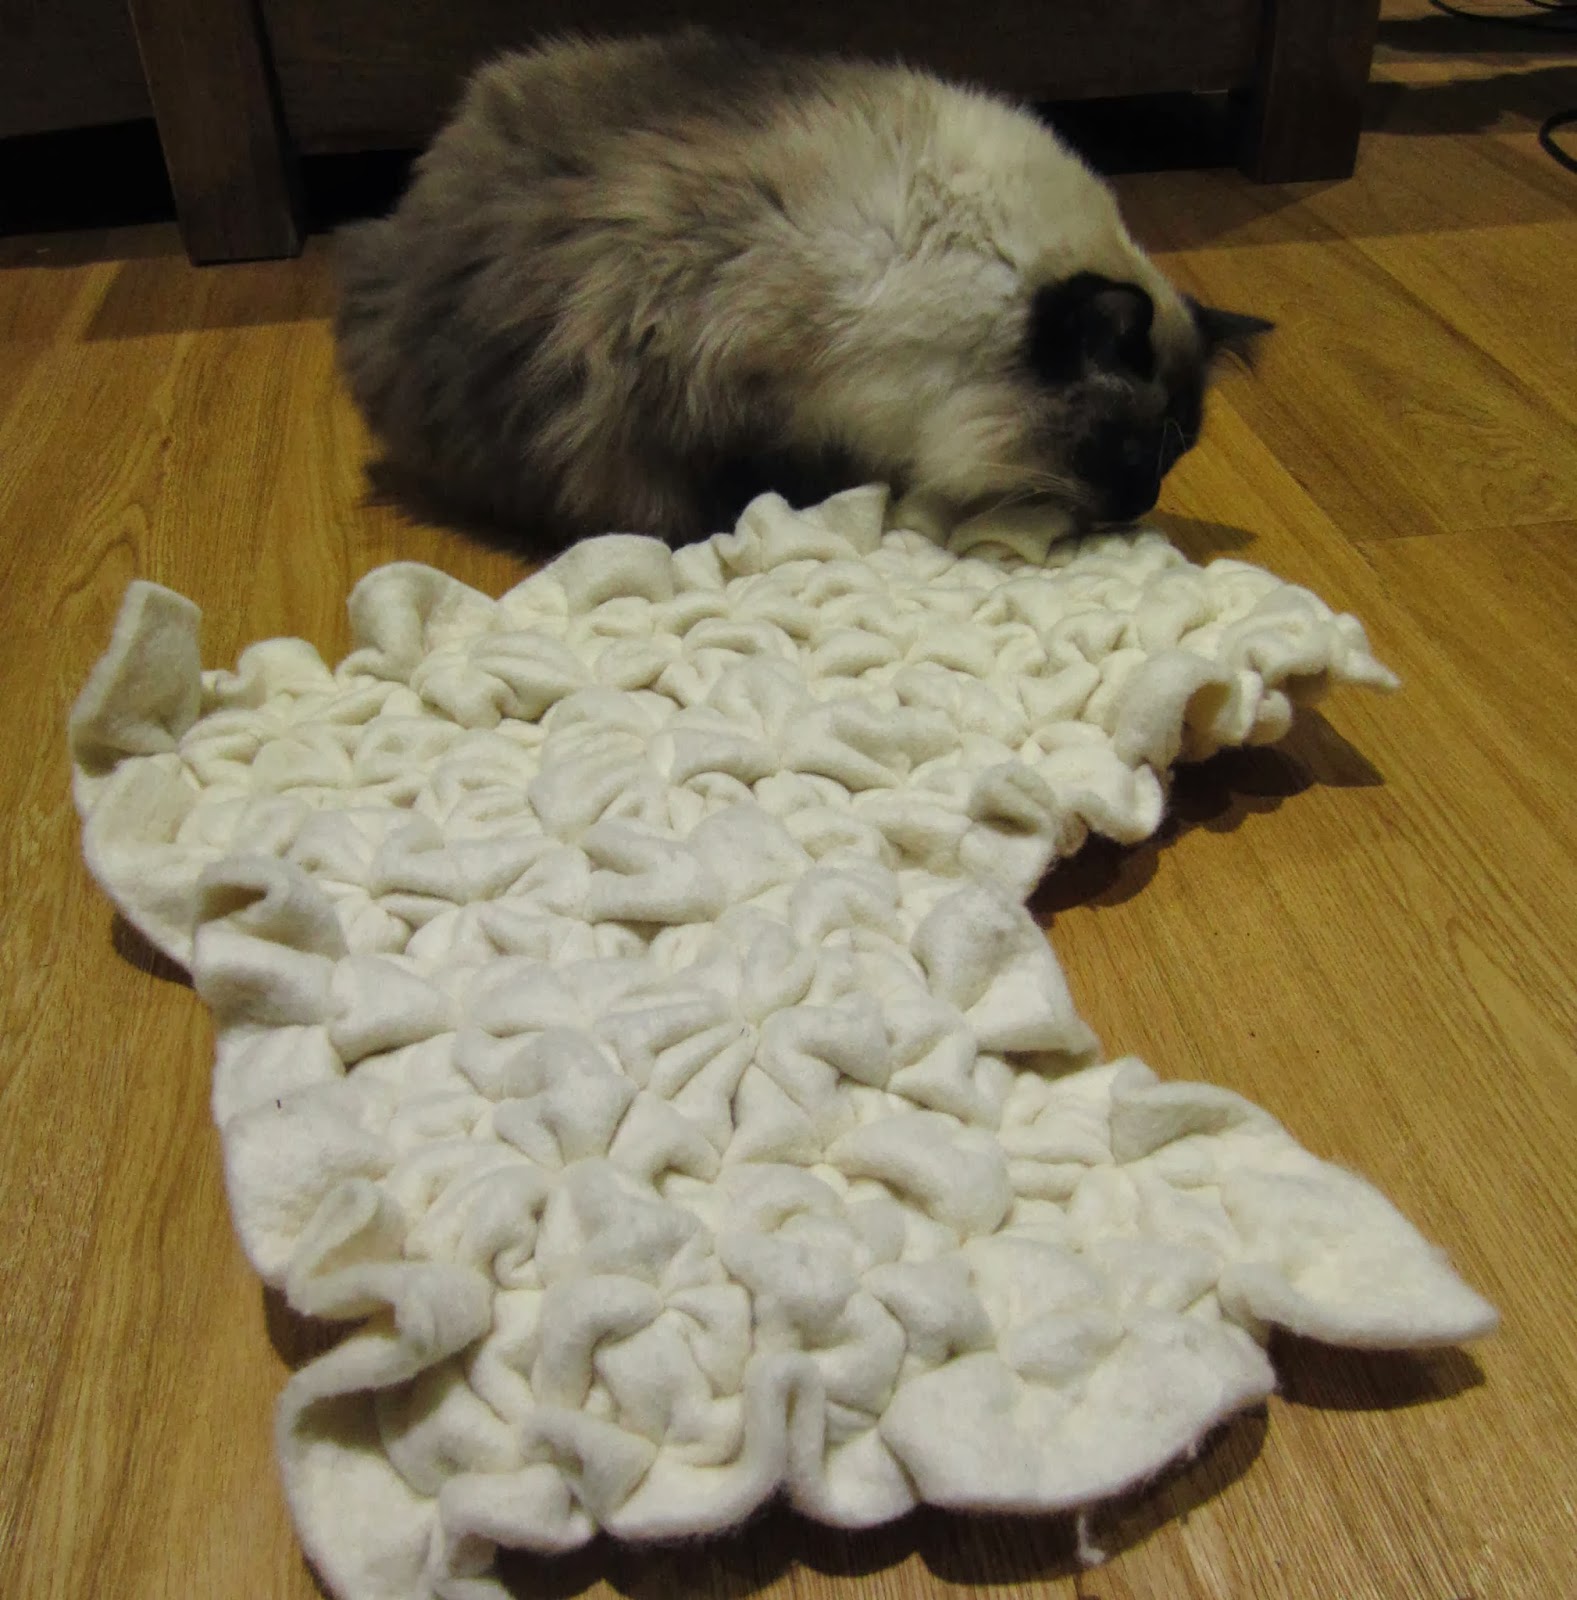
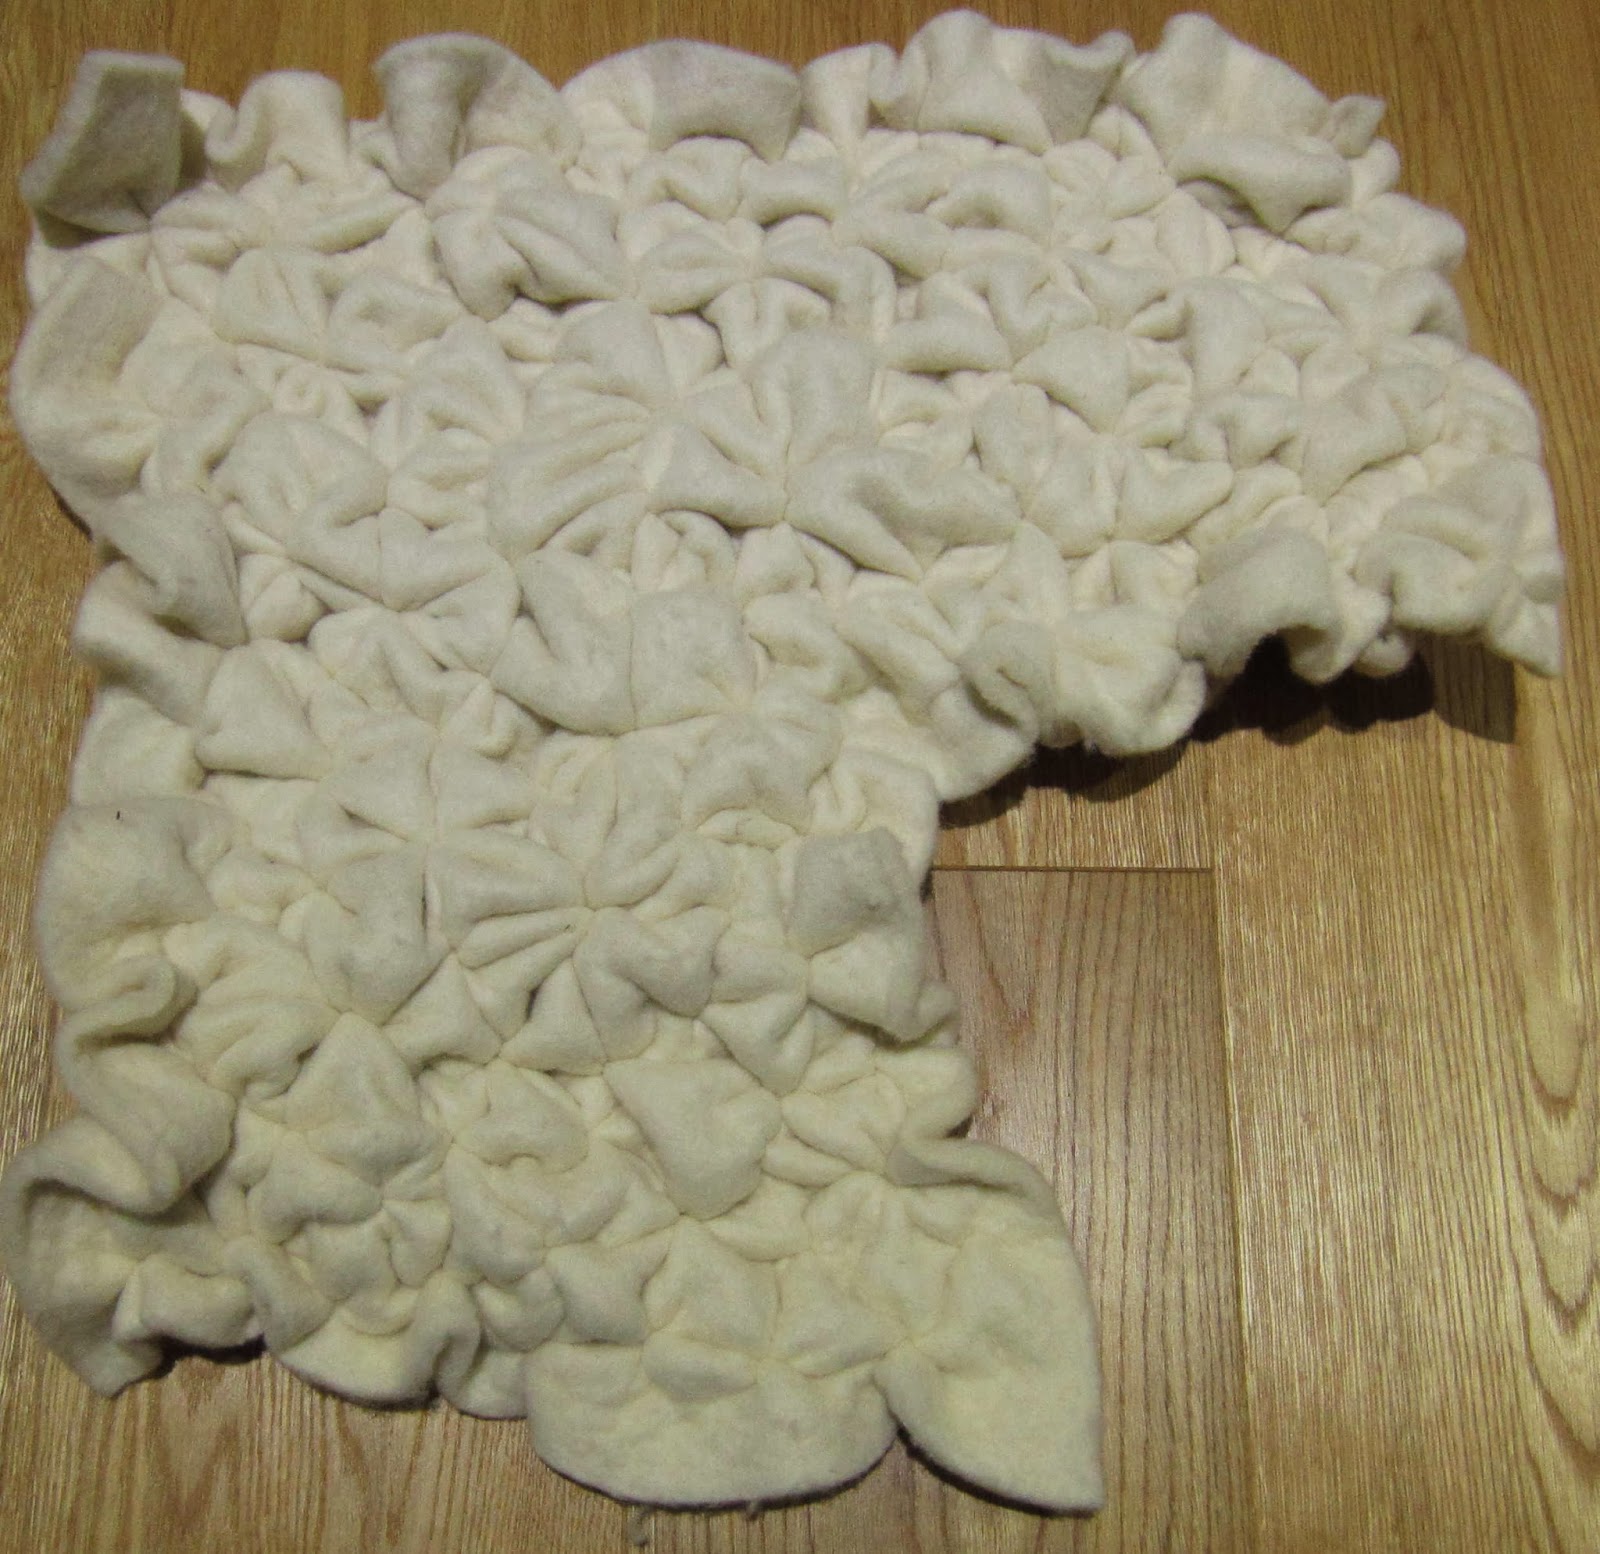
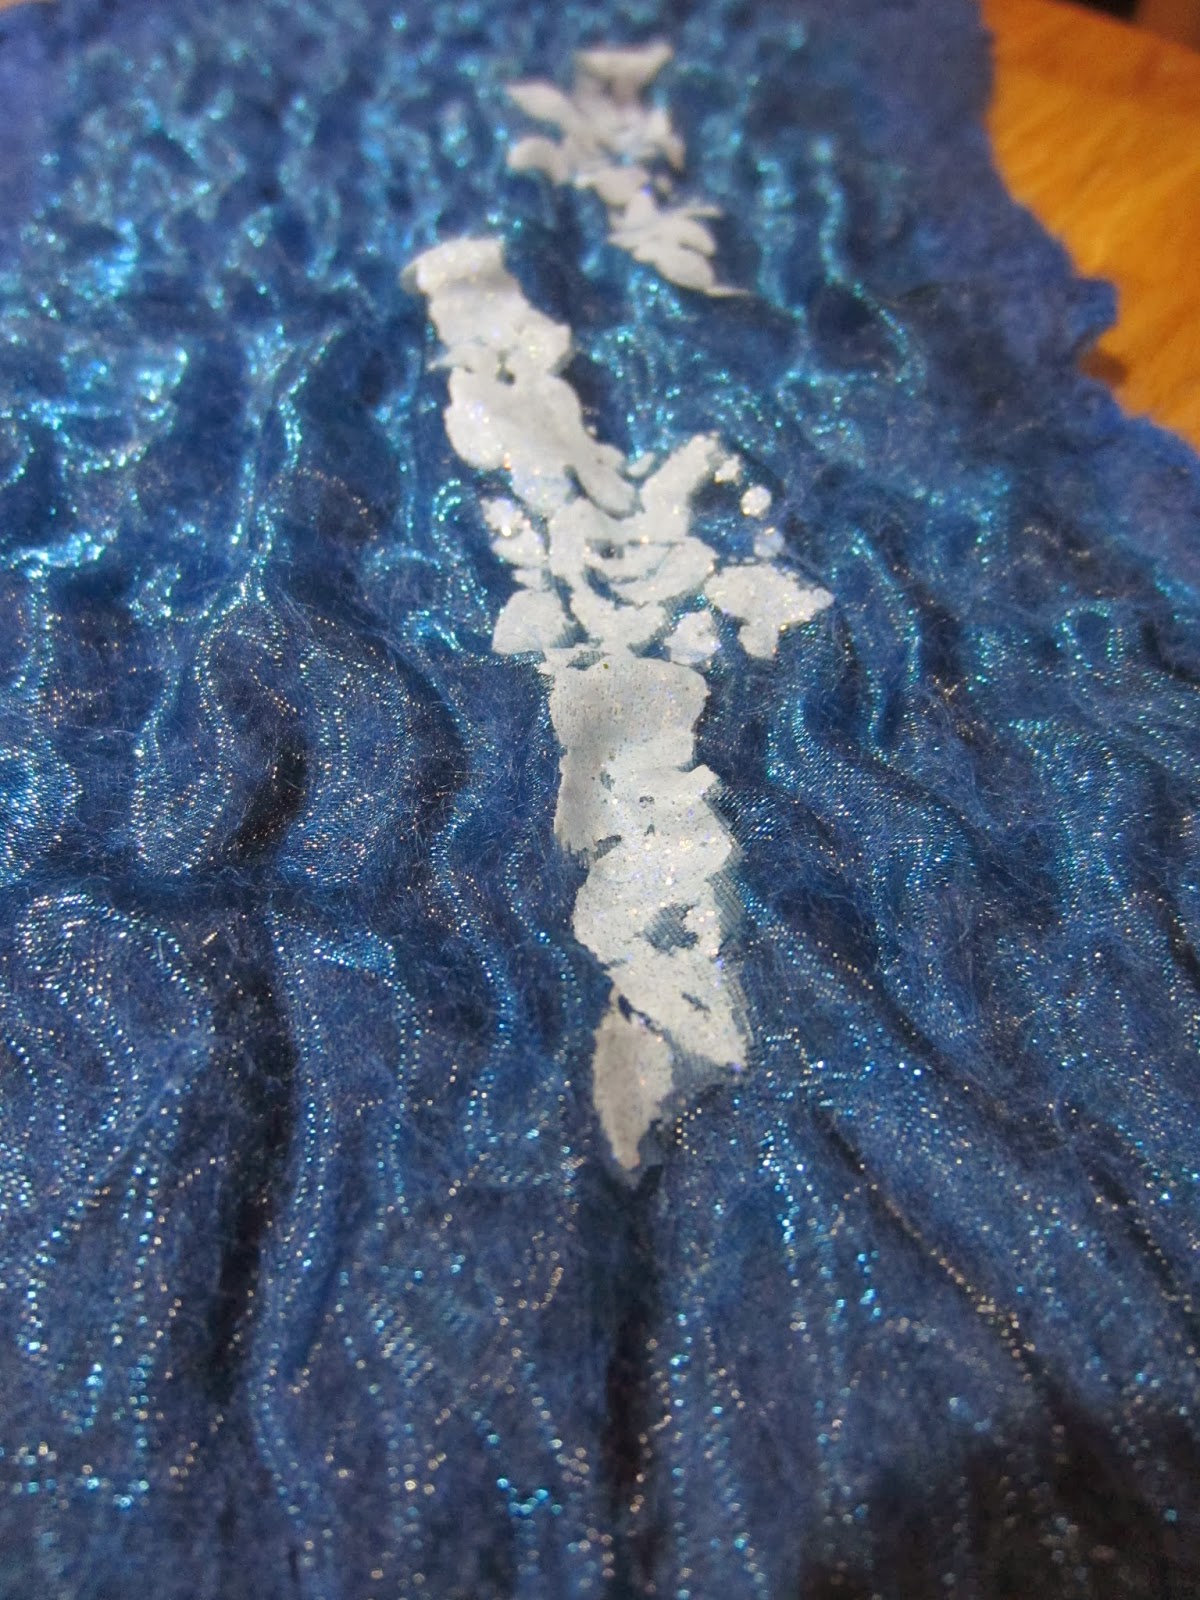
I also had a go at nuno felting a couple of them, I love how the glitter paper has turned out, the organza has ruffled beautifully and both the organza and the glitter catch the light in different ways, I’m afraid my photos don’t do the glitter paper justice, but it really is very shimmery. I will definitely do this again.

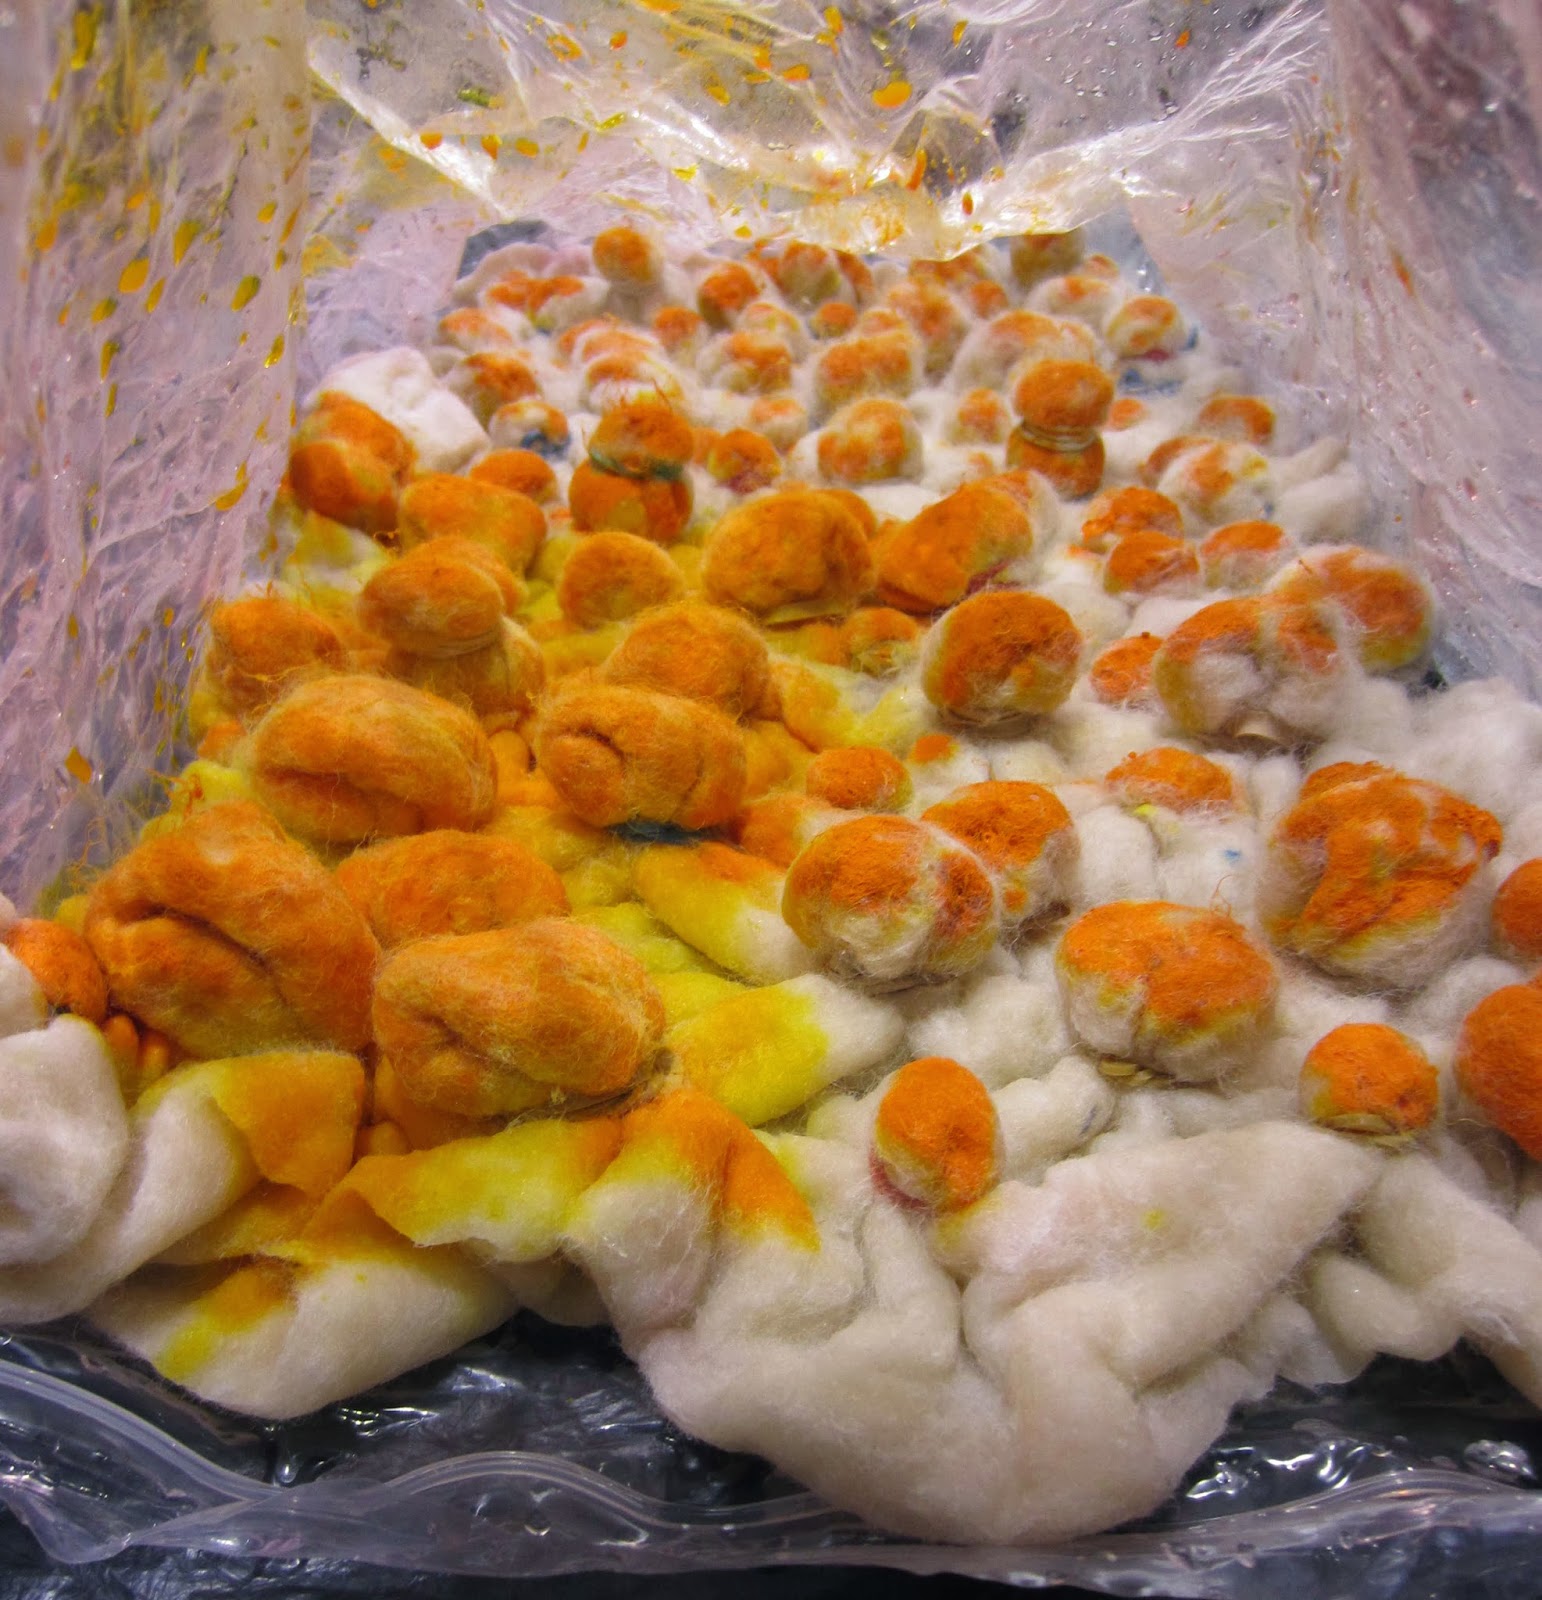
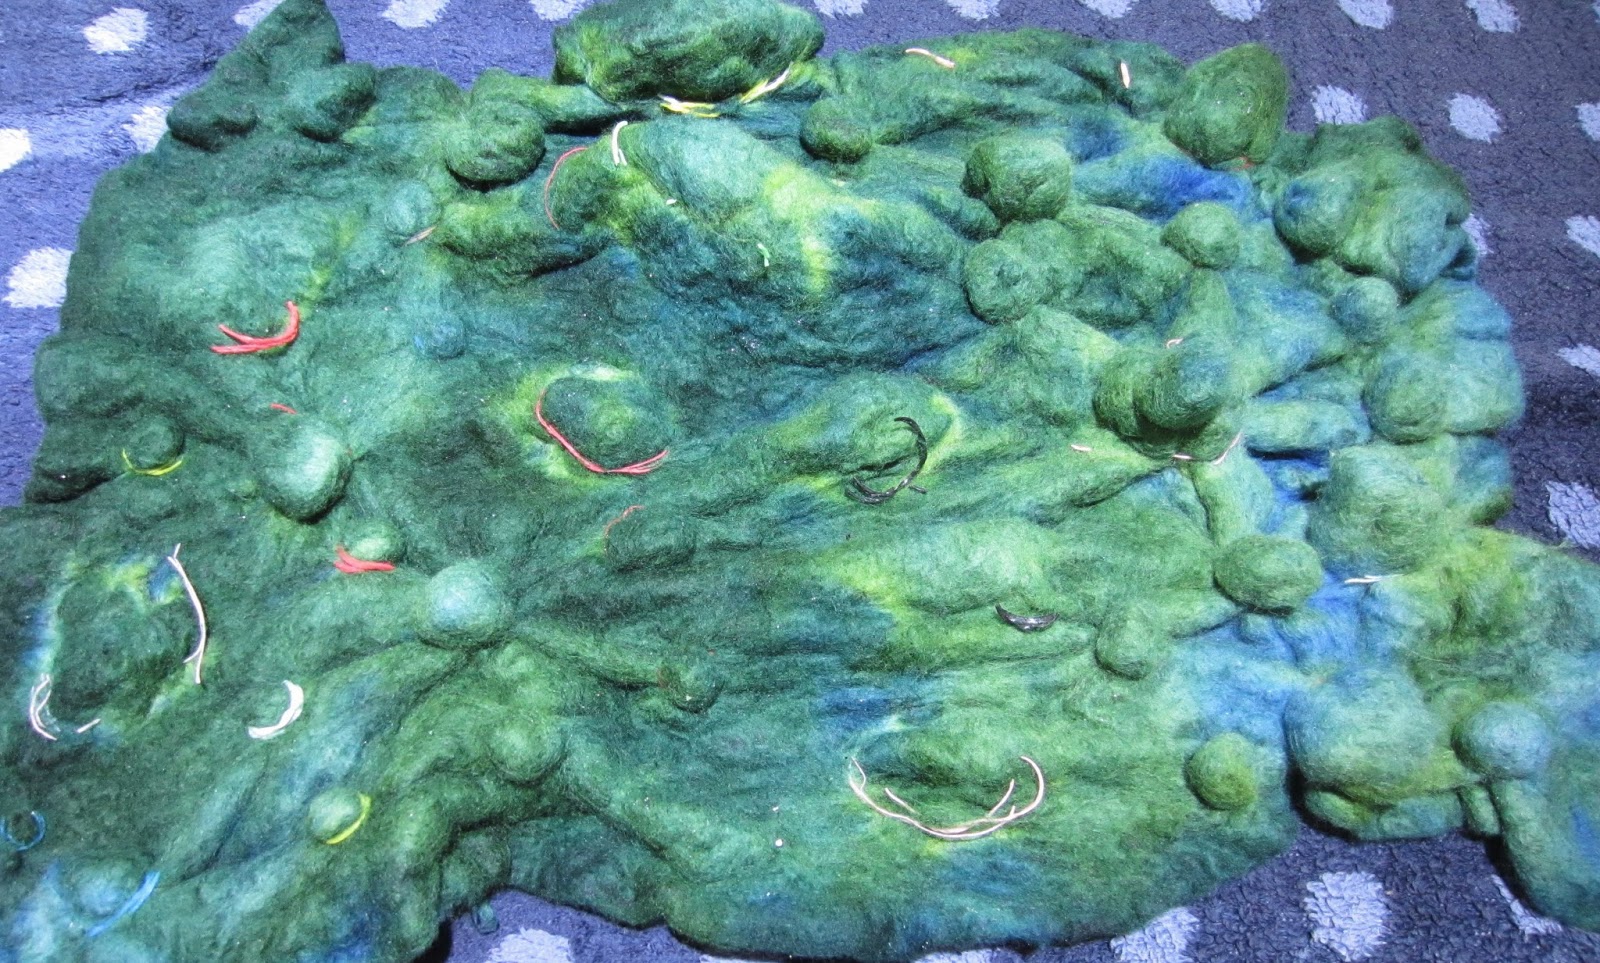
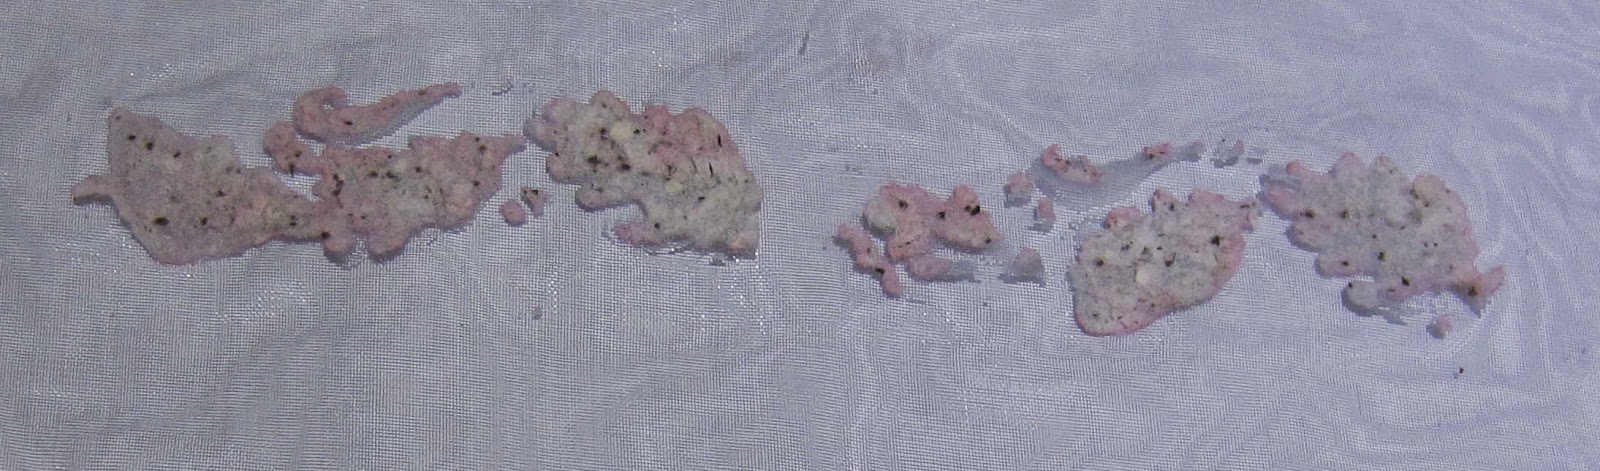
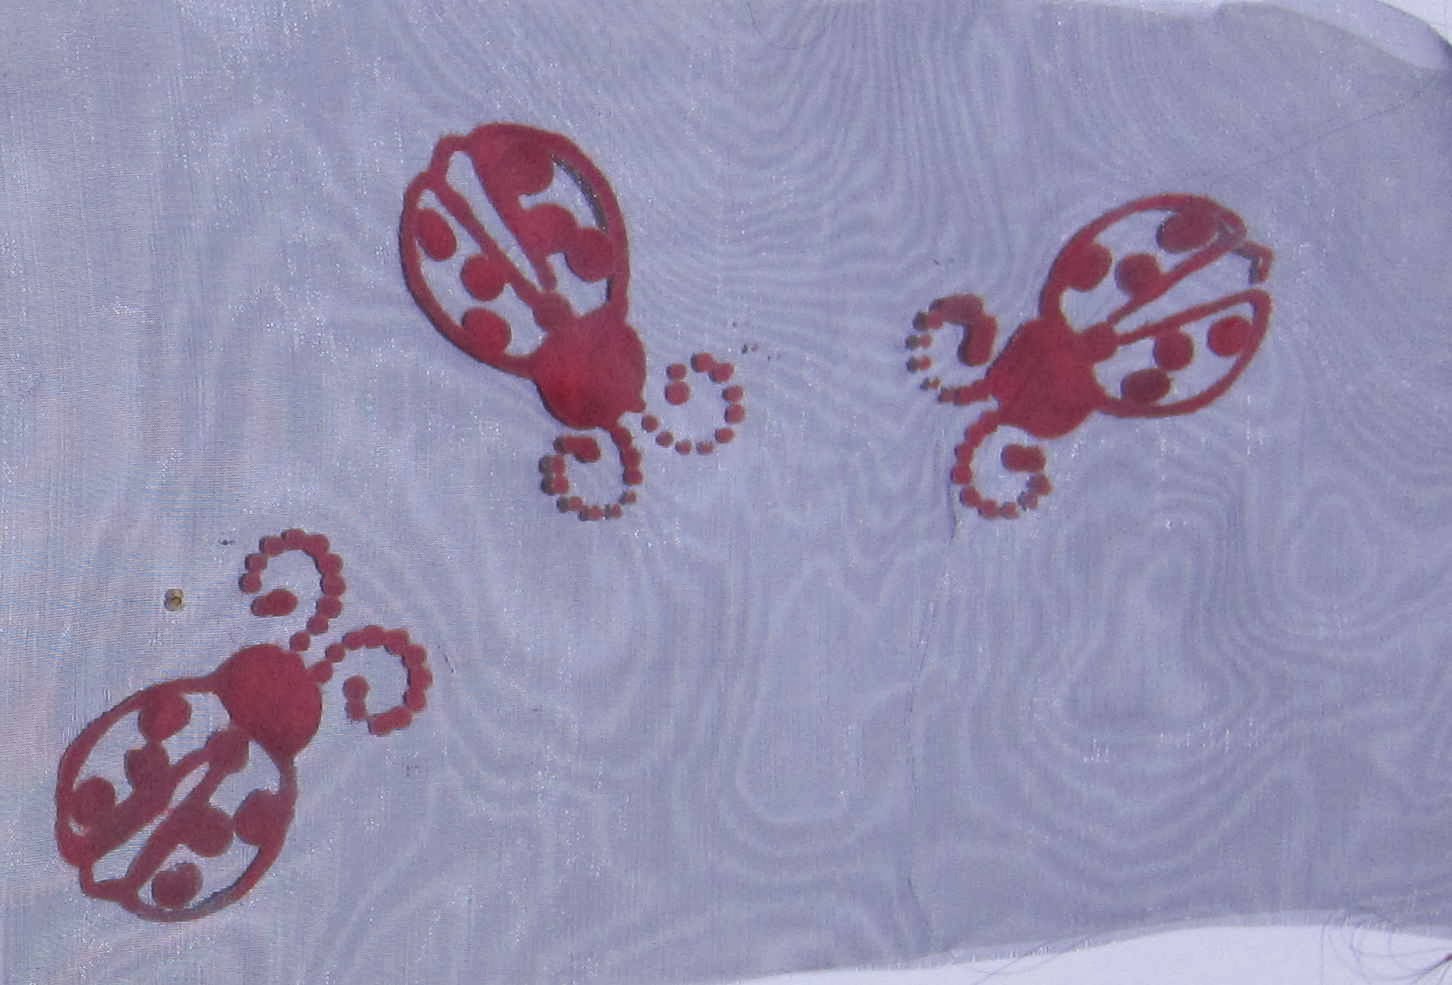
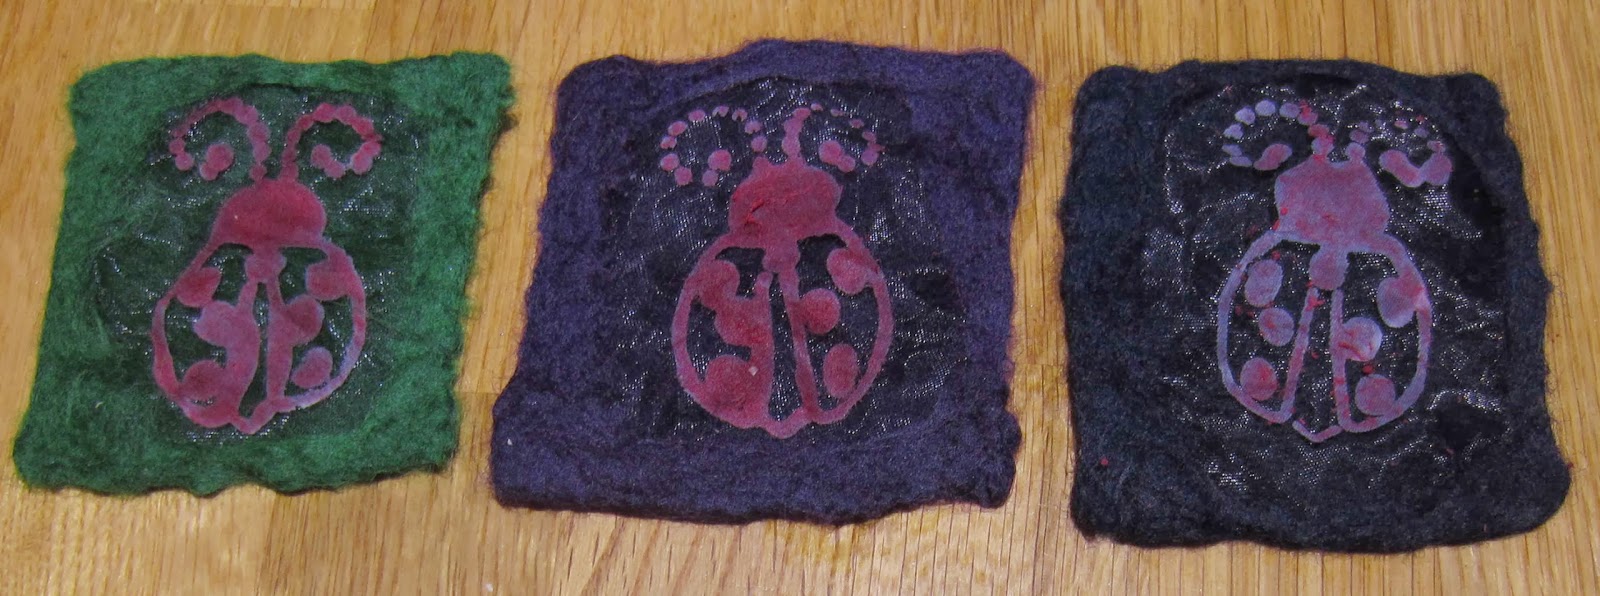
The nuno felted lady bugs are pretty cool too and offered some additional learnings:

  • I half expected this to happen, but where there are large areas of the gel medium (the heads) the felt has not attached so well.
  • I’m not sure why but the paper has almost completely rubbed off the one on the right, leaving just the gel medium (which also looks nice) the other 2 are fine. I expect this may be avoided by felting with the organza side facing away from the felt so the paper remains protected. 

 Have you tried this technique? How did you get on?

shibori dyeing adventures on felt

Having used shibori to dye cotton for felting the next obvious step for me is to try shibori on a sheet of prefelt. This time I thought I would try using elastic bands to create roughly circular resists.

This is what it looked like all tied up, I think it looks like a field full of snowmen, Mr TB countered that saying it looks like haemorrhoids :o)

Pickle inspecting my haemorrhoids ;o)
I love the pleating pattern on the reverse side – will have to remember this when I next want to add some patterned texture to a piece. 

Luckily I had the foresight to check if the bound felt would fit in my steamer – It didn’t! So one of the arms was cut off leaving me with a roughly square piece and an oblong piece.

I was striving to have the circles above the bands one colour and the base felt another colour. To do this I used my favourite rainbow dyeing technique that involves putting the felt in a zip-lock bag, squirting dye where I want it and massaging the felt to make the dye spread. This gives areas of different colour intensities and if more than one colour is used, colour blending.

Here is the dye added to the bulges above the rubber bands, you can see where I have started to massage the bulges in the lower left to disperse the dye:

On the reverse side I used red dye and massaged again to distribute the dye.

I used green and blue for the other piece, here is the green all massaged through before I added blue to the base.

After fixing in the steamer and rinsing:

I should probably confess… the lovely change in colour intensity in the red/yellow piece is due to a mistake. I forgot to add acid to the soaking water but did not realise until I was rinsing the piece and watching all the lovely colours disappear down the drain. I quickly soaked the piece in a sink full of water with half a cup of vinegar and it appears to have save the band in the middle.

 These are the pieces, front and back after the bands were removed. I find it surprising just how different the 2 sides are, especially on the green/blue piece

I also did a bit of rainbow dyeing on prefelt today, these are the results, I still haven’t decided how I will use them though: