
Following on from the Q1 Challenge posted by Ruth from the Felting and Fiber Studio, there was some discussion on the forum about what a “book resist” is, I’m sure these resists go by a variety of names but I think “book resist” is a pretty apt description as the “pages” of the resist do look a lot like a strangely shaped book. This post is a description of how I like to work with this style of resist but if you have any tips or alternative ways of working please leave a comment below, I’d love to hear from you.
Getting Started
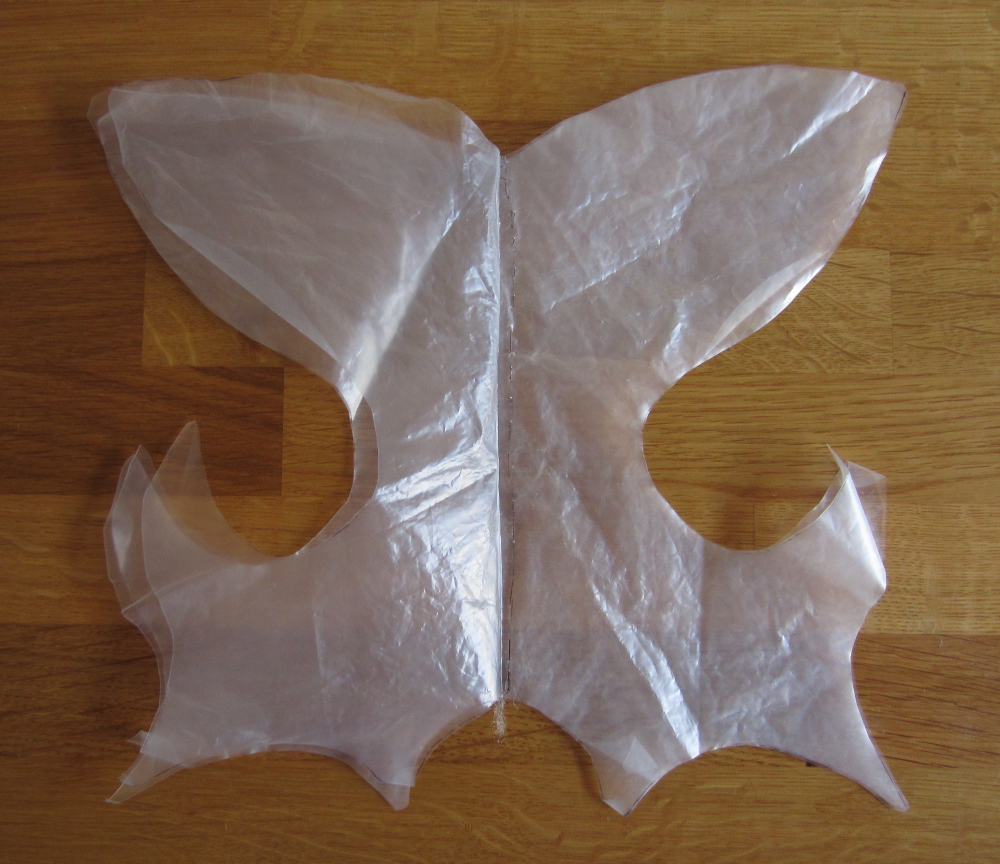
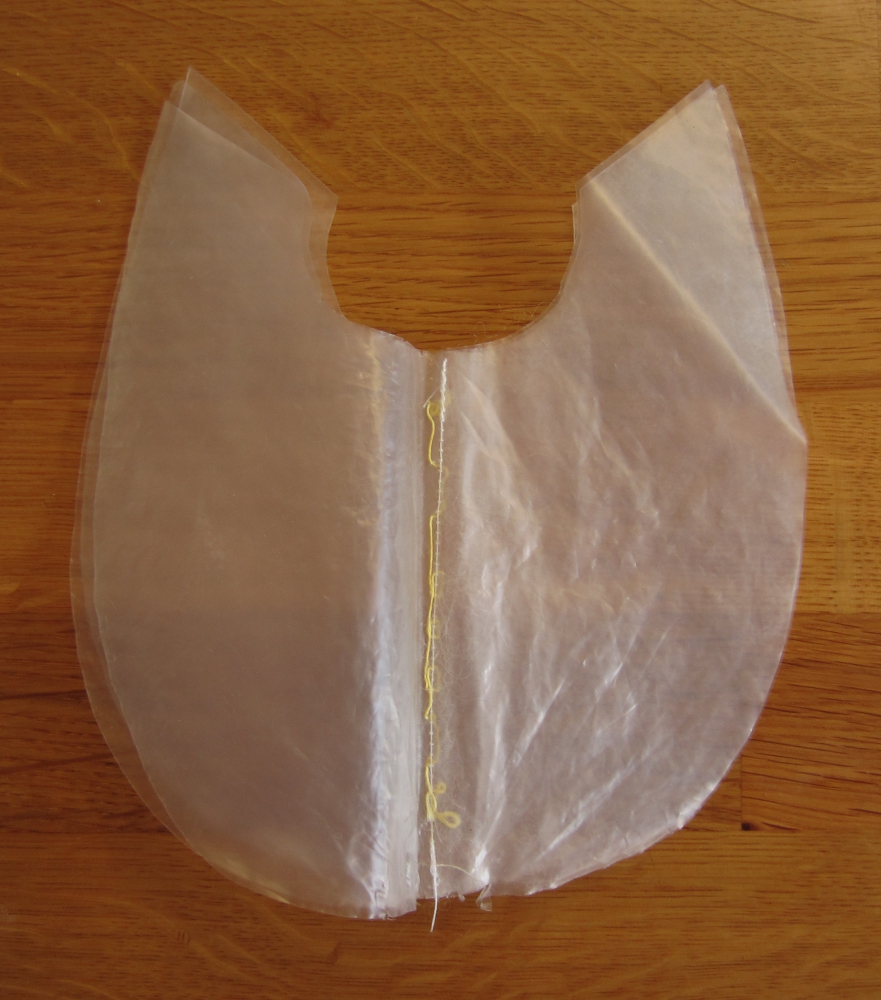
You will need some flexible plastic sheeting, stiff enough that it will stand up on its own if you hold it by the edge but flexible enough that it will fold in half without breaking.
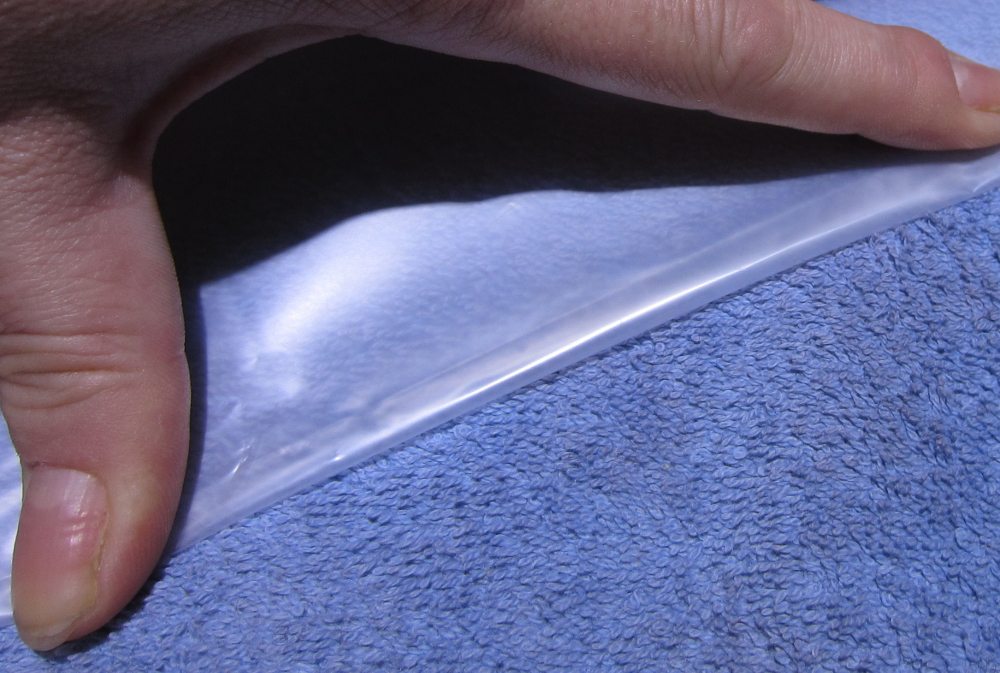
I like the plastic that carpets come wrapped in but this isn’t very easy to come by, an alternative are the plasticised (wipe clean) table cloths. As much as I love foam underlay for resists, I find it a little bit thick for this technique, especially if you want to use more than 2 layers, but it will do if you have nothing else.
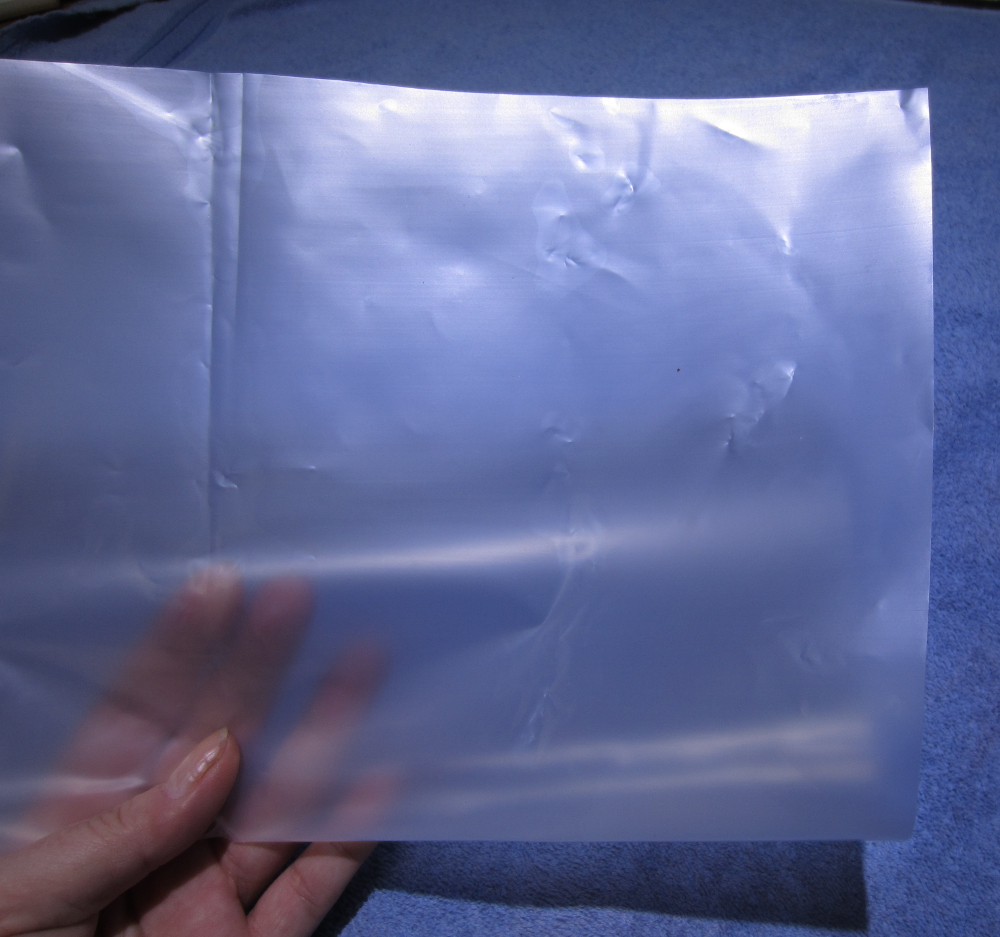
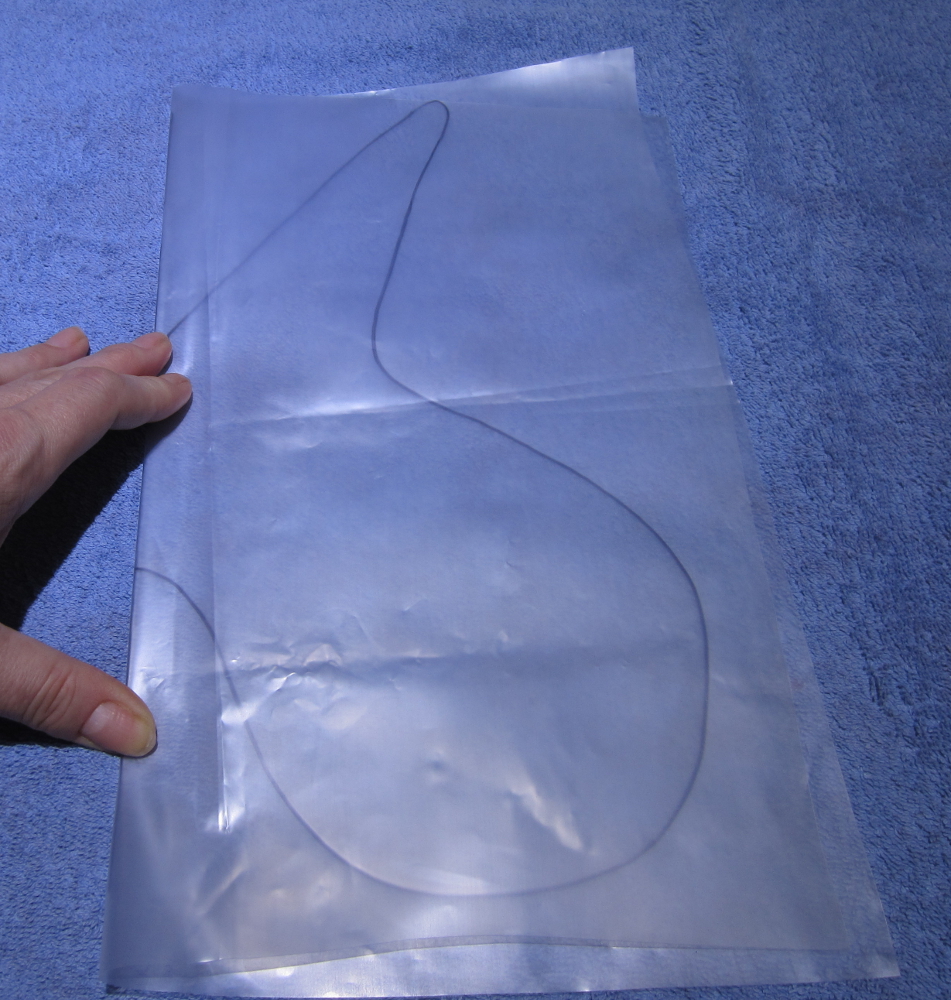
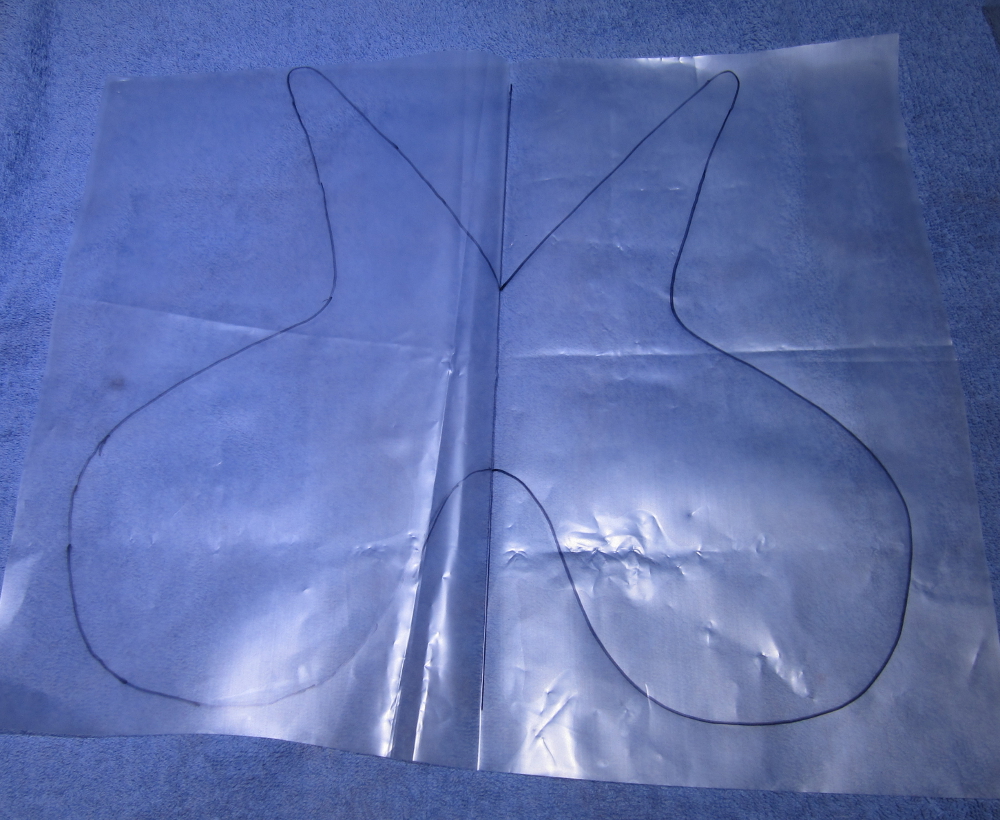
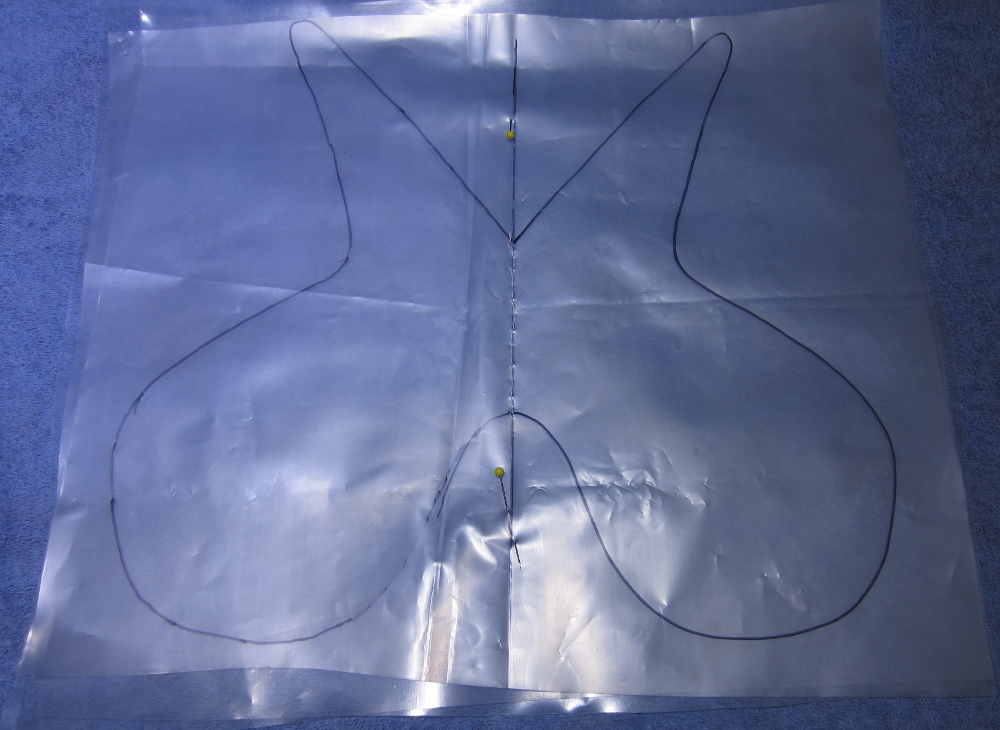
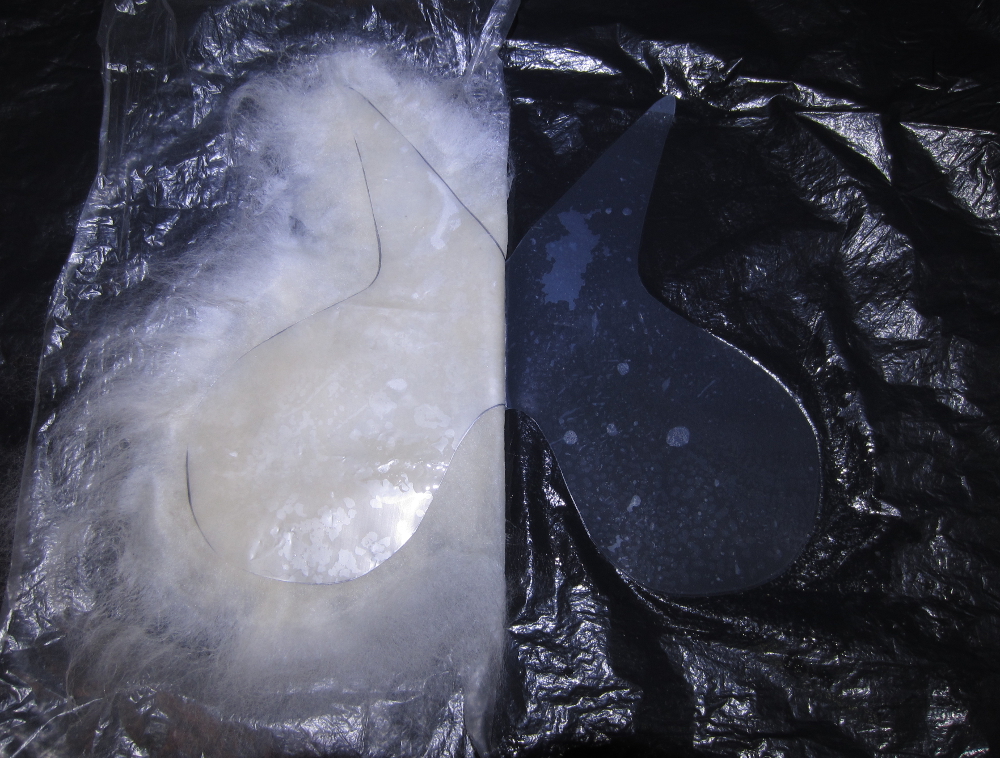
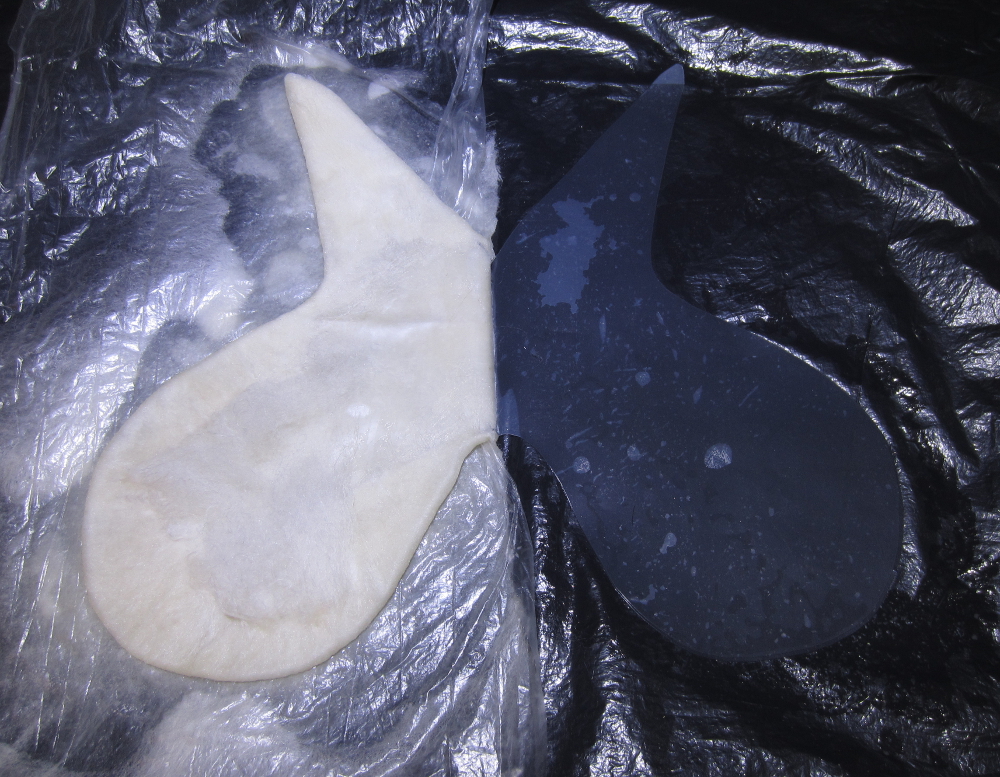
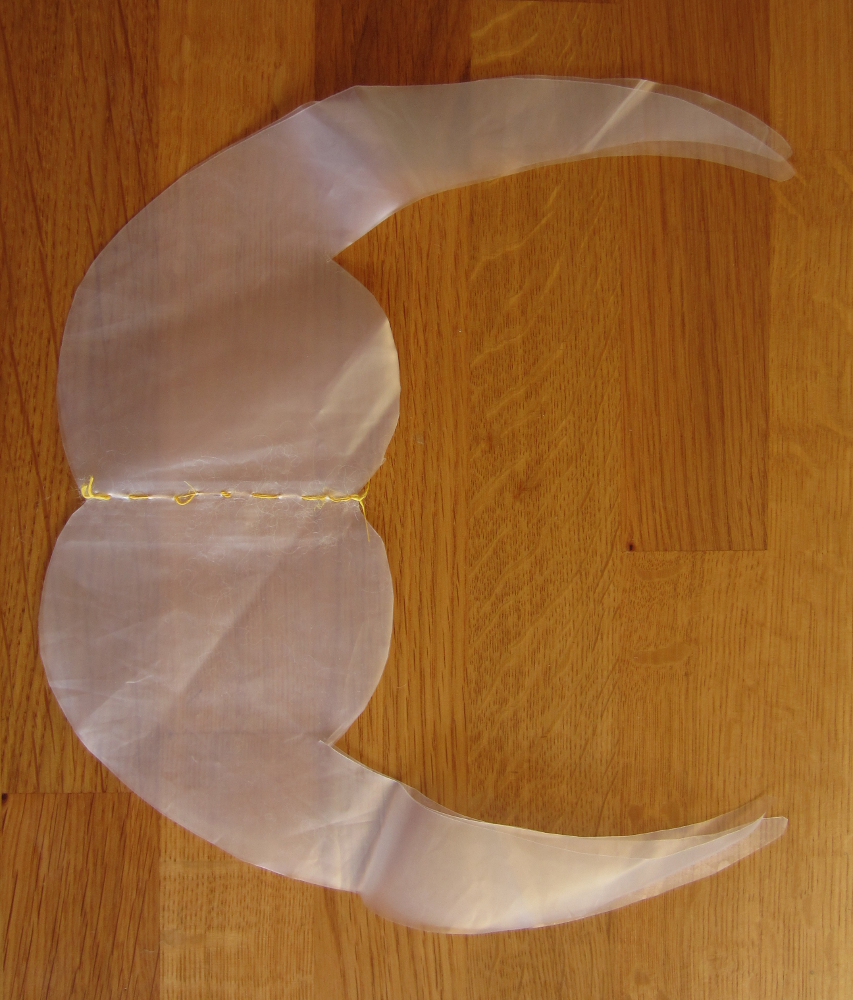
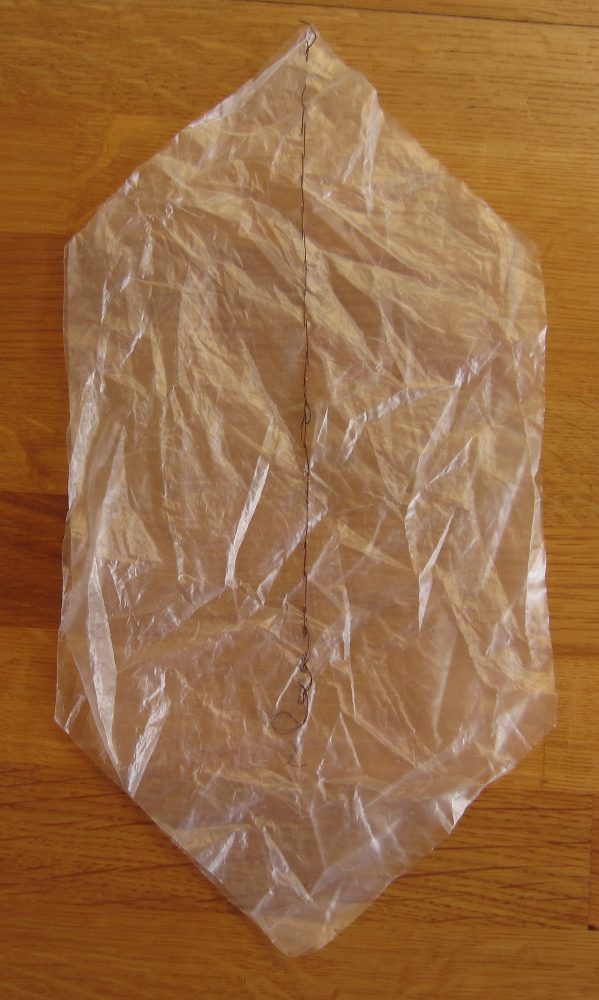
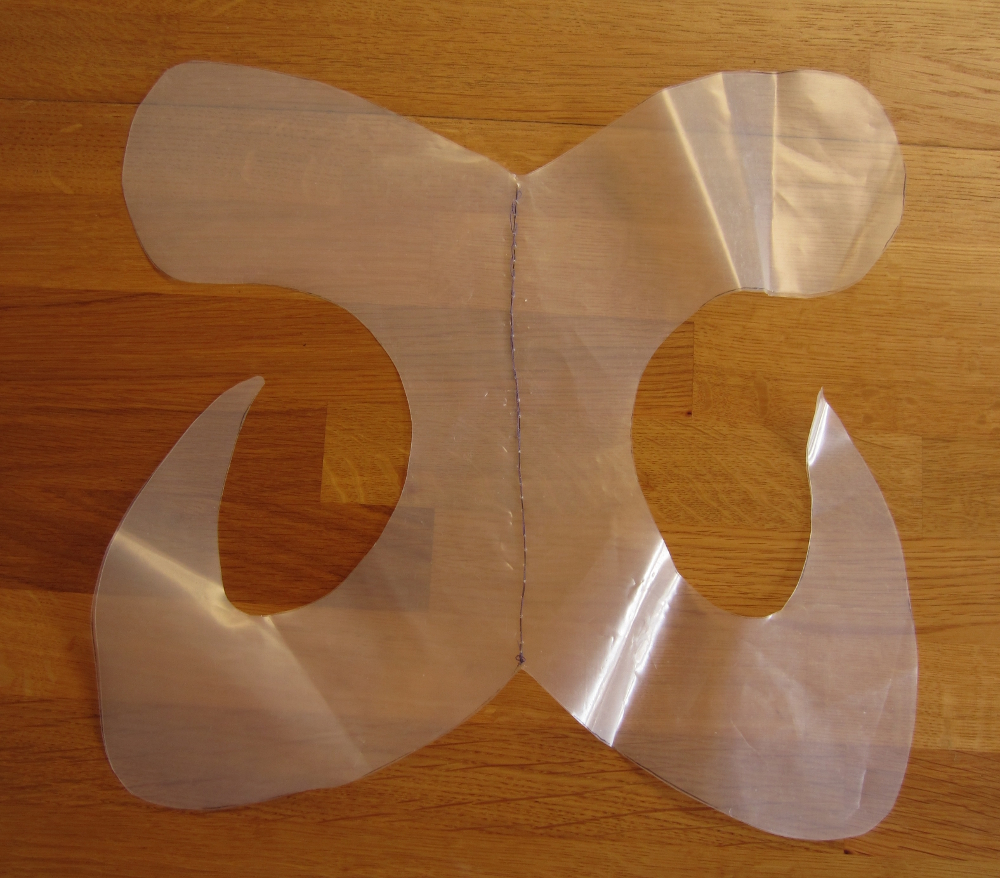
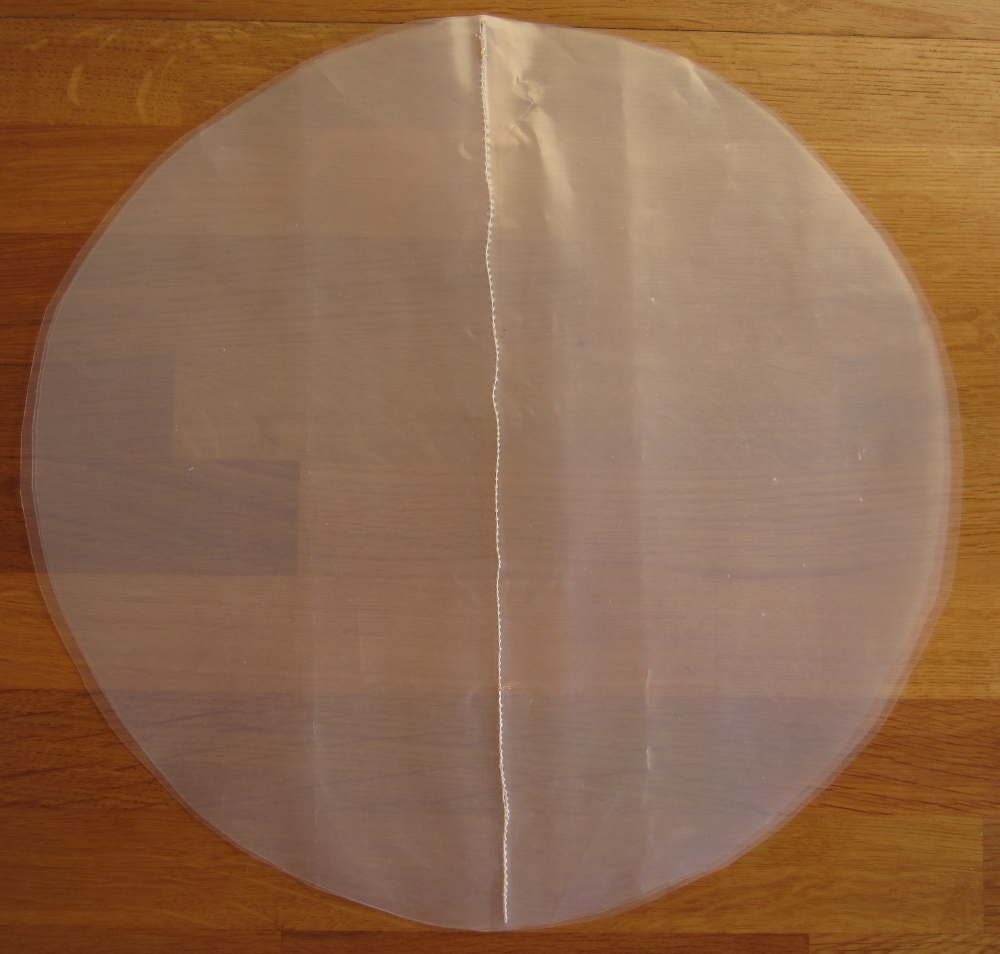
Take a sheet of plastic and draw a line down the middle (this is where you will join your layers) then let your imagination go wild and draw out the template on one side of your line. I have added some photos of the resists and corresponding felt structures at the end of the post if you need some ideas to get you started.


Tip – make sure any pointy tips are rounded, if you don’t, they will poke through the felt and create a hole.
Tip – try to avoid putting wide sections on the end of narrow stalks, its not impossible, but it will make it harder to get your resist out.
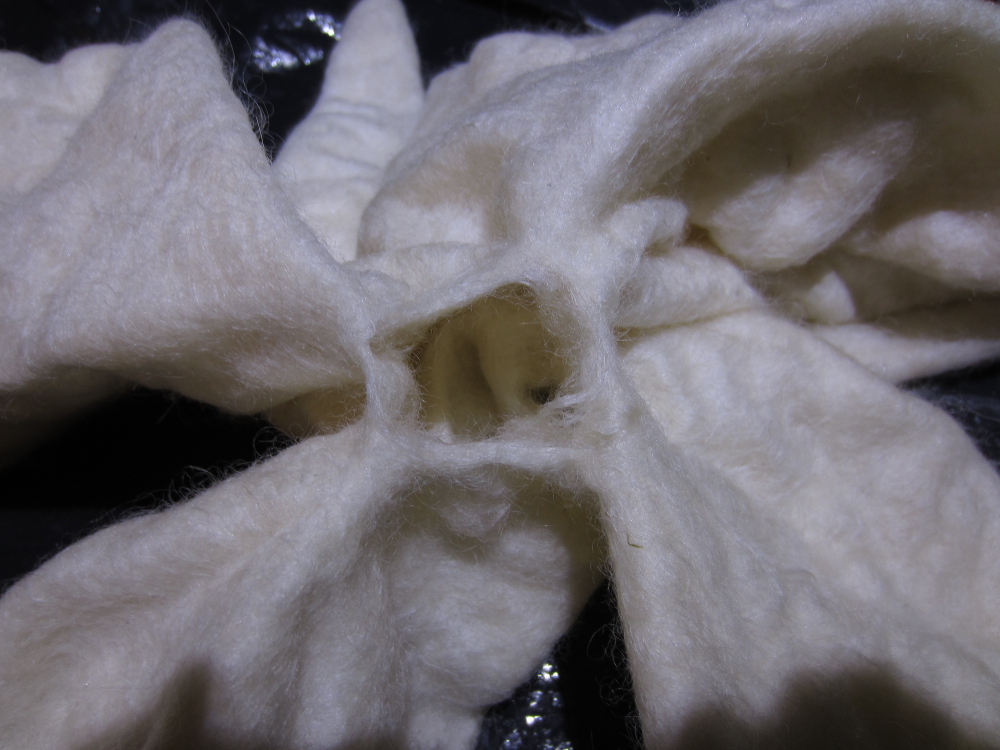
Tip – remember the felt around the middle of your resist will open out to form a space. This can be needle-felted together at the firm prefelt stage if desired.
If you want a radial sculpture where all the arms are the same, fold your plastic in half along the straight line and trace your design onto the other side.
Stack additional sheets of plastic under your design, if you want your sculpture to have 7 or 8 arms you will need 4 sheets of plastic, if you want 9 or 10 arms you will need 5 sheets. Pin them altogether then sew along the line down the middle. You can use a sewing machine if you wish, but set your straight stitch to long so as not to perforate the plastic too much, as this could make it easy to tear when you come to remove the resist.
Tip – if you find it hard to push the needle through the plastic, gripping the needle with a pair of pliers might help.
Tip – if you want an odd number of arms in your sculpture keep two of the felt leaves together while you felt over them. Similarly, if you think you would like to use the same resist shape for making several sculptures but with different numbers of arms, use enough sheets for the largest sculpture and then reuse the same resist but encase 2 or more pages of the resist in wool to reduce the number of arms in your final sculpture.
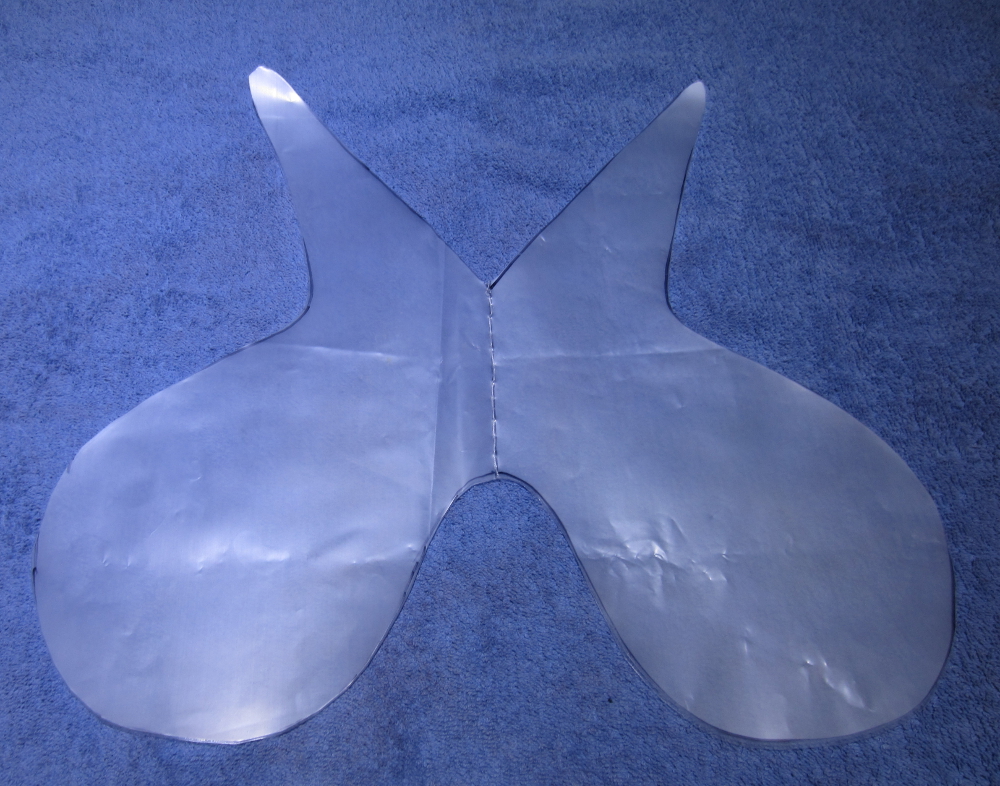
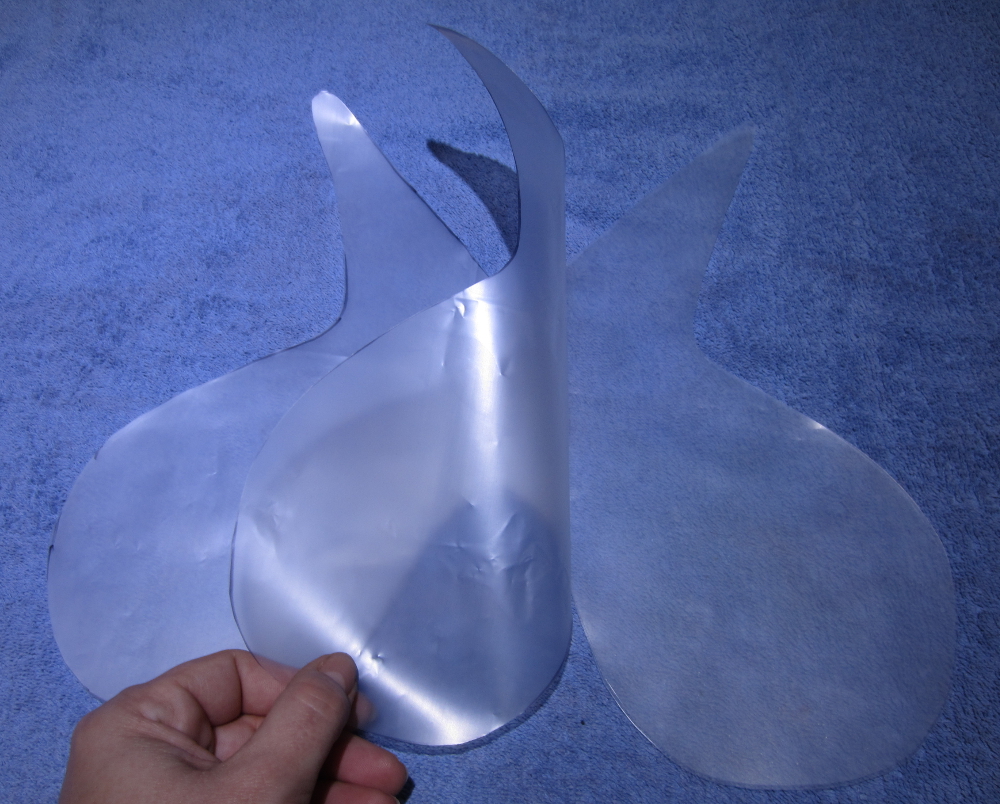
Cut around your design, through all the layers of plastic.
Getting Wet and Woolly!
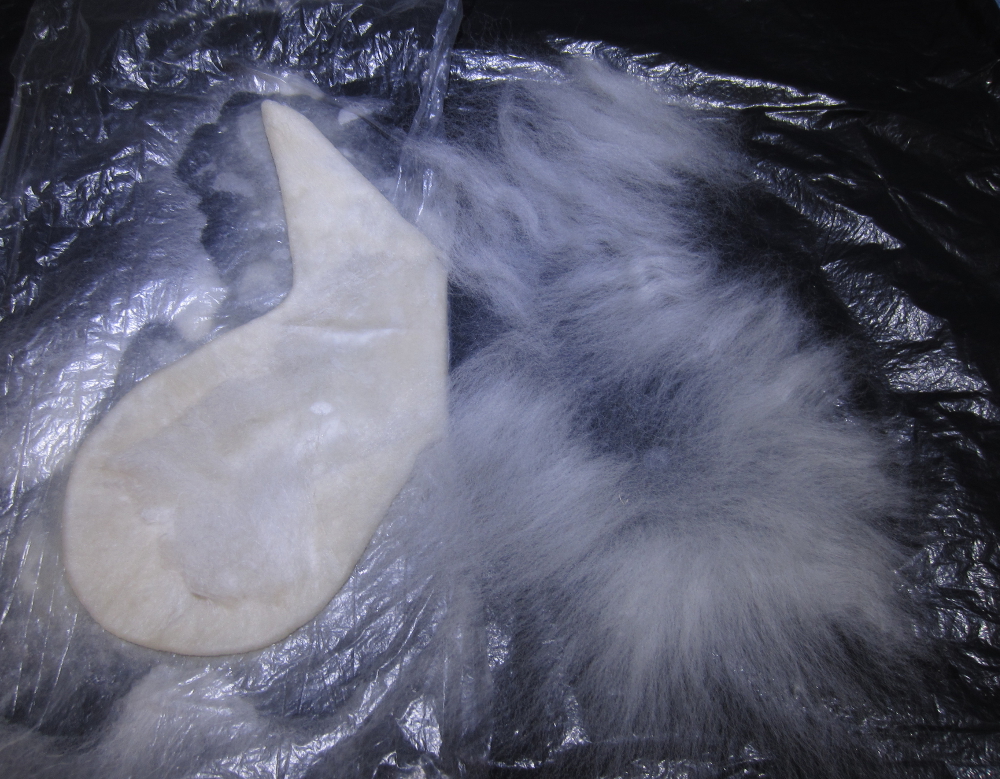
Start laying out your wool, at least 2 fine layers will be needed, more if you want don’t want your structure to shrink very much or if you want it to be sturdy / functional. I typically use 2 layers for lampshades and 4 -6 layers for more structural sculptures. I like Blue Faced Leicester wool for this type of work but wrote a post on how several different wools behave for small sculptural pieces here if you are interested.
Once you have laid out at least 2 layers (in opposite directions) wet it out.
Then lay a piece of painters plastic (or a strip of plastic bin liner) over at least half the wool then flip over one of your pages.
Fold the wool over the edges as you would when working with any resist, being careful to smooth out any folds of wool where you are working on the outside of a curve.
If you need to cut the wool to fold it around an indentation in the resist, avoid cutting the last 1cm / 0.5″, to avoid creating a hole in your wool.
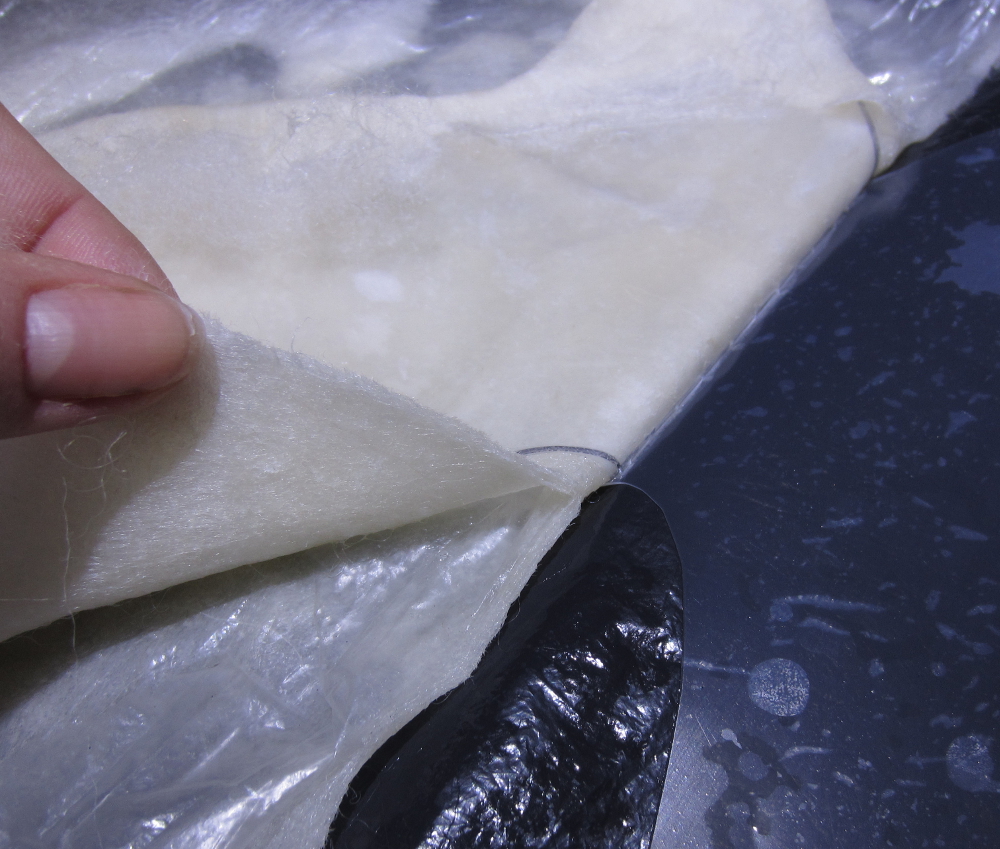
Then continue laying out your wool over the next 2 “pages” open in front of you (one page will be partially covered by the wool folded over from the previous page). Cover with some decorator’s plastic but before you flip to the next page, go back a page and fold the wool ends over so it is all nice and neat.

Continue laying out wool and flipping pages as you work your way around the resist.
Note: where you have folded the wool over from the previous page of the resist, if the wool is already quite thick, there is no need to add more on the reverse of the page, this usually happens where you have a narrow projection, as on the top of this resist.
Tip – if you are finding your resist is becoming a little lop-sided with a big pile of wool covered pages on one side, flip the first 2 or 3 pages (on the bottom of the pile) over to the other side from underneath. That should even it up and make it easier to lay wool on the remaining pages.
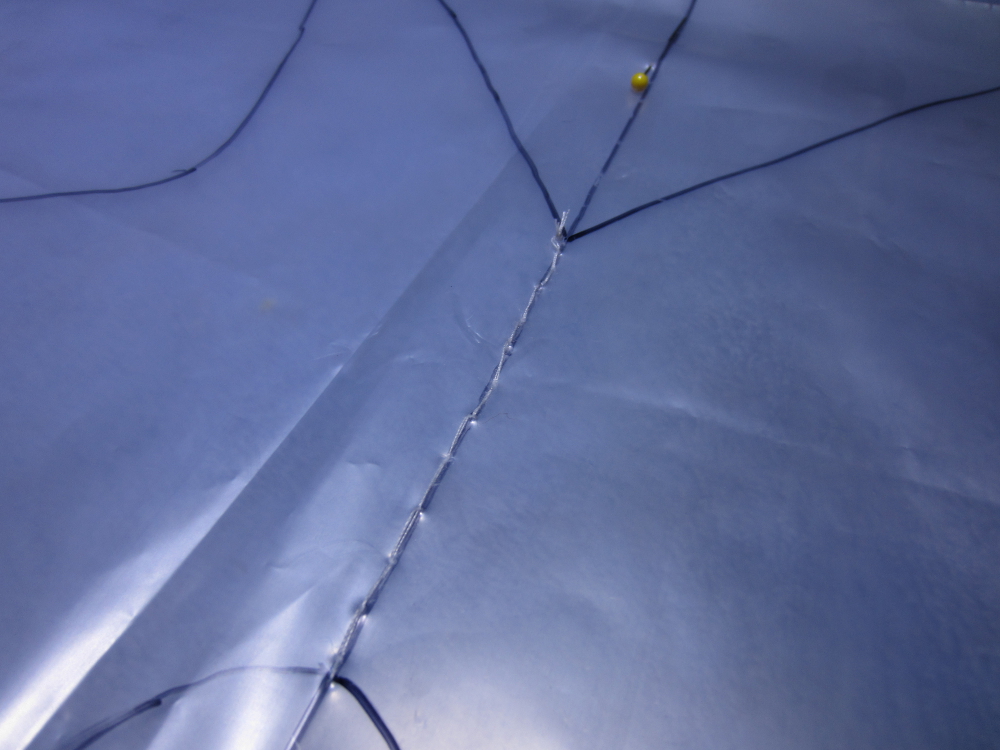
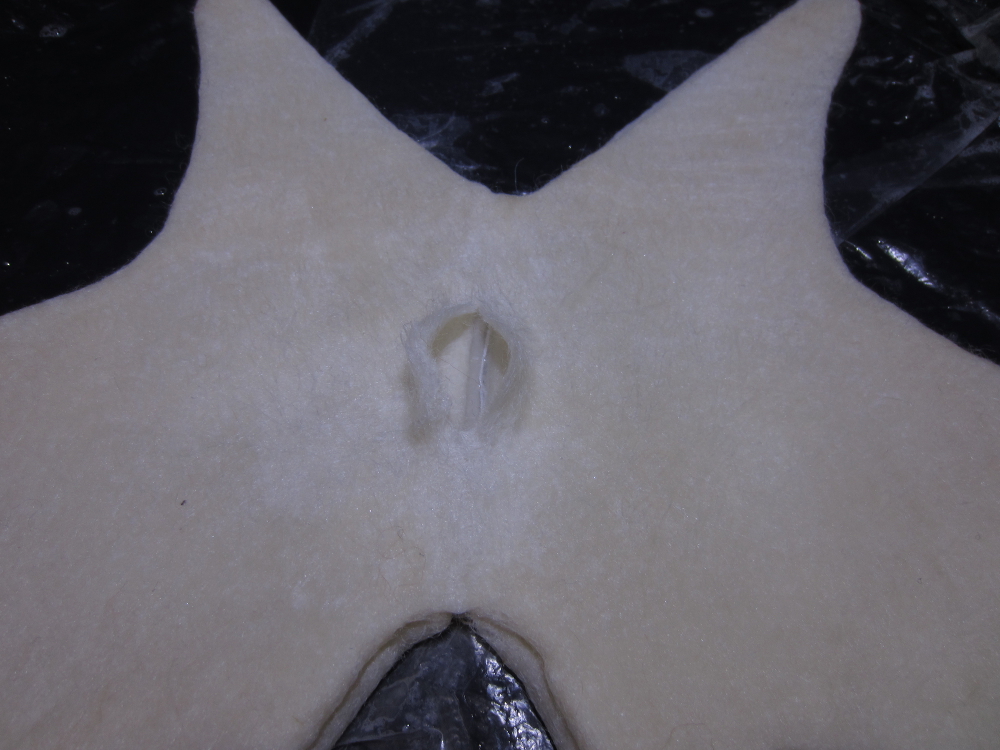
Tip: laying a few strands of wool across the top and bottom joints (where the pages are stitched together) will help prevent holes like this one from opening up when the resist is removed:
You are now ready to start felting…
Use a piece of painters plastic to gently rub the surface of each page in small circles, paying particular attention to the edges of the resist. I find going over the entire surface of each page 50 times is enough. The plastic should glide easily over the surface, if it doesn’t add some more soapy water.
Tip – If you are working with lots of pages you might find it helpful to remove the painter’s plastic as you complete each page so you know when you have reached where you started.
Tip – don’t forget to felt the pages at the back, the ones lying face down on the table.
Tip – work your circular motions from the edge of the resist towards the centre, this will help prevent wings / ridges of felt forming on the edge of the template (unless of course that is what you are trying to do!).
Do the “pinch test”, your fibres should be holding together well by now but if not, go through another cycle of rubbing (it may help to add some hot water too).
Removing the Resist
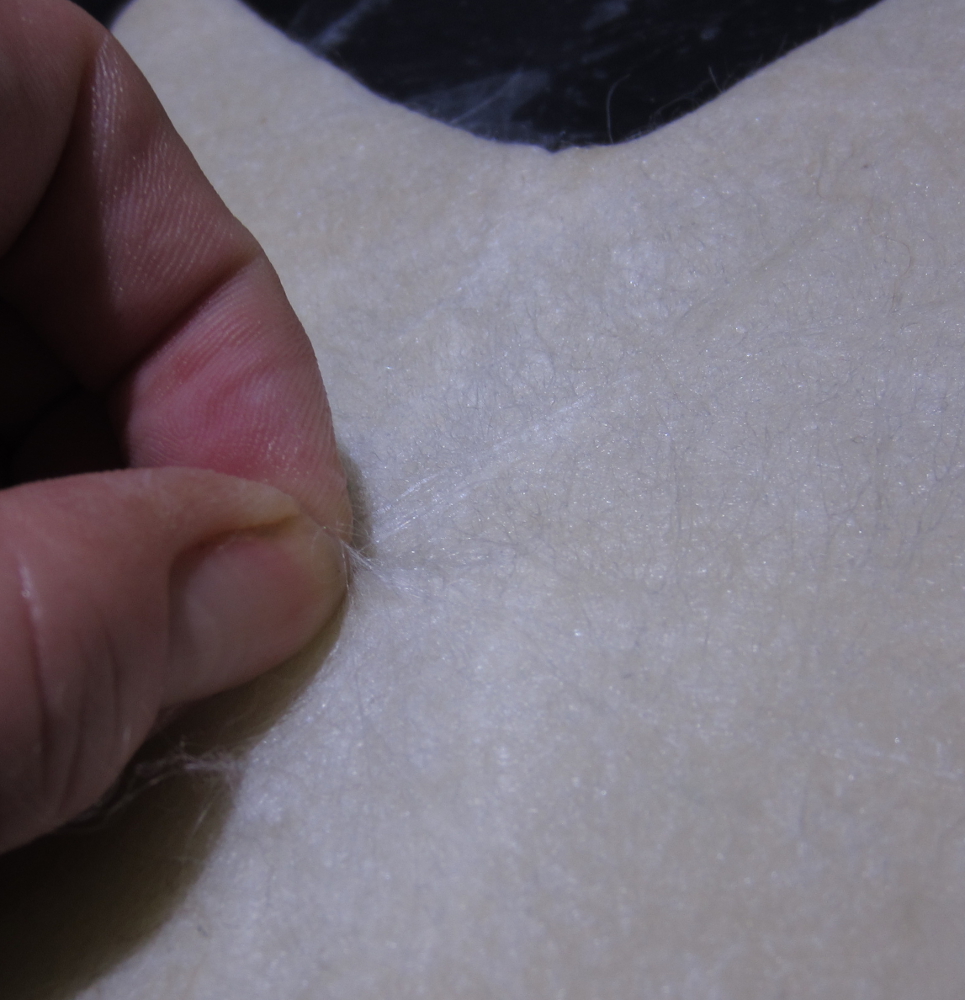
Now we have to decide where to make a hole to remove the resist. For most templates, a hole near the line of stitching makes it easiest to remove the template but anything is possible! I make my hole just big enough for 2 fingers, the hole will stretch some more as you pull the resist out so don’t make it too big…
Depending on the shape of your template, ones with long, spidery arms are the most fiddly, you may need to gently gather and work the felt over the resist in order to get it out without stretching or tearing the felt.
Once the resist has been removed hold the felt up to a light and look inside, through the hole where the resist came out, you are looking for any thin spots in the felt. Any holes should be repaired now , before fulling begins, by laying extra fibre over the wool and gently rubbing through some thin plastic until it is well attached. Now you are ready to knead and throw it, stopping every 30 seconds to check the arms of your sculpture aren’t felting together on the inside. This is also the time to start rubbing it in any directions where you want it to shrink and to start shaping it.
Once you are happy with the shape, folds etc. it can be stuffed while it dries.
Variations:
Try adding wings by laying wool off the edge of the resist.
What would happen if you stitch different shaped pages of resist together or stitched them at different positions (not just down the middle)?
How can you fold / shape / manipulate felt pods made from the same resist so that the final sculptures look very different?
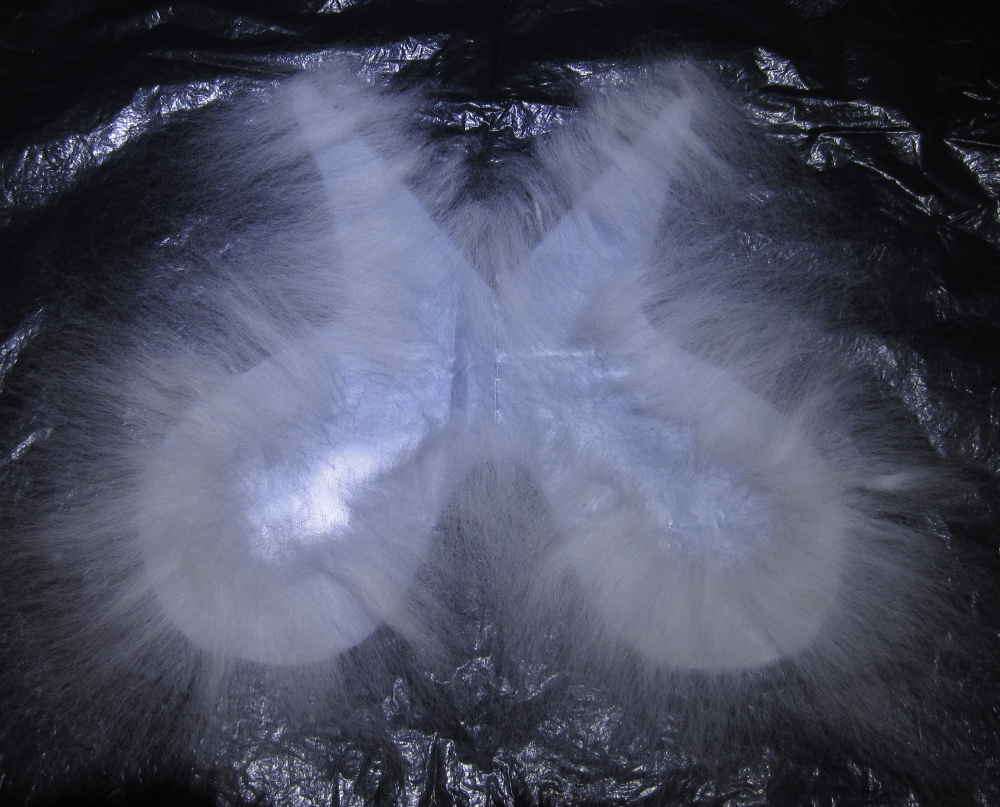
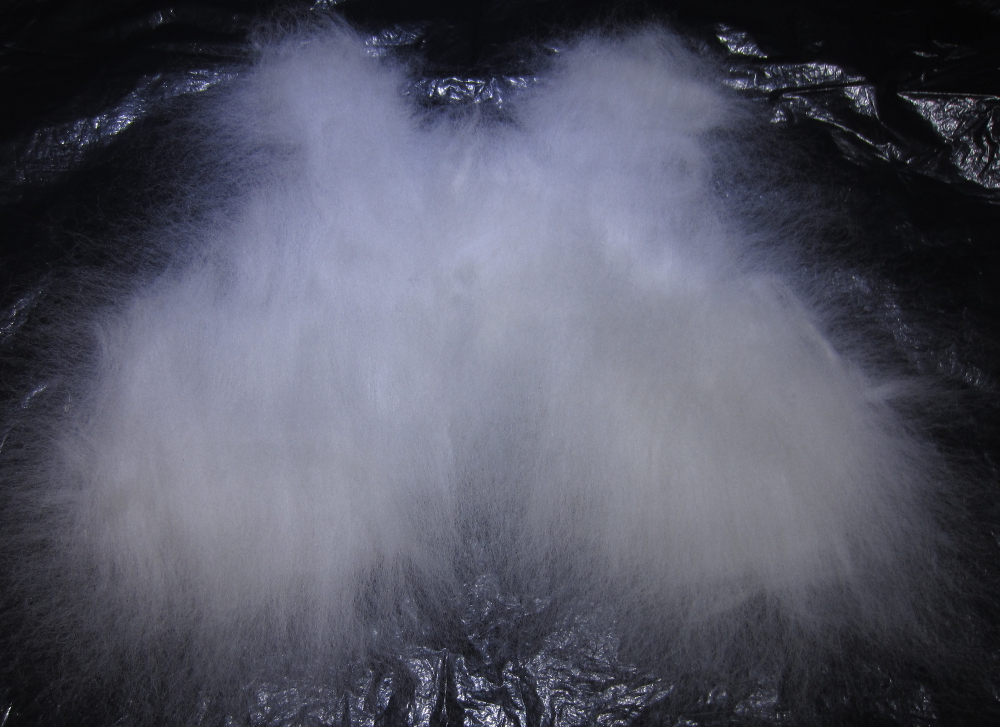
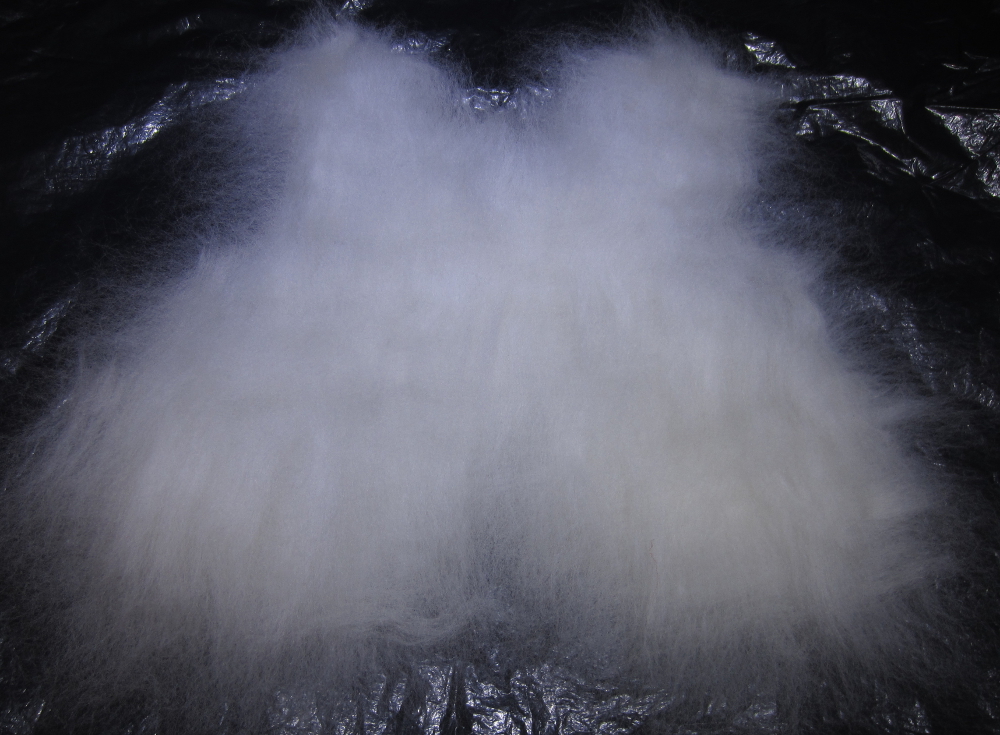
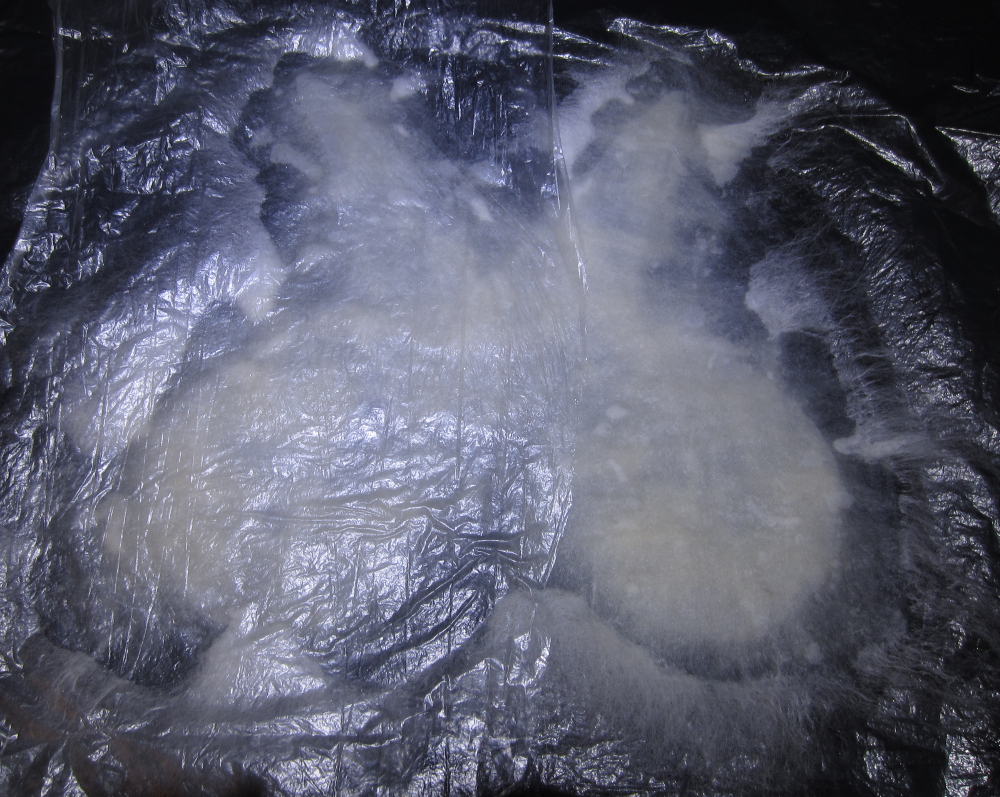
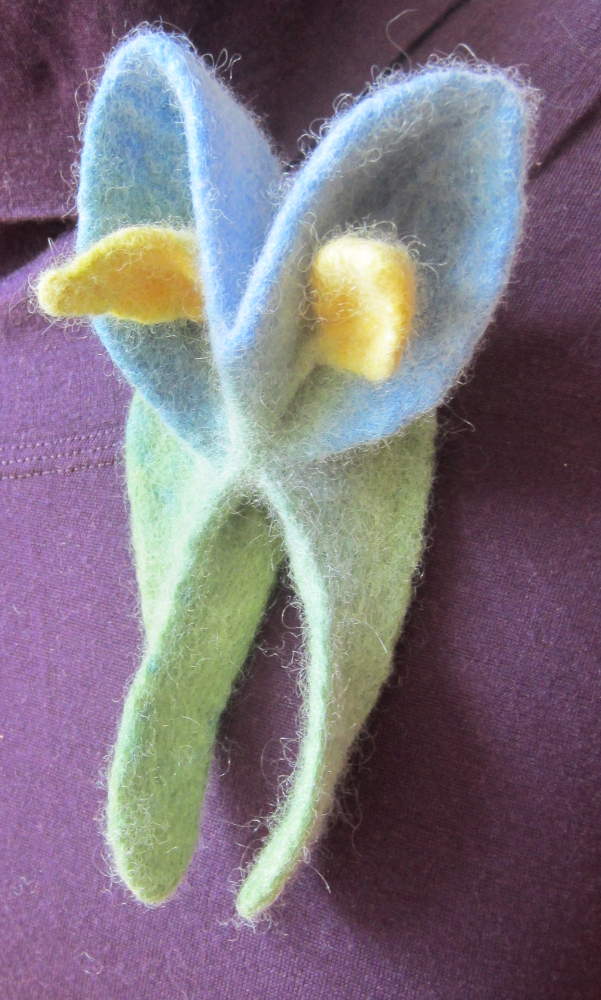
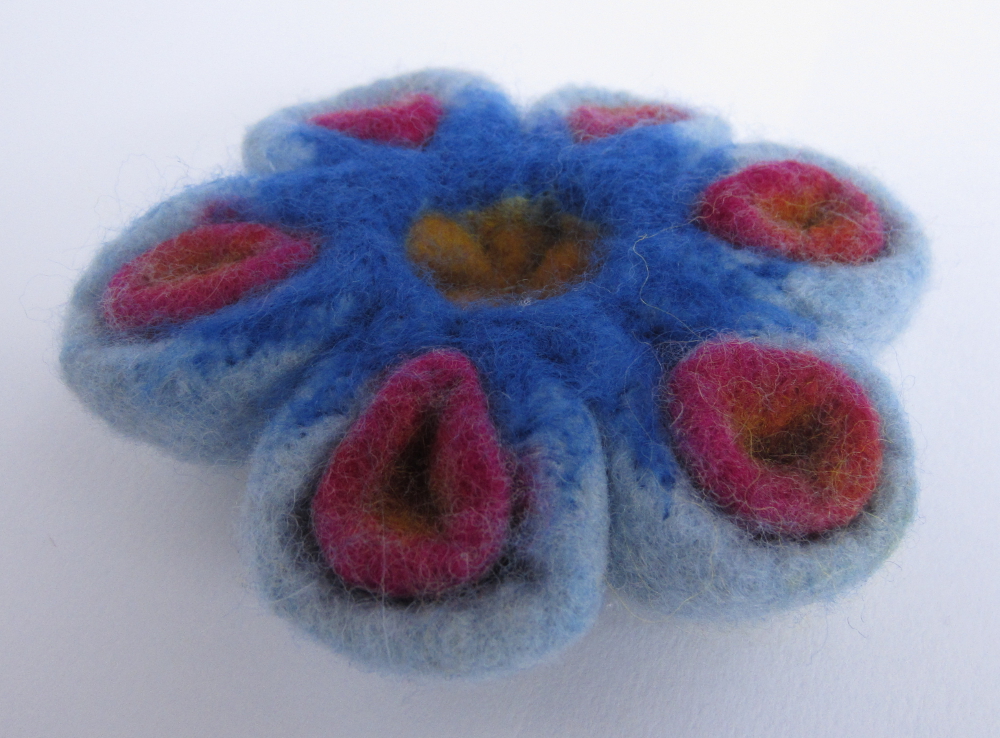
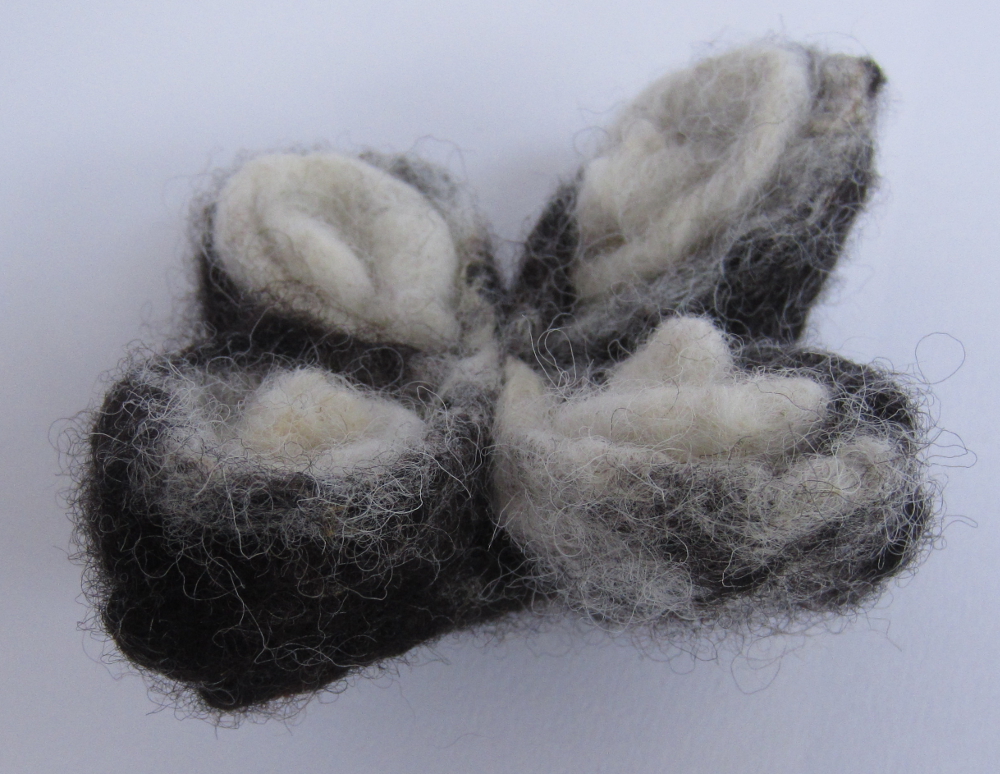
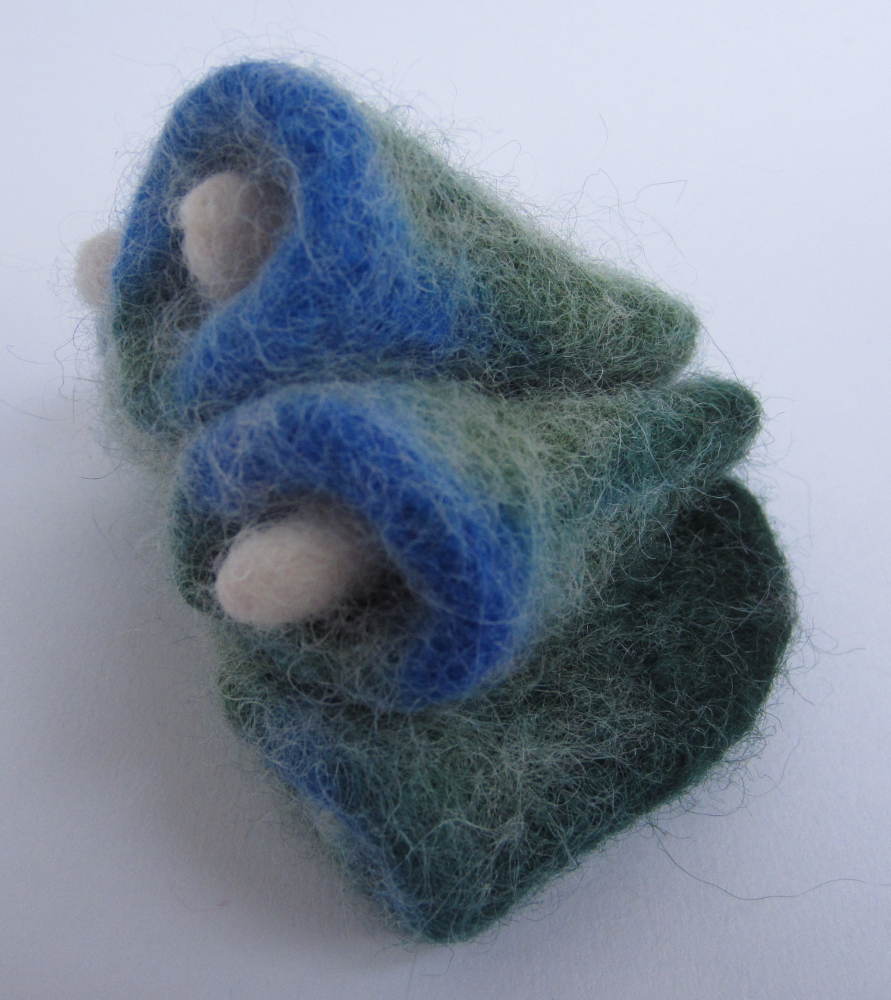
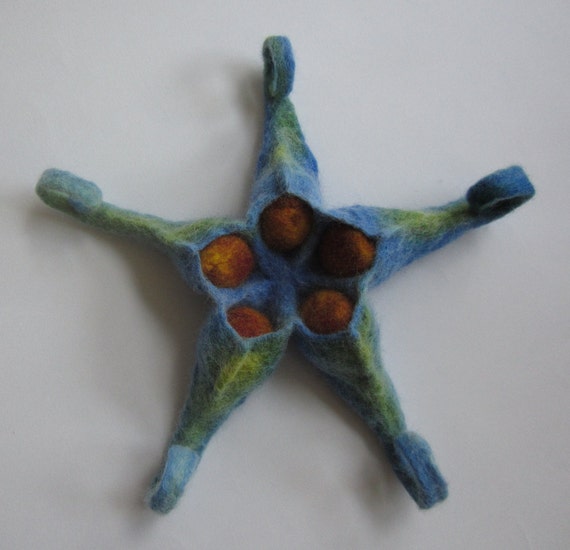
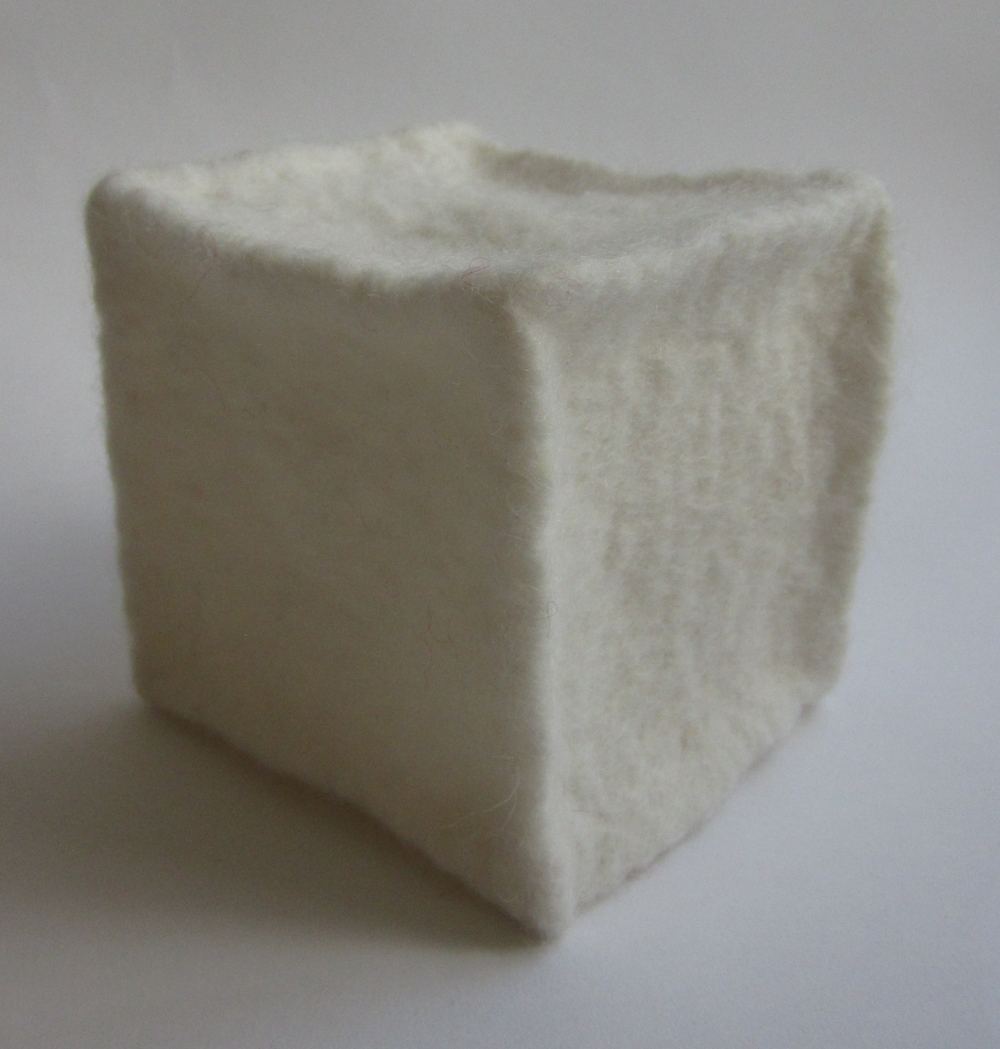
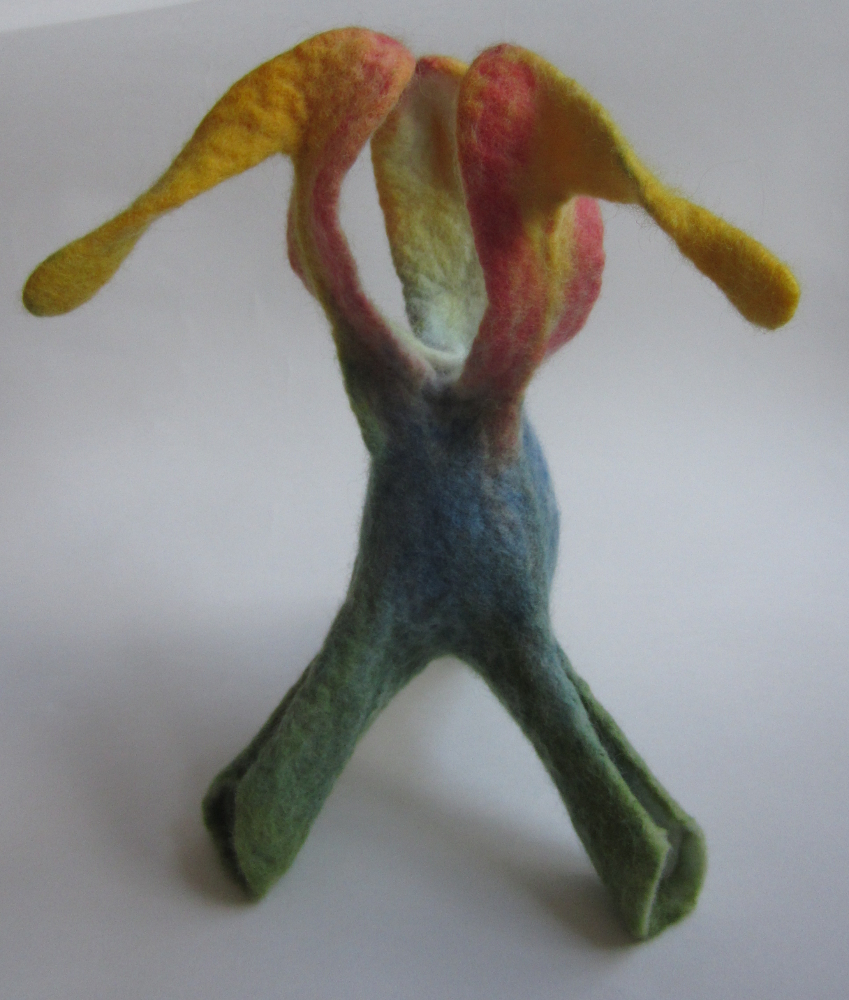
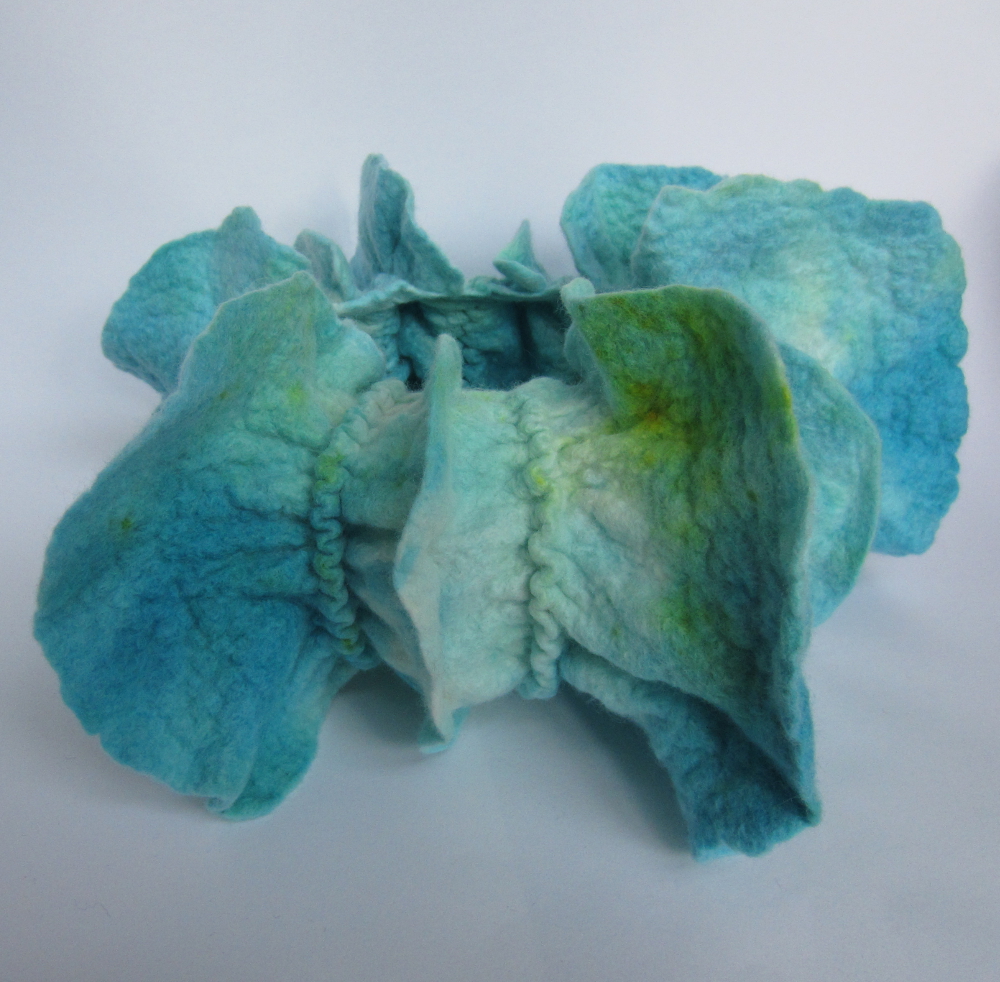
Some example resists and their results:

That is an amazingly helpful explanation of book resists (which are a new concept to me)! Oh, the possibilities! Thank you!
(PS: you might want to have a link to your website from your newsletter…which is how I encountered this).
Thank you Juliane, I agree the possibilities with this technique are almost endless. Please feel free to post a link in the comments of this post if you give it a try.
Thanks for the observation that the email service doesn’t include a link, I agree that could be better, I will see if I can find a better widget….
Thank you so much for this explanation Teri! I will definitely try it. It does have endless possibilities!
I agree with Julianne a link to the website would be great in the newsletter.
Thanks Marilyn, I look forward to seeing all your fabulous creations!
This is a great tutorial and thanks for sharing it on our site. It has been really popular and is getting lots of views. Looking forward to including your class on our class forum 🙂
Thanks Ruth. For anyone wishing to see the comments on the FFS page please follow this link: http://feltingandfiberstudio.com/2016/01/22/book-resist-tutorial-by-teri-berry/
Thank you so much for this wonderfull tutorial! I often wondered how people created all these amazing shapes. Can wait to give it a go.
Thank you Inge, please feel free to post a link to pictures of what you make or email your photos to me and I will create a post for you.
Very clear,concise and easy to follow tutorial Terri.Thank you!
Thank you for the very clear instructions. I have often admired felted pods and wondered how they are made. This will be on my try-it list for some samples in the near future. I’m excited to try it!