Today I got to use the screens I made yesterday and these are the results…
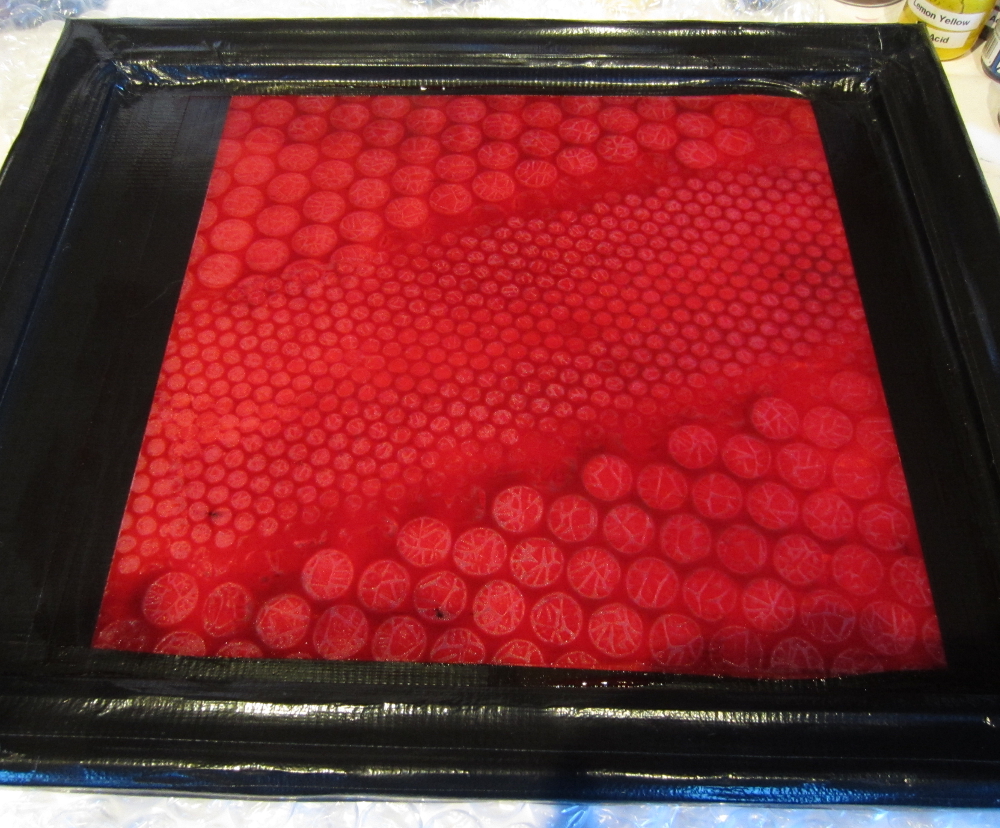
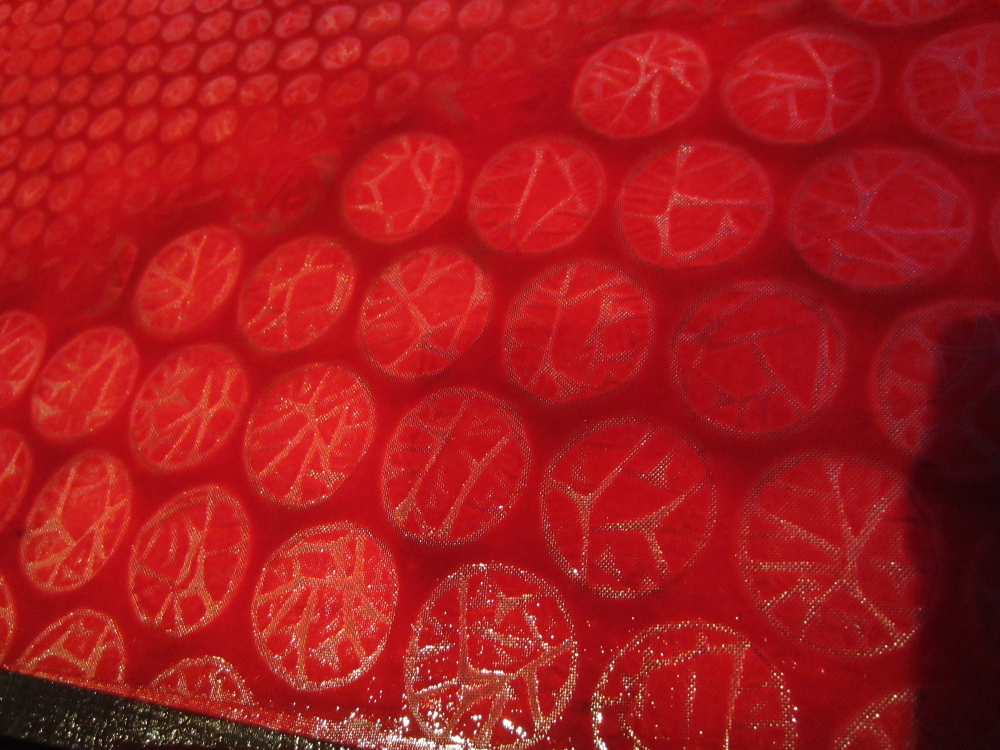
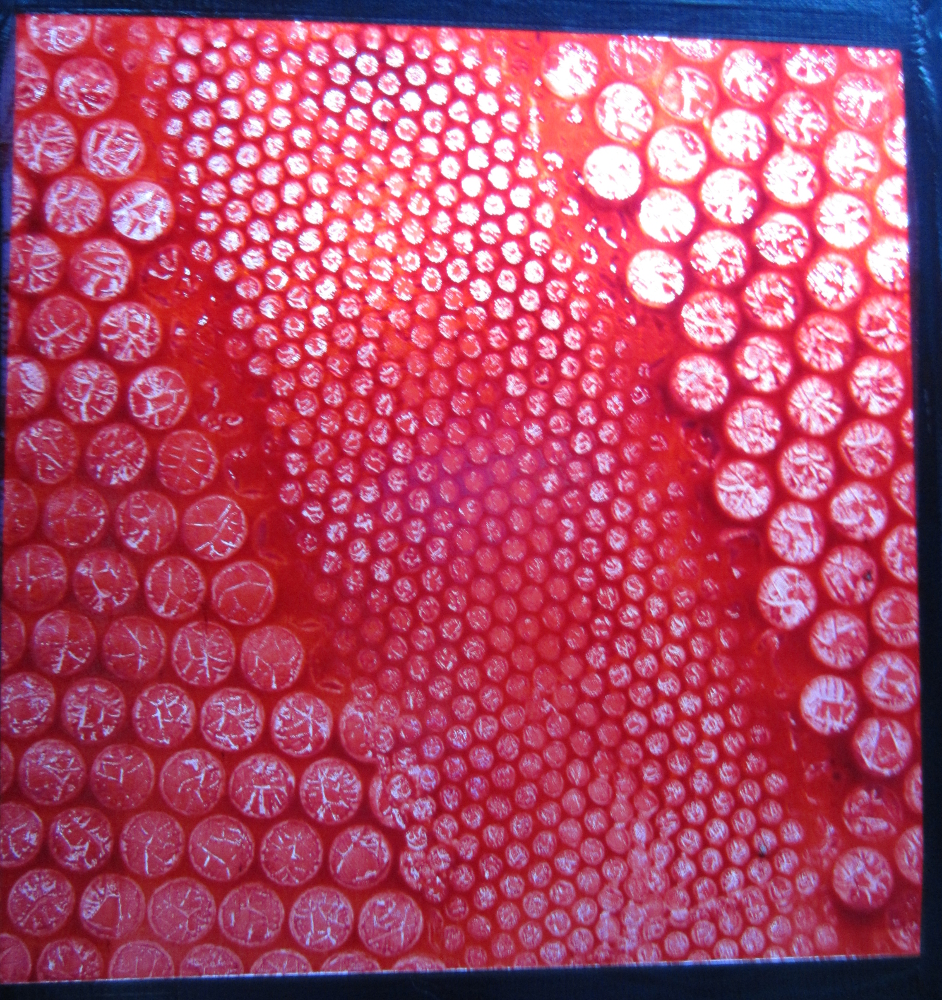
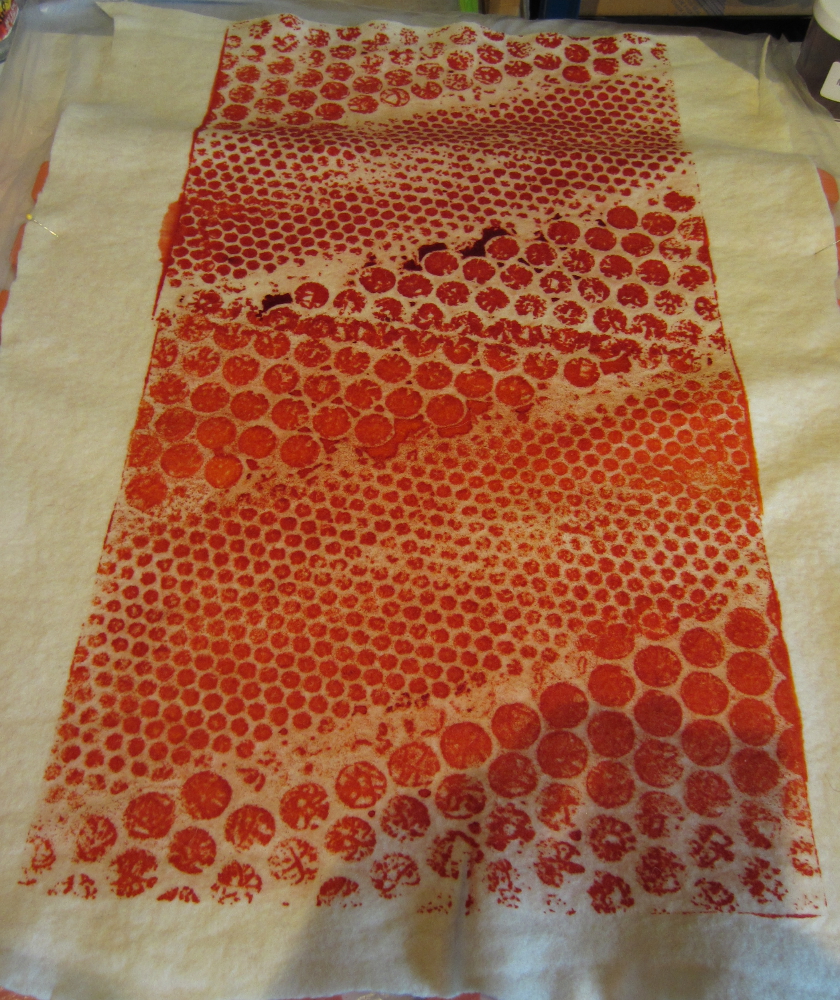
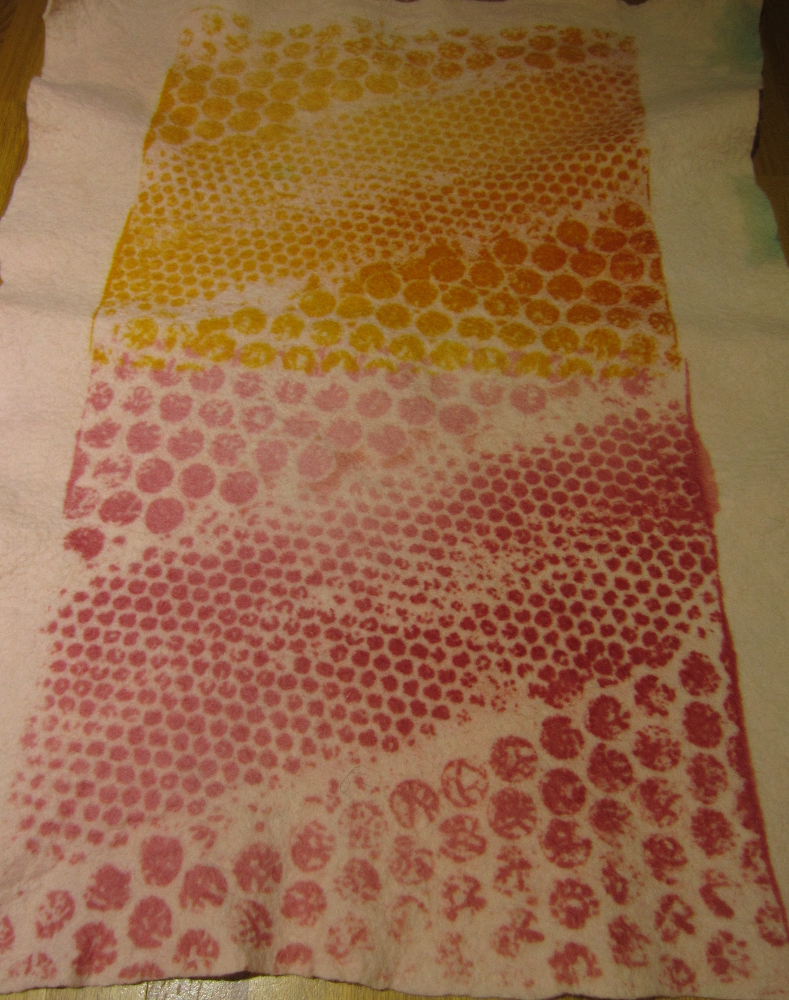
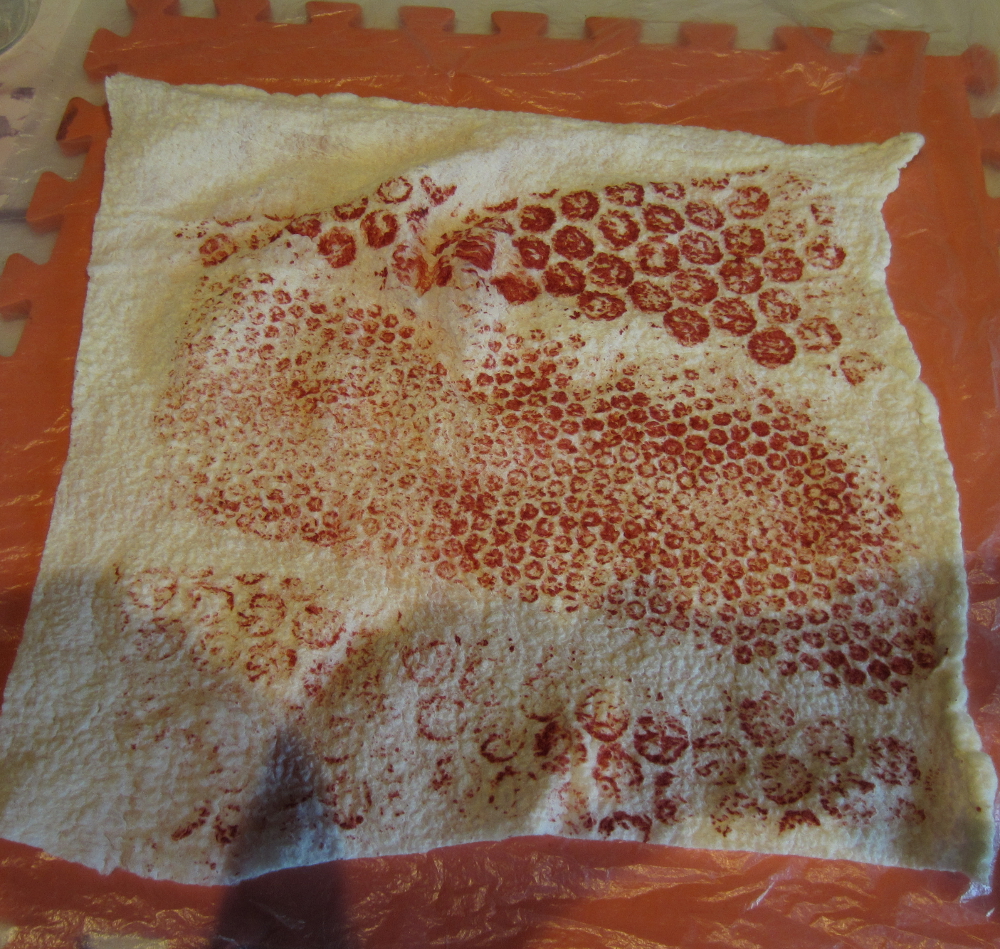
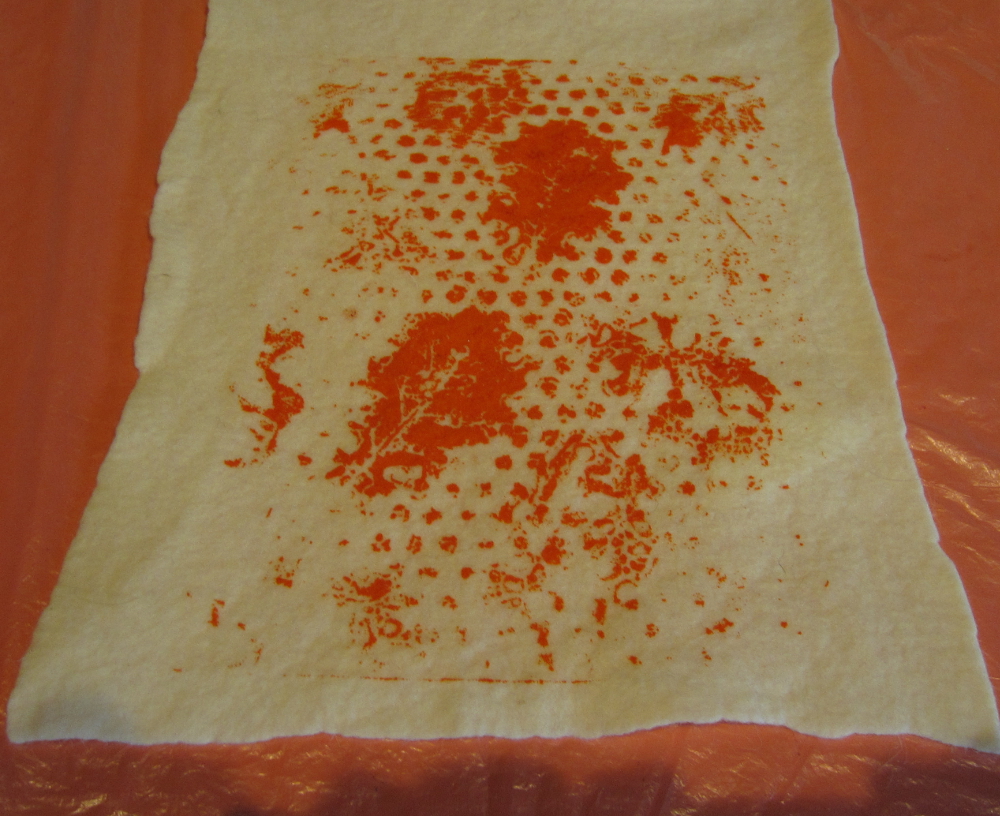
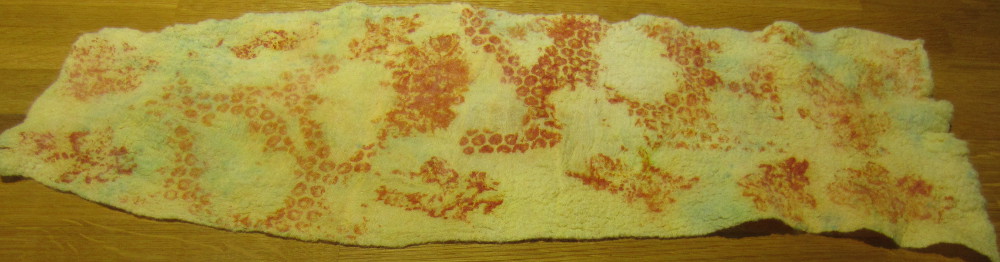
The bubble wrap screen on dry felt:
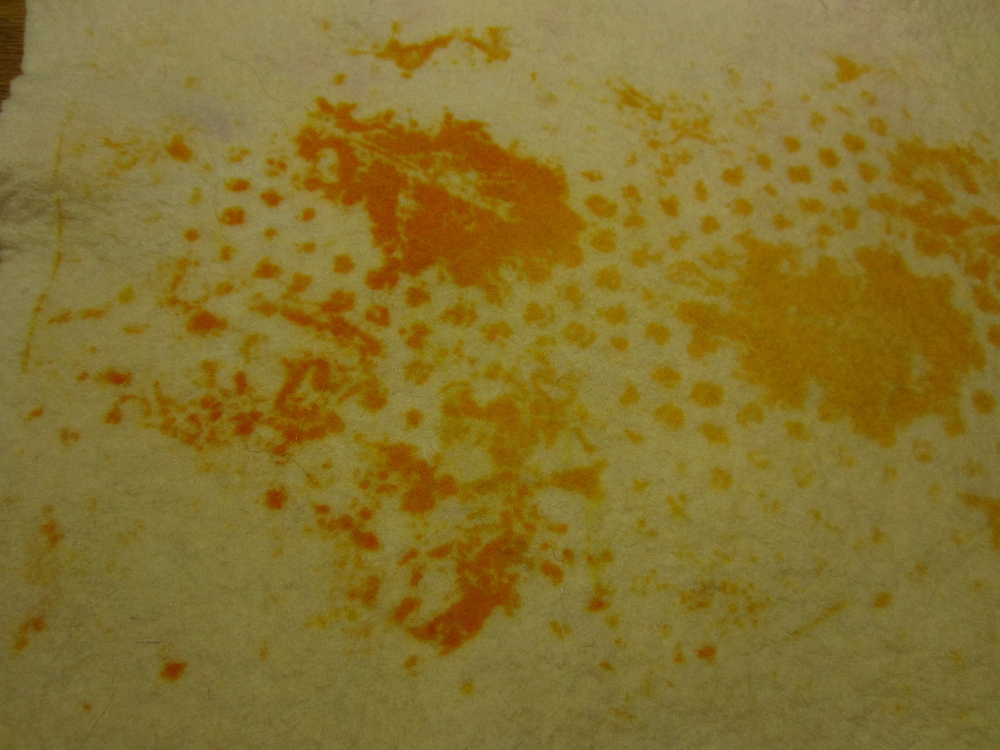
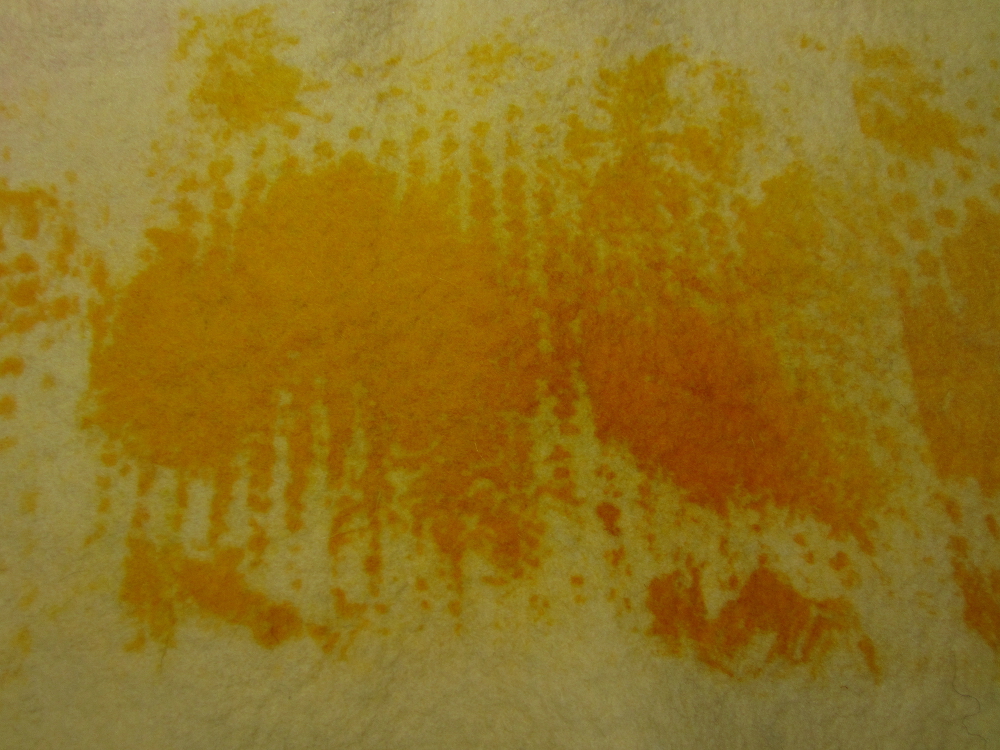
After steaming, it’s odd how the red has washed out leaving a yellowy-orange and paler red:
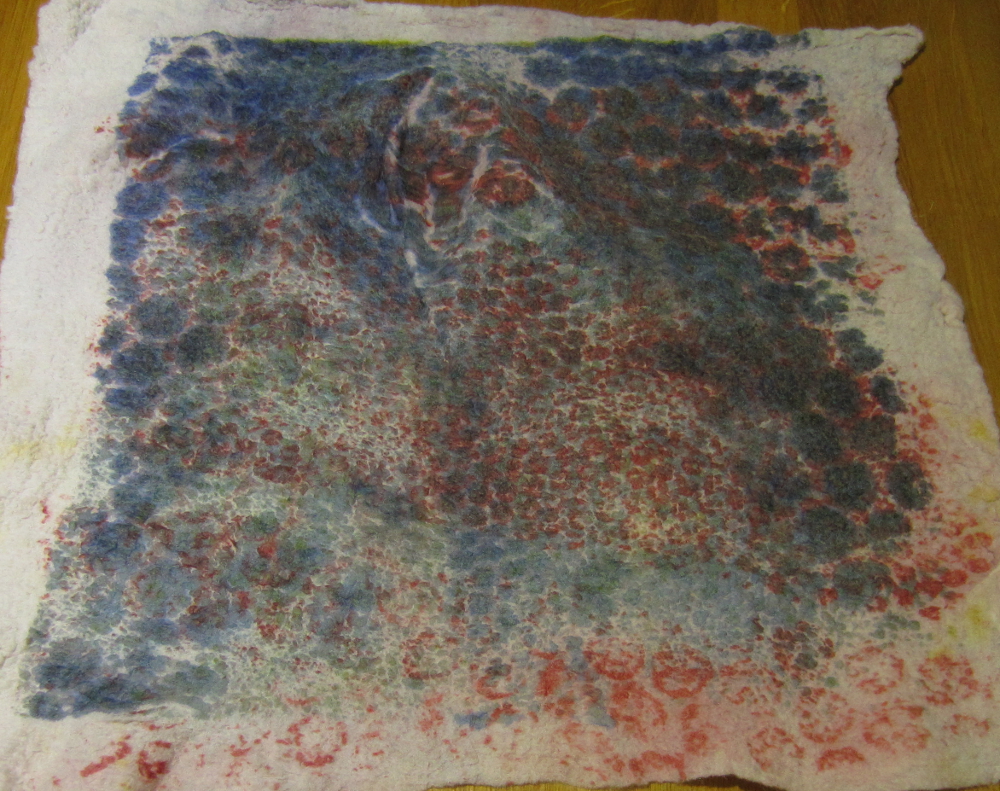
The bubble wrap screen on wet felt (too wet felt 🙁 , all the colours blended to a sludgy brown mess by the time it came out of the steamer)
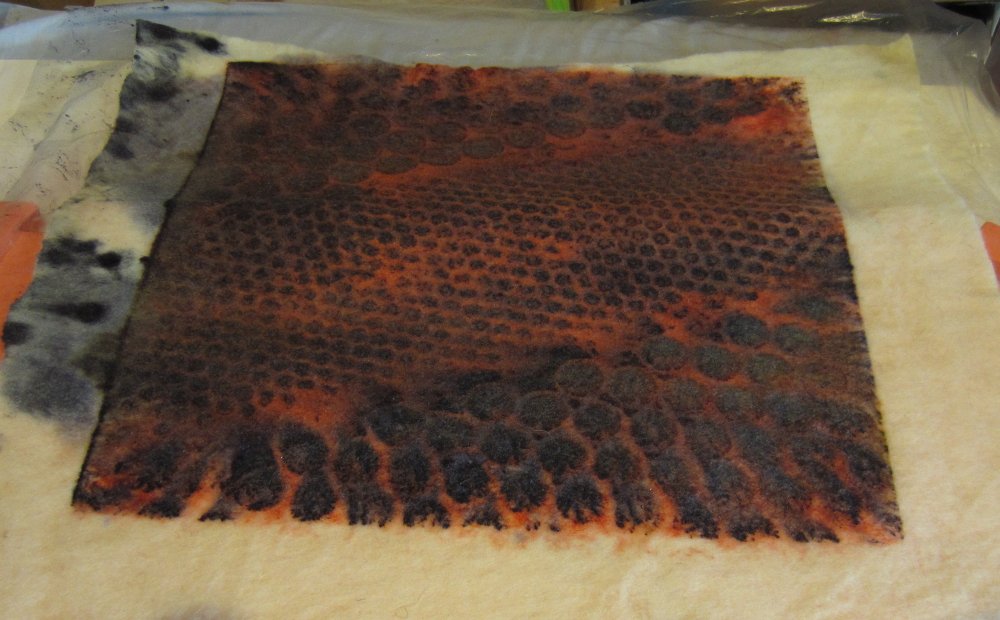
After steaming:

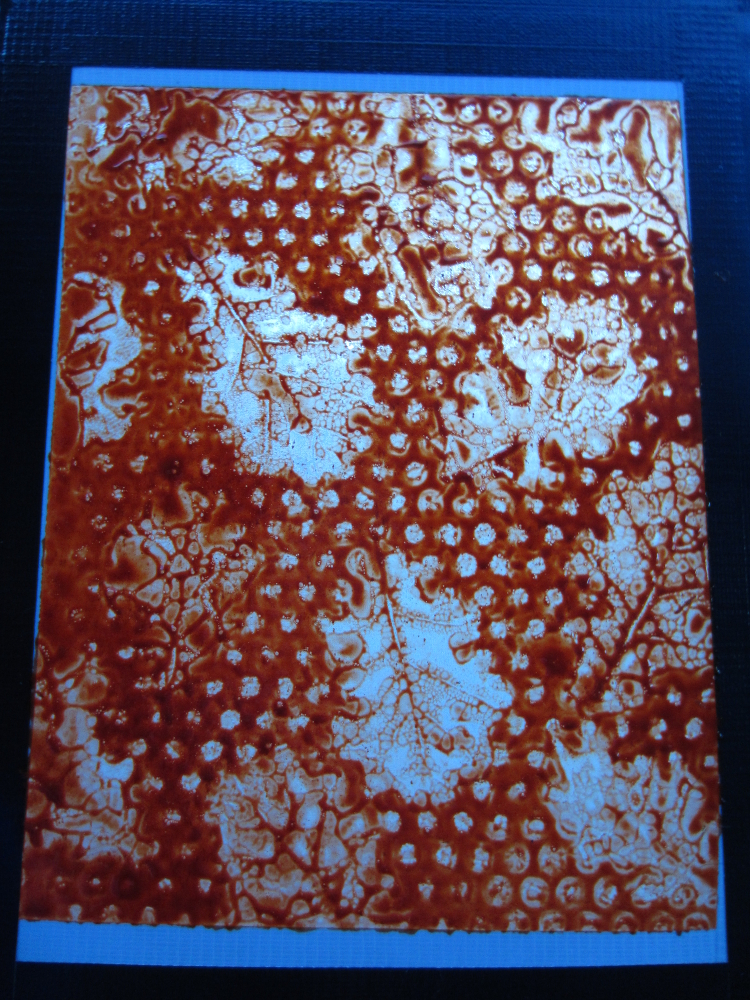
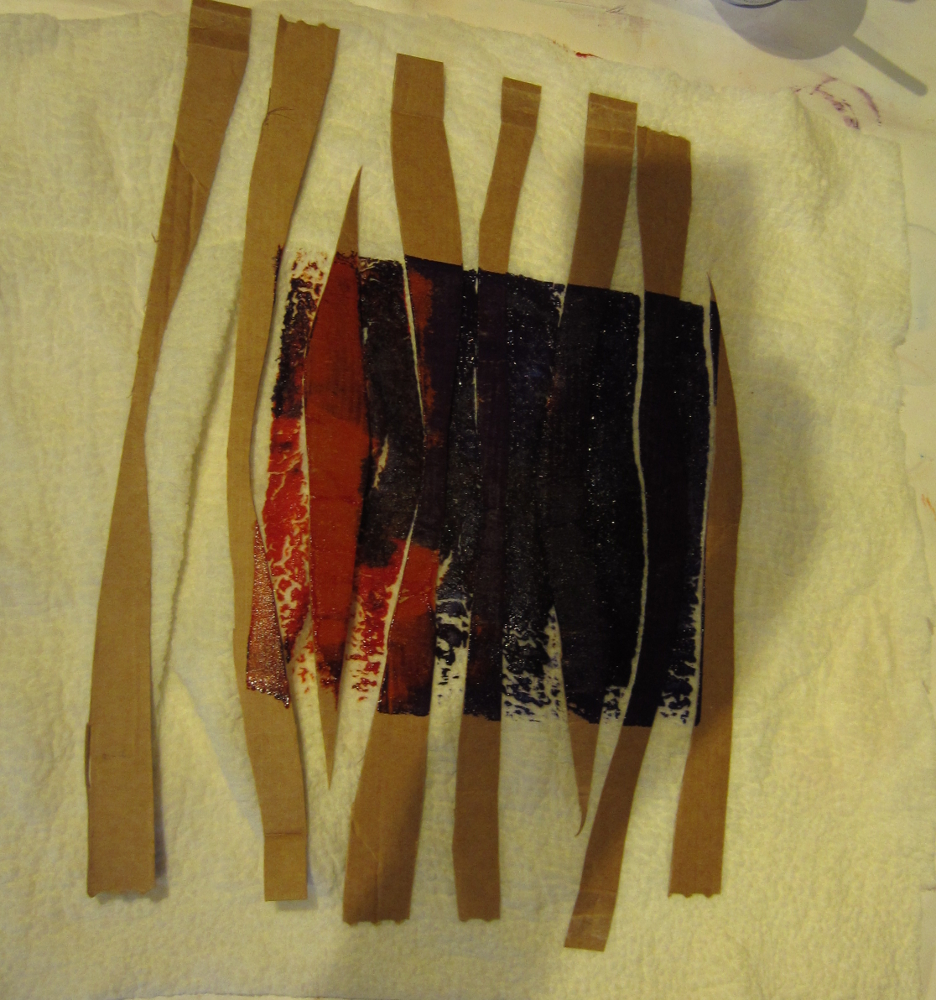
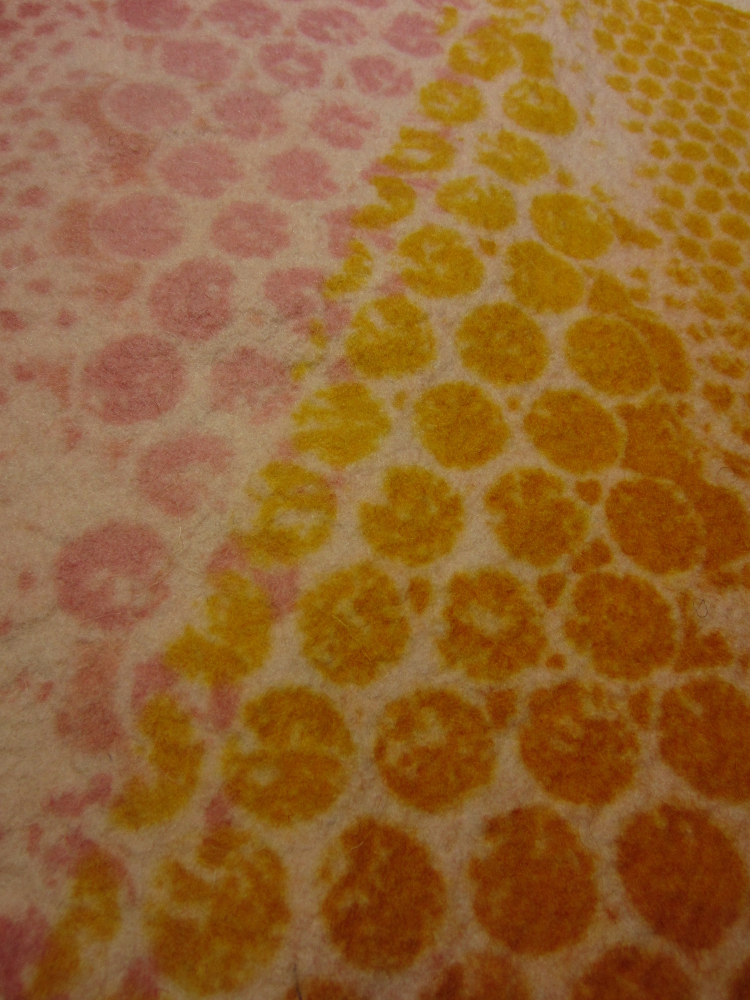
This was a piece of nuno felt I pressed into the dye left on the bubble wrap after making the screen:
And then printed over the top with the same screen turned 90 degrees:
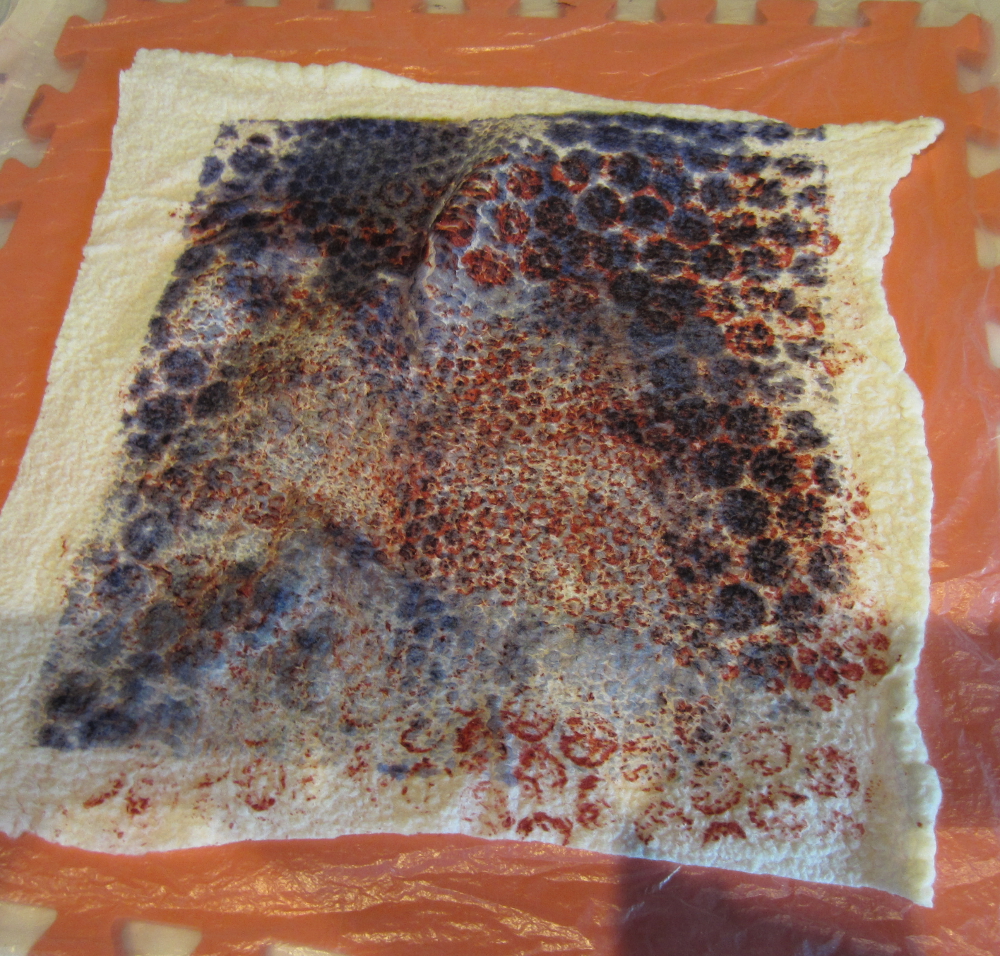
After steaming:
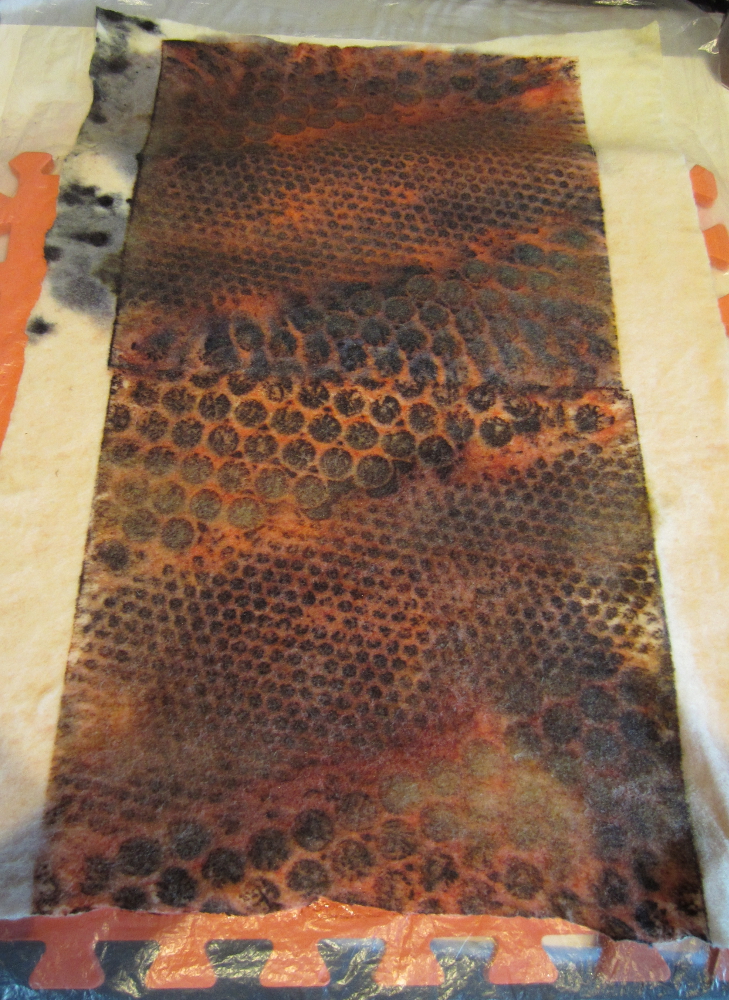
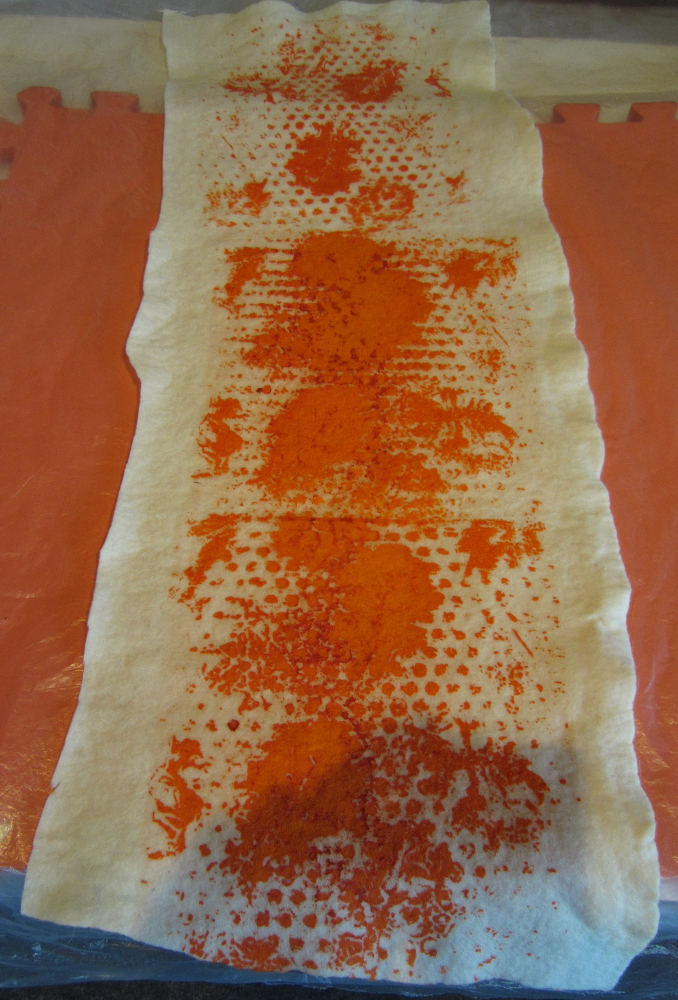
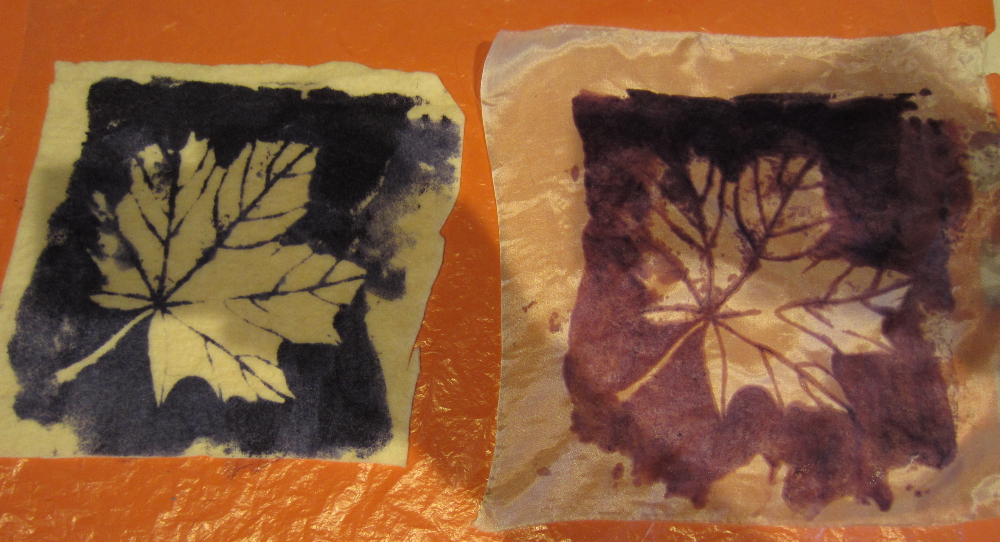
Bubble wrap and oak leaves:
I didn’t get the red dye from the screen coming through until the 3rd section, so went back and did another print on the middle section, I can’t decide if that was a mistake, because now it has adouble-vision effect:
After steaming:
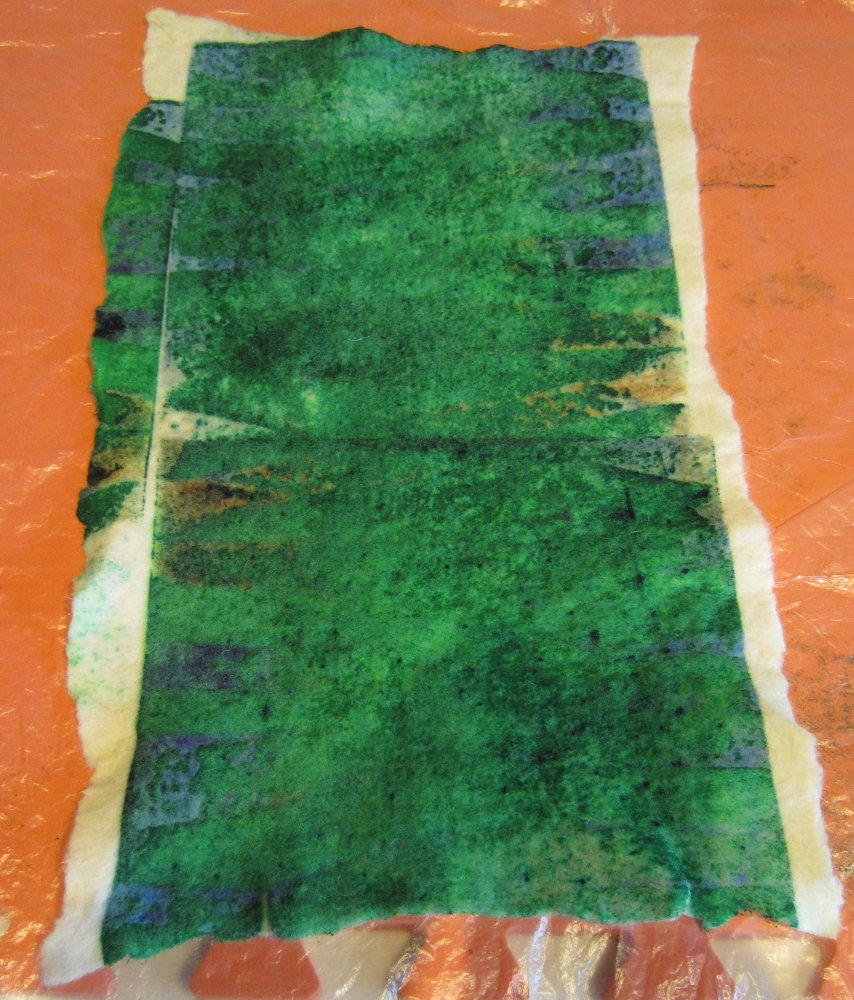
Then I pulled some green print paste across the same screen over a yellow felt, I was aiming for an autumnal effect, gold, orange and green…
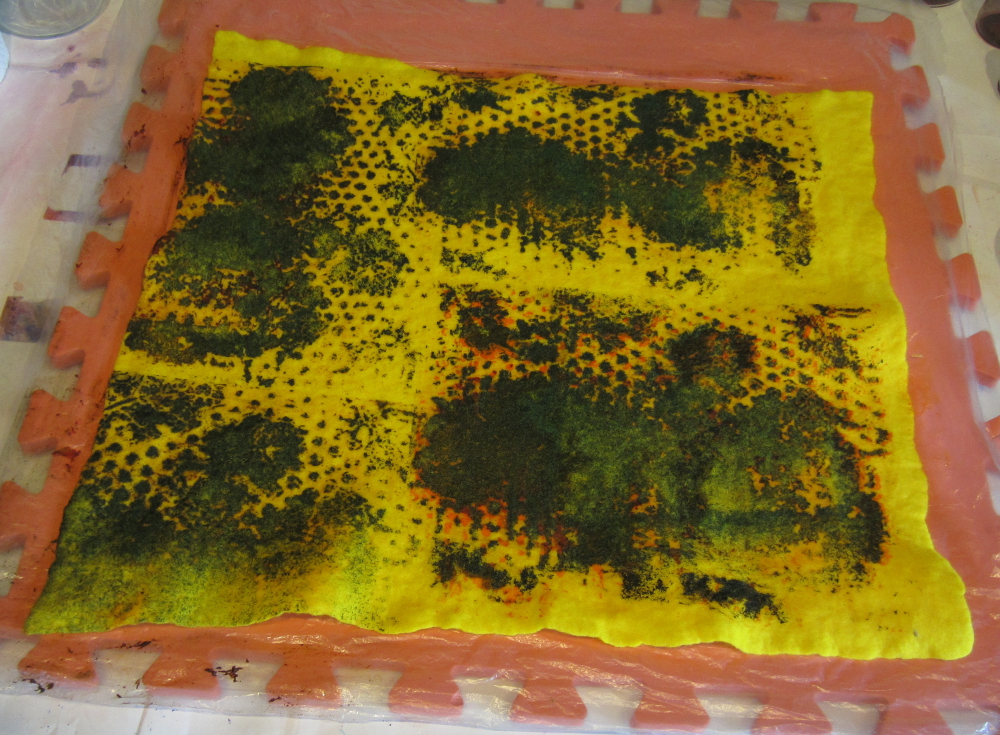
And repeated the process to fill in some of the yellow space.
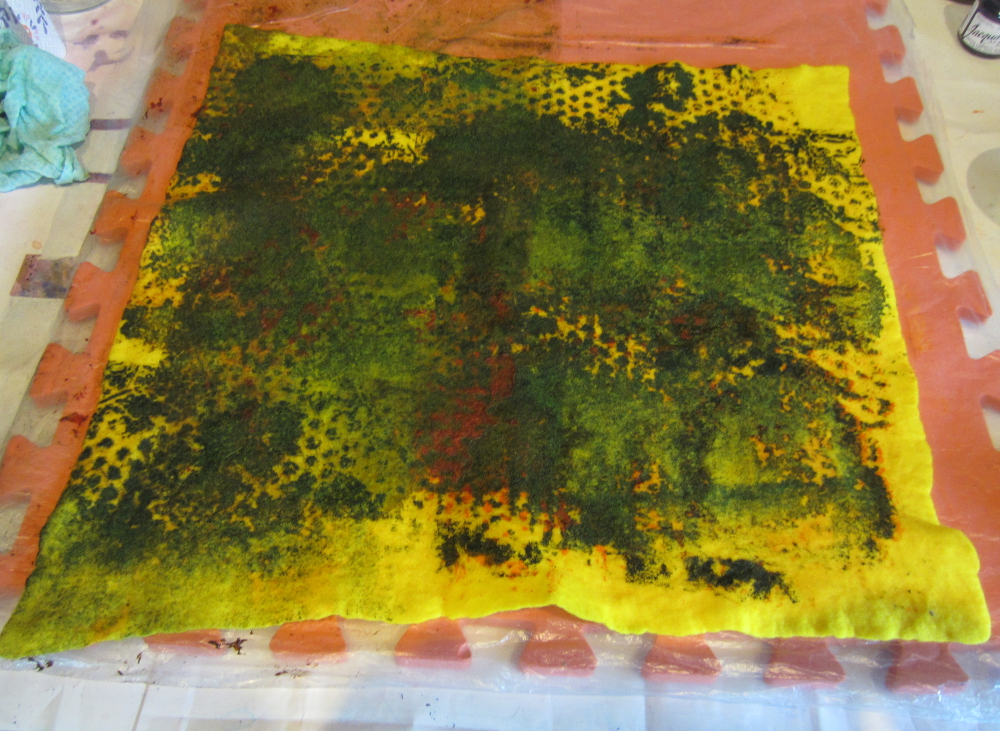
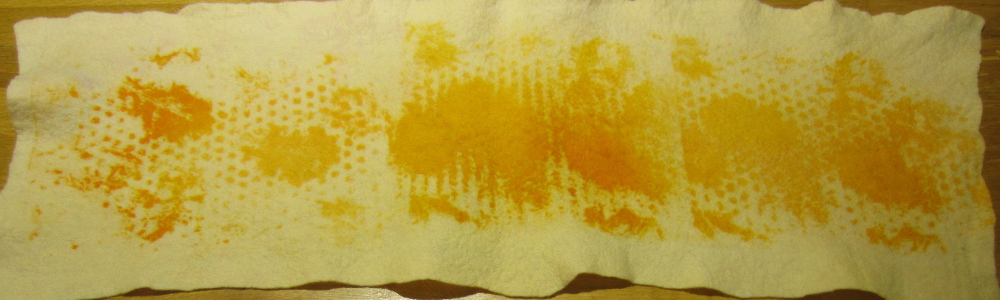
After steaming, again the red has washed out along with some of the green:
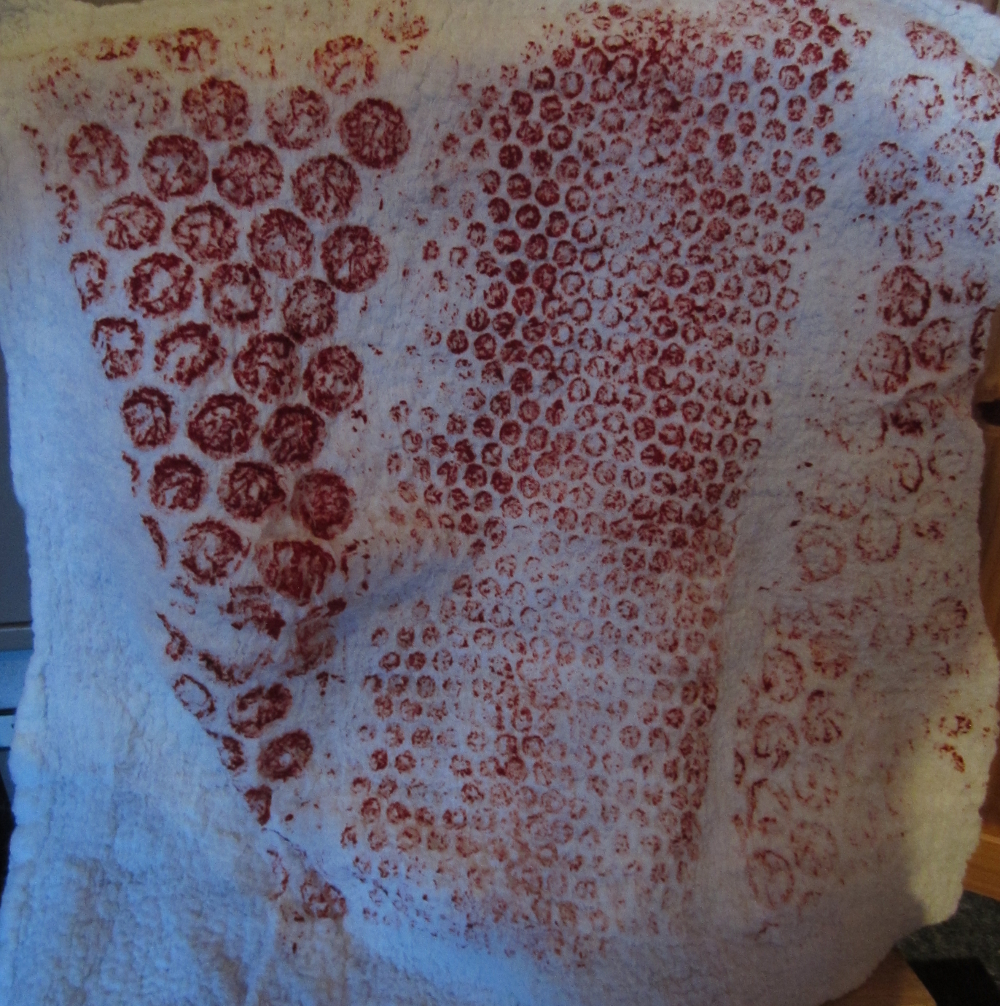
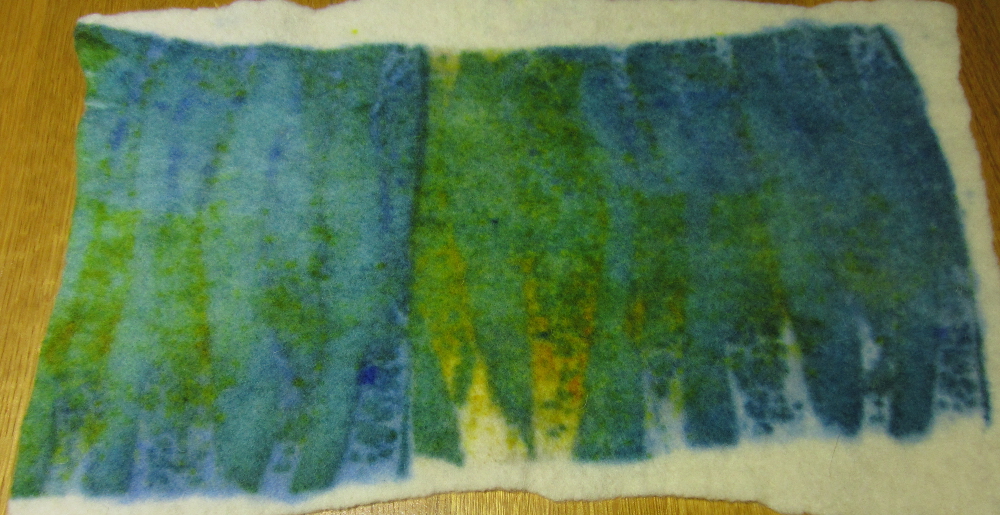
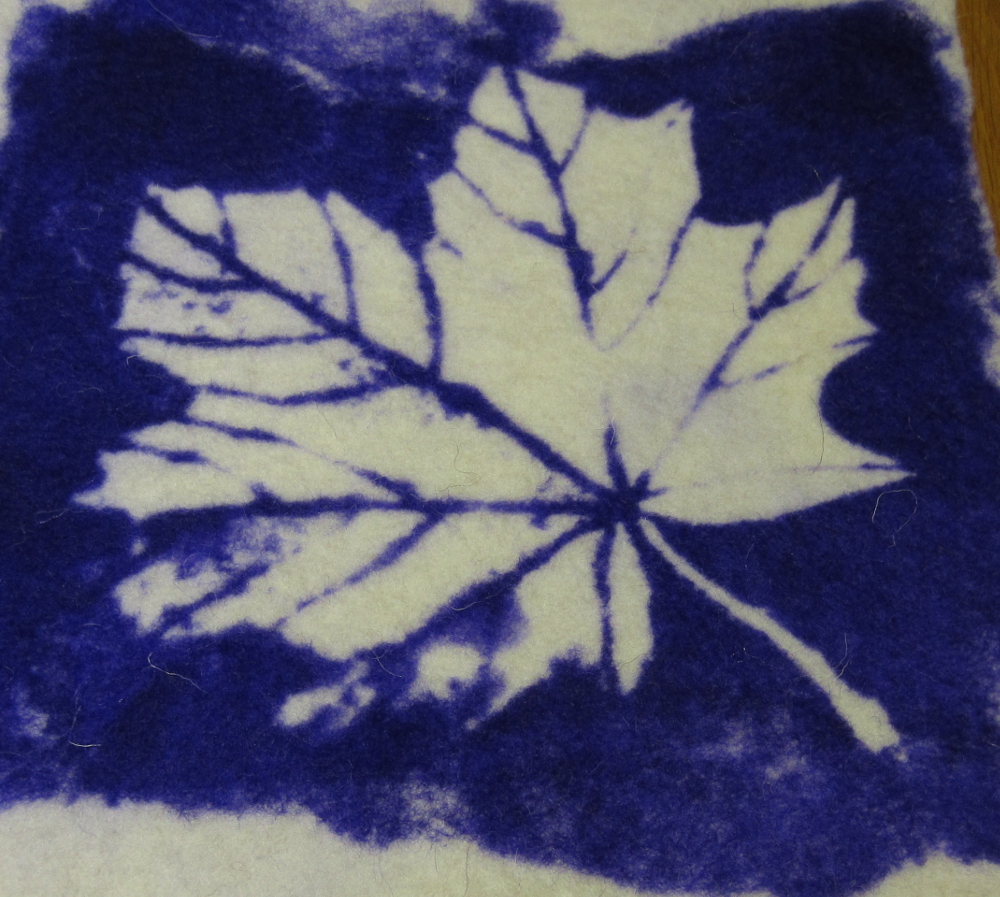
The white felt below was damp and was printed from this screen:

After steaming:
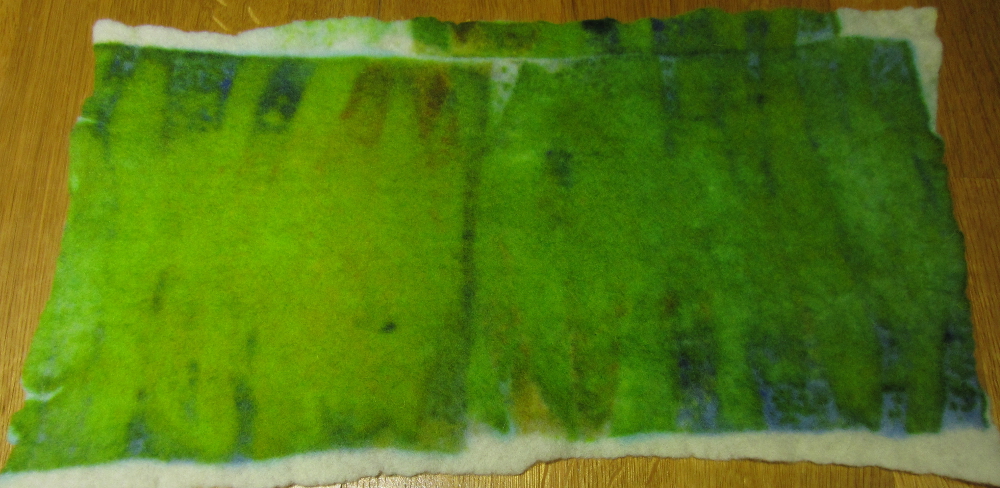
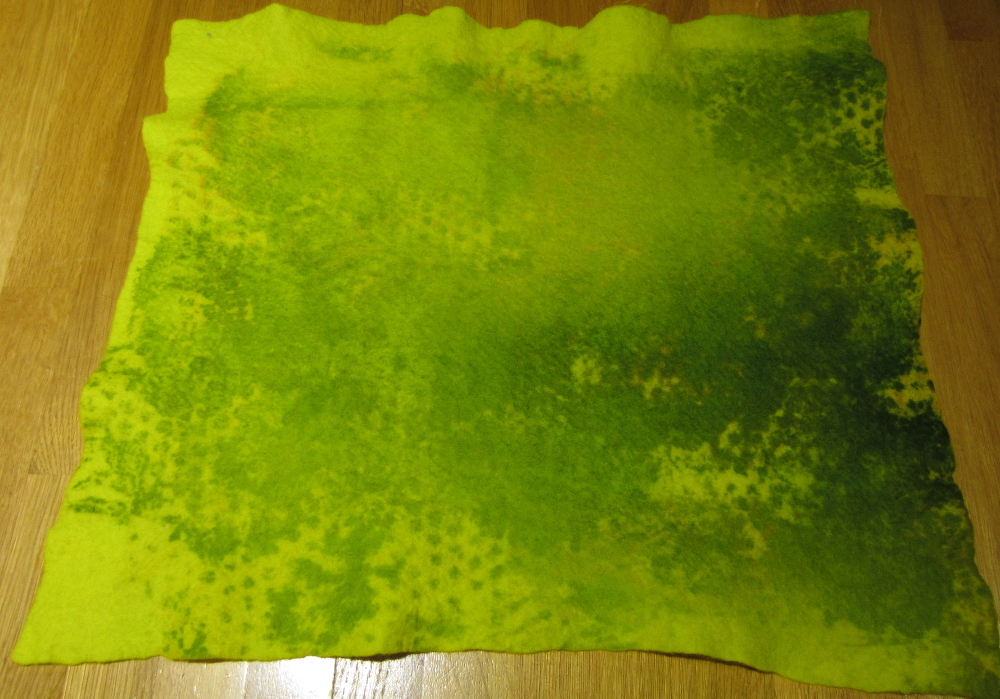
These are a couple of other prints I made from the same screen with different shades of green:
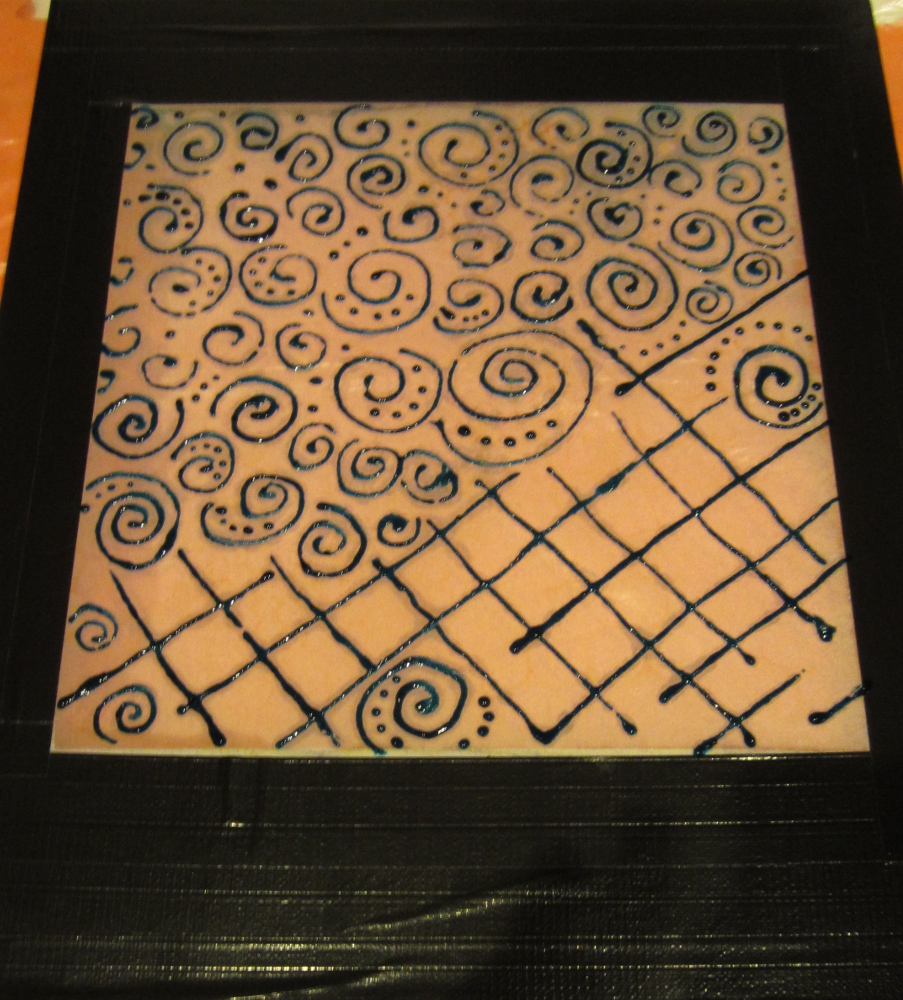
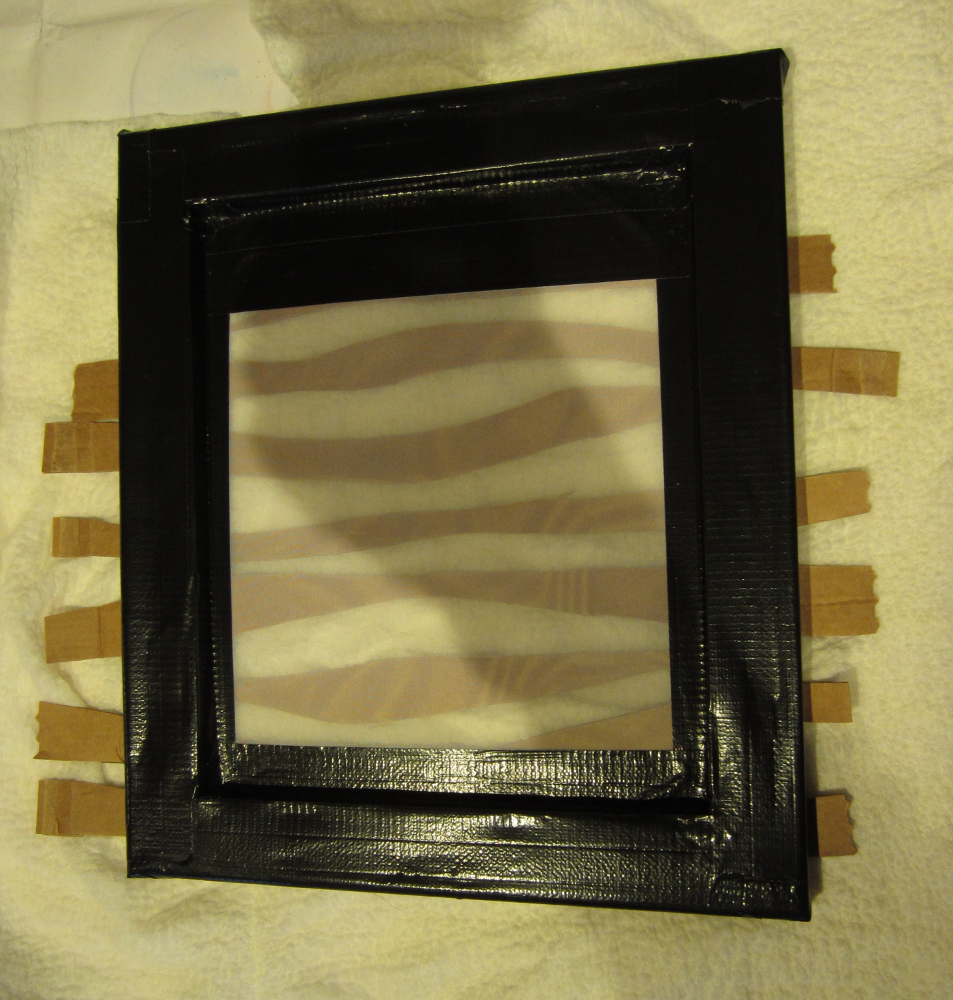
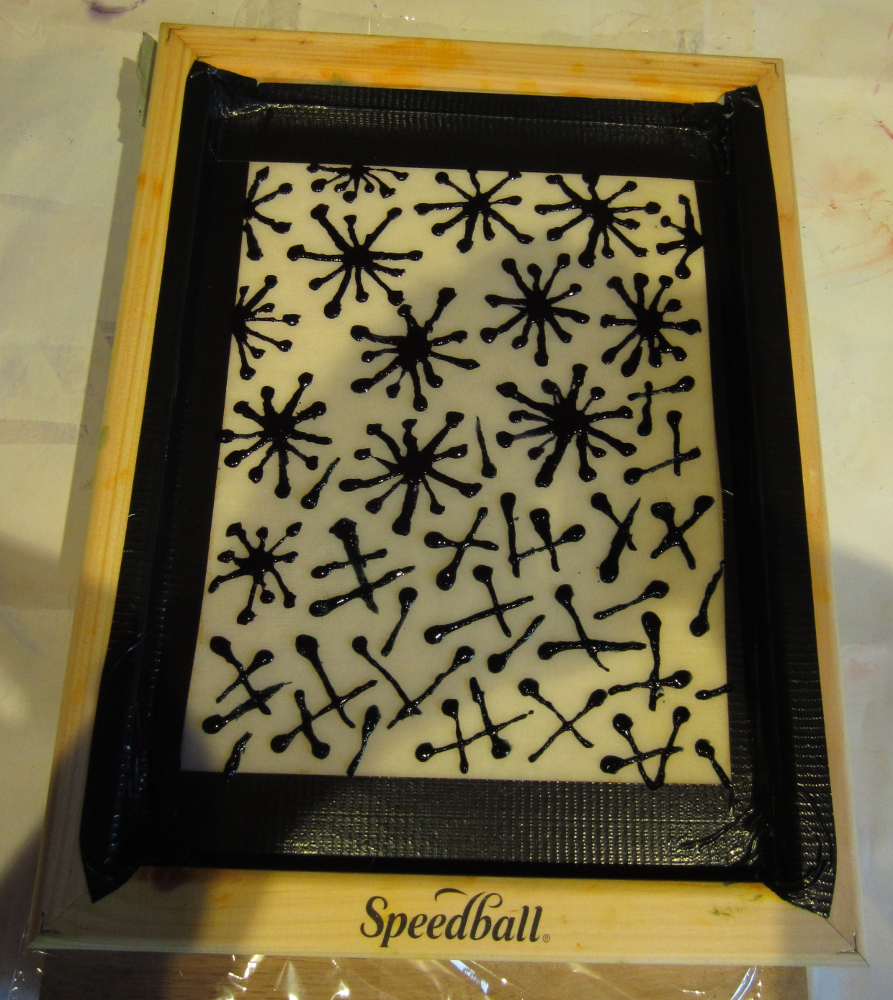
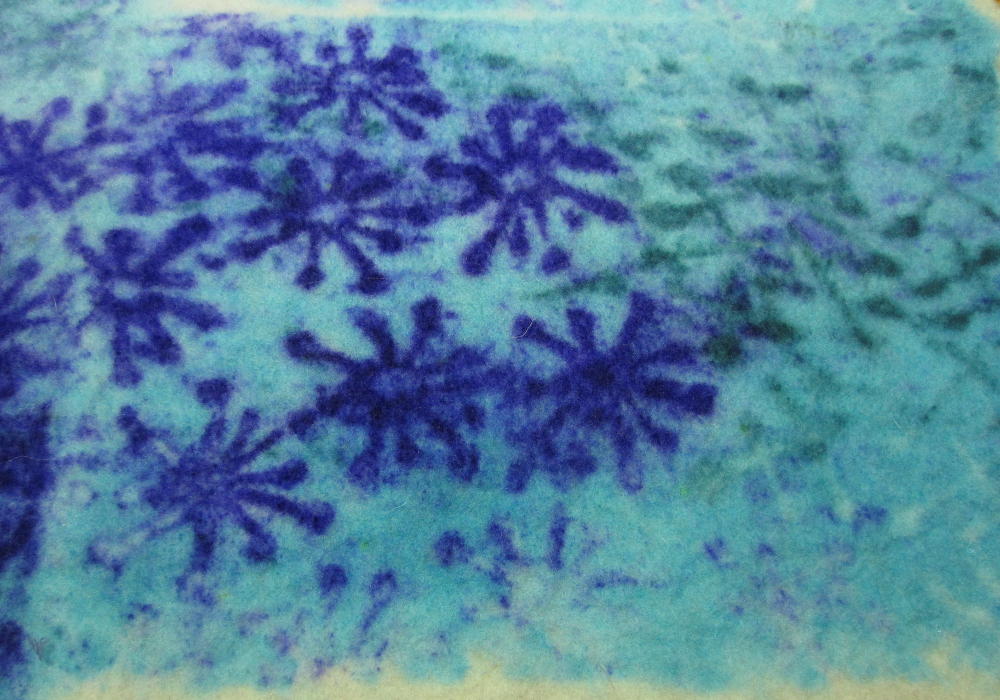
I made another screen by drawing with the print paste, its not as easy as you might think…
You can’t see it in the picture but there is a piece of prefelt under the screen, picking up any print paste that goes through.
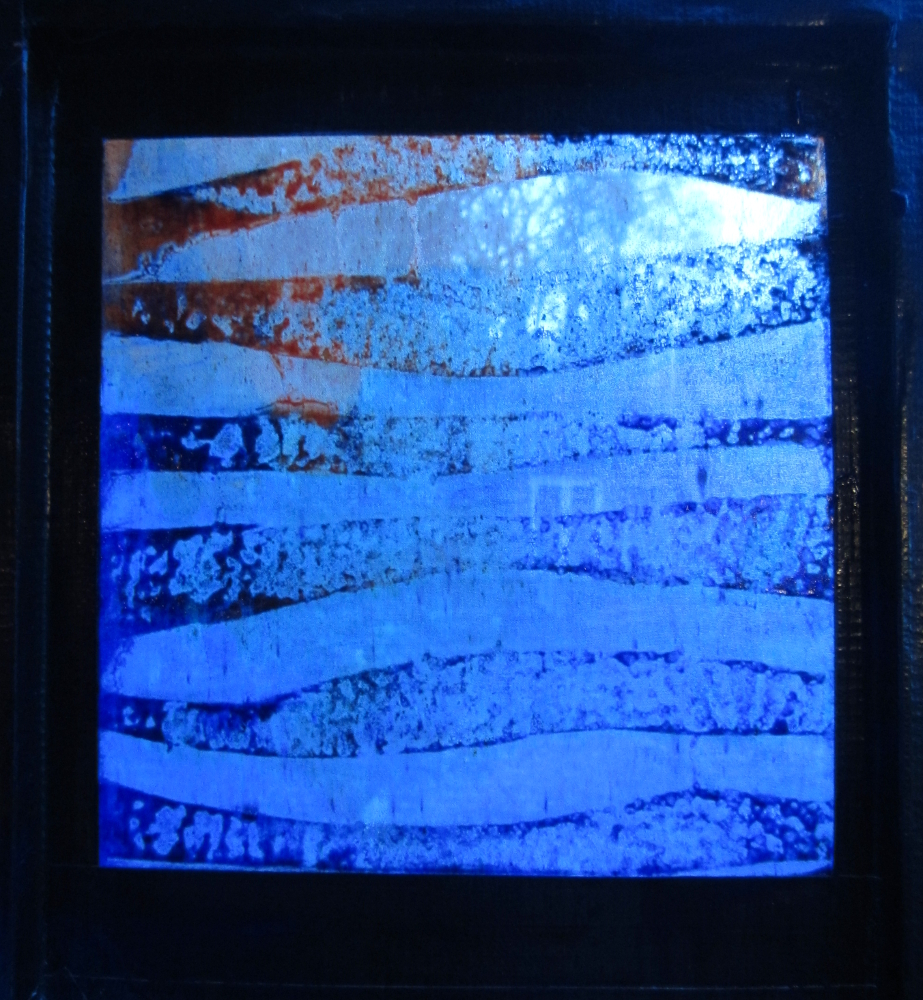
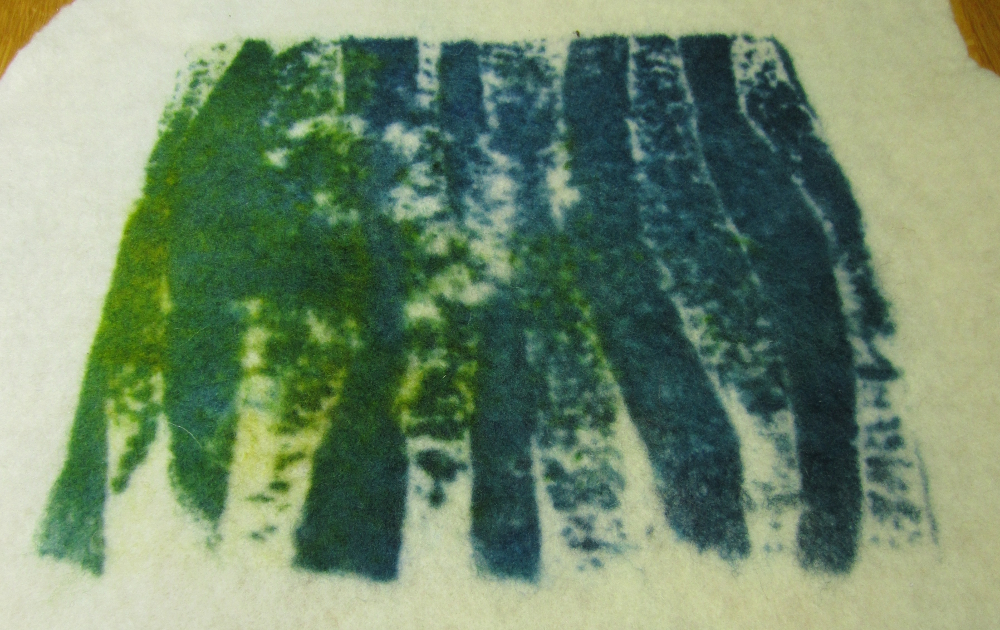
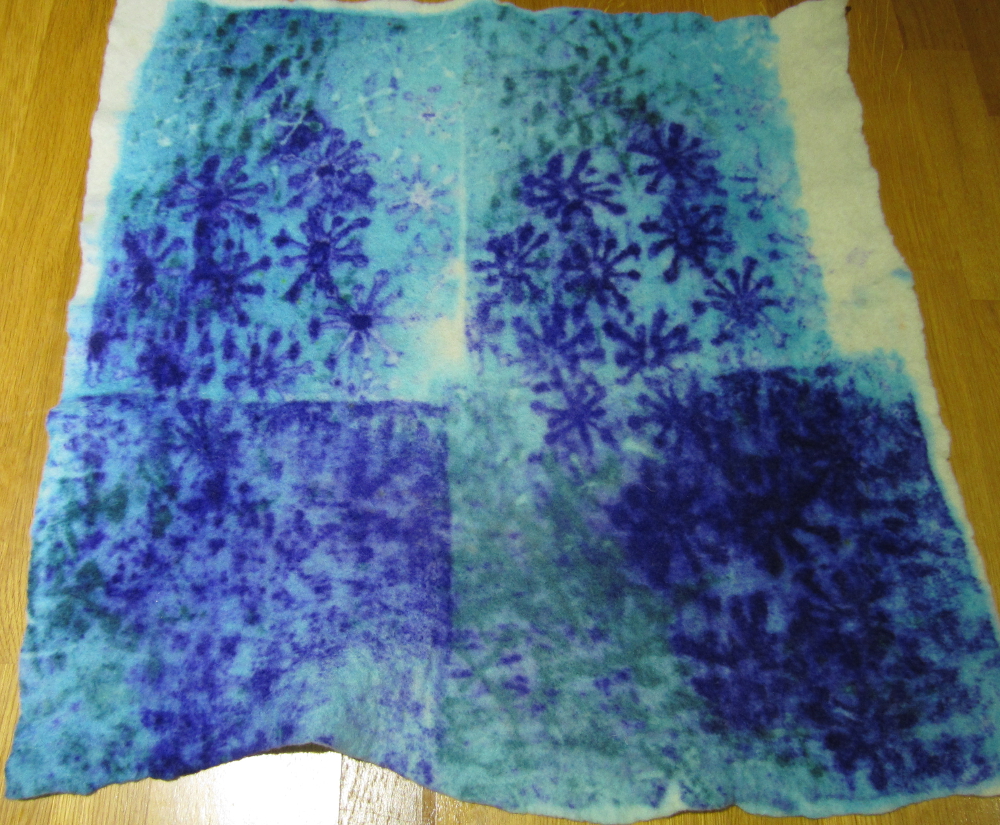
And once dry, I screened some turquoise screen paste through it, onto the piece of prefelt now stuck to the back of the screen. Although the printing isn’t that even, I really like this one, it has the feel of a faded photograph about it.

After steaming, again most of the dye has washed out and I’m not sure why:

And then onto some damp prefelt:

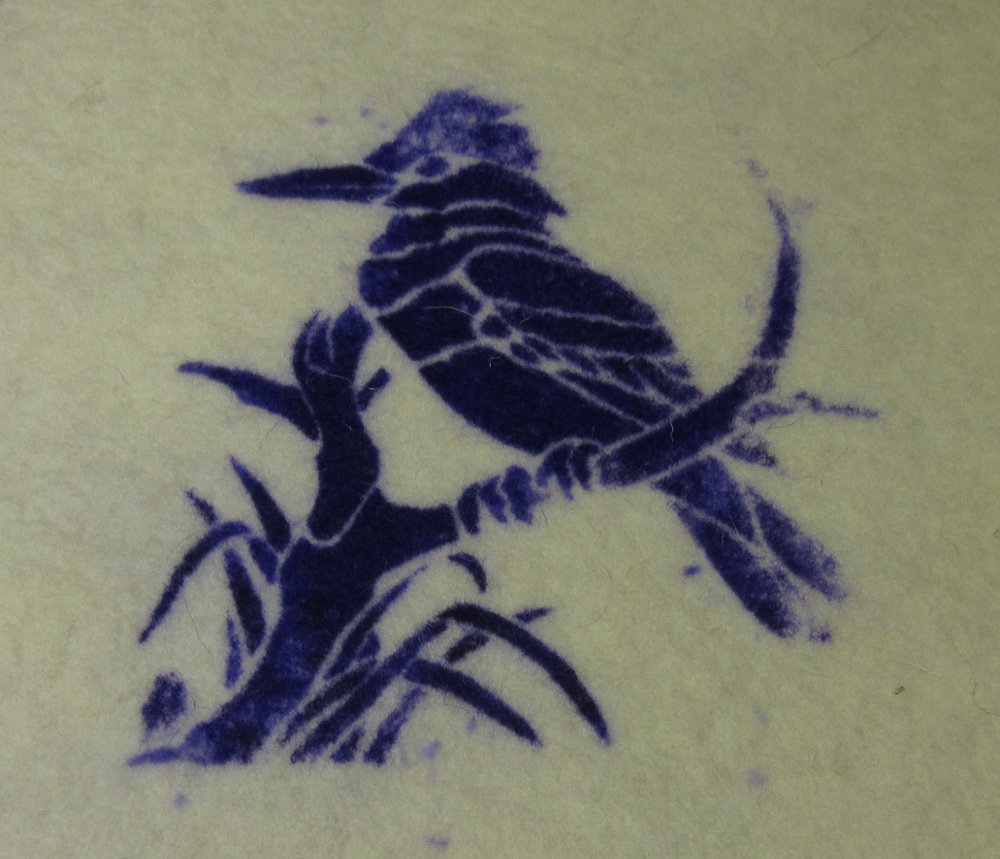
I really like the first print from this set, the drawings rapidly degraded after that, here’s a close up of the first one:
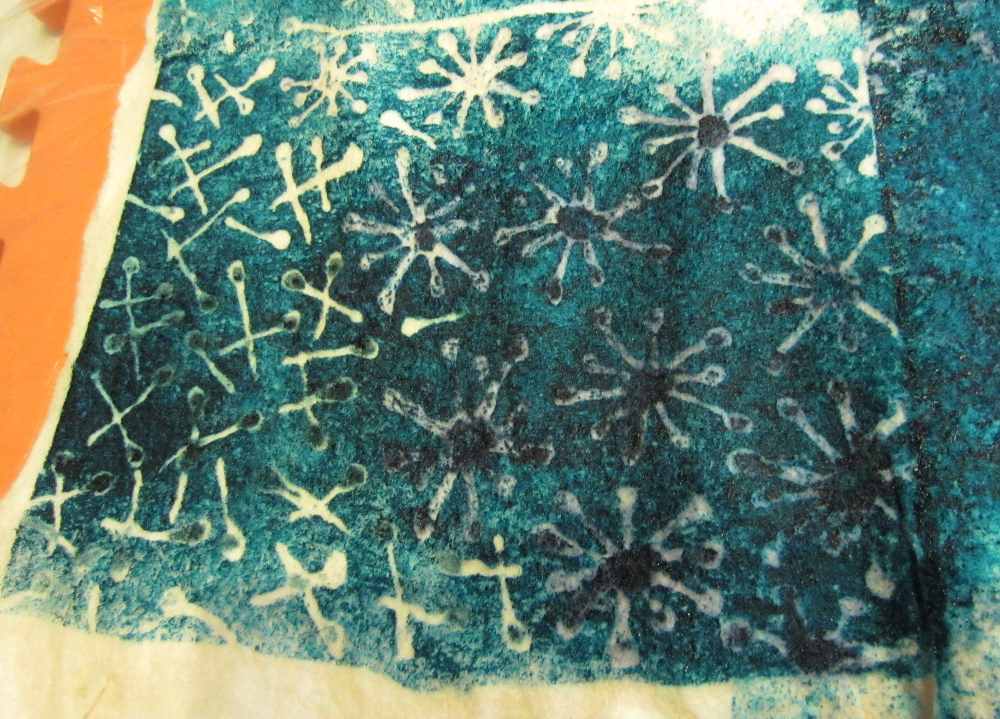
After steaming:
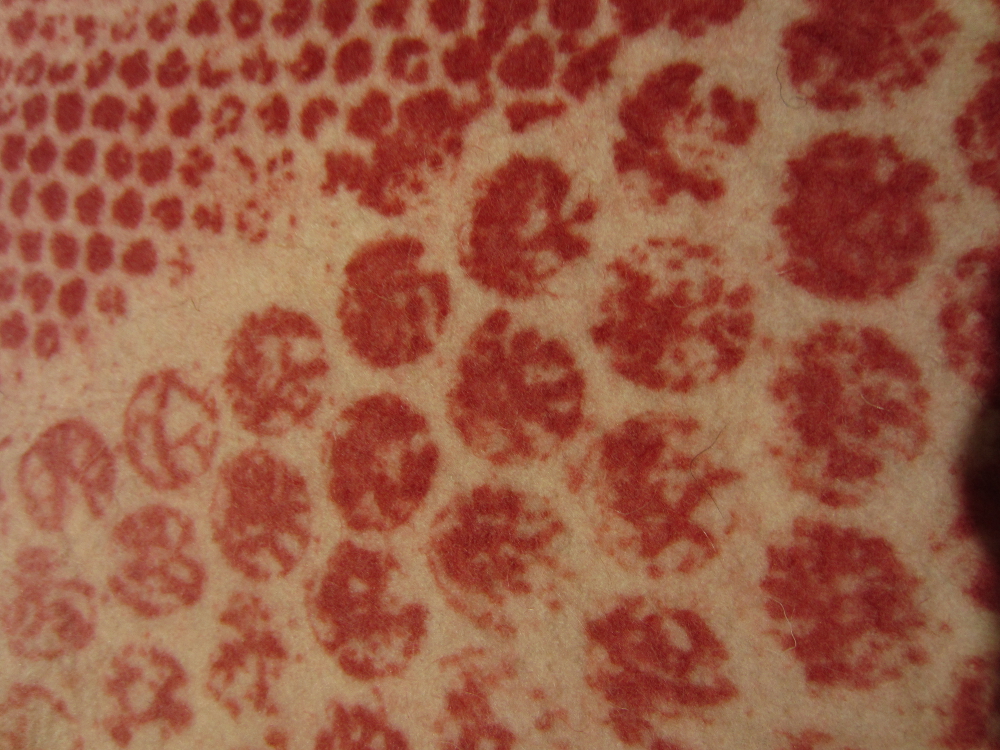
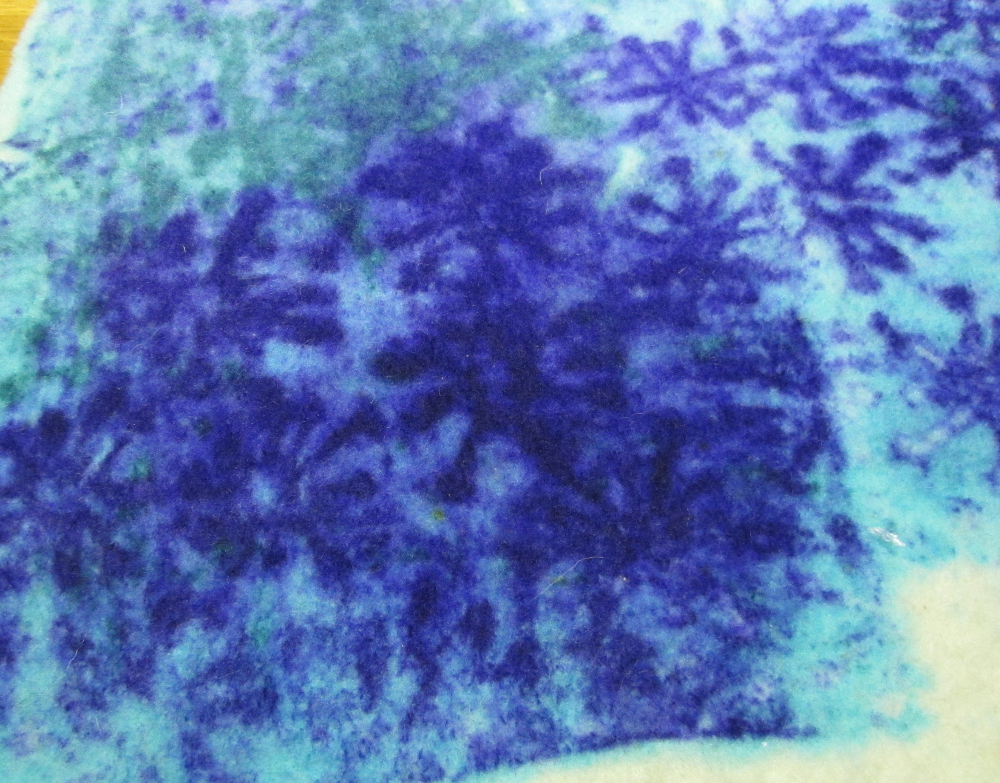
And some close ups:
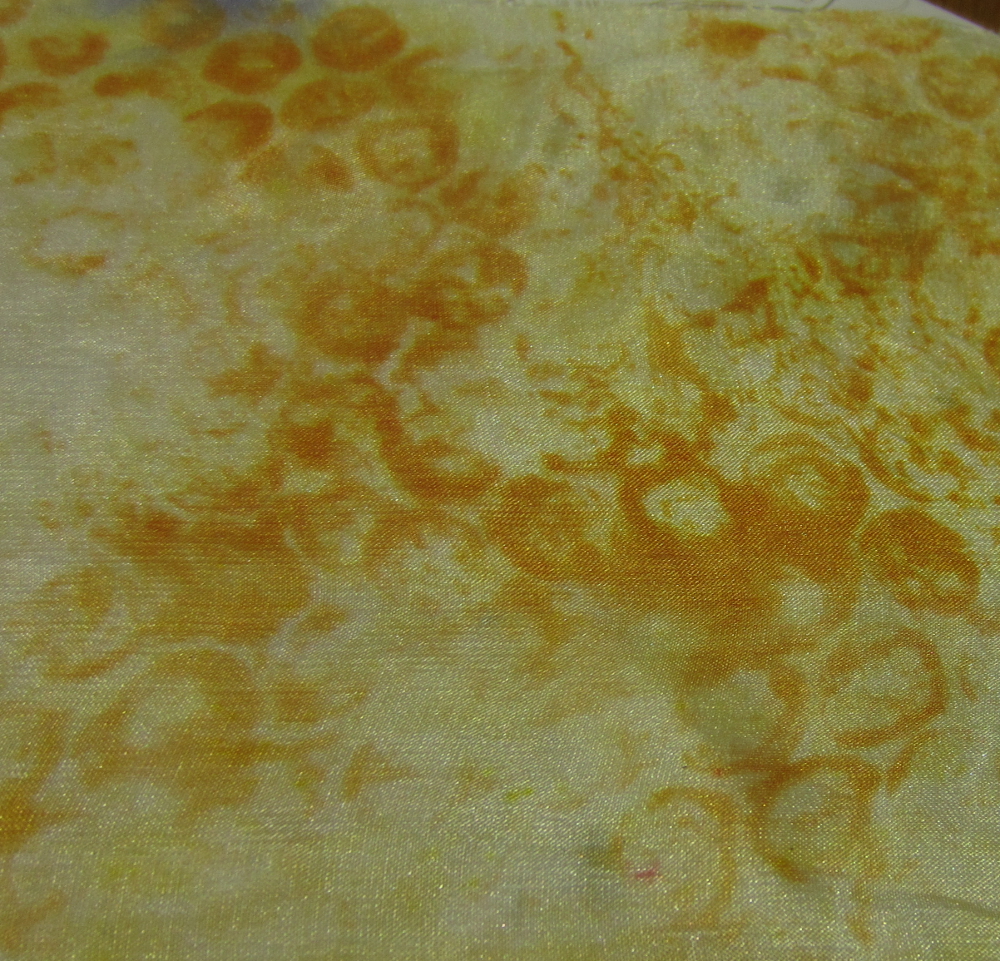
I also had a bit of a play with screening through some stencils, I pinned a piece of habouti silk over a piece of felt, then laid the stencil followed by the screen. I did not add detergent to the print paste for this one.
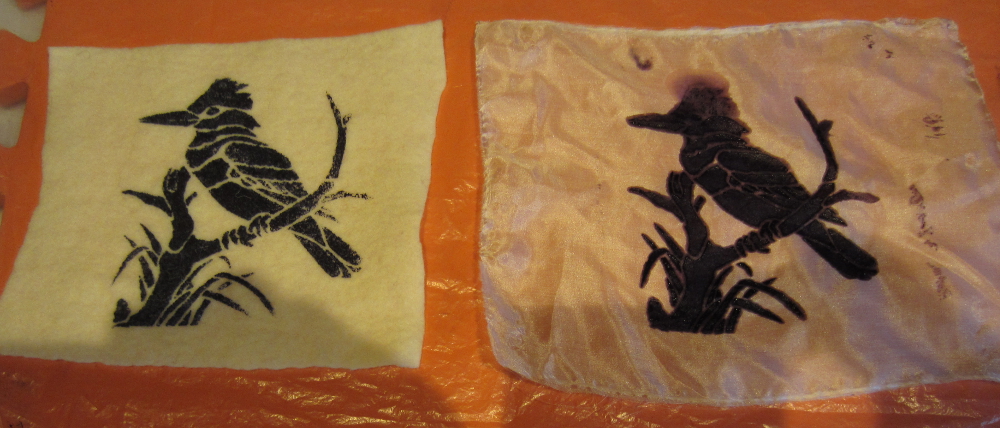
After steaming:

This one I did add a drop of detergent before laying the bead:
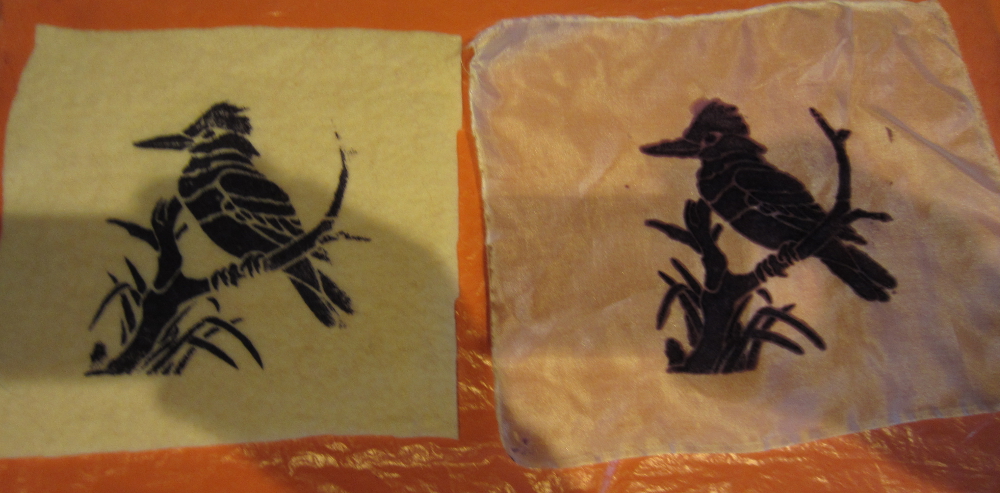
After steaming:
and another this time with a leaf paper lamination “stencil”:
After steaming:
All of the silk prints “bled”, creating fuzzy, disappointing images but I am happy with how all of the felt images turned out.
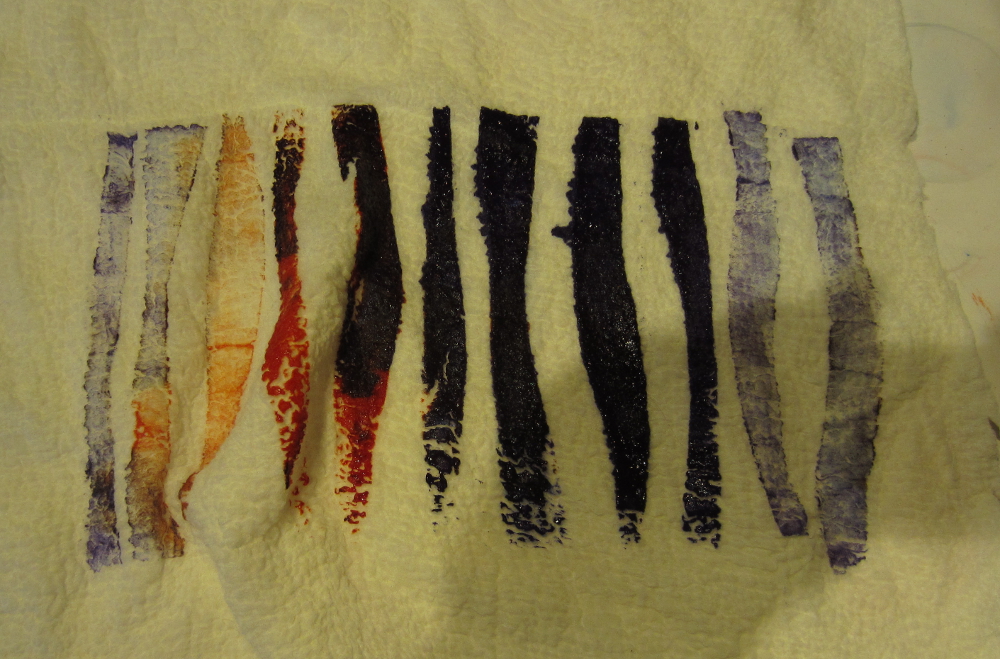
These are some of the prints I took while making the screens:

Finally I drew another screen, this time with the paste on the flat side of the screen to see if it will last a little longer. This one is busy drying ready to use another day…