
This week’s class has been more focused on resists. While last week was more about applying colour in a pattern to the screen and then printing through it so you get both colour from the pattern and the space around it, today has been more about positive and negative spaces, and when used with the deconstructed printing techniques, or previously printed fabrics, it opens up a whole new raft of possibilities…
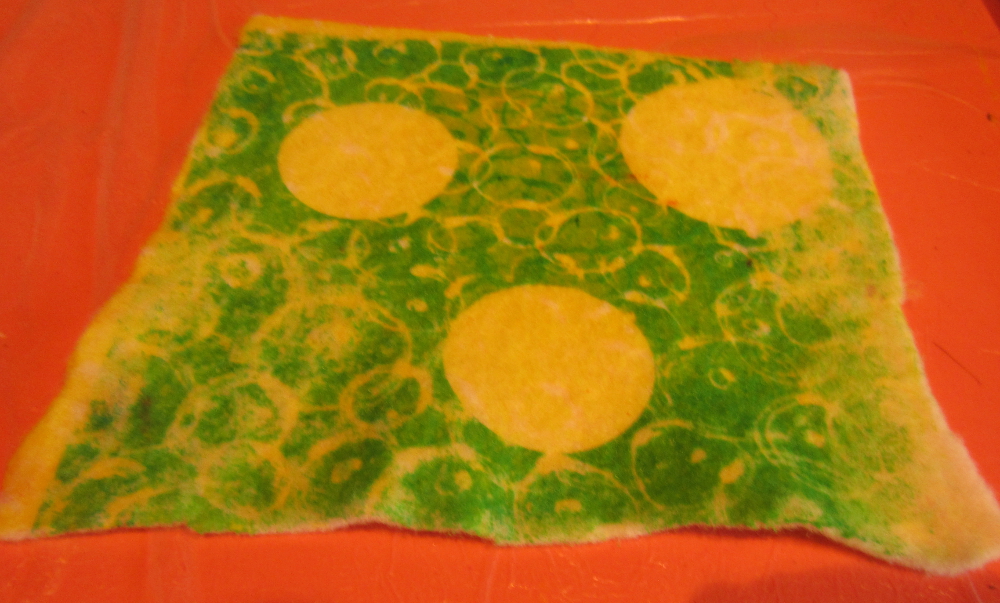
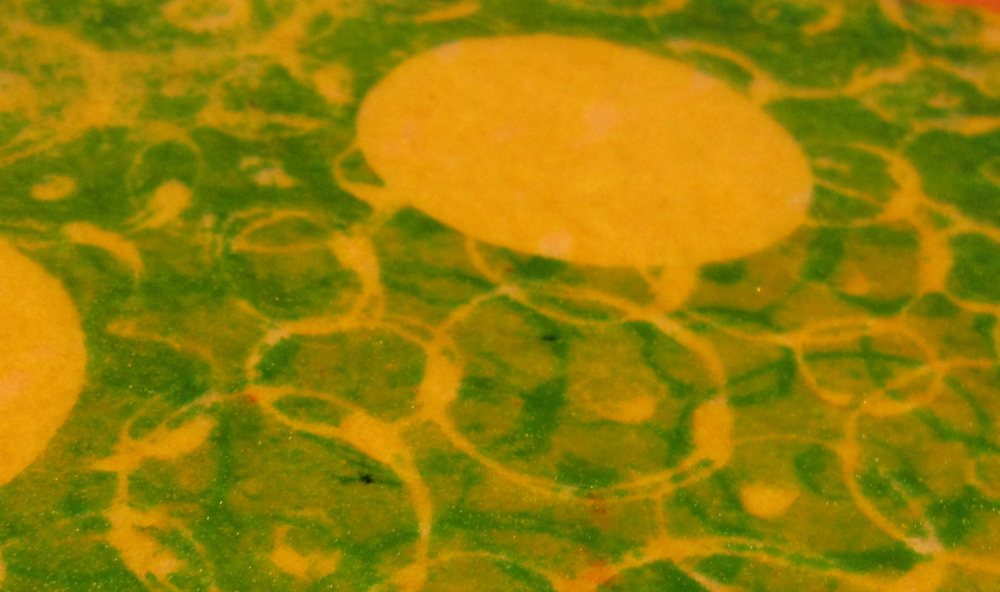
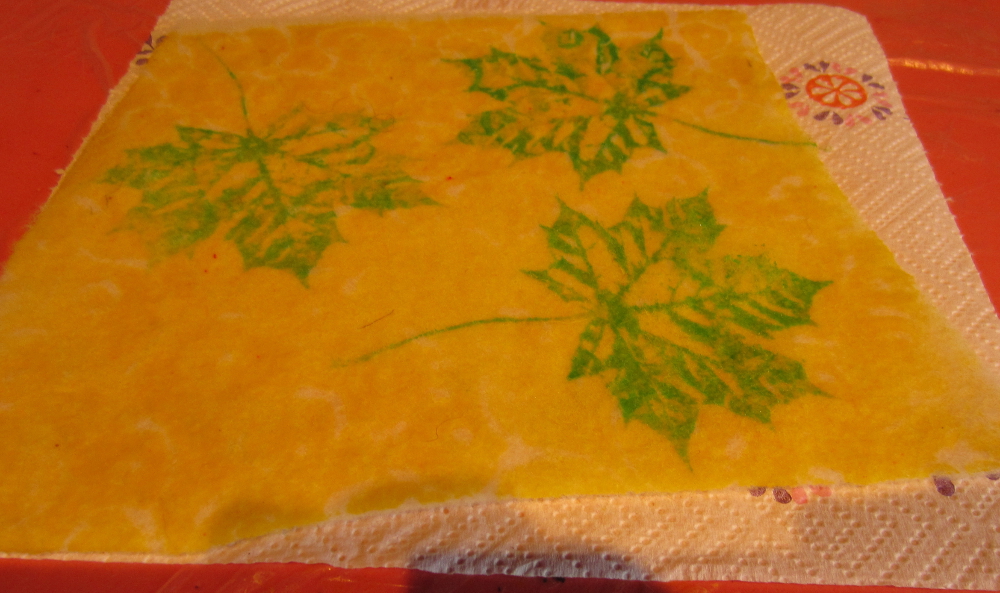
This is the first technique:
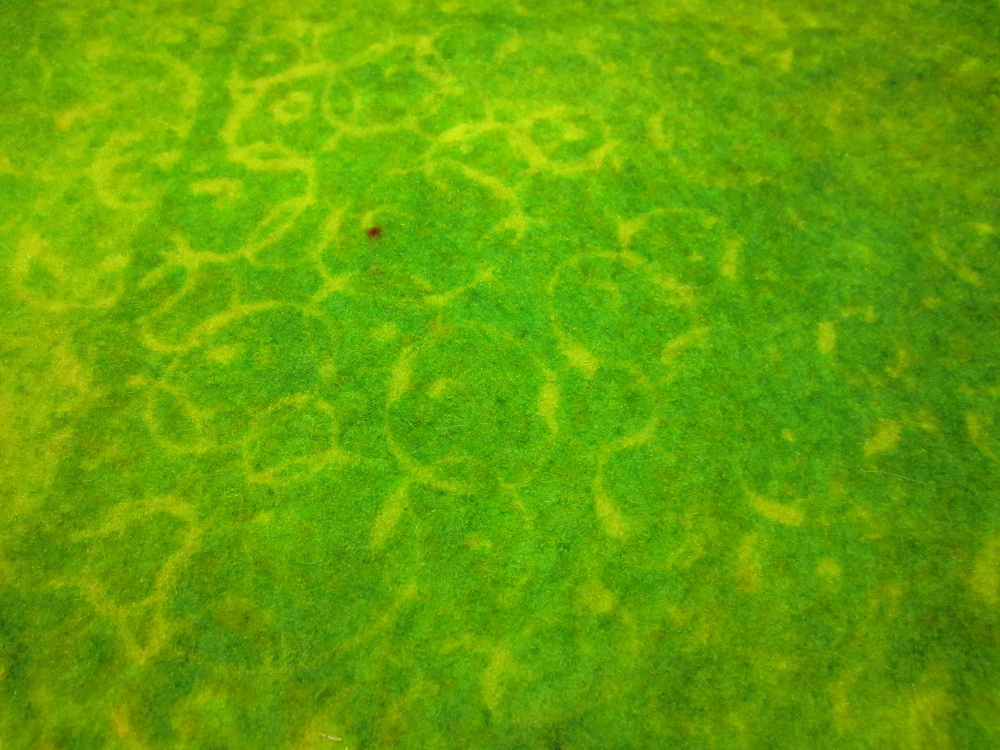
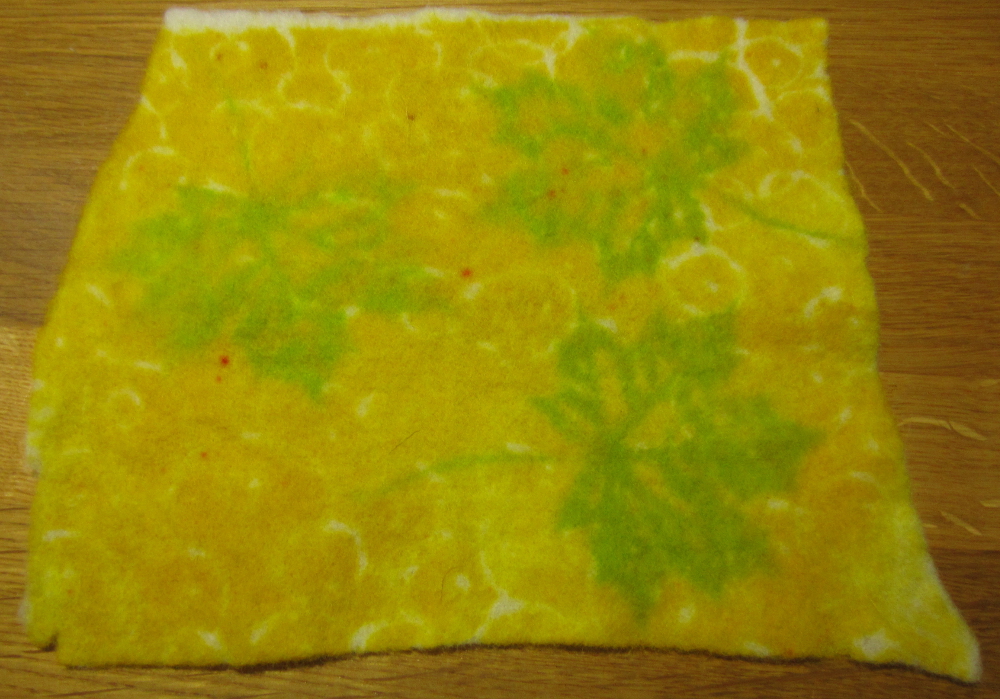
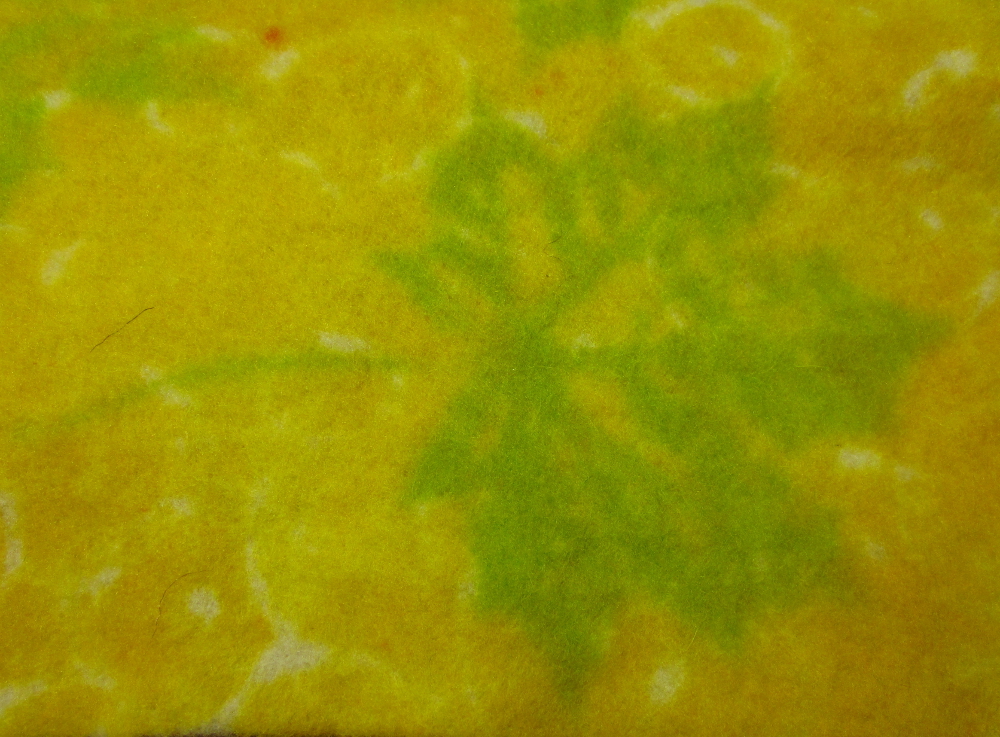
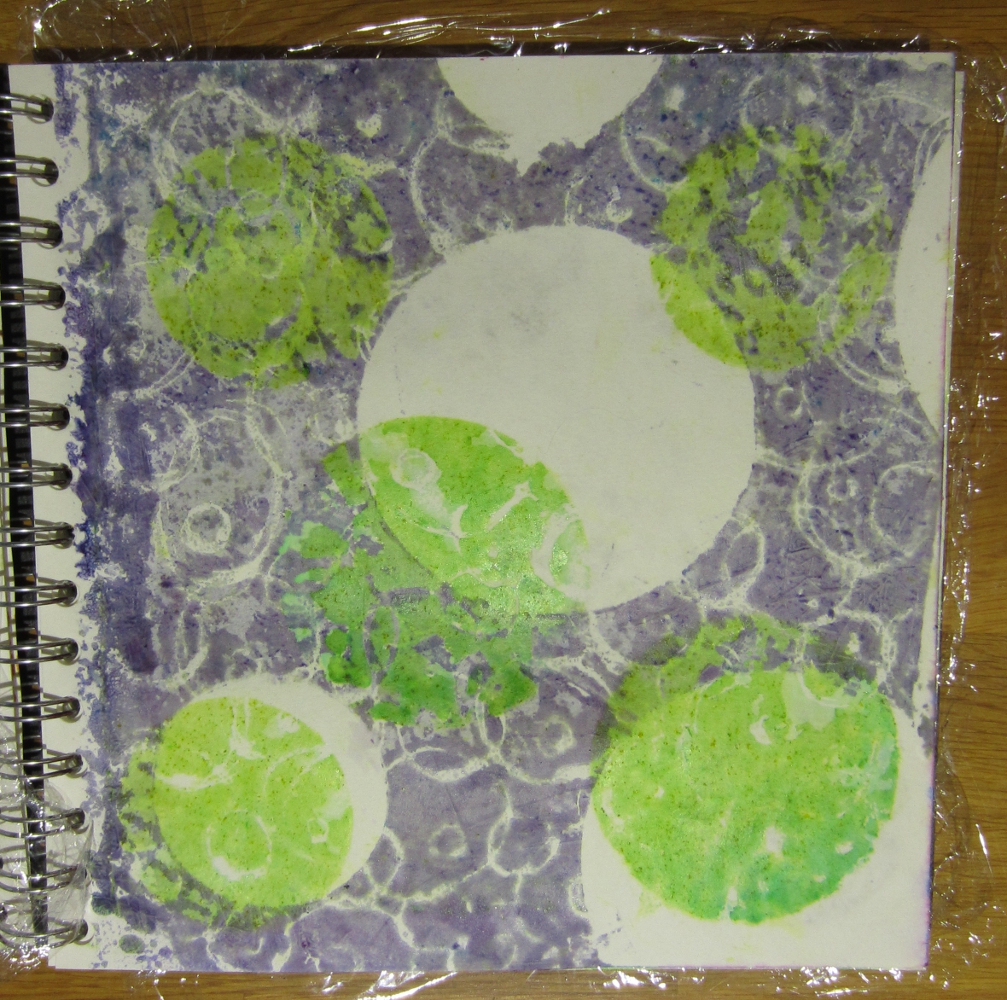
After fixing, much of the green colour washed out yielding a lower contrast between the green and yellow, this has potential as a background for more screen printing :):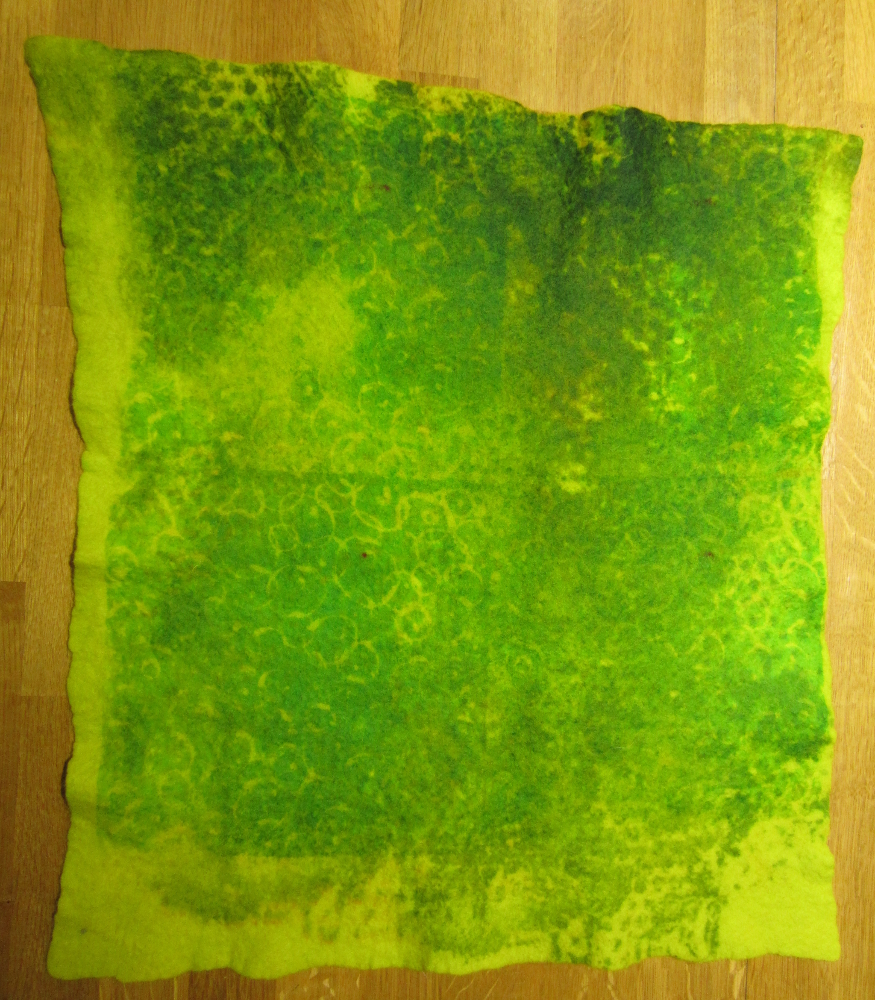
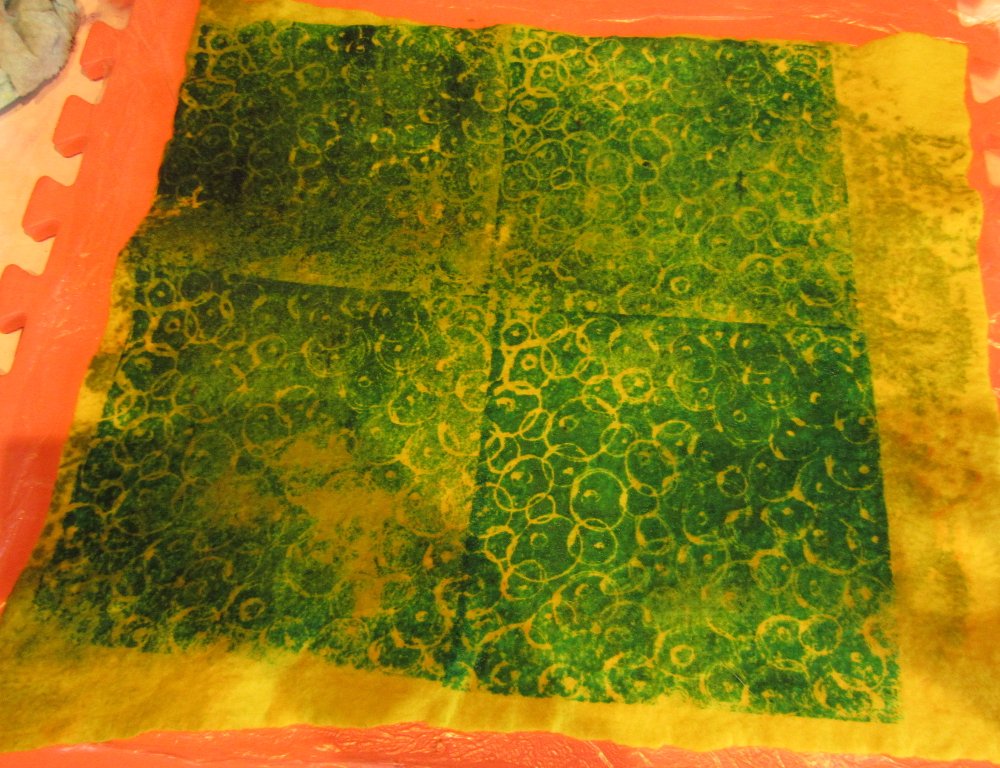
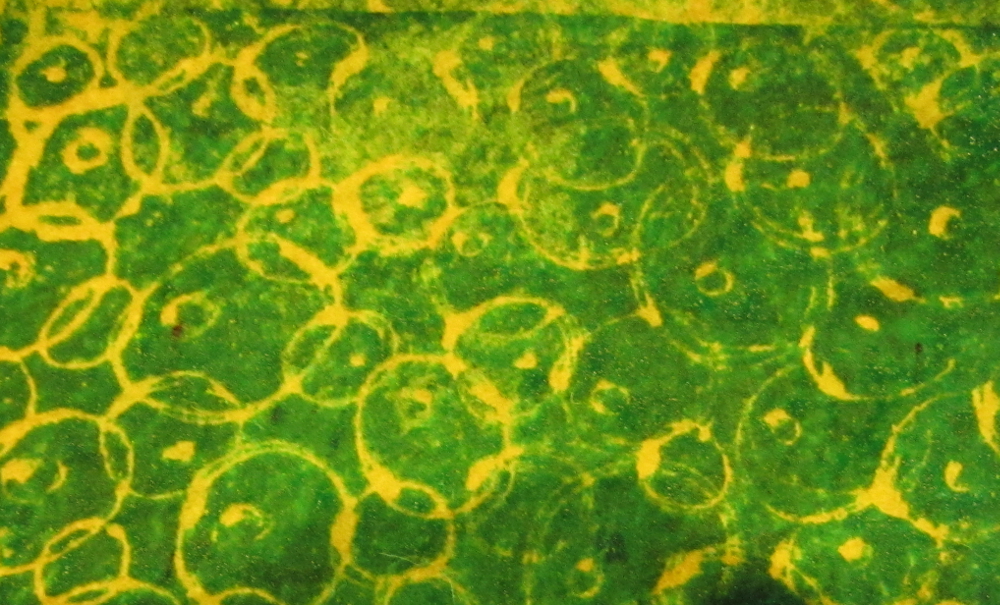
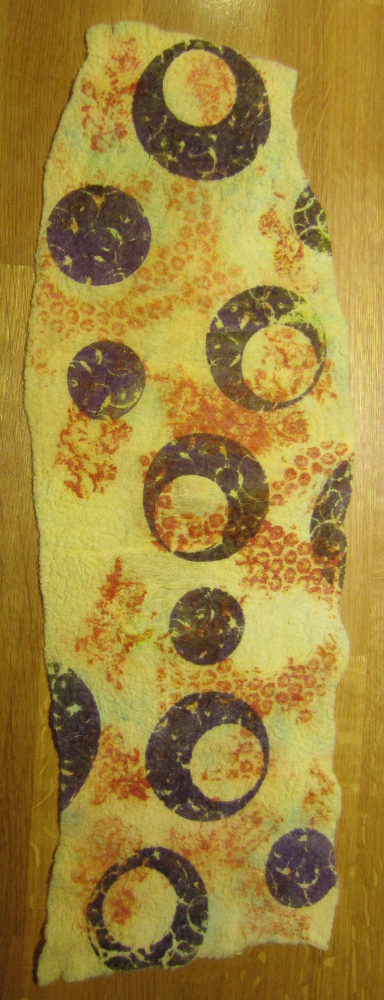
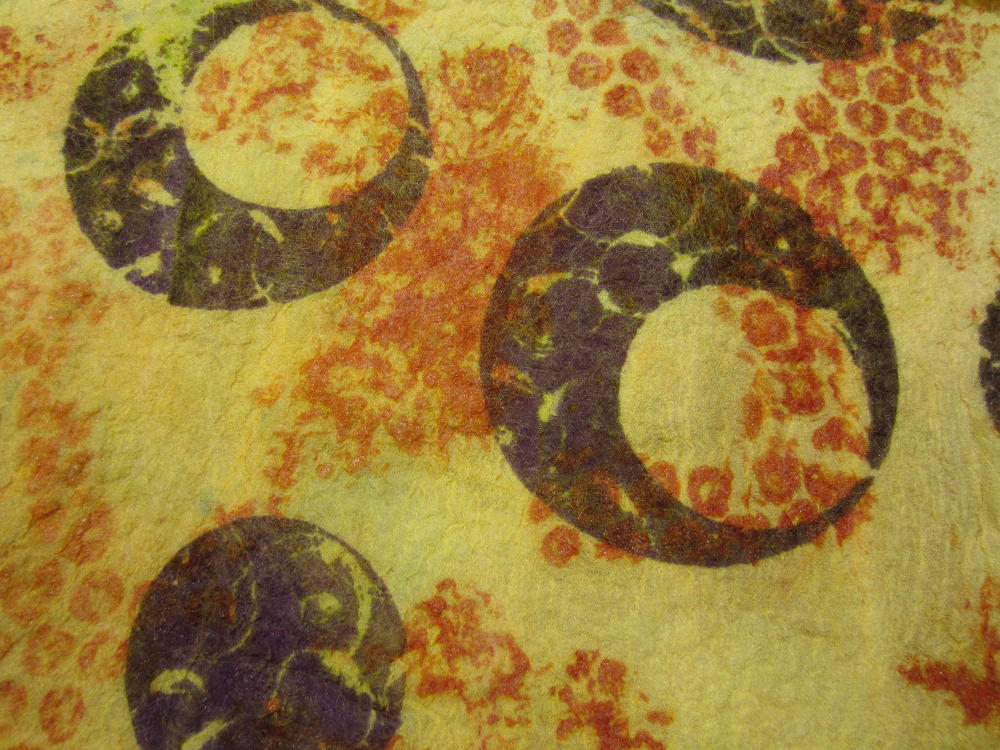
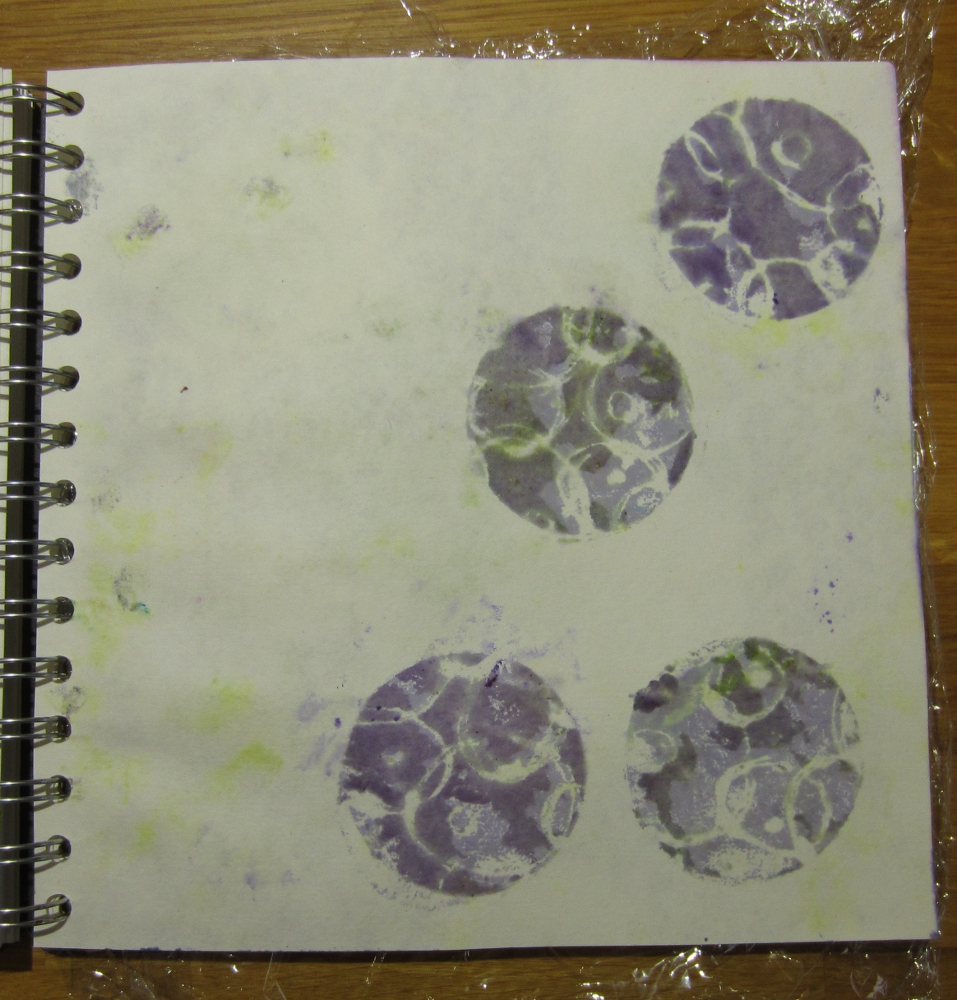
Combining technique #1 with some circular resists:

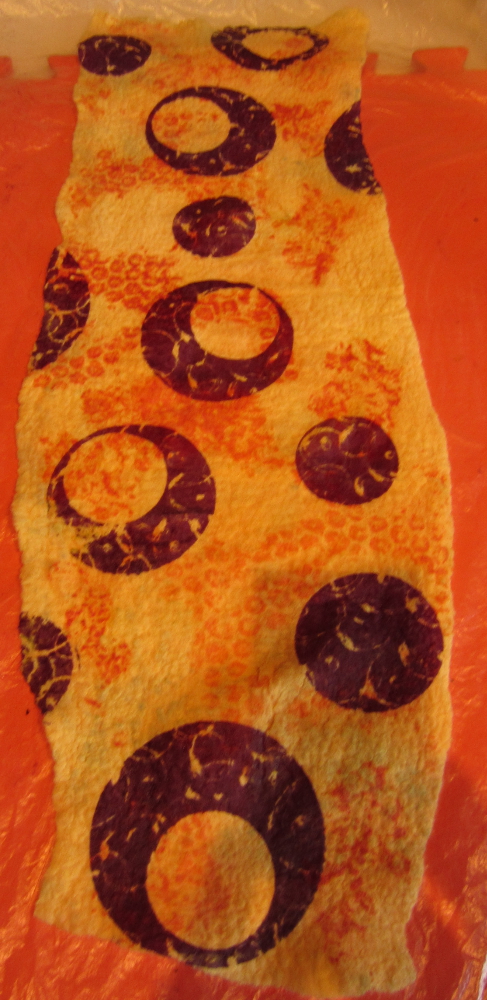
After fixing:
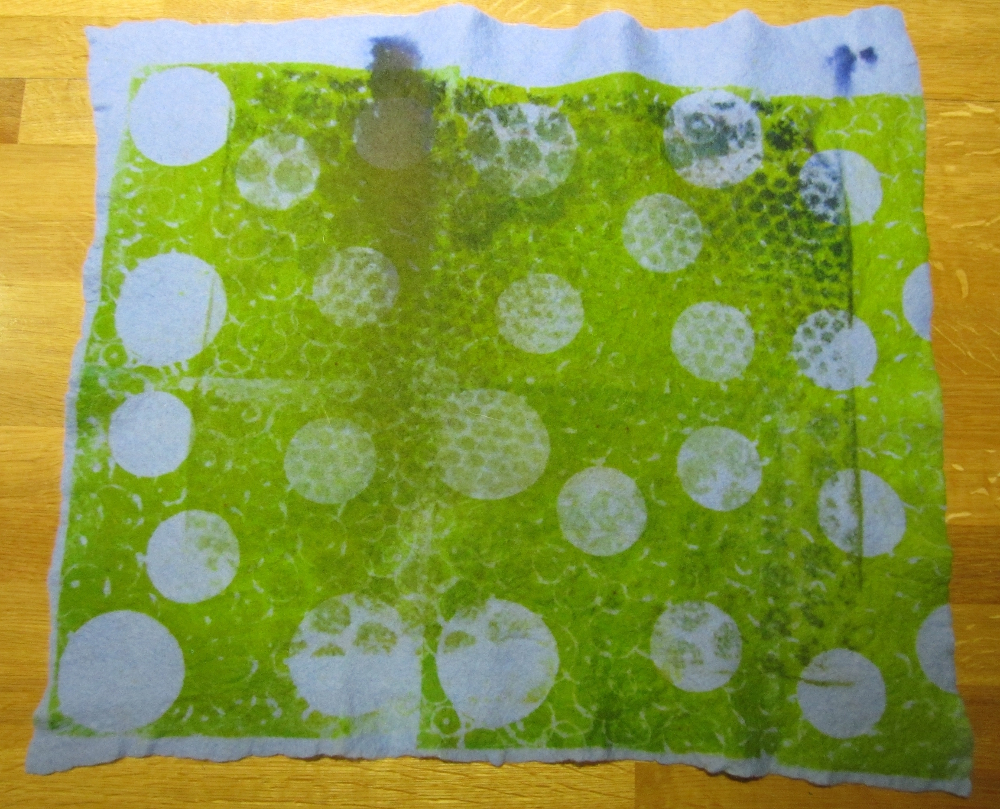
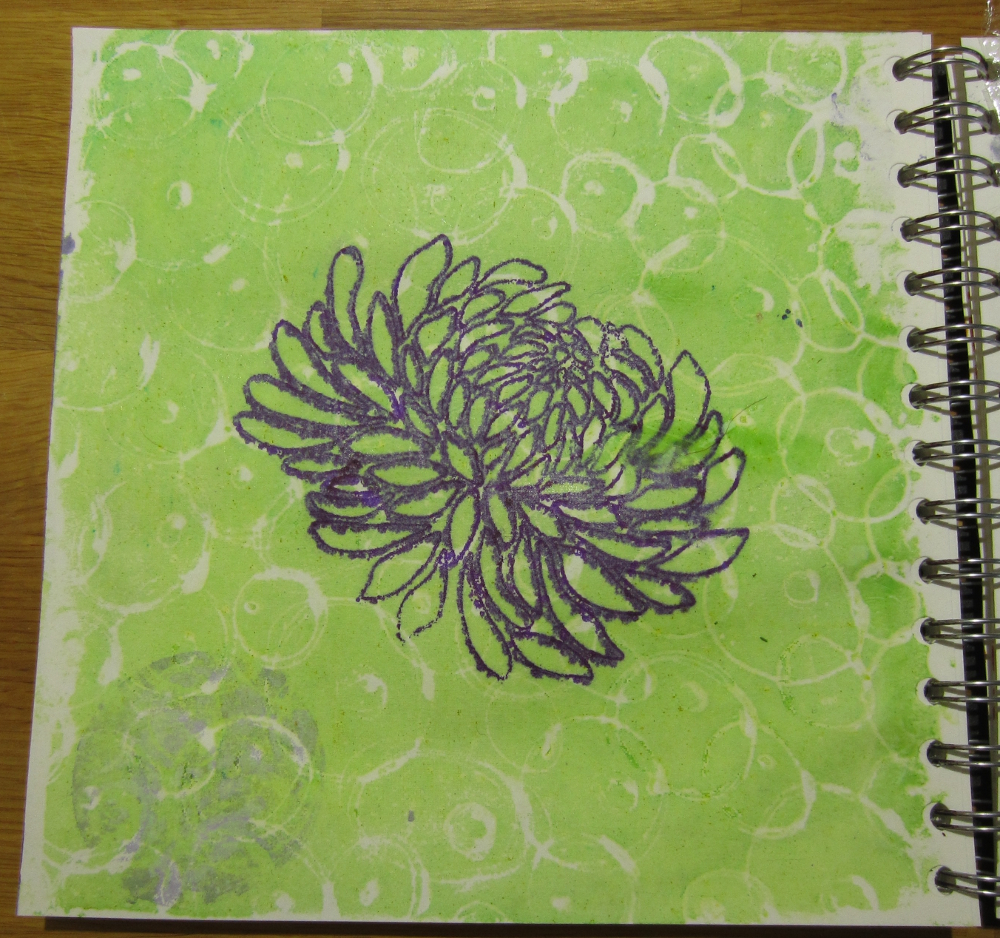
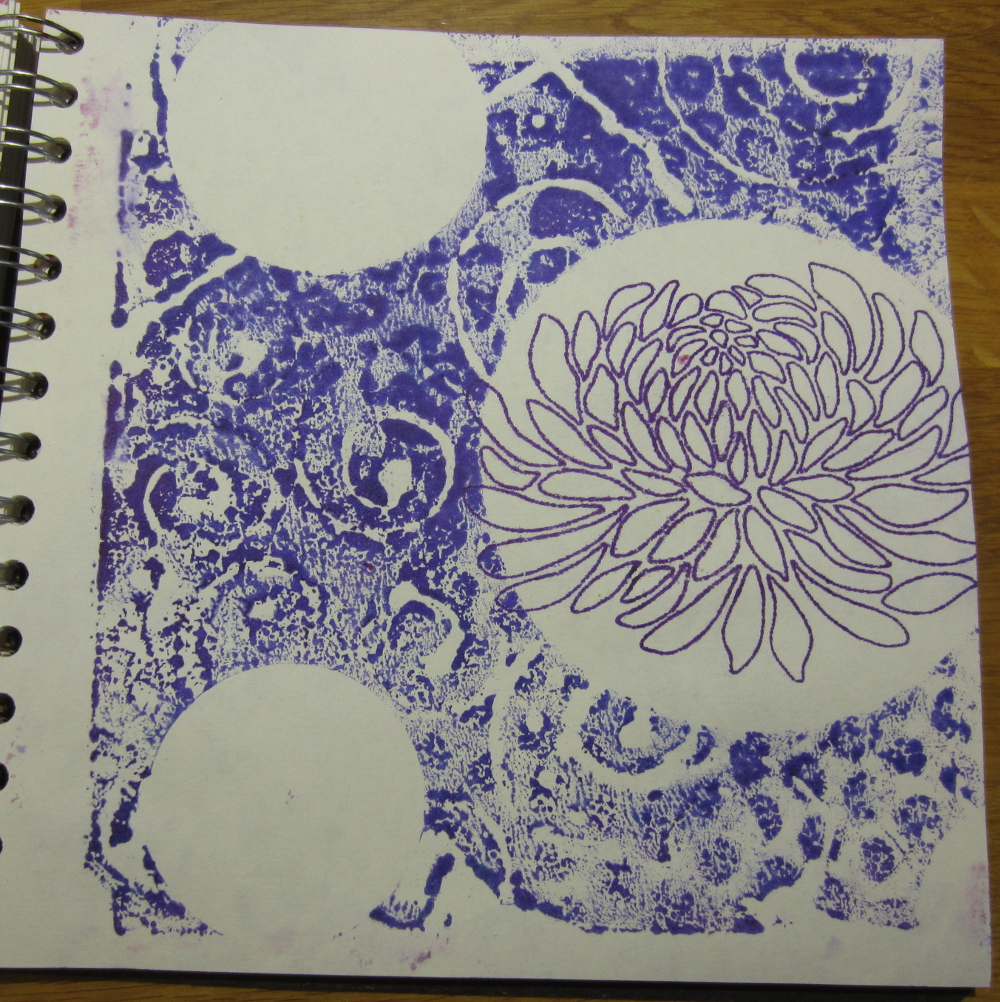
Technique #3 involved making our own stencils, this was quite a neat process and one I can see myself doing again (it is a lot cheaper than buying thermofax screens that’s for sure):
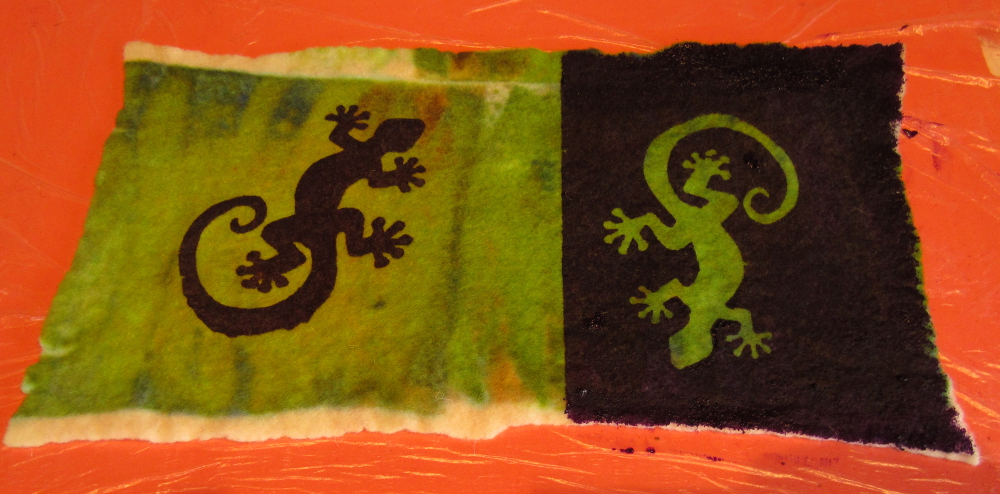
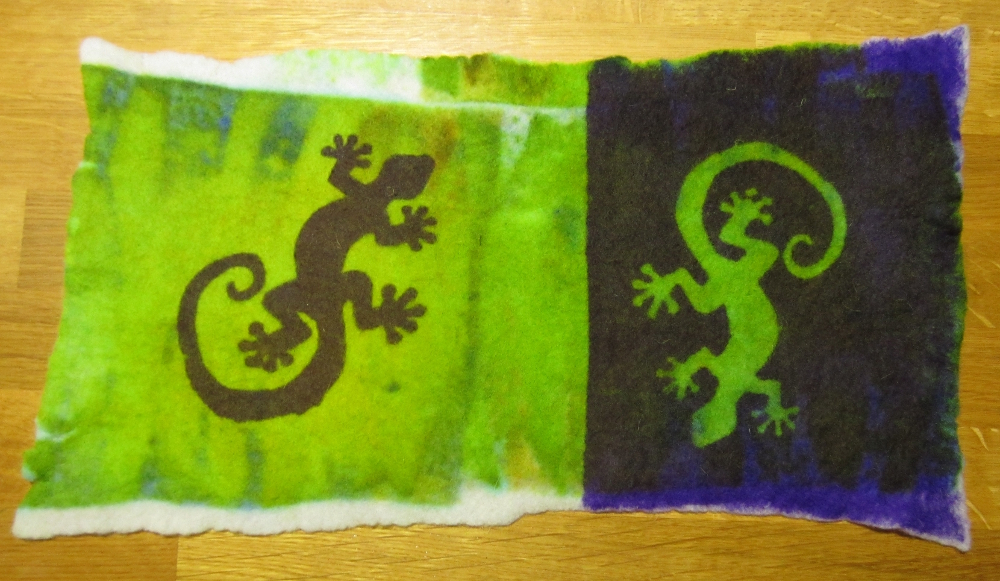
After fixing I was pleased to see the purple didn’t completely overpower the base print on the right hand side, if you look closely you can see different shades of blue / violet around the edge:
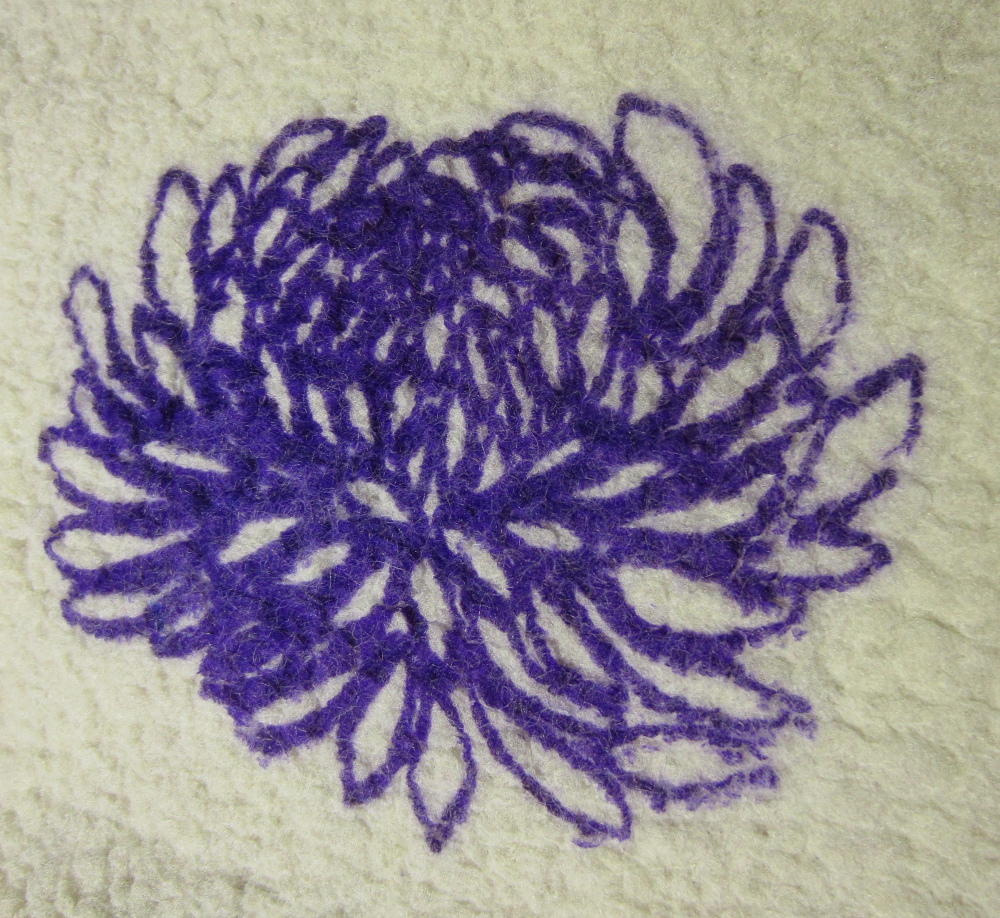
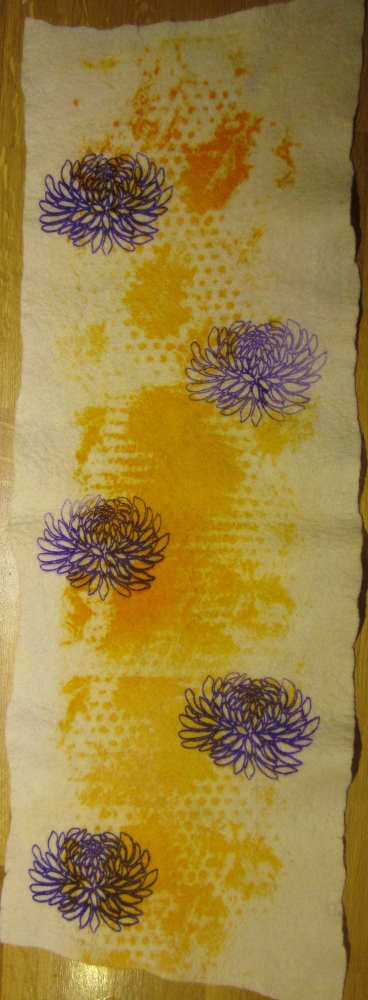
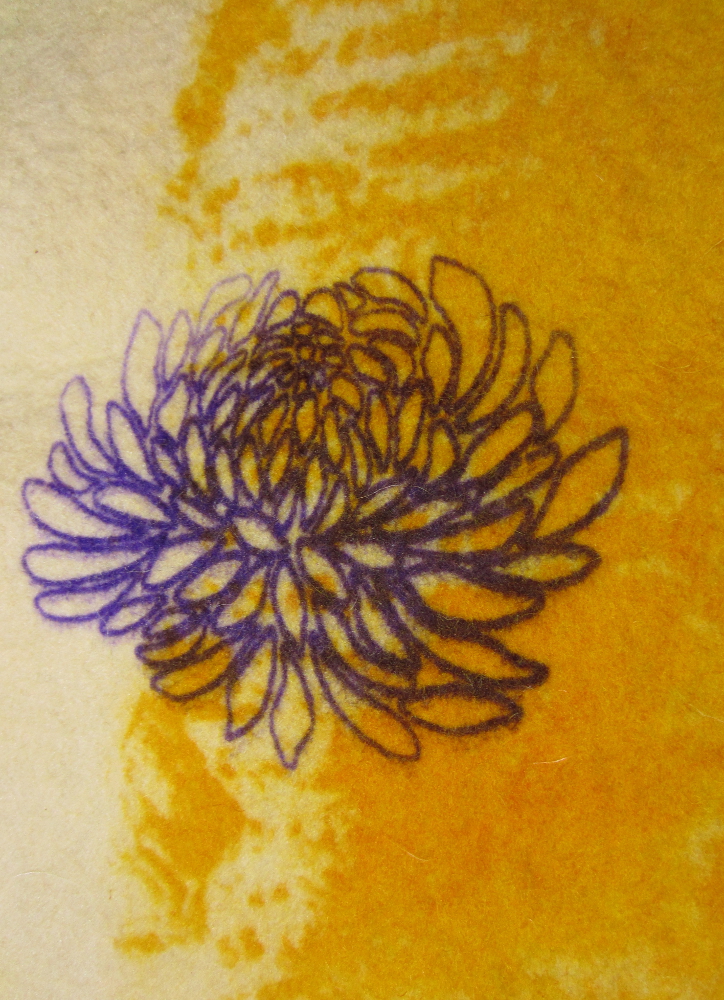
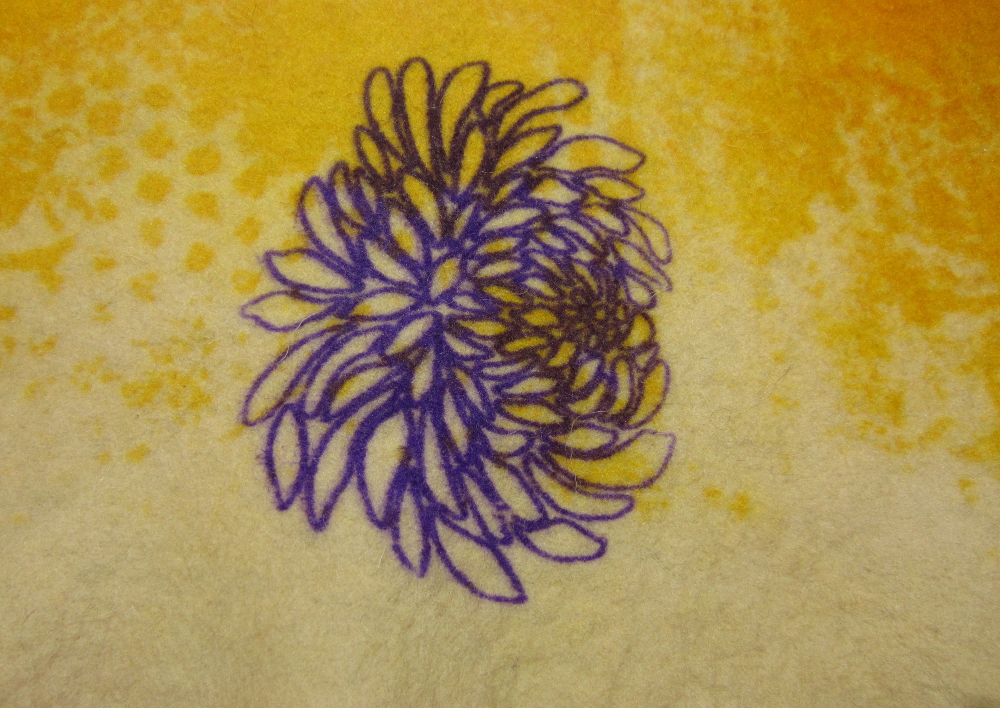
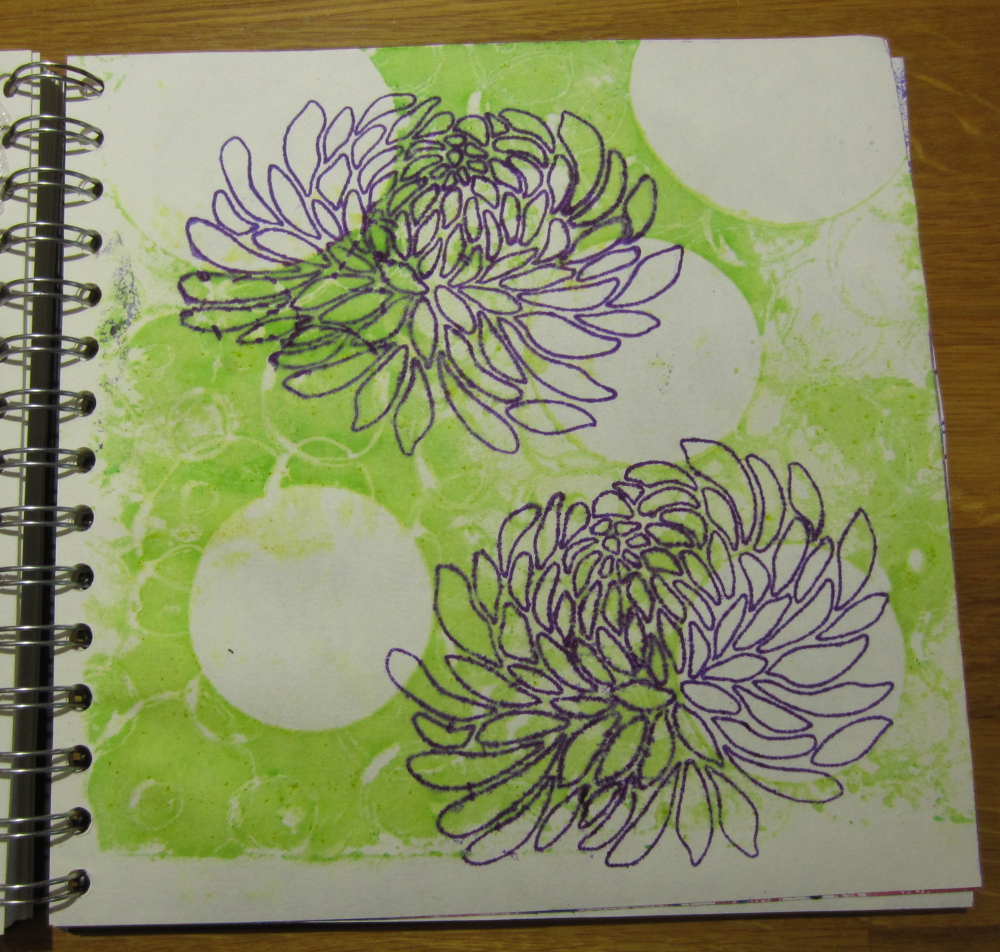
I was a little bit naughty and bought a couple of thermofax screens, the leaf is alright but I am most impressed with the chrysanthemum flower (in fact I got a little carried away with it). It is a little bit prone to “ghosting” though, so you need to keep cleaning it between prints but I like it so much I am now debating on using this on the dress I am currently making from nuno felt.

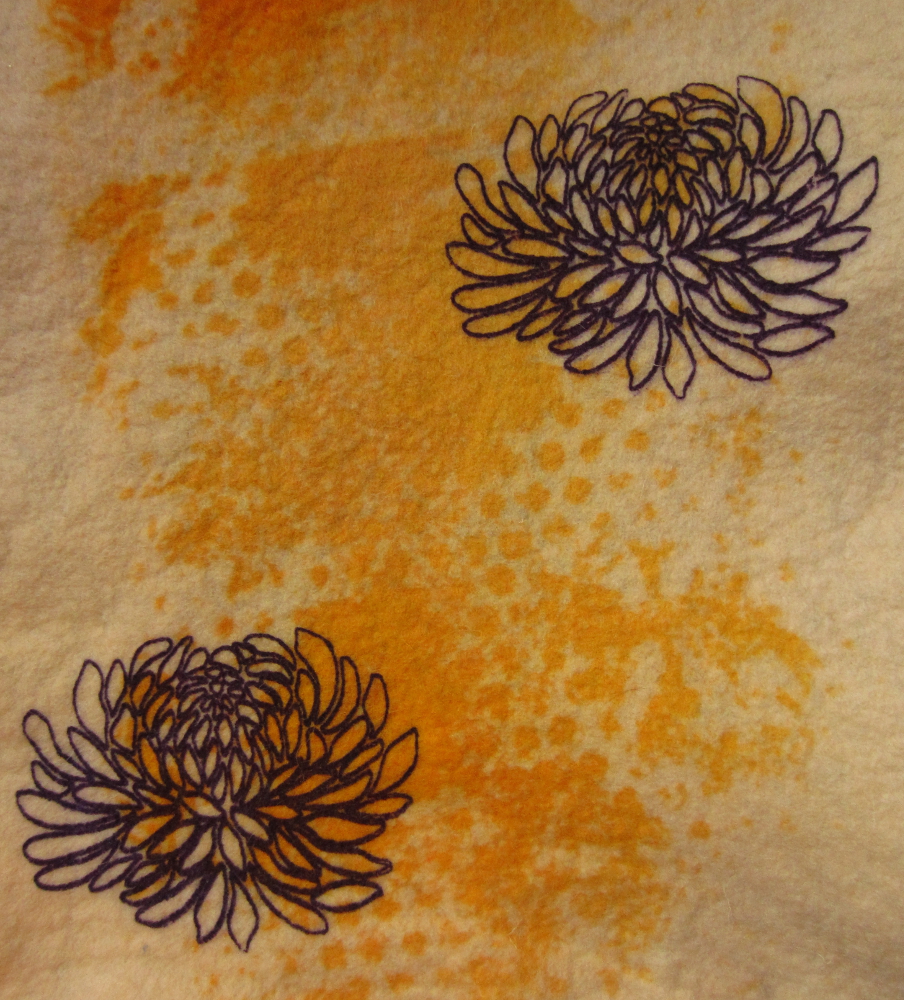
After fixing, the green colour faded significantly again but the violet is just as vibrant as when it was first screened:

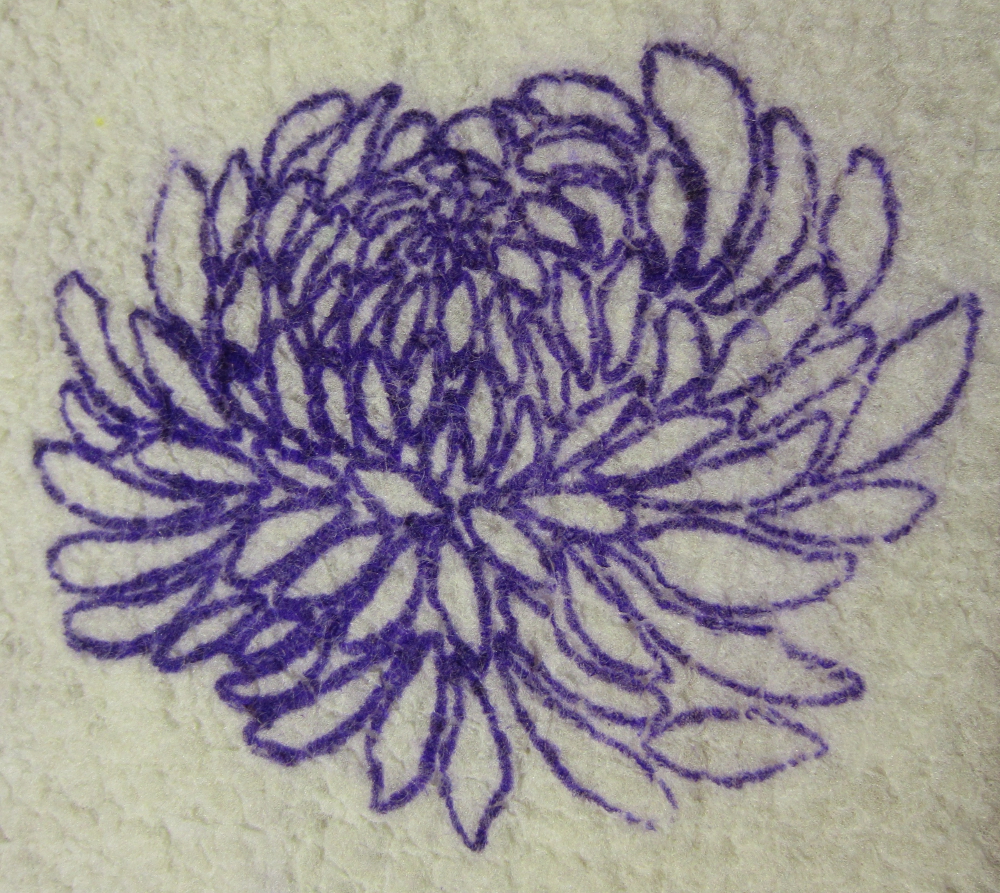
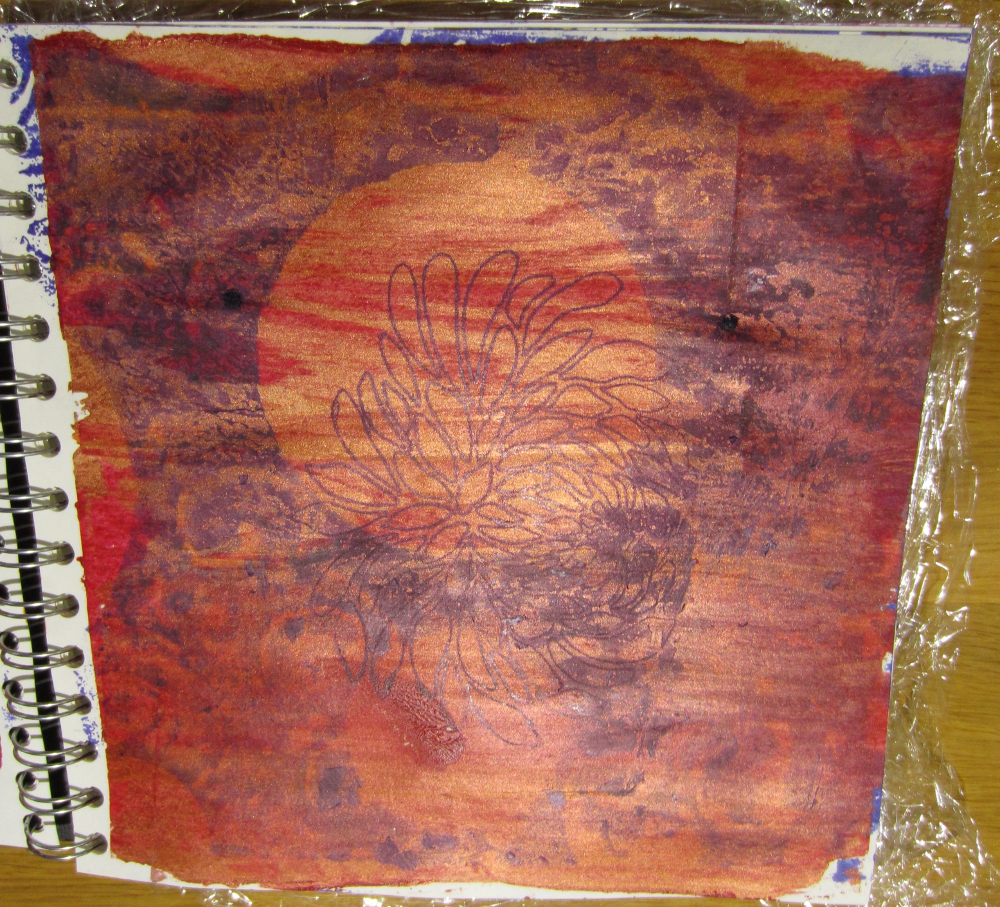
This is a print with “ghosting”:
Again, the sketchbook was perfect for mono-printing the remaining print paste from the screens at the end of each print run.
For those of you reading by email, this is the link to the web page: blog post
Wowza! These are wonderful. The chrysanthemum was a good choice for a thermafax screen. I wish we lived closer so we could “play” together. It would be a blast.
Thanks Ruth, I confess I am REALLY envious of your surface design group, you all produce such fantastic results and it must be so much fun playing together! I wish we had groups like that in the Surrey / Hampshire area, I would be there in shot!
I just started that group on my own. I looked around for others who were doing some kind of fiber art whether it be quilting, dyeing or whatever and asked if they wanted to be in a group to work on surface design. Everyone jumped at the chance. Do you know if there are quilting groups in your area? Most of them would like to do surface design. The other thing to do is look in shops that carry handmade work and see if there is anyone else making fiber arts. It’s hard when you don’t know people but I just called them and asked. Everyone was friendly and very interested.
You can join my group anytime 🙂