This week I have been doing quite a lot of dyeing so thought I would share one of my favourite techniques with you. I use this technique to blend colours on wool when I want a gradual change of colour or to mix colours on the felt itself. It involves finger painting so is a lot of fun too 🙂
For this technique you will need:
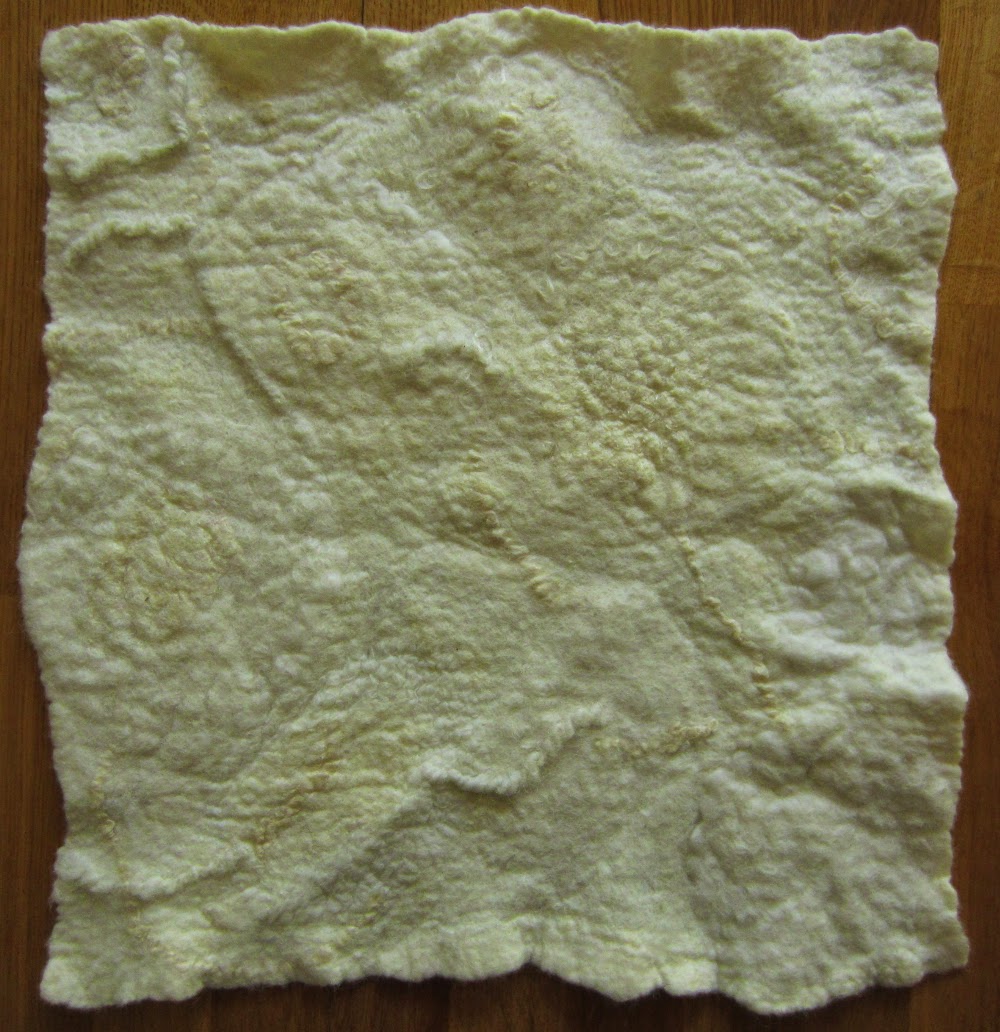
Pieces of prefelt or finished felt (the method below was for 100g of felt)
washing up liquid
acid fast dyes
white vinegar or citric acid
measuring jug and scales
cling film
latex or rubber gloves
pots for mixing dyes in (old jam / chutney jars are good)
disposable pipettes or syringes
steamer (or microwave)
Method:
- Soak your prefelt in a sink / bucket of 2L water, 0.5 cup of vinegar or 5g citric acid and, a generous splash of washing up liquid, making sure it is well saturated. If you live in a hard water area you can also add 1g of calgon to this soak.
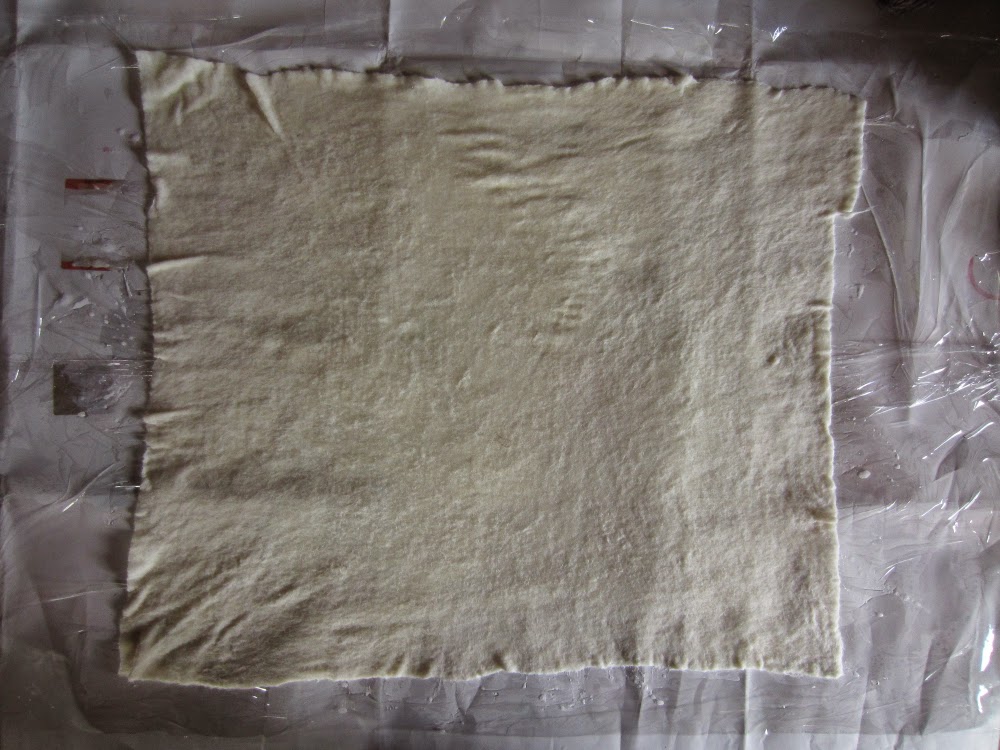
- Lay out some cling film, overlapping the pieces if necessary to make it big enough to lay out your felt.
- Squeeze about half the water out of your felt (it should still feel heavy with water and be dripping but water should not be running out the bottom of the felt)
- Lay your felt flat on the clingfilm.
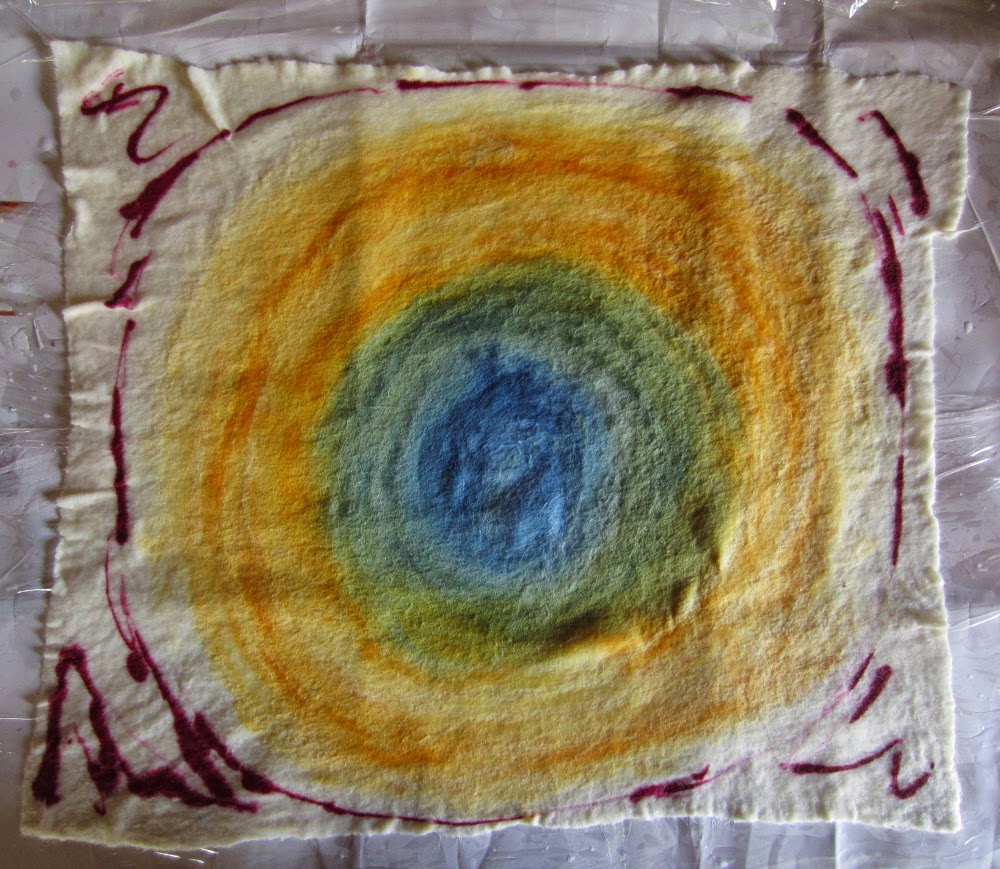
- I mix 1g of dye to 10 ml of water but you could easily use half as much dye if want paler colours. I apply my dyes with those 3 ml disposable pipettes but syringes work well too or you could just pour the dye on in the pattern you desire.
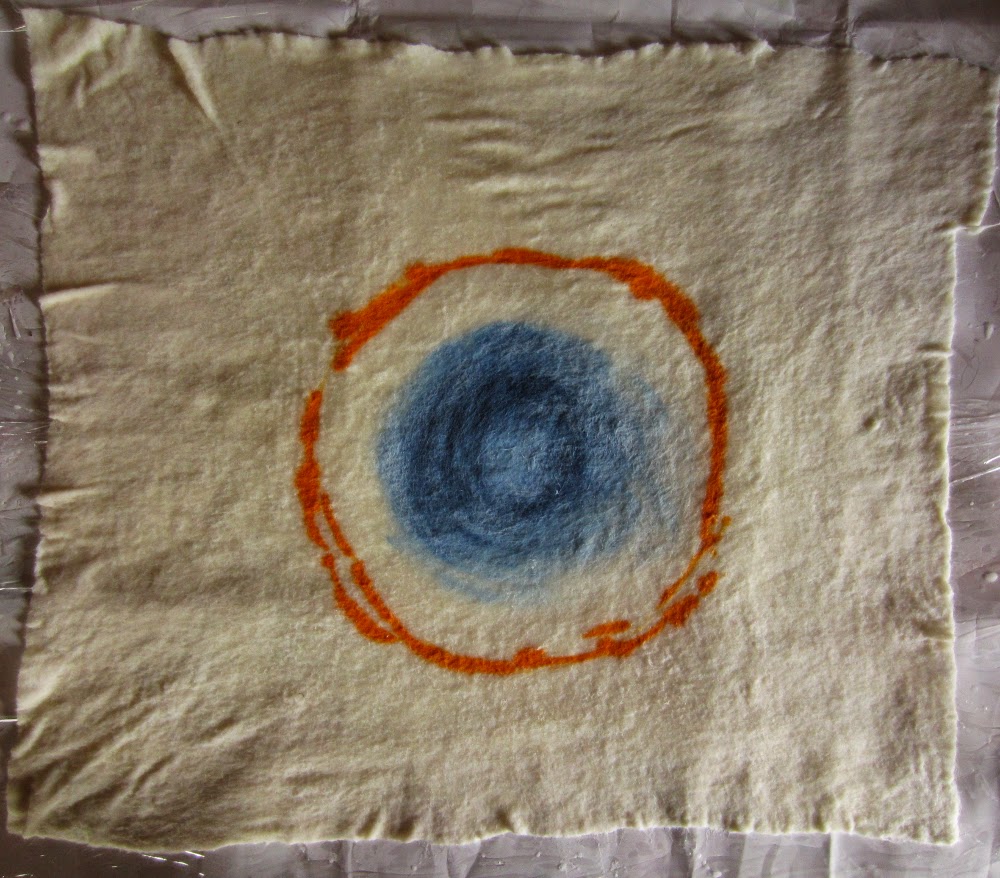
- You can add a second or third colour now to make colour blending easier but I have applied 1 colour at a time to show how they spread.

- After applying the first colour use your gloved fingers to spread the dye around (the washing up liquid in your bath will really help with this). If it is difficult to move the dye your felt is probably not wet enough, carefully pour some water from your soaking bath onto the felt and try again.

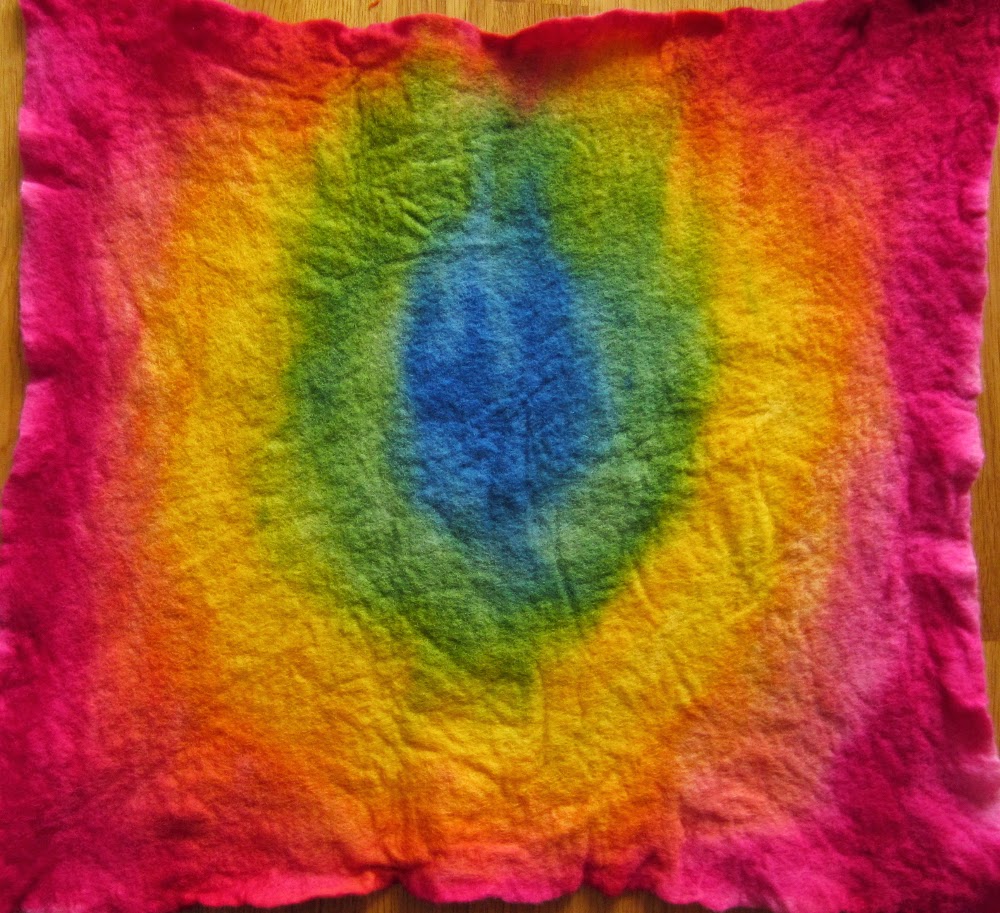
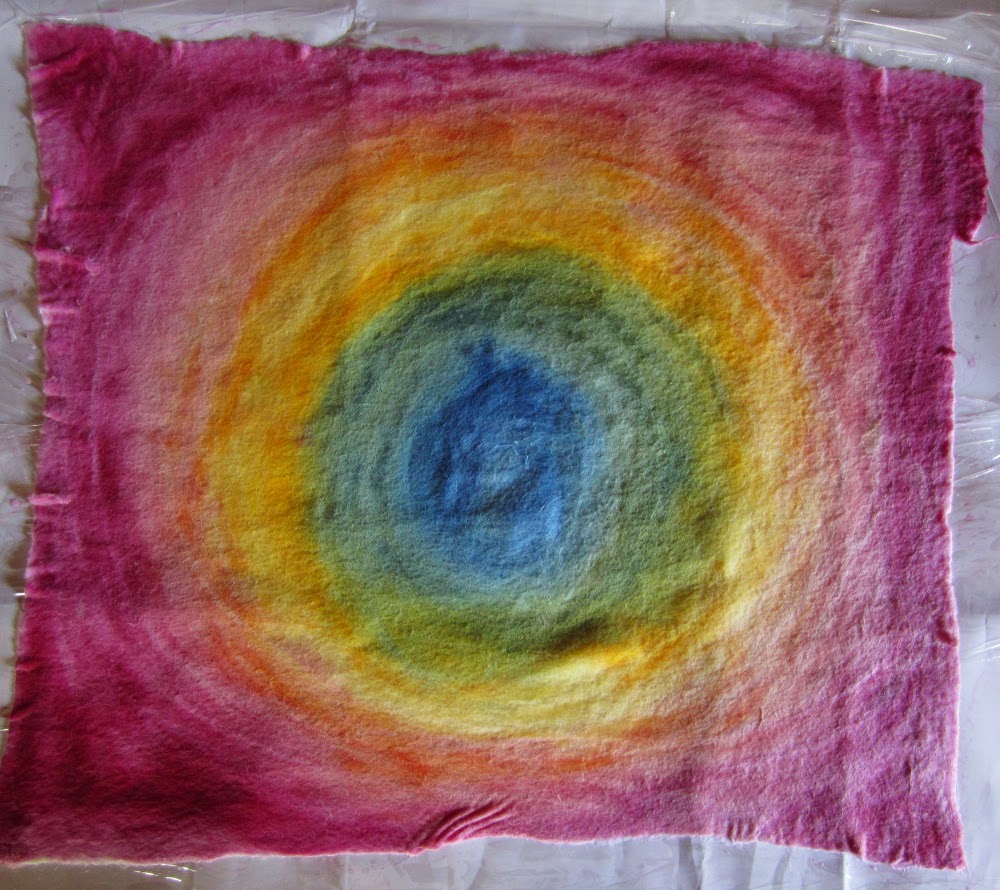
- Then add your second colour (I used yellow but it looks very orange in this photo).
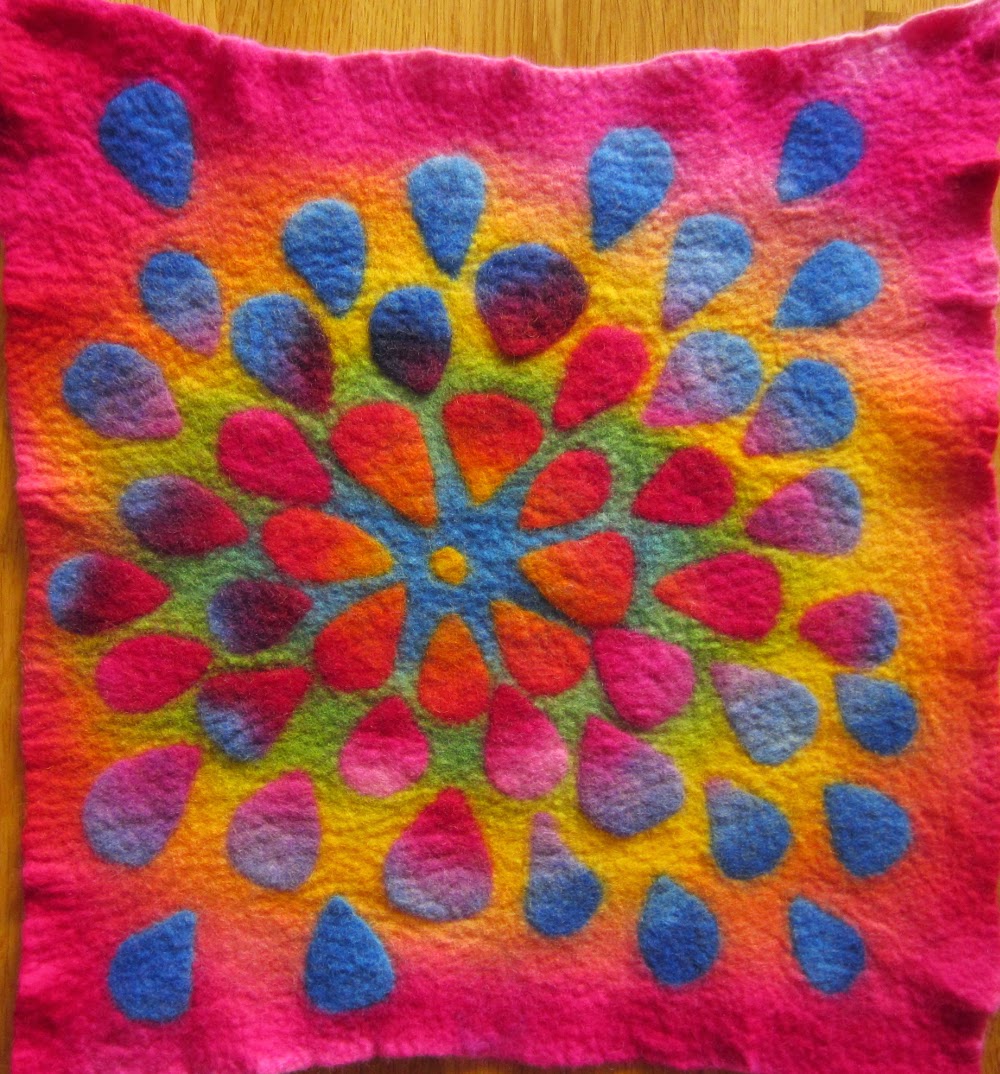
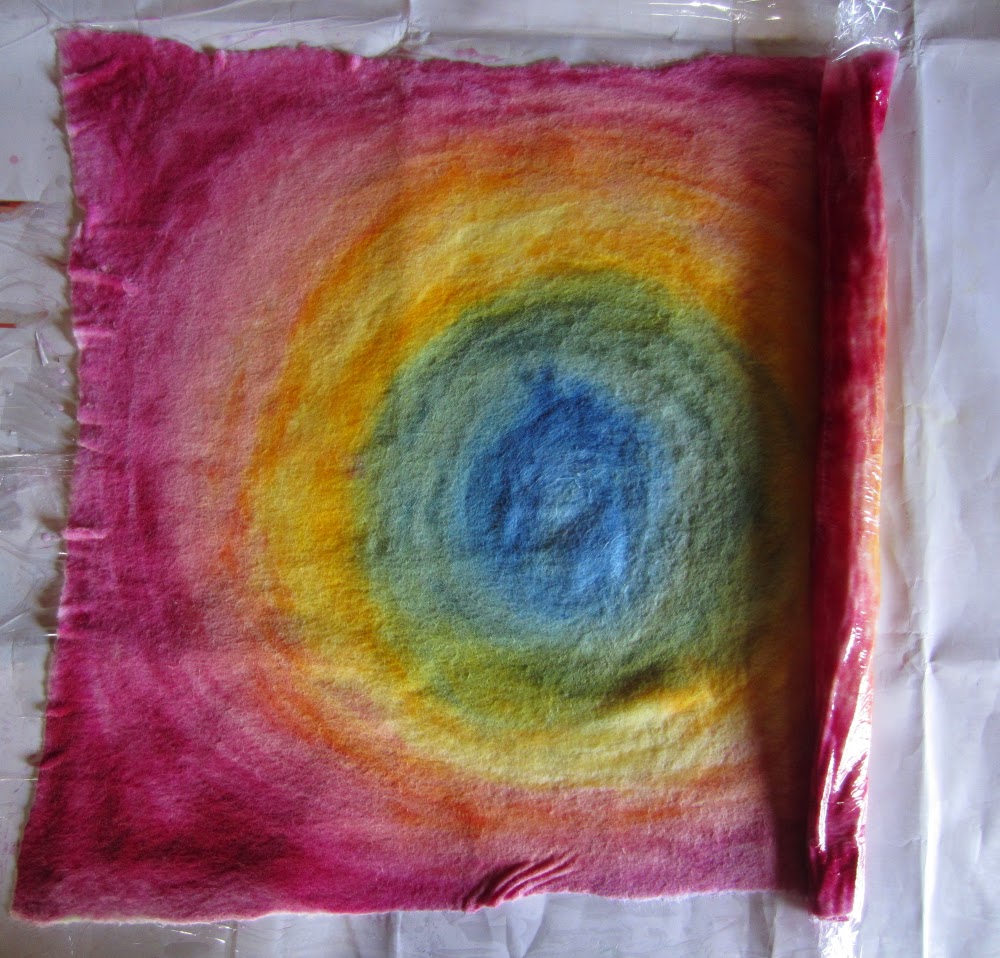
- And blend with your fingers again. Continue adding colours and blending until you are happy with the design.
- Carefully roll the felt up in the cling film
- And twist the ends shut or wrap in another piece of cling film to stop steam getting into your parcel.
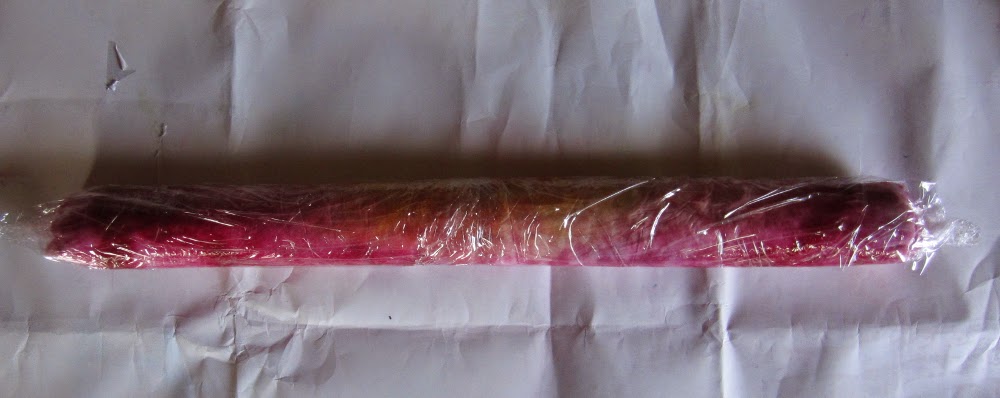
- I like to put mine in a zip lock bag too (very “belts and braces”!)

- Then steam for 45 min to an hour before rinsing under running water.