Category Archives: dyeing

Sculptures to Dye For

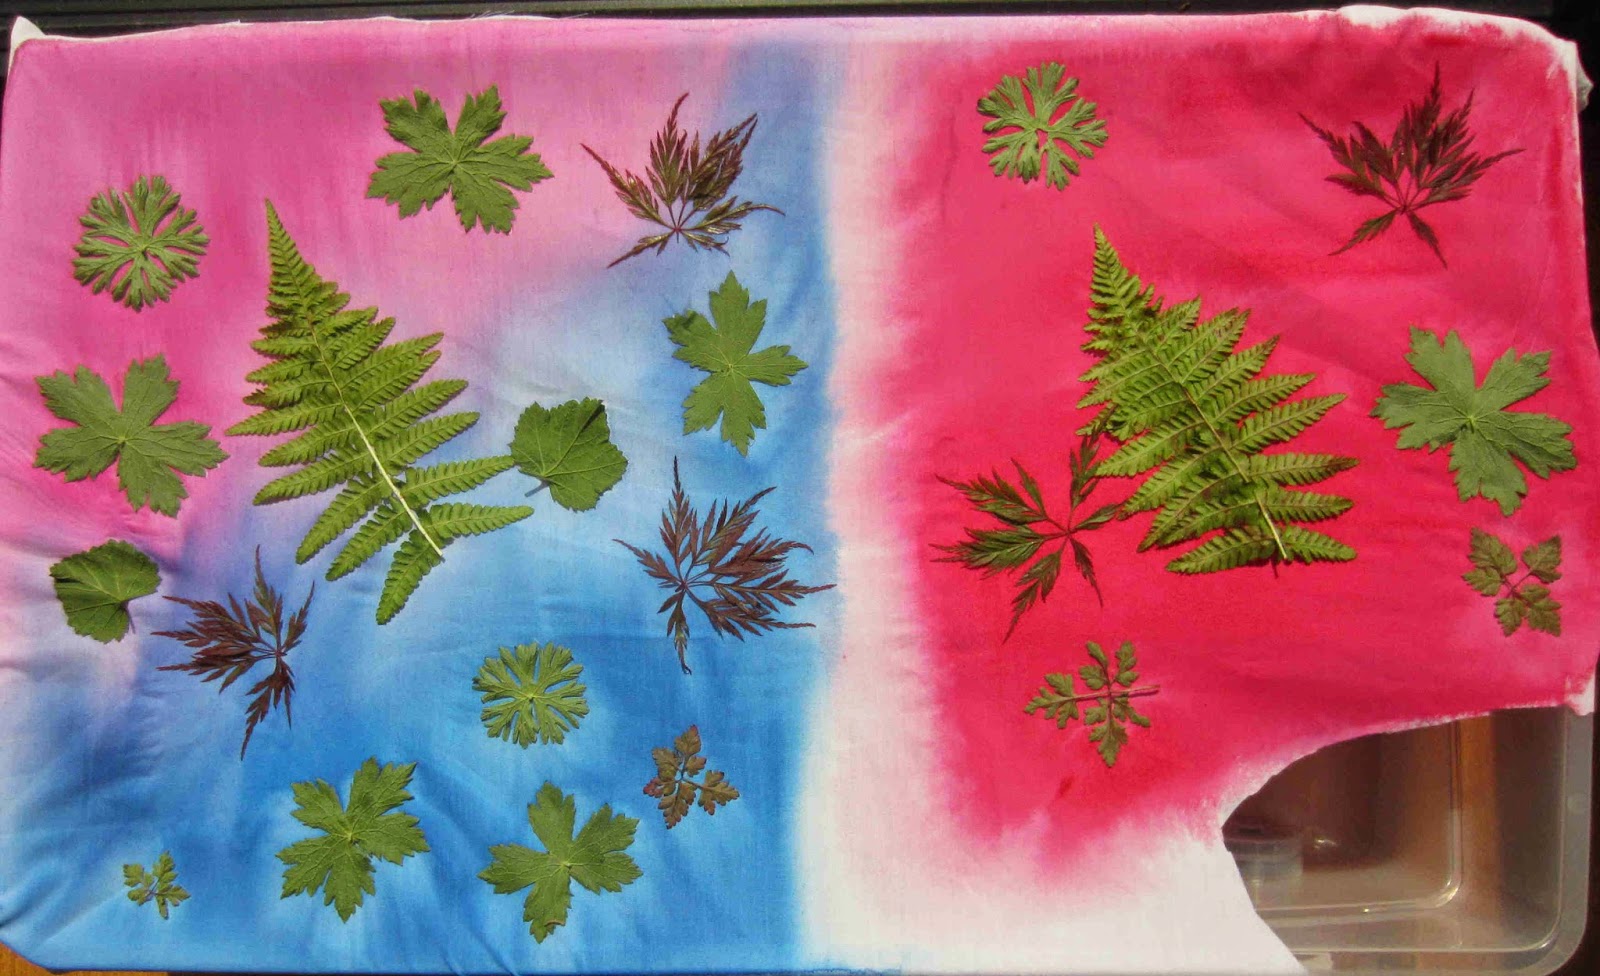
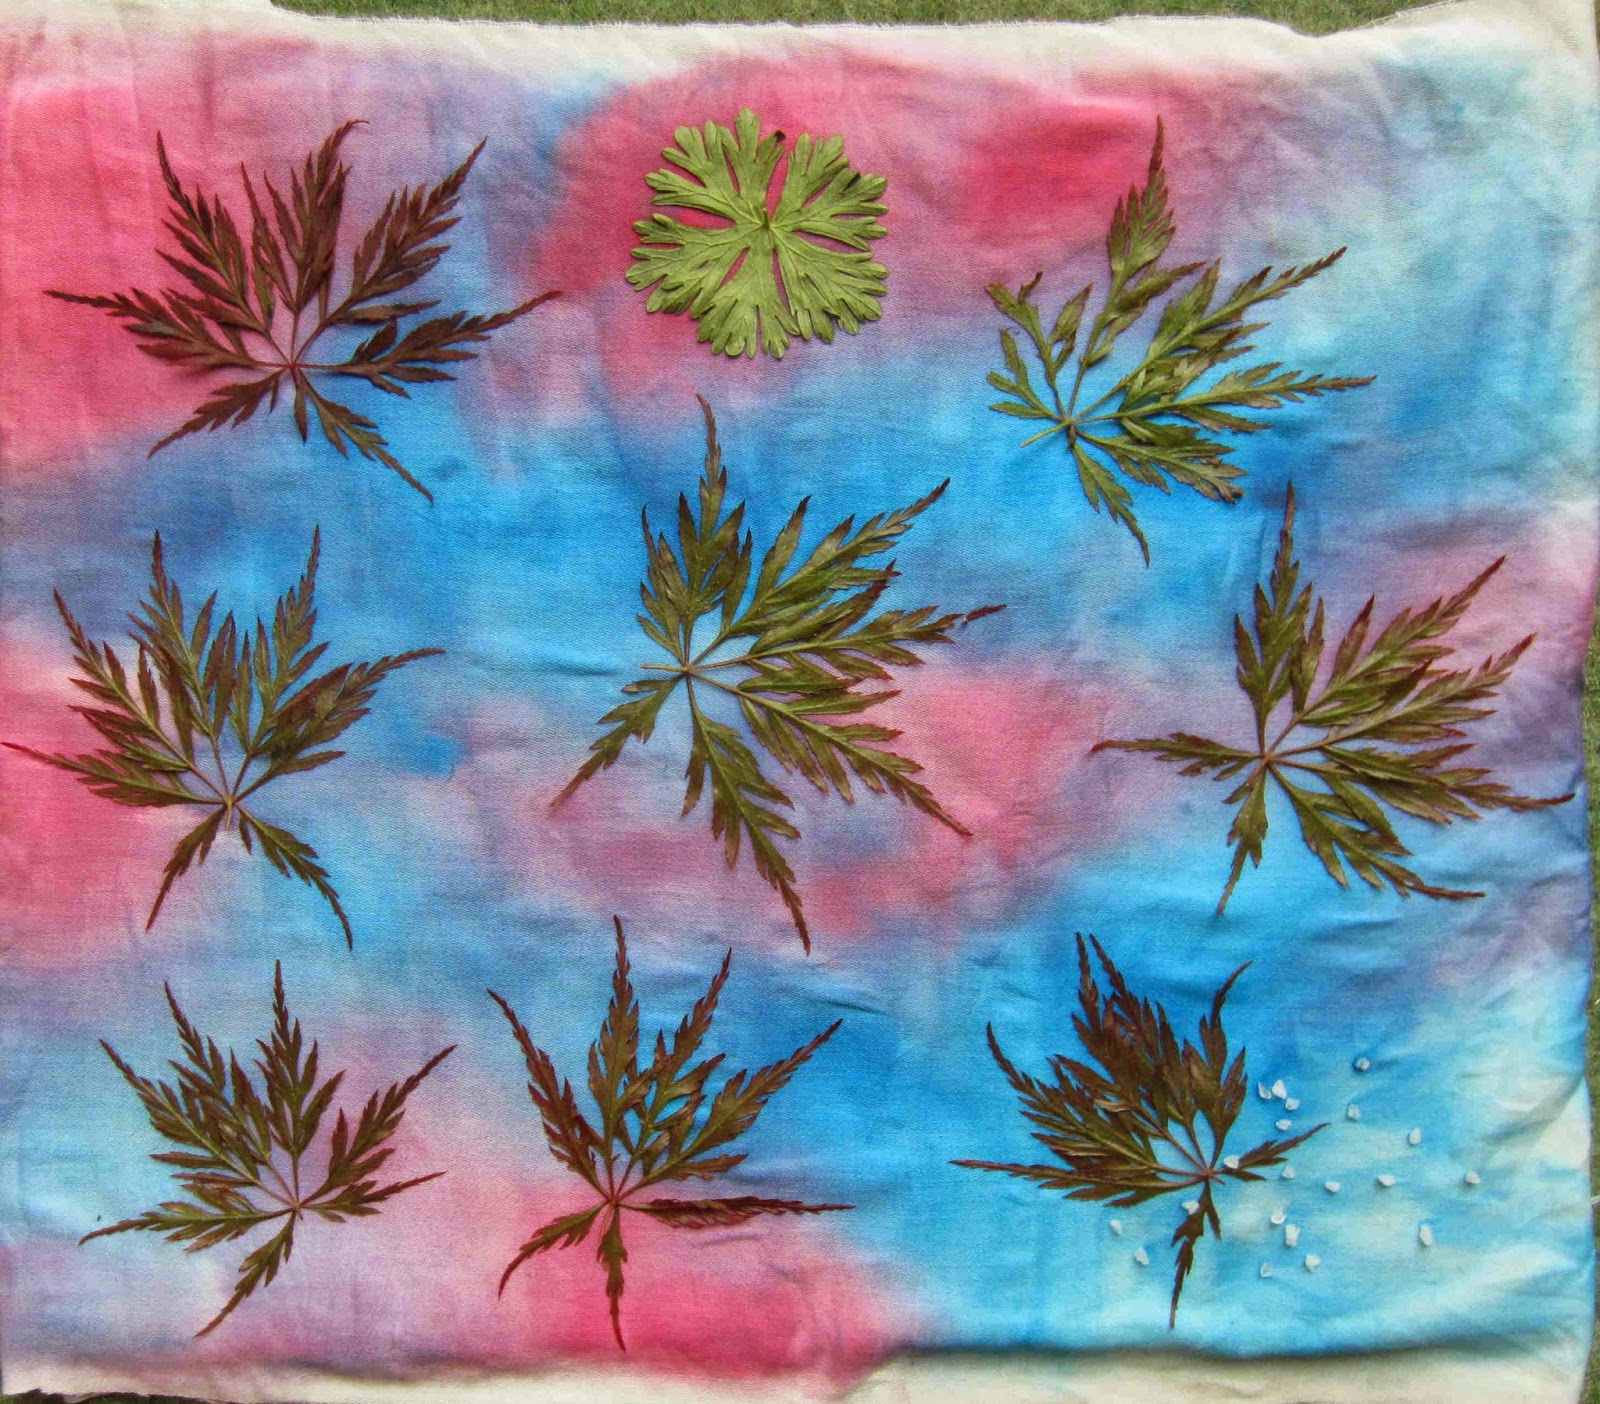
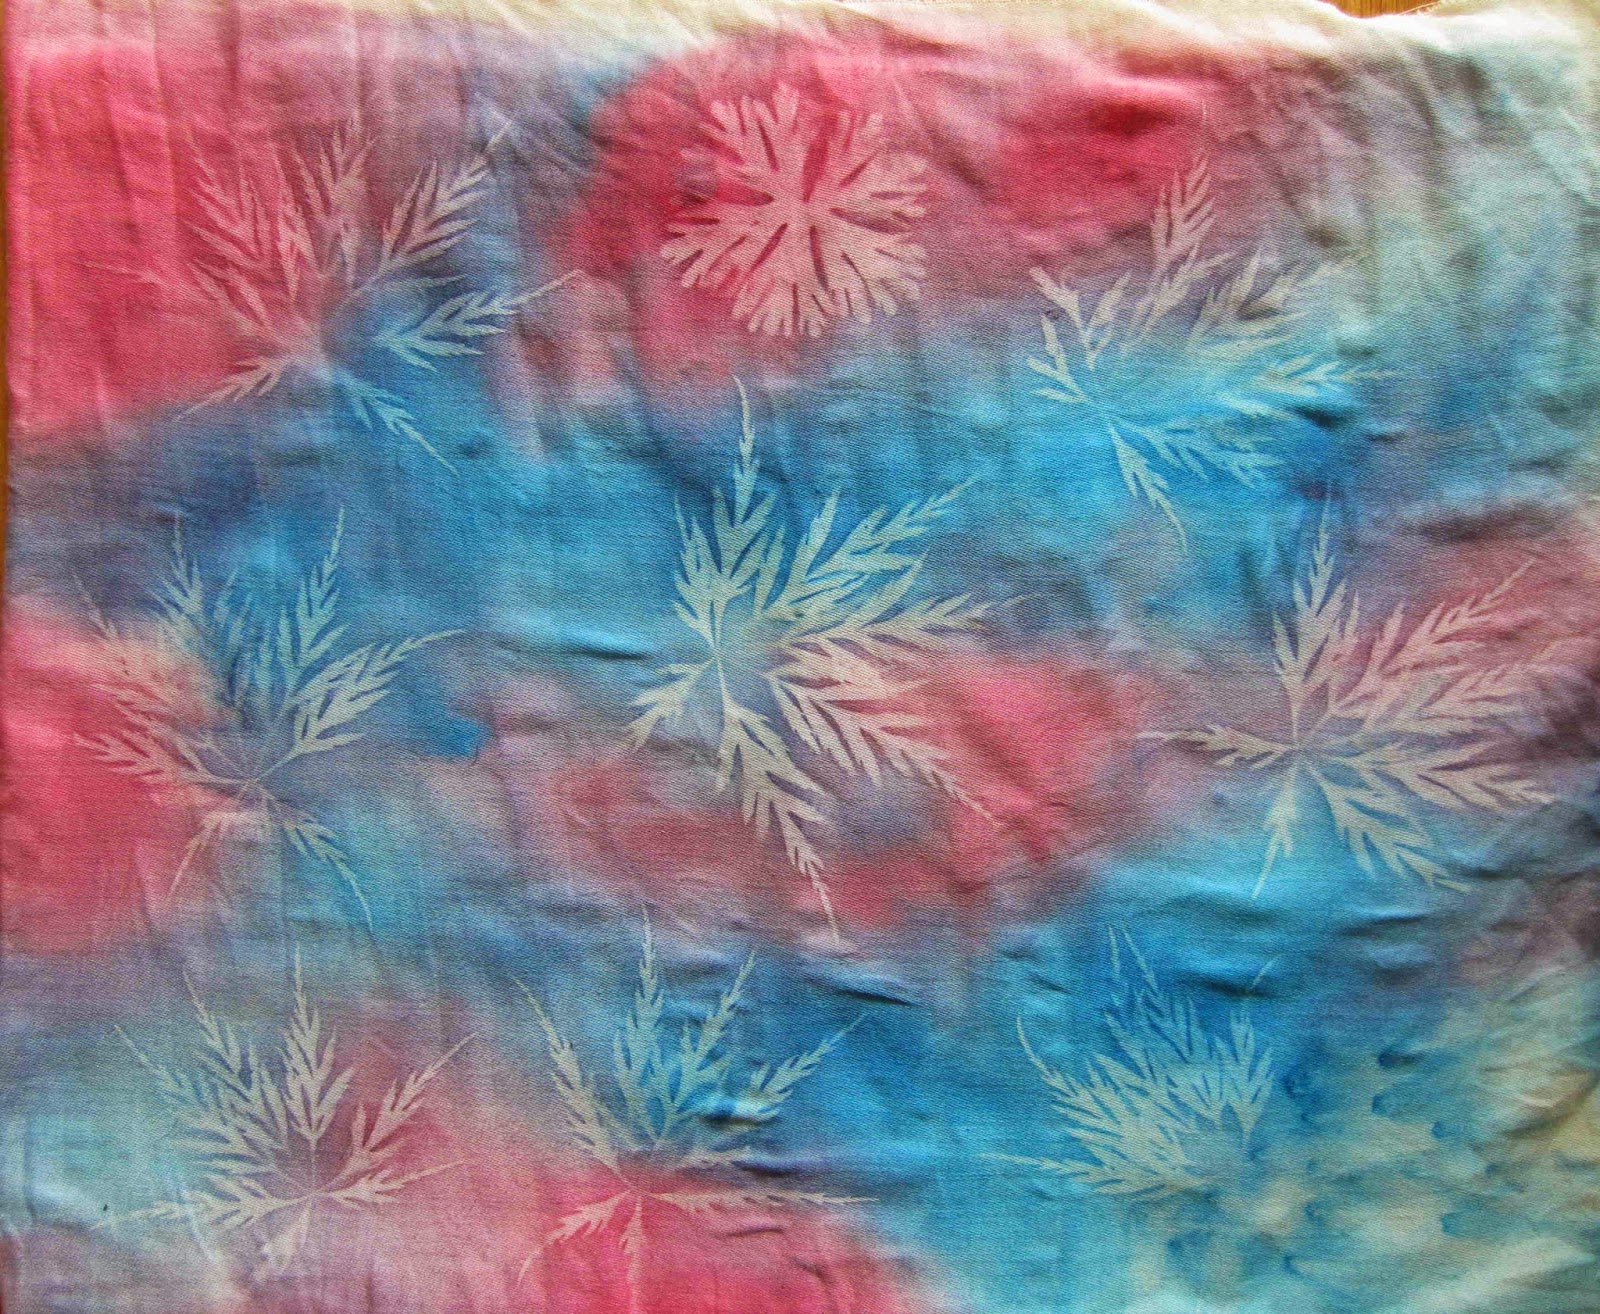
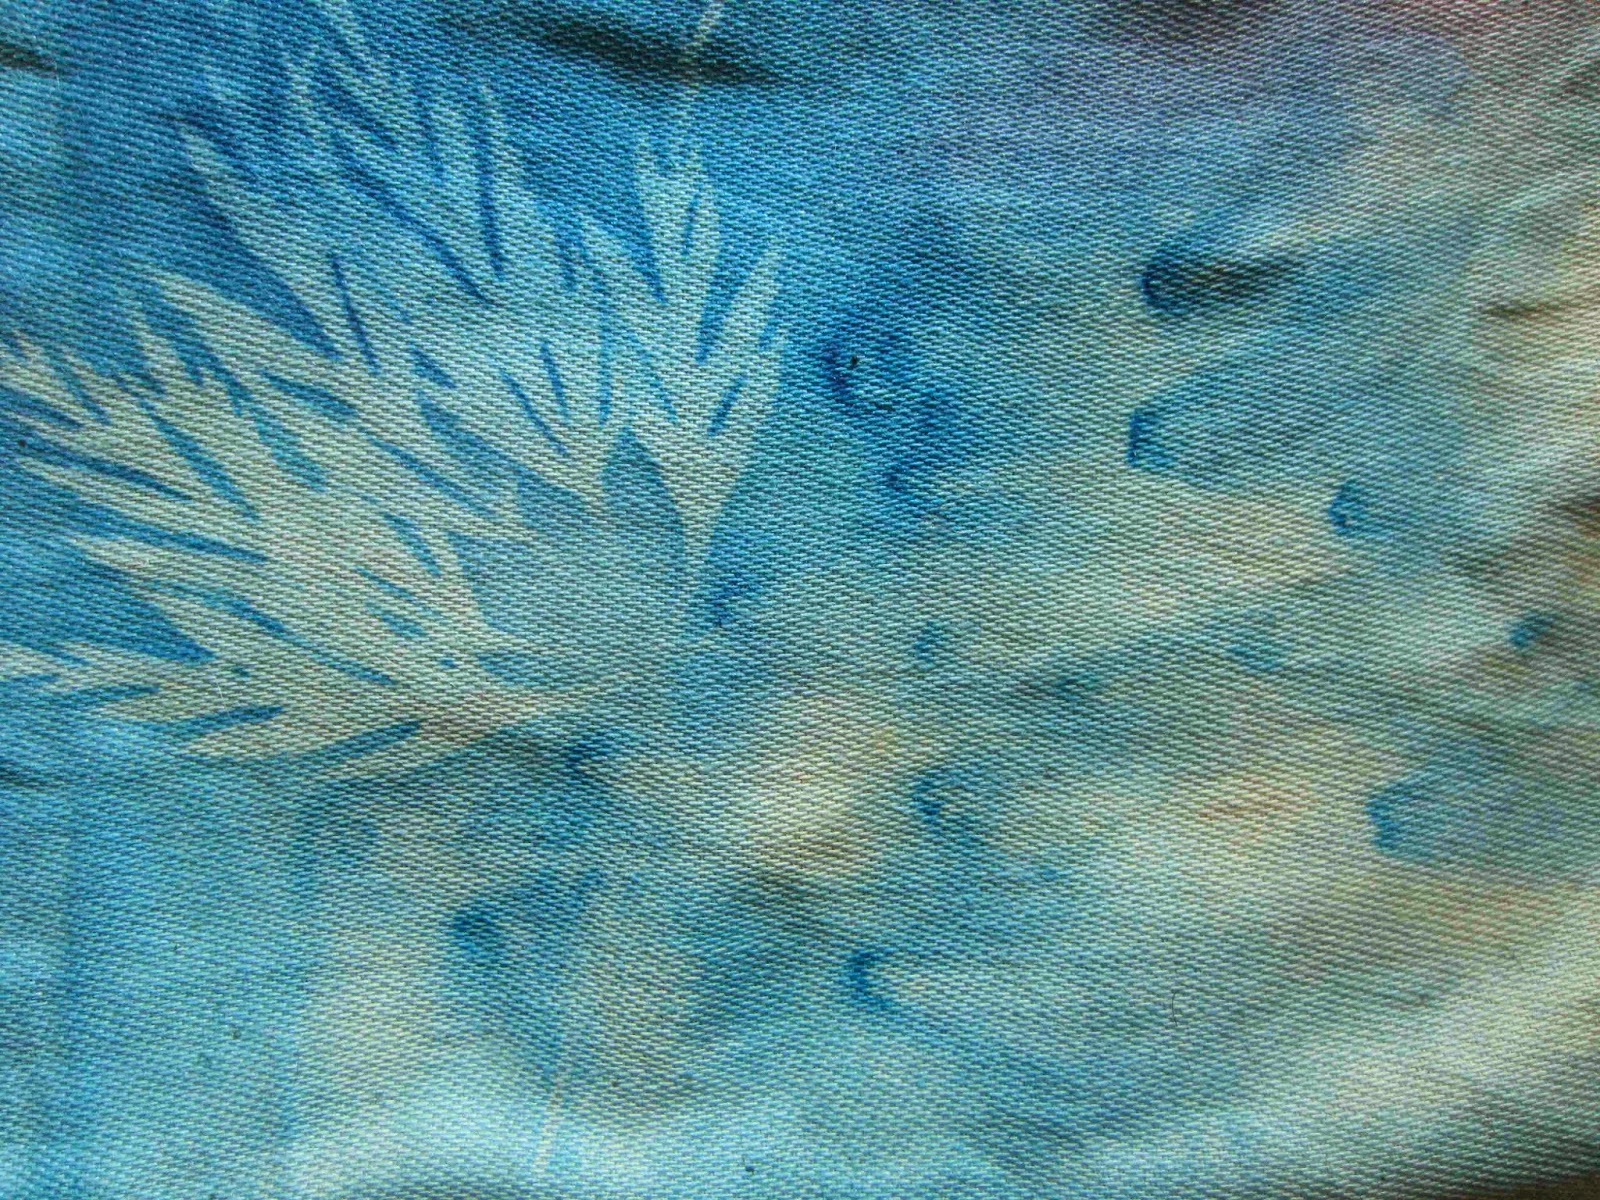
I confess I have been a bit slack about posting lately. Sorry about that but I have been doing bits and pieces of felt making and dyeing. I dyed these pieces from my workshop with Yvonne Habbe a couple of weeks ago but have only just got around to taking photos of them. I think most of them turned out really well.

This one is about 4 inches long and I am tempted to stitch some beads into the cleft down the centre and turn it into a brooch.

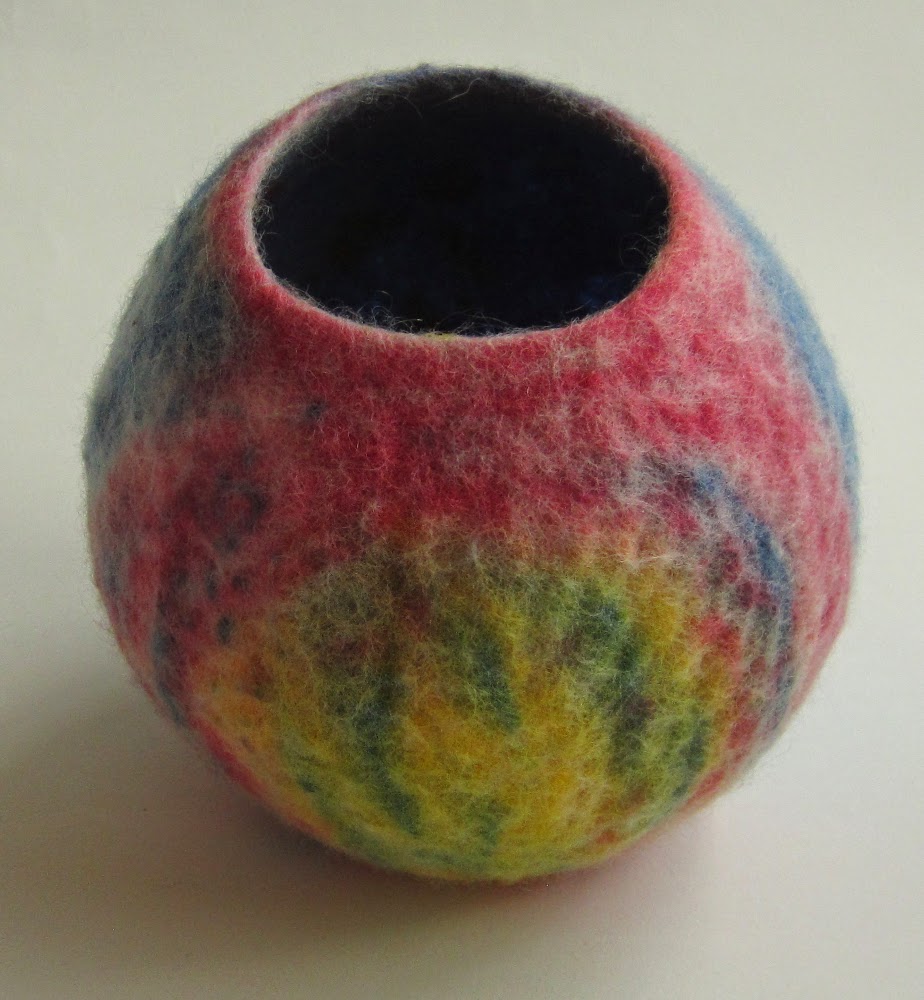
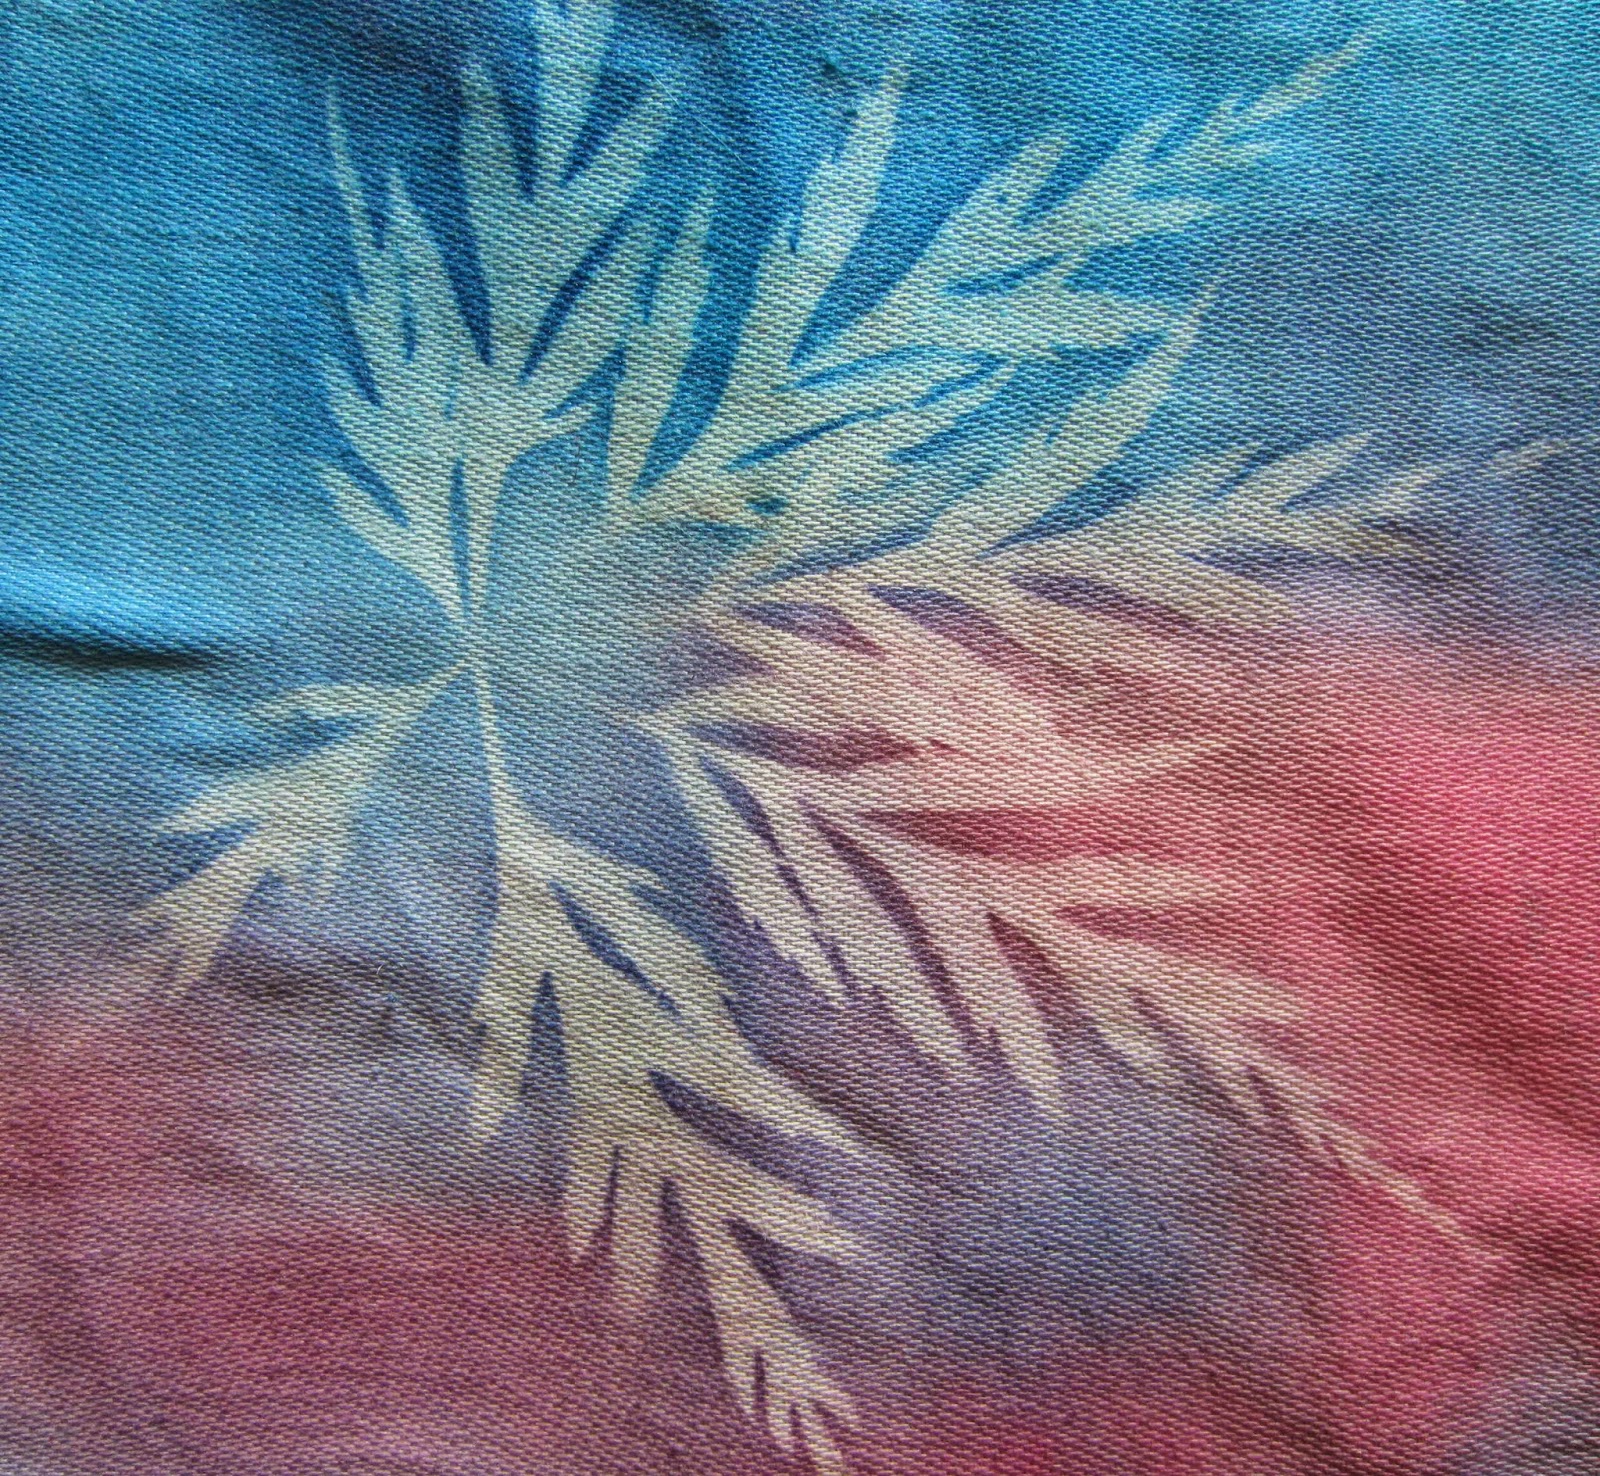
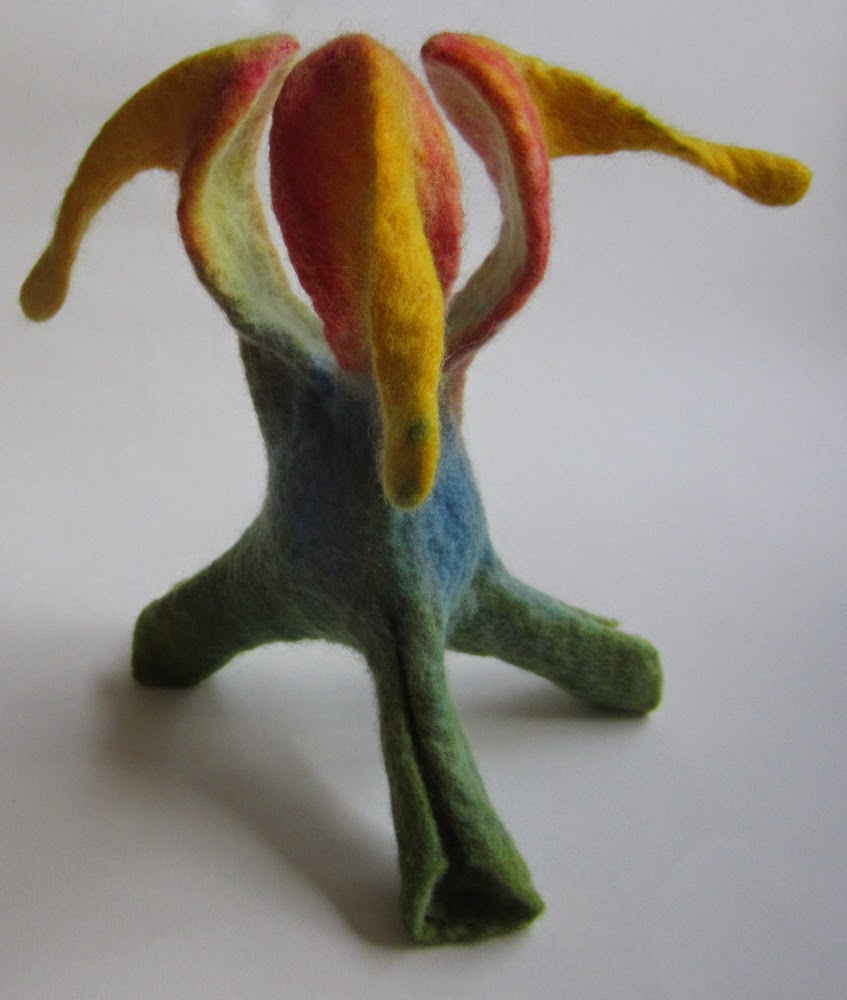
This was my spherical pod from the first exercise on the workshop, I’m pleased with how the rainbow dyeing has turned out.

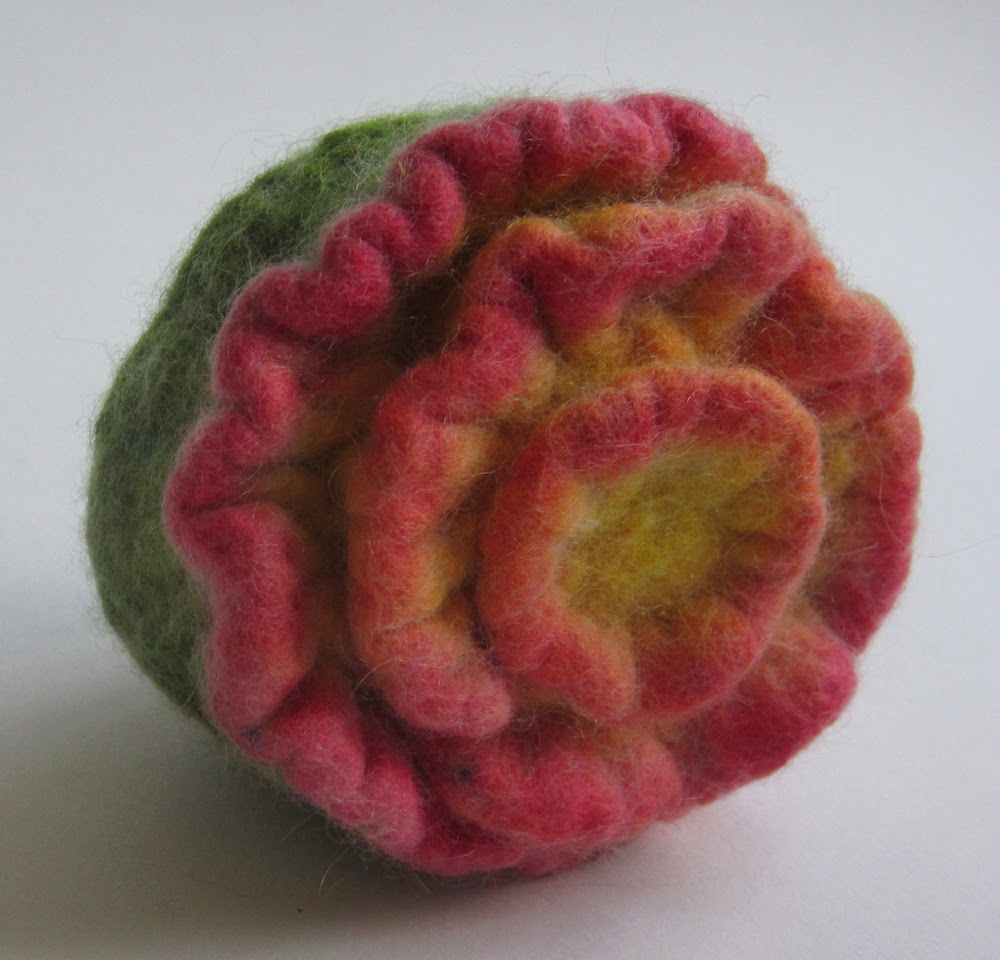
I love the colours and floral shape of this piece but it is too large to be a brooch – maybe a small bowl?

I have been making lots of these to test out how different wool breeds behave in these small sculptures. This one already has a brooch pin on the back.

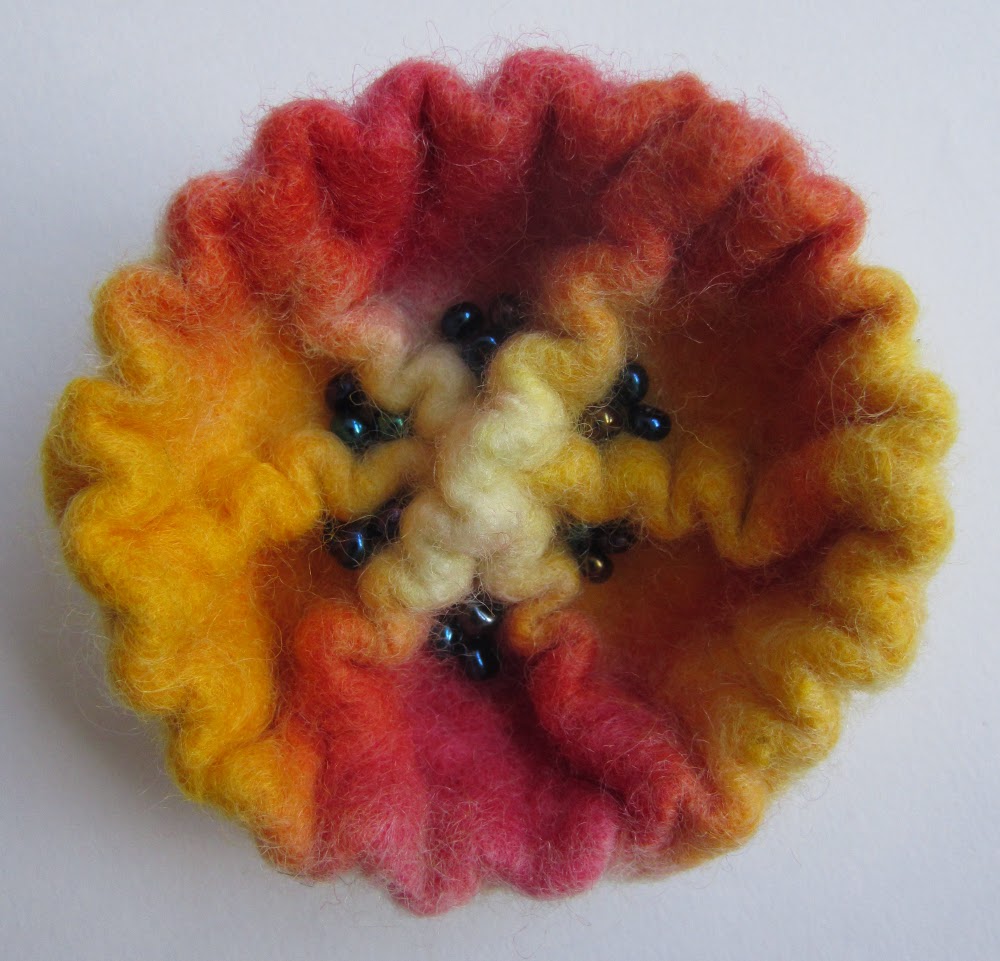
This is another brooch, it wasn’t intentional but after adding the dark beads it now reminds me of a pomegranate.

This sculpture (about 10 inches tall) reminds me of a tellytubby – again that wasn’t my intention at all when I drew the template and started shaping the felt!

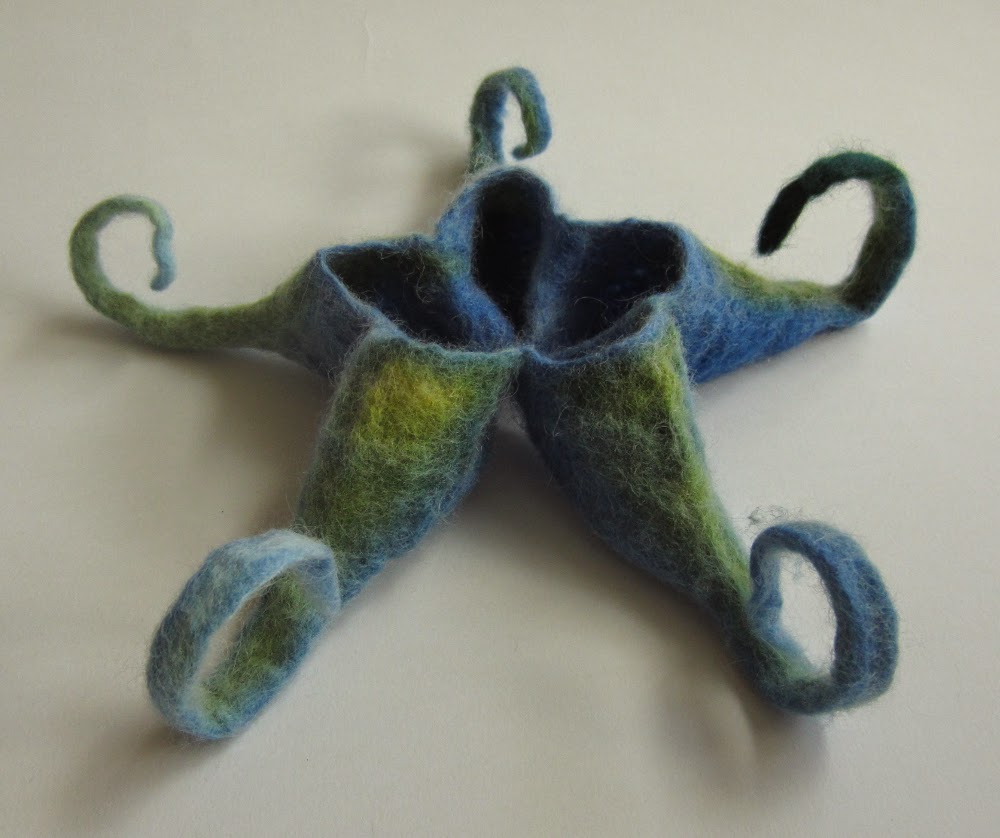
This piece still needs a bit of work, I think I will stitch down the curly tips to hold them in a tighter spiral and add a brooch pin to the back. It measures about 6 inches across.

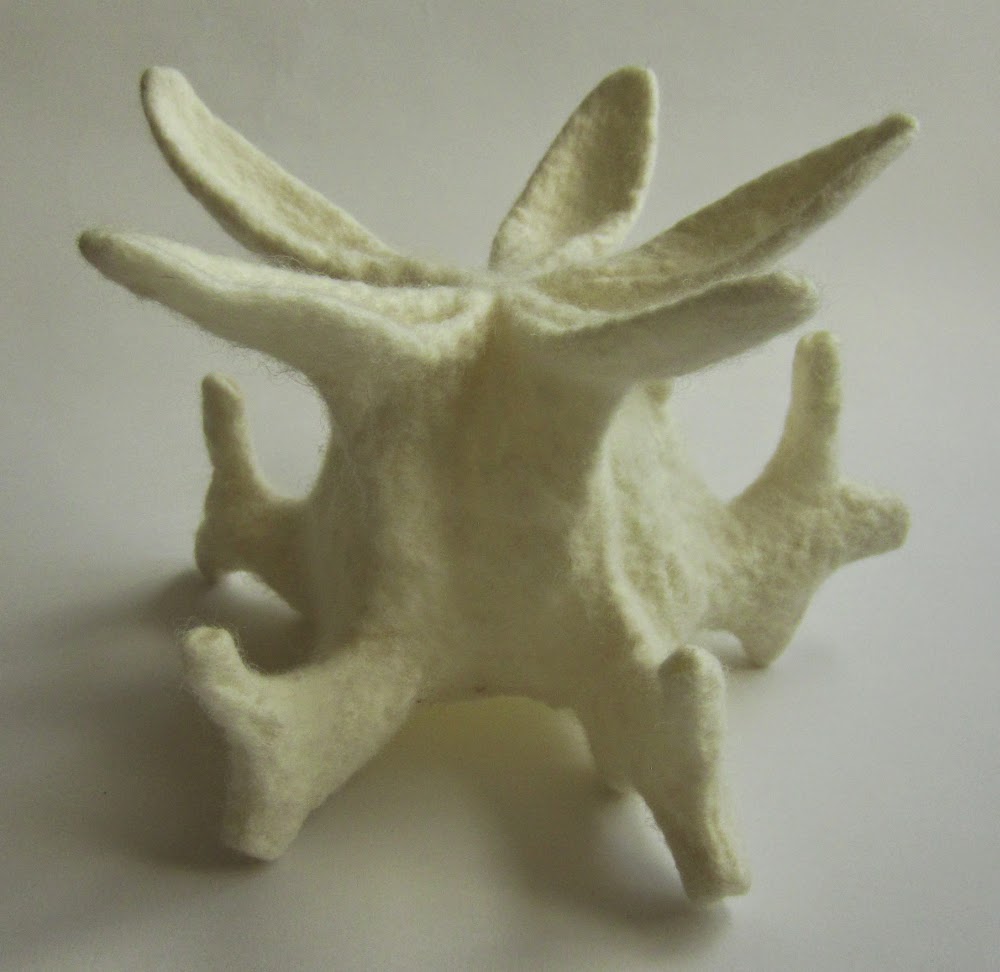
OK – so the eagle-eyed amongst you have probably noticed this one and the next have not been dyed, instead they have been treated with a cellulose based stiffener.

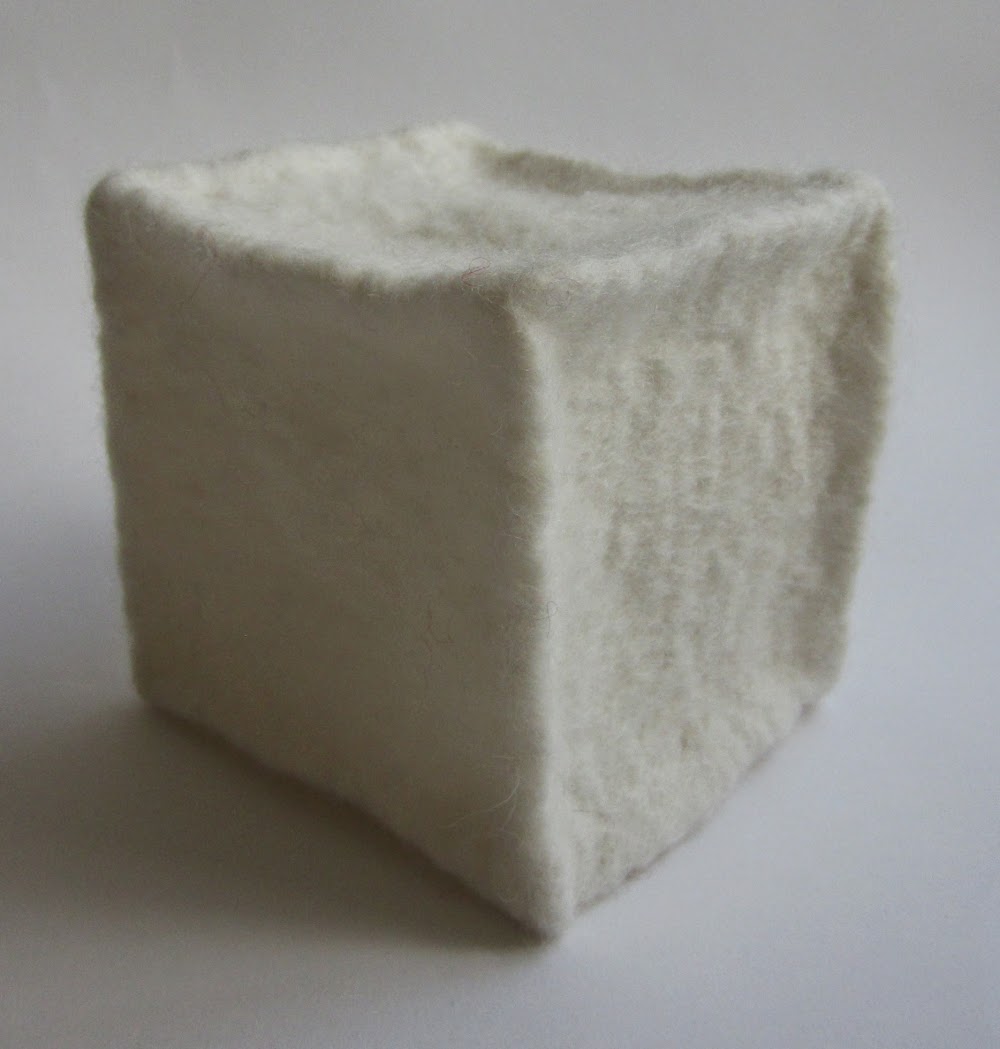
Not sure if anyone else has tried making a hollow cube from felt? This has to be one of the most difficult things I have tried to do with felt, as you pull and stretch one side to straighten it you end up pulling another edge out of shape. I plan to add some stitching to this one, more on that next time.

And finally, a little tease, this is one of the bag designs I have been working on since Yvonne’s workshop, it is actually a coin purse (or will be) that will have a matching handbag.

Have a great weekend!

Linking up to nina-marieoff the wall Friday

Sun Dyeing

I was reading a blog a couple of weeks ago with some scepticism. With the benefit of hindsight I concede my scepticism was a little unfair. The blogger in question had posted about sun dyeing and said that you don’t need to buy those expensive photo-sensitive fabric dyes / paints, any old fabric paint will do. My initial reaction was, if any old fabric paint will do why is there a market for those expensive photo-sensitive paints? Too good to be true right?

The scientist in me made me set my scepticism to one side long enough to perform a little experiment. We all want to save our pennies to spend on more textile toys don’t we??

Materials:

  • Light coloured cotton based fabric (I expect silk will work too but synthetics possibly not – those are experiments for another day 🙂 )
  • A pad of newspaper or a large box (I used a plastic under-bed storage box)
  • Masking tape
  • A spray bottle filled with water
  • Fabric paints (I used Setasilk (iron-fix) silk paint and acrylic paint mixed 50:50 with textile medium). If you don’t plan to wash your fabric you can replace the textile medium with water.
  • Large brushes (I used the foam type)
  • Resists – I used leaves but anything that will lie flat on the fabric and block the light all work well. Paper cut outs and opaque stencils work well.

This is what I did:

  • Stretch your fabric over a box or a pad of newspaper with masking tape
  • Spray with water until evenly wet, allow the water to disperse while you gather some leaves or other objects to create a resist.
  • Working quickly, cover your fabric with fabric paint and lay out your resists, ensure they are as flat as possible to the surface of the fabric.
  • Leave in a sunny spot for 2 hours (beware of breezes blowing all your resists away if you put your box outside – I left mine in front of a south facing window).
  • The hardest part is resisting the urge to lift the leaves to see what is happening underneath 😉
  • Remove the leaves / resists and iron for several minutes to heat fix.

Sitting in the sun catching some rays, the pink and blue on the left is the Setasilk paint and on the right is red acrylic paint mixed with textile medium.

I think I applied the acrylic paint (on the right) too thickly, hence the effect is not so noticeable. In the areas where the paint is a little thinner the leaves are paler.

A second attempt with a lighter coating of acrylic paint. I also sprinkled a few grains of rock salt in the bottom right to see what effect that would have:

After 2 hours on a sunny windowsill:

Close up of the salt effect, it appears to have concentrated the paint under the grain and drawn the paint from the surrounding area:

A close up of an acer leaf outline.

Have you done any sun dyeing? What paints / fabrics did you use?
Linking up to nina-marieoff the wall Friday