Category Archives: wall hanging

Finito!

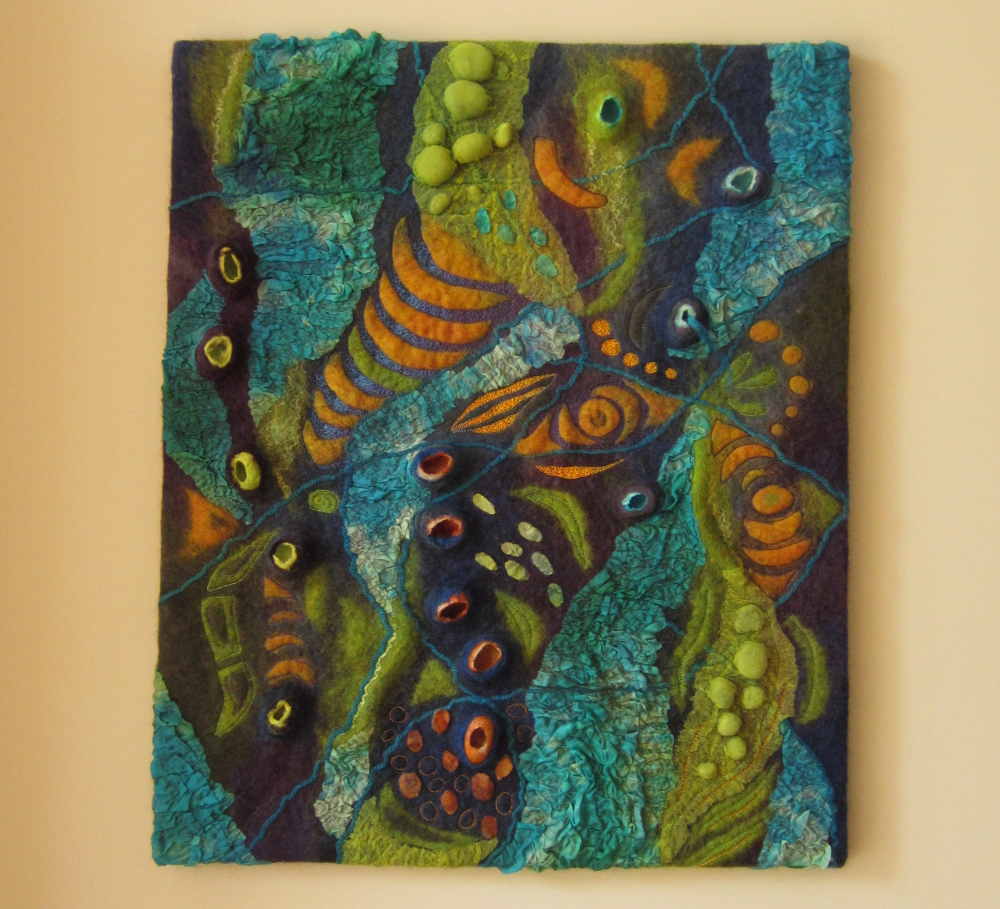
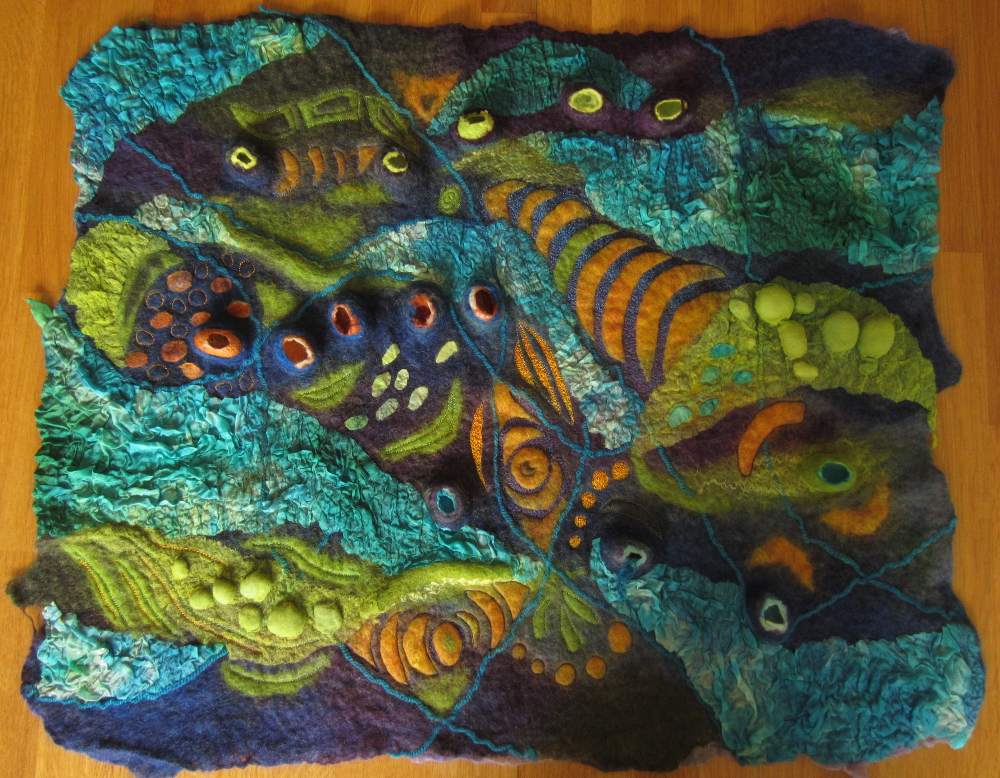
It’s been a busy week but my challenge piece is finally finished! 🙂

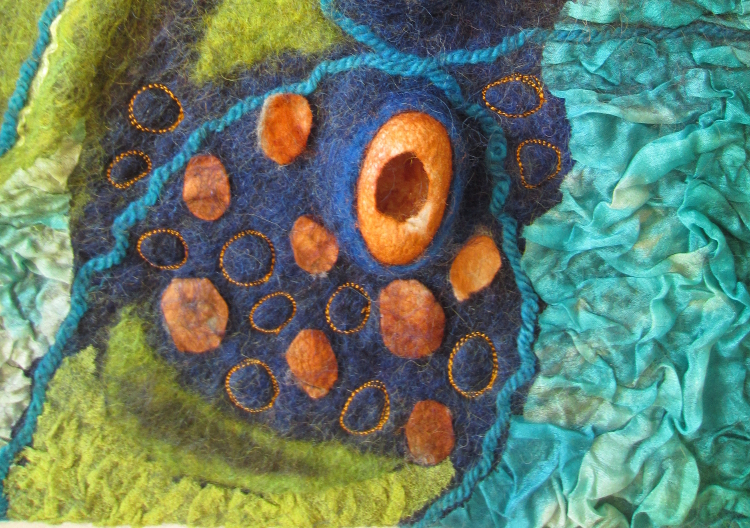
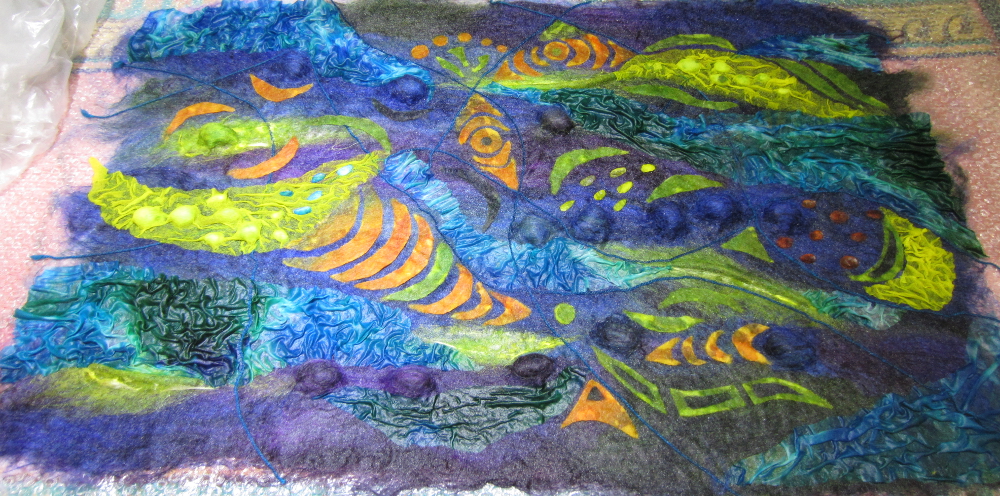
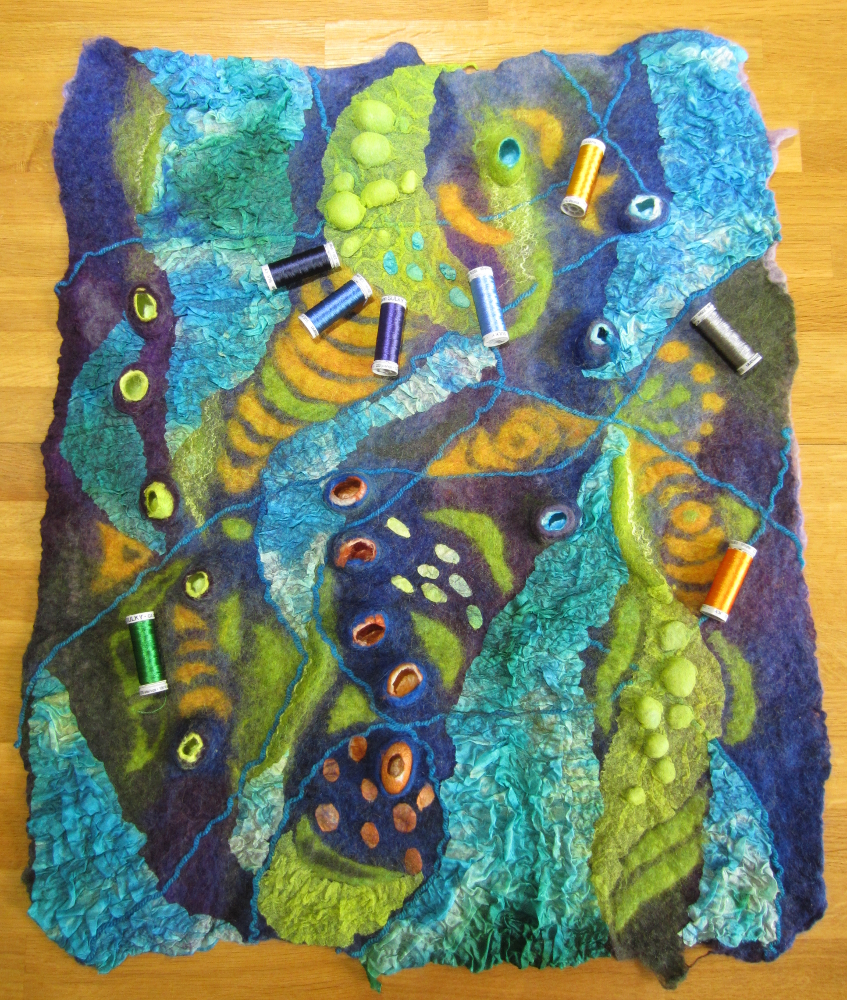
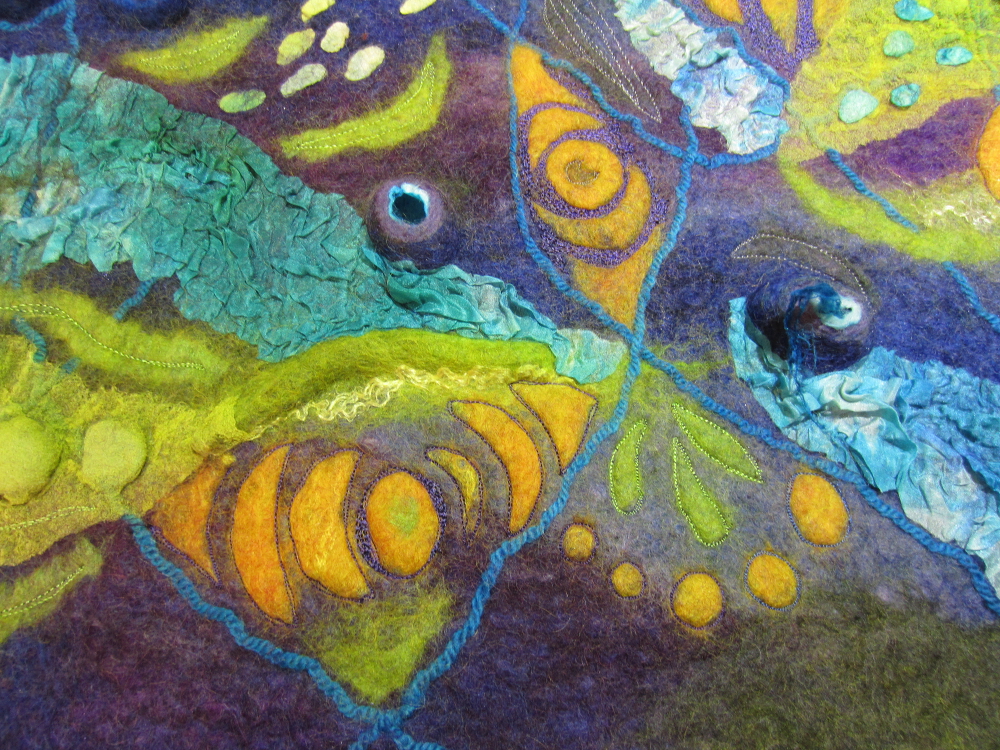
Since my last post I added some embroidery to sharpen up the edges of the orange prefelts. First I had to choose some threads, I’m a big fan of the Gutterman Sulky threads for machine embroidery, they are reliably strong and have a lovely sheen that looks wonderful next to felt.

IMG_4753
I started with the orange stripes in the top left quadrant.

IMG_4755 IMG_4760

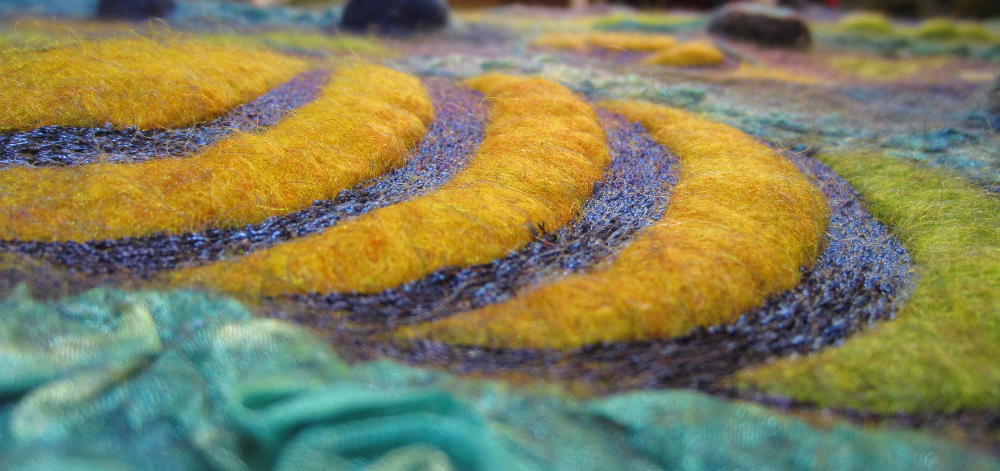
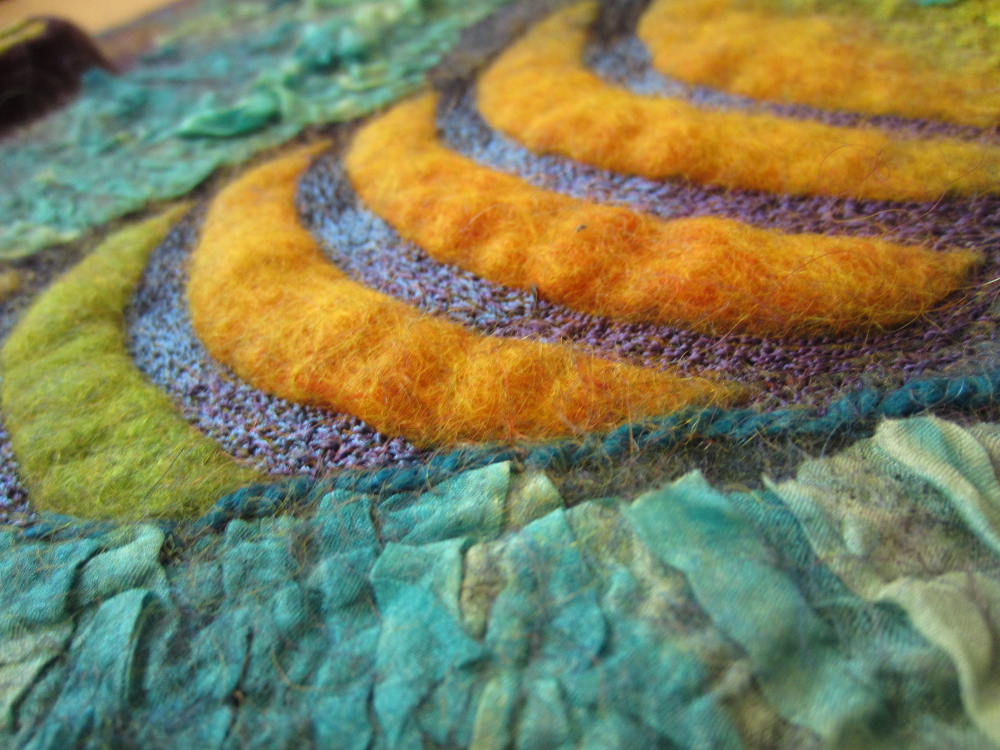
I’m really pleased with the colour blending of the threads and the beautiful 3D effect you get from this style of stitching on felt.

Of course, it’s impossible to stop at one small area when you start with free motion embroidery….
IMG_4758 IMG_4763 IMG_4765 IMG_4767

  When I went to bed it looked like this:

IMG_4768
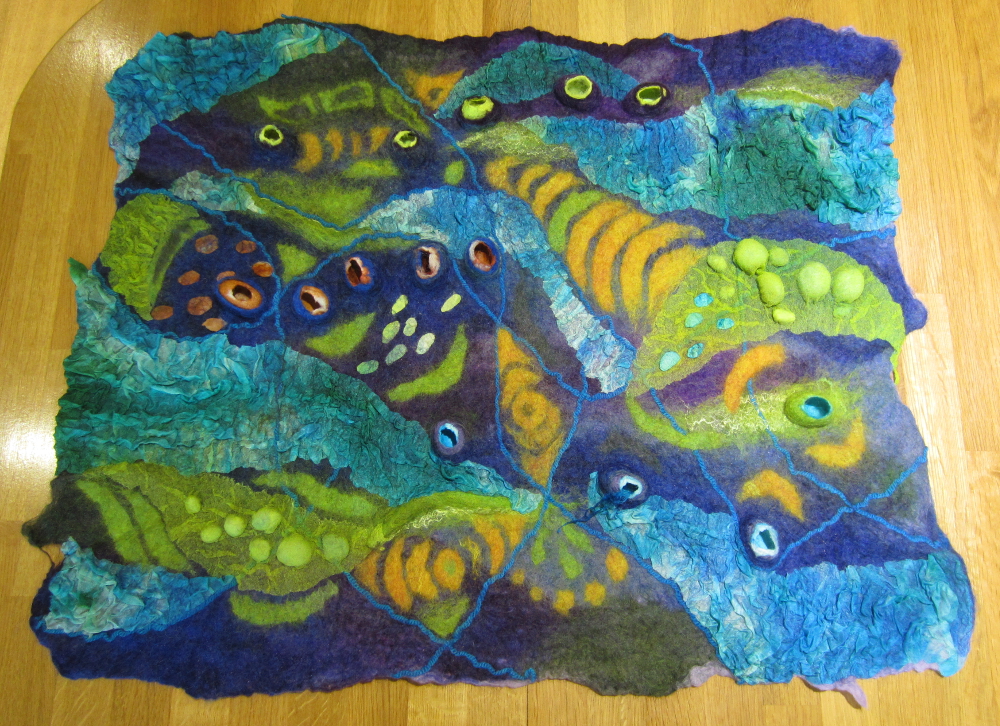
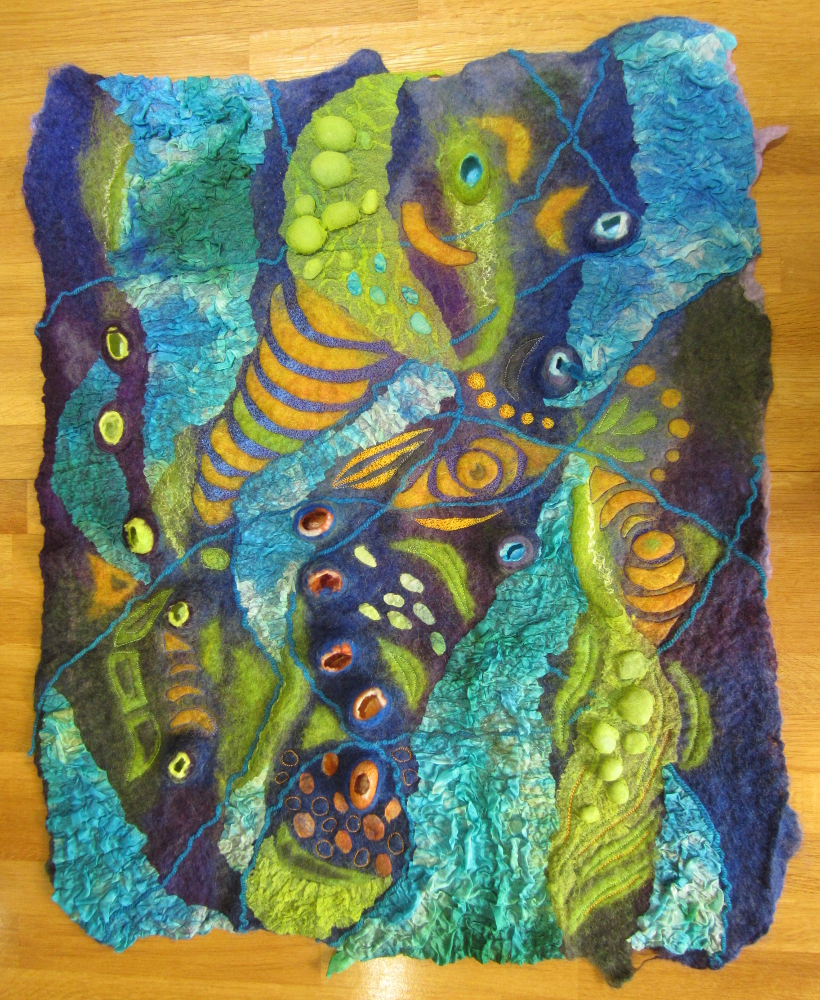
When I woke up this morning I looked at it again and took it back to the sewing machine – spot the differences….

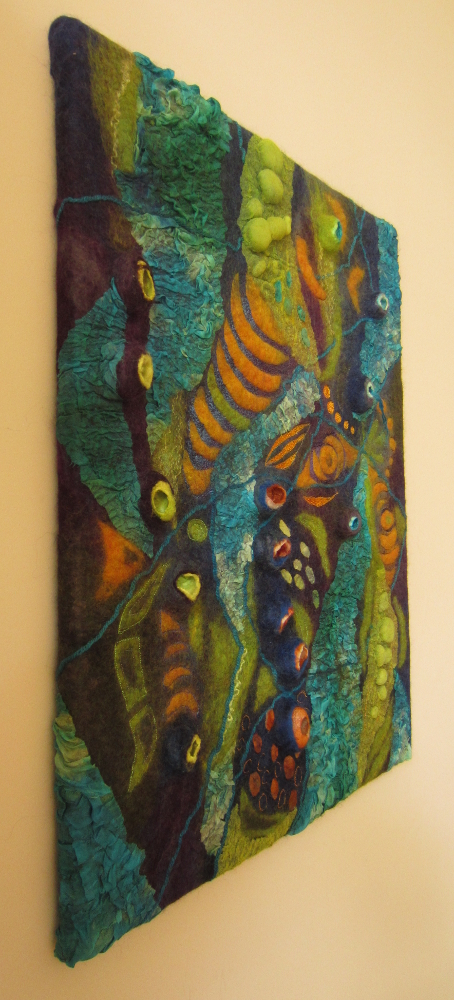
I have been planning to hang this piece on stretcher bars from the start. Most of my felt hangings are sturdy enough to stretch directly over the frame but this one is a bit finer, it might be alright but I don’t think it is worth risking it stretching and sagging in the middle so I hand stitched some poplin cotton to the back for extra support.

IMG_4769
Before stretching it over the bars ready for hanging:
IMG_4770
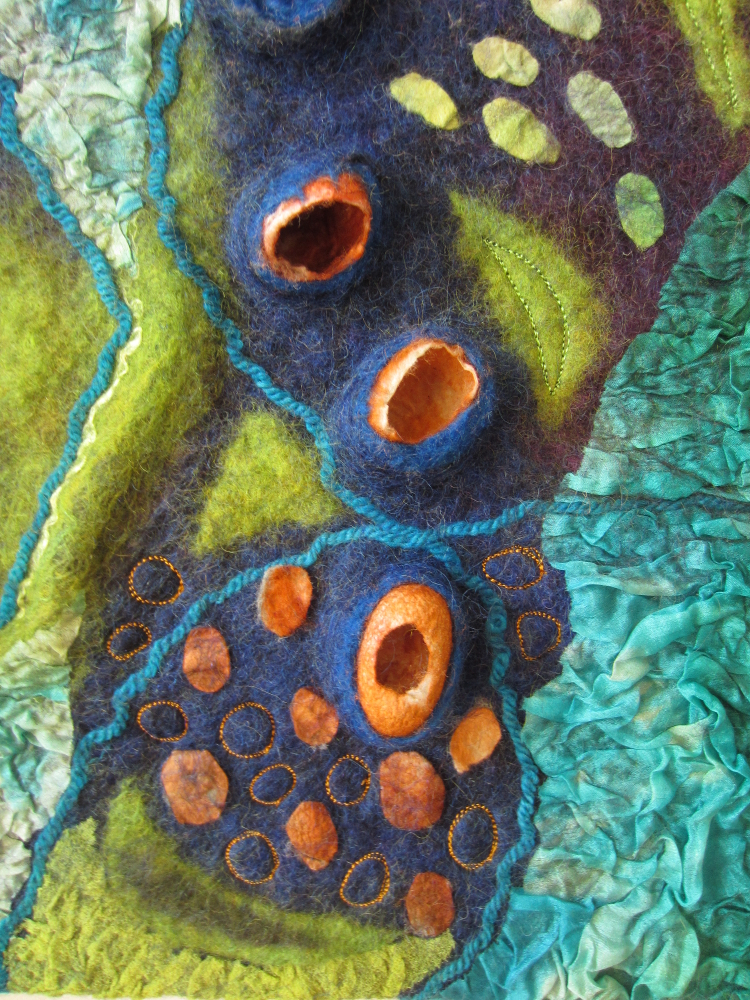
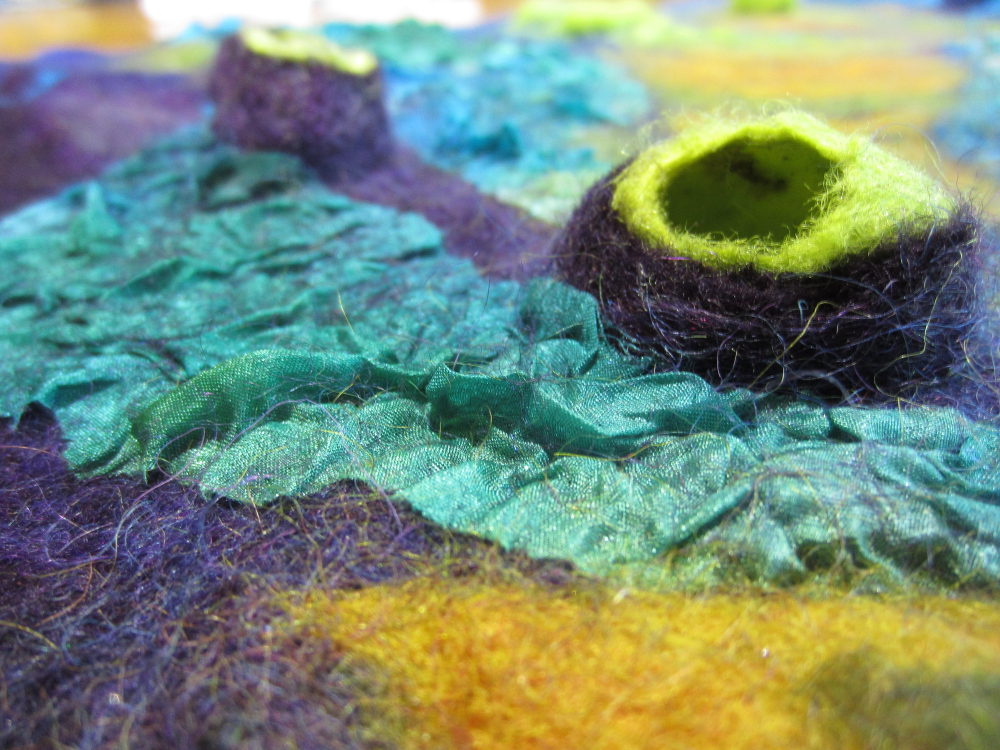
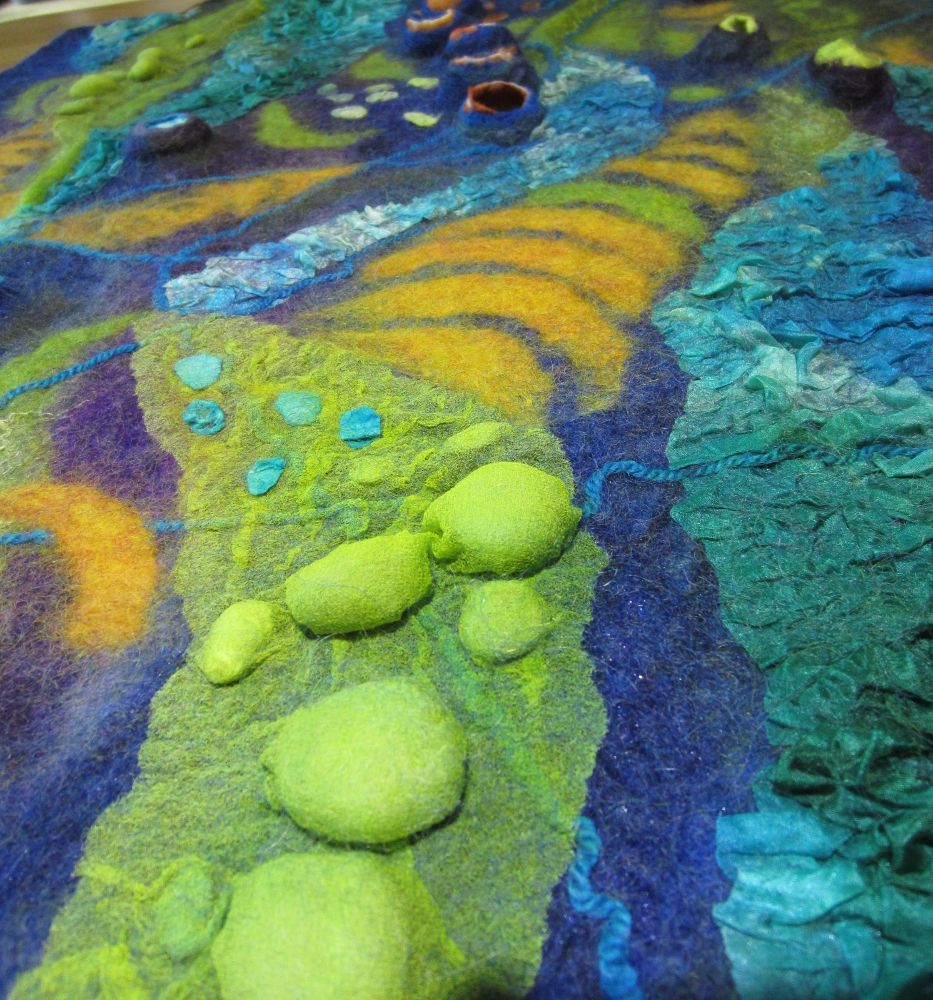
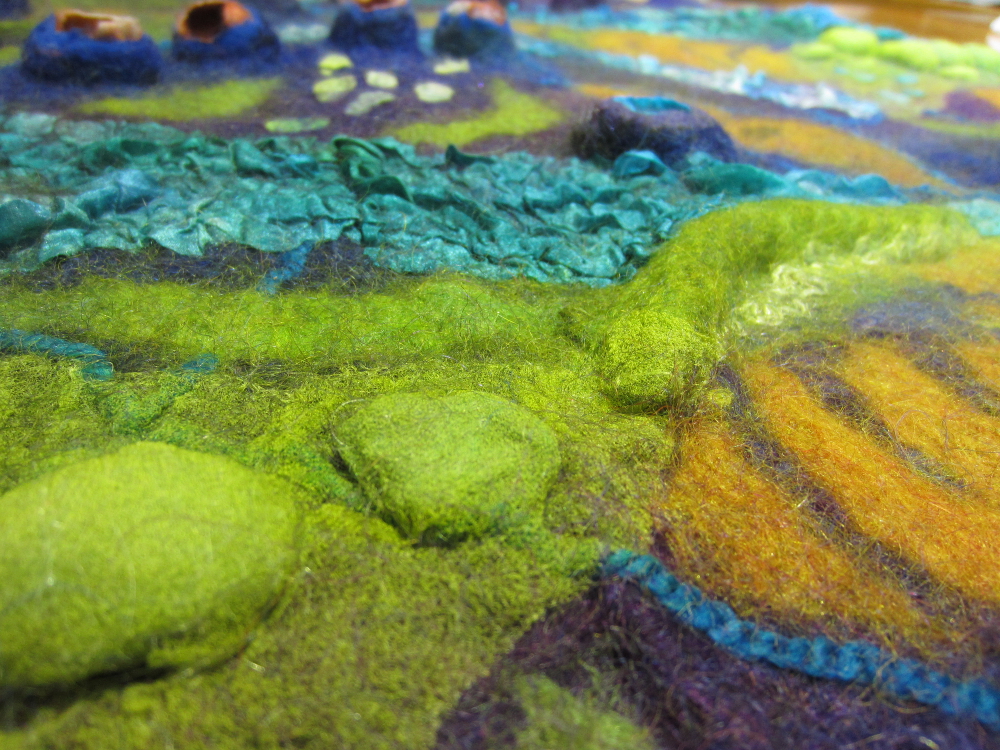
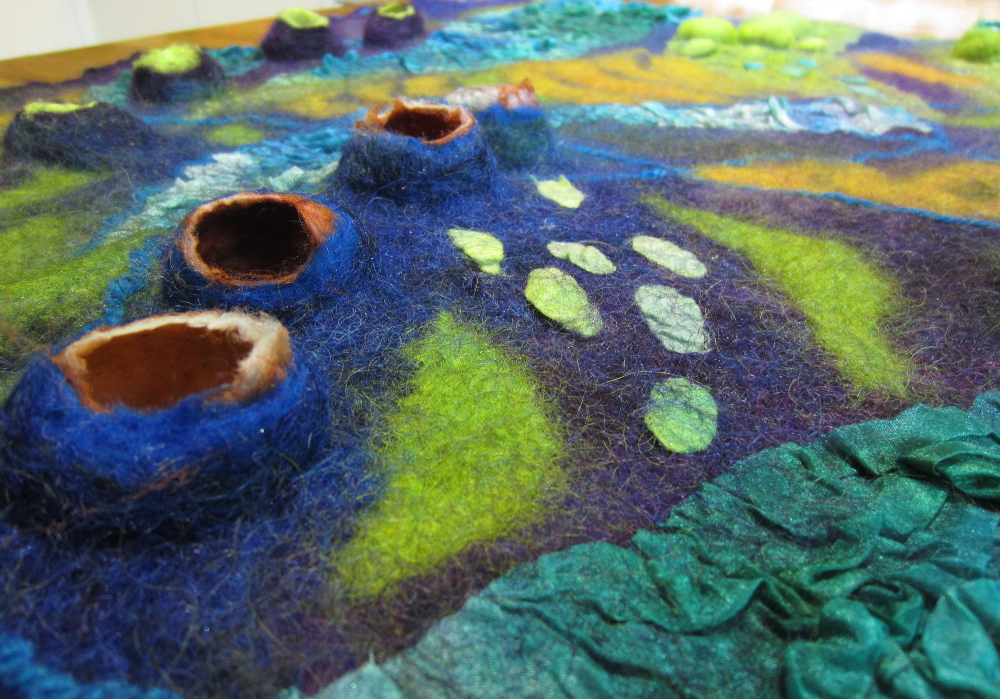
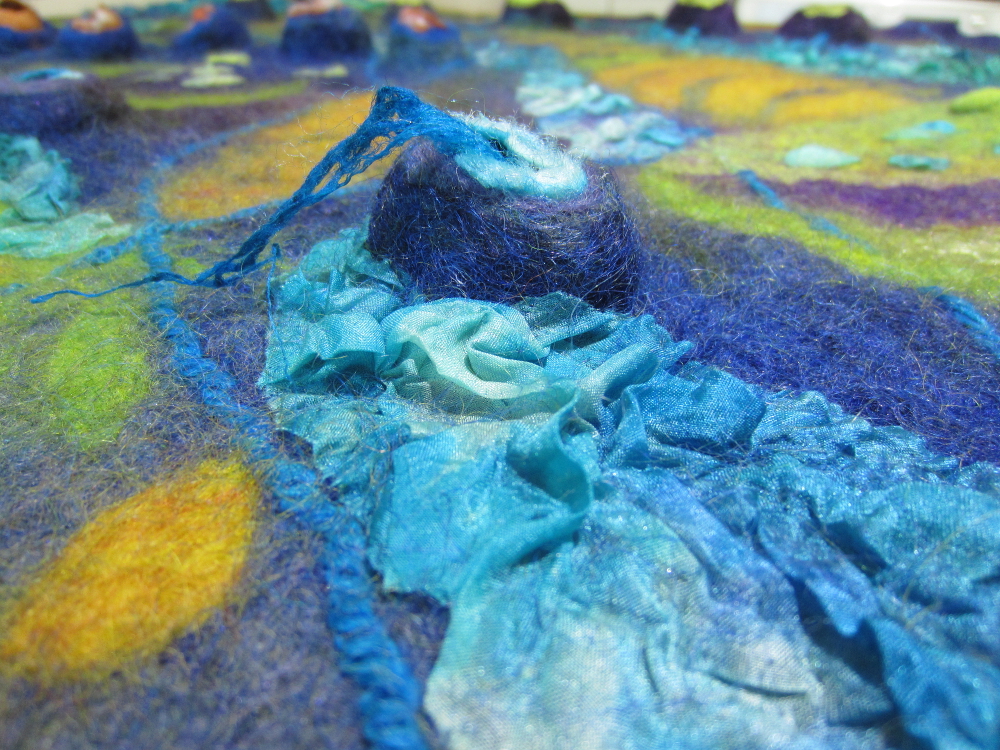
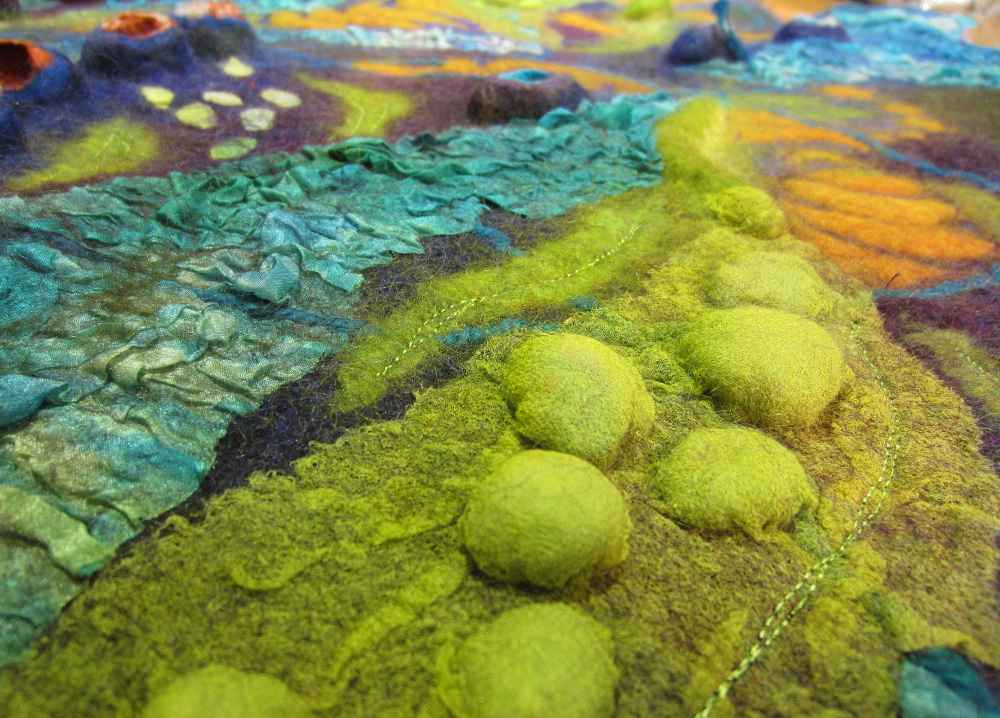
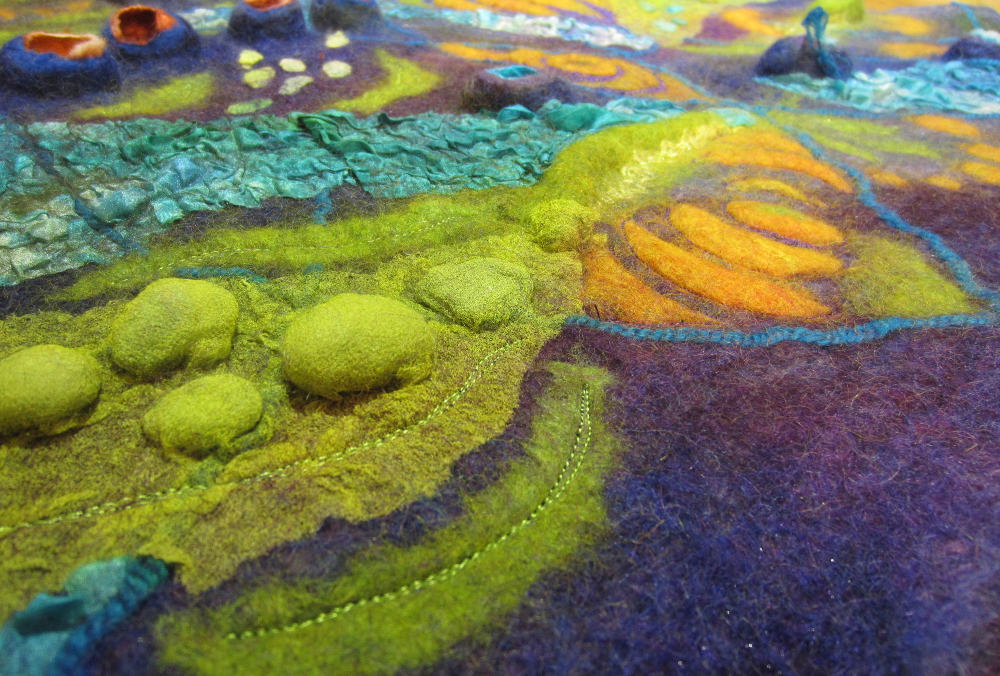
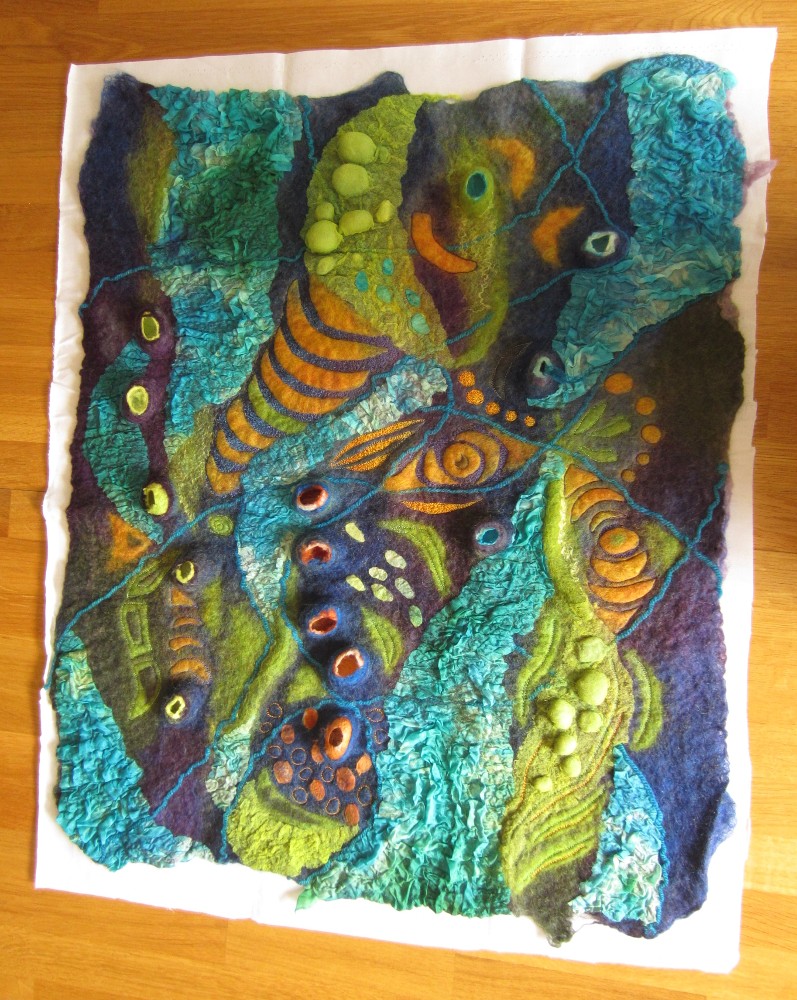
Finally some close ups from the finished hanging:
IMG_4772 IMG_4773 IMG_4773a IMG_4782 IMG_4798

Q3 Challenge Part 3

Before I went to bed last night I laid out some prefelt shapes made from the carded batts, and not one to waste anything, a few of the discs cut from the silk cocoons too.

IMG_4735

I am loving the orange against the blue (I knew I would) but now I am worrying that the colours will all blend together as the piece is fulled. Thinking about it, I have unwittingly managed to include all the primary and secondary colours from the colour wheel except red, I’m quietly praying it doesn’t turn into a muddy brown mess…. 🙁

Starting to fix the design, I rather like how the bubbles and plastic overlay the design underneath, the stark lines are created by the silk cocoon bumps.

IMG_4737

Removing the plastic to rearrange some of the prefelts that have moved while rubbing

IMG_4739

After lots more rubbing and a bit of throwing I gingerly opened up the cocoons, some of them had rotated so that the holes I had so neatly cut to let the dye in were no longer at the top.
IMG_4741
I’m a little bit disappointed the edges to the orange prefelts have gone rather fuzzy (I should have made the prefelt firmer before cutting it up) but I think I can visually sharpen them back up with a bit of machine embroidery.

Some close ups of the felt while it is still drying:

IMG_4745 IMG_4747 IMG_4748 IMG_4749

I love how this cocoon produced a tail of loose silk as I opened it up:

IMG_4743
Next time, adding some embroidery and thinking about how to hang / frame it.