
Day 16
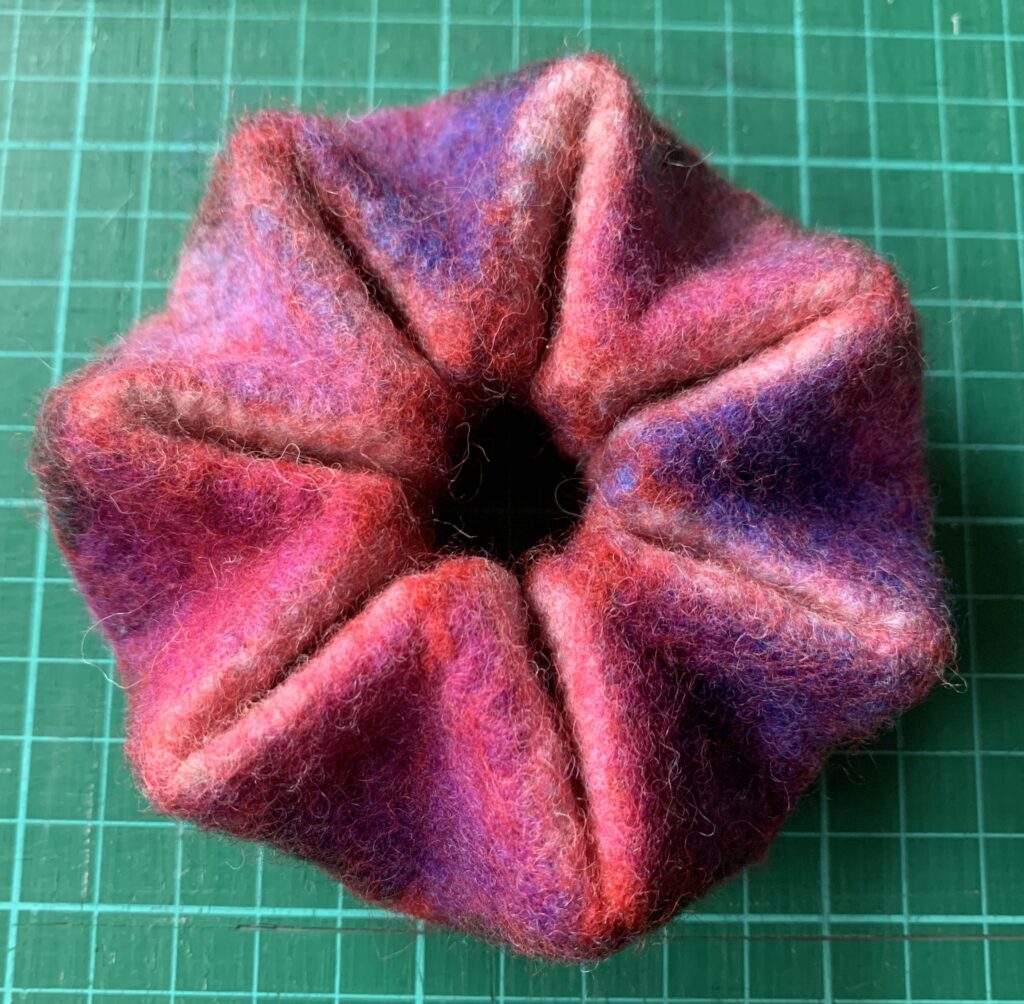
Carrying on with the pentagons from my last post… what if I stacked increasingly smaller pentagons inside each other?
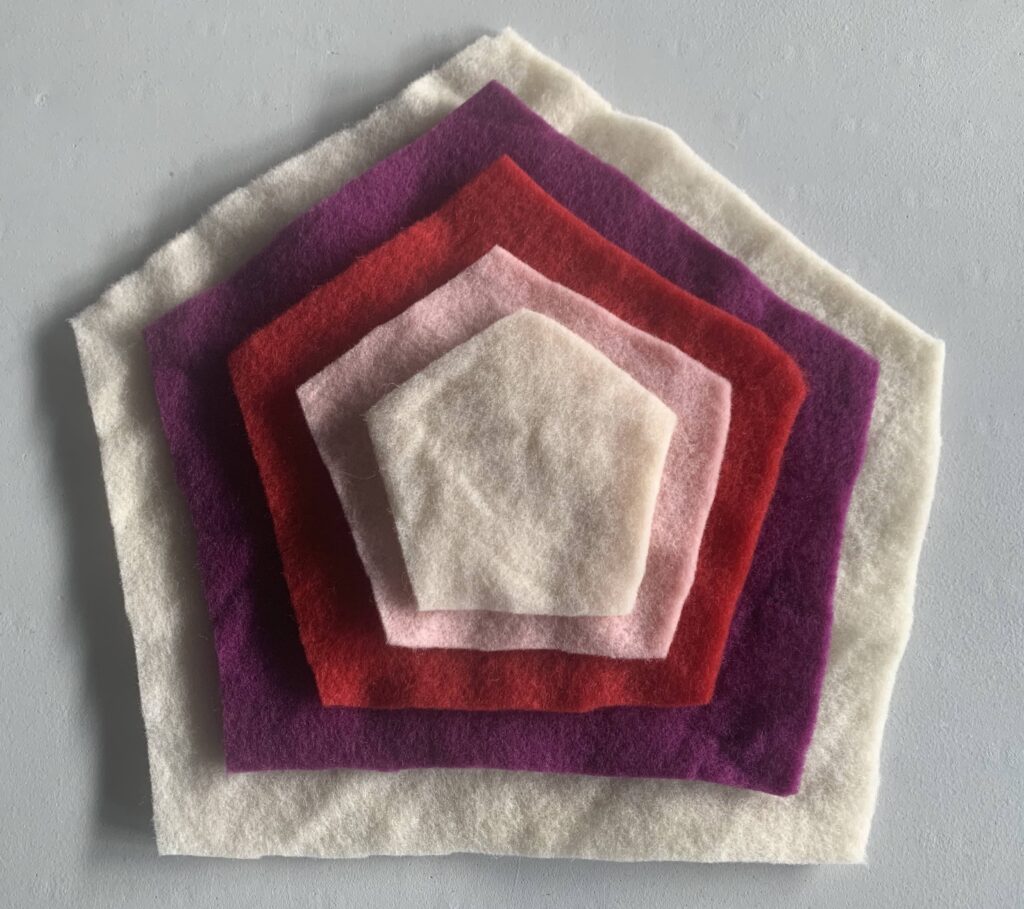
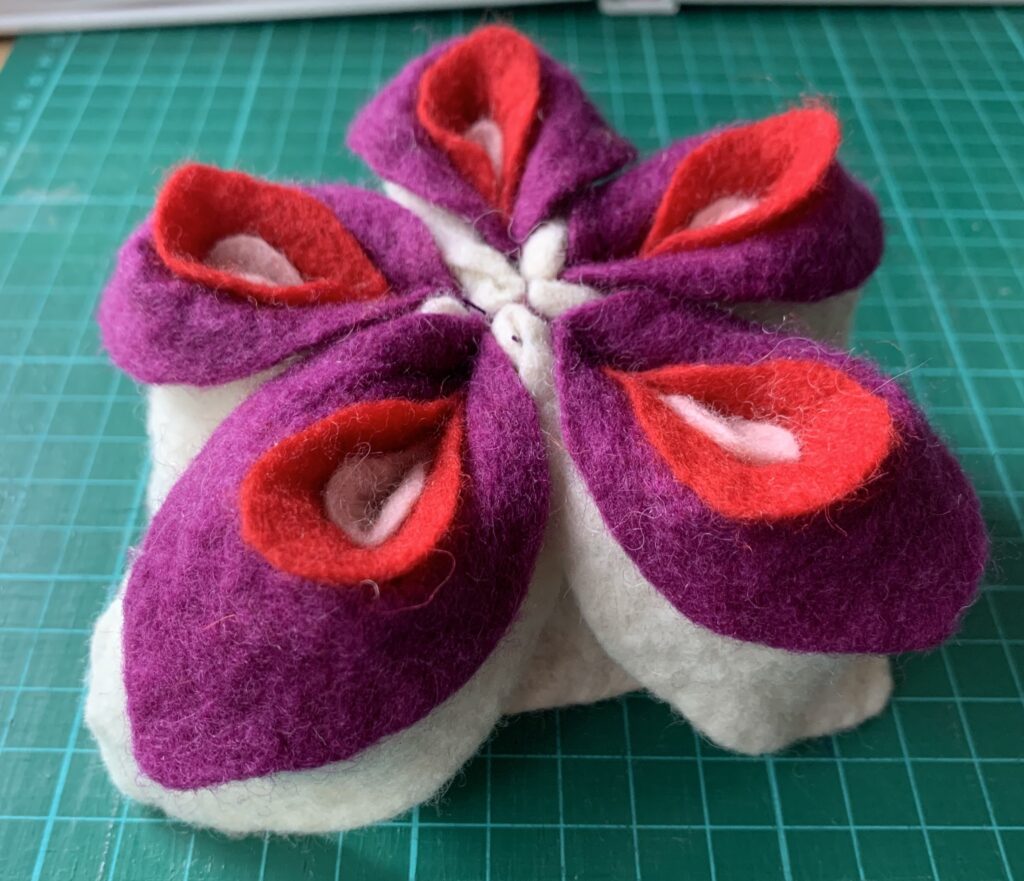
I felted each pentagon separately and then assembled them like a Russian doll, starting with the smallest in the centre, using loose stitches to hold the “petals” together.
Day 17
I took this book out at the library, it contains some interesting shapes but the instructions weren’t all that helpful, they seemed to be missing quite a few steps and while I love a puzzle, I’m afraid I just couldn’t figure most of the pieces out.
Kunihiko did introduce me to an interesting concept that rang true though – anti-origami. This is a branch of origami where you are allowed to use tools and even (heaven forbid) glue! Breaking a few rules sounds liberating and fun! 🙂
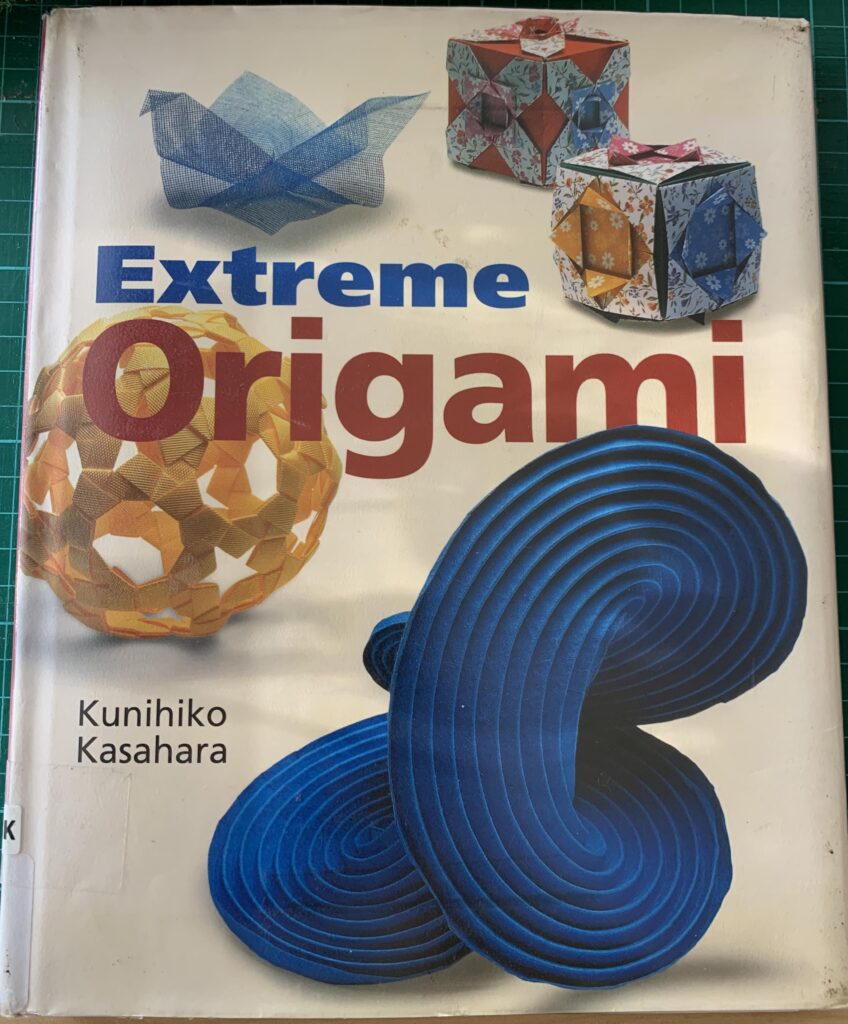
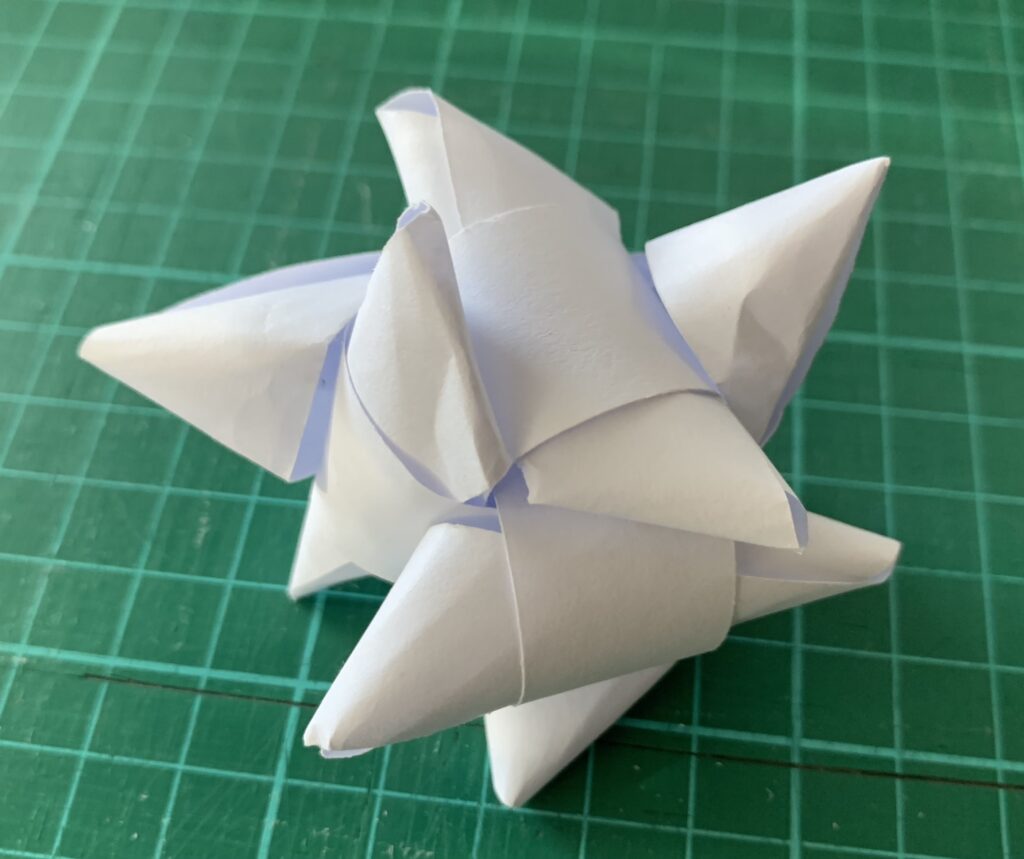
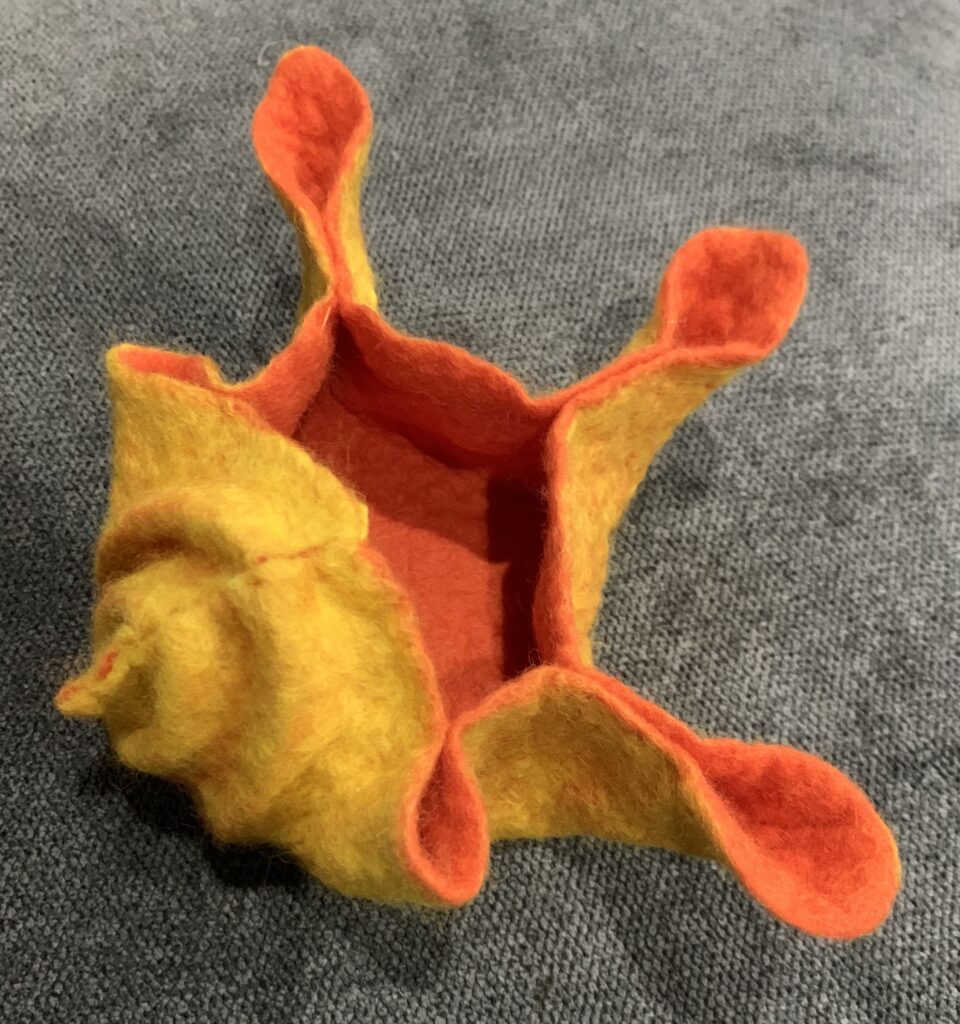
This was the first piece I tried to make from this book:
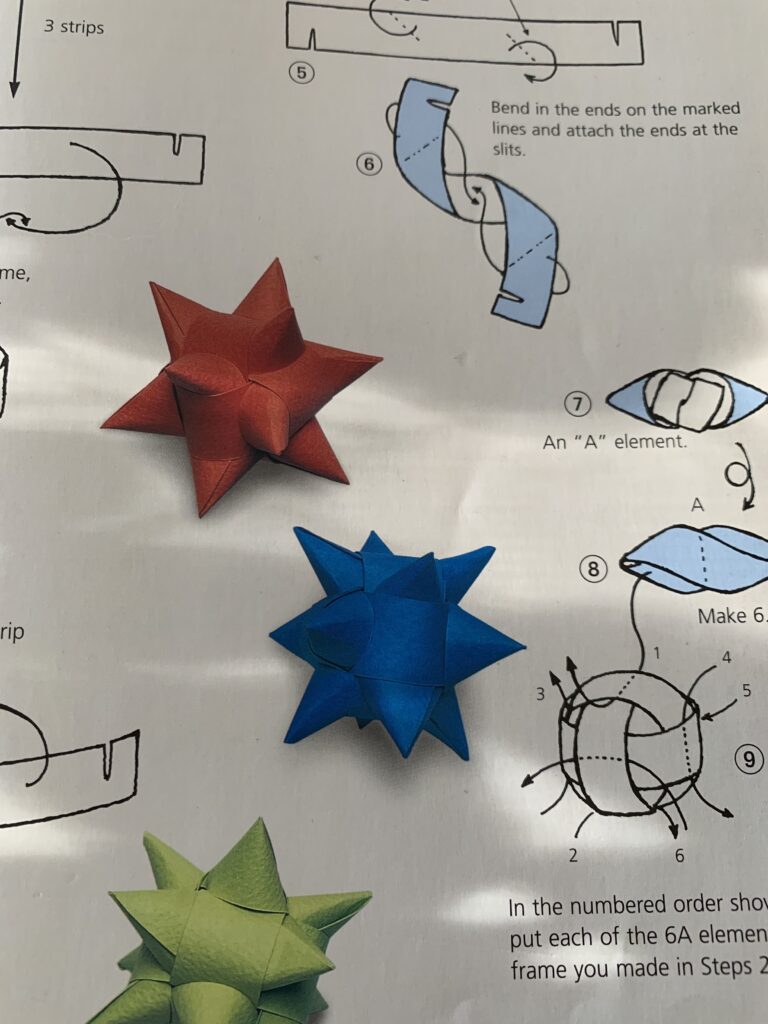
And (I’m ashamed to say) this is what I produced:
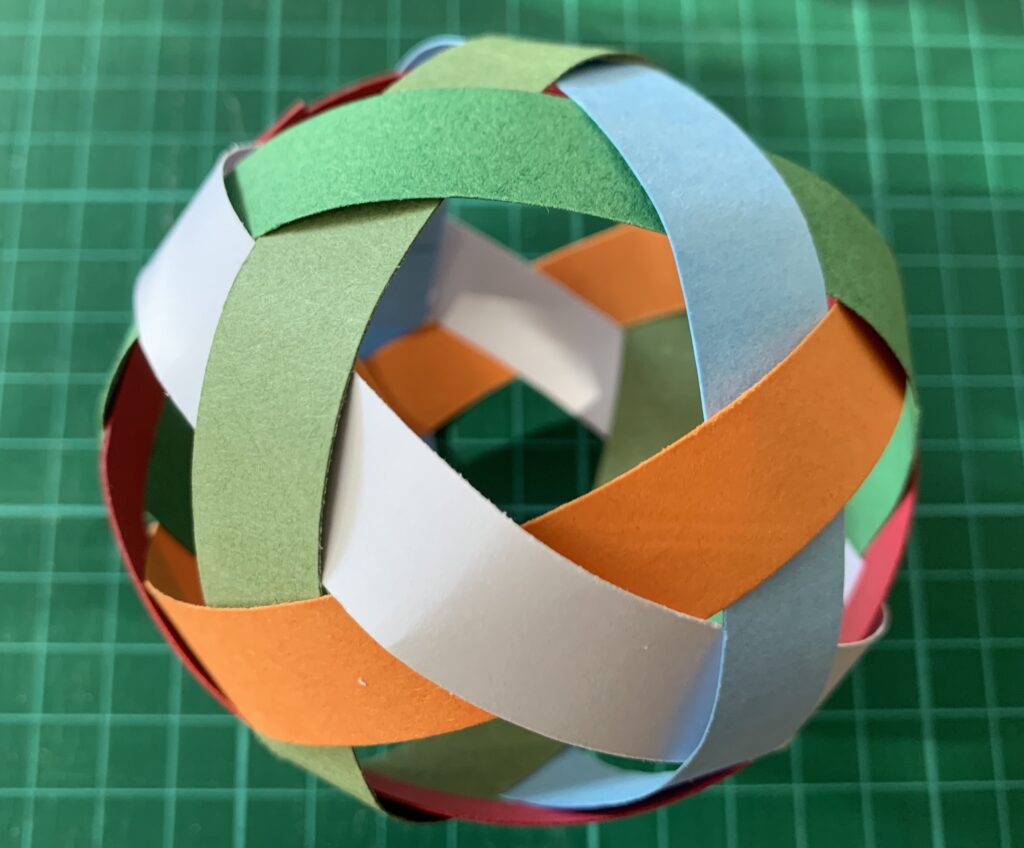
Moving swiftly on from my embarrassing fail I thought the Greek ball looked intriguing. After a couple of failed attempts using Kunihiko’s instructions I turned to Google for help.
Et Voila! How did we ever cope before the internet?!
Then I realised (after several hours of research and wrestling with paper strips) that neither of these projects met my challenge brief – To explore a different folded / pleated shape every day
However, I’m still intrigued by the challenge of trying to make a Greek ball in a seamless way in wet felt.
Going back to the pile of pentagons on my desk… I wondered what if I moved the semicircle folds so they sit over the points of the pentagon?
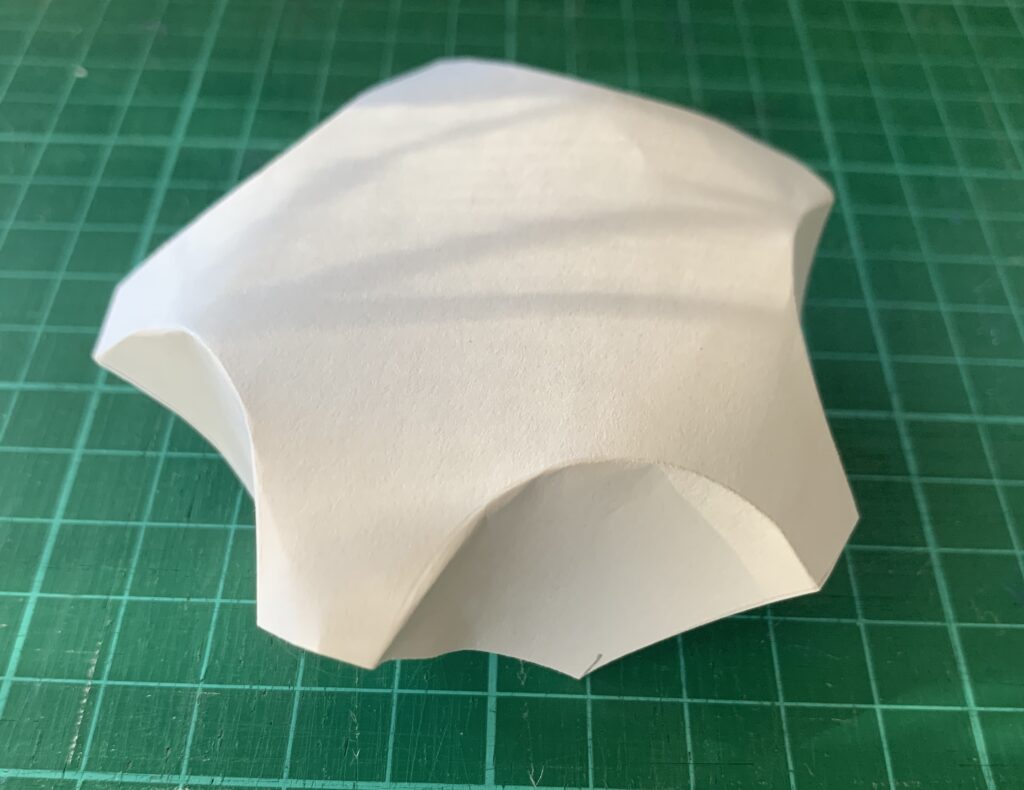
Admittedly, this way up it doesn’t look significantly different from the Day 11 pentagons.
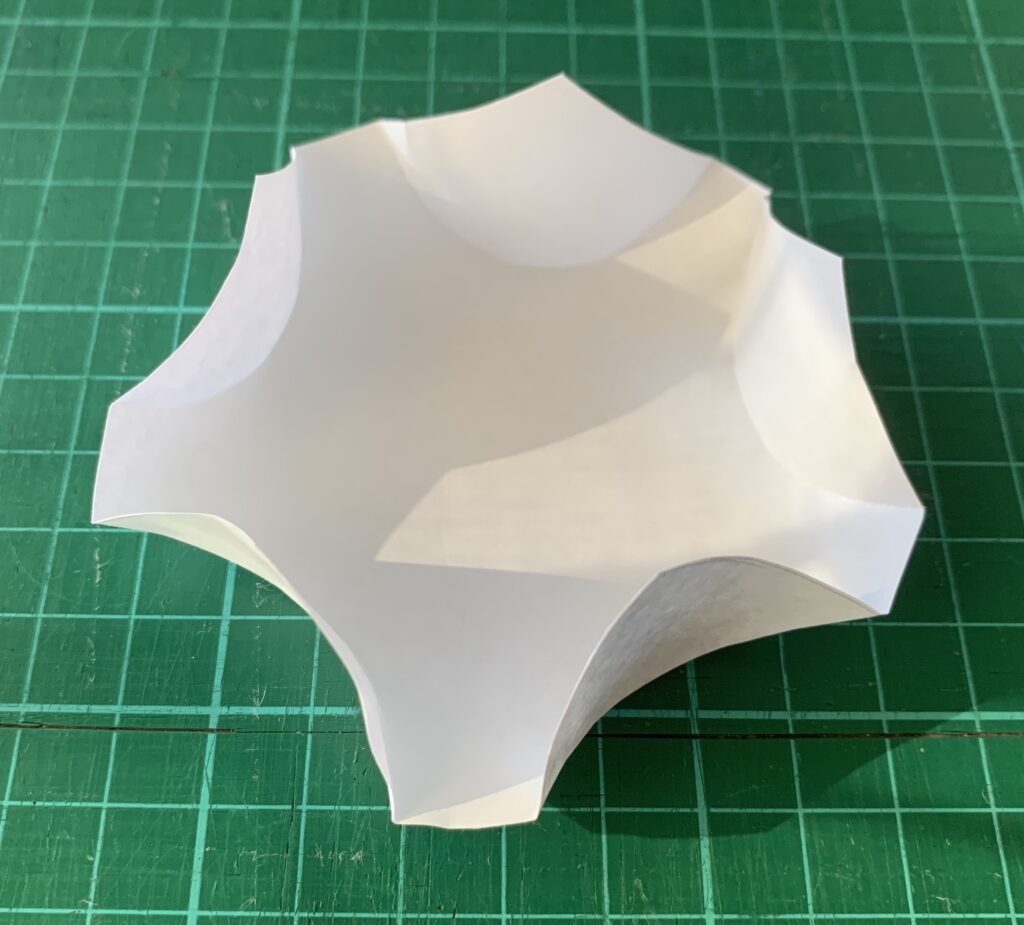
However, this way up you can see the points are more elevated. I’m undecided if this will be significant but I like this shape.
Day 18
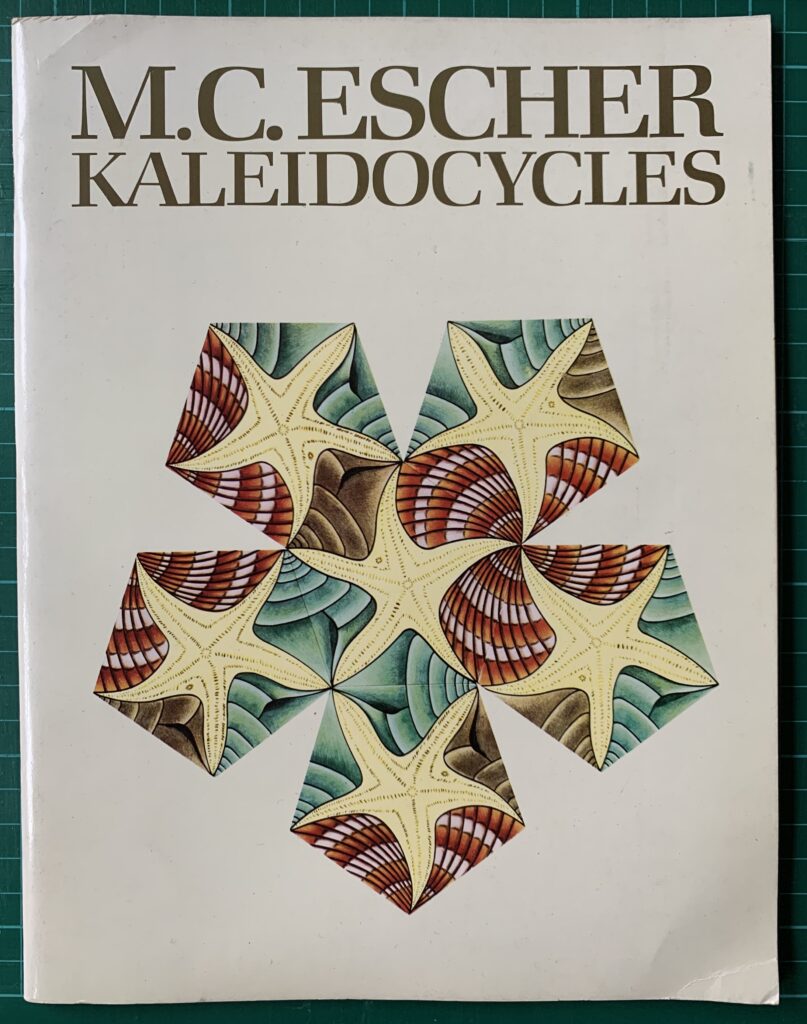
After my first blog post, Henny van Tussenbroek (an extremely talented and knowledgeable felt artist from the Netherlands whose name you might also recognise from her work with the IFA) got in touch. It turns out Andrea Noeske-Porada was not the inventor of the kaleidocylce, she was (one of?) the first to interpret Escher’s design into felt. This is Henny’s book.
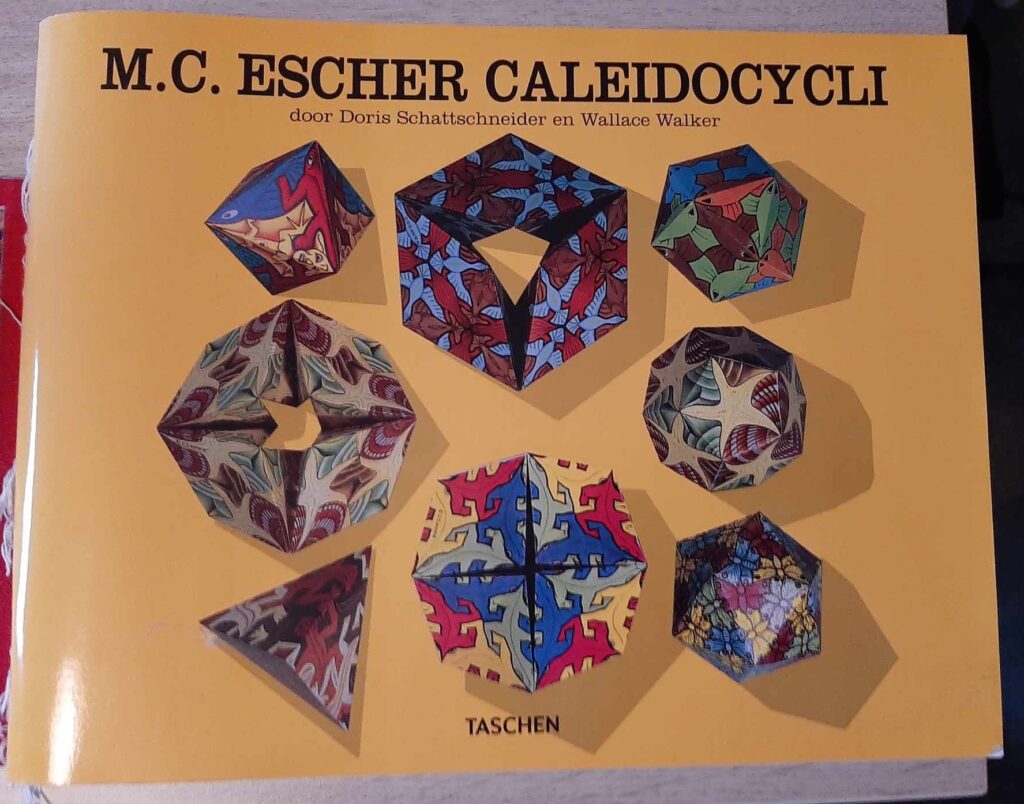
I searched online and discovered this book has been translated into several languages and has seen multiple editions. After feeling dismayed that all sellers were asking at least $100+P&P I was overjoyed to discover a copy for just $8NZ, I rather skeptically clicked the link expecting to discover a $100 P&P fee, but no, it really was in NZ and only $4 postage, I literally pounced on the “buy me” button!
It arrived this week and while it is quite a slim manuscript, it really packs a punch for its size. It is nearly 50 years old and it reminded me of reading a scientific journals with its formal style and constant references to Fig.X 🙂
It covers a variety of topics, including the all important plan for a kaleidocycle, but also several geometric forms, different shaped kaleidocyles and something I wasn’t expecting; considerations for repeating patterns to seamlessly decorate them too.
Escher died before I was born but he sounds like a really interesting person – this book describes how he created a space where art met mathematics and geometry and how he coaxed them to become entwined to mind-boggling effect.
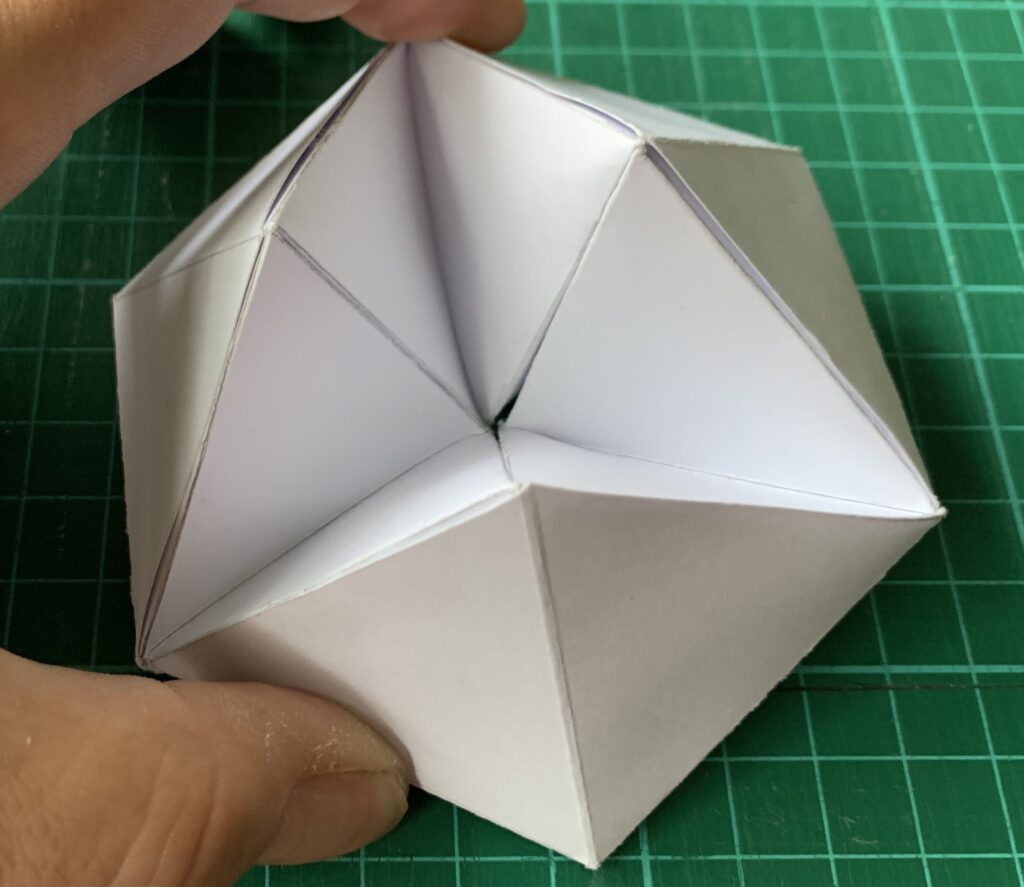
I thought I would attempt one of the “simpler” patterns first – an icosohedron (a hollow form with 20 triangular faces):
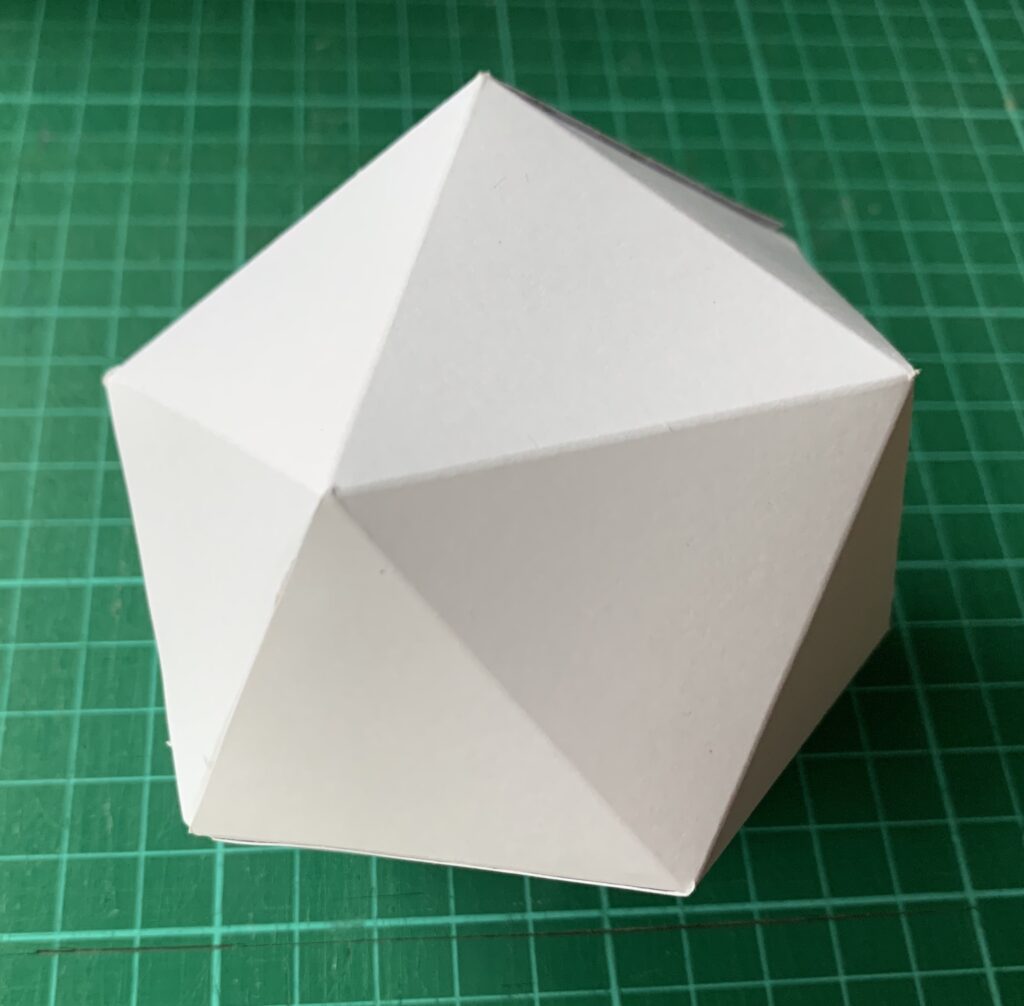
I now have an internal conflict…. part of me says this form should be easy to recreate in felt using a book resist but as I turn the shape over and over in my hand looking at how the angles of each face change the inner engineer still needs to be convinced….
I need to let this idea percolate for a while.
Day 19
I thought I would try one of Escher’s “proper” Kaleidocycles from a pattern in the book, this is the hexagonal kaleidocycle:

I was a little surprised to find it would not turn / rotate like my felted version does, this is as far as it will go before it feels like the card will tear:
Looking more closely at my felted version I see it has 14 segments compared 6 segments in this card version, I’m not sure it that is why it doesn’t turn or if it is due to the rigidity of the card compared the much more flexible felt? I predict a much larger card version is coming….
Day 20
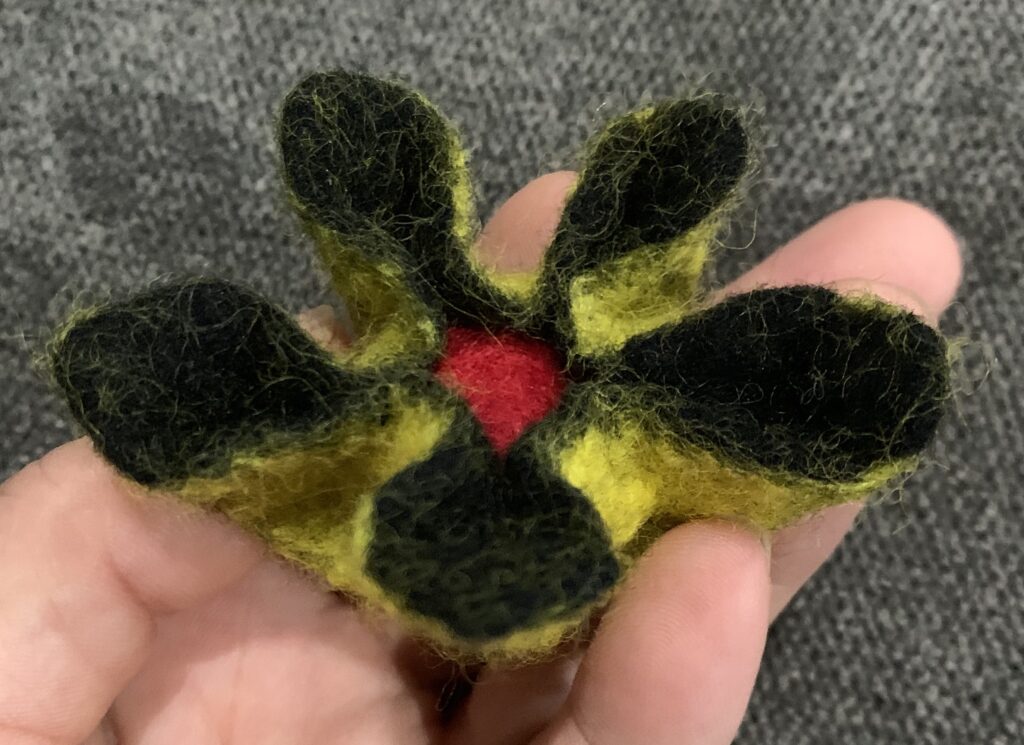
I revisited a couple of felt pieces, wanting to play with them a little more… Adding a felted ball and a few stitches to the Day 14 pentagon:
Day 21
Adding some stitches to the pentagon with curved pleats from Day 15.
I am thrilled to have discovered your blog and the 30 day Folding Challenge in particular Terri! I have only been wet felting for a few years and my learning has been from on-line classes and a few books.
I have been trying to figure out how to create a kaliedocycle in felt for a couple of years. I bought the M C Escher Kaliedocycle book many years ago when my children were young and have remained fascinated by them. I still have the book but most of the models are long gone. I am unfamiliar with the work of Andrea Noeske-Porada and will do a search for her work and classes.
I struggle with visual-spatial concepts…still trying to figure out how to make a felt cube…but your video of a felted kaleidoscope proves that the concept is possible!
I have just begun to explore your generous tutorials and could not resist the Vessel with lid and feet on your Etsy shop. I’m in the thick of garden clean up and planting here in Canada but I will post a picture and review in a few weeks. Thanks for all the inspiration.
Hi Sharon, thank you for reading my blog and buying one of my tutorials. You are the reason I get out of bed each morning. I would love to see your vessels if you are happy to share 🙂
For the felt cube, you can see the template near the end of this tutorial https://www.teriberry.com/book-resist-tutorial/
I think most of us struggle with the leap from 2D to 3D, I have been known to spend hours folding, twisting and taping pieces of paper trying to figure out the 2D resist for a specific structure. Keep playing and don’t be afraid to let your felt take you to destinations you hadn’t anticipated!
Thanks for pointing me to your resist tutorial Teri. It is very comprehensive and has given me lots of ideas. I plan to try cube one next week even though I can’t quite visualize it.
My great news is you inspired me to pursue Andrea Noeske-Porda to the ends of the internet and to make a few paper kaleidocycles. Looks like workshops with her are rare and beyond my reach. But along with the pictures of her work and your resist tutorial fresh in my mind I woke up a few days ago with a clear vision of how to make one. A rain day kept me out of the garden and my 7 -sided felt kaleidoscope is folded now and very slowly drying.
I’m slowly working my way through older posts on your blog and reading your wonderful tutorials. Thanks for some great info and reading!
Congratulations on figuring out the kaleidocycle, it took me several attempts to figure out how to assemble my first one but the challenge makes it all the more rewarding when it finally comes together doesn’t it?! 🙂
The cube is pretty simple once you remove the resist and tug at the corners, it naturally wants to make a close approximation of a cube. I’m sure you figured this out already but that resist is just 4 pages (2 sheets of plastic).