Fiber Etch has been around for at least 15 years but I only discovered it a few weeks ago when I came across a second hand copy of this book:
The book was published in 2000 but a lot of the garments look like they were made in the 80’s, big square jackets and more geometric shapes thank I could shake a stick at. It was quite entertaining just to look at the photos but I found the book quite predictable in the ideas it presented. Almost none of it could easily be translated to felt or nuno/laminates which is where I thought I would try to use it. The most useful part of this book is a table listing which threads would or would not dissolve when Fiber Etch is applied. Almost everything else you could find in the instructions that come with the Fiber Etch product.
Anyway, enough with the book bashing….
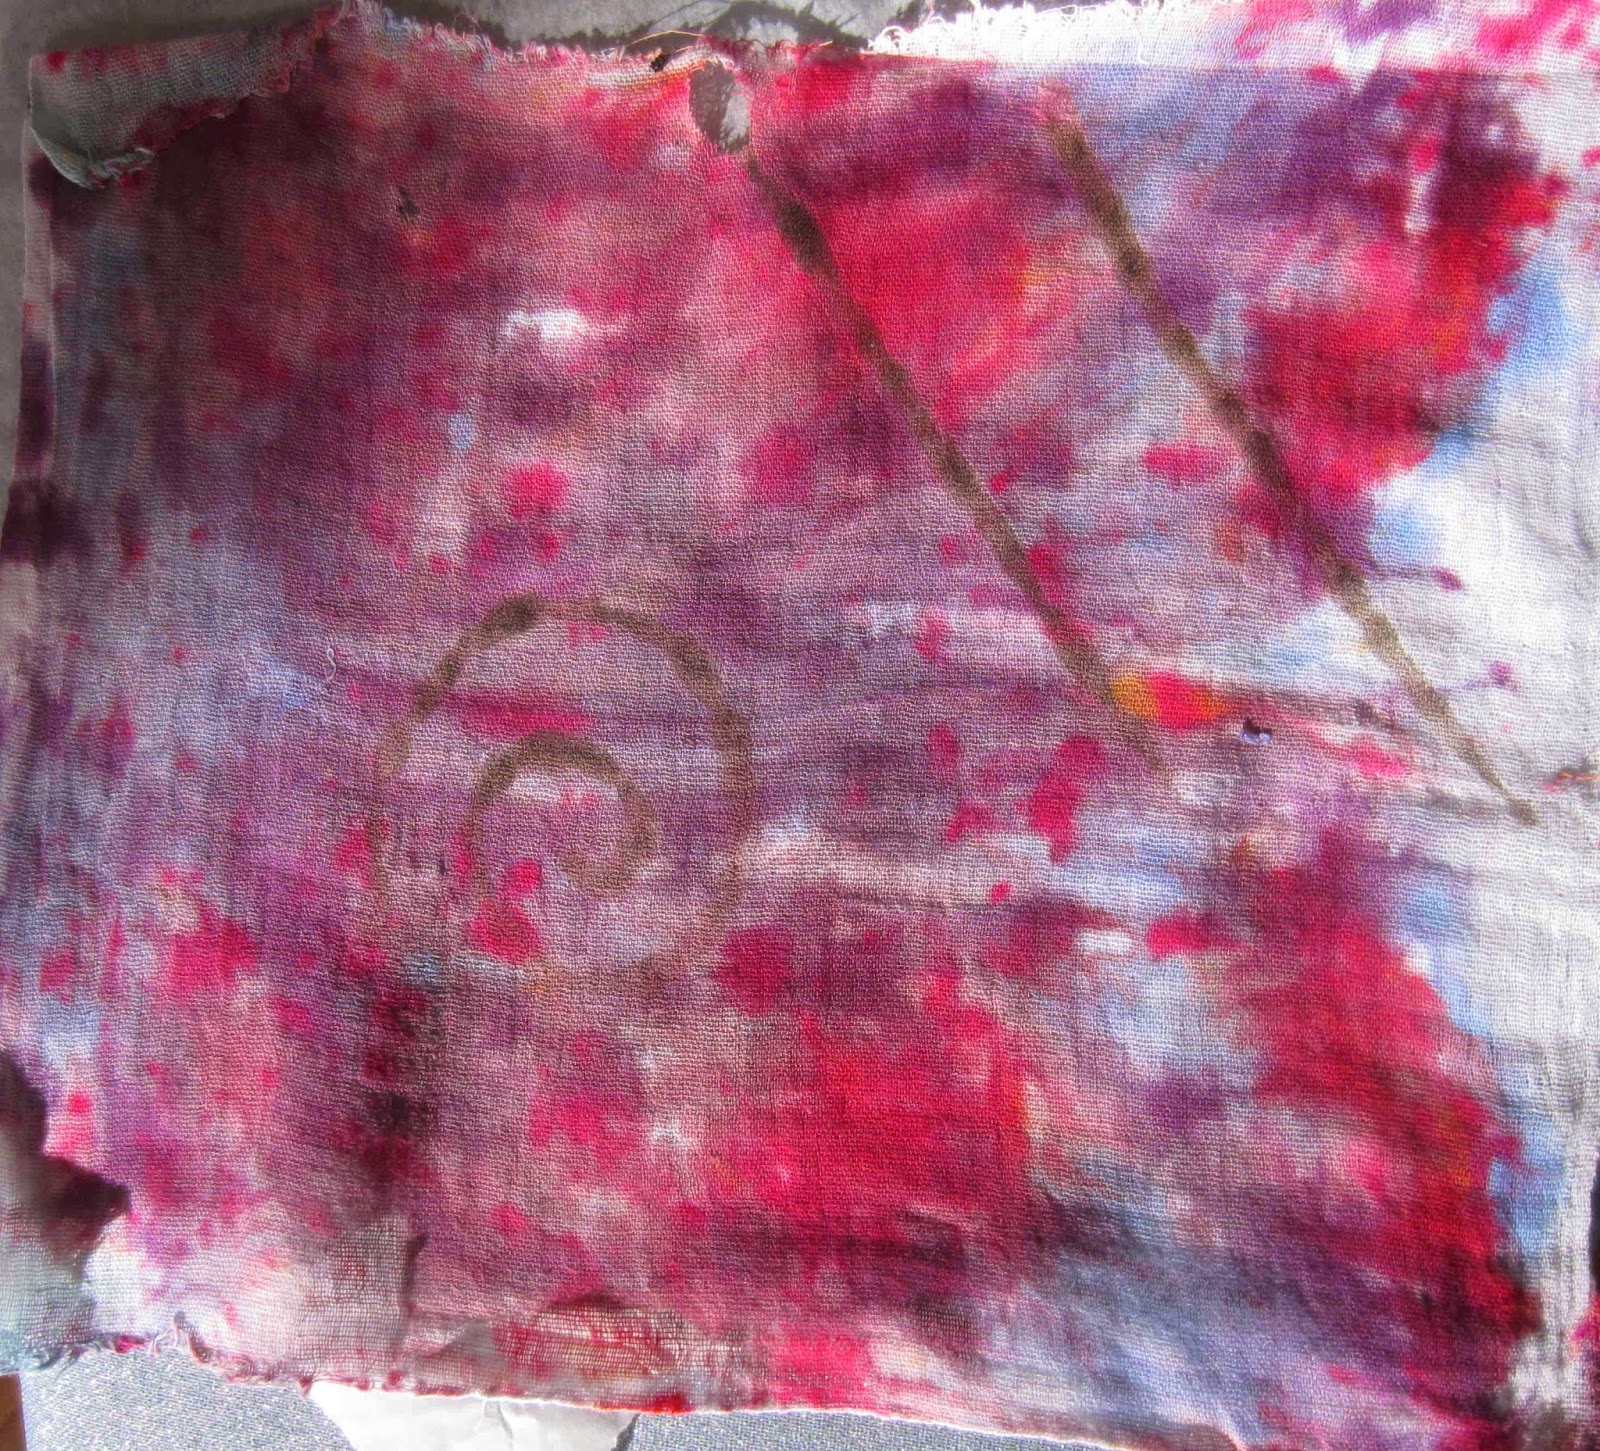
For those not familiar with this product the principle of Fibre Etch is that it is a gel that will degrade any plant based fabrics (i.e. cottons, rayon, linens etc.) but will not etch animal based fabrics such as wool and silk. I had ideas of using this with cotton muslin / scrim – felt laminates; using the Fiber Etch to erode areas of the cotton to reveal the differently coloured wool beneath.
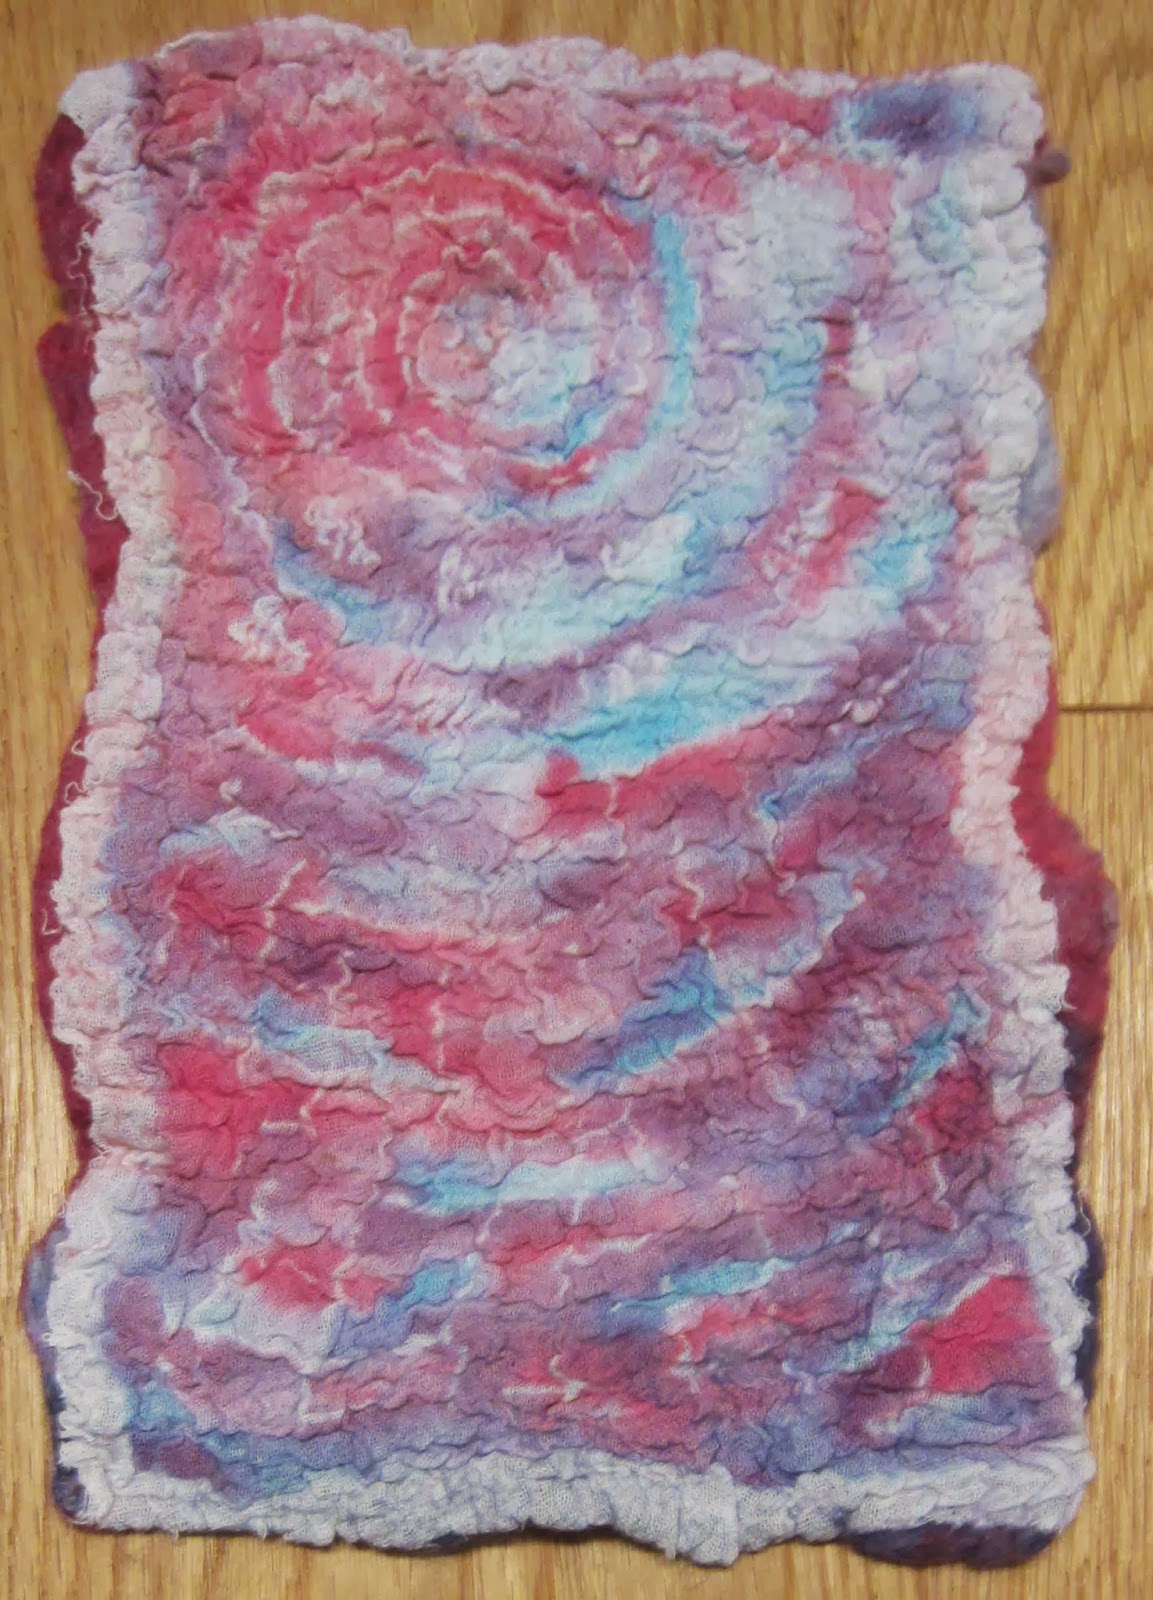
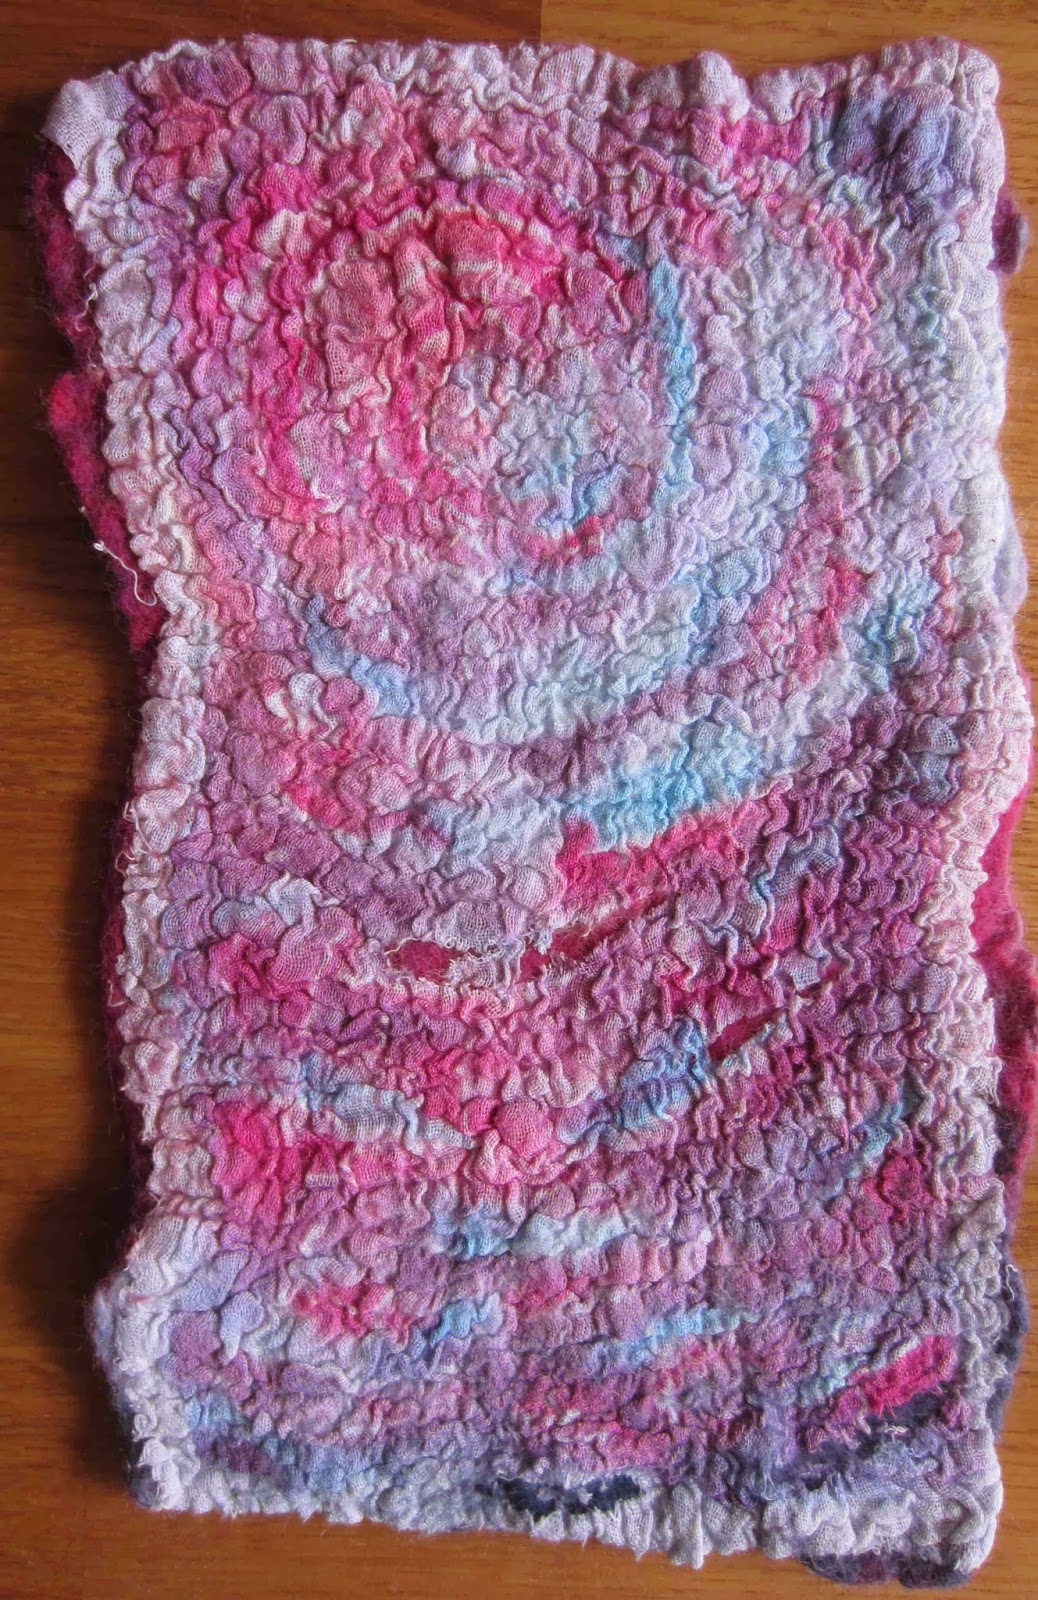
My initial attempt was on some pieces that had already been laminated, this is what they looked like before applying the fibre etch, the top one is muslin, the bottom one scrim:
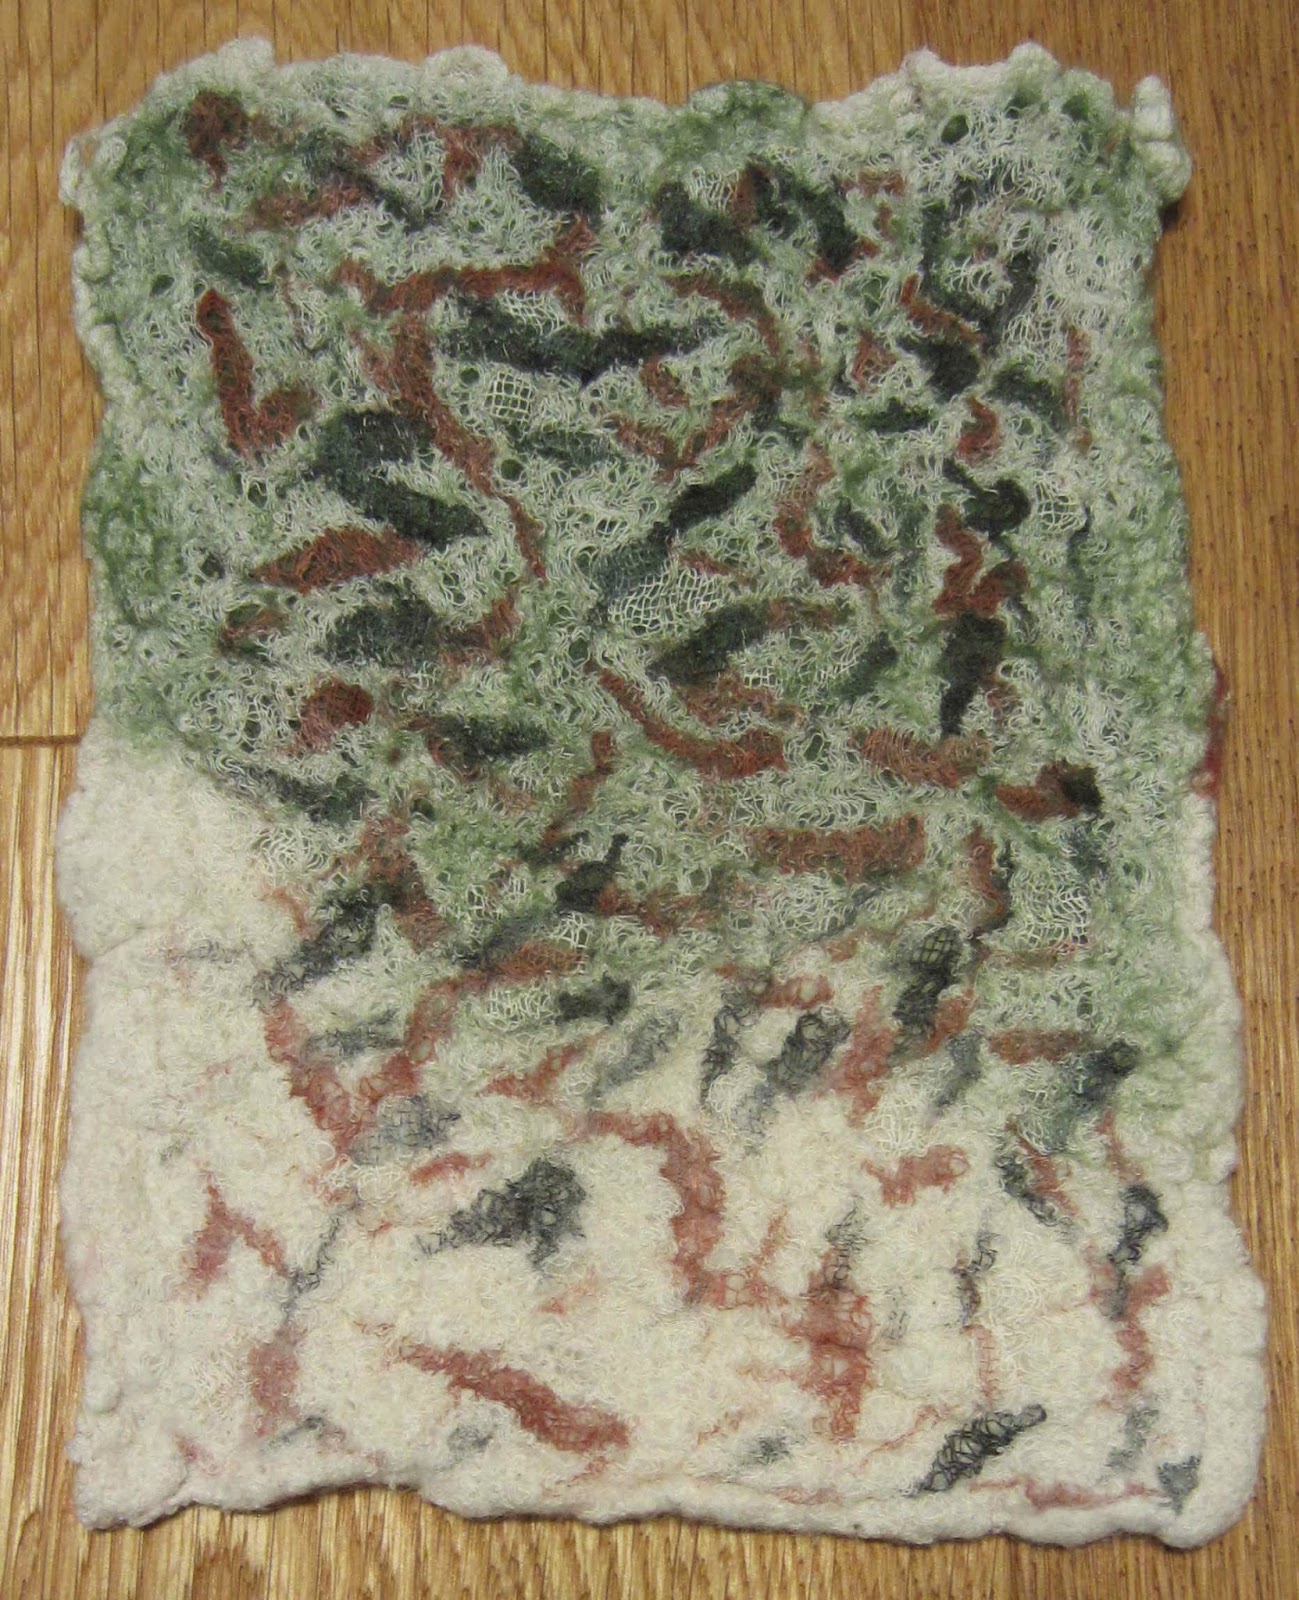
And after the fibre etch had been washed out, it’s not easy to see where it was applied!
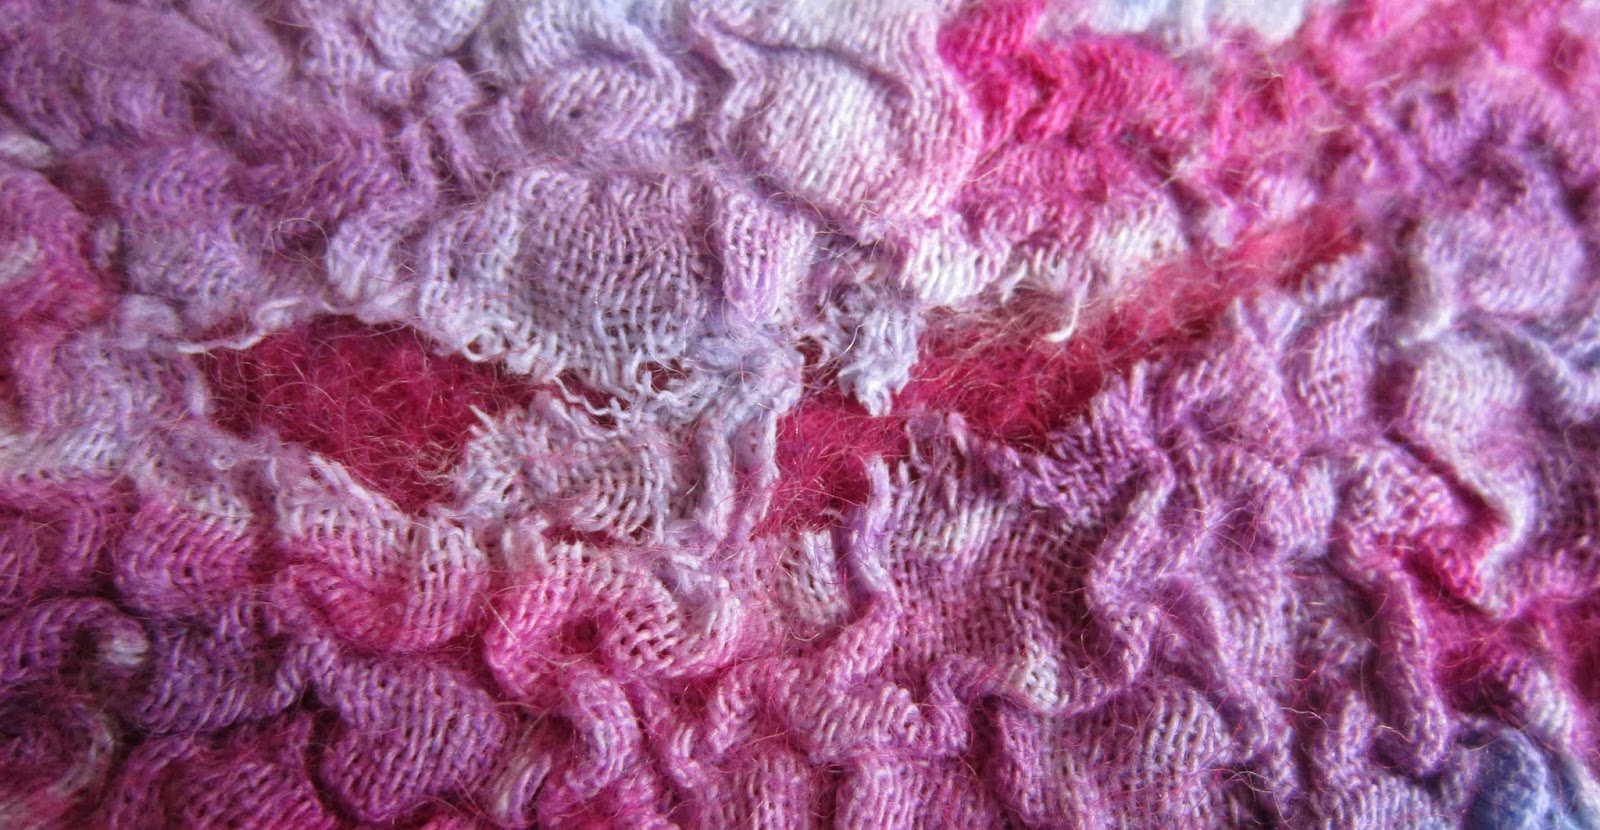
Here is a close up of the scrim:
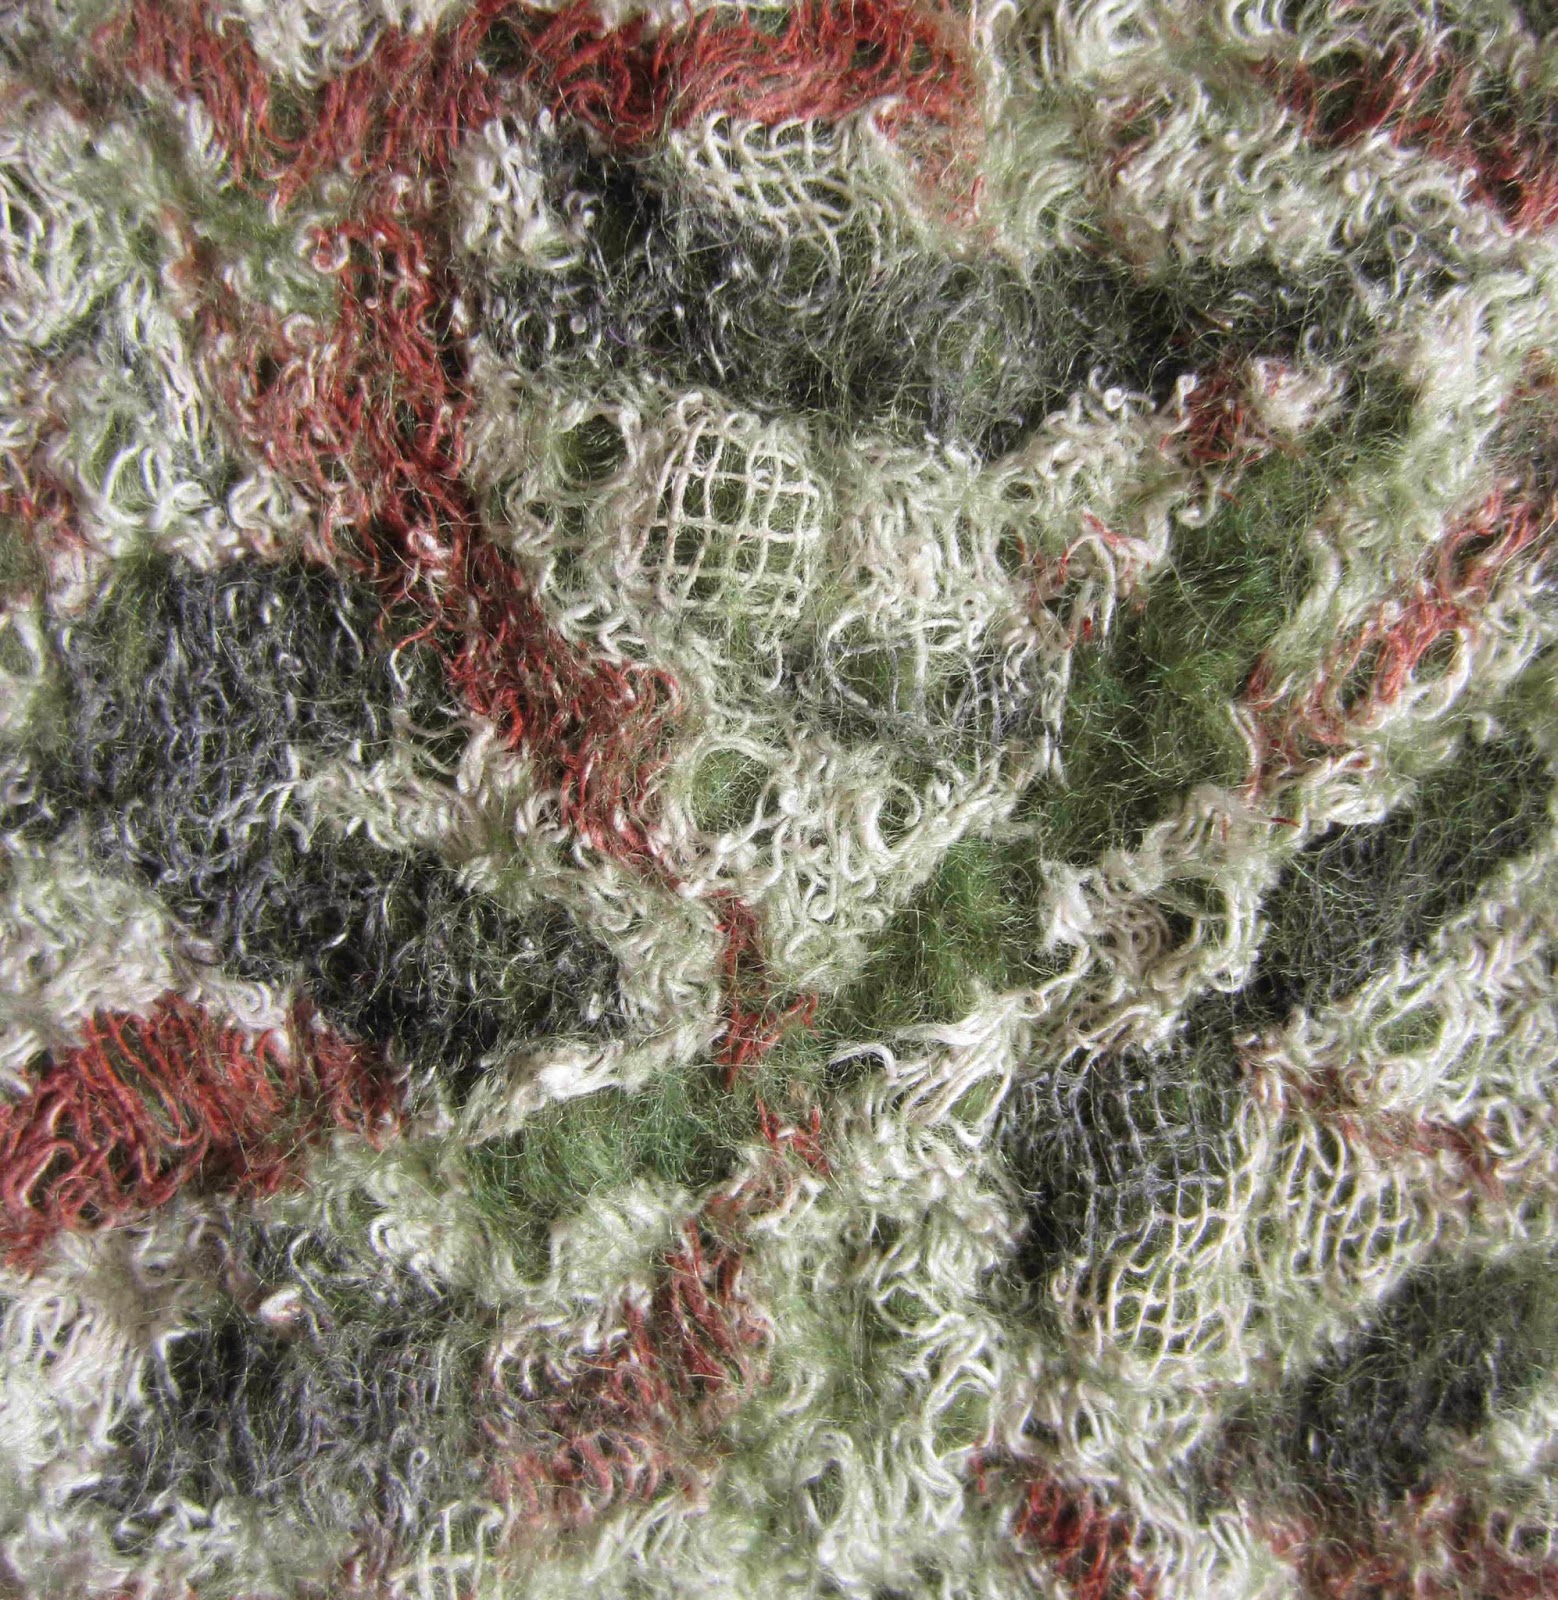
And some more close-ups, you can see how the edges of the cotton are fraying but I expect they will not fray much further as the wools is gripping it well. I think the frayed edges are attractive in a rustic sort of way but I’m not sure what buyers would make of garments that looked like this?
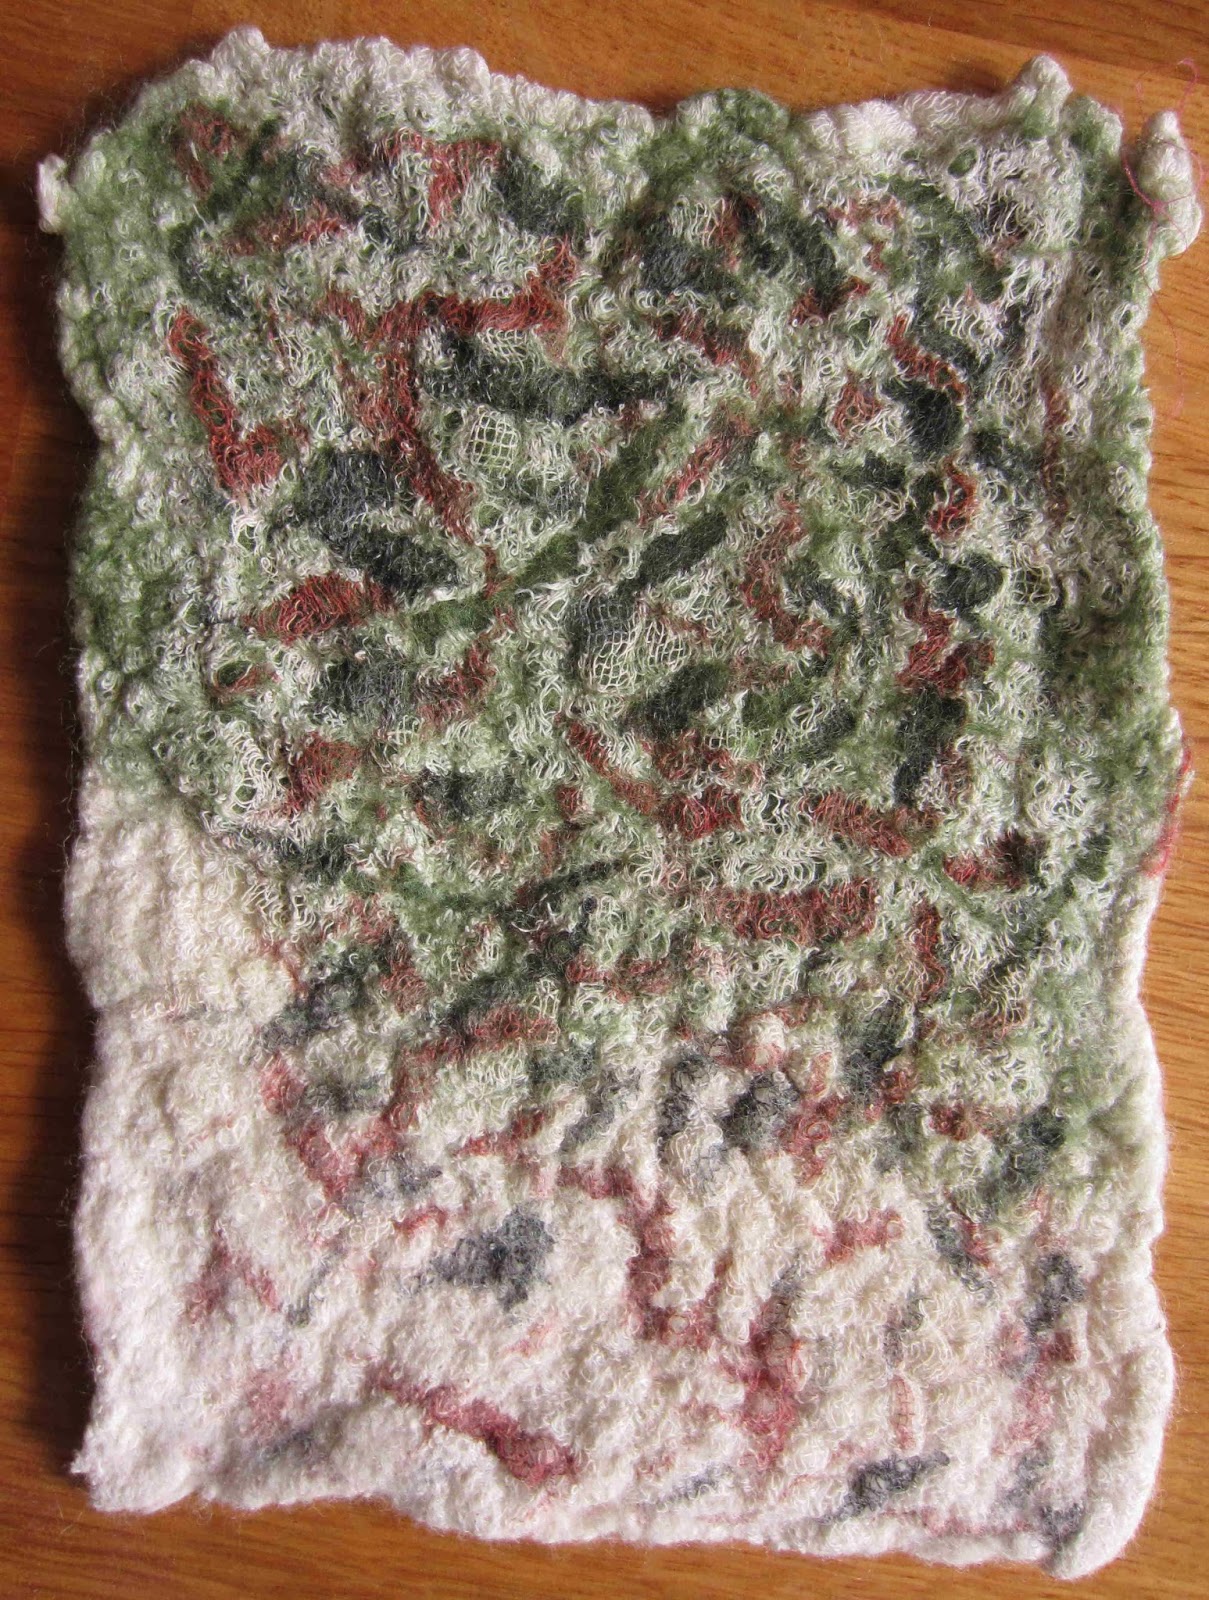
These aren’t exactly the mind-blowing, artistic revelation I had envisioned but it did what it said it would and removed (most of) the cotton where I had applied it:
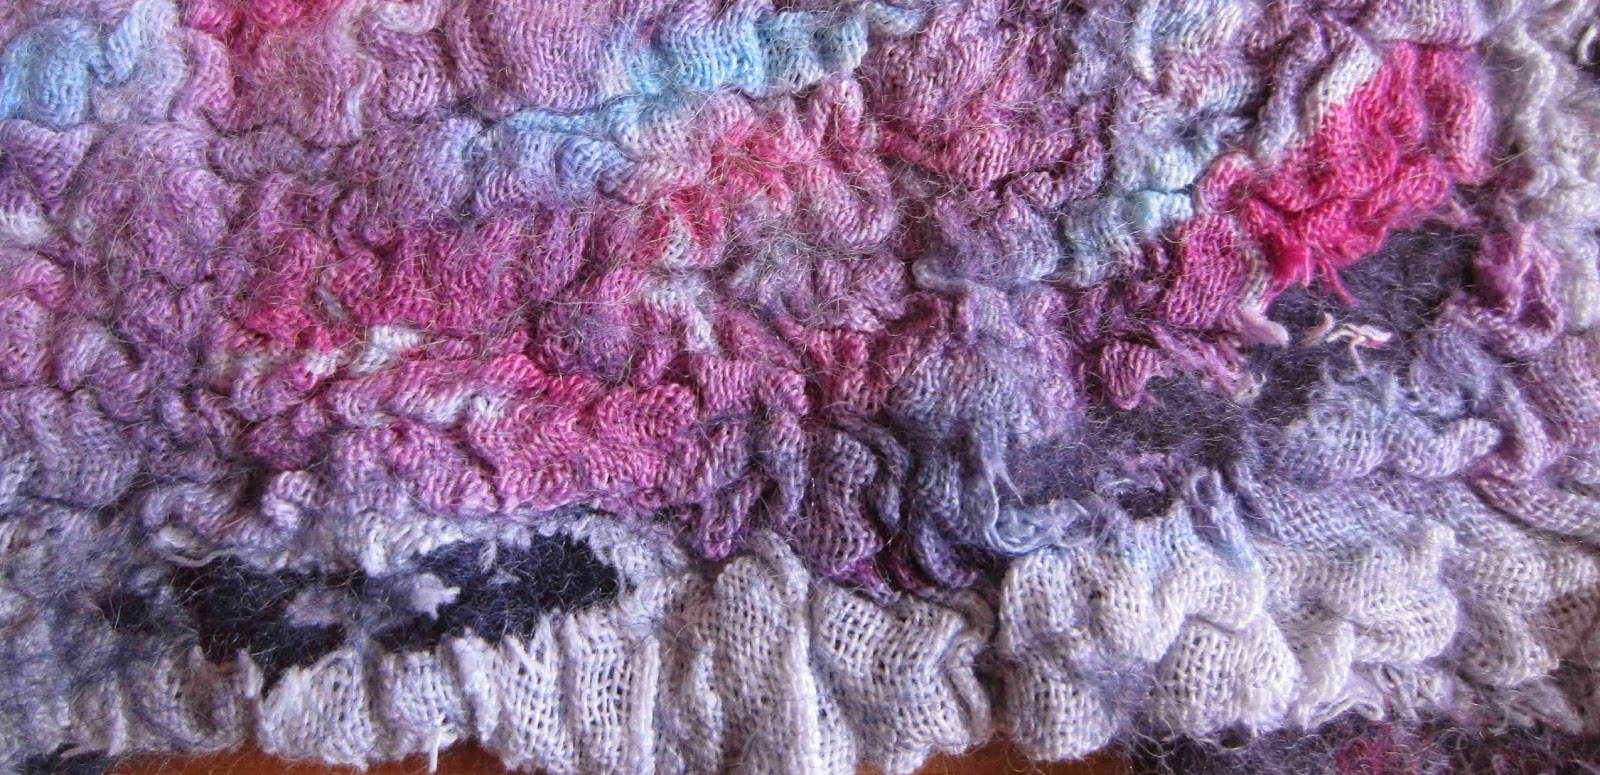
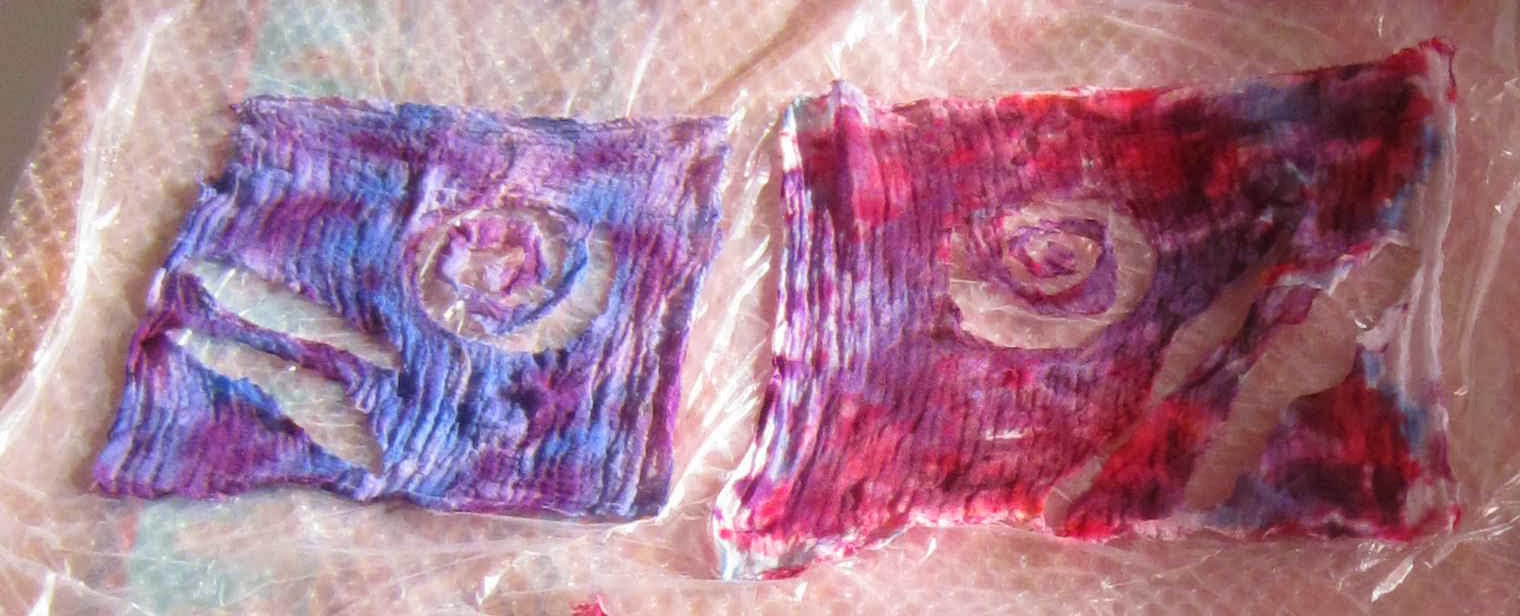
Next I tried using the Fiber Etch before laying out the wool, once the eroded areas has been washed away the fabric was tricky to handle, this is what it looked like after applying the Fiber Etch and ironing. It is peculiar stuff as the fabric becomes brittle bits start breaking off before you can get to the sink…
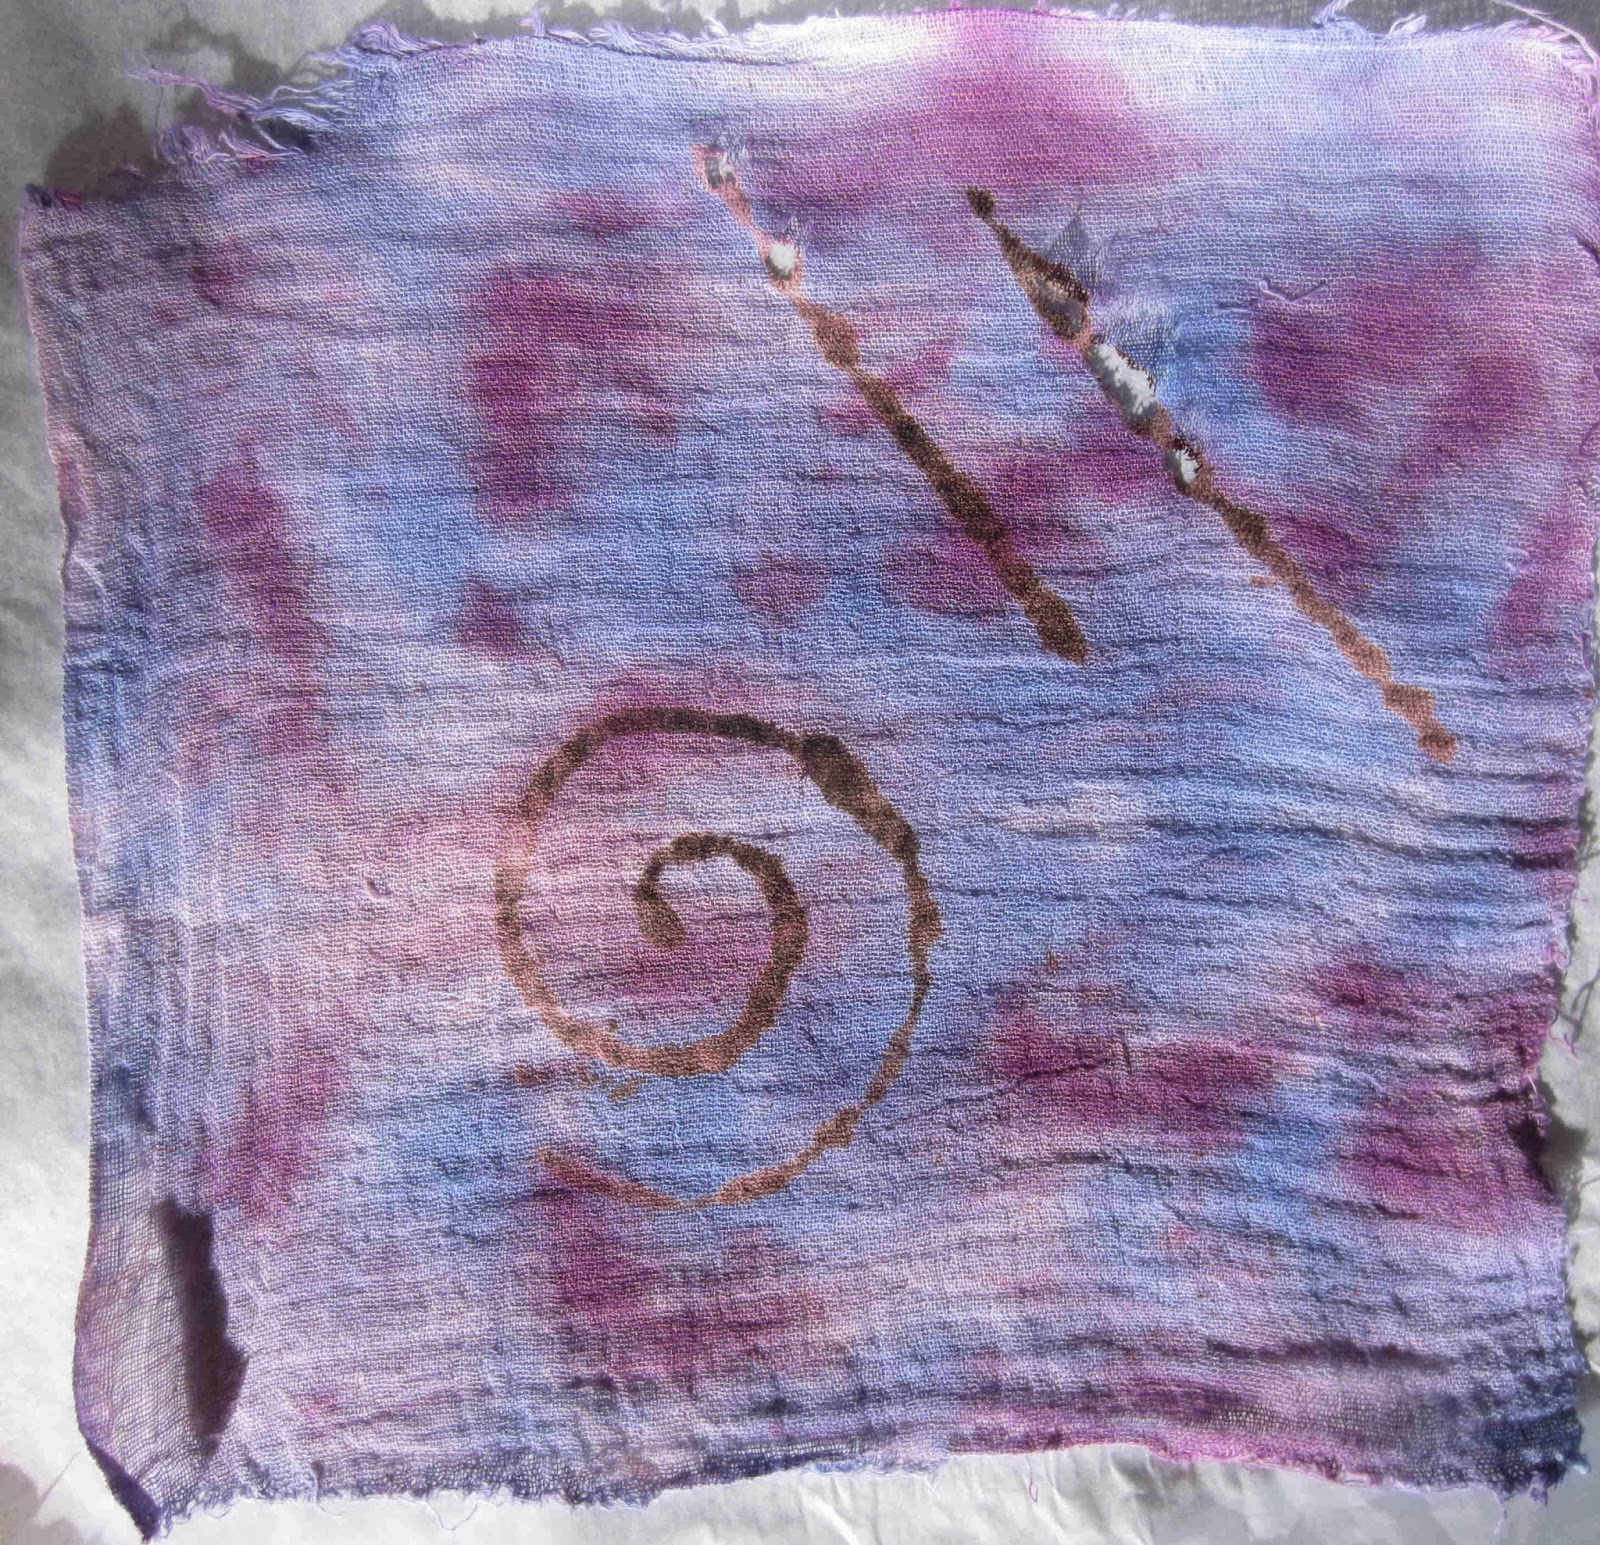
And after rinsing under running water:
After felting:
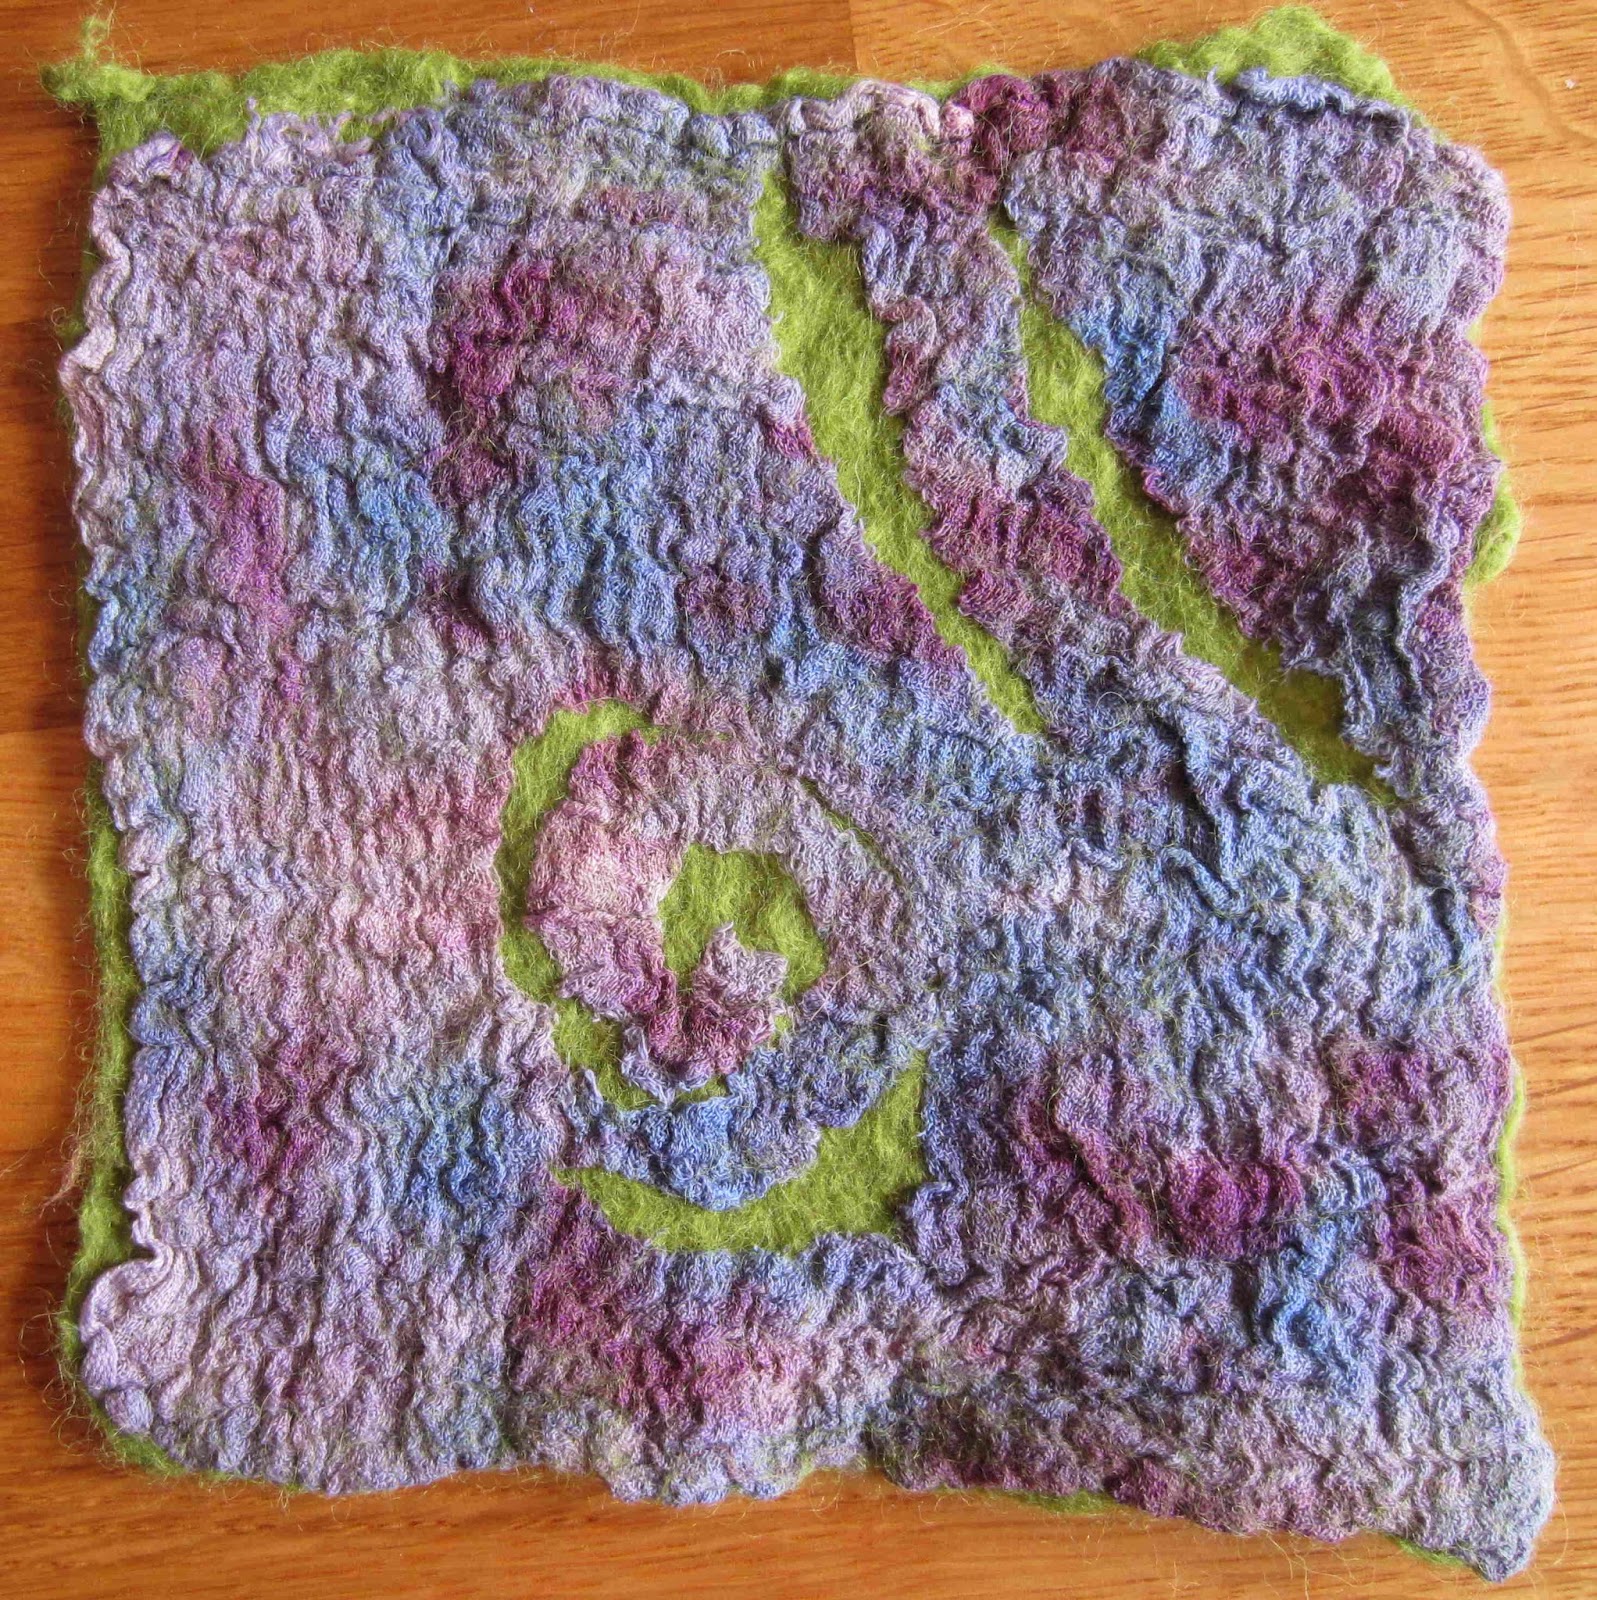
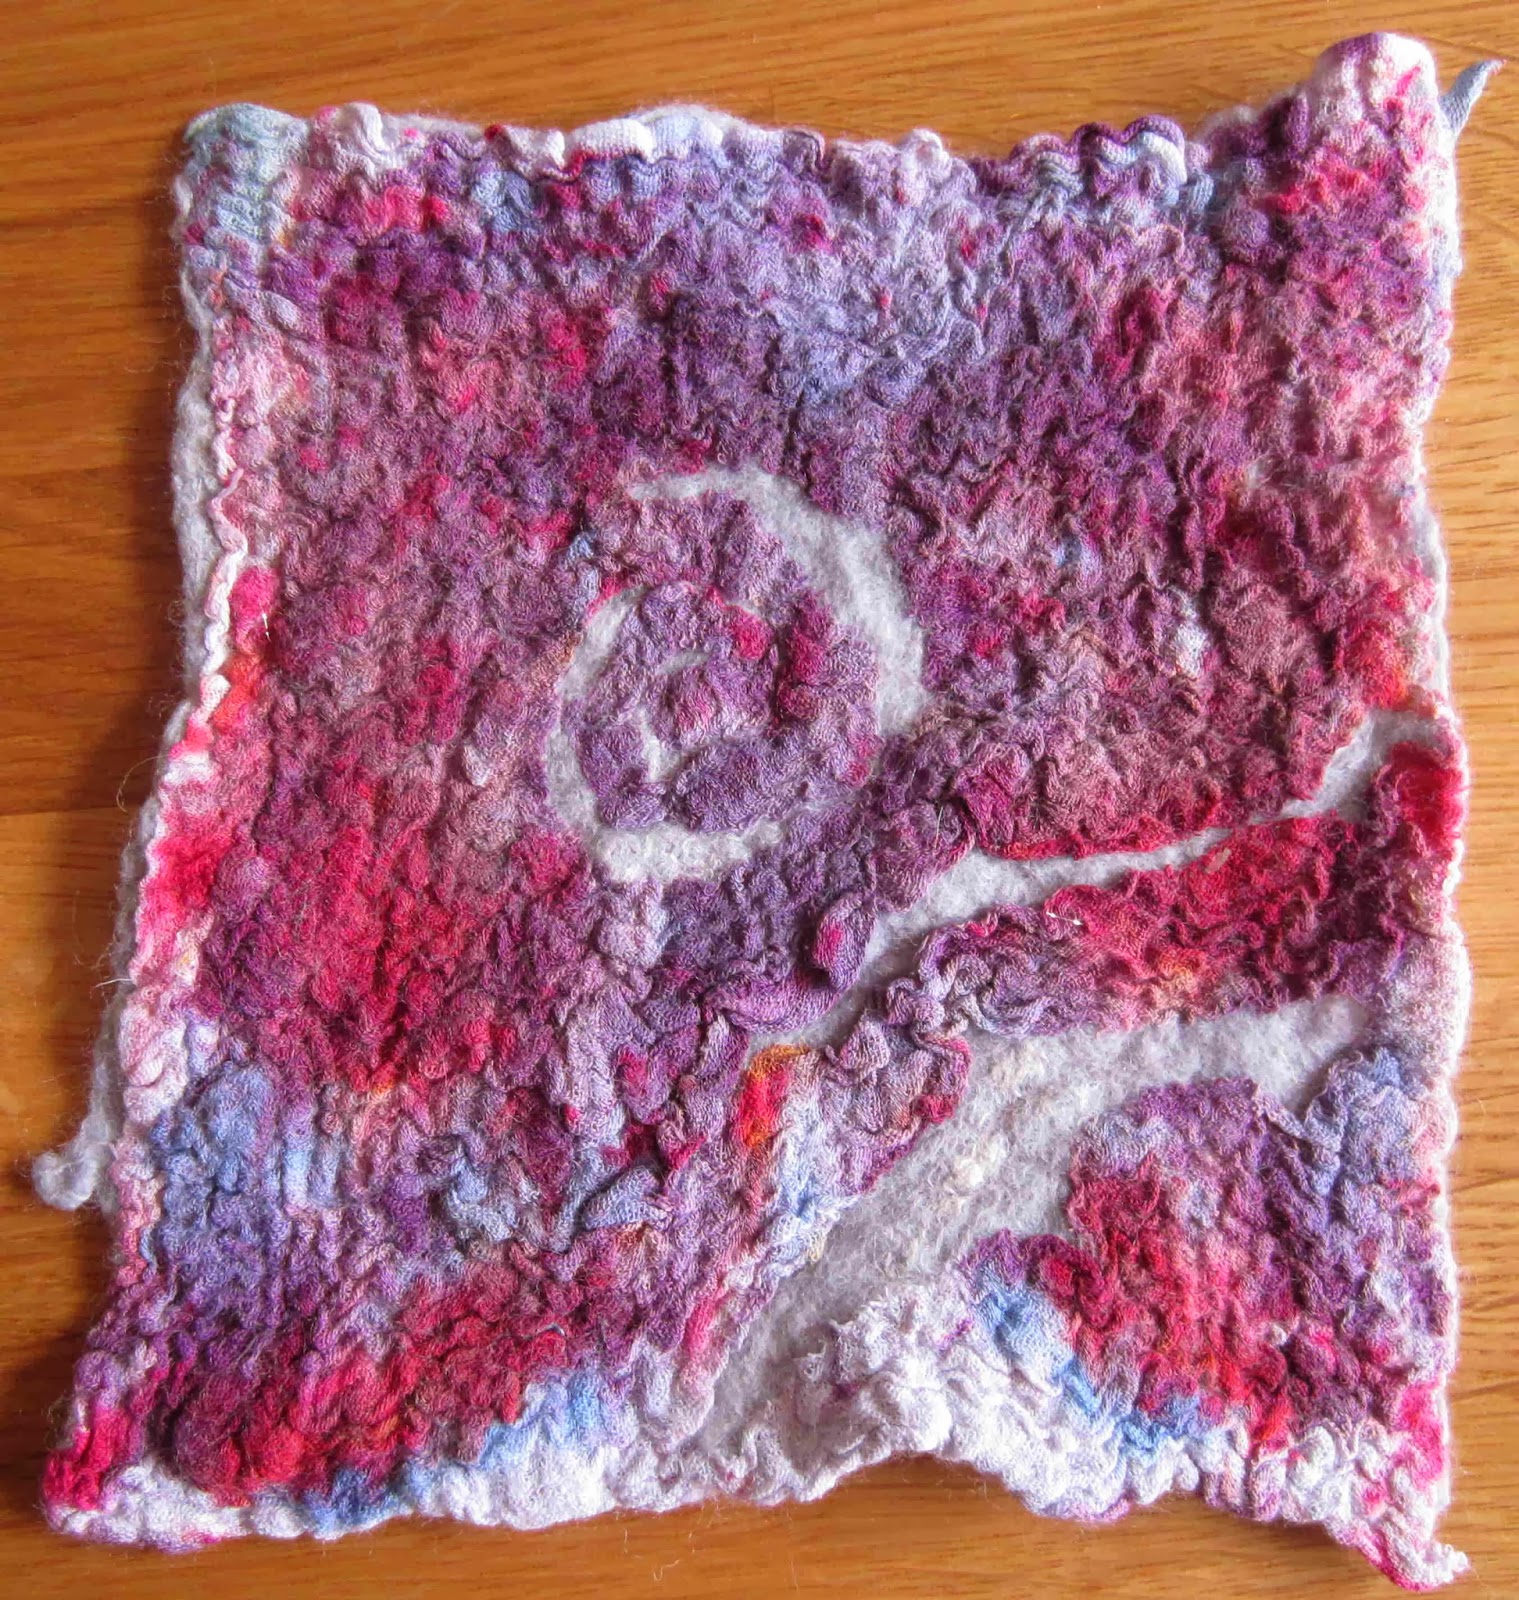
Although the edges of the cotton were starting to fray after the Fiber Etch had been washed out, they became neatly buried in the wool during felting.
I used cotton muslin for this and found it difficult to handle when wet and full of holes, I expect cotton scrim would be even harder to handle.
I think applying the Fibre Etch to the laminated fabrics was the most practical and would allow for shapes entire shapes such as squares and circles to be drawn with out the centre falling out.
Have you used Fiber Etch with feling? I would love to hear about what you did and how you used it.