Sitting here, collapsed in an exhausted heap in front of my computer I find myself wondering if organising a group exhibition is a bit like giving birth? All the weeks of late nights, stress and anxiety are quickly forgotten the day the exhibition opens and 6 months later you’re thinking… “Shall we have another one?”
The Auckland Felters 2026 exhibition is now in the final stages of labour, and this time we have midwife (curator) helping us with the delivery. Working with a curator (Matthew) and his installation team has been a new experience for me. In some ways it’s a relief, not worrying about which pieces look good together or figuring out how to hang some of the less conventional creations but the flip side is that we have little control over which pieces get selected and how they are presented. For a control freak, this is very unnerving! 🙂
A new piece for the exhibition
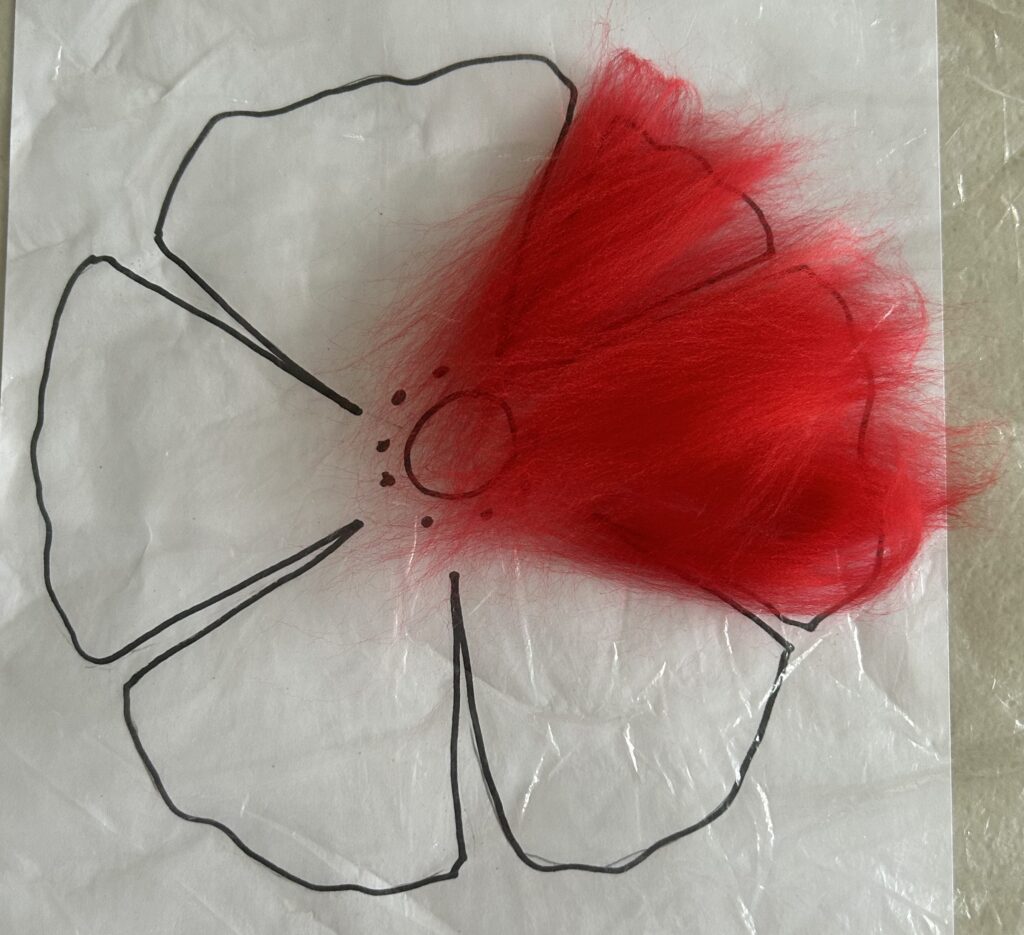
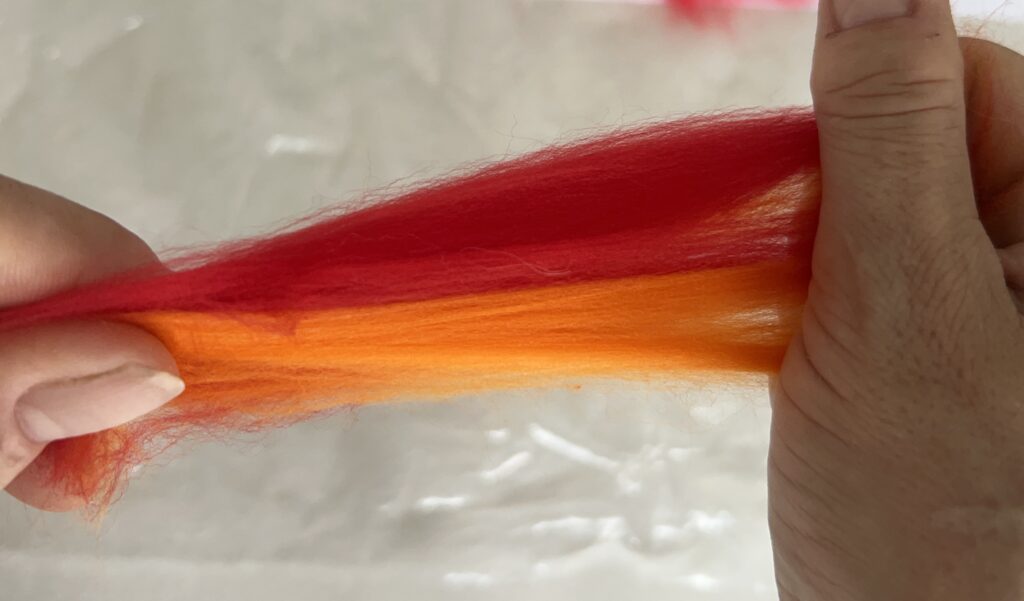
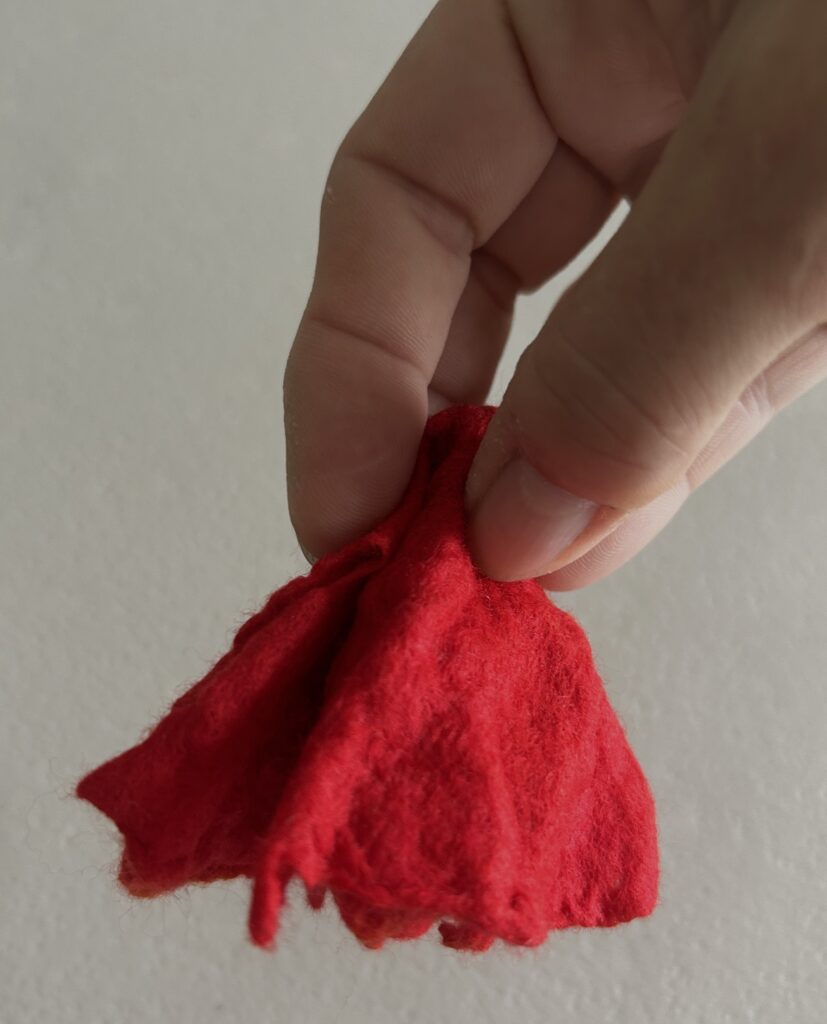
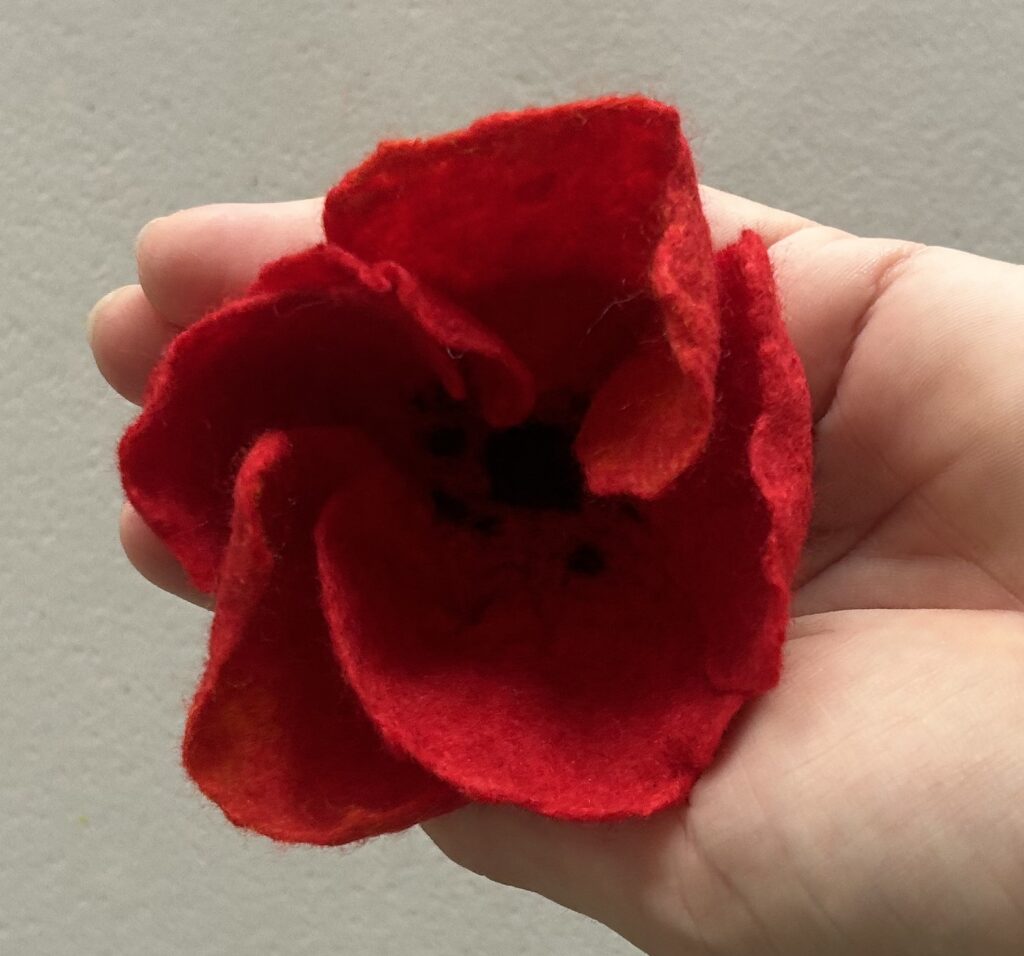
I have been working on a new piece for the exhibition and inviting the readers of my monthly emails to guess what it might be. There were some interesting responses but none were correct. Can you do any better? This is the first image I shared:
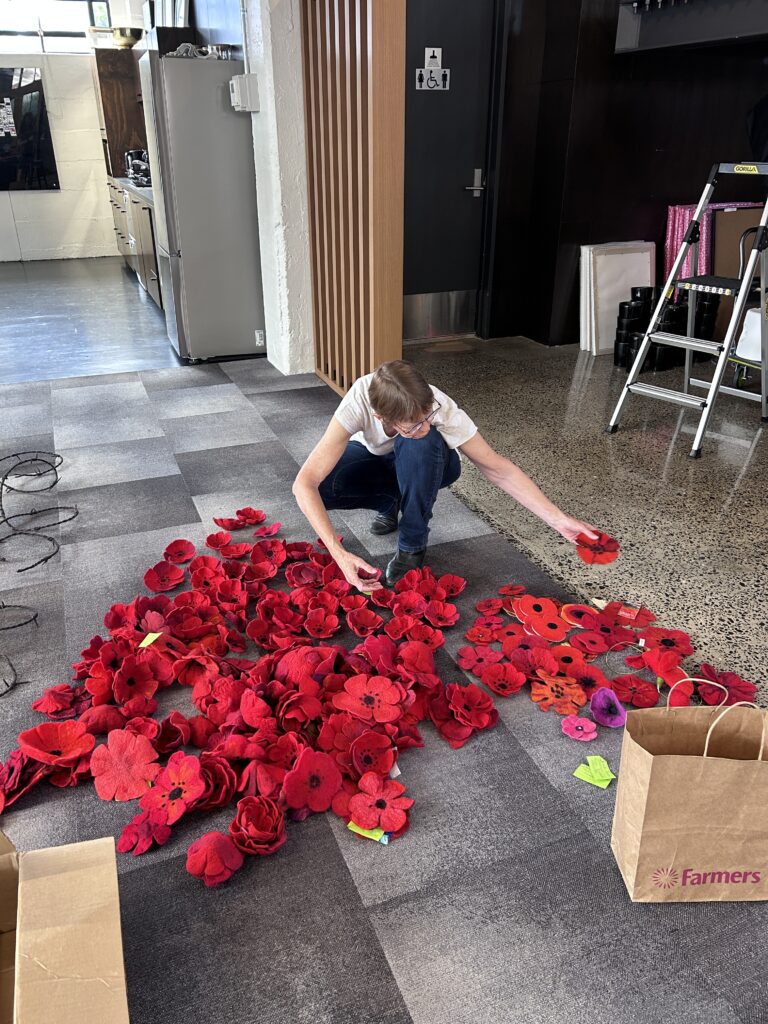
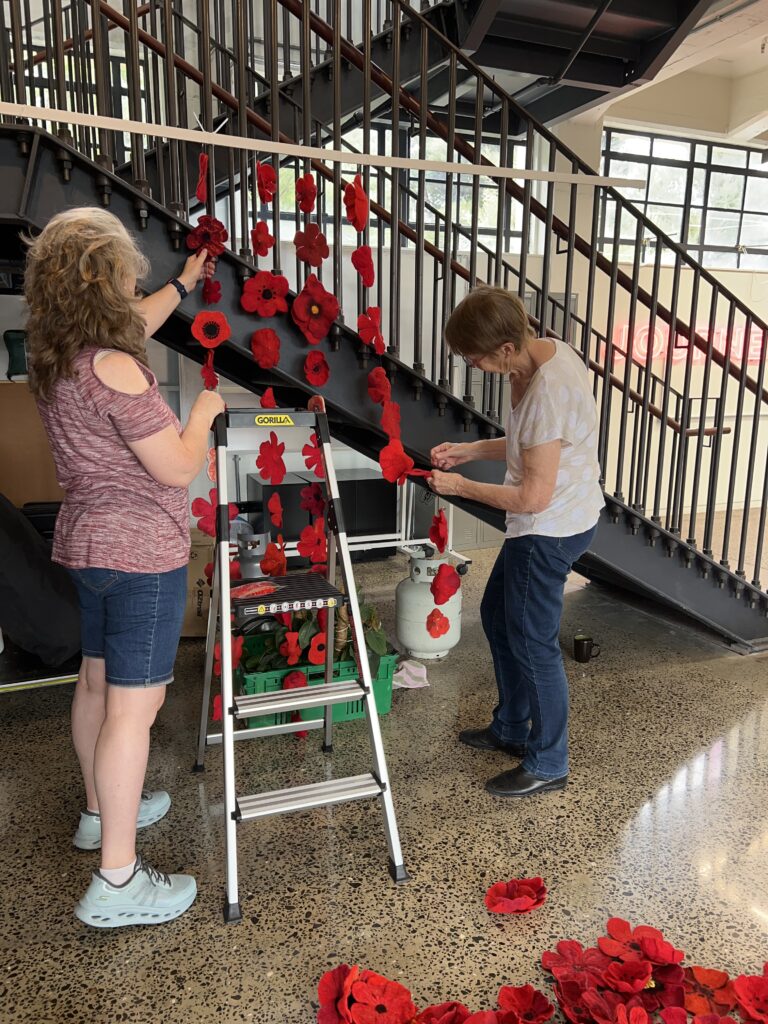
Thank you so much for all the poppies!
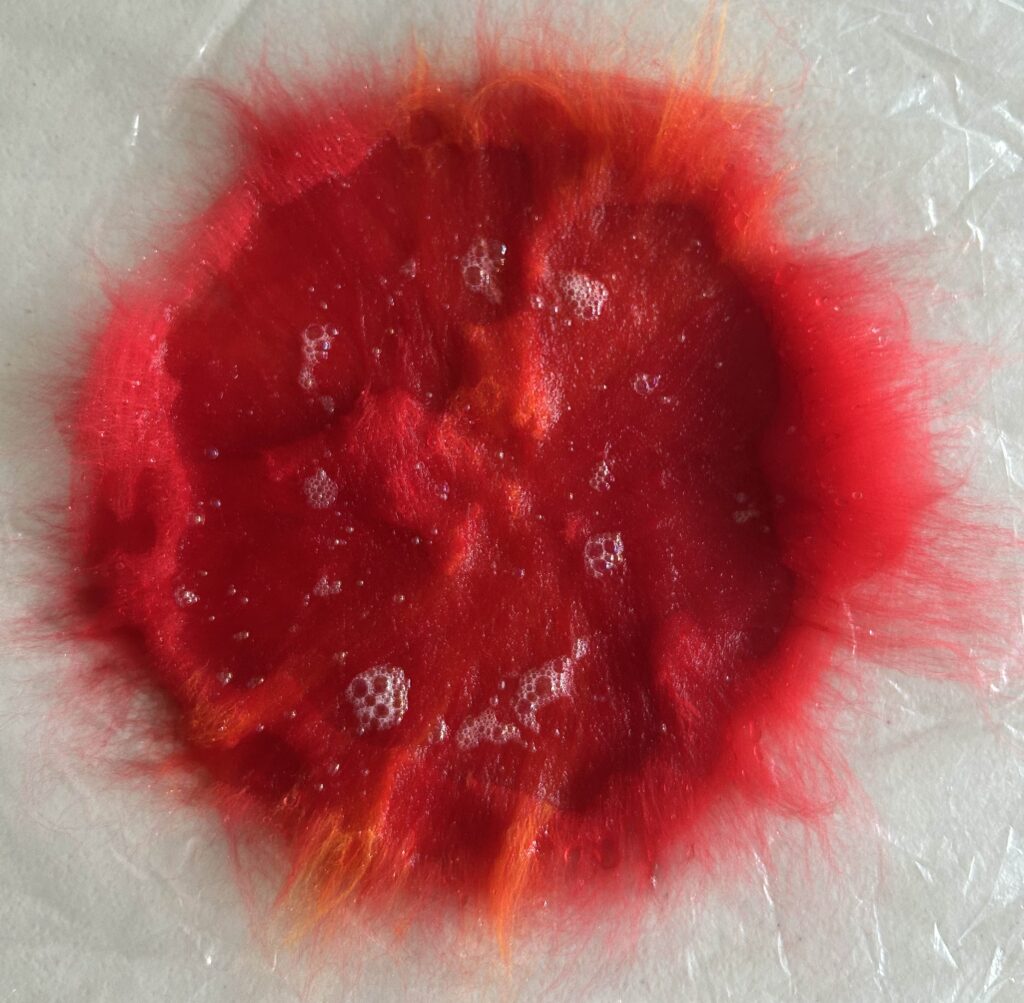
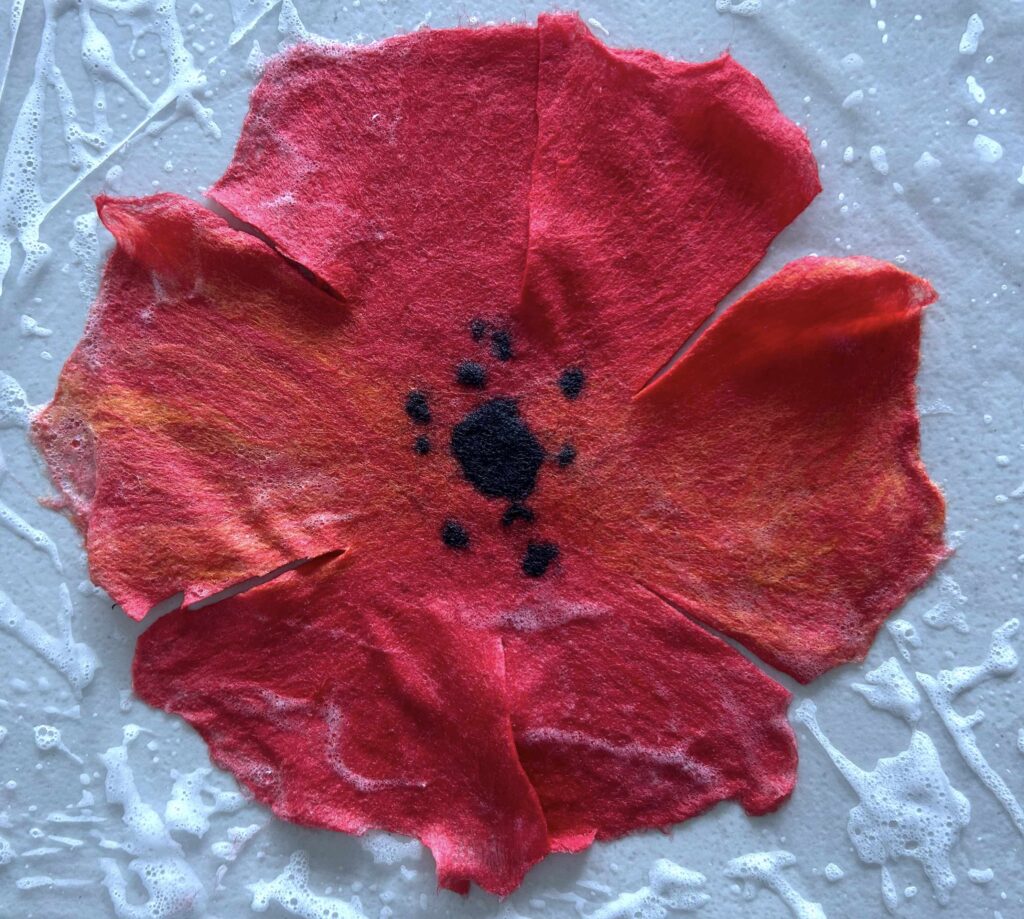
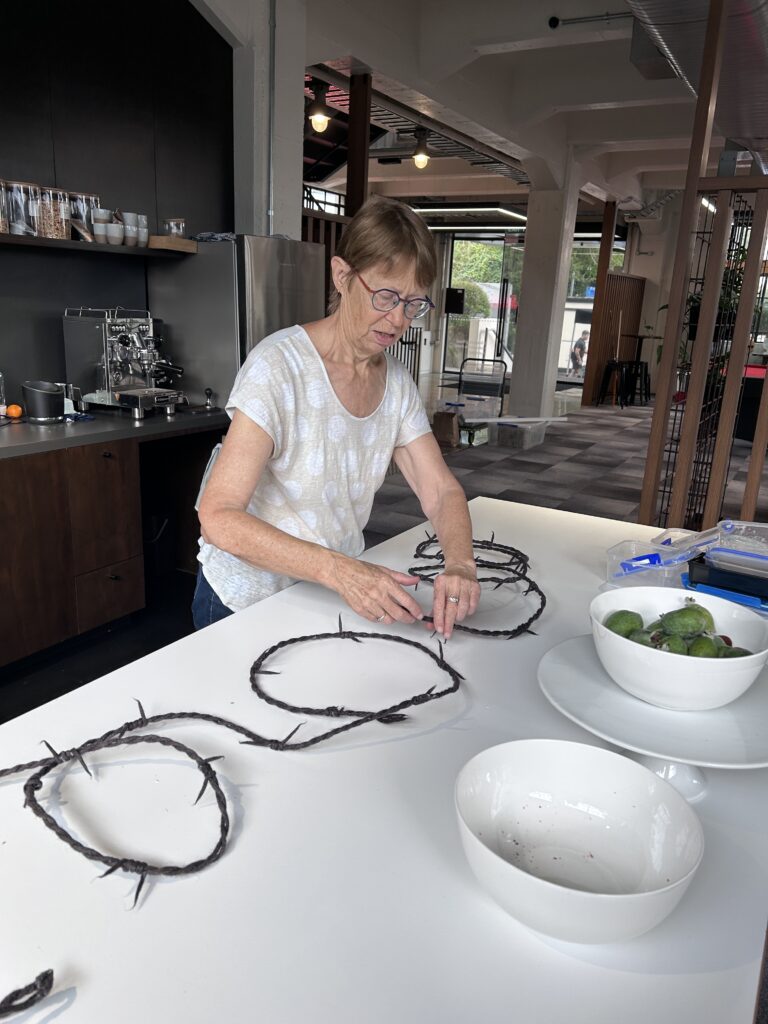
We have been blown away by the wonderful response to our call for help with making felted poppies. Clare Hocking had the wonderful idea of creating an ANZAC day commemorative installation to fundraise for the Returned Soldiers Association in New Zealand. We all thought her idea was especially touching given that our exhibition open day will be on 25th April (ANZAC Day). The response from felt-makers all around the world and the lovely stories and letters that accompanied many of the poppies has been heart-warming. Sarah and Clare have been hard at work, assembling the 285 poppies into an installation with some felted “barbed wire” made by Jaq Spirrett.
What did you guess my exhibition piece might be?
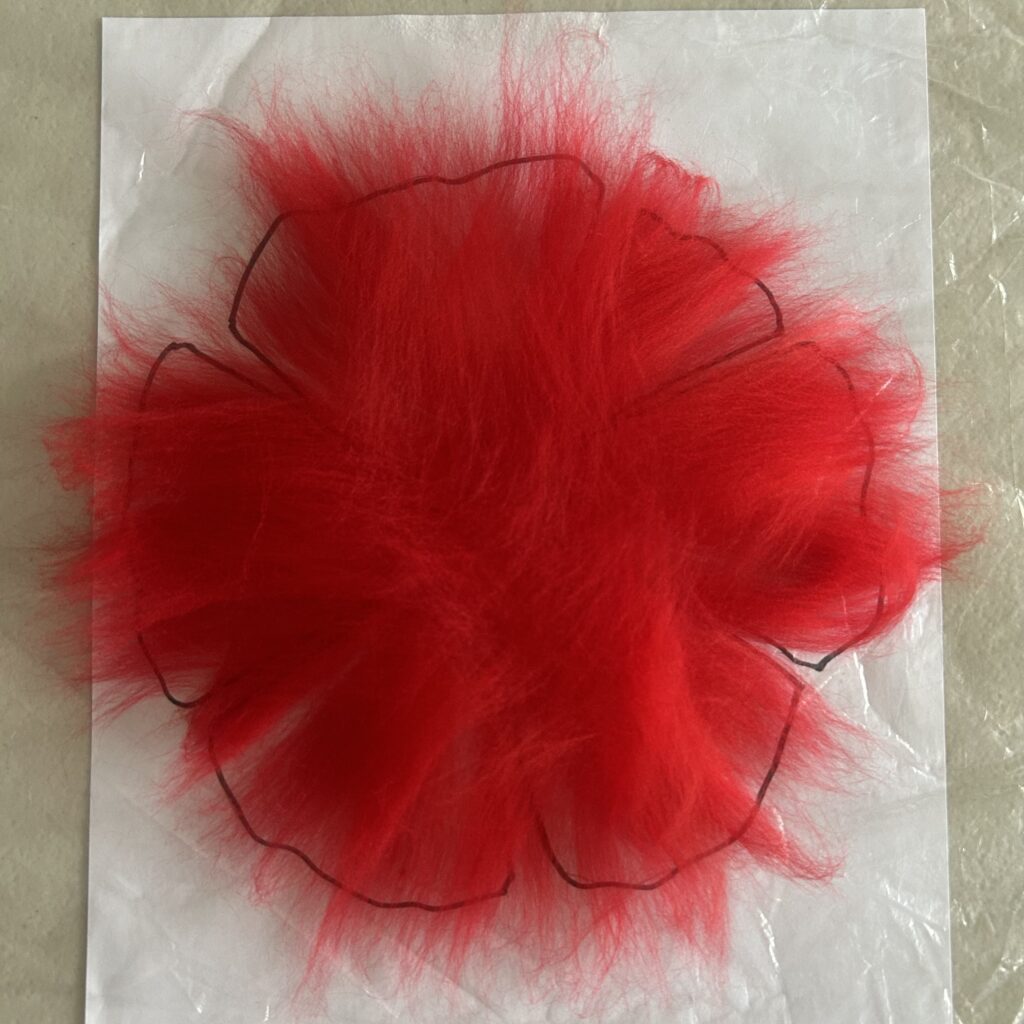
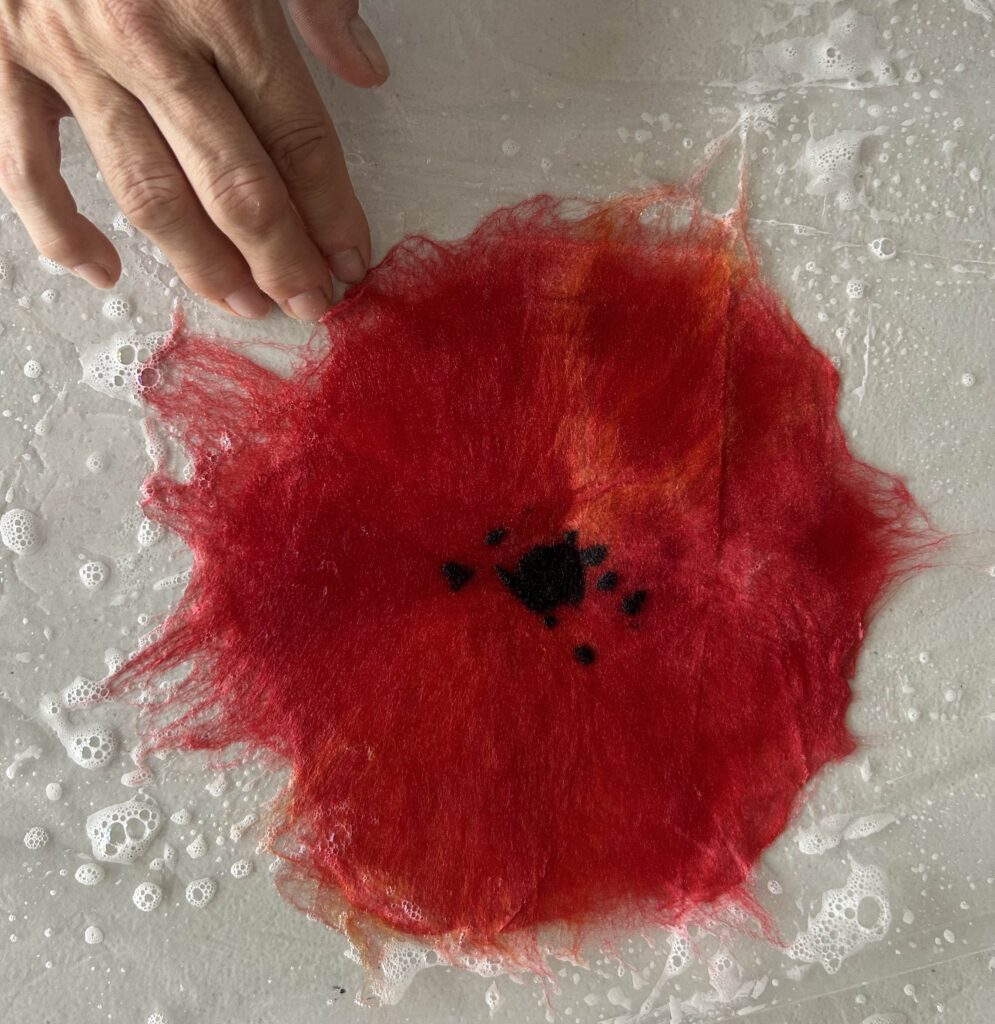
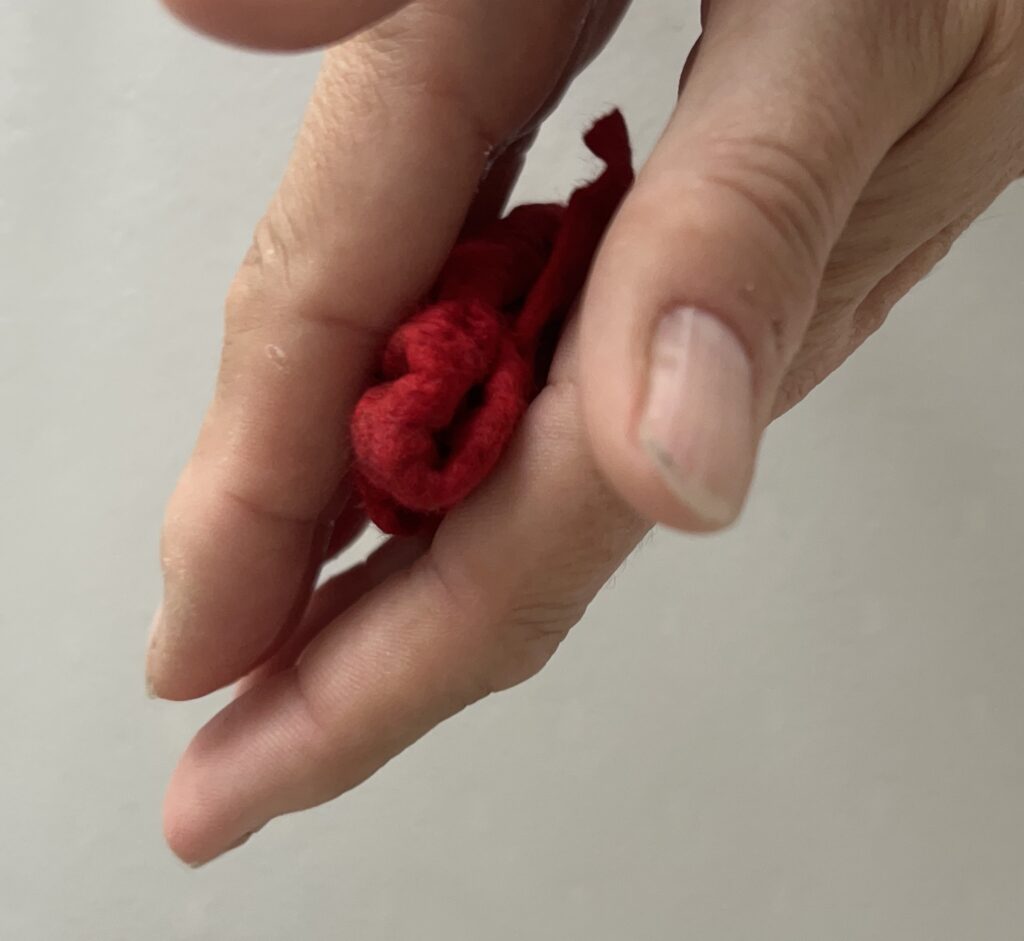
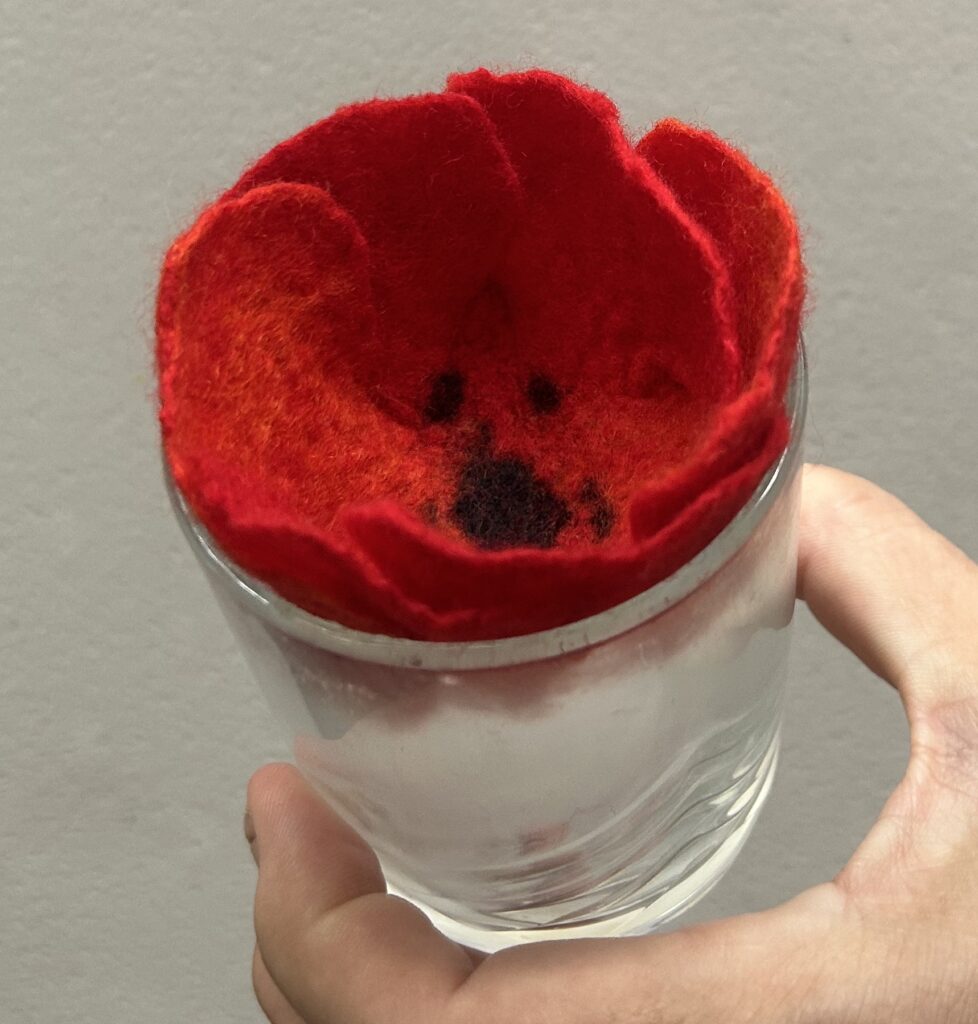
This is the second photo from my newsletters, it’s not too late to change your guess… 😉
Unexpected Benefits from the Poppy Appeal
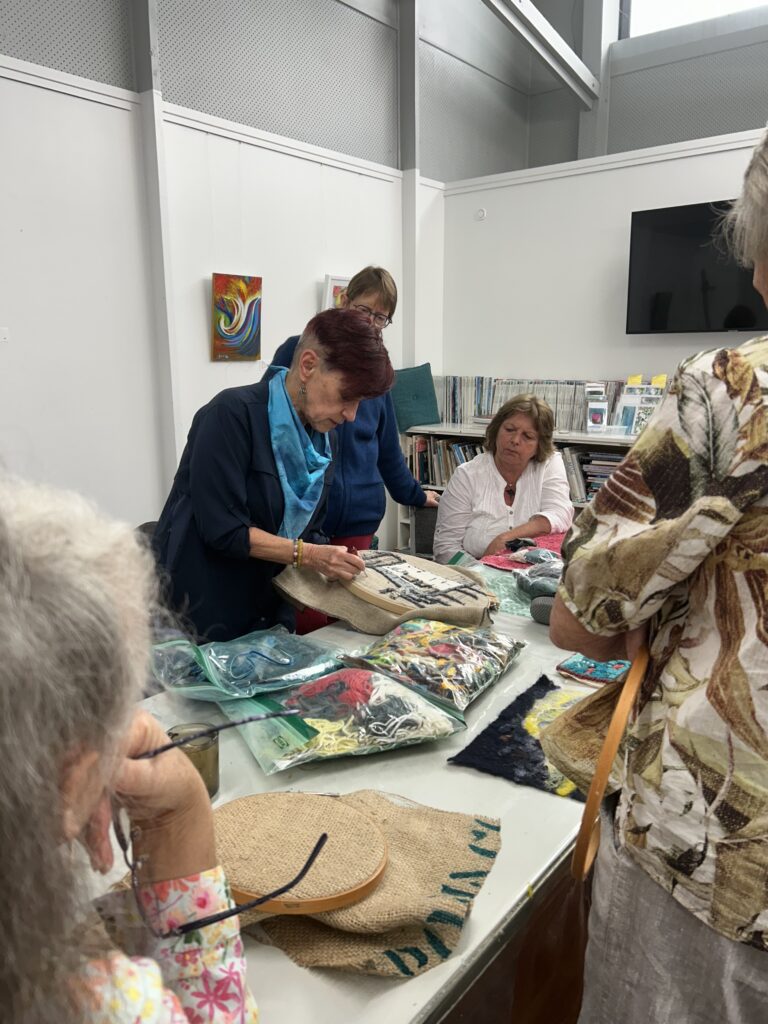
One of the groups who sent a batch of poppies was Les Hookeuses du Bor’de’lo, from Canada and one of their members, Janice Goguen, reached out to say she was planning to visit Auckland and could we recommend any fibre-related events / activities?
She was in luck (and as it turned out so were we 🙂 )! Auckland Fun Felters were meeting the weekend she would be visiting our fair city and she was warmly welcomed to spend the day with us. We had a wonderful time hosting Janice and she very generously shared her knowledge of Canadian rug hooking. A few of us are already germinating ideas of how to combine rug-hooking with felting… 🙂
The Big Reveal
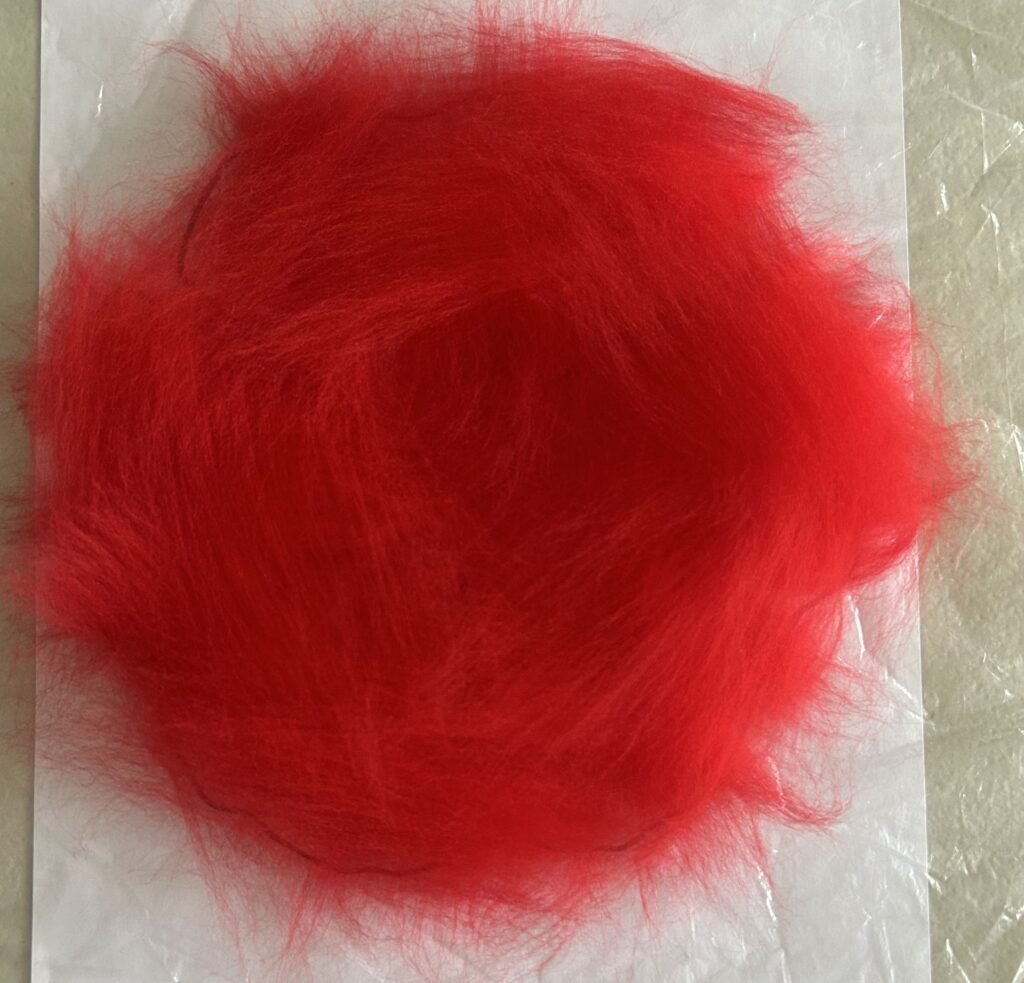
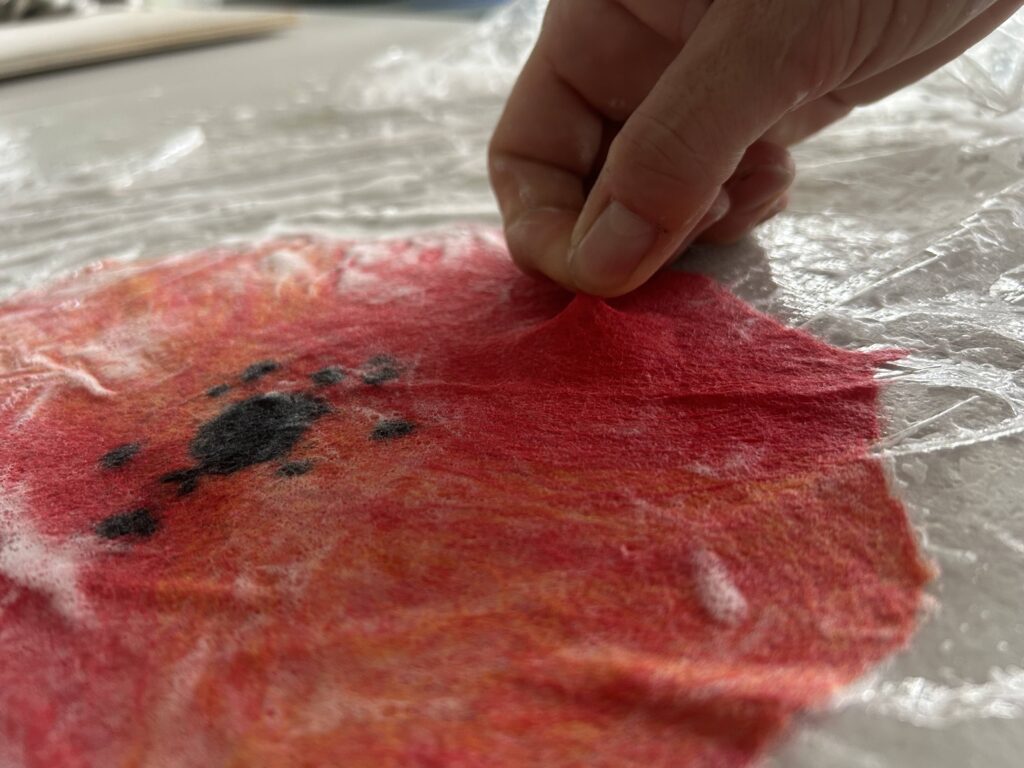
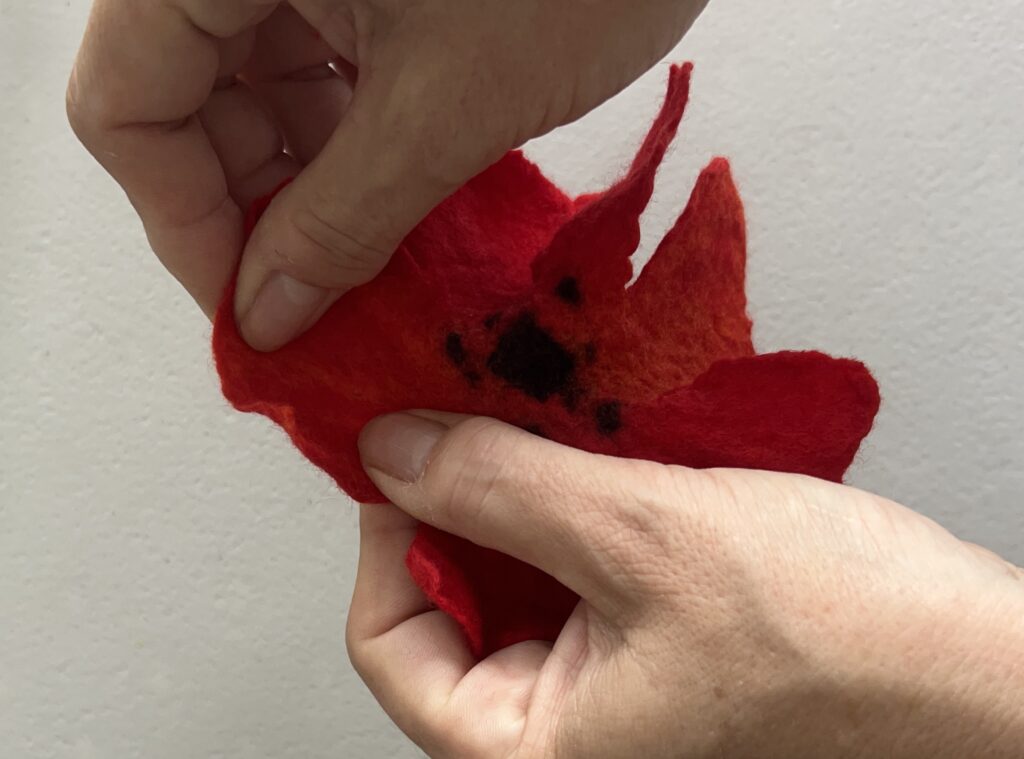
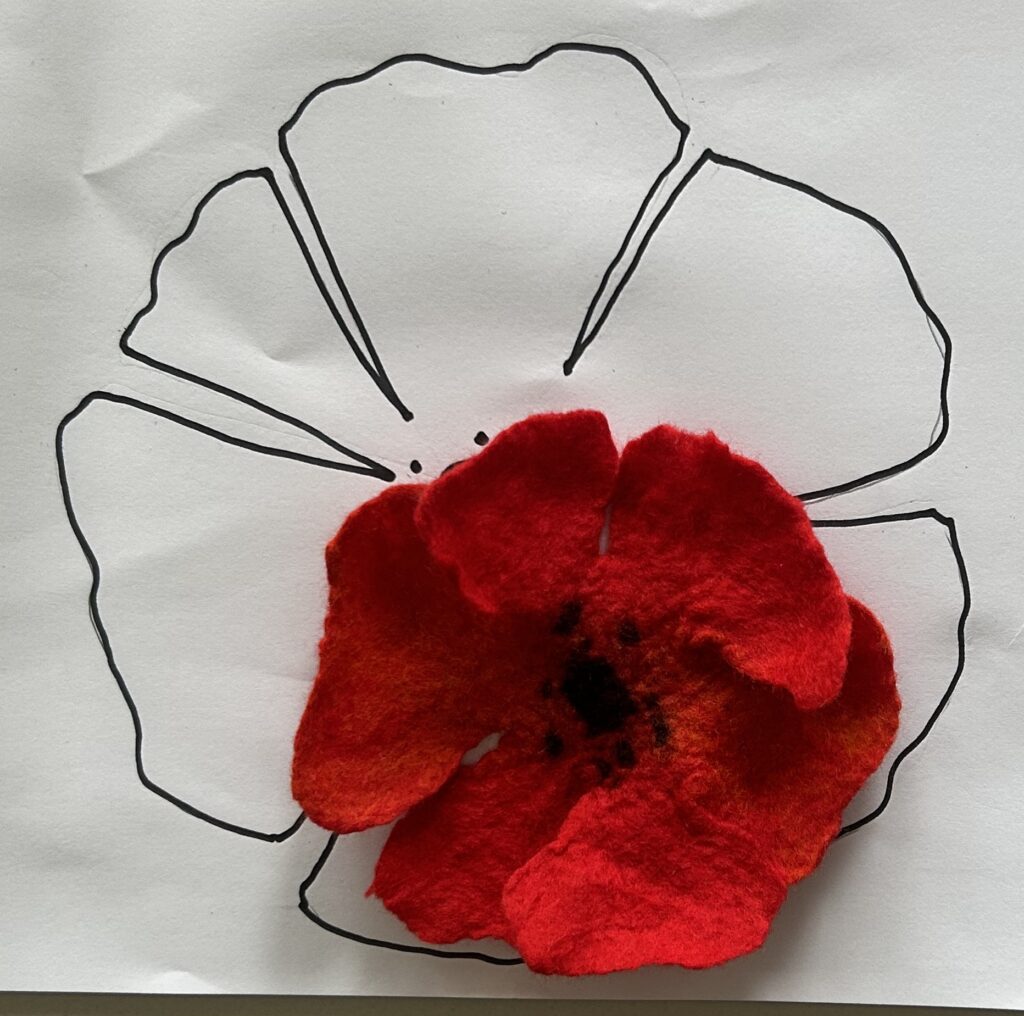
I confess this piece still isn’t quite finished and I need to get a move on because we start hanging the exhibition a week on Tuesday but this is the last photo in the series….
I hope you can tell what it is now? 🙂 Were your earlier guesses correct?
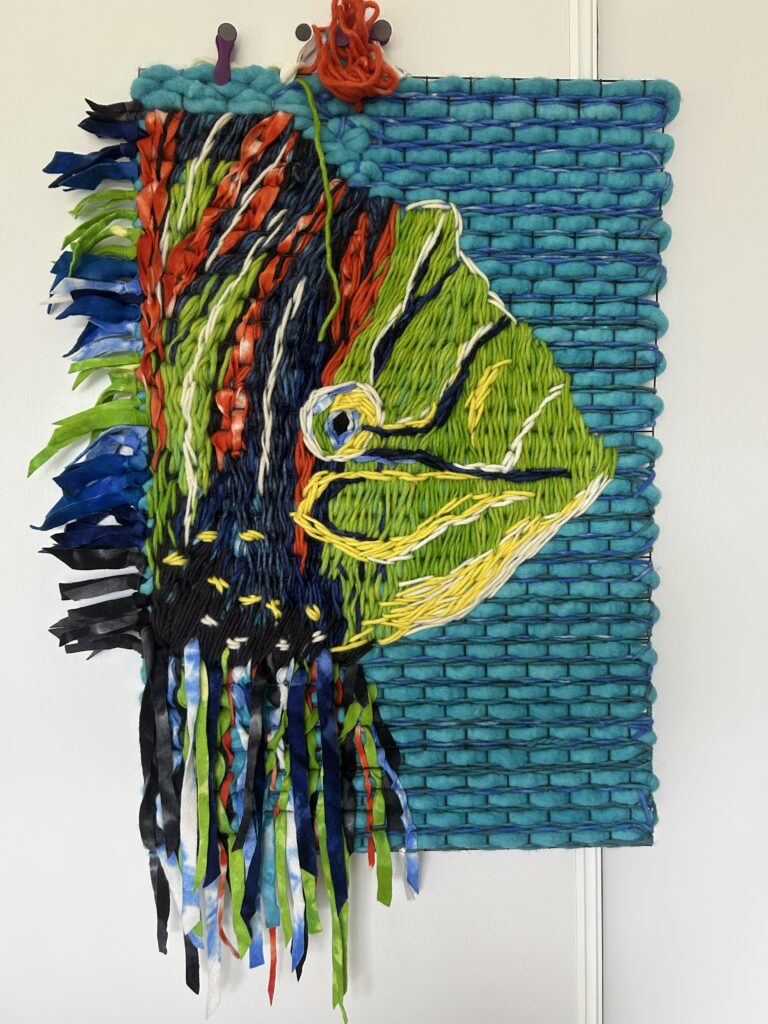
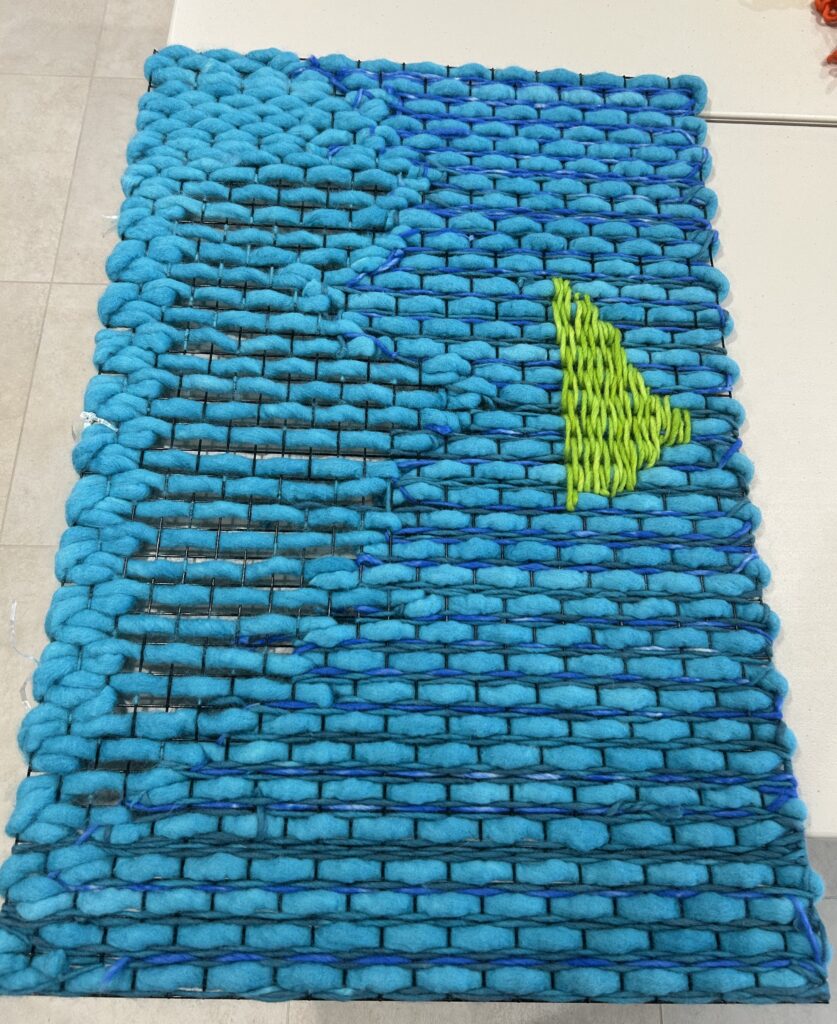
This piece was made from LOTS of felt ropes and strips of commercial felt that I dyed in several batches because they wouldn’t all fit in my 30 litre tea urn. This was my first attempt to work in this way and I really was making it up as I went along, trying to create the form of the fish over the more structured woven background, it is surprisingly difficult to make curves when the base is so obviously a grid. This is definitely one of those pieces that I am enjoying more now that it is finished! 🙂
My next post will be about the exhibition, stay tuned!