Category Archives: tutorials

Blending dyes on wool

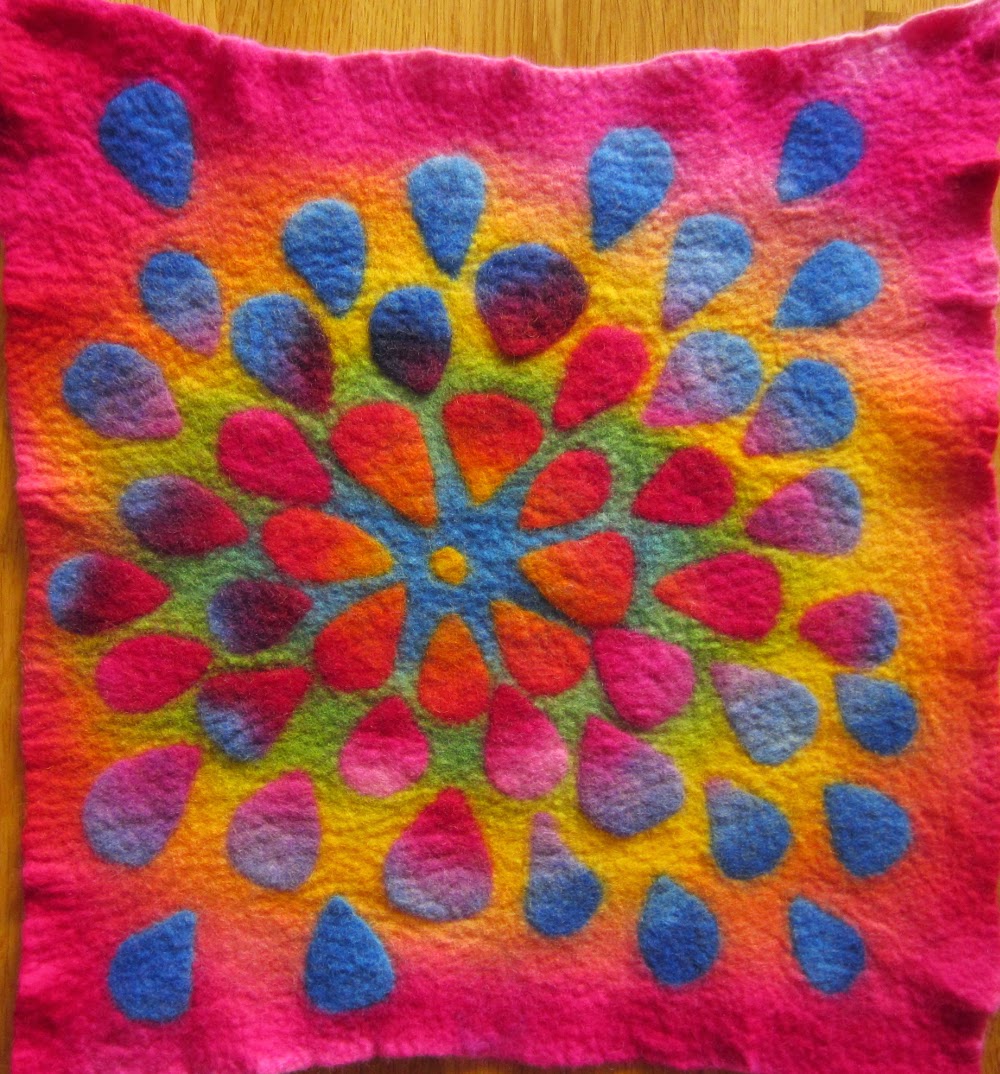
This week I have been doing quite a lot of dyeing so thought I would share one of my favourite techniques with you. I use this technique to blend colours on wool when I want a gradual change of colour or to mix colours on the felt itself. It involves finger painting so is a lot of fun too ๐Ÿ™‚

For this technique you will need:
Pieces of prefelt or finished felt (the method below was for 100g of felt)
washing up liquid
acid fast dyes
white vinegar or citric acid
measuring jug and scales
cling film
latex or rubber gloves
pots for mixing dyes in (old jam / chutney jars are good)
disposable pipettes or syringes
steamer (or microwave)

Method:

  • Soak your prefelt in a sink / bucket of 2L water, 0.5 cup of vinegar or 5g citric acid and, a generous splash of washing up liquid, making sure it is well saturated. If you live in a hard water area you can also add 1g of calgon to this soak.
  • Lay out some cling film, overlapping the pieces if necessary to make it big enough to lay out your felt.
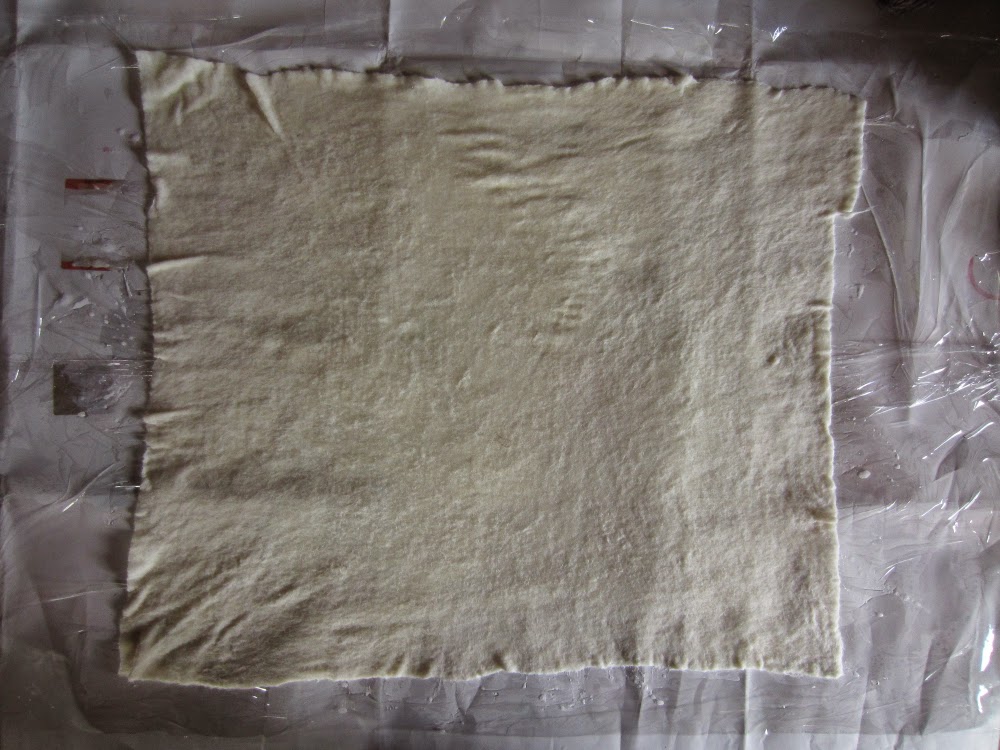
  • Squeeze about half the water out of your felt (it should still feel heavy with water and be dripping but water should not be running out the bottom of the felt)
  • Lay your felt flat on the clingfilm.
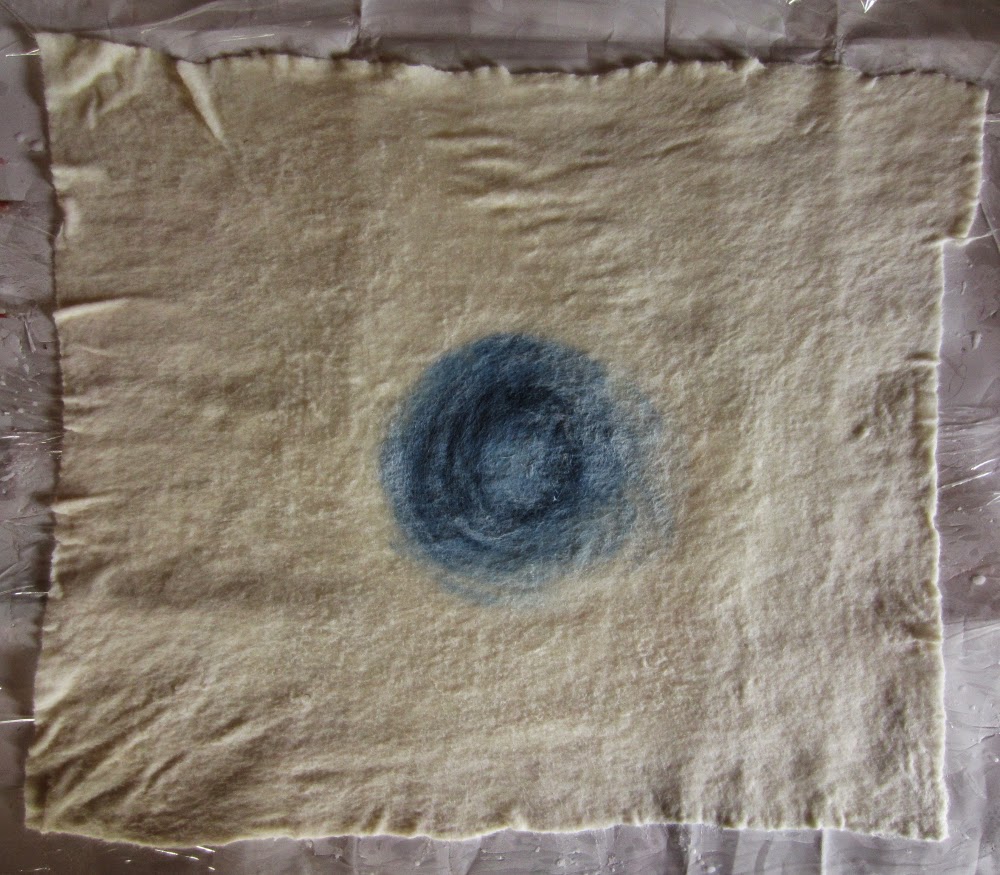
  • I mix 1g of dye to 10 ml of water but you could easily use half as much dye if want paler colours. I apply my dyes with those 3 ml disposable pipettes but syringes work well too or you could just pour the dye on in the pattern you desire.
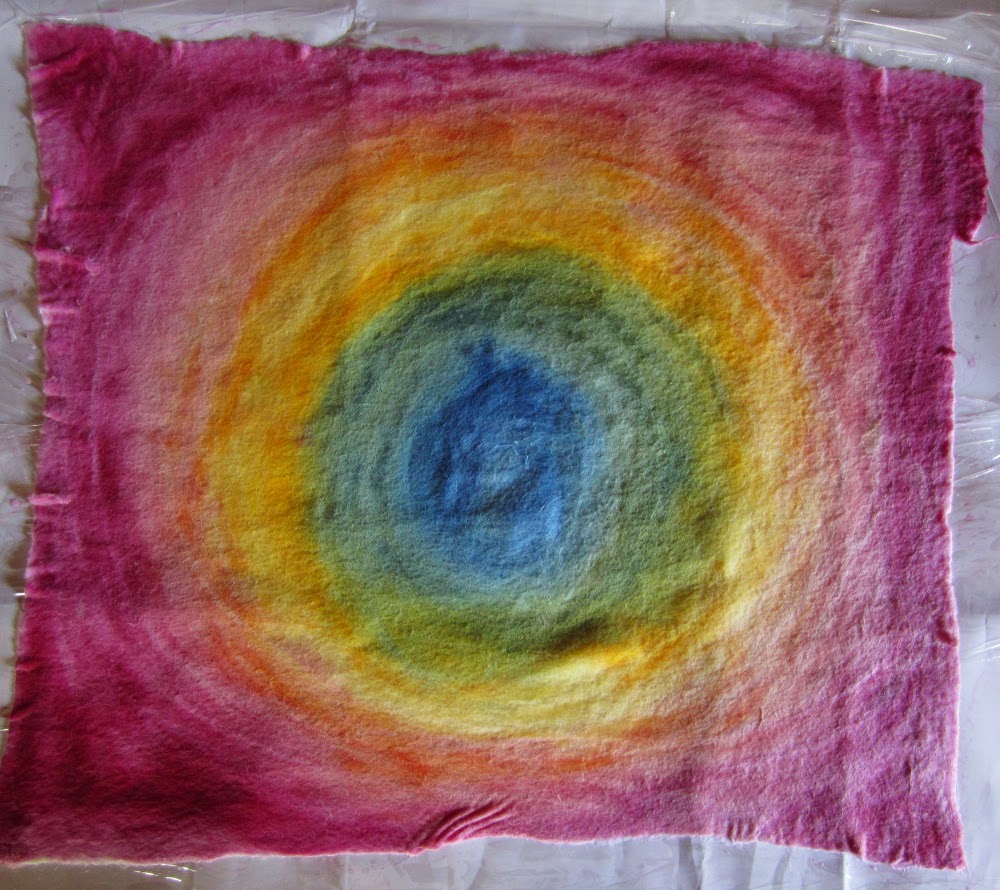
  • You can add a second or third colour now to make colour blending easier but I have applied 1 colour at a time to show how they spread.
  • After applying the first colour use your gloved fingers to spread the dye around (the washing up liquid in your bath will really help with this). If it is difficult to move the dye your felt is probably not wet enough, carefully pour some water from your soaking bath onto the felt and try again.
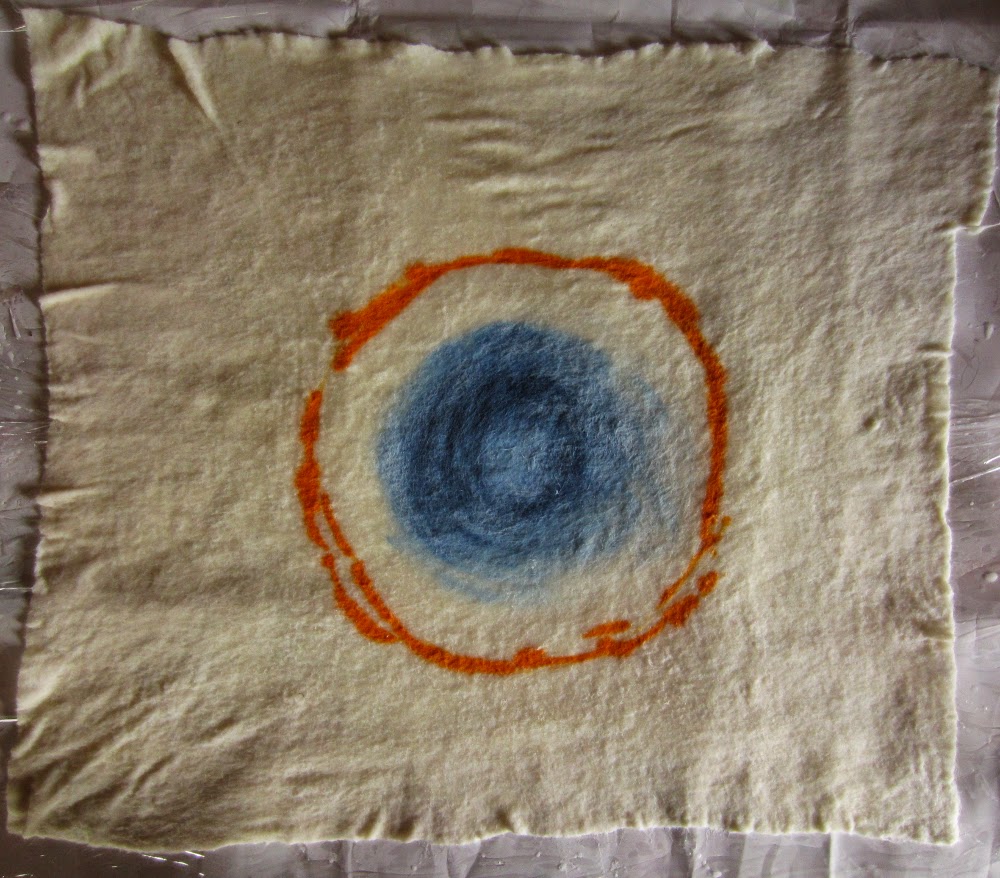
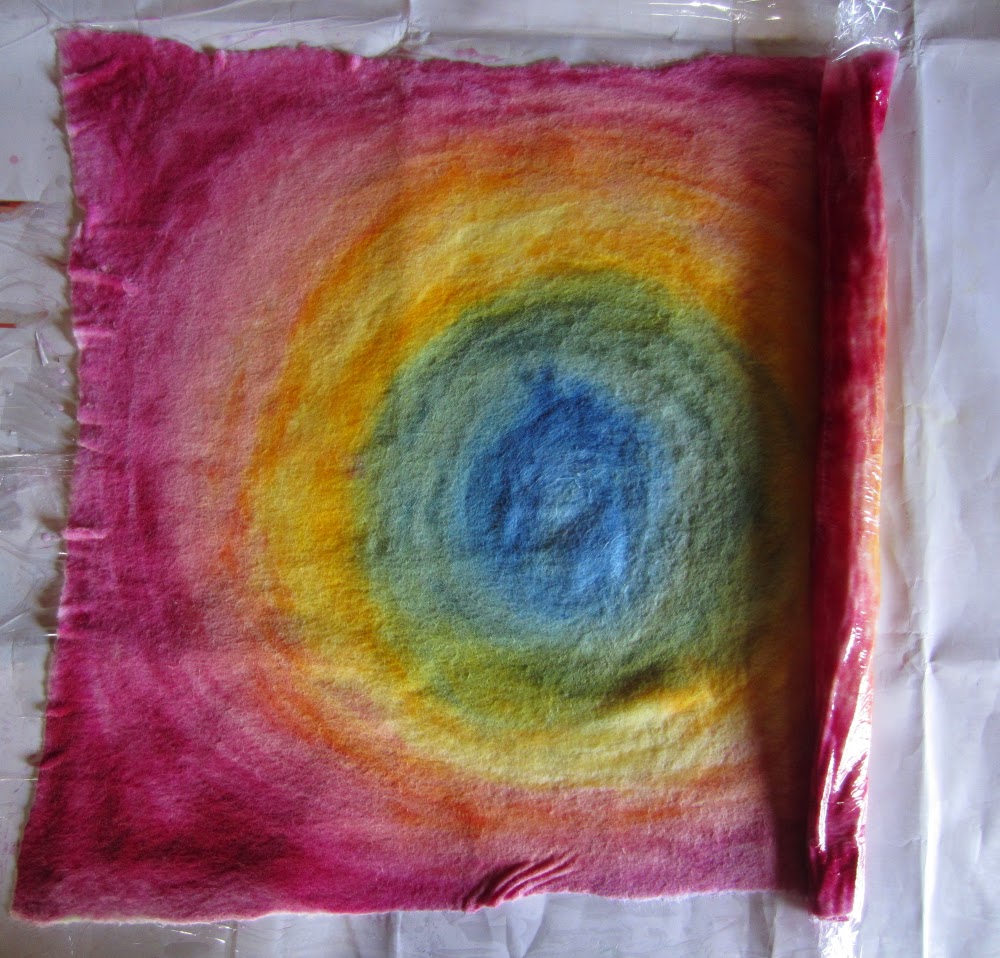
  • Then add your second colour (I used yellow but it looks very orange in this photo).
  • And blend with your fingers again. Continue adding colours and blending until you are happy with the design.

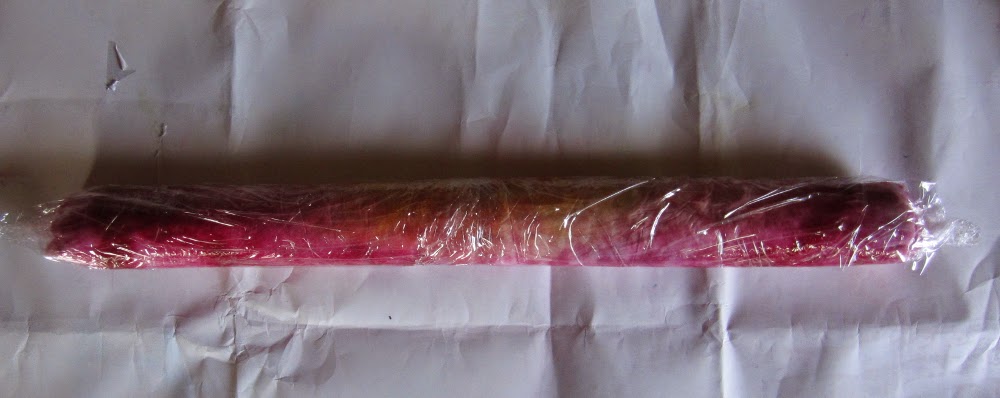
  • Carefully roll the felt up in the cling film
  •  And twist the ends shut or wrap in another piece of cling film to stop steam getting into your parcel.
  • I like to put mine in a zip lock bag too (very “belts and braces”!)
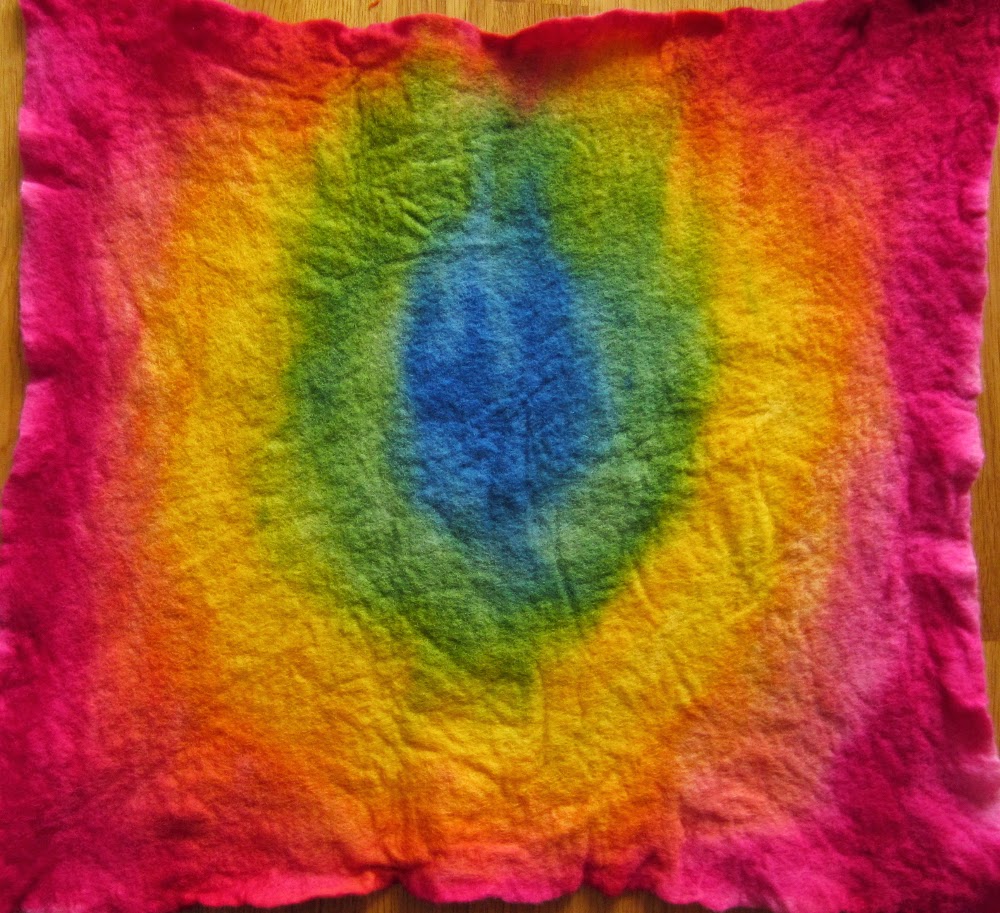
  • Then steam for 45 min to an hour before rinsing under running water.

Sun Dyeing

I was reading a blog a couple of weeks ago with some scepticism. With the benefit of hindsight I concede my scepticism was a little unfair. The blogger in question had posted about sun dyeing and said that you don’t need to buy those expensive photo-sensitive fabric dyes / paints, any old fabric paint will do. My initial reaction was, if any old fabric paint will do why is there a market for those expensive photo-sensitive paints? Too good to be true right?

The scientist in me made me set my scepticism to one side long enough to perform a little experiment. We all want to save our pennies to spend on more textile toys don’t we??

Materials:

  • Light coloured cotton based fabric (I expect silk will work too but synthetics possibly not – those are experiments for another day ๐Ÿ™‚ )
  • A pad of newspaper or a large box (I used a plastic under-bed storage box)
  • Masking tape
  • A spray bottle filled with water
  • Fabric paints (I used Setasilk (iron-fix) silk paint and acrylic paint mixed 50:50 with textile medium). If you don’t plan to wash your fabric you can replace the textile medium with water.
  • Large brushes (I used the foam type)
  • Resists – I used leaves but anything that will lie flat on the fabric and block the light all work well. Paper cut outs and opaque stencils work well.

This is what I did:

  • Stretch your fabric over a box or a pad of newspaper with masking tape
  • Spray with water until evenly wet, allow the water to disperse while you gather some leaves or other objects to create a resist.
  • Working quickly, cover your fabric with fabric paint and lay out your resists, ensure they are as flat as possible to the surface of the fabric.
  • Leave in a sunny spot for 2 hours (beware of breezes blowing all your resists away if you put your box outside – I left mine in front of a south facing window).
  • The hardest part is resisting the urge to lift the leaves to see what is happening underneath ๐Ÿ˜‰
  • Remove the leaves / resists and iron for several minutes to heat fix.

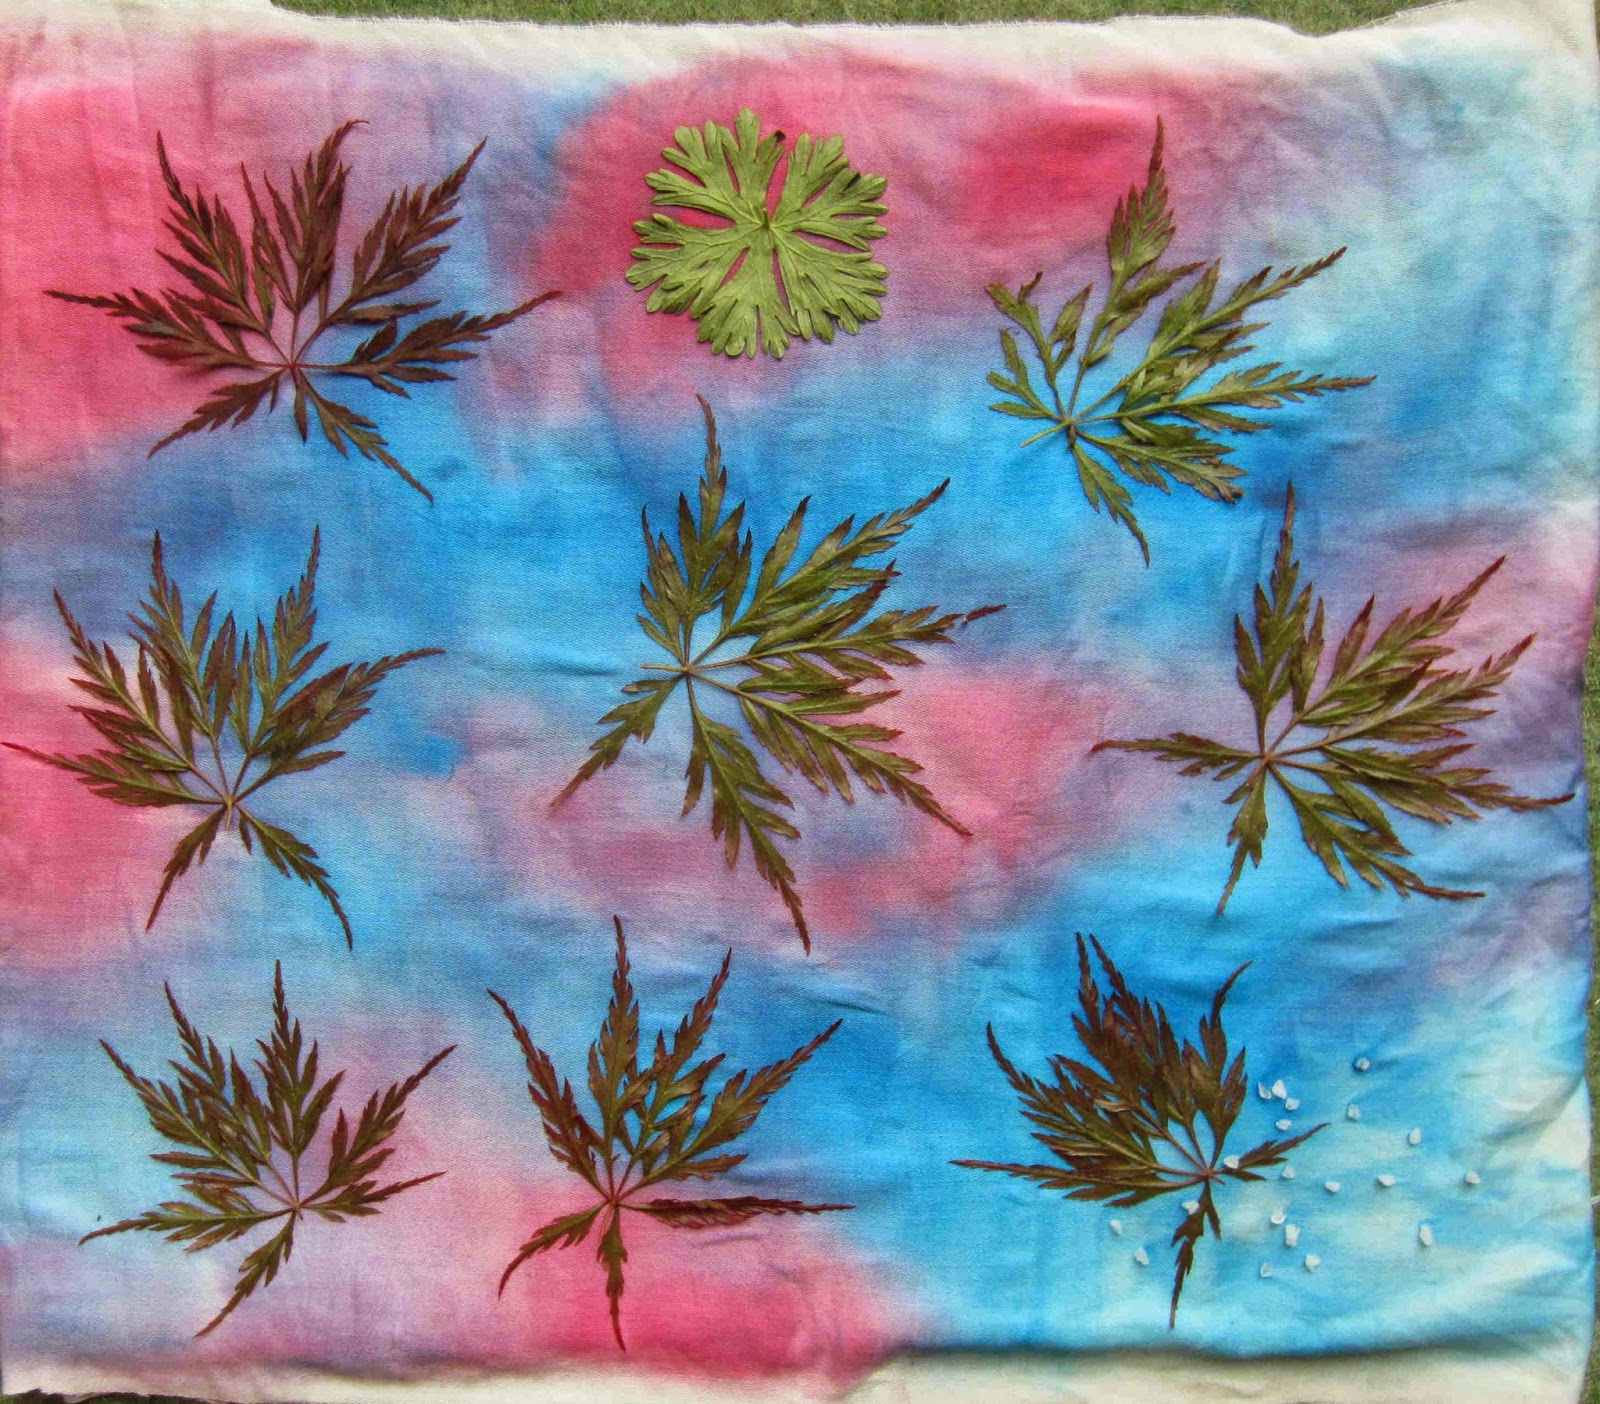
Sitting in the sun catching some rays, the pink and blue on the left is the Setasilk paint and on the right is red acrylic paint mixed with textile medium.

I think I applied the acrylic paint (on the right) too thickly, hence the effect is not so noticeable. In the areas where the paint is a little thinner the leaves are paler.

A second attempt with a lighter coating of acrylic paint. I also sprinkled a few grains of rock salt in the bottom right to see what effect that would have:

After 2 hours on a sunny windowsill:

Close up of the salt effect, it appears to have concentrated the paint under the grain and drawn the paint from the surrounding area:

A close up of an acer leaf outline.

Have you done any sun dyeing? What paints / fabrics did you use?
Linking up to nina-marieoff the wall Friday