Author Archives: Teri Berry

Shibori Dyeing

It is a bit of a stretch to call this a tutorial as I am still exploring this method of dyeing myself but I thought I would share the process so you can have a go too if interested. I think of shibori as being tie-dye for grown ups, the principal of what we are doing is the same, we are creating areas where the fabric is so tightly bound that the dye cannot penetrate and those areas retain the colour of the base fabric. There are many different shibori methods including folding, clamping, wrapping around pipes, using elastic bands and stitching. Here I have used stitches and gathering the fabric to form a resist.

I am using a pale pink / purple piece of cotton scrim (this was dyed in the left over dye after some rainbow dyeing, described in another post).

I hand-stitched semi-circles over a fold (I also tried machine stitching but found it difficult to get a smooth curve and it was far more difficult to remove the machine stitching afterwards). I started by folding my fabric at regular lengths and then pinned it into place before using a water soluble marker and some templates cut from card to mark out where I will stitch.

Drawing a semi-circle along each fold, first with the large template:

Then the medium sized circle…

And finally the small circle…

I used a very strong thread (if you can snap it with your bare hands it won’t be strong enough), and used a running stitch, leaving long tails of thread, at both ends of each circle. Don’t be tempted to gather your circles before you have finished stitching them, it will make it much harder to stitch the remaining circles… ask me how I know ;o)

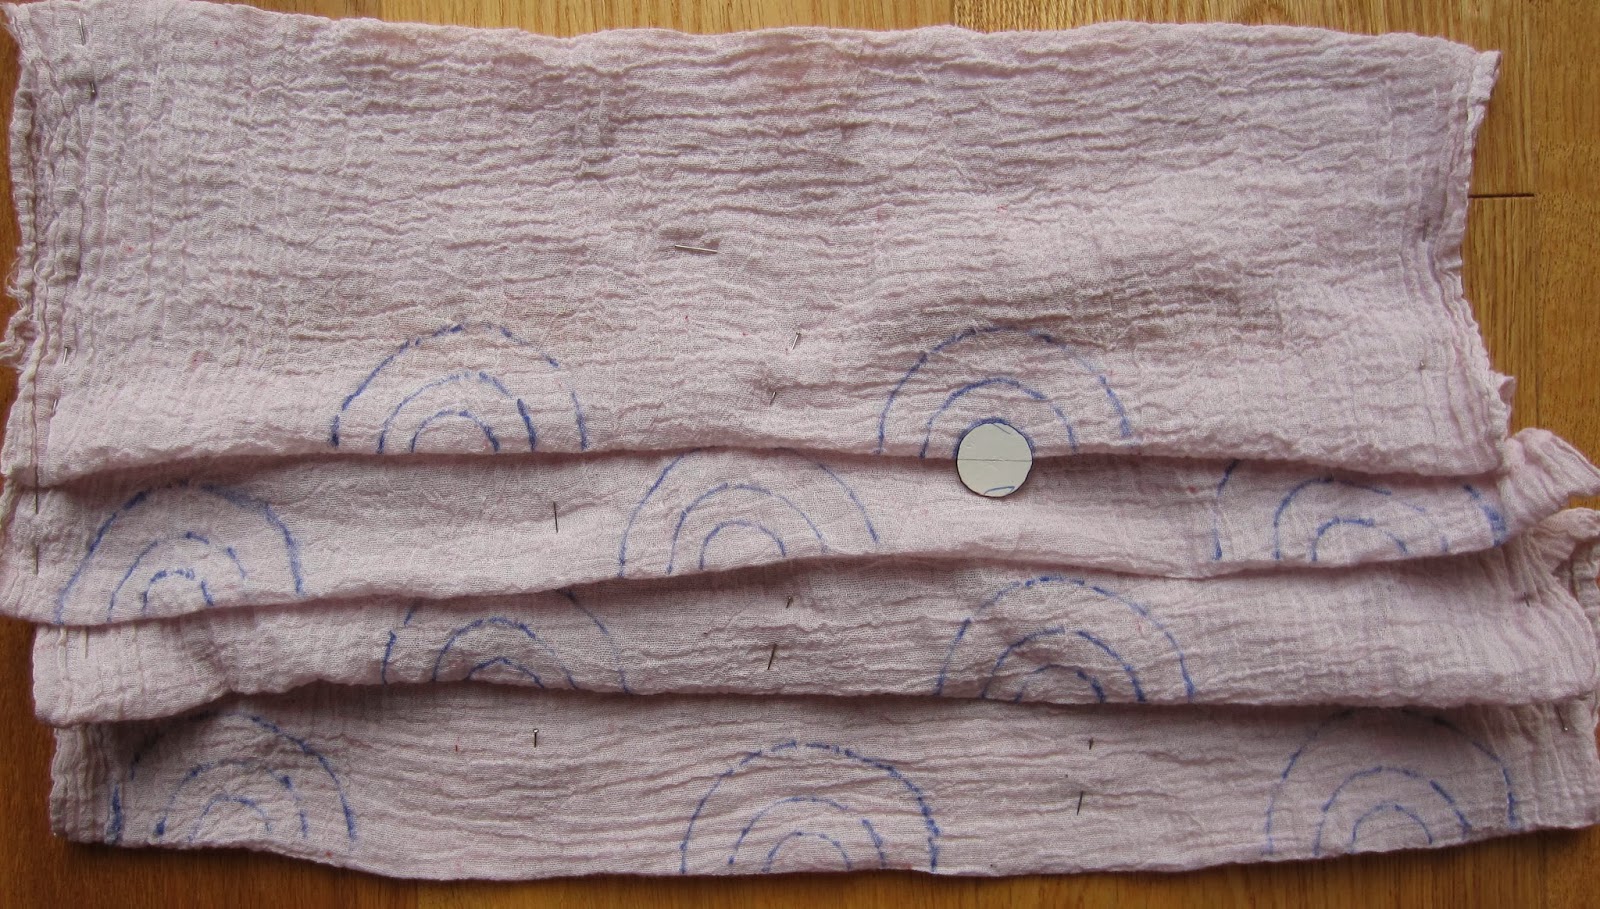
Keep going until all of the circles have been stitched, then you are ready to start gathering.

Tie off one end of each line and pull the other end as tightly as you can to gather the fabric and tie off the other end. Repeat this for all the circles.

Now you are ready to dye, I used a packet of hand-dye Dylon but any fibre reactive dye (e.g. Procion MX) will do a good job, just follow the instructions on the packet.

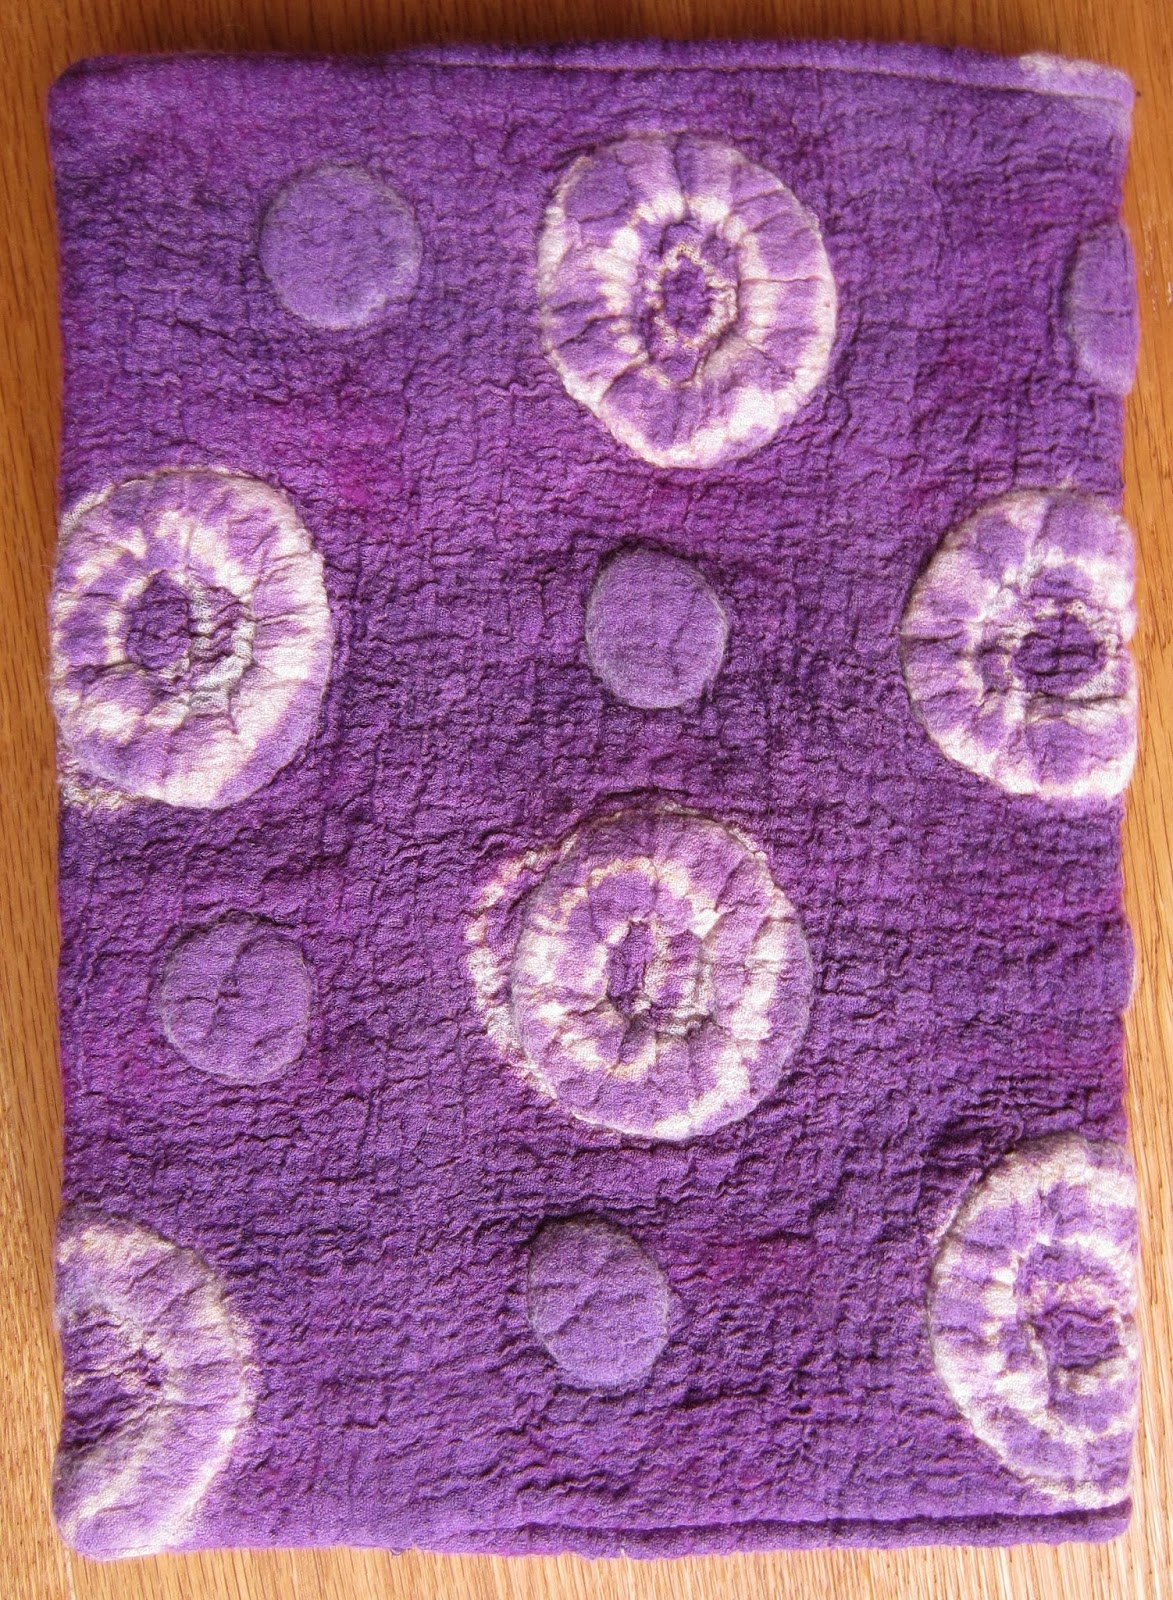
After rinsing you can remove the stitching and dry flat or if you prefer a textured fabric you can remove the stitches once it is dry. I removed mine while it was still wet because I wanted to use this piece as a laminate in felt making. This is what it looked like once dry:

After felting I turned this piece into a large book cover:

Mosaic Quilting Part 2

Well, this has proved much more challenging than I had imagined. Laying the pieces out and ironing them into place was fiddly but enjoyable, I like the creativity of laying out the little pieces, thinking about how the light would play on this scene.

Cutting the batting and backing fabric and attaching it to the interfacing, all very easy and straight forward. In large part the ease of this step was due to 505 basting spray, if you have not tried this yet you are missing out. It is brilliant! It allows you to re-position your pieces for about 15 min after spraying them and then keeps the fabric glued together for 2-4 months or until you wash them. Amazing stuff!

The misery did not start until I tried add some machine stitching. Then either the little pieces of fabric that I had so carefully placed either fell off or folded over to get stitched in half. What a mess! :o( To cap it all off, while intently trying to flatten each piece of fabric as the machine foot went over them I failed to notice the centre of the piece was starting to balloon and warp away from the batting.

What would I do differently next time?

  • I would use wonderweb for the backing not interfacing (I think wonderweb will be more “sticky”)
  • Although Terri Stegmiller does not recommend it I would be tempted to iron the wonderweb onto the fabric pieces before cutting them into fragments, although this will need more wonderweb than Terri’s method, I think it will hold the edges of the fragments down better making them less likely to fold over or detach.
  • Stitch from the centre of the quilt outwards. I did plan to do that on this quilt but got carried away stitching the wavy lines for the sea : embarrassed : 

This is what it currently looks like…

All is not lost, I will persevere and hope to resurrect this piece into something beautiful.

P.S. I have had a really fun idea for a small felted Xmas gift that makes me chuckle whenever I think of it, I will make a prototype this weekend and share the results with you next week.

<a href=”#” class=”_ILAddLinkButton” onclick=”var ref=encodeURIComponent(location.href);location.href=’http://www.inlinkz.com/new/luAddLink.php?id=436622&amp;cookie=53ee4e8e231a2&amp;ref=’ + ref”>Add your link</a>