Category Archives: felt bag

Monstrous Felting Retreat

A few weeks ago I experienced the delight that is the Auckland Fun Felter’s Retreat, 2 full days of felting bliss! 🙂

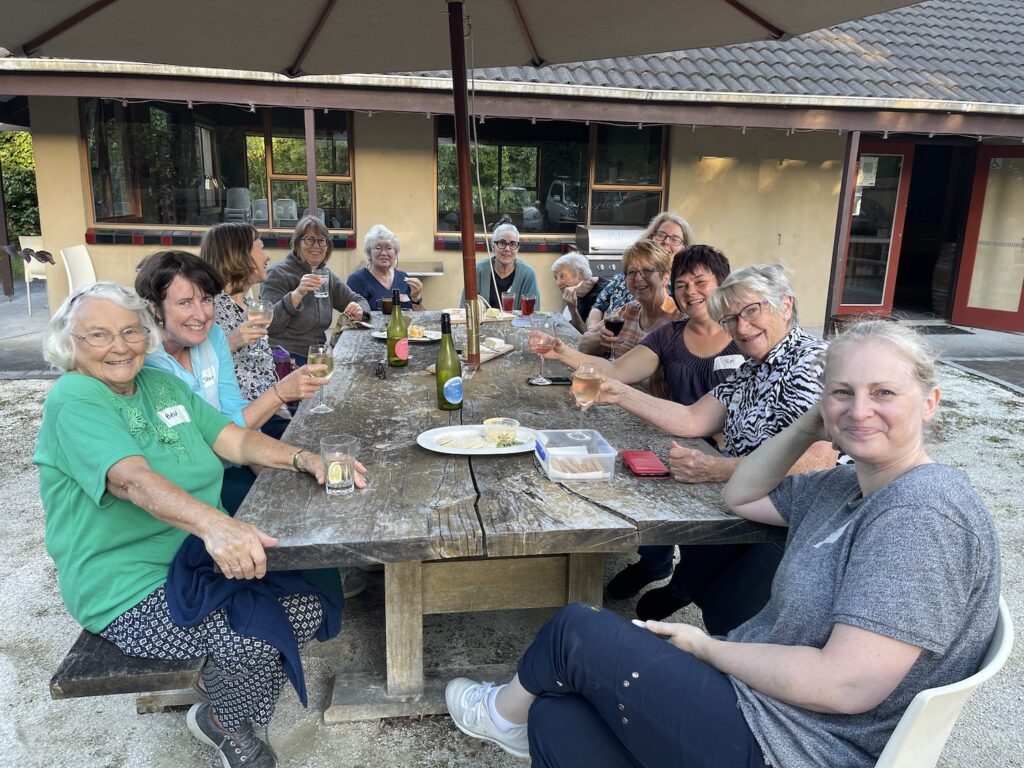
We were 13 like-minded ladies at a retreat centre, tucked away in a quiet and leafy corner of west Auckland, we had the entire centre all to ourselves and were blessed with some lovely weather.

Jenny, our organiser extraordinaire, asked if anyone would be willing to teach / lead a short workshop on Saturday morning. Due to the pandemic, I haven’t had the chance to teach face to face since 2019 so jumped at the chance and then immediately panicked that I had nothing to teach this incredibly creative and experienced group (most of the members have been felting at least as long as I have!).

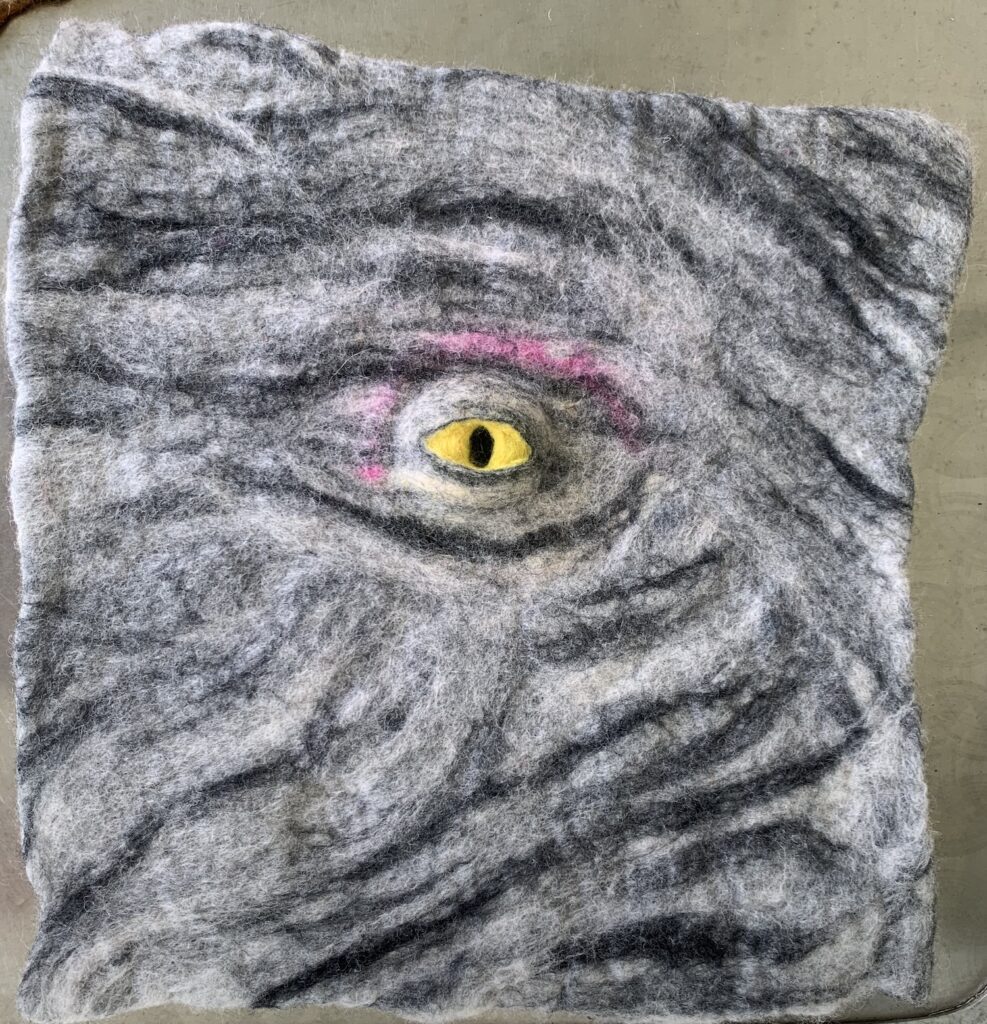
After several weeks mulling it over and talking to other AFF members I settled on “animal textures in felt”, I thought this would lend itself to a series of pre-prepared samples that we could discuss the potential pitfalls and then each member could incorporate one or two into their own project. This group is so experienced I couldn’t imagine any of them wanting to waste their precious felting time watching me laying out fibre over a resist.

We all arrived on Friday afternoon, settled into our rooms and started playing with our fibres in the main hall. After talking to a few members I realised not everyone would be happy for me to share some samples and tips on how to achieve different effects, they wanted a project to follow…. my heart sank, I hadn’t planned for this, how was I going to come up with a project that included, fur, scales, eyes and locks before tomorrow morning?!!

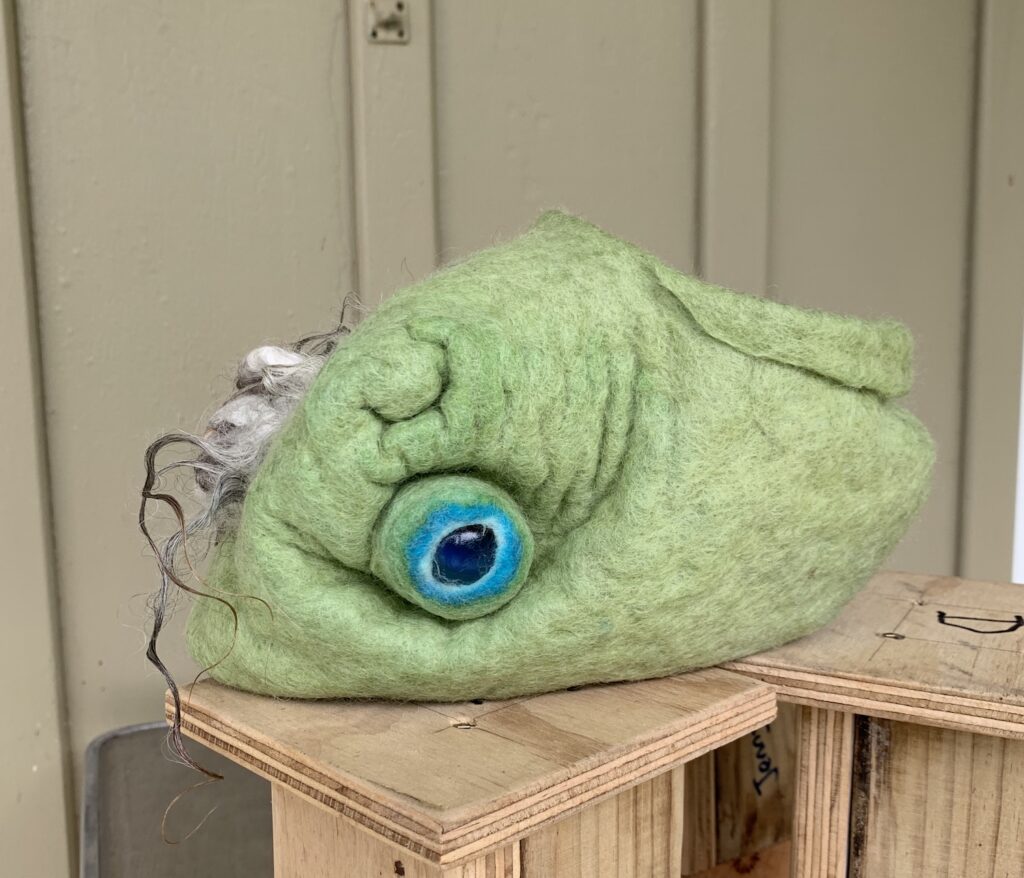
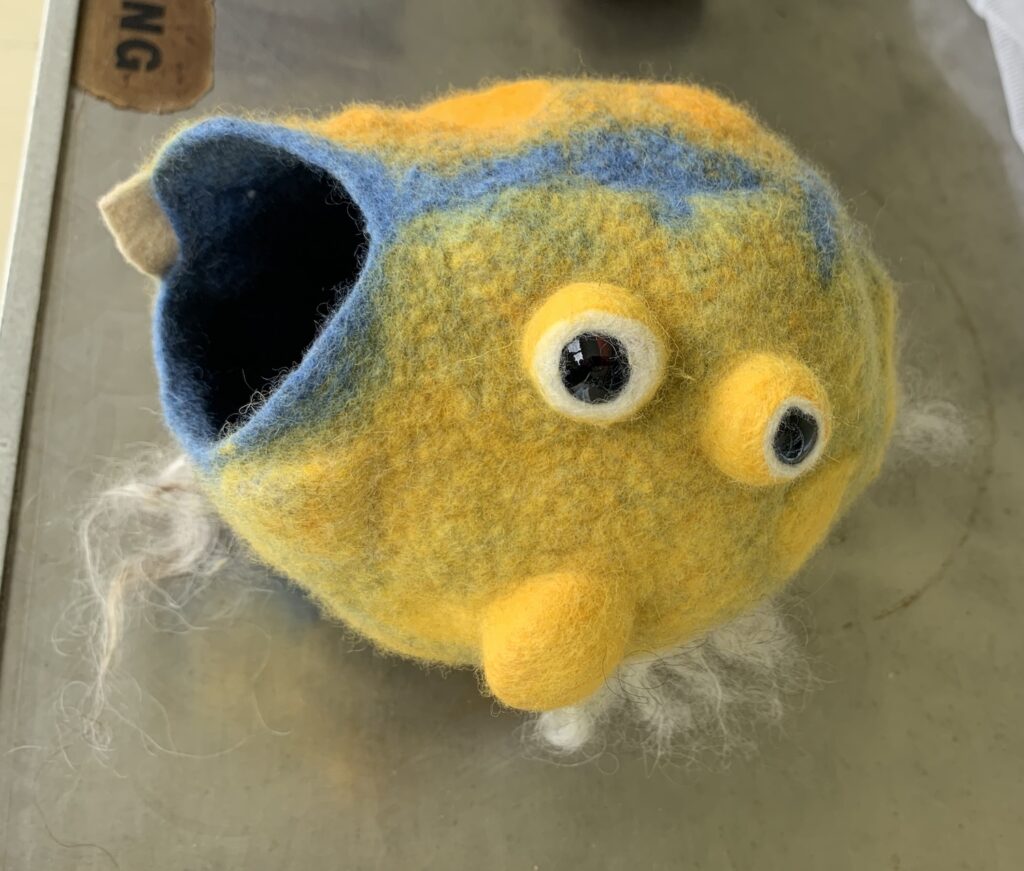
So it was that Fugly was born….
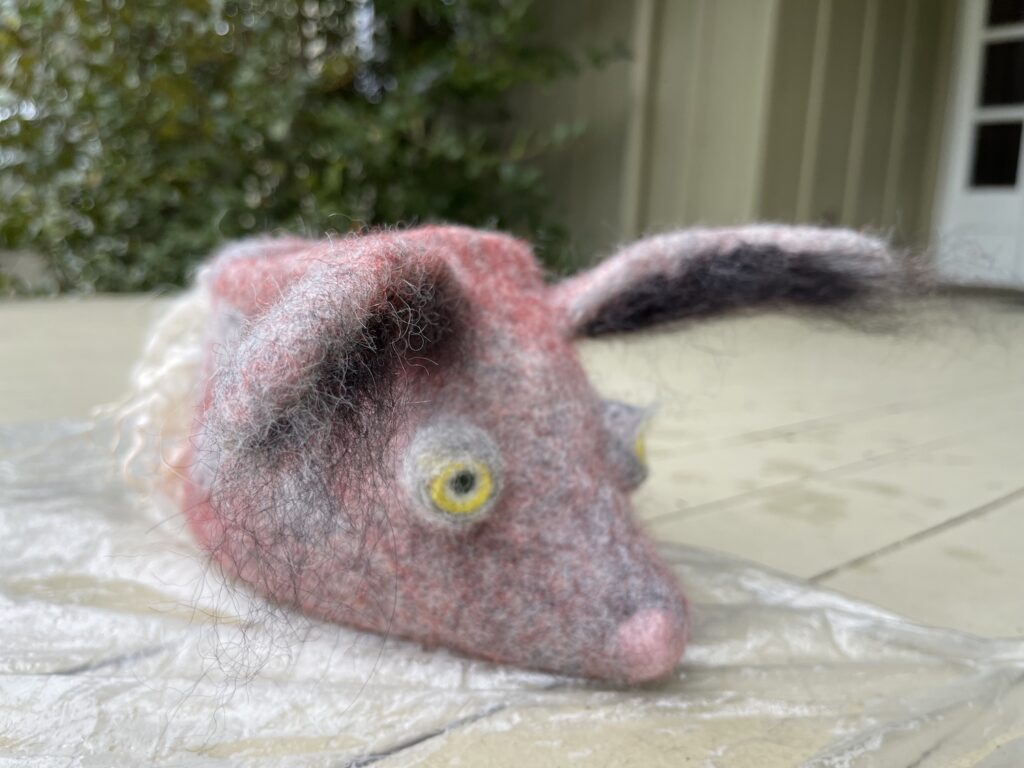
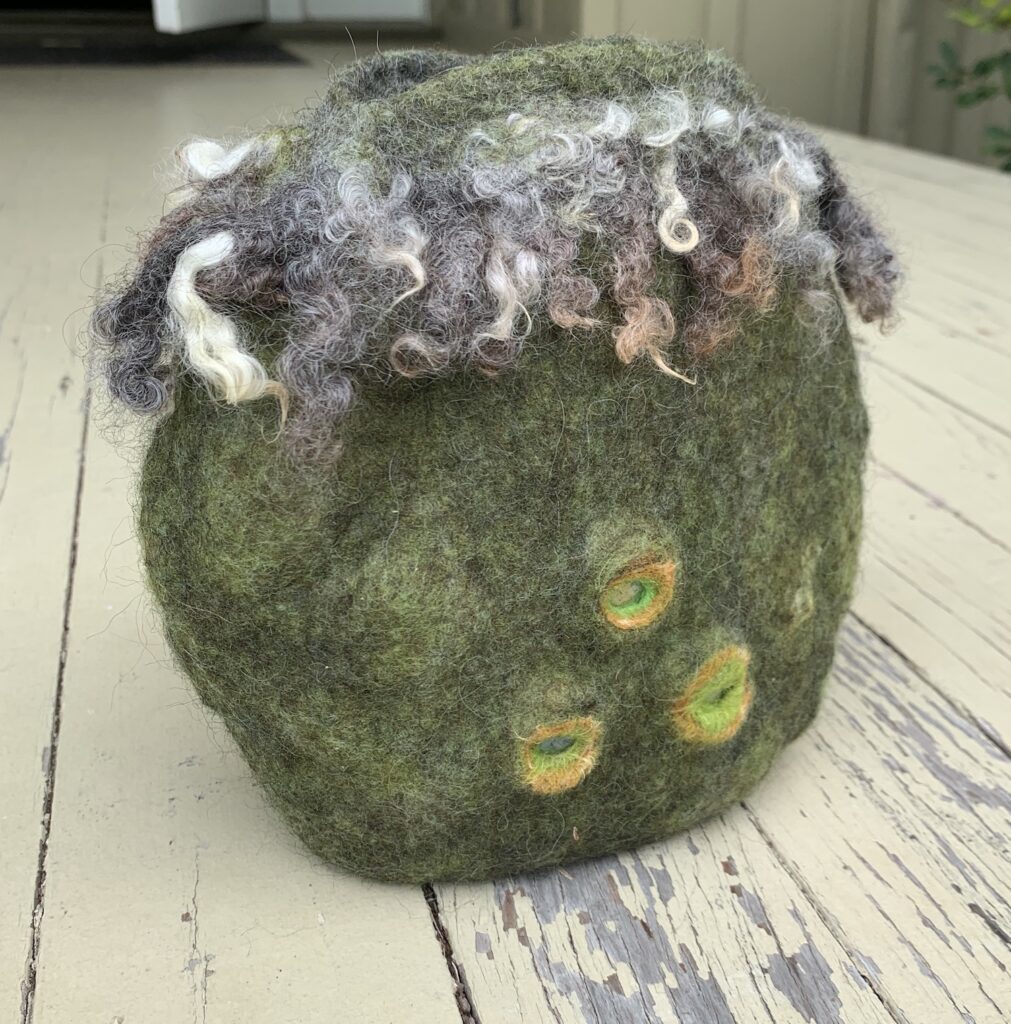
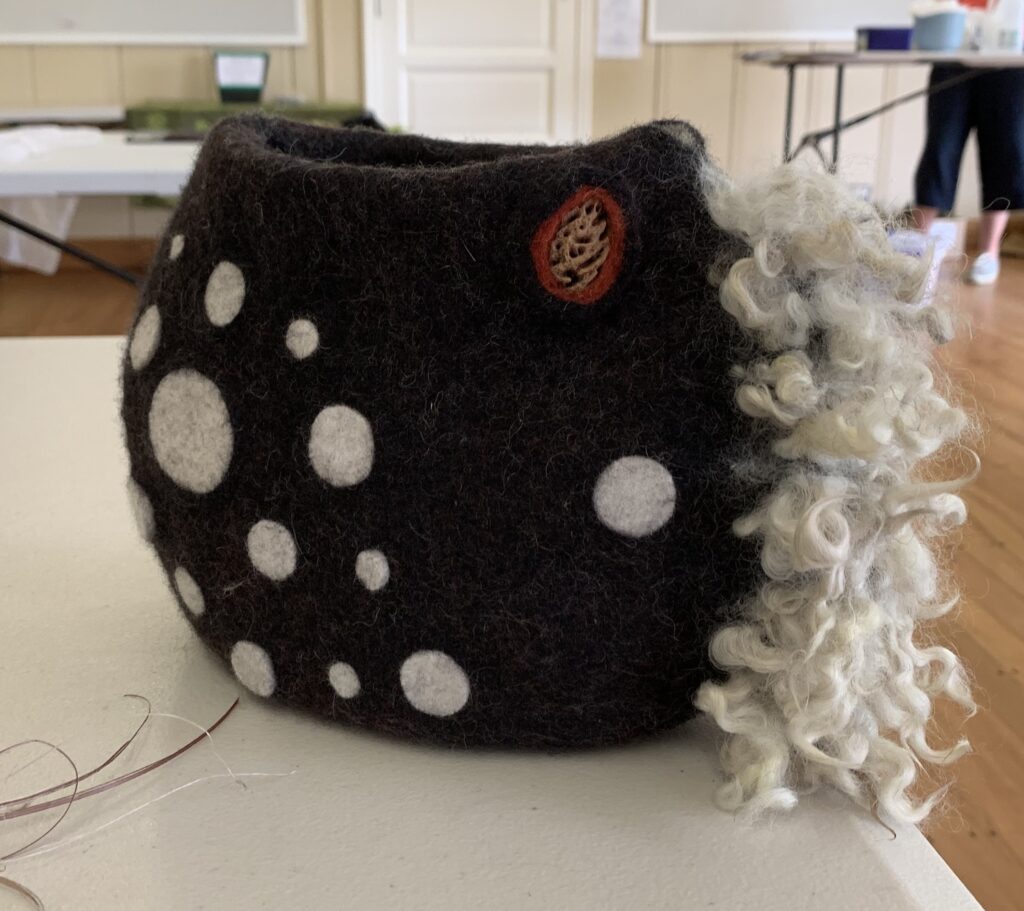
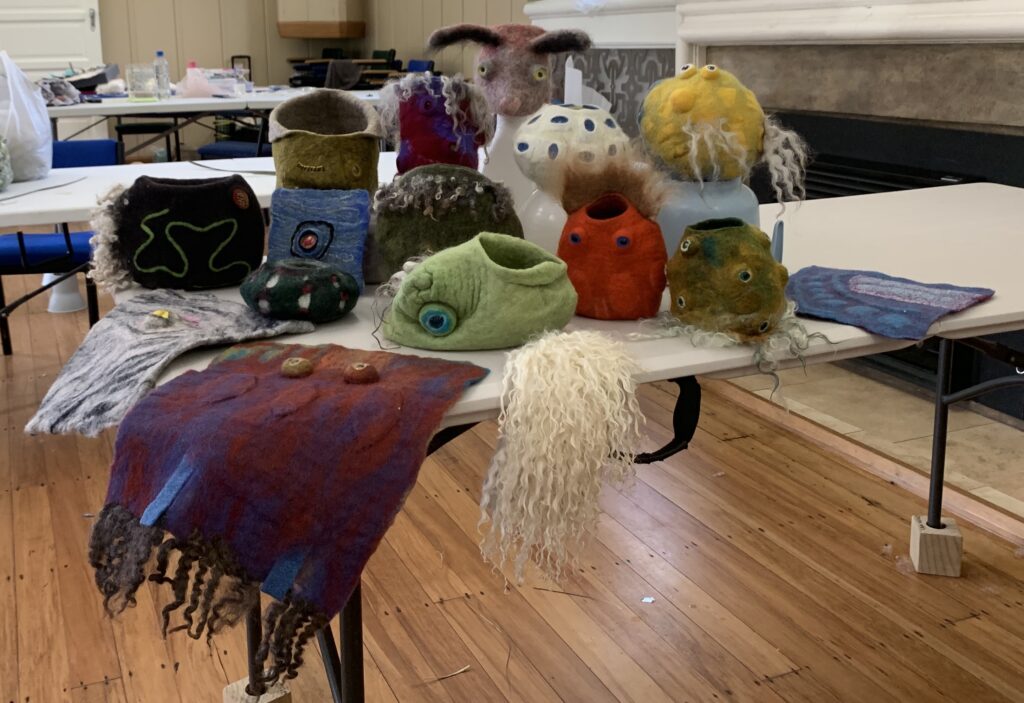
A little pod critter, with eyes, scales on his back, a lambs tail and an unfortunate ear-hair problem – for the record I would never normally recommend trying to cram so many different techniques onto one item but now he is finished I do find Fugly quite endearing 🙂

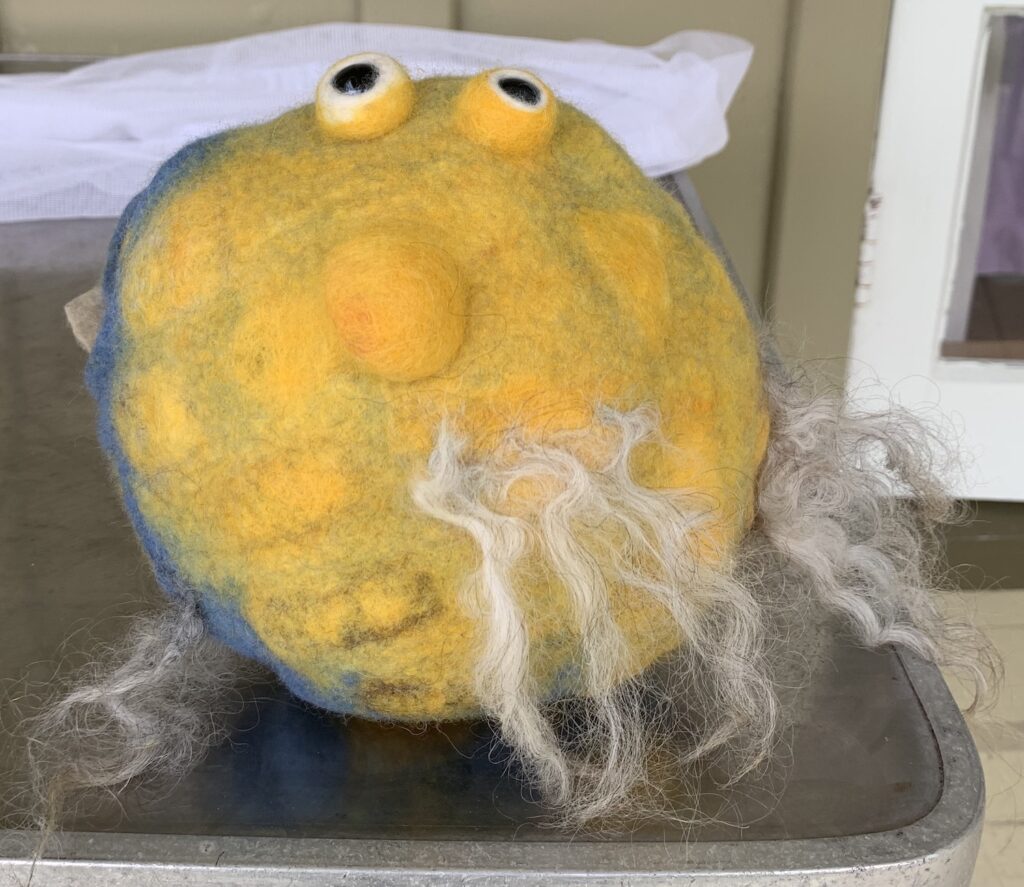
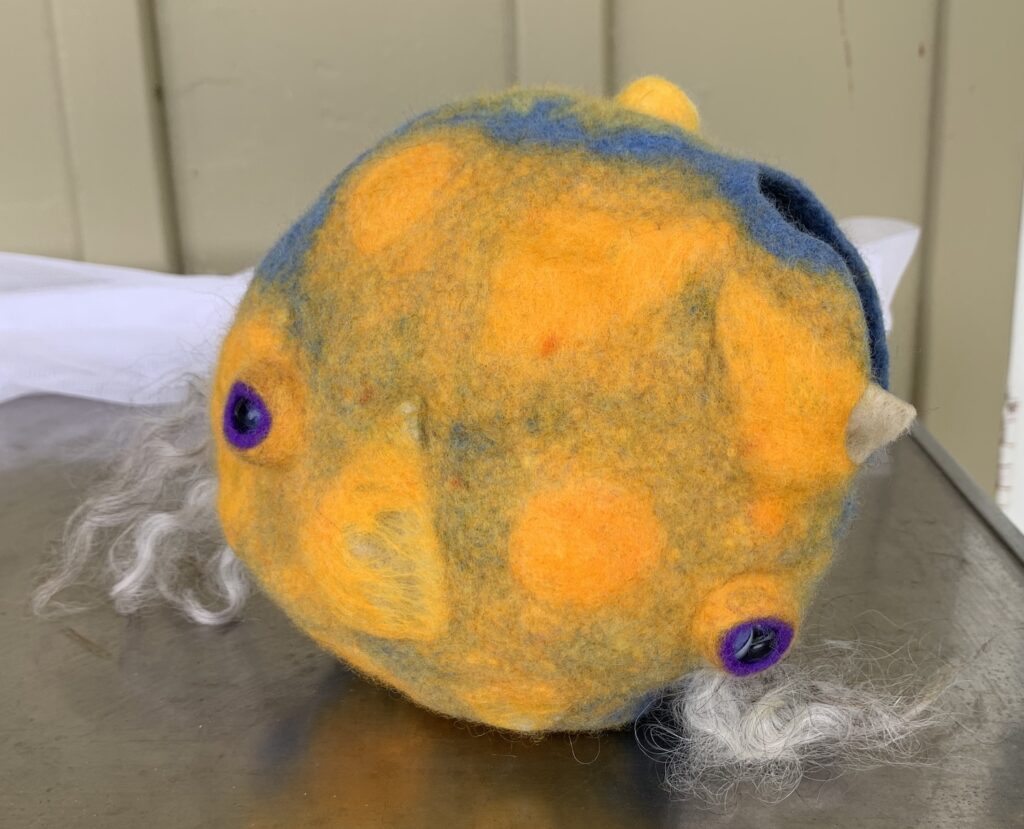
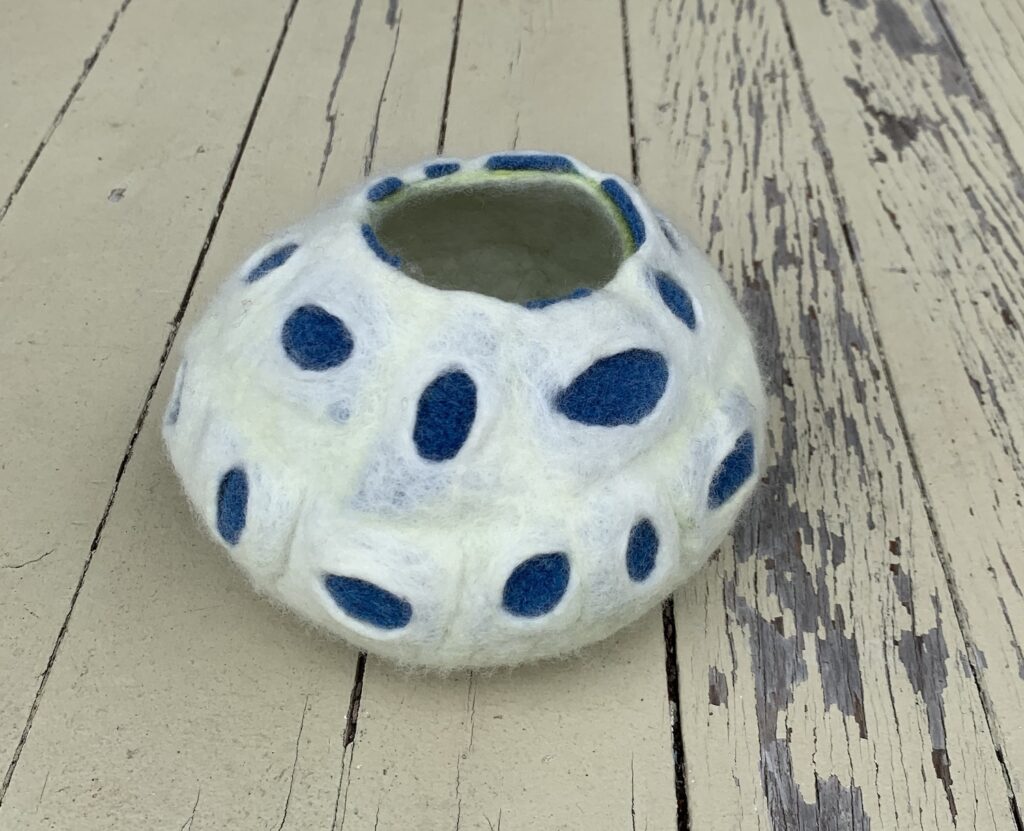
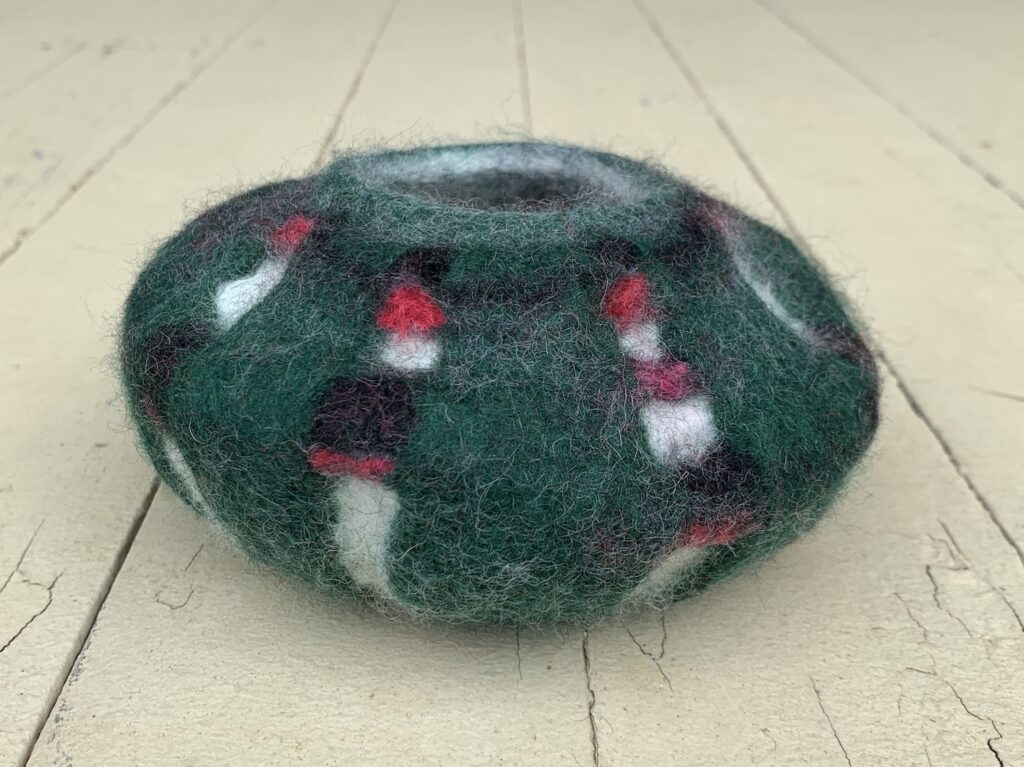
To my surprise most of the group also made pods that incorporated most or all of the techniques and we ended up with a ?gaggle, ?fright, ?laughter <insert collective noun of your choice here> of funny little monsters:
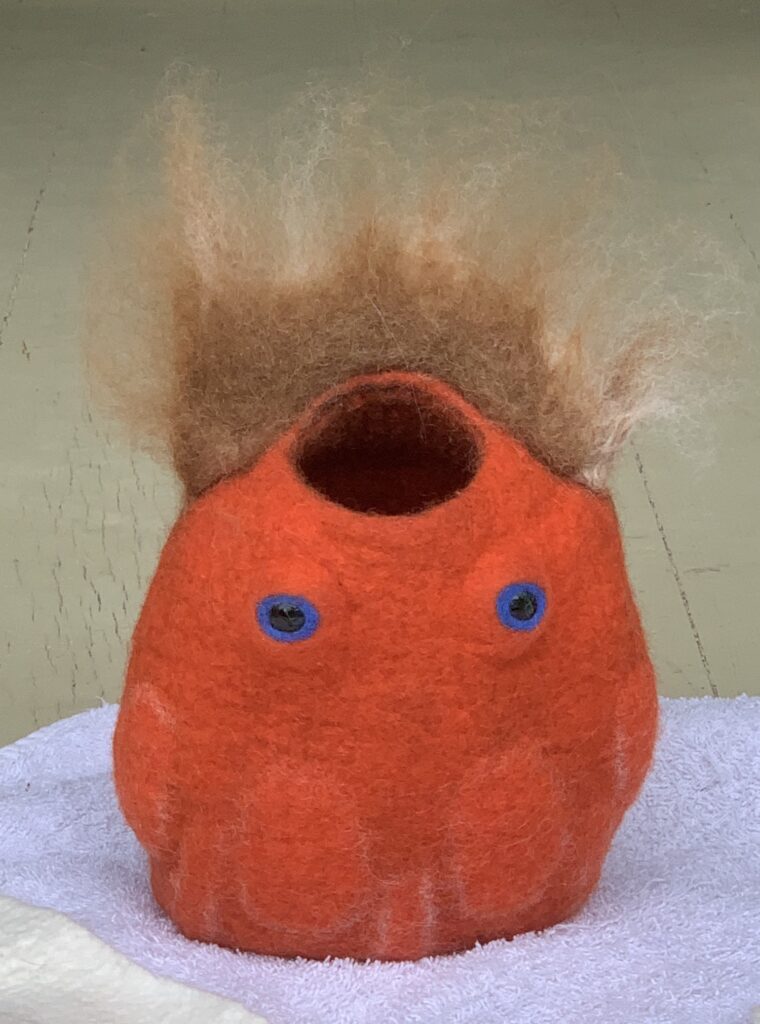
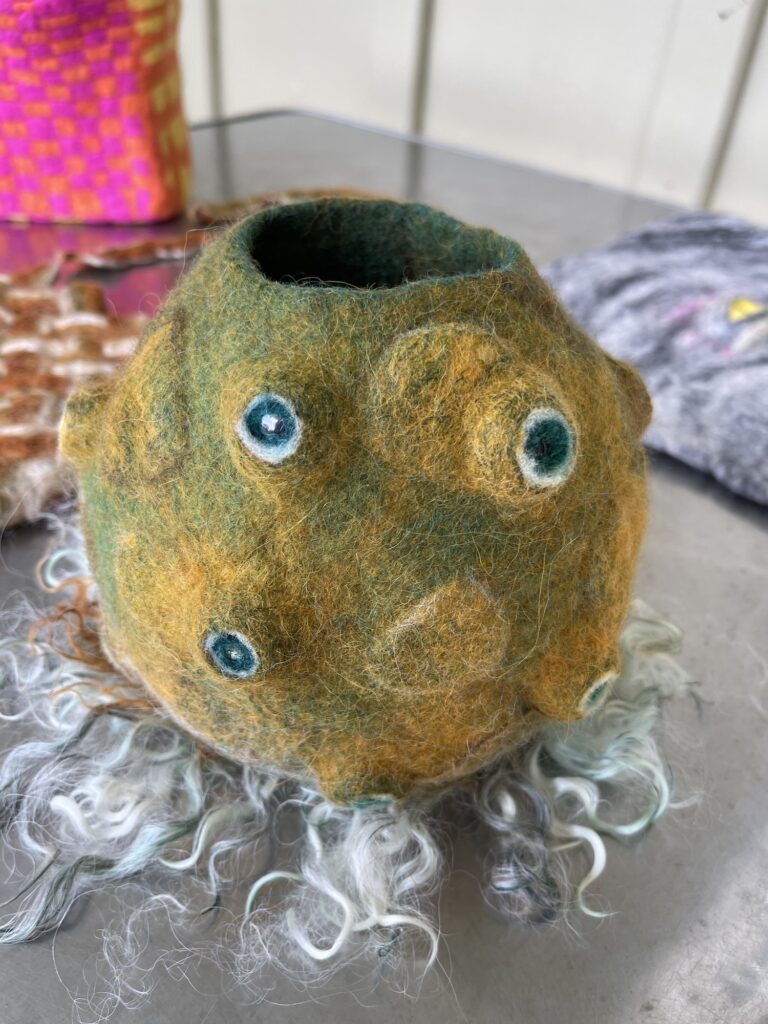
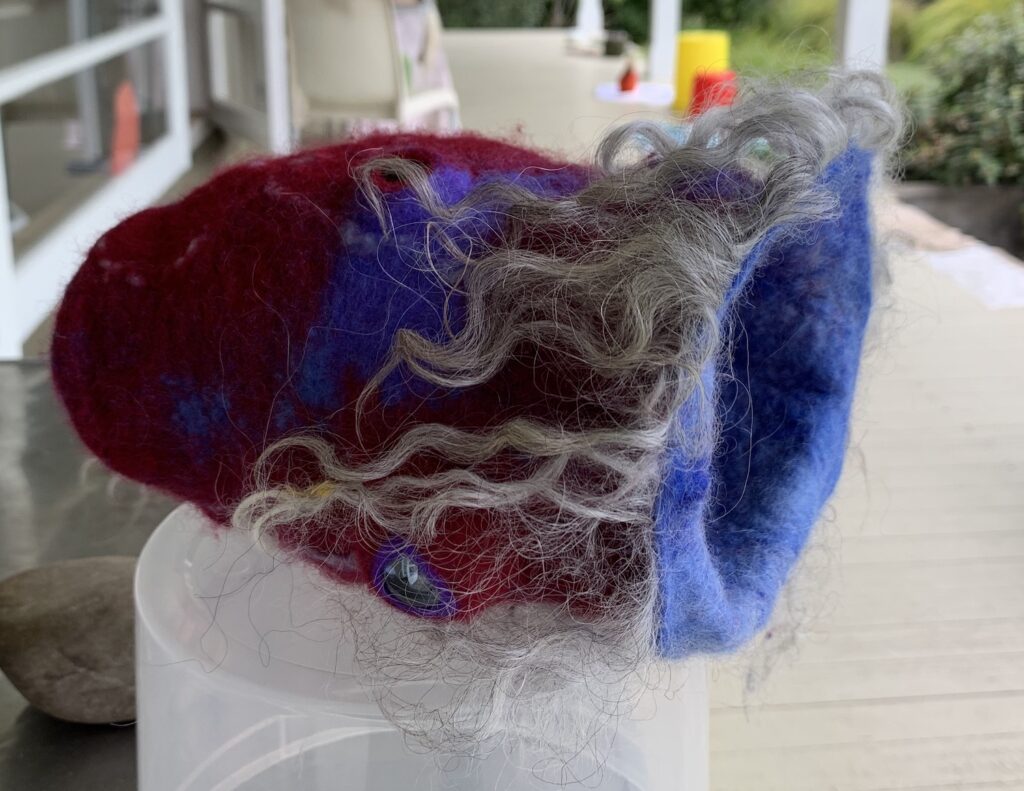
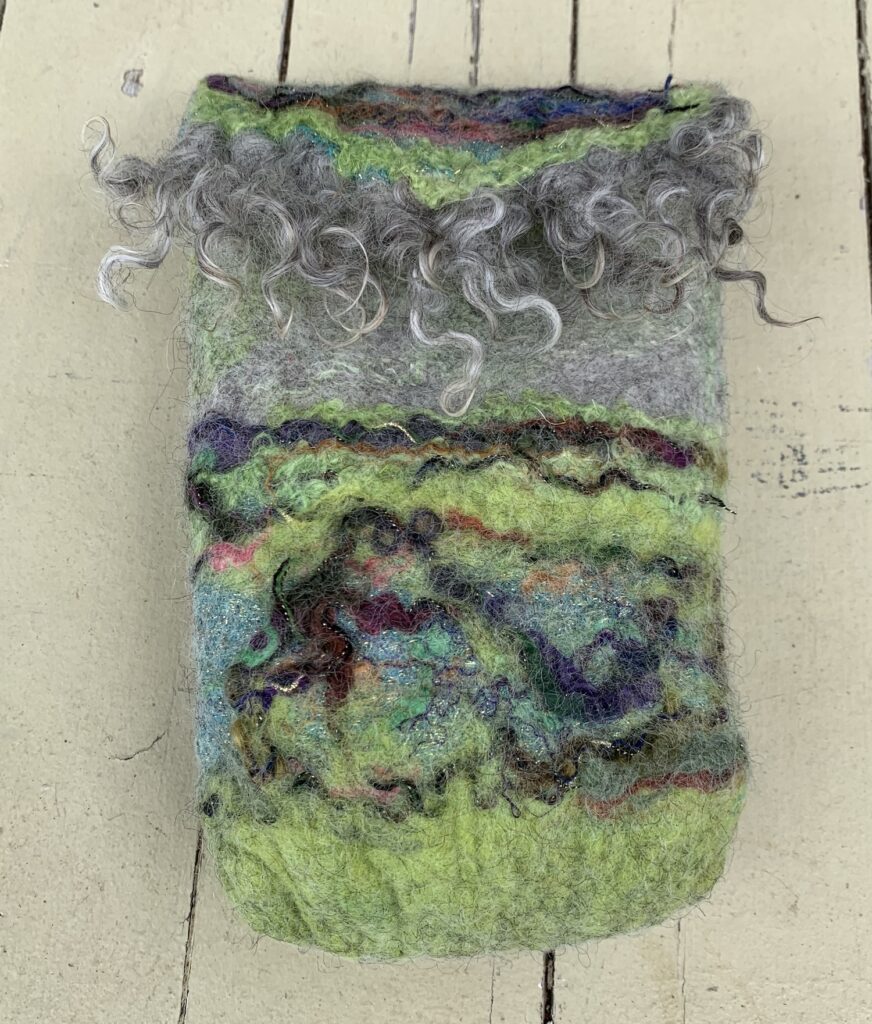
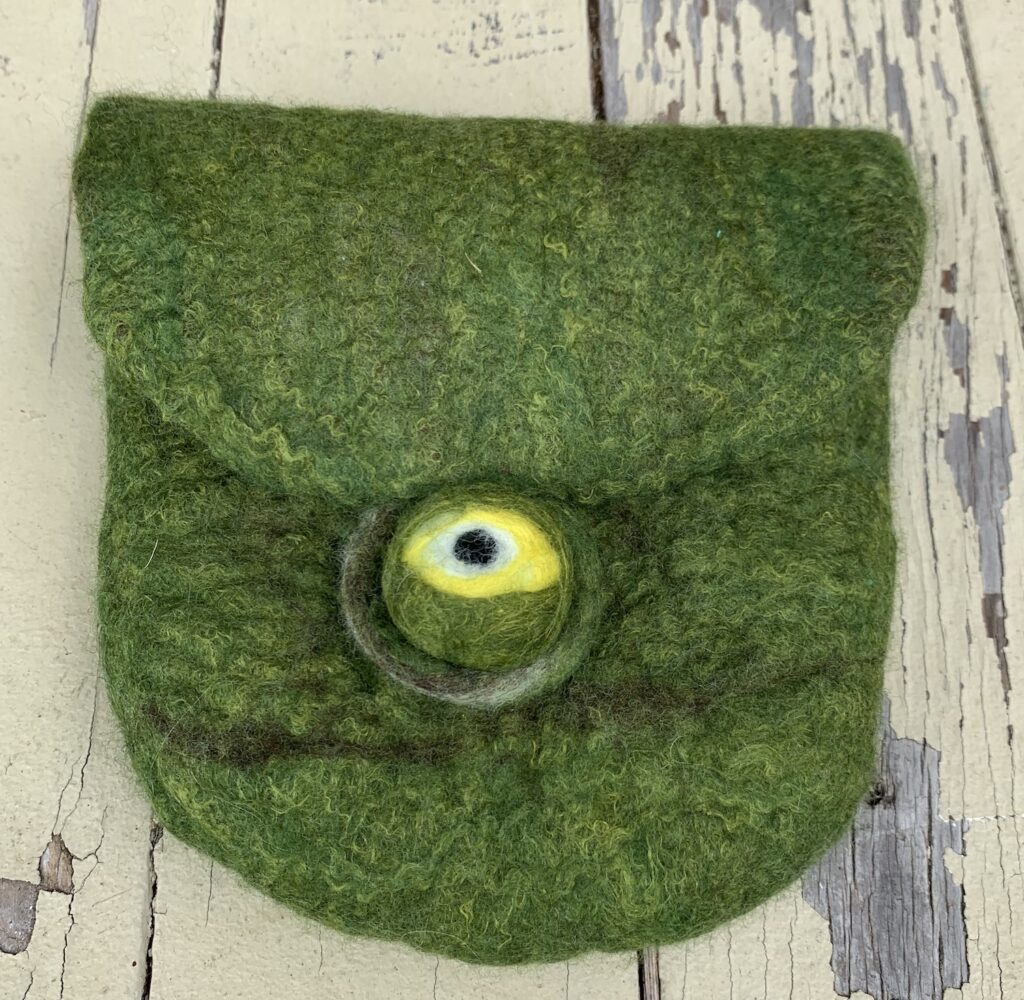
A couple of members applied to techniques to small bags with great effect…
This weekend was such a success we agreed to do it all again in just 6 months time! 🙂
Bags Galore!

Over the past year I have been working on a series of bag tutorials for the Felting and FIber Studio online bag class that will begin on May 24th. I am so excited this long-awaited class is almost here! ?

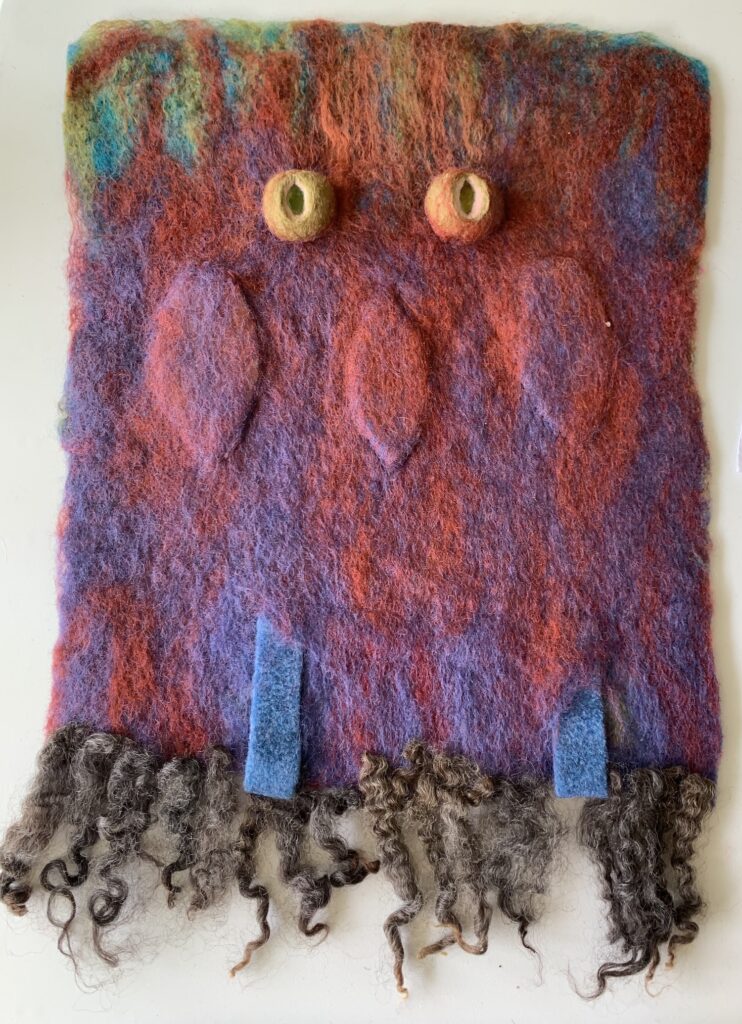
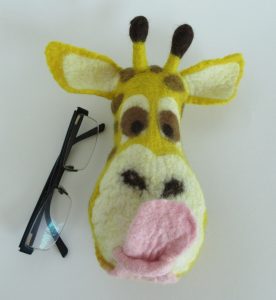
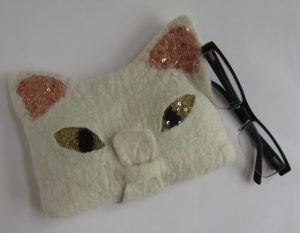
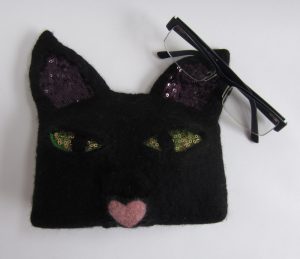
The first week will cover the techniques to make a spectacles/phone/pencil case that uses only felt for the closure (no buttons or magnetic snaps), to date most of my pouches have been cats with bling, so this weekend I have been making a giraffe to illustrate that you can choose any animal you wish, it could be beloved pet, a friend’s pet (they make very personal gifts), a wild animal, or even an imaginary monster, the choice is yours! 🙂

In each case below, the tongue of the animal forms the tab that closes the flap over the pouch opening.


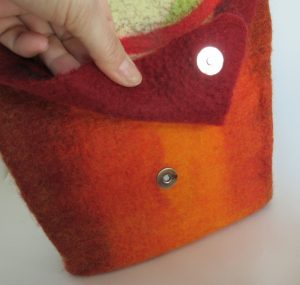
The second week will be about making a bag with adjustable straps and internal pockets, adding a magnetic closure and how to shape the bag so it has a flat base that will sit on the ground without falling over.


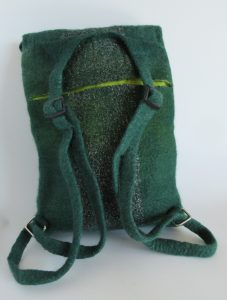
Finally in week 3 we will look at how make a backback with large internal compartments and multiple pockets, choosing the hardware and making adjustable straps from either canvas webbing or wool. Consideration will be given on how to make large bags durable enough to carry a heavy weight without being heavy themselves.

The red backpack is my bag, it gets daily abuse from me and this is what it looks like after 6 months, they are pretty sturdy bags!

The pale green/yellow slit you can see on the back of the green backpack is a large pocket, I will add a zip when I get a spare hour 🙂

The great benefit of online classes is that you can work at your own pace and at times that fit in around you and your other commitments. Although the class nominally runs for 3 weeks, the forum will be open and I will be there to offer support  and answer questions for an additional 2 weeks in case you are unable to make a bag one week or would like to make more than 3 bags and share photos of your wonderful creations with the rest of the class. 🙂

The PDF tutorials from each week will be yours to keep after the class has finished.

For more information and to register your interest in the bag class please follow this link and complete the contact form at the bottom of the page. I will be in touch by email just before registration opens at the beginning of May.

Illuminated Lion Fish

A few weeks ago I bought a selection of different LED lights to try out in felted lights and this week I made a start with the first of them, making and lion fish night-light.

I posted this picture on Facebook and really didn’t expect anyone to guess what it might turn into bu Judith got it in just 3 guesses!

IMG_7388

This is him in the making:

IMG_7387

And nearly finished, he just needs a little more fulling to make his spines stand up straight and some shaping around his mouth to give him his smile back:

IMG_7389

IMG_7392

I have also been working on a bag, that had an unusual beginning; my other half broke an axe handle a few weeks ago and while he saw a piece of firewood, I saw a couple of bag handles! After some sanding and a few coats of varnish I think the wood has come up really nicely. I’m so glad I rescued it from the wood pile 🙂

IMG_7414

IMG_7418

I’m not sure this is what Ann had in mind when she set the 2nd quarter, stash-busting challenge but I think up-cycling an old axe handle qualifies! 🙂

Second Quarter Challenge, zippered pouches

Today I have been doing a little more stash-busting, working through my piles of nuno felt, left over from various dress making projects and a box of fabric off-cuts. I have been using the nuno felt as a pretty, textured outer with the fabric off-cuts as linings for earbud pouches and a small boxy bag that I plan to use as a pencil case.

IMG_7365

IMG_7368

IMG_7370

IMG_7371

IMG_7372

IMG_7374

IMG_7376

IMG_7377

IMG_7378

Sculptural hats and bags with Rutsuko Sakata

I spent Monday and Tuesday this week on a workshop with Rutsoku Sakata, and the lovely ladies from Region 3 IFA making sculptural berets and bags. We all had a wonderful time.

This is my bag sitting on its resist and slowly taking shape; it literally took 9 hours to place all the stitching, my finger tips still feel sore and bruised today but I’m pleased with how the shape is developing. This is definitely going to be a one-of-a-kind type of bag!
IMG_1337

IMG_7293

the front


IMG_7295

The back

Now I just need to figure out what the strap / handles will look  like and how to attach them…

IMG_1353

Some of the participants and their wonderful creations


Bags with Judit Pocs

I can’t believe it has been 3 weeks since the bag workshop with Judit Pocs and the Region 1 (Devon and Cornwall) IFA ladies. Another very successful and brilliantly fun 2 days. Most of the participants (myself) included were a little over-ambitious with what we could achieve in 2 days and barely managed to get our bags to the prefelt stage before we had to pack up and go home. I  finally finished my bag nearly a week after the workshop ended but I think it was worth spending nearly 3 days toiling over. The green diamond on the front is a button made from felt that holds the front flap down.

IMG_6541

IMG_6543

The purple bulge in the strap is a little pouch for your keys.

IMG_6542

This is the back side with an extra large pocket.

IMG_6545

Last week I attended an incredibly intense, 3 day workshop making a “furry felt” bolero jacket with Heidi Grebb (more on that next time) and this weekend I have been making a snail hat, it is still damp and and the light was fading when I took these photos, but I think you get the idea…

IMG_6888

IMG_6889

IMG_6891

IMG_6887


New Year, new URL….

Happy 2016 and welcome to my new site! 🙂

Santa Claus brought me a most unusual gift this year…. my own domain name and access to a server. Consequently I have spent much of the Christmas holidays trying to set up the new site and migrate all my blogger posts over. I think my personal tech support,  sat on the couch next to me, is already thinking this wasn’t such a clever gift… I really don’t get html, not even on the most basic level, while he speaks it so fluently he can’t seem to grasp that I don’t, our recent conversations must look like what you would expect if aliens landed on Earth and tried to communicate with us 🙁

Anyway, after much cursing and Googling (I only needed rescuing once, after I changed some html text and made the whole site inoperable), I seem to have all the posts transferred and there are just things like the contact widget and blogroll to set up. Then the fun bit, working out what new features WordPress offers, can start 🙂

If you like following this blog, please change the URL in your blog roll to http://www.teriberry.com or use the sign up for email alerts widget on the left. If you subscribe to “receive posts by email” please leave a comment letting me know how you find it, I’m concerned that the widget I installed is incredibly slow.

I will continue to post to both blogs for the next couple of weeks but will stop posting in blogger in February.

In between my cursing and ranting about how unintuitive website building software is I have been making a couple of bags.  Mostly as an excuse to use some of Zara’s lovely Gotland locks…

IMG_5746 IMG_5754 IMG_5767 IMG_5742 IMG_5756 IMG_5758 IMG_5761

The Gotland locks are irresistibly soft and stroke-able, it will be a shame when the bag runs empty but for now there’s still plenty left 🙂

Gotland Locks – Messenger Bag or Backpack?

Zara from Sweden is selling some absolutely gorgeous Gotland locks on the forum, if you are quick there may still be some left! Of course I couldn’t resist and now they have arrived I’m so glad I didn’t, they are soooo shiny and soft!

Now I have Gotland locks from 4 different sheep (2 from Zara and 2 from UK sources) so its high time I did something with them. I decided to make a messenger bag using the same Gotland resist technique I used on a cat cave a couple of weeks ago.

I used a couple of layers of Corriedale and laid out some pockets over a resist before adding 2 layers of Gotland tops, my plastic resists and some vibrantly blue merino on the outside.

IMG_5630
I only used the locks on the front flap and used a mix from all 4 fleeces as they varied from black/white to grey and almost jet black and are different lengths.

It’s interesting to see the Gotland invade the coarse Corriedale wool too:

IMG_5622


Only the pockets remained white where the resists prevented the Gotland from going walkabout.

Where the resists were placed between the Gotland and merino the blue of the merino can still be seen.
IMG_5626The blue colour was brightened by a little bit of shaving.

It was interesting how the Gotland shrank (fulled) more than the merino, causing the merino to pucker slightly:

IMG_5615

The locks were a little bit matted after I had finished fulling the bag so I combed them out which made some of them go rather fluffy, I used some leave in hair conditioner to try to tame them. Have you ever tried to hair products on your wool?

This is quite a large bag, about 40 cm wide by 40 cm high, now I have to decide what handles / strap to put on it. I was toying with the idea of an adjustable shoulder strap made from felt ropes but now I am leaning towards back-pack style straps, simply because it is so large it will weigh a tonne when I have filled it with everything bar the kitchen sink. What do you think?

It’s Official!

My City and Guilds certificate arrived yesterday, I heard that I would pass in October but did not want to tempt fate by telling people until the certificate had safely arrived. Silly I know, but I am strangely superstitious like that. It has finally arrived, and to my surprise is actually 2 certificates…

To celebrate I started making myself a nunofelt dress, it’s not quite going to plan but I think it is still salvageable with a bit of dressmaking. My biggest learning so far is that the “holes” (i.e. around the neck line and arm holes) in the template should not be increased by 50% along with the rest of the garment…. more on that next time.

Here are couple of other pieces I have been working on this week:

It may not be that easy to see from this photo but I have used resists to create flower patterns peeking through the green, I plan to add some embroidery to the centres of each flower.

This piece has been sat on my table for a few weeks now and I still can’t decide where to go with it, should I just leave it as it is? The yellow and pink patterns are rather nice but not as striking all the way round as they are in the photo below. I could add some embroidery but am concerned it might just detract from the dye pattern. Another idea I had was to cut holes about a 1/4 of the way down and add a drawstring to make into a bag rather than a pot. It stands about 30 cm (12″) tall. What do think? What would you do?

I also made a couple of coin / key purses to match the 2 bags I made recently, both will have a zipper on the back and the loop at the top allows for a key hoop to be attached.

This is another coin purse, but using the flower resist technique again, the zip will sit across the top where you see the line of orange. I plan to add some embroidery to the centre of the flower on this one too.

Hope you are have a creative week too… 🙂

Taking the Plunge

After months of procrastinating and several friends encouraging me to take the plunge, I have finally done it and set up a Facebook page. I am still on a steep learning curve trying to figure out how to navigate the different areas, respond to messages and upload photos but bear with me, I WILL get the hang of it!

If you are a FB fan you can find me here (I hope), please let me know if the link does not work.

On a less stressful note (anything IT-related always seems to push by blood pressure up) here is the bag I mentioned in my last post, I love the shape and design but might make another in a more tonal colour combination, perhaps red, with orange yellow, white and black accents…

The base wool is some hand dyed Corriedale with merino for the colour accents. You can’t really see it in these photos but there is a zip across the top and lots of pockets inside. The body of the bag is approx 40 cm high and 30 cm wide.

The “North Devon Sunset” ring binder cover is also finished in time for the exhibition on Sunday and I’m really chuffed with how it turned out, I will definitely be making more of these, it was so much fun to make!

Linking up to nina-marieoff the wall Friday